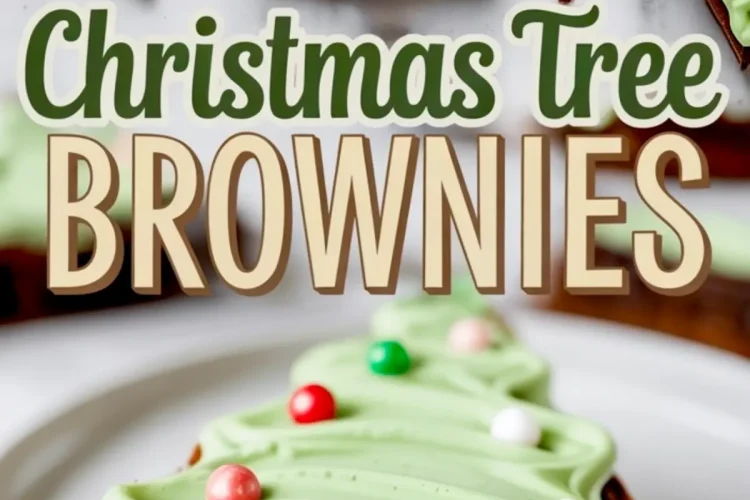
There’s a reason these Christmas Tree Brownies show up every December in my kitchen.
They’re festive, simple, and unmistakably charming. You start with a pan of homemade brownies, dense, rich, and chocolatey. Then, with just a few slices and swirls of green frosting, you turn that pan into a forest of tiny edible trees.
If you’ve ever scrolled past brownie Christmas trees online and thought, “That looks fun, but complicated,” let me stop you right there. This isn’t sculpting marzipan or piping gingerbread house trim. It’s brownies, frosting, and some sprinkle fun. And it always works.
You’ll learn how to make Christmas brownies that look like trees without buying new pans or molds. And you’ll pick up my personal trick for keeping the frosting vibrant and pipeable even after sitting out for a bit.
Following a special diet?
Every recipe on this site can be converted to gluten-free, vegan, dairy-free, keto, nut-free or egg-free with adjusted ratios so nothing falls flat.
Try the Recipe Converter →Why These Brownies Work Are For Your Holiday Table
I lean on these Christmas brownies because they offer flexibility.
They go from a kids’ party to a dinner table centerpiece with a few adjustments in decoration. Swap the sprinkles for edible glitter if you’re setting them on a silver tray. Use pretzel sticks instead of candy canes for a rustic touch.
More than once, I’ve baked these ahead and left the decorating for after dinner. Letting guests add their own “ornaments” turns it into an interactive dessert that keeps the table busy and smiling.
If you’re hosting Christmas dinner, these little trees fill the gaps on the dessert platter and always get picked first.
You can also keep a batch undecorated in the freezer. Just slice, wrap, and freeze the brownies. Then frost and decorate when needed. They thaw quickly and taste just as fresh.
These red velvet cheesecake brownies also hold up beautifully when made in advance, if you’re planning multiple trays.
What You’ll Need for Homemade Christmas Tree Brownies

You’ll start by melting butter and whisking it together with sugar and cocoa powder.
This gives you a thick base that sets the tone for the brownies. The eggs bring structure, while vanilla rounds out the flavor.
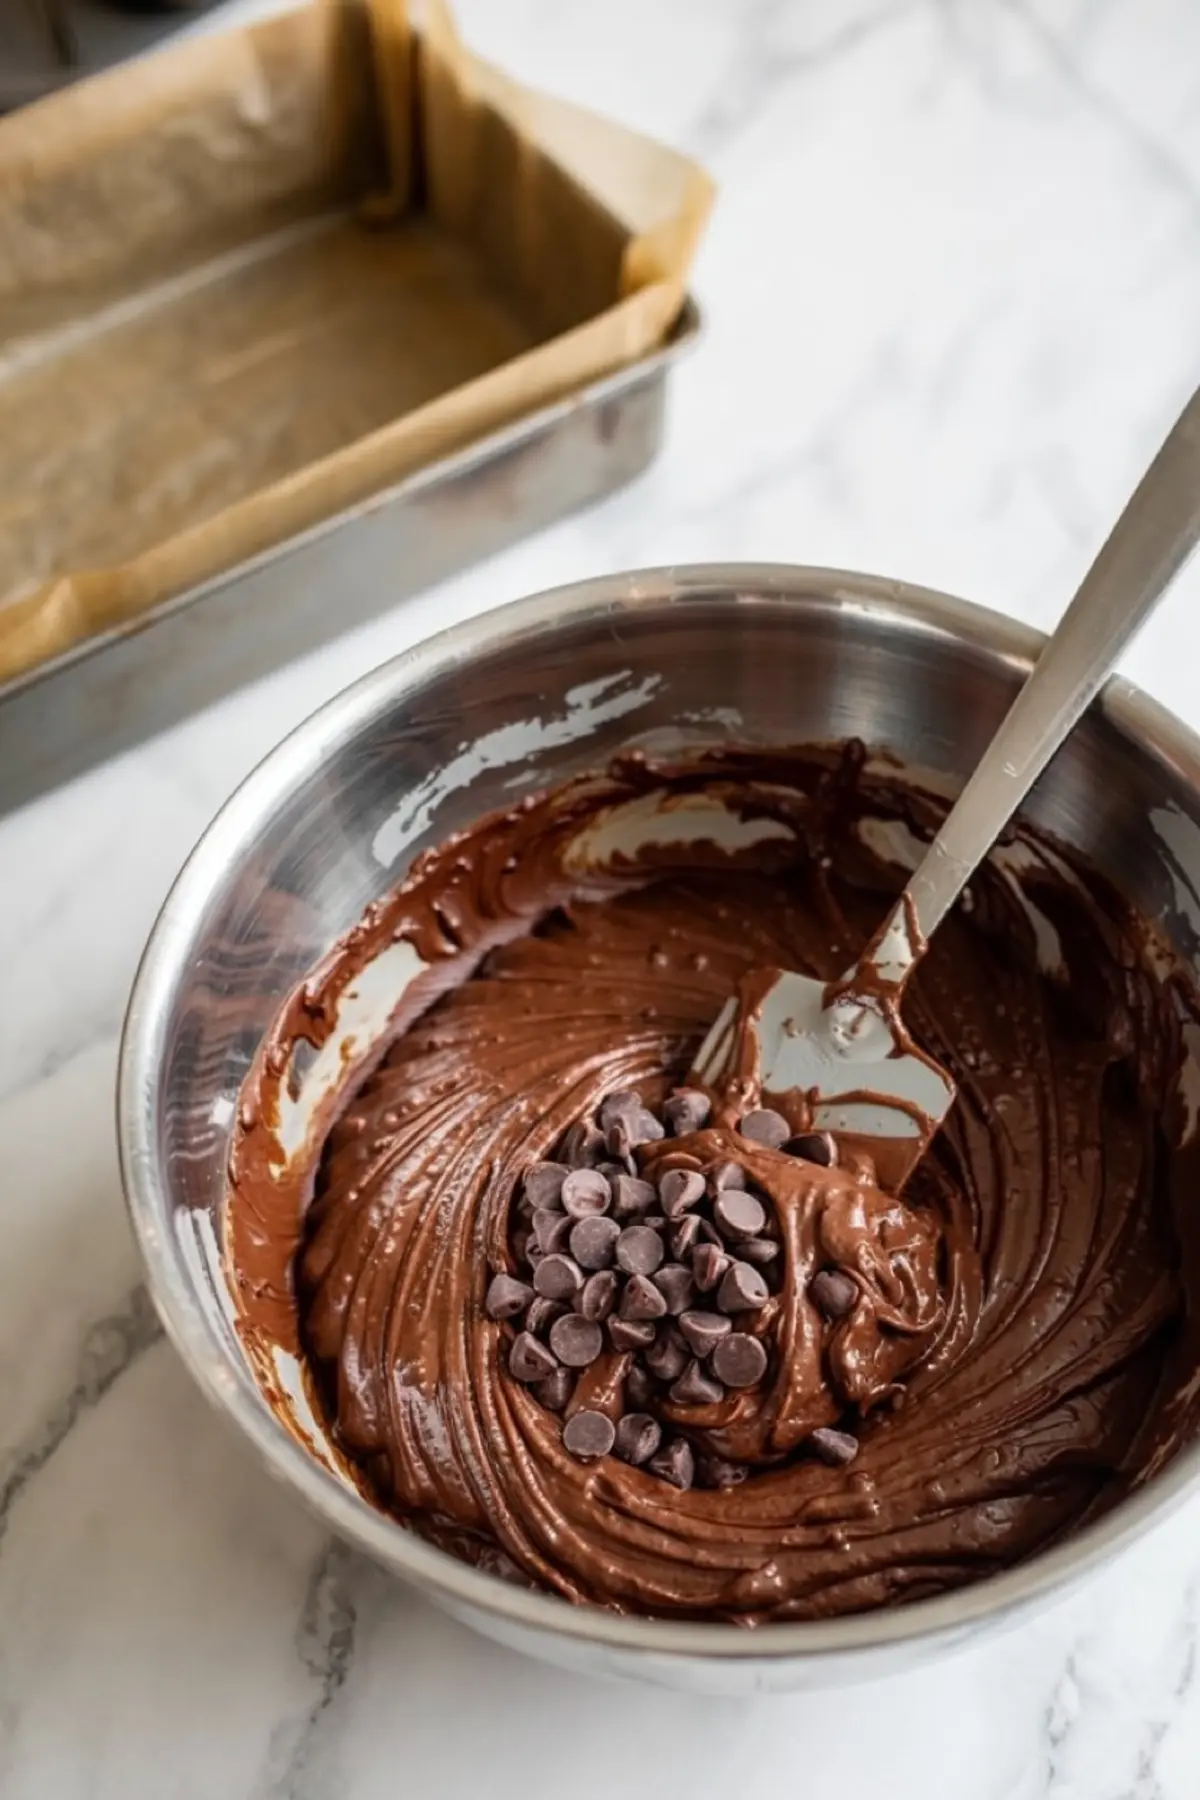
Flour, salt, and a bit of baking powder follow. It’s a compact batter, but that’s intentional—it creates that chewy texture we’re after. Chocolate chips or chunks come last, stirred in to give the finished brownie those melt-in-your-mouth pockets of richness.
I prefer semi-sweet chocolate, but you can use chopped dark chocolate if you want a deeper flavor. Just don’t skip the chips entirely. They make a difference.
If you like pairing textures, try a batch of my Christmas Tree Cake Pops on the same platter for some contrast in texture and bite.
My Notes on Frosting and Coloring

To make the green frosting, use softened butter and powdered sugar as your base. The trick here is to beat the butter until it’s nearly white before you add the sugar. That’s how you get that whipped, creamy texture.
Add a touch of milk and vanilla to balance the sweetness. I recommend gel food coloring over liquid. It gives you bold color without watering down the frosting.
Here’s where I want to pause for a moment. I’ve tried both liquid and gel food coloring over the years. In my notes, I’ve found that liquid dye changes the texture just enough to make the frosting less stable for piping. Gel holds the structure and keeps the green rich and smooth.
That’s the choice that determines how neat your trees will look once piped.
How to Cut and Decorate Brownie Christmas Trees
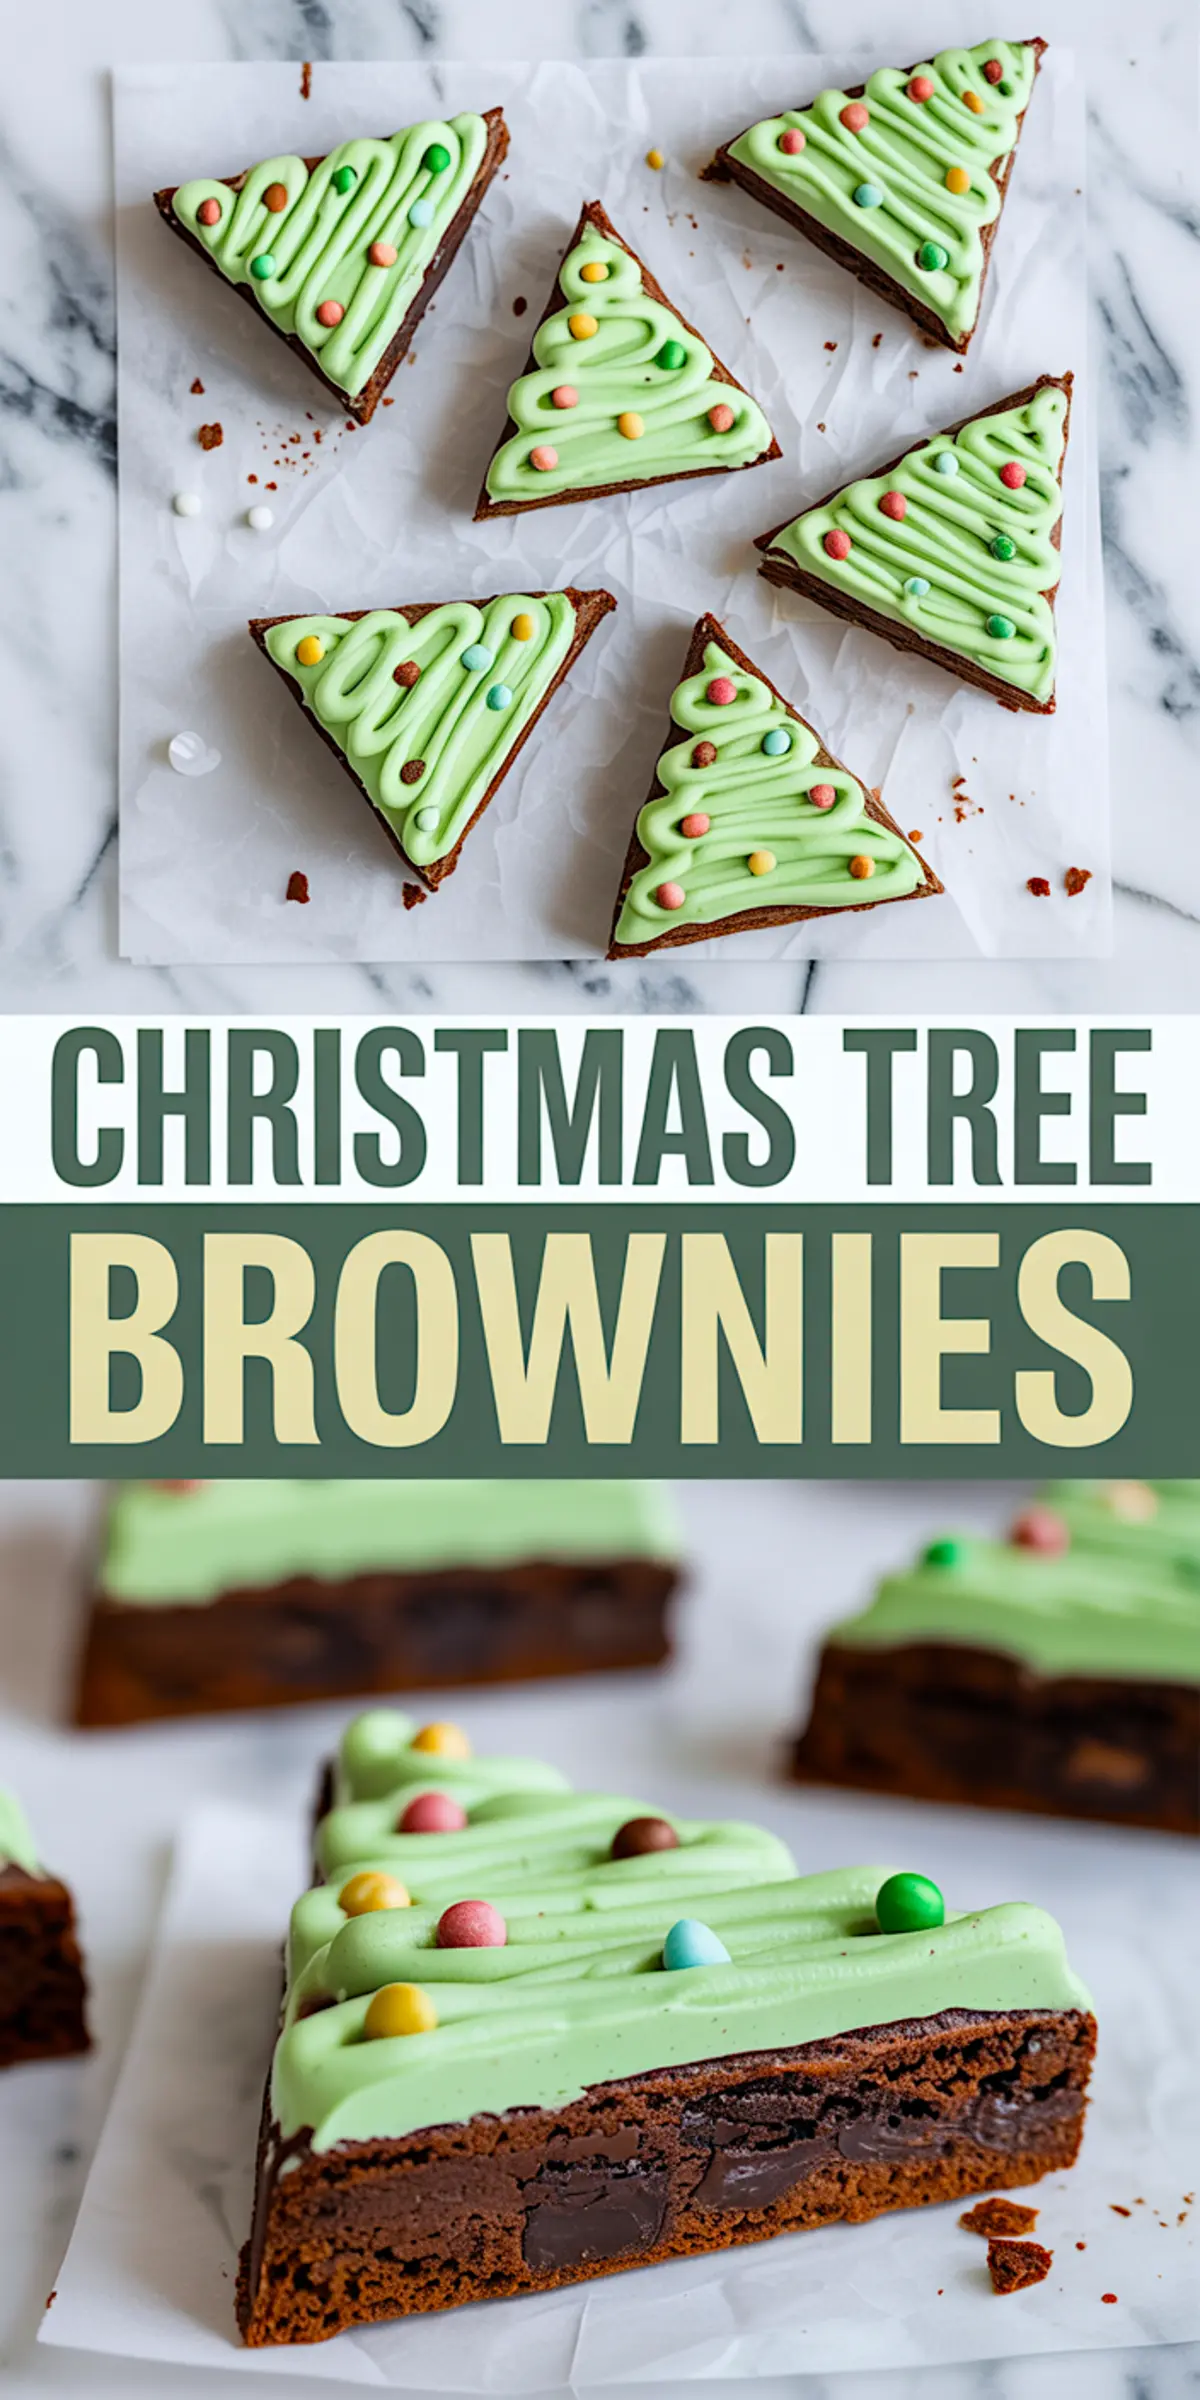
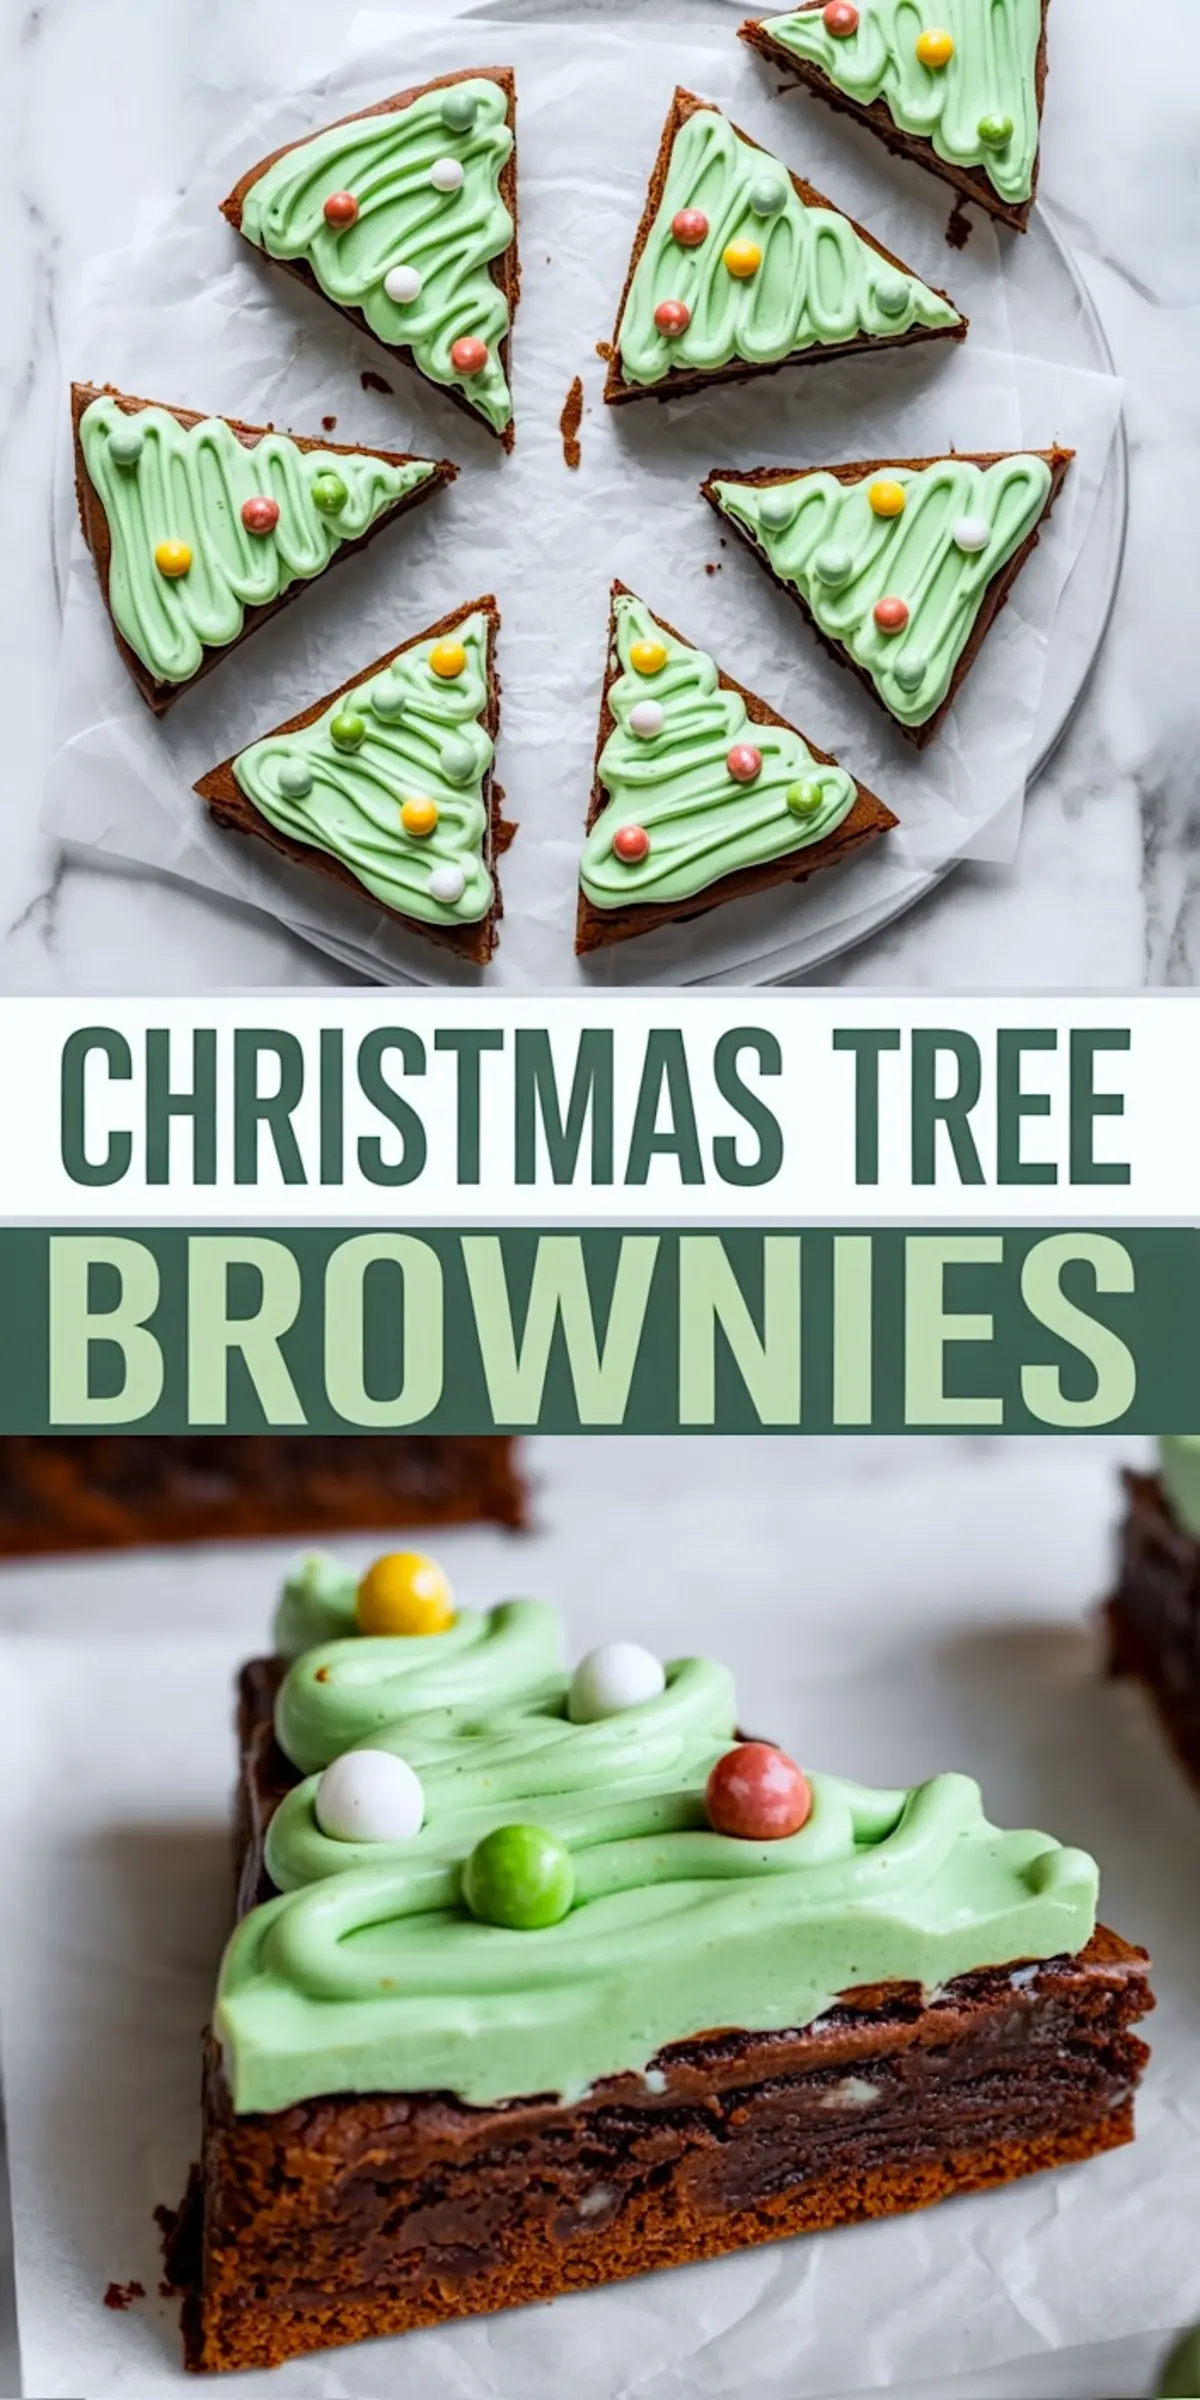
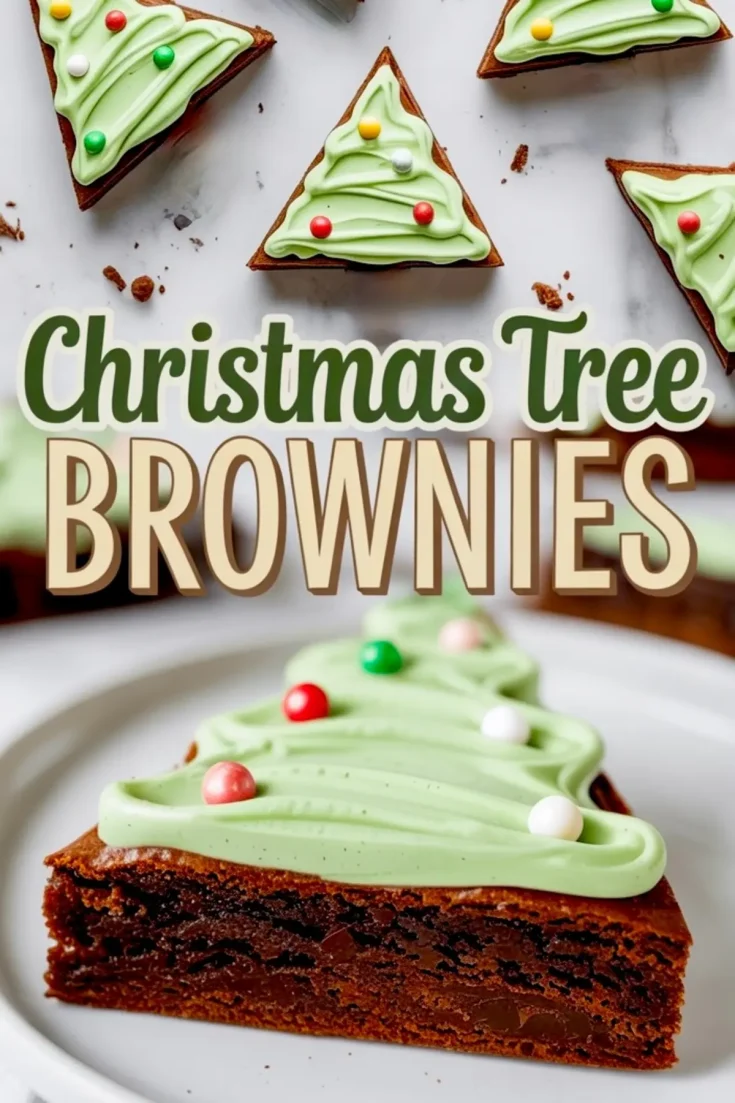
Once the brownies are cool, remove them from the pan and cut into three long strips. Then cut triangle shapes from each strip. That’s your tree base.
Use a piping bag—or a zip-top bag with the tip snipped to pipe zigzag lines of green frosting across each tree.
Press in mini M&Ms or round sprinkles to mimic ornaments. I’ve used sugar pearls too when I want a cleaner look.
For the trunks, I either break mini candy canes in half or snap pretzel sticks to size. Both work well, depending on the style you want.
If you’re looking for more fun decorating ideas, this Christmas Tree Cake Dip offers a no-bake option that guests love to dive into with cookies.
Serving Tips and Storage Notes from Experience
If I’m serving these brownies at a party, I decorate them the same day for the best texture.
The brownie base stays moist for 24 hours uncovered, but the frosting holds best when piped fresh.
If I need to prep ahead, I bake the brownies the day before and store them tightly wrapped in the pan. Then I frost and decorate the next morning.
They’ll sit fine on a dessert table for a couple of hours, even with central heating running. No melting, no mess.
If you’re packaging these for gifts or trays, place parchment between each layer and refrigerate to keep the decorations intact.
These chocolate peppermint brownies also hold up well for gifting, strong flavor, firm structure, easy to stack.
One More Thought Before You Go
These Xmas Tree Brownies aren’t just about looking festive.
They offer a reliable, satisfying bite of chocolate and give you creative space to play with color and detail. Whether you’re serving a crowd or handing them out in cookie tins, they bring the kind of cheer that doesn’t need explanation.
And the best part? Once you cut the triangles, the leftover brownie edges make the cook’s treat. I rarely decorate those. I save them for myself.
If you’re baking more than one batch of brownies Christmas style this year, these tree-shaped ones are the easiest to make special with just a few decorations.
Red velvet lovers can try these too if you’re building out your tray with multiple styles.
Save This Recipe for Later & Share Your Baking Stories
If this recipe made it to your holiday baking list, pin it now so you don’t lose it.
And when you bake your own batch of Christmas Tree Brownies, I’d love to hear how it turned out.
Did you use pretzels or candy canes for the trunks? Did you go wild with sprinkles or keep it simple?
Leave a comment below and share your tips, tweaks, or questions. Let’s make the dessert table a little brighter—together.
Christmas Tree Brownies Recipe
Christmas tree brownies start with a tray of homemade brownies, sliced into triangles and decorated like trees. I add green frosting, sprinkles, and a little candy star on top to make each brownie Christmas tree stand out on the dessert table. It’s one of my favorite Christmas brownies decoration ideas, and it comes together fast. If you’ve wondered how to make Christmas tree treats without baking something new, this is your shortcut. I use these as Christmas tree desserts for parties or add them to trays when I’m hosting Christmas dinner. Whether you call them Xmas tree brownies or brownies Christmas style, they always get compliments. Save them for your next batch of Christmas brownies with zero stress.
Ingredients
- FOR THE BROWNIES
- 1 cup (2 sticks) unsalted butter
- 2 cups granulated sugar
- 1 cup unsweetened cocoa powder
- 4 large eggs
- 1 teaspoon vanilla extract
- 1 cup all-purpose flour
- ½ teaspoon salt
- ½ teaspoon baking powder
- ¾ cup semi-sweet chocolate chips or chunks
- FOR THE GREEN FROSTING
- 1 cup unsalted butter, softened
- 3 cups powdered sugar
- 1–2 tablespoons milk
- 1 teaspoon vanilla extract
- Green food coloring (gel or liquid)
- FOR DECORATING
- Mini M&Ms, sugar pearls, or round sprinkles
- Mini candy canes or pretzel sticks (optional, for tree trunks)
Instructions
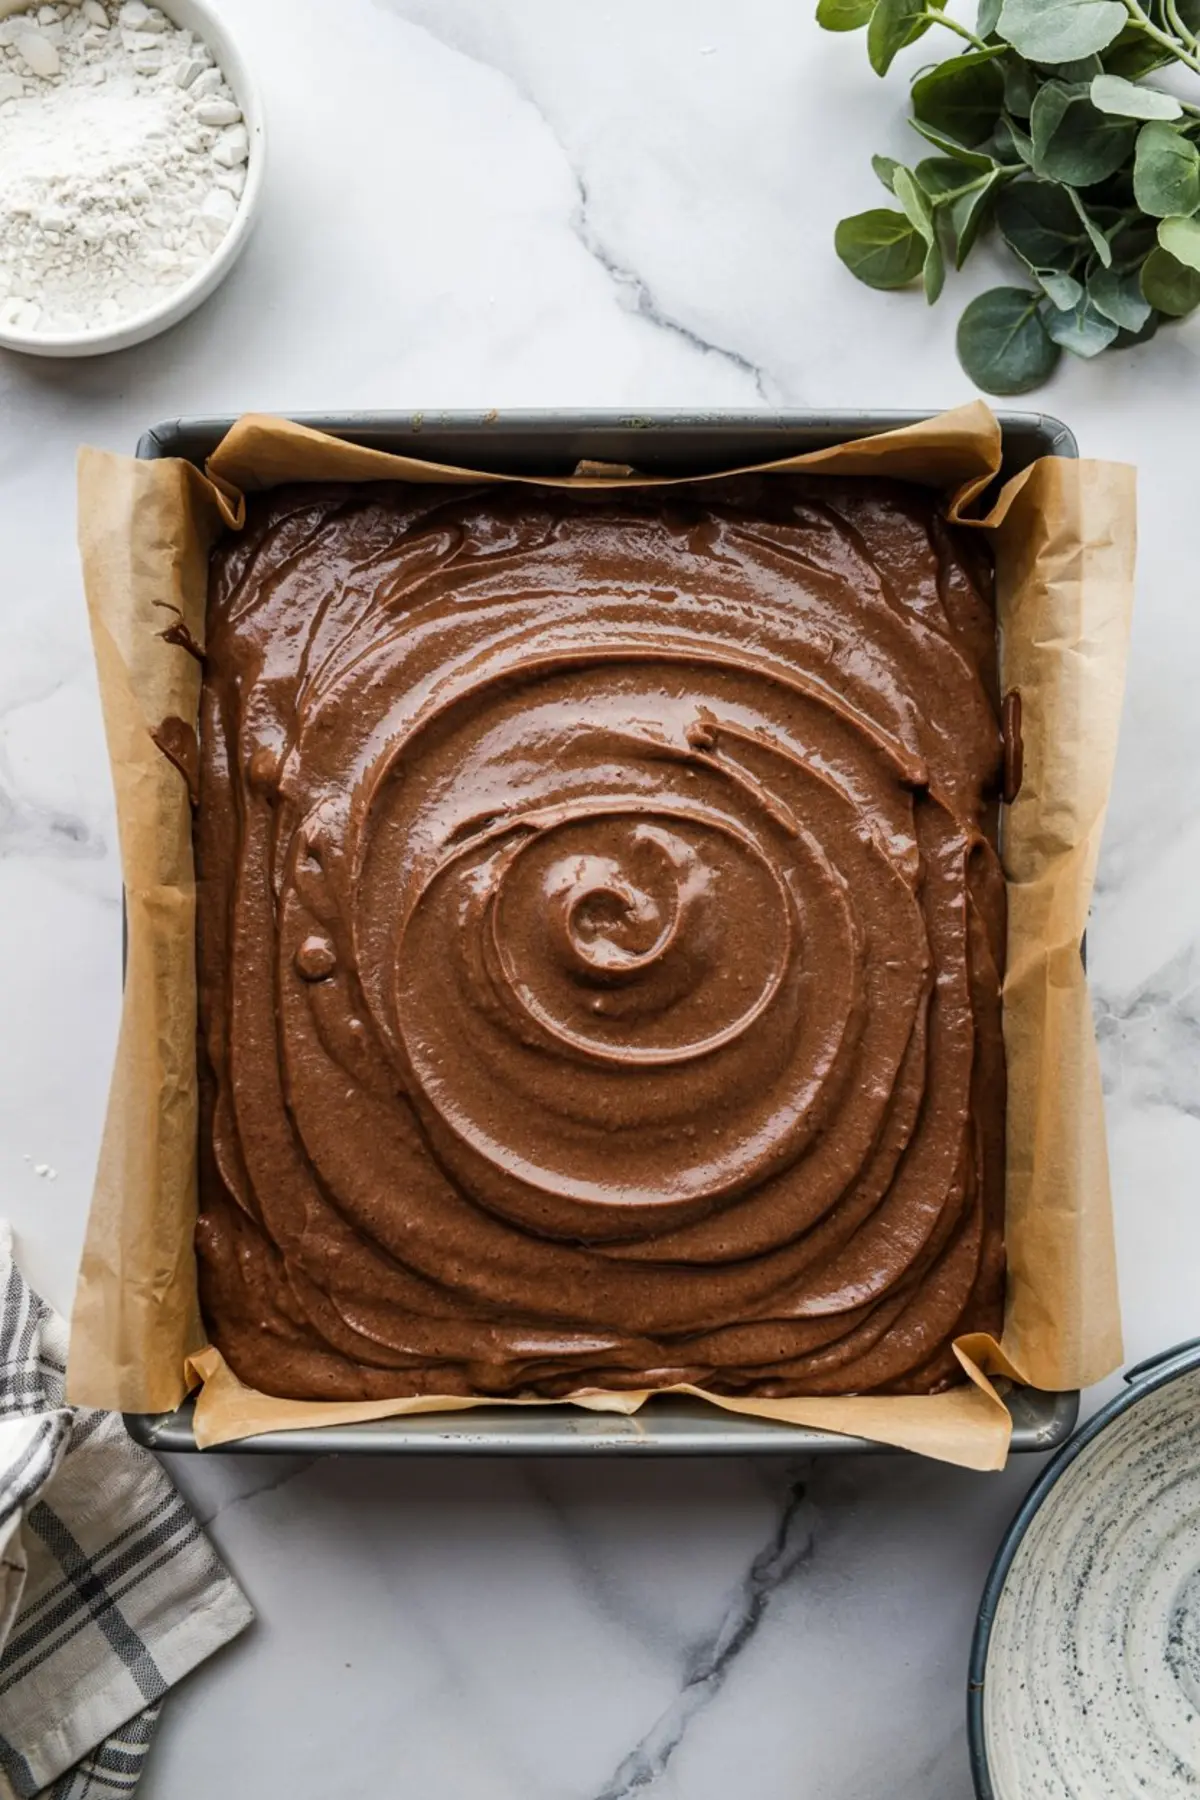
- PREPARE THE BROWNIES: Preheat the oven to 350°F (175°C). Grease and line a 9x13-inch baking pan with parchment paper, leaving an overhang for easy removal.
- MAKE THE BATTER: In a medium saucepan, melt the butter over medium heat. Remove from heat and whisk in the sugar and cocoa powder until smooth and fully combined.
- ADD EGGS AND VANILLA: Whisk in the eggs one at a time, making sure each egg is fully incorporated before adding the next. Stir in the vanilla extract.
- ADD DRY INGREDIENTS: Gently fold in the flour, salt, and baking powder until just combined. Do not overmix the batter.
- ADD CHOCOLATE CHIPS: Stir in the semi-sweet chocolate chips or chunks for added richness.
- BAKE THE BROWNIES: Pour the batter into the prepared pan and smooth the top evenly. Bake for 25–30 minutes, or until a toothpick inserted into the center comes out with a few moist crumbs. Let the brownies cool completely in the pan.
- MAKE THE GREEN FROSTING: In a large mixing bowl, beat the softened butter on medium speed until light and creamy. Gradually add powdered sugar, beating well after each addition.
- ADD MILK AND COLORING: Mix in the milk and vanilla extract. Continue to beat until the frosting is smooth and fluffy. Add green food coloring and mix until the desired color is achieved.
- CUT THE BROWNIES: Once completely cool, lift the brownies out of the pan using the parchment paper. Cut into three horizontal strips, then cut triangle shapes from each strip to form tree shapes.
- DECORATE THE TREES: Fill a piping bag or a zip-top bag with the green frosting. Pipe zigzag lines across each triangle to resemble tree garland.
- ADD ORNAMENTS: Press mini M&Ms, sugar pearls, or sprinkles into the frosting to mimic ornaments. Optional: insert a mini candy cane piece or pretzel stick at the base of each triangle to create a tree trunk.
Notes
Brownies can be made a day ahead and stored in an airtight container. Frost and decorate just before serving for best texture. Use gel food coloring for a more vibrant green hue without thinning the frosting.