A gingerbread castle feels larger than life. It takes the nostalgia of a gingerbread house and turns it into something bold, detailed, and unforgettable.
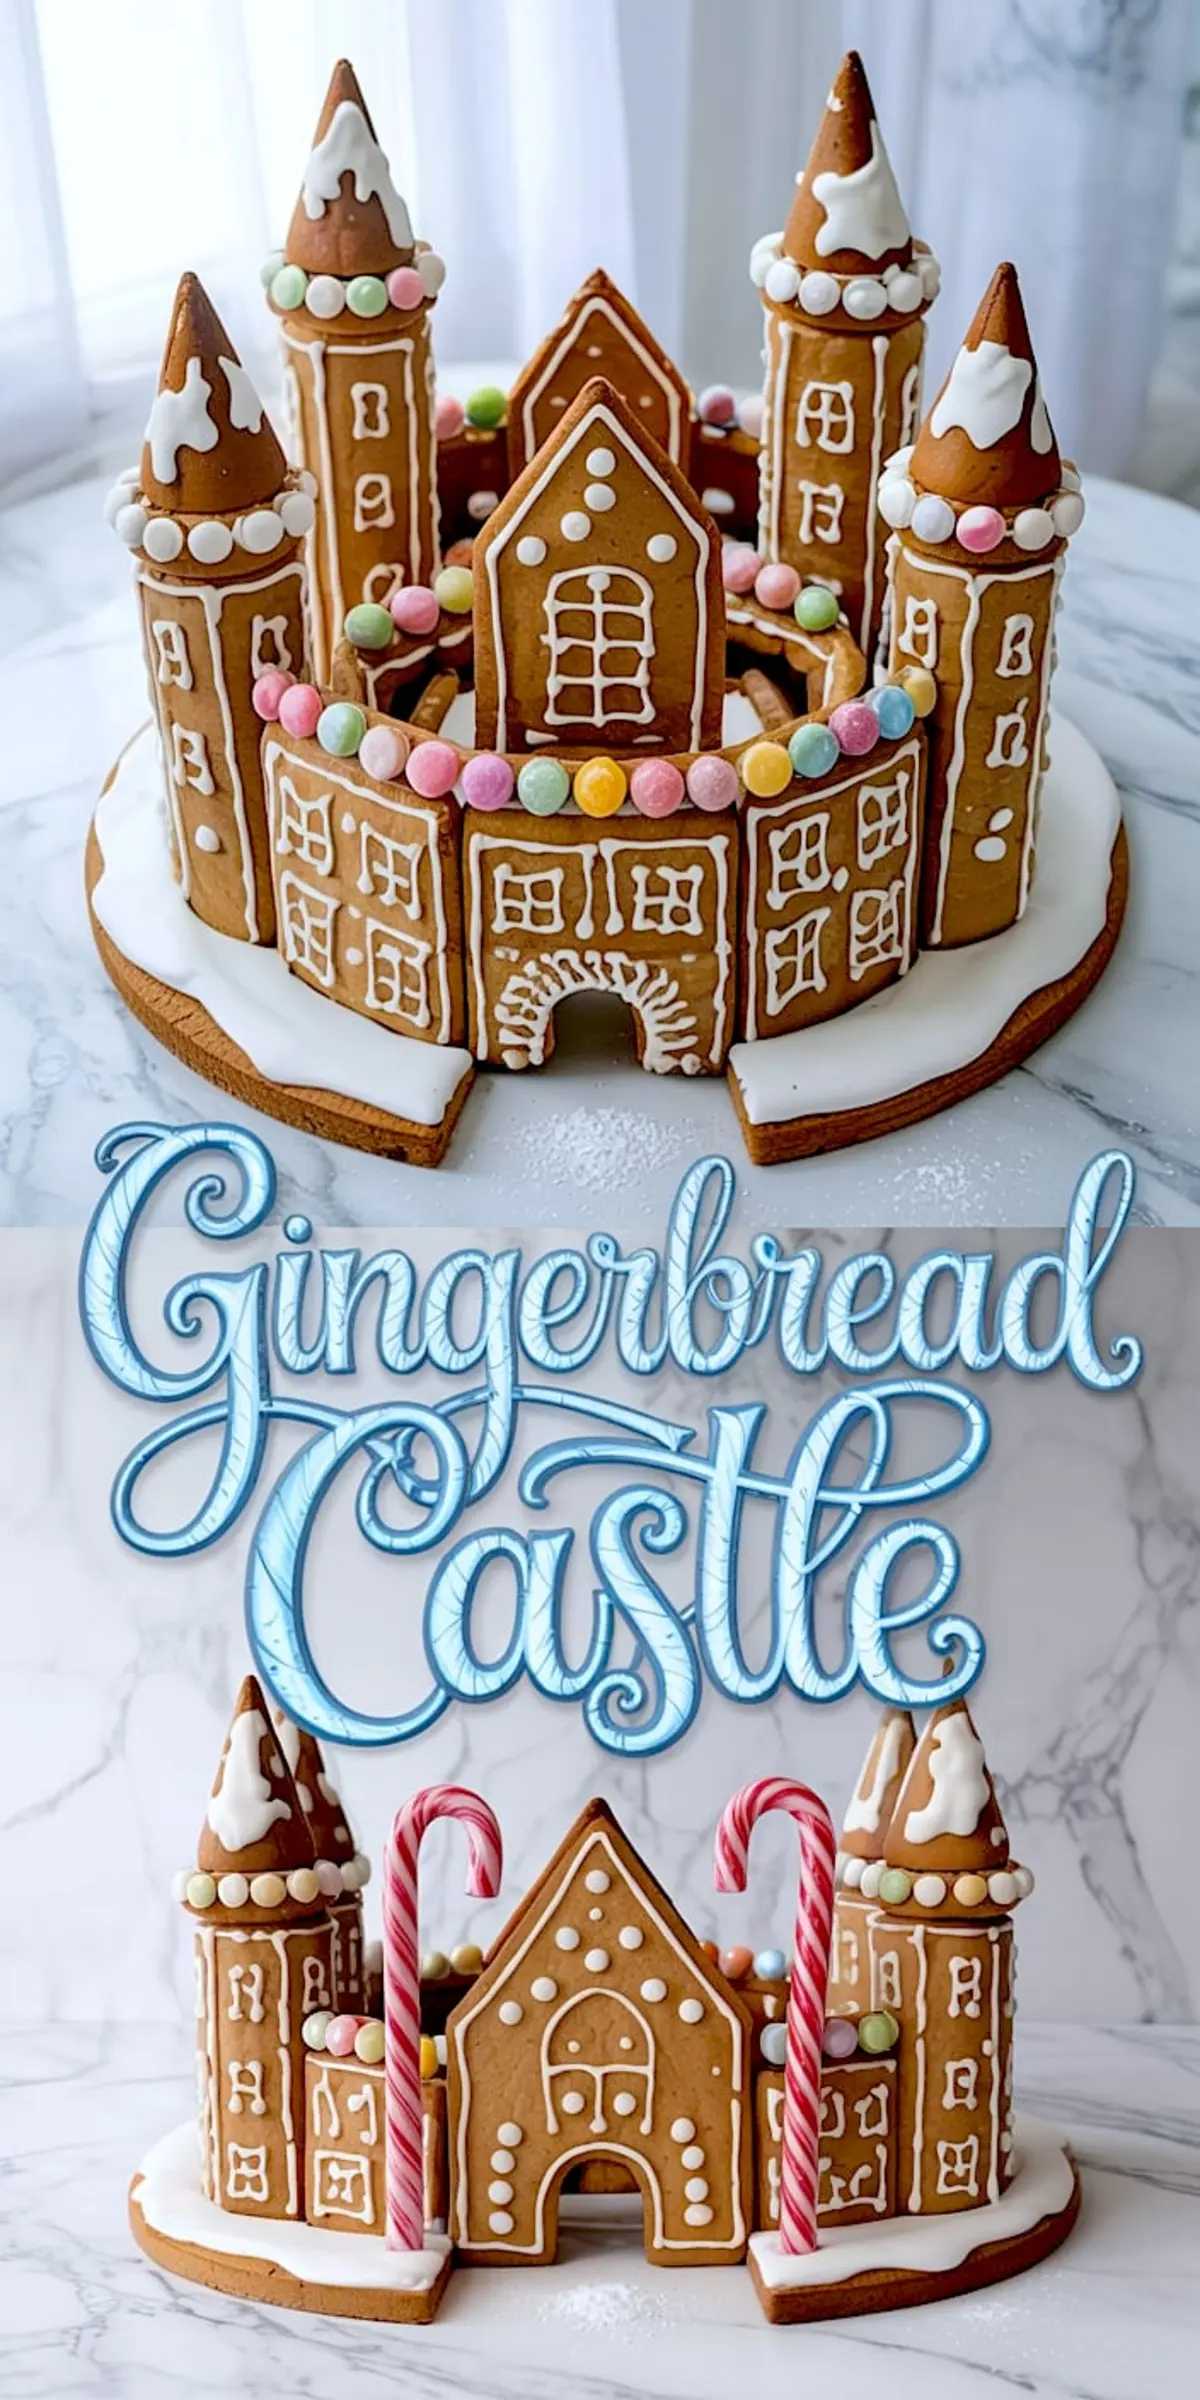
This guide shows you how to make a castle gingerbread house that looks like it belongs in storybooks. You’ll learn the dough that holds its shape, the icing that works like glue, and the candy decorations that bring everything together. By the end, you’ll feel confident building a centerpiece that stands tall at holiday gatherings, whether it’s for gingerbread house parties or as a festive display.
Gingerbread castle ideas range from simple towers to intricate gingerbread mansion layouts. My approach finds the middle ground. The design is structured enough to impress but not so complicated that you lose hours in frustration. Think cool gingerbread houses with clear lines and candy details that sparkle under powdered sugar snow.
The Dough That Holds the Castle Together
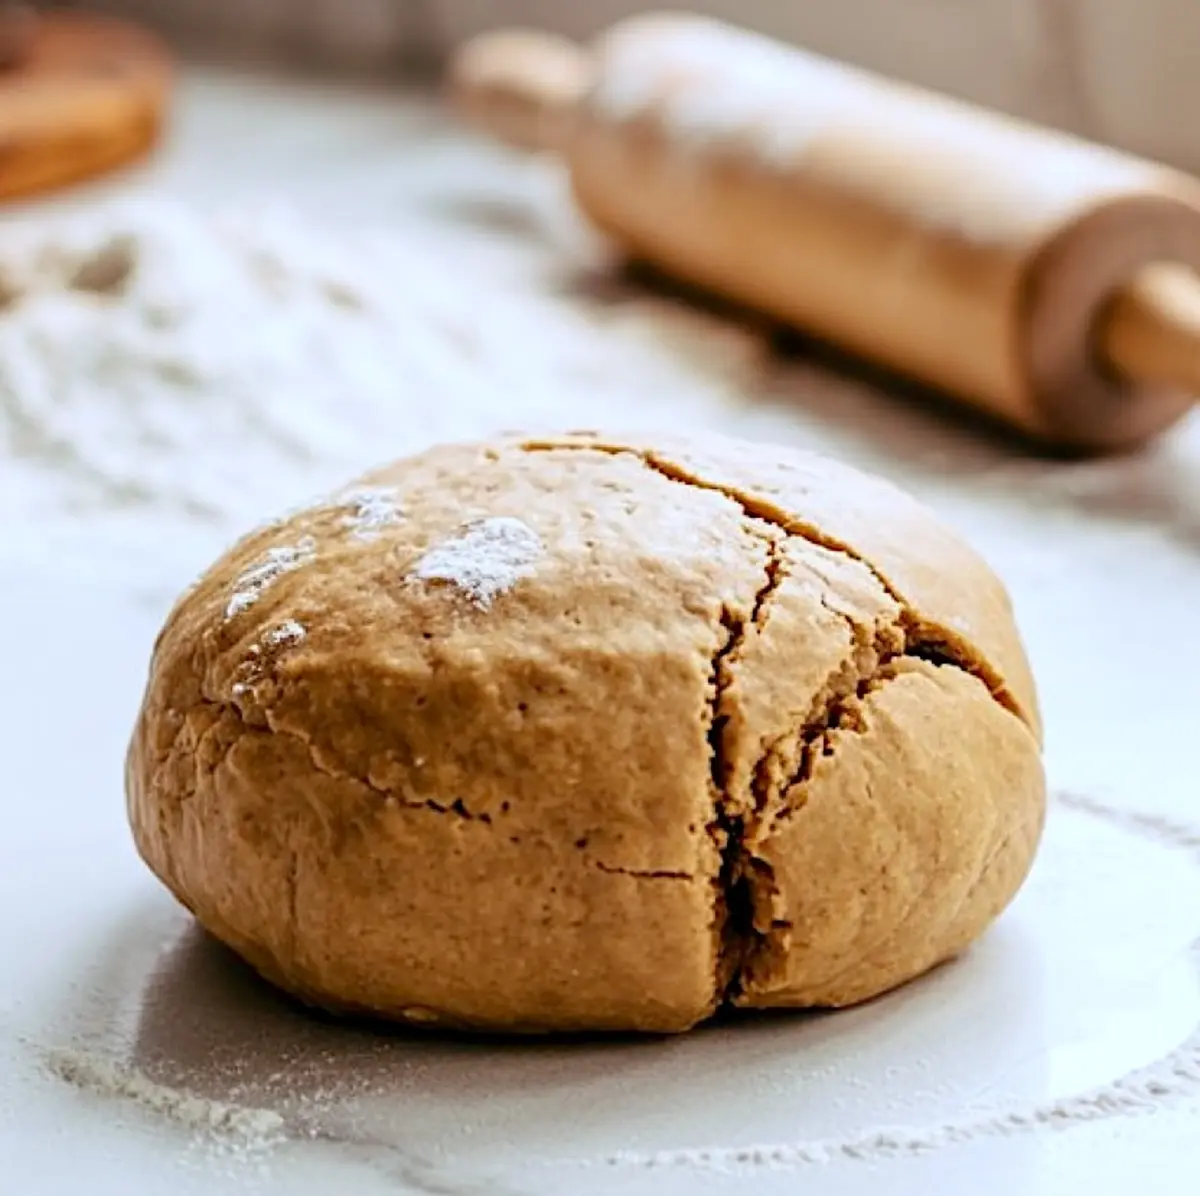
Butter and brown sugar create a base that feels sturdy yet flavorful. Butter keeps the walls crisp without becoming brittle. Brown sugar deepens the color, which makes the structure look warm and slightly aged, almost like stone.

Molasses gives the dough its signature strength. I have tried golden syrup as a substitute, but molasses always creates stronger walls and a darker, castle-like finish. Eggs bind everything firmly, so each tower holds its shape long after baking.
Spices matter too. Ground ginger leads, supported by cinnamon and cloves. These are not just for taste. They perfume the dough as it bakes, filling the kitchen with the kind of aroma that makes everyone peek in to see what you’re working on.
If you’re baking gingerbread cookies alongside your castle, you might enjoy shaping a few gingerbread man cookies from the same dough. I often do this while waiting for larger castle panels to cool.
Royal Icing That Works Like Mortar
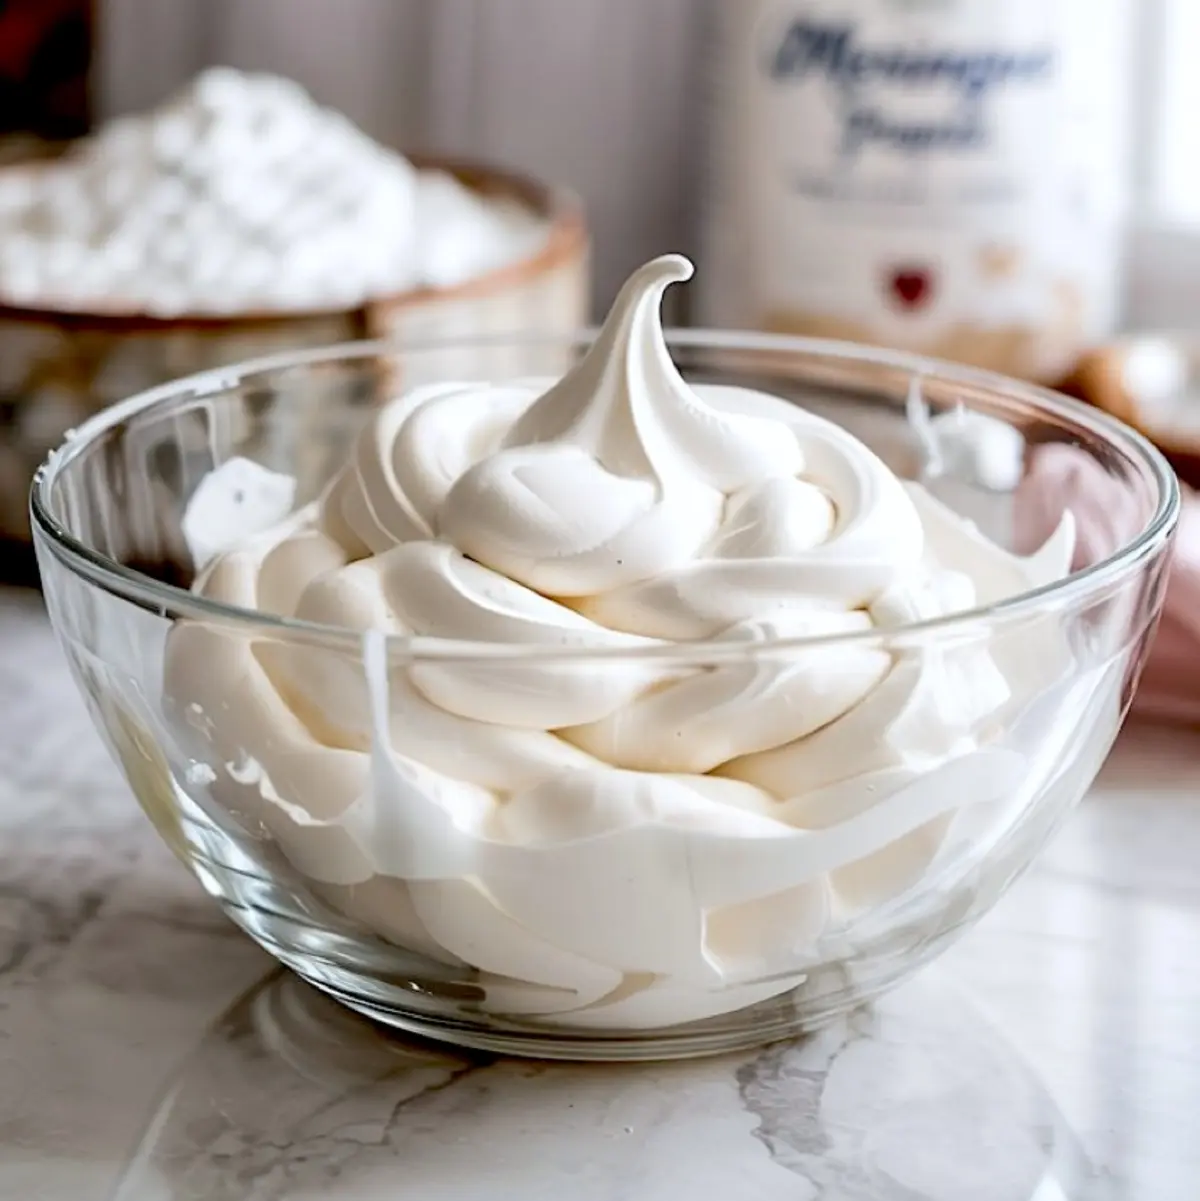
Powdered sugar and meringue powder form the structure’s glue. Water brings it together, but the texture is where the success lies. A stiff icing holds walls in place without sliding. It dries quickly, which allows you to add towers without waiting hours.
I’ve tested both egg whites and meringue powder over the years. Egg whites create a glossy finish, but meringue powder gives more stability. For building something like a gingerbread mansion, meringue powder is the safer choice.
If you’d like a smaller project before tackling a full castle, try my gingerbread house icing recipe. It walks you through icing consistency so you can practice piping before you take on walls and turrets.
Shaping Towers and Turrets With Confidence
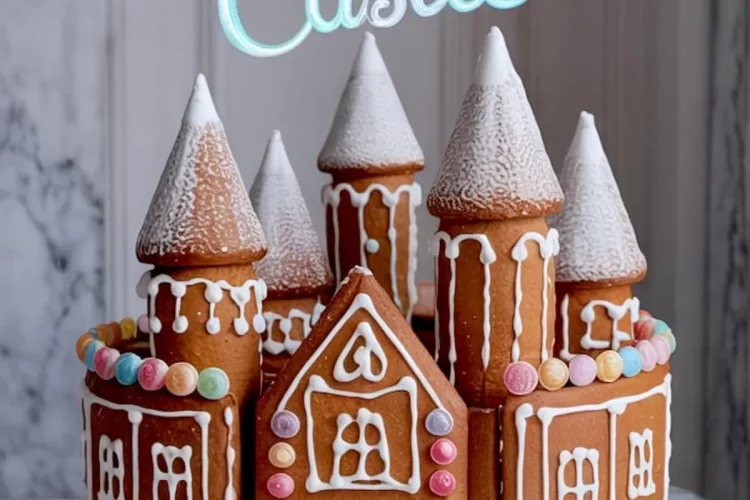
The magic of a castle comes from its towers. Rolling dough into strips and baking them on molds, like tin cans, creates rounded pieces that fit seamlessly into corners. Ice cream cones work beautifully as turret tops. Their pointed shape needs little adjustment and instantly adds character.
This is where you can play with design. Some bakers like the classic square look. Others lean into octagonal shapes or tall, narrow panels that echo a gingerbread mansion. I sketch my layout first. It saves time later when the dough is chilled and ready to cut.
For candy details, I lean on gumdrops and candy canes. Chocolate buttons add weight near the base, while pastel candies look light and whimsical near the rooftops. If you want inspiration for playful builds, take a look at my pink gingerbread house. That project taught me how color changes the personality of a design.
Assembly That Feels Manageable
Start with a strong base such as a wooden board or cake drum. Attach the main walls, then reinforce them with icing while propping each side with jars. Once the structure feels solid, round towers slide into the corners and lock everything in place.
This step rewards patience. Hold each panel for half a minute and let the icing set before moving on. Roofs and turret tops come last. The drying time feels long, but it prevents collapse.
For decorating, I like to pipe along rooftops to mimic snow, then dust everything lightly with powdered sugar. It’s the easiest way to give cool gingerbread houses that winter effect. If you want something more dramatic, colored icing or food-colored details can highlight windows and doors.
Comparison That Saves You Time
I’ve compared baking panels on parchment alone with chilling them on molds before baking. Panels baked flat without chilling spread more, which makes corners uneven. Chilling the dough on molds locks in the shape. The result is cleaner edges and stronger walls.
If you want a castle that looks closer to gingerbread mansion Ferndale projects you see in galleries, always chill before baking. It takes extra minutes, but it changes the outcome completely.
Serving, Storing, and Sharing the Castle
A gingerbread castle can be decorative or edible. If you plan to eat it, store pieces in airtight containers before assembly, then build closer to serving time. That keeps the texture soft and flavorful. If the castle is for display only, the icing hardens enough to keep it stable for weeks.
I often serve leftover trimmings or smaller cookies alongside gingerbread crinkle cookies. Guests enjoy a snack while admiring the main centerpiece.
For storage, keep the finished castle in a cool, dry room. Humidity softens walls, and direct sunlight fades candy colors. Powdered sugar can be refreshed with a light dusting before parties.
A Final Note From My Kitchen
Gingerbread castles invite creativity. They give you room to design turrets, windows, and walls in ways that match your own style. I always say that my first attempt looked more like a gingerbread mansion than a castle, but every version since has grown more refined.
If you try this recipe, save it to your Christmas desserts board on Pinterest so you have it ready each holiday season. Share in the comments how your gingerbread castle turned out, or ask me any questions if you run into tricky corners. That way we build a little gingerbread community together.
Gingerbread Castle Recipe
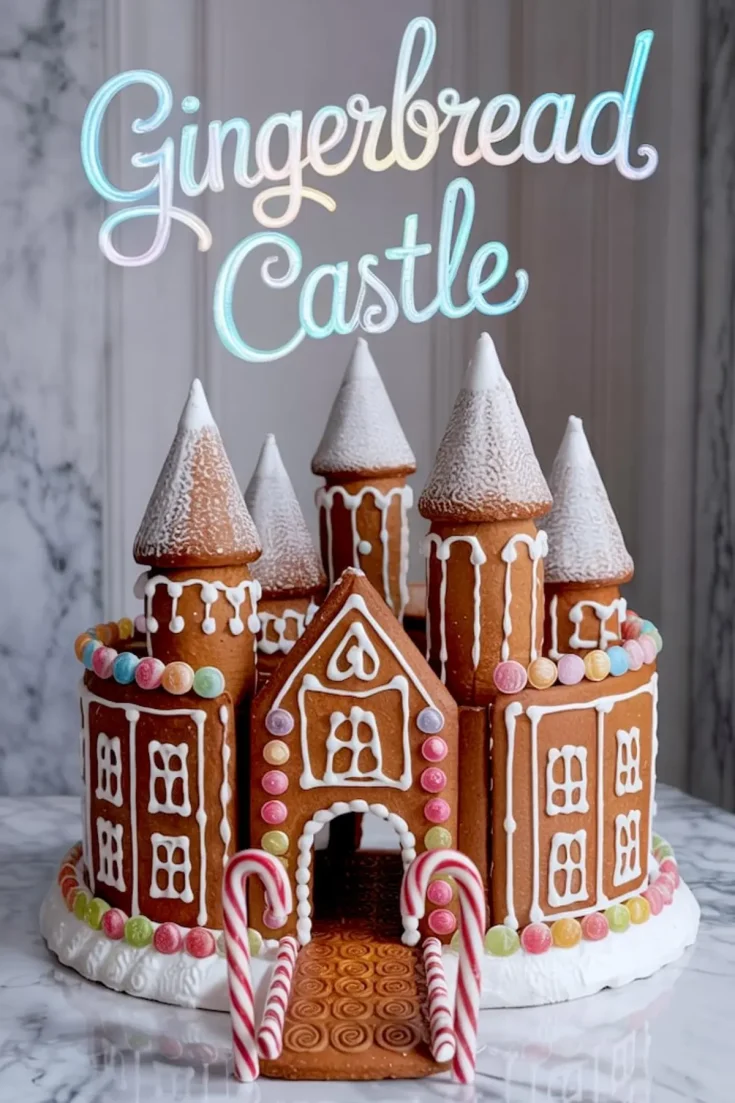
Gingerbread castle builds on the charm of a traditional gingerbread house but scales it up into something bold and detailed. I sketch out a simple base, then add towers, turrets, and windows using graham crackers, royal icing, and candy trims. It’s one of my favorite gingerbread castle ideas when I want a centerpiece that feels magical. This castle gingerbread house fits right into holiday displays, especially if you love cool gingerbread houses with big visual impact. If you’re planning gingerbread house parties or looking for gingerbread house designs that go beyond basic, this is it. I save it as part of my gingerbread mansion folder for future projects—and yes, it gives major gingerbread mansion Ferndale vibes.
Ingredients
- FOR THE GINGERBREAD DOUGH:
- 1 cup (2 sticks) unsalted butter, softened
- 1 cup packed brown sugar
- 1 1/4 cups molasses
- 2 large eggs
- 6 cups all-purpose flour
- 1 tablespoon ground ginger
- 1 tablespoon ground cinnamon
- 1/2 teaspoon ground cloves
- 1/2 teaspoon baking soda
- 1/2 teaspoon salt
- FOR THE ROYAL ICING:
- 4 cups powdered sugar, sifted
- 3 tablespoons meringue powder
- 6 tablespoons water (adjust slightly as needed)
- DECORATIONS:
- Candy canes, gumdrops, round chocolate buttons, pastel candies
- Ice cream cones for turret tops
- Powdered sugar for snow
- Food coloring (if desired)
Instructions
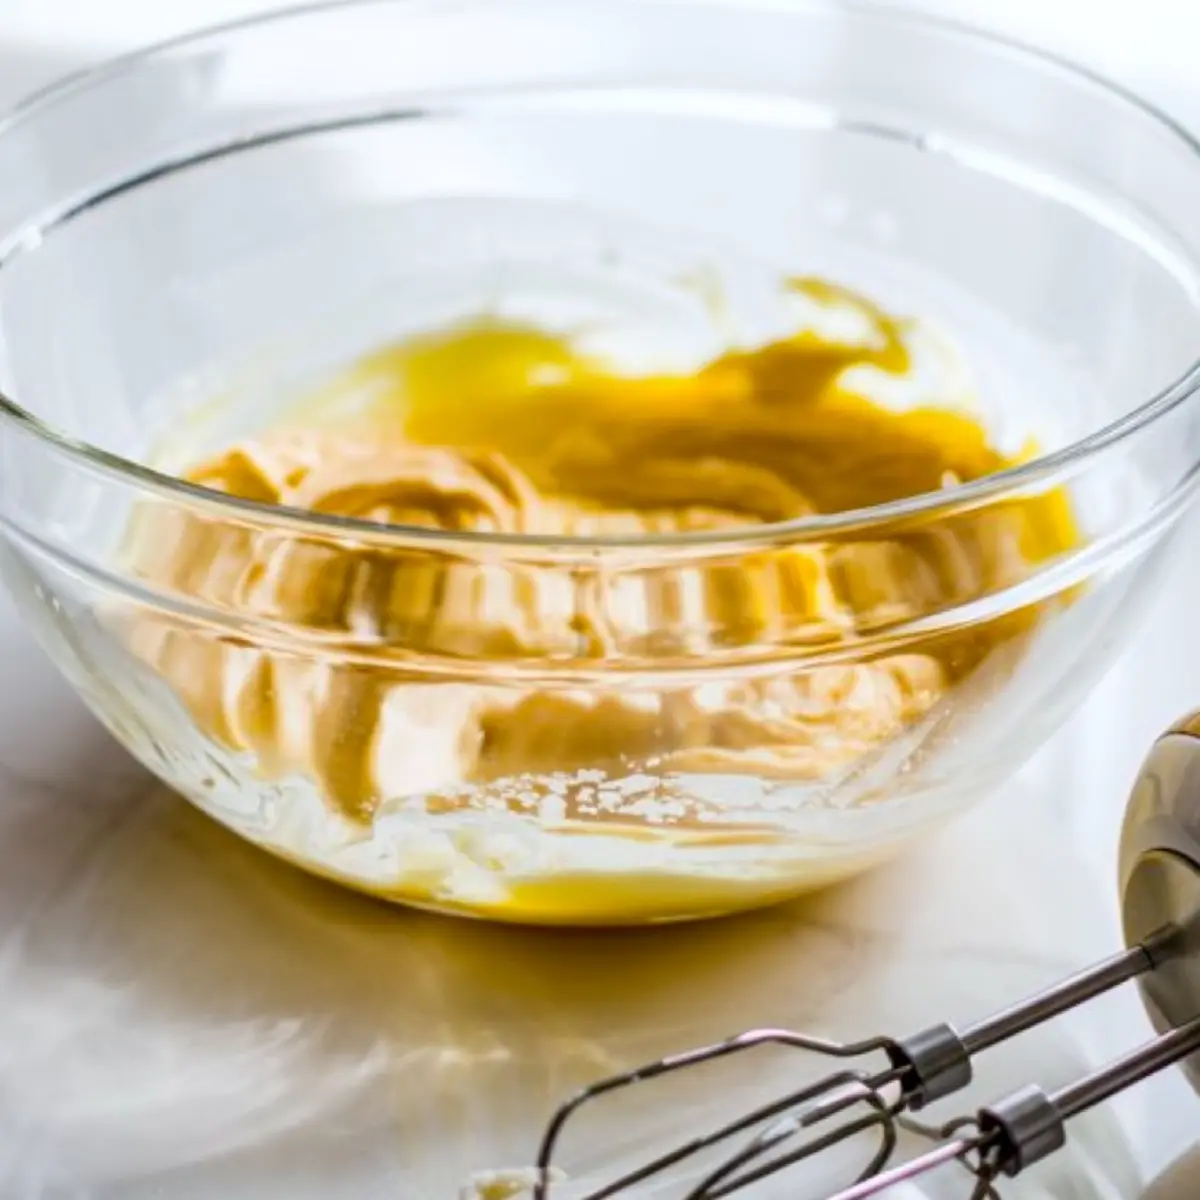
- MAKE THE DOUGH: Cream the softened butter and brown sugar in a large bowl until light and fluffy, about 2 to 3 minutes. Add molasses and eggs, then mix until smooth and fully combined.
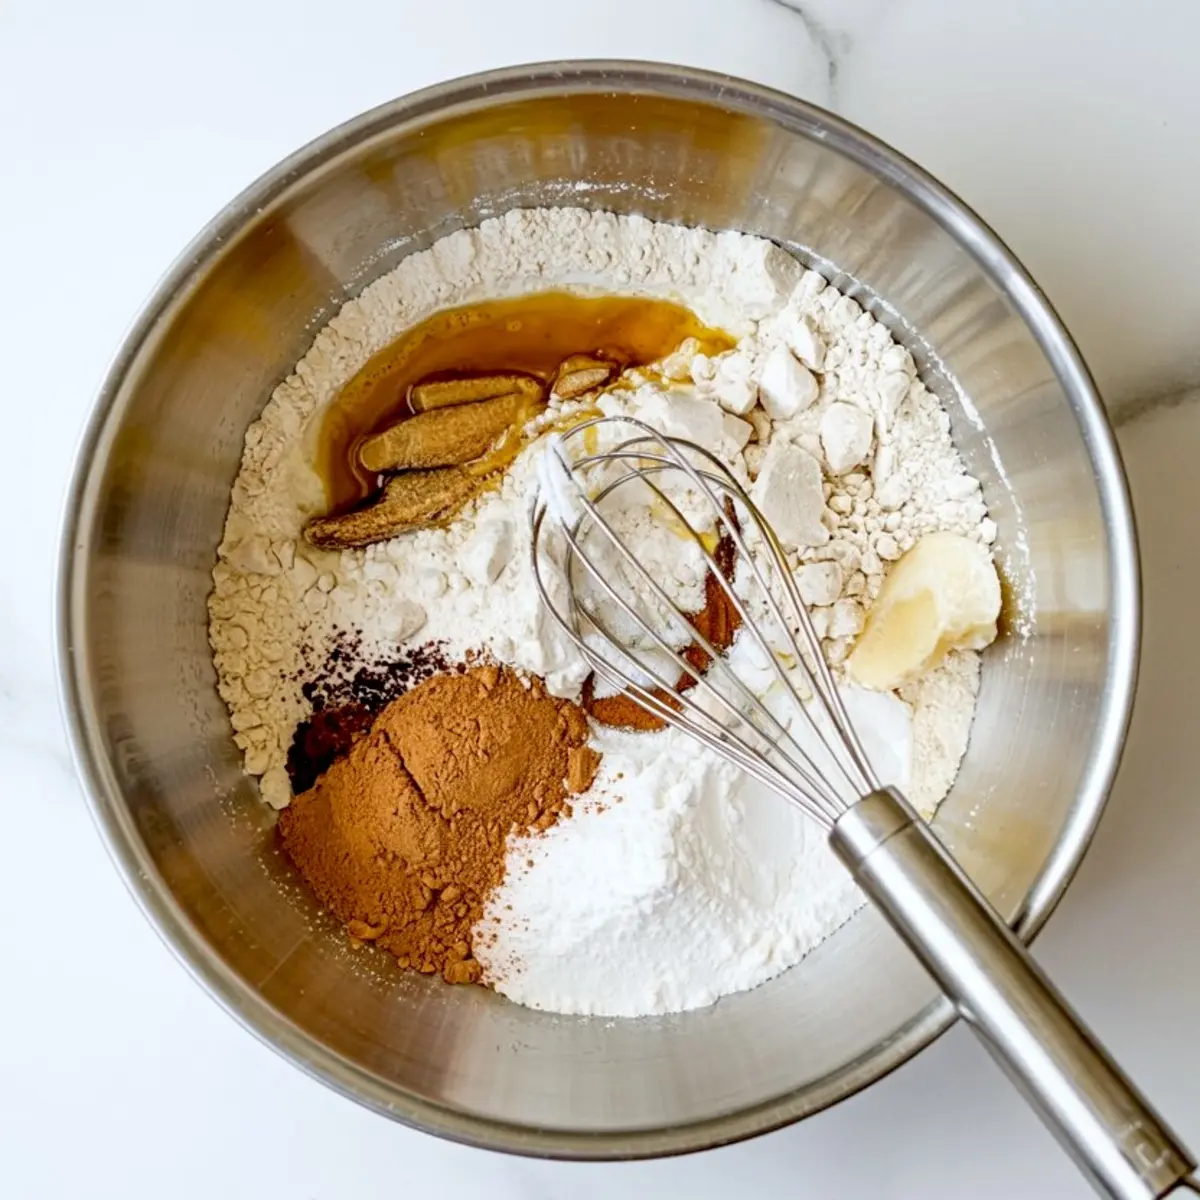
- COMBINE DRY INGREDIENTS: In a separate bowl, whisk together the flour, ginger, cinnamon, cloves, baking soda, and salt. Gradually add the dry mixture to the wet ingredients and mix until a thick, slightly sticky dough forms. Divide into two discs, wrap tightly in plastic wrap, and chill for at least 3 hours or overnight.
- ROLL AND CUT PIECES: Roll the chilled dough to 1/4-inch thickness on a lightly floured surface. Use templates to cut classic castle shapes—square and arched walls, long tower panels, and pointed roofs. For curved pieces, gently drape dough over inverted oven-safe bowls or pans. Chill the shaped dough on molds before baking to help maintain structure.
- SHAPE ROUNDED TOWERS: Cut long dough strips approximately 2.5–3 inches wide and 5–6 inches long. Wrap each strip around a lightly greased, oven-safe cylinder such as a clean tin can. Press the seam gently and bake directly on the mold. Allow to cool fully before removing from the mold.
- BAKE THE STRUCTURES: Transfer all shaped dough pieces to parchment-lined baking sheets. Chill for 10 minutes before baking. Bake at 350°F (175°C) for 12–15 minutes, or until firm and slightly darkened. Let every piece cool completely before assembly.
- MAKE THE ROYAL ICING: In a clean bowl, beat powdered sugar, meringue powder, and water for 5–7 minutes until stiff peaks form. The icing should be thick and pipeable. Adjust texture with small amounts of water or sugar as needed. Keep icing covered with a damp cloth to prevent drying while working.
- BUILD THE CASTLE: Use a solid base such as a cutting board or cake drum. Attach flat wall panels in a square or octagonal shape using royal icing as glue. Hold each wall for 30 seconds or prop with jars. Add round towers to the corners and secure with icing. Attach roof panels and cone-shaped turrets last. Allow the entire structure to dry for at least 2 hours before decorating.
- DECORATE: Pipe icing along rooftops to mimic snow. Add gumdrops, chocolate buttons, and candy canes around the structure. Use additional royal icing to attach all decorations. Lightly dust powdered sugar over the top to create a snowy finish. Add optional colored accents with food coloring or piped details.
Notes
Let all baked pieces cool completely before starting assembly to prevent softening or collapse. Greasing molds lightly helps ensure easy release after baking. Chilling dough before and after shaping prevents spreading and helps maintain structural integrity. Keep royal icing covered when not in use to avoid hardening.
Nutrition Information
Yield
1Serving Size
1Amount Per Serving Calories 8830Total Fat 66gSaturated Fat 27gTrans Fat 1gUnsaturated Fat 32gCholesterol 492mgSodium 2959mgCarbohydrates 1970gFiber 33gSugar 1252gProtein 109g