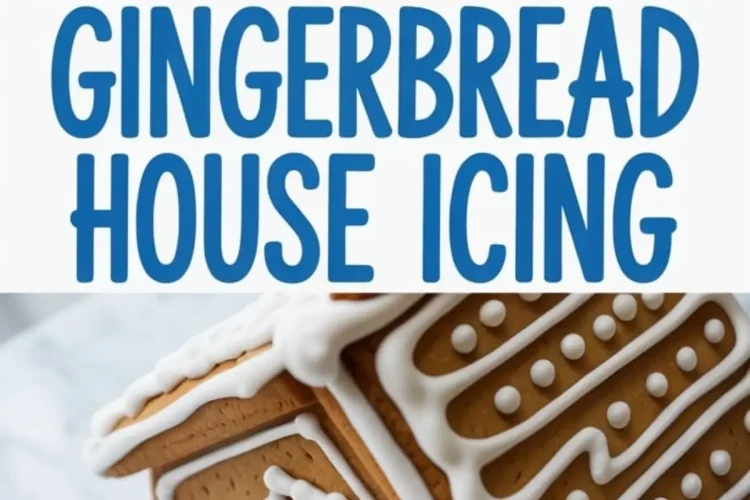
Building a homemade gingerbread house feels magical until the frosting fails. Icing that slips, spreads, or never sets can turn a joyful project into a collapsed mess. This gingerbread house icing solves that.
You’ll learn how to make frosting for gingerbread house designs that actually stay standing. It works as gingerbread house frosting glue, dries strong enough to hold rooftops, and pipes cleanly for details. I’ve tested many versions over the years. This is the ginger bread house frosting recipe that wins every December in my kitchen.
The confidence comes from two simple truths. Powdered sugar provides structure, and meringue powder creates a glossy finish that sets fast. Together they make gingerbread icing that feels reliable, almost architectural. When you mix it right, the texture reminds me of marshmallow fluff soft at first, then it firms into walls that will not move.
Following a special diet?
Every recipe on this site can be converted to gluten-free, vegan, dairy-free, keto, nut-free or egg-free with adjusted ratios so nothing falls flat.
Try the Recipe Converter →Why Powdered Sugar Shapes the Foundation
Powdered sugar isn’t just about sweetness. The fine texture absorbs liquid quickly and creates the density you need. When sifted before mixing, it prevents lumps and gives the icing a smooth finish. I always stress this step. Skipping it once left me with clumps that clogged my piping bag and ruined the neat lines on a roof.

If you have ever used granulated sugar in a pinch, you already know the difference. Granulated versions stay gritty and never whip into the glossy hold required for gingerbread house frosting. That is why powdered sugar is non-negotiable here.
You can even make smaller batches of this icing to decorate cookies. I often pipe it onto gingerbread crinkle cookies and find the same sharp definition in each swirl.
The Role of Meringue Powder in Holding Walls
Meringue powder gives this gingerbread house frosting its strength. It replaces raw egg whites, which many older recipes used. The advantage is stability, longer shelf life, and safety. You mix it with warm water, and as the icing whips, the protein structure develops. That structure dries hard enough to secure heavy candy or peppermint wheels on your roof.
I’ve tested both fresh egg whites and meringue powder. Egg whites whip faster and create a slightly softer shine, but they can break down sooner and require refrigeration. Meringue powder stays more reliable for building a gingerbread house that needs to last through the season. In my notes, I’ve always circled back to powder as the safer, stronger option.
For anyone building a pink gingerbread house, this kind of icing is the key to making pastel details sit firmly without sagging.
Step One: Preparing the Mixer and Ingredients
The first move is always preparation. I sift the powdered sugar and measure the meringue powder before the mixer starts. A stand mixer fitted with a whisk attachment makes this step fast, but a hand mixer works if you beat a little longer.
I add warm water gradually—starting with five tablespoons—and let the sugar and powder come together before increasing the speed. This prevents the dust cloud that otherwise covers the counter. I learned that lesson after one messy December afternoon where I spent more time cleaning than decorating.
This same icing also pairs well with cookie projects, especially if you need a sturdy outline before flooding with color. I’ve even used leftover bowls of it beside my sugar cookie frosting recipe when decorating Christmas trays.
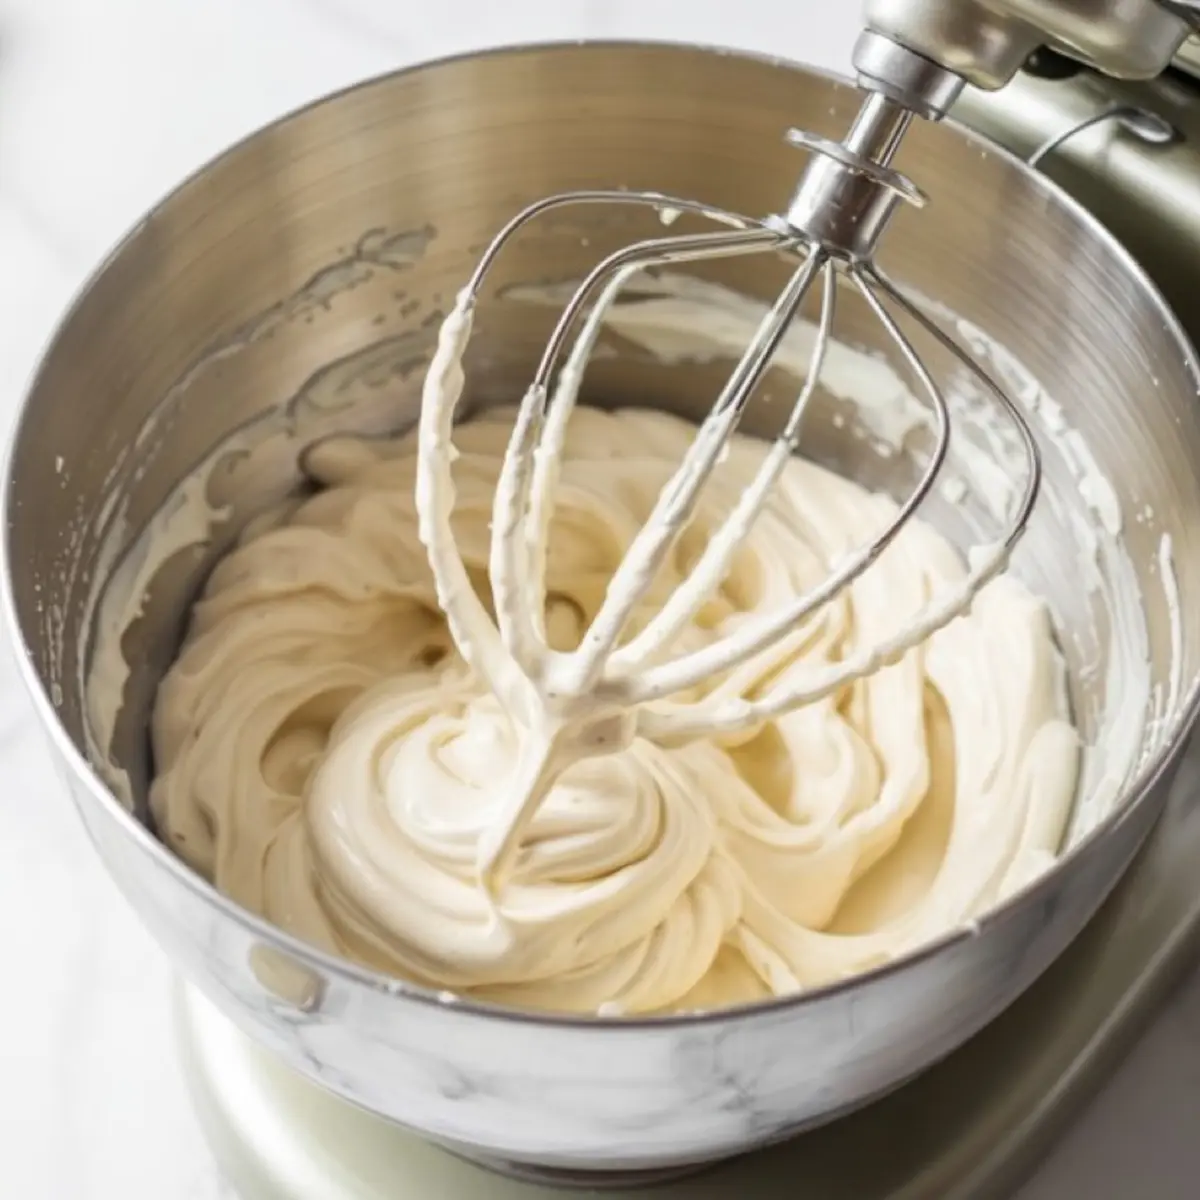
Step Two: Whipping Until Thick and Glossy
The beating time matters more than people think. Seven to ten minutes at medium-high speed develops stiff peaks. At this stage, the icing looks glossy, almost reflective. If you pull up the whisk, the peak should stand tall and firm. Anything less and the walls of your gingerbread house might lean.
The first time I nailed this texture, I remember thinking it looked like marshmallow fluff that wanted to turn into cement. That contrast is exactly why this gingerbread house icing glue works. It spreads smooth at first but locks into place once it dries.
For sweeter projects like cinnamon rolls, I switch gears completely and use a softer glaze such as cinnamon roll frosting. But for gingerbread house frosting, stiff peaks are the non-negotiable finish line.
Adjusting Consistency for Walls or Details
Every project needs a different texture. Thicker icing works like glue for walls and rooftops. Slightly thinner icing, adjusted with just a teaspoon of warm water, pipes clean borders or decorative dots. The trick is to add liquid slowly. Too much and you’ll find yourself mixing in more sugar to recover balance.
I once rushed this step, over-thinned the bowl, and ended up with icing running down the roofline. Ever since, I’ve learned to keep it thicker than I think necessary for structural work. You can always thin it later, but you cannot rebuild a collapsed wall once it’s gone.
That is the benefit of working with small bowls for detail piping. You keep the main batch thick for glue while softening just a portion for fine work.
Storage Notes for Freshness and Reuse
Leftover icing dries quickly, so I always press plastic wrap directly onto the surface before sealing the container. This prevents the crust from forming. Stored this way, the icing lasts for several days. A quick re-whip brings it back to life.
If you are decorating cookies or planning multiple houses, make the base batch, then separate it into bowls for coloring or consistency adjustments. That way you avoid overbeating the entire batch.
I’ve kept some for nearly a week when stored properly, and it worked just as well on later projects. It makes building an easy gingerbread house over two or three days entirely possible.
Serving Ideas and Creative Uses
Beyond structure, this icing pipes cleanly onto cookies for snowflakes, icicles, or simple dots that look like falling snow. Children especially love using it for homemade gingerbread house decorations, and it holds gumdrops, candy canes, and chocolate pieces without slipping.
I’ve even used it in cookie exchanges, letting the sharp white icing highlight shapes that felt more elegant than buttercream. It may be called frosting for gingerbread house projects, but its strength and gloss give it far more versatility.
Save and Share Your Gingerbread Projects
This gingerbread house icing recipe gives you the confidence to build without worry. The powdered sugar and meringue powder combination holds strong, pipes smoothly, and dries beautifully. I’ve leaned on it year after year, and it never fails.
Save this recipe to your Pinterest board for Christmas baking so you have it ready when the season starts. I’d love to hear how your gingerbread house turns out. Share in the comments if you tried it or if you have questions, and let’s make this a community space for better holiday baking.
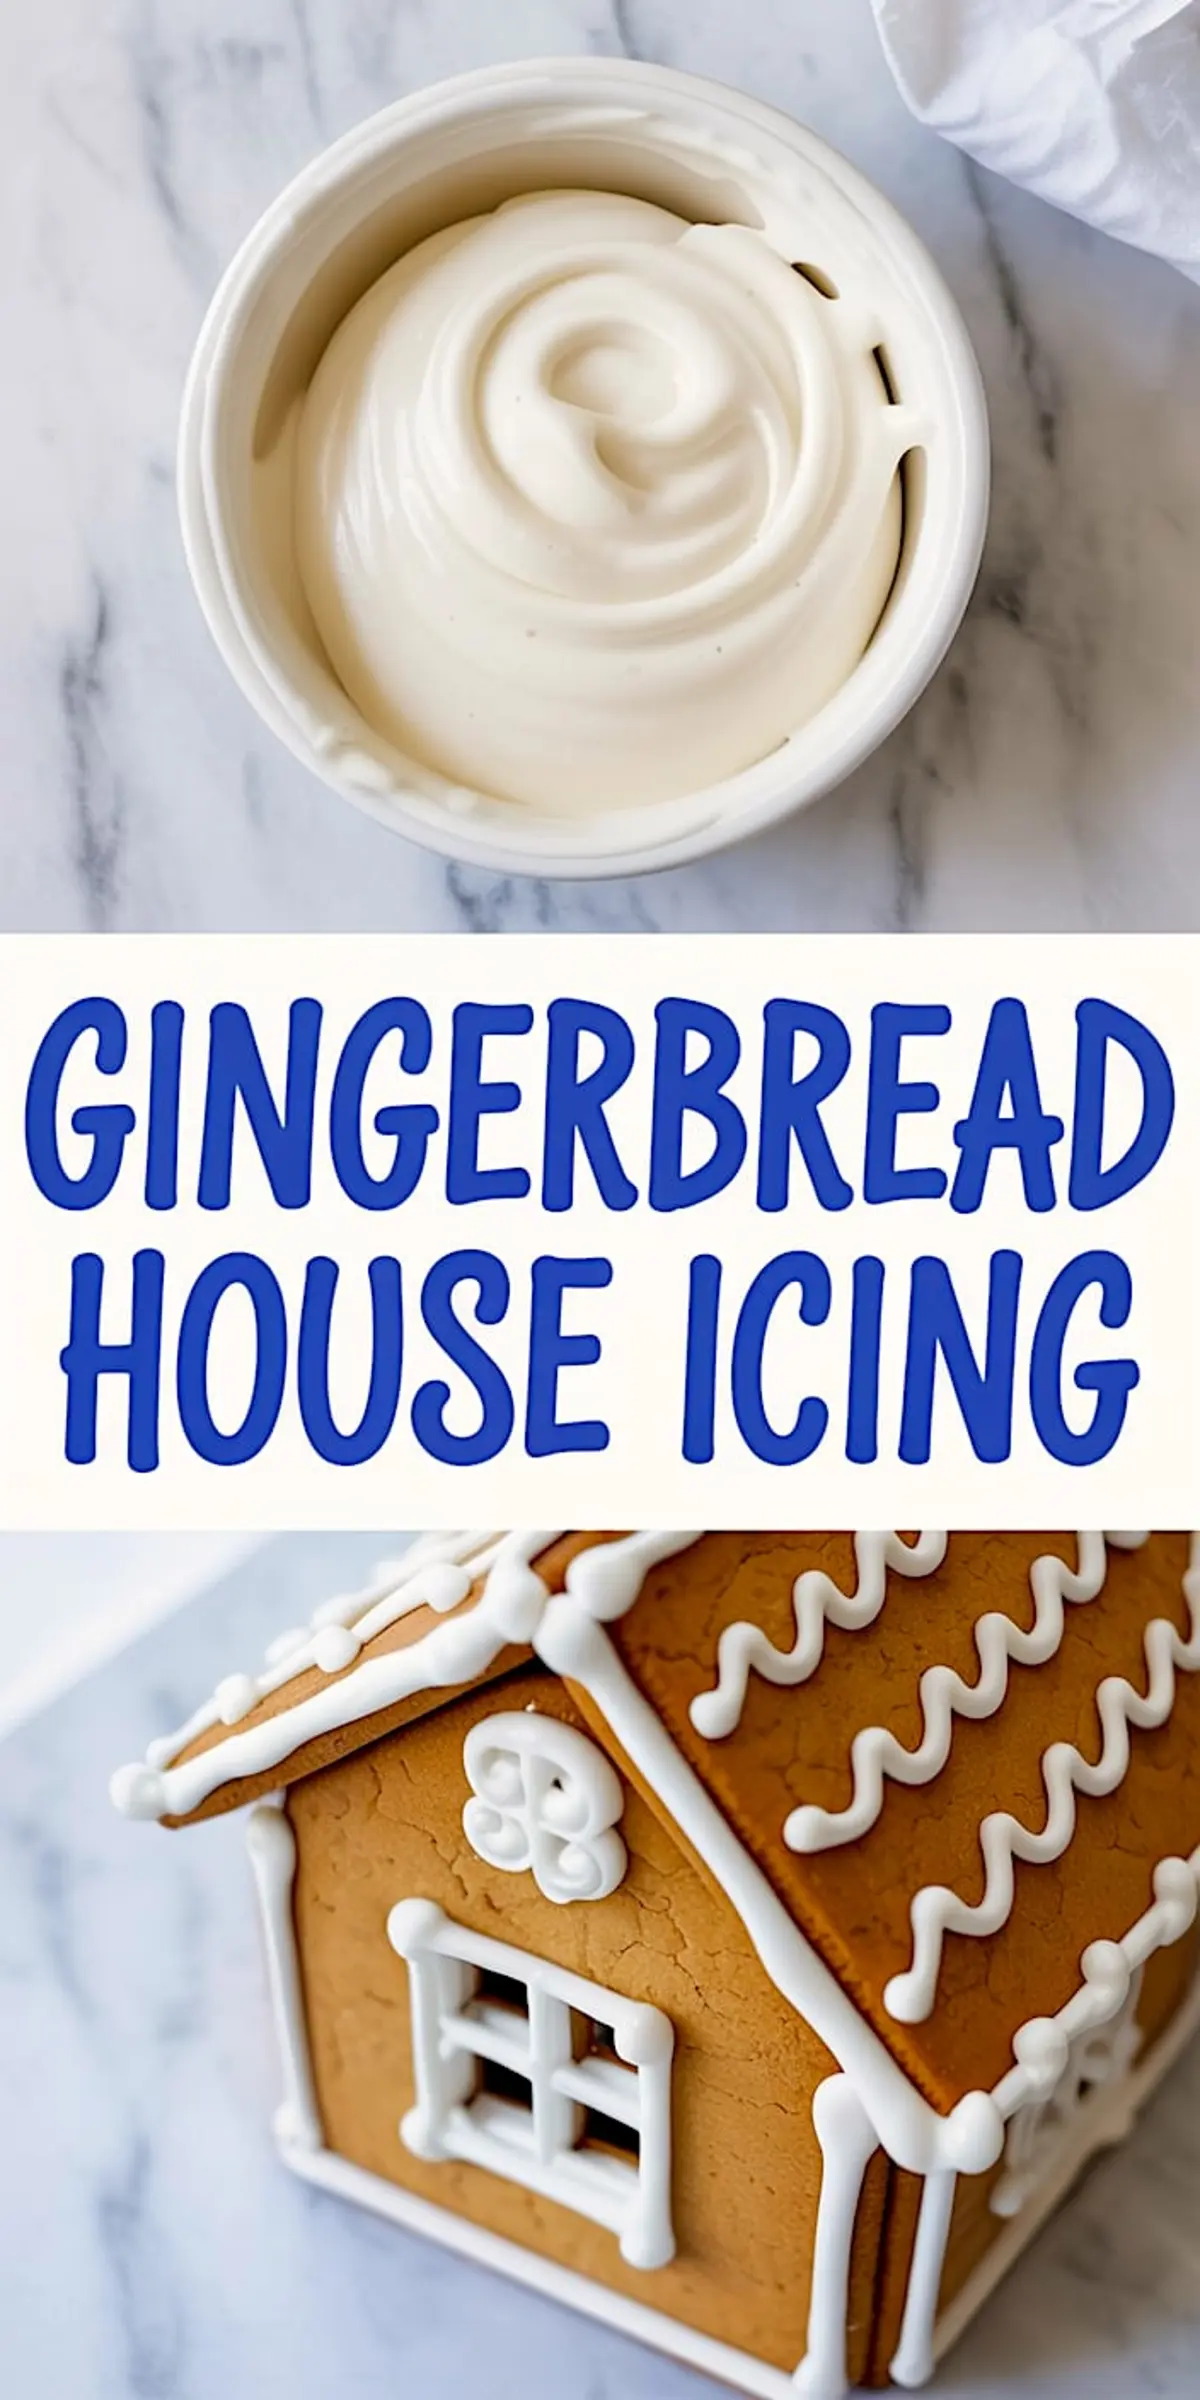
Gingerbread House Icing

Gingerbread house icing is a thick, pipeable frosting that dries strong enough to hold up walls and rooftops. I make it with powdered sugar and meringue powder for a texture that sticks and sets fast. This gingerbread house frosting works both as glue and decoration, and it pipes easily onto cookies too. If you’ve tried frosting for gingerbread house setups that never hold, this version solves that. It’s the gingerbread house frosting glue I use every year for building homemade gingerbread house designs that actually stay standing. Add it to your gingerbread house recipe or save it for easy gingerbread house projects. When you need icing for gingerbread house walls that work, this is the one to trust.
Ingredients
- 4 cups powdered sugar, sifted
- 3 tablespoons meringue powder
- 5 to 6 tablespoons warm water
- 1 teaspoon vanilla extract (optional)
Instructions
- PREP THE MIXER: Add the powdered sugar and meringue powder to the bowl of a stand mixer fitted with the whisk attachment. If using a hand mixer, prepare to mix slightly longer for best results.
- ADD WATER AND MIX: Start by adding 5 tablespoons of warm water. Mix on low speed until the ingredients are combined, then increase to medium-high speed and beat for 7 to 10 minutes, or until stiff peaks form. The icing should appear thick and glossy with a texture similar to marshmallow fluff.
- ADJUST CONSISTENCY: If the icing seems too thick to pipe easily, add warm water 1 teaspoon at a time. If it is too runny, mix in more sifted powdered sugar until the desired consistency is reached.
- OPTIONAL FLAVORING: If using vanilla extract or another flavor, add it during the last 30 seconds of mixing. Avoid oil-based extracts, as they can interfere with how the icing sets.
Notes
Store unused icing in an airtight container with plastic wrap pressed directly onto the surface to prevent drying. Re-whip briefly before using if it starts to separate.
Nutrition Information
Yield
1Serving Size
1Amount Per Serving Calories 1844Total Fat 0gSaturated Fat 0gTrans Fat 0gUnsaturated Fat 0gCholesterol 0mgSodium 36mgCarbohydrates 469gFiber 0gSugar 460gProtein 1g