
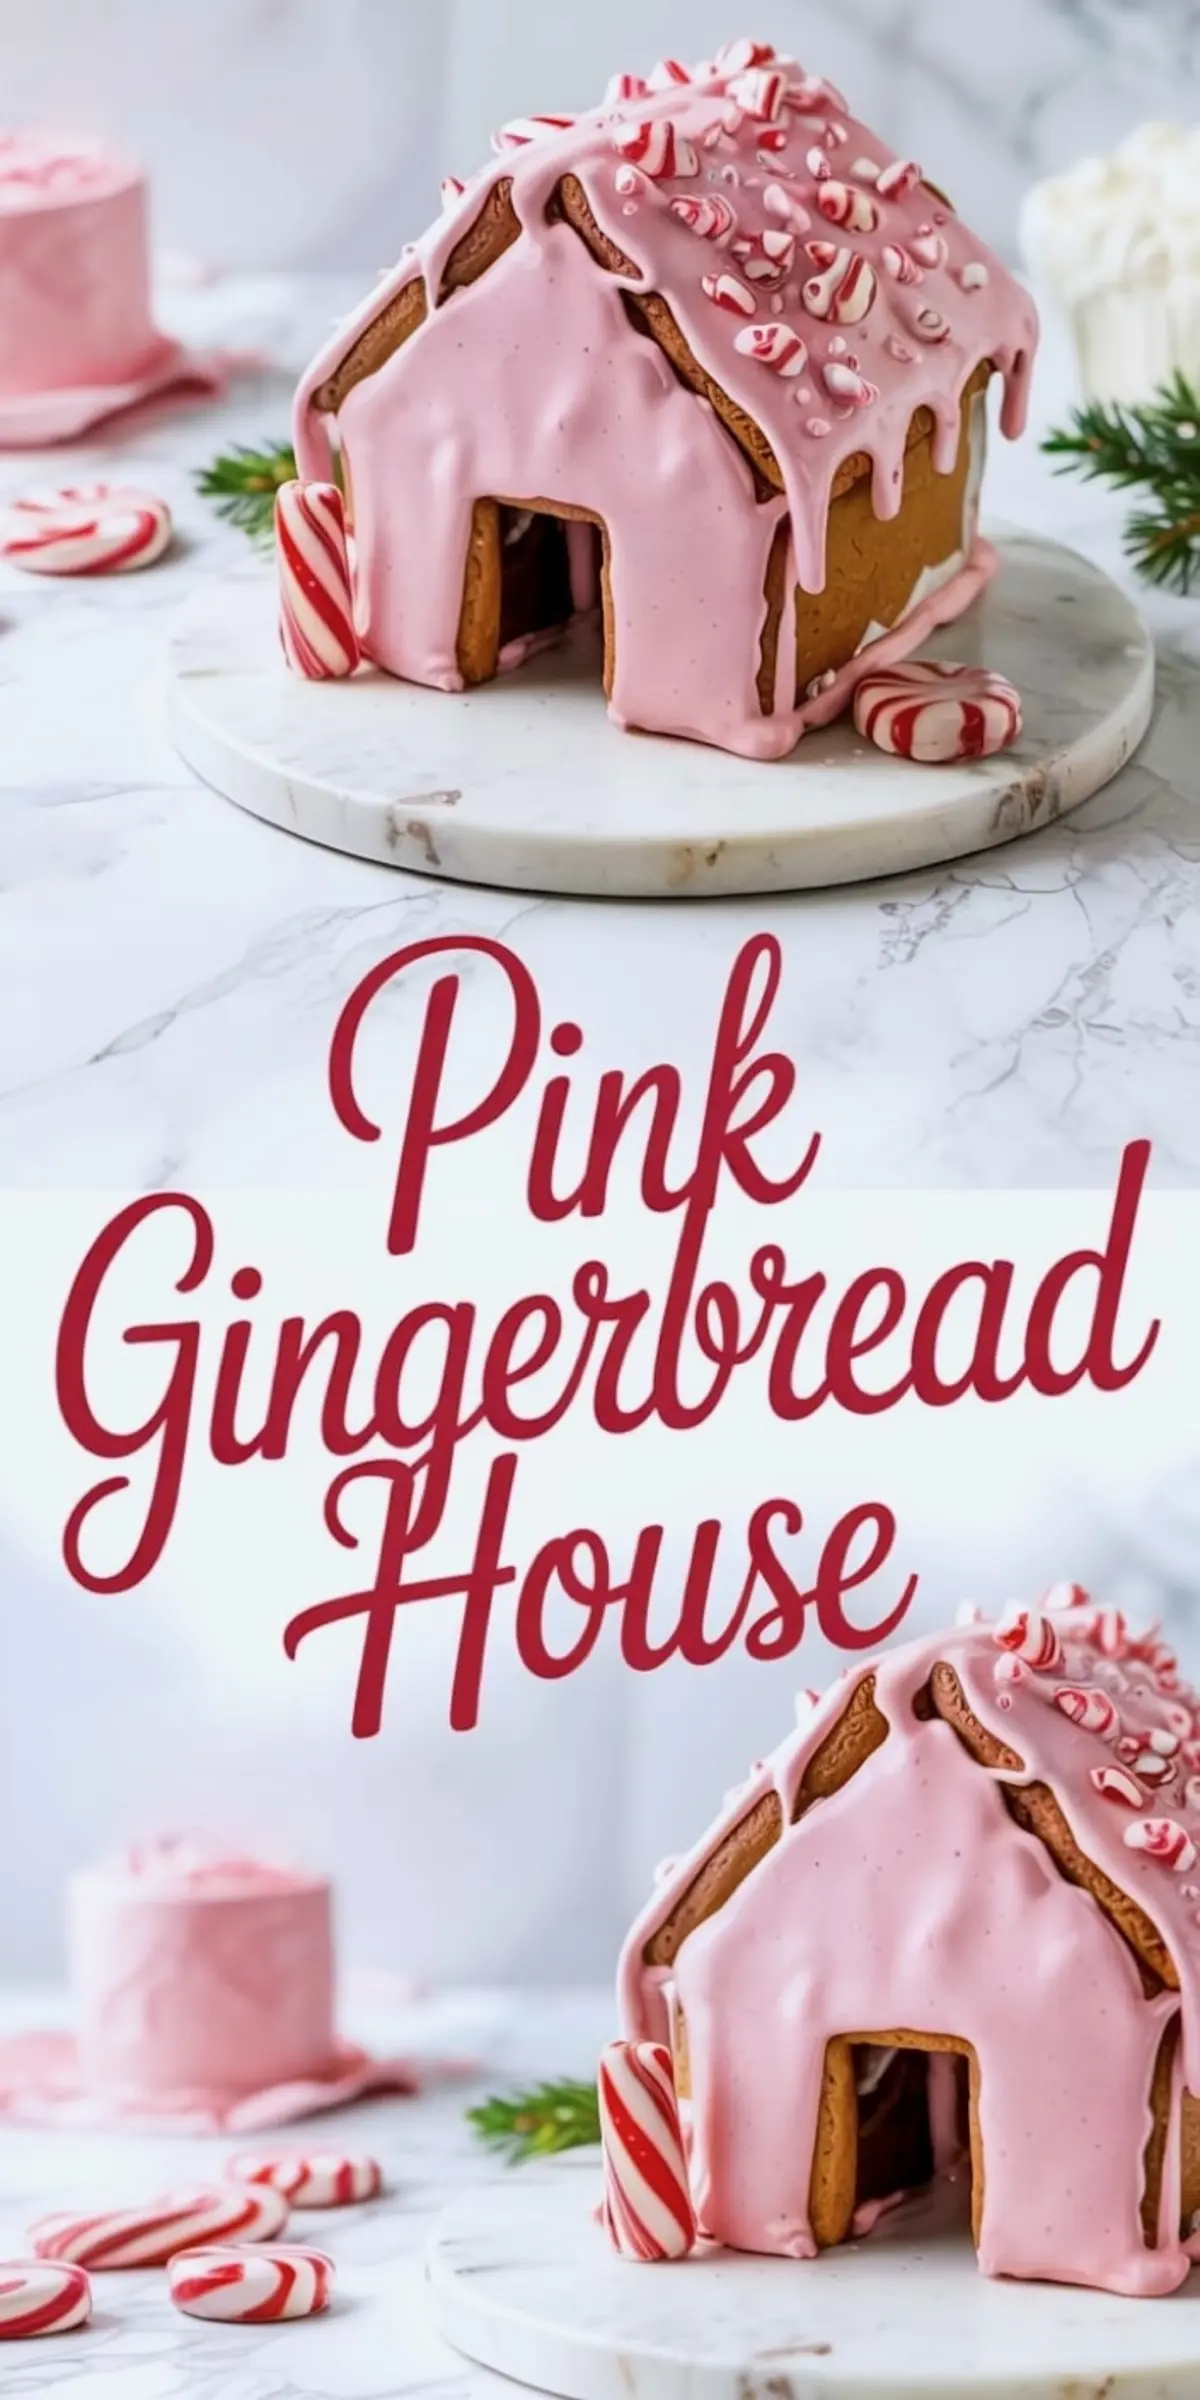
This pink gingerbread house brings a softer side to the holiday table. Instead of deep reds and bold greens, this design leans on pale pink icing, white details, and pastel candy decorations that feel more like a quiet snowfall than a busy parade. If you’re after gingerbread house ideas that feel cozy, calm, and charming, this is one worth bookmarking. You’ll learn how to make a pastel gingerbread house that’s sturdy, sweet, and fits beautifully into a pink Xmas setup or candy house display.
You don’t need advanced decorating skills or expensive tools. Just a few basic techniques, reliable dough, and a bit of patience. Once you build your first gingerbread house pink with soft pink royal icing and delicate decorations, you might never go back to the bold styles.
This design works well if you’re building gingerbread house decorations with friends or setting up a winter-themed centerpiece. The process is straightforward, and the results are cheerful without being loud. Think cute gingerbread houses with a gentle finish.
Following a special diet?
Every recipe on this site can be converted to gluten-free, vegan, dairy-free, keto, nut-free or egg-free with adjusted ratios so nothing falls flat.
Try the Recipe Converter →How to Make the Pink Gingerbread Dough Sturdy Yet Sweet
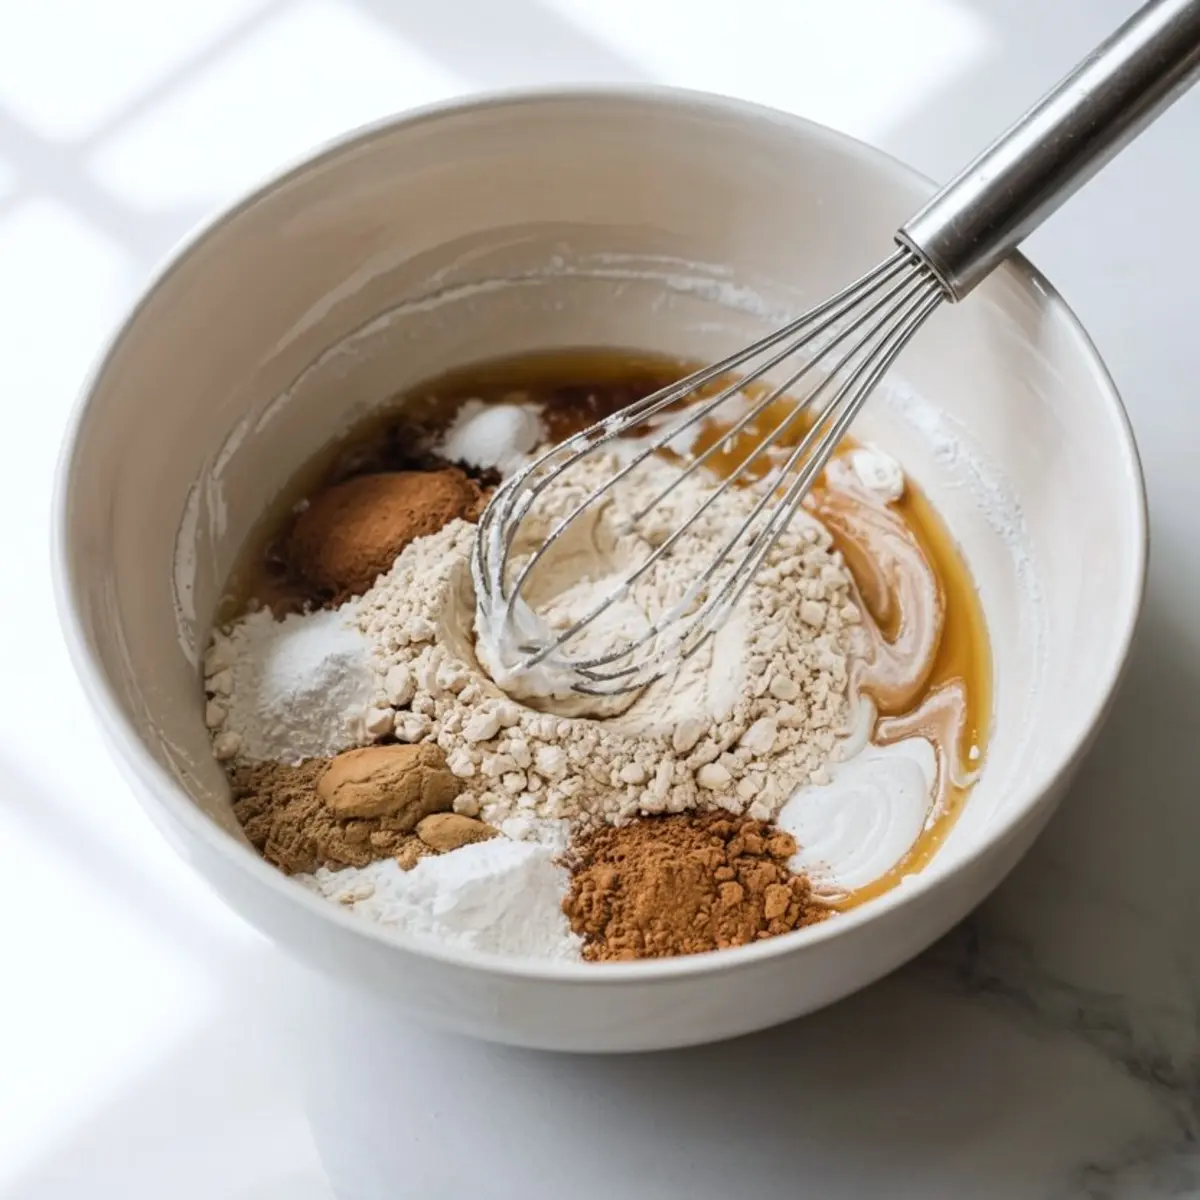
This gingerbread dough balances structure and flavor. It has just enough molasses and spice to smell like December, without turning too soft to hold its shape. You’ll mix the dry ingredients first: flour, baking soda, ginger, cinnamon, cloves, and salt. I’ve kept the ratios balanced for reliable shaping.
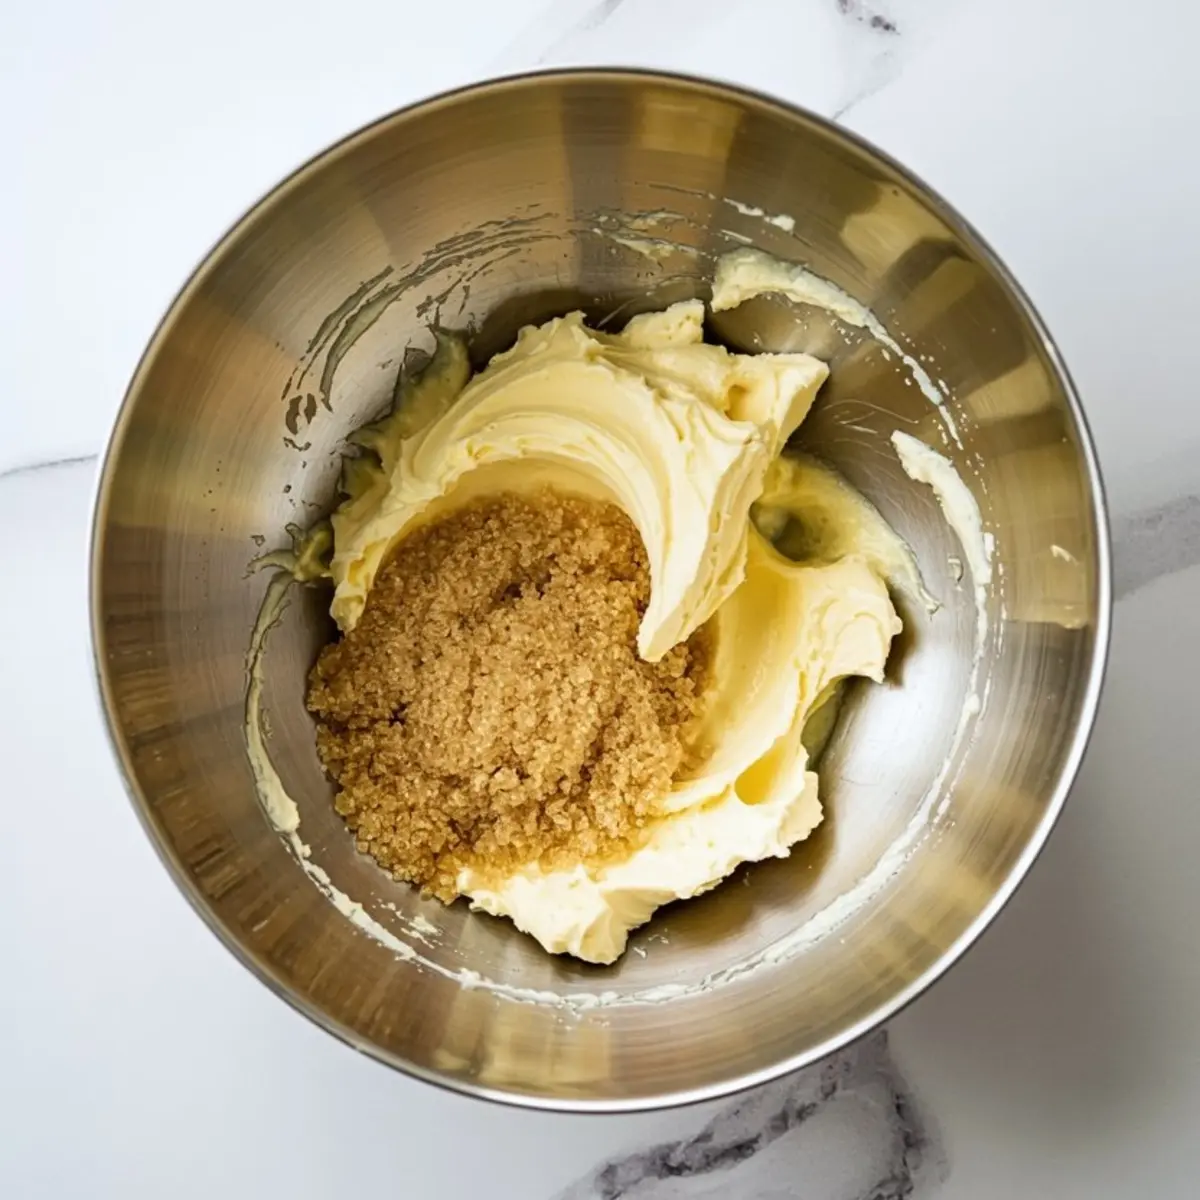
In a separate bowl, softened butter and dark brown sugar are creamed until light. This step helps the dough set up firm edges after baking. You’ll add molasses, an egg, and vanilla, then gradually work in the dry mix. The dough will feel thick, slightly tacky, and dense.
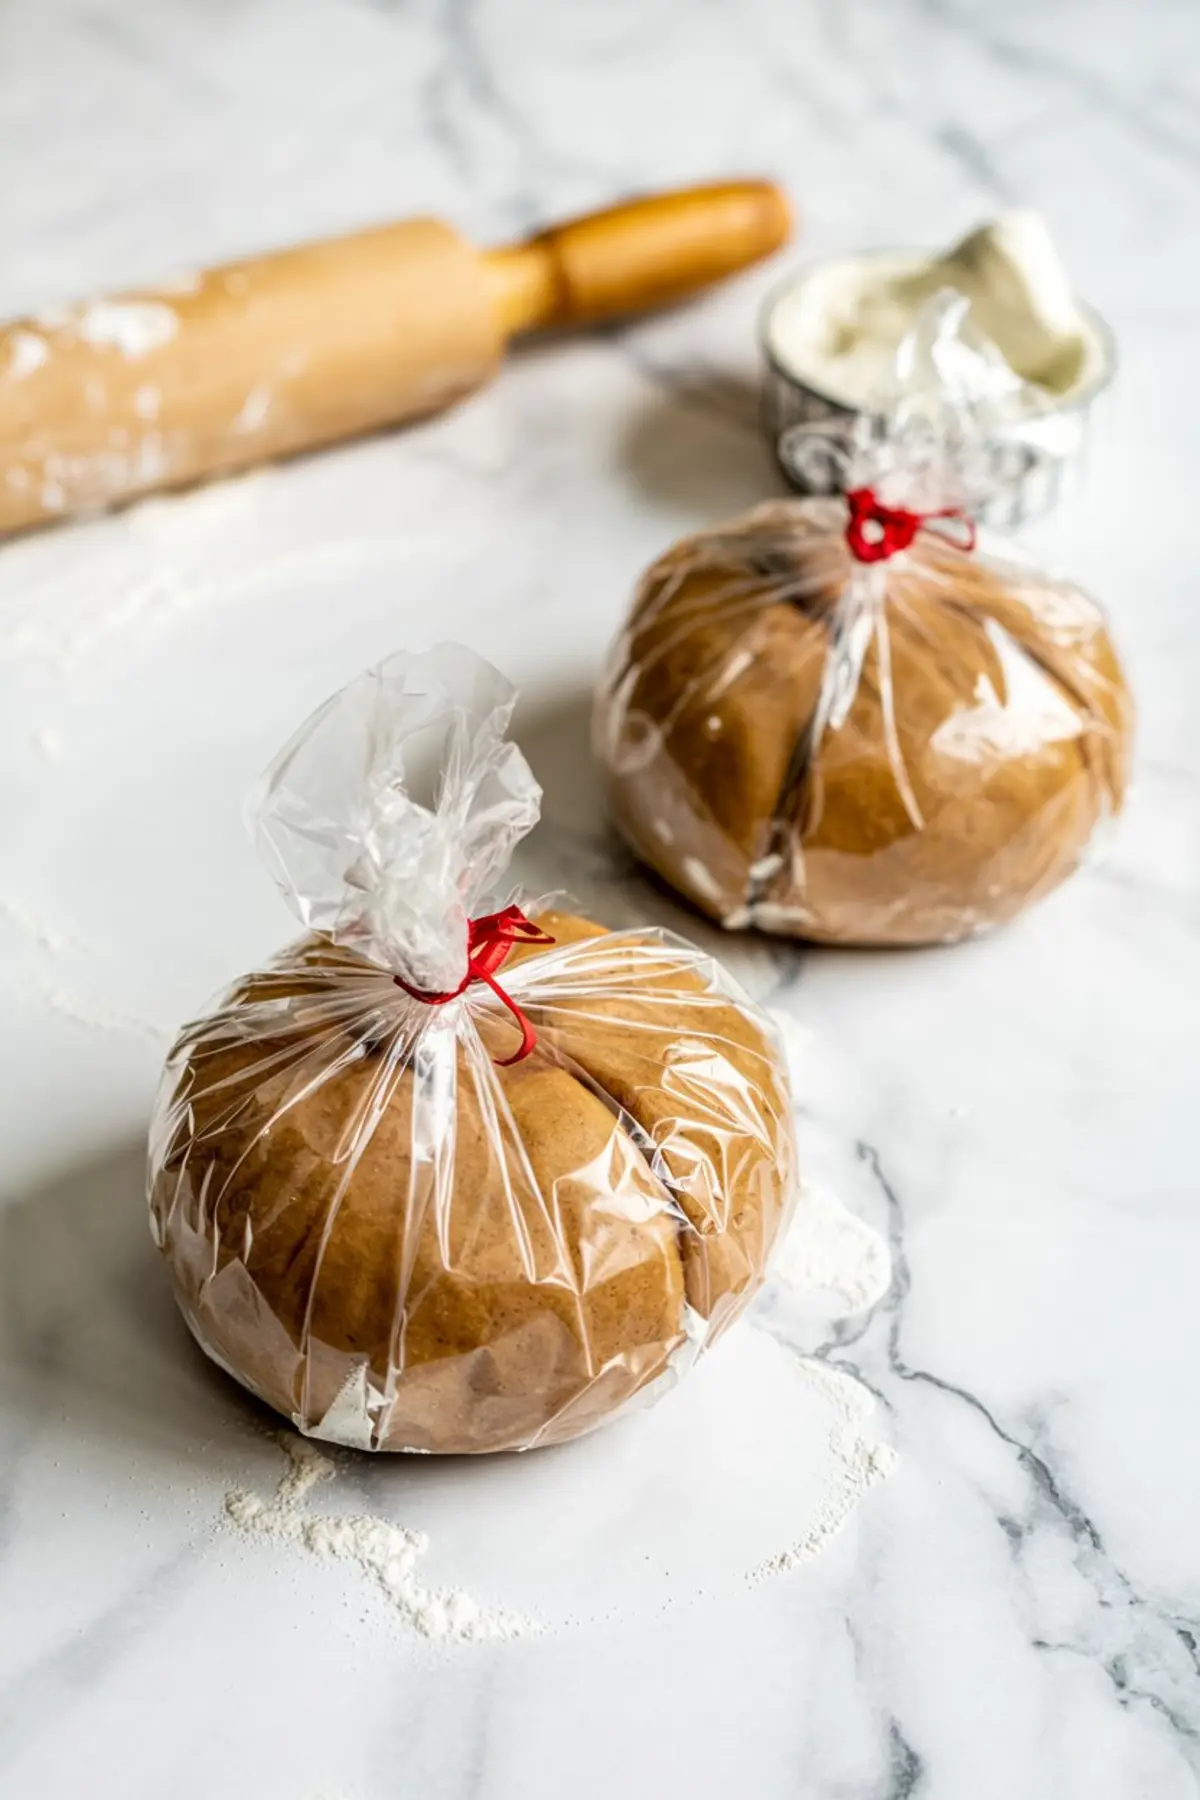
After forming it into discs, give it a full hour in the fridge. Chilling is key. Rushed dough will spread or warp. I often chill mine overnight when time allows.
Rolling and Cutting Clean Gingerbread House Shapes
Use firm dough and a lightly floured surface. Roll it to a quarter inch thick and use sharp-edged cutters or templates to slice clean lines. For this pastel gingerbread house, the panels should include two gabled fronts (one with a cut-out door), two rectangular walls, and two slightly overhanging roof pieces.
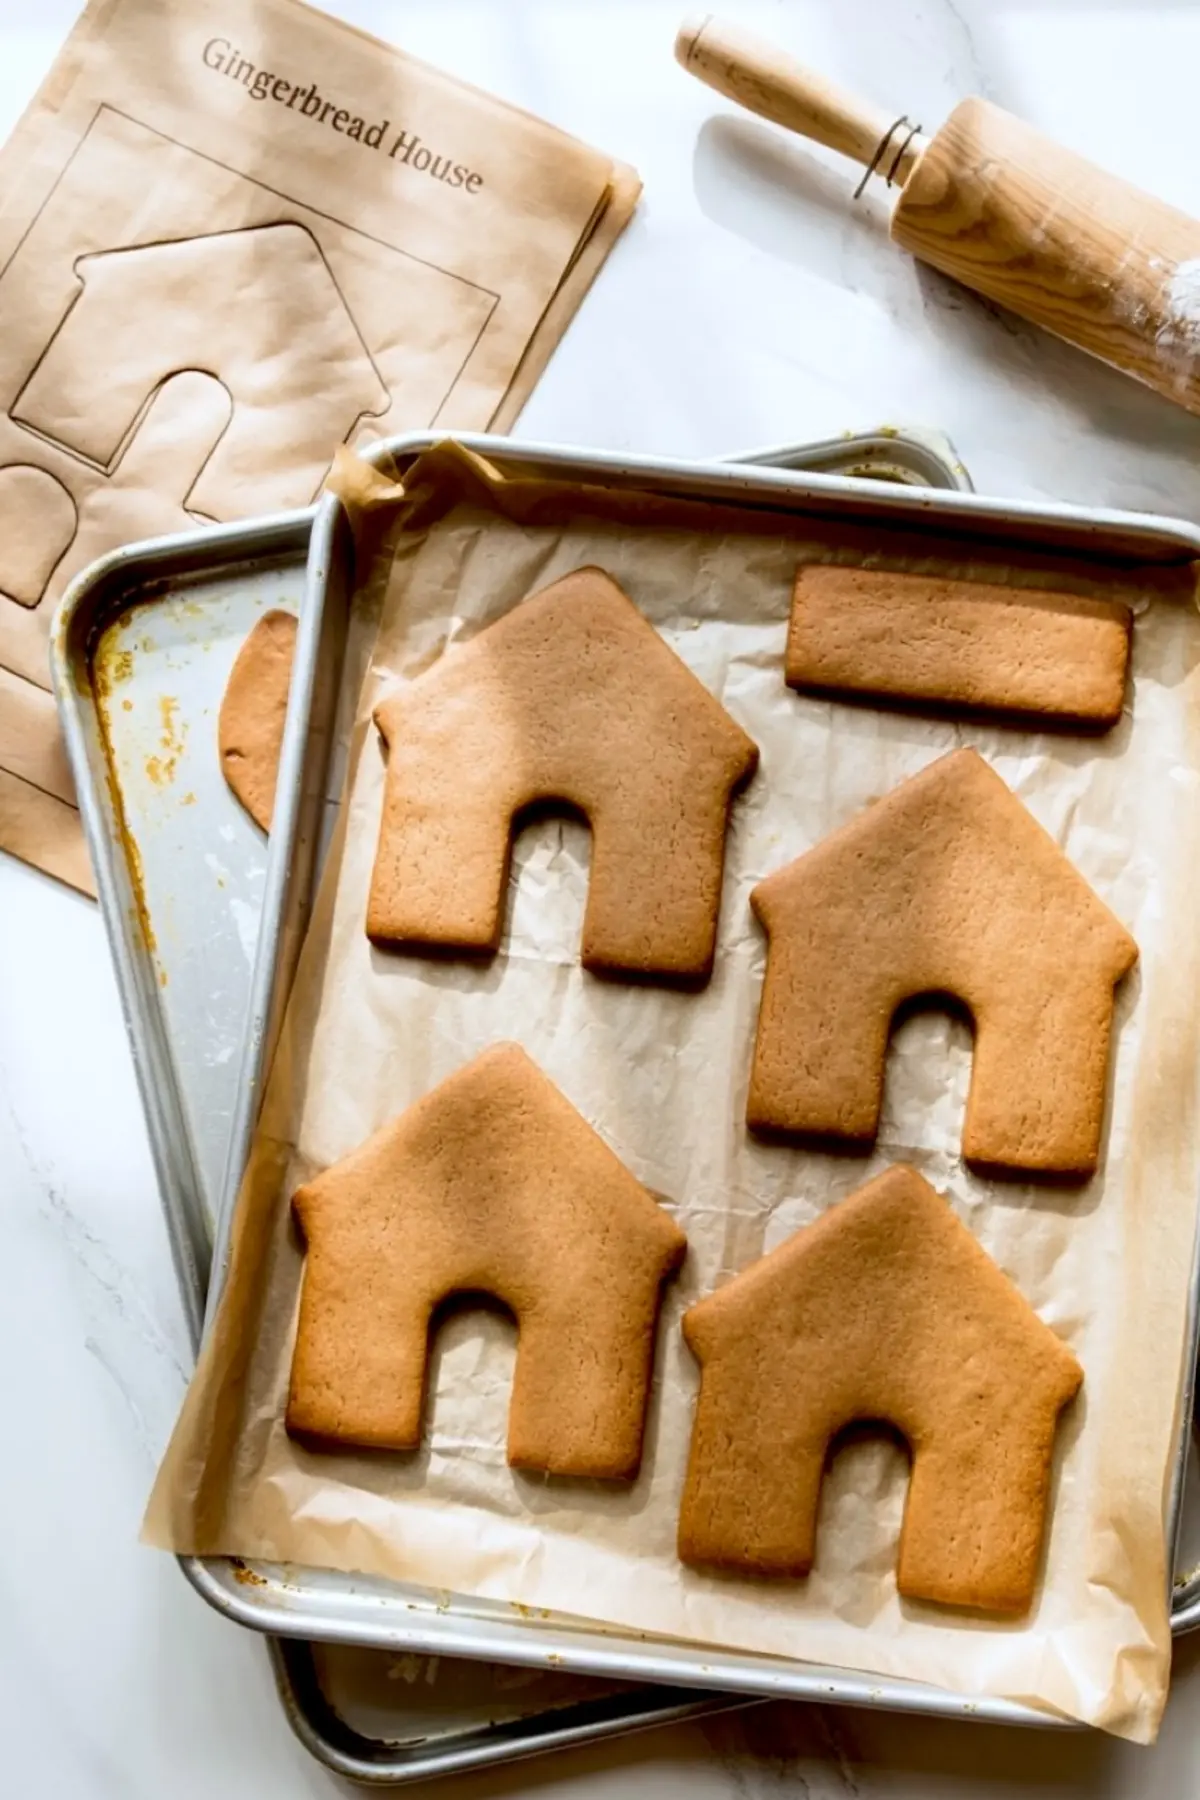
Transfer the shapes to parchment-lined trays and chill again for ten minutes. This short second chill keeps everything crisp. Bake until the edges look set and gently darkened. Let them cool fully before attempting to build.
In my notes, baking house panels a day in advance gives them extra strength. They lose some moisture and become easier to handle during assembly.
Making Pink Royal Icing with the Right Consistency
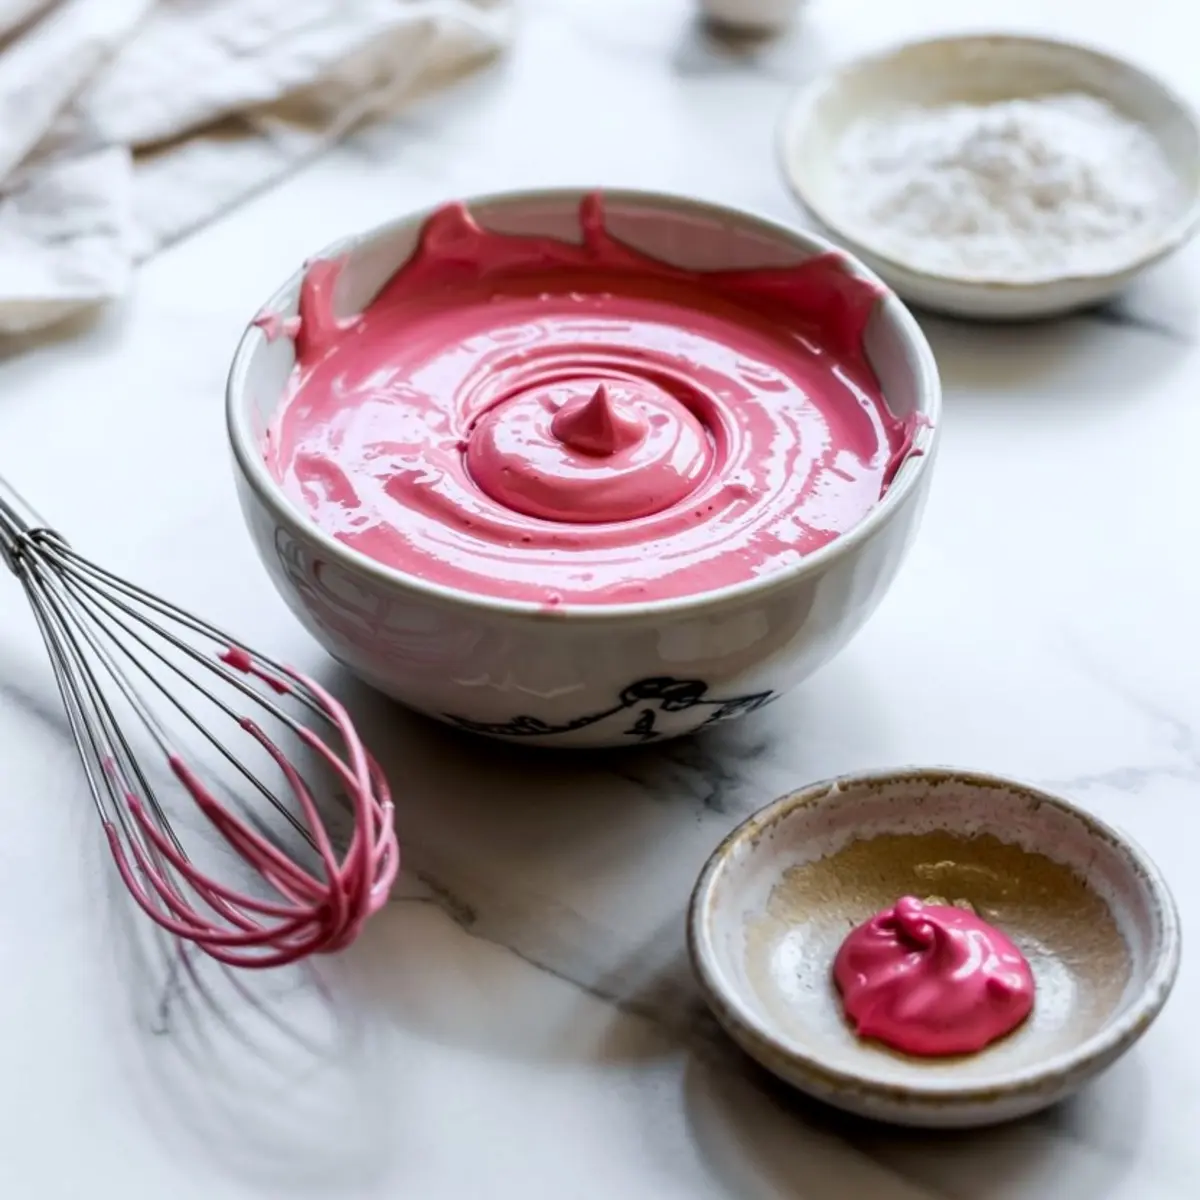
For the signature pink color, use either a few drops of pink gel food coloring or strawberry powder. I prefer gel when I need consistent results. Start with egg whites (or meringue powder and water) and beat until foamy. Then slowly add powdered sugar and lemon juice until stiff peaks form.
The icing should look glossy and thick. Keep it stiffer for gluing panels. If decorating, add a drop or two of water to thin it slightly.
Here’s where experience matters: too thin and your pieces slide. Too stiff and it’s hard to pipe. I always do a small test swirl on parchment before committing.
Choosing Between Pink and White Icing for Decoration
Use pink for structure and broad decoration. White icing adds contrast, snow effects, and definition. I’ve tried both with and without corn syrup. A tiny amount adds shine, but it’s optional. For white outlines and icicles, the thicker the better. It keeps its shape as it dries.
In some houses, I use only pink. But I often return to a mix. The visual difference gives more depth. If you’re photographing your gingerbread house pink or displaying it under lights, the white picks up shine beautifully.
Assembling the Gingerbread House Safely and Securely
Start with the side walls and attach them to the front and back panels using stiff pink icing. Let the base dry and set for about 15 to 20 minutes before moving on. Once it feels firm, attach the roof pieces. A slight overhang adds charm.
If needed, support the roof with jars or folded napkins as it sets. Don’t rush this part. A well-dried base saves you later frustration. I’ve had structures collapse from impatience—it’s always worth waiting.
Decorating Your Pink Xmas Candy House
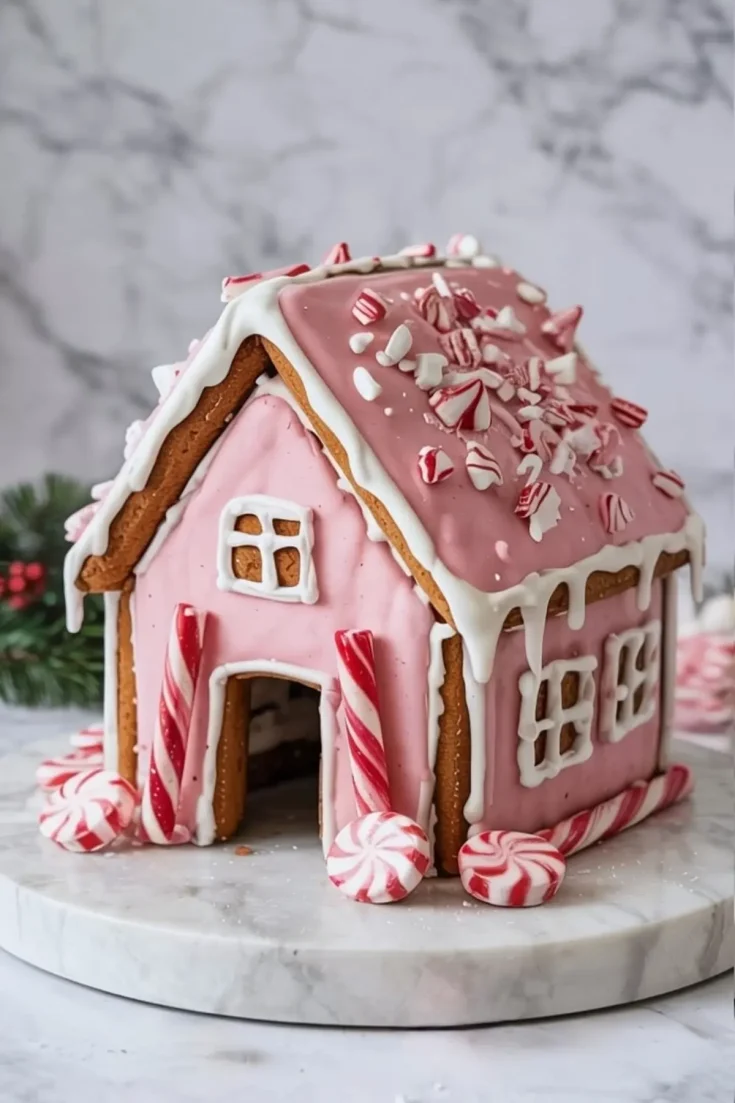
Begin with your largest icing areas: roof floods, borders, and snowy drips. While the icing is still wet, add crushed peppermint, pearl sprinkles, and candy accents. Think beyond candy canes. Mini meringues and sugar cookies in the shape of trees or stars give a lovely handmade finish.
A light sprinkle of sanding sugar or shimmer powder catches the light and mimics snow. For soft pastel gingerbread houses, less is often more. Leave small gaps for visual breathing room.
If you’d like a bit more gingerbread variety, try adding a tray of gingerbread crinkle cookies next to the house display.
A Note on Storage and Display Tips
You can leave your house out at room temperature for about a week. If you’re planning to display it longer, avoid placing it near heat or direct sun. I sometimes add a small silica packet under the cake board to help reduce moisture if the air feels damp.
If you want the structure to last longer, skip marshmallows and use dry candies. Sugar pearls, hard mints, and pressed cookies stay stable.
A Gingerbread Icing Comparison That Matters
I’ve tried both meringue powder and fresh egg whites in royal icing. Fresh egg whites whip quicker and feel a little lighter, but meringue powder keeps better and feels safer for long display bakes. For projects with kids or multi-day displays, I always use meringue powder. When making just one house to enjoy at home, I sometimes go with fresh.
The result looks nearly the same, but the storage and handling feel different. That small shift can save you time.
Save This Sweet Project and Share Your House!
This gingerbread house pink design becomes part of your holiday rhythm once you make it once. It’s soft, sweet, and easy to adjust. You can use the same dough to bake gingerbread man cookies or even try your hand at gingerbread man cupcakes with cinnamon buttercream.
If you do make your own pastel gingerbread house, save this to your Christmas board on Pinterest for next year. Let me know in the comments how yours turned out or if you found a candy combo that worked beautifully. I’d love to see it.
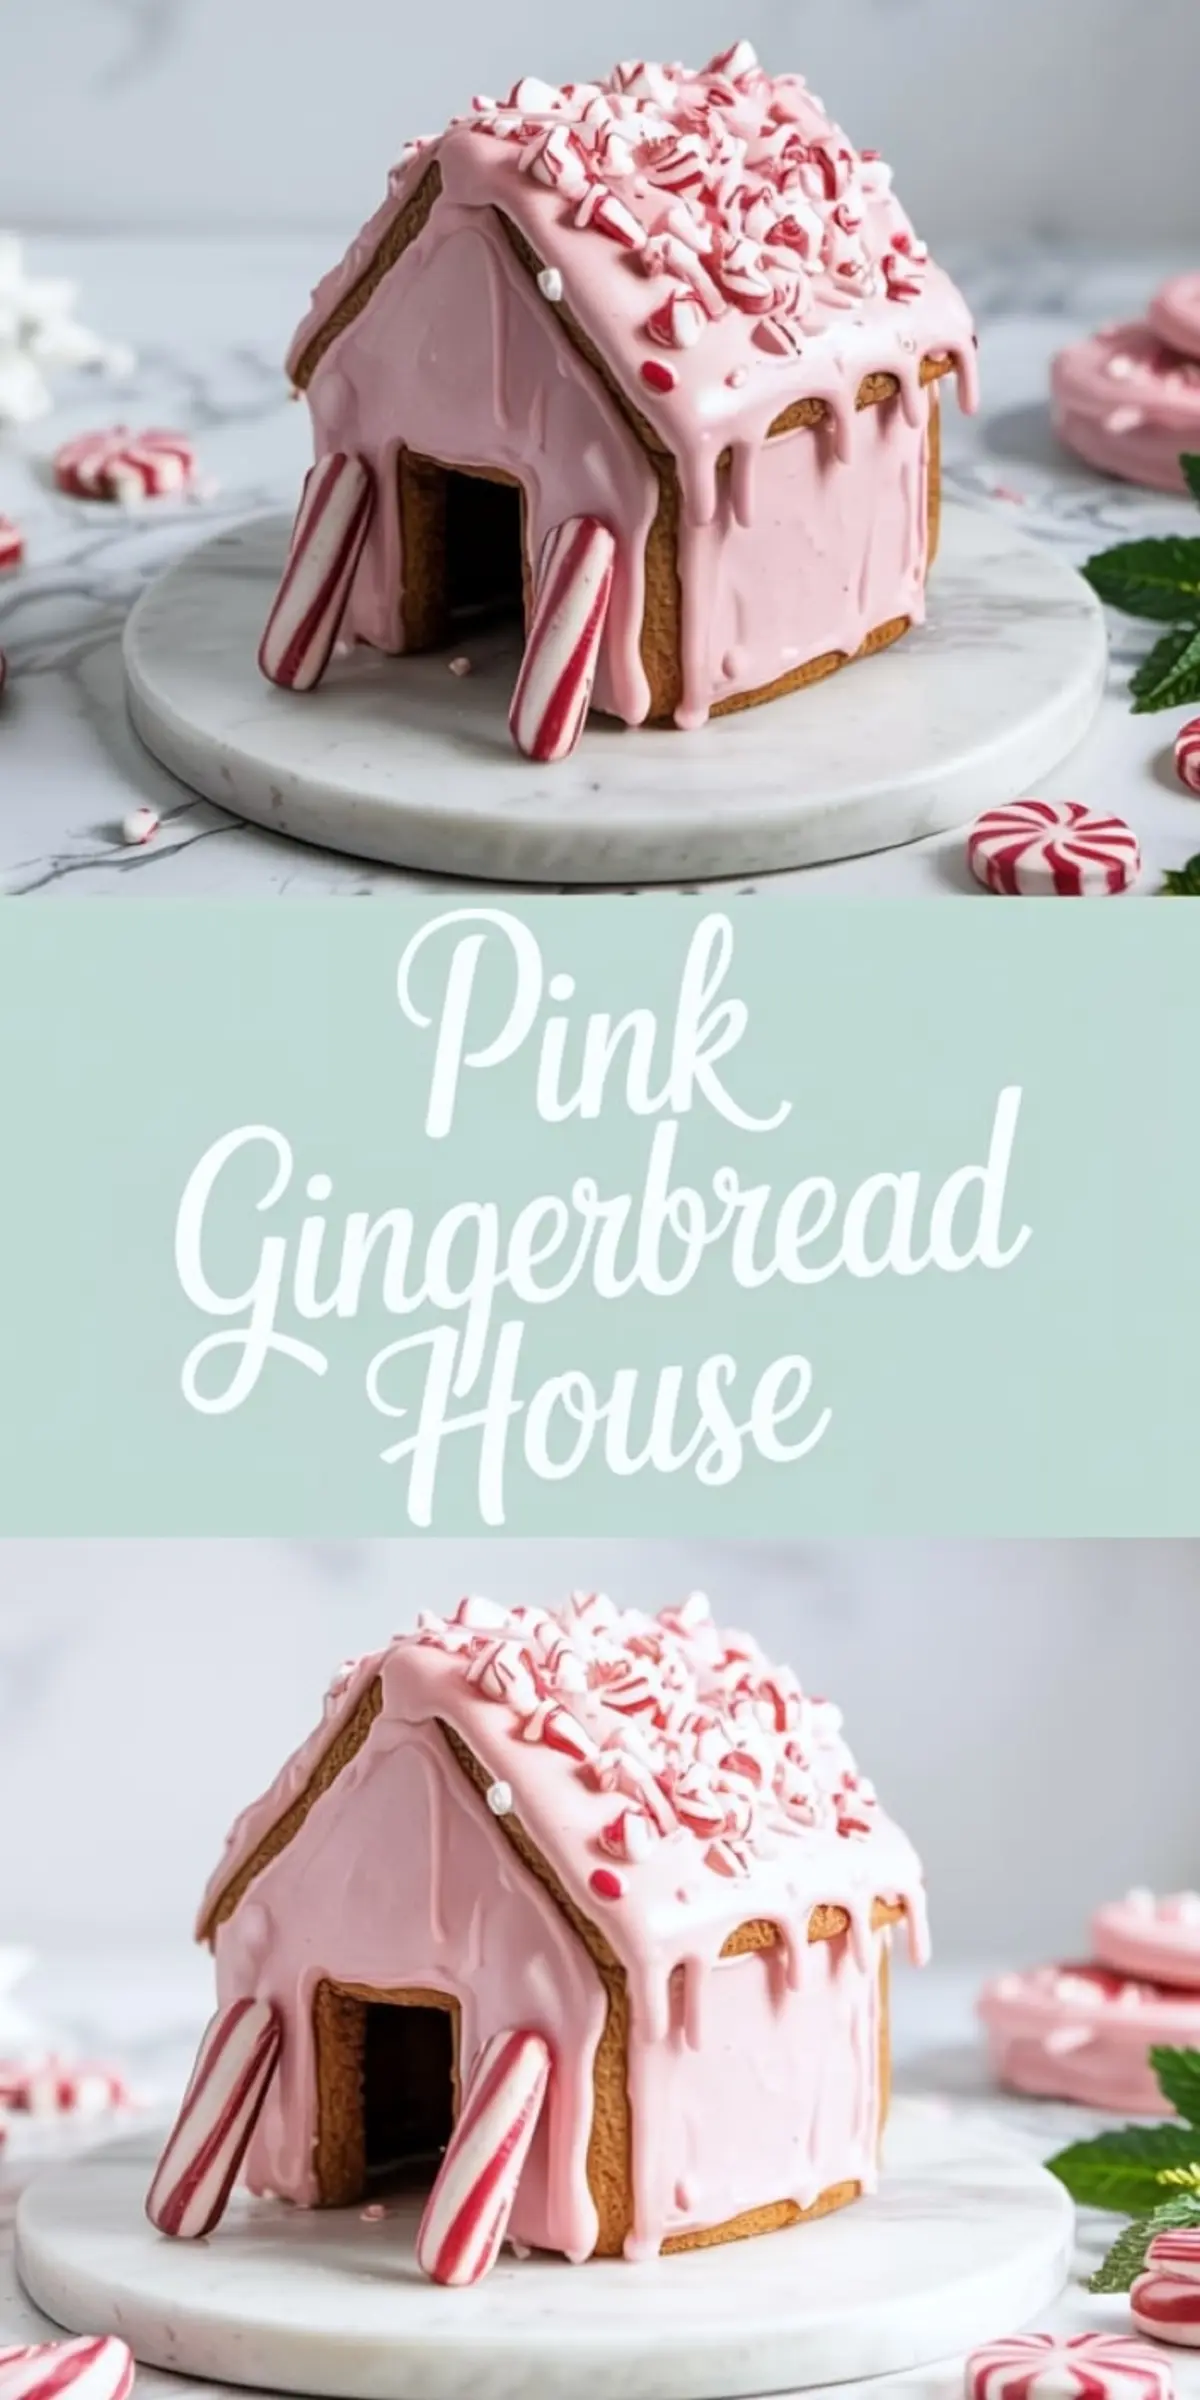
Pink Gingerbread House
Pink gingerbread house means soft pastel colors, icing snow, and candy lined rooftops that feel more sweet than traditional. I use light pink royal icing, pastel candies, and a gentle hand with gingerbread house decorations so everything looks cozy, not loud. It’s a pastel gingerbread house that works as a centerpiece or part of your gingerbread Christmas decor. I’ve made a few gingerbread house pink variations with different piping styles and always go back to this one. Think candy house meets soft holiday vibes. It’s cute, holds together well, and makes a pink xmas setup feel finished. Add it to your list of cute gingerbread houses if you’re skipping bold colors and going for soft winter style this year.
Ingredients
- FOR THE GINGERBREAD DOUGH
- 3 cups all-purpose flour
- ¾ tsp baking soda
- 1 tbsp ground ginger
- 1 tbsp ground cinnamon
- ¼ tsp ground cloves
- ½ tsp salt
- ¾ cup unsalted butter, softened
- ¾ cup packed dark brown sugar
- ½ cup molasses
- 1 large egg
- 1 tsp vanilla extract
- FOR THE PINK ROYAL ICING
- 3 cups powdered sugar
- 2 egg whites or ¼ cup meringue powder + 6 tbsp water
- 1 tsp lemon juice or clear vanilla extract
- Pink gel food coloring or 1–2 tsp freeze-dried strawberry powder
- OPTIONAL WHITE ICING
- 1 cup powdered sugar
- 1–2 tbsp milk or water
- Optional: a few drops of white gel food coloring
- Optional: ½ tsp corn syrup
- SUGGESTED DECORATIONS
- Crushed peppermint candy
- Mini candy canes
- Peppermint swirl candies
- Pink Sixlets or pearl sprinkles
- White sanding sugar
- Marshmallows or mini meringues
- Snowflake sprinkles
- Edible glitter or shimmer powder
- Tiny sugar cookies for doors, trees, or stars
Instructions
- MAKE THE GINGERBREAD DOUGH: In a large bowl, whisk together the flour, baking soda, ground ginger, ground cinnamon, ground cloves, and salt. In a separate bowl, cream the softened butter and dark brown sugar together until light and fluffy, about 2 to 3 minutes. Add the molasses, egg, and vanilla extract, mixing until smooth. Gradually add the dry ingredients and mix until a thick, slightly sticky dough forms. Divide the dough in half, flatten into discs, wrap each in plastic wrap, and chill for at least 1 hour.
- ROLL AND CUT THE HOUSE PIECES: Preheat the oven to 350°F (175°C). On a lightly floured surface, roll out the chilled dough to about ¼ inch thick. Use gingerbread house templates or cutters to cut out 2 front/back panels with a pointed gable top (cut out a door on one if desired), 2 rectangular side walls, and 2 rectangular roof panels that are slightly longer for overhang. Transfer the pieces to parchment-lined baking sheets and chill for 10 minutes. Bake for 12 to 15 minutes, until edges are set and slightly darkened. Let cool completely before assembling.
- MAKE THE PINK ROYAL ICING: In a mixing bowl, beat the egg whites (or meringue powder and water) until foamy. Gradually add the powdered sugar and lemon juice, then continue beating until the icing holds stiff peaks and appears glossy. Add pink gel food coloring or freeze-dried strawberry powder, mixing until the color is even. Adjust the consistency as needed—keep it stiff for assembling or add a few drops of water to loosen it for flooding and coating.
- MAKE THE OPTIONAL WHITE ICING: Mix the powdered sugar with 1 to 2 tablespoons of milk or water until smooth and pipeable. Add a few drops of white gel food coloring if desired for brightness. Stir in corn syrup for a shinier finish if using. Use this white icing for accents such as snowy outlines, icicles, or frosted window details.
- ASSEMBLE THE GINGERBREAD HOUSE: Use the stiff pink royal icing to attach the side walls to the front and back panels, forming a box shape. Allow the base to dry and stabilize for 15 to 20 minutes. Carefully attach the roof pieces using more pink icing along the top edges. Support the roof with small jars or folded paper towels if needed. Let the structure dry fully before adding decorations.
- DECORATE YOUR WAY: Use the pink icing to flood the roof or outline edges, and apply the white icing to create snowy drips, icicles, and decorative borders. Press in candies, sprinkles, and cookie accents while the icing is still wet. Add edible glitter or sanding sugar to mimic frost or snow. Allow decorated pieces to set completely before displaying.
Notes
Chilling the cut pieces before baking helps prevent spreading. For extra stability, bake house panels a day in advance. Use gel coloring to maintain icing consistency. House may be stored at room temperature for up to 1 week for display.
Nutrition Information
Yield
1Serving Size
1Amount Per Serving Calories 7695Total Fat 240gSaturated Fat 122gTrans Fat 0gUnsaturated Fat 102gCholesterol 592mgSodium 3998mgCarbohydrates 1329gFiber 22gSugar 866gProtein 75g