
Santa Claus Cookies bring a level of joy to the holiday baking table that few other recipes can match. These aren’t just any Christmas sugar cookies. Each one wears the familiar red hat, white trim, and cheerful expression that says everything about Christmas spirit.
You’ll learn how to shape, bake, and decorate each Santa cookie with precision, confidence, and charm. The full walkthrough will give you the confidence to pull off professional-looking results without needing professional tools.
You’ll get more than a cookie. You’ll get a centerpiece. These cookies deliver on flavor and nostalgia, fitting naturally into your Christmas cooking plans. They show up on trays of Christmas cookies decorated for parties, exchanges, and kid-friendly baking days. If you’ve been searching for Christmas cookies Santa would actually smile at, this recipe answers it clearly.

Following a special diet?
Every recipe on this site can be converted to gluten-free, vegan, dairy-free, keto, nut-free or egg-free with adjusted ratios so nothing falls flat.
Try the Recipe Converter →Why I Use Each Ingredient – And Why You Should Too
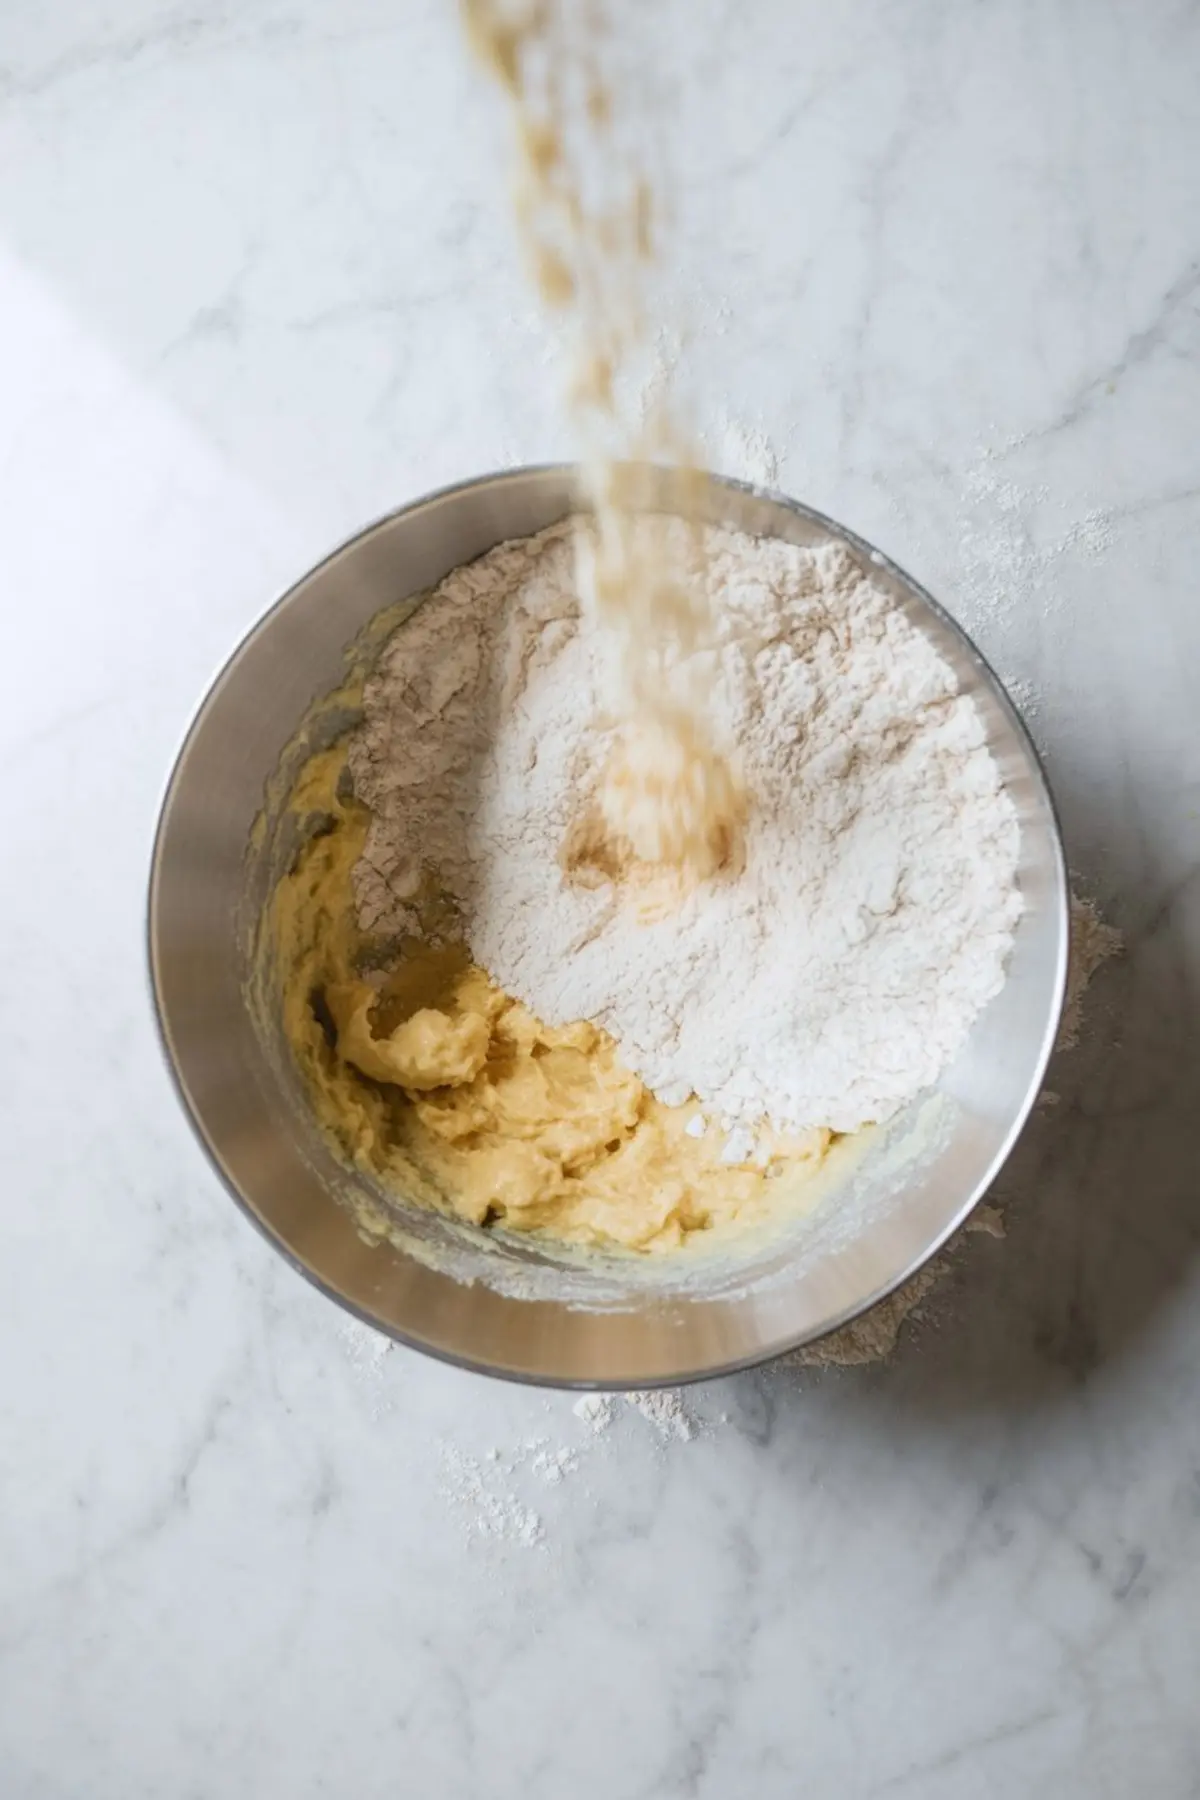
For the dough, I use all-purpose flour because it holds its shape during baking. You don’t want a cookie that spreads and distorts Santa’s face. The baking powder gives just enough lift without puffing out the edges, and a pinch of salt sharpens the sweetness.
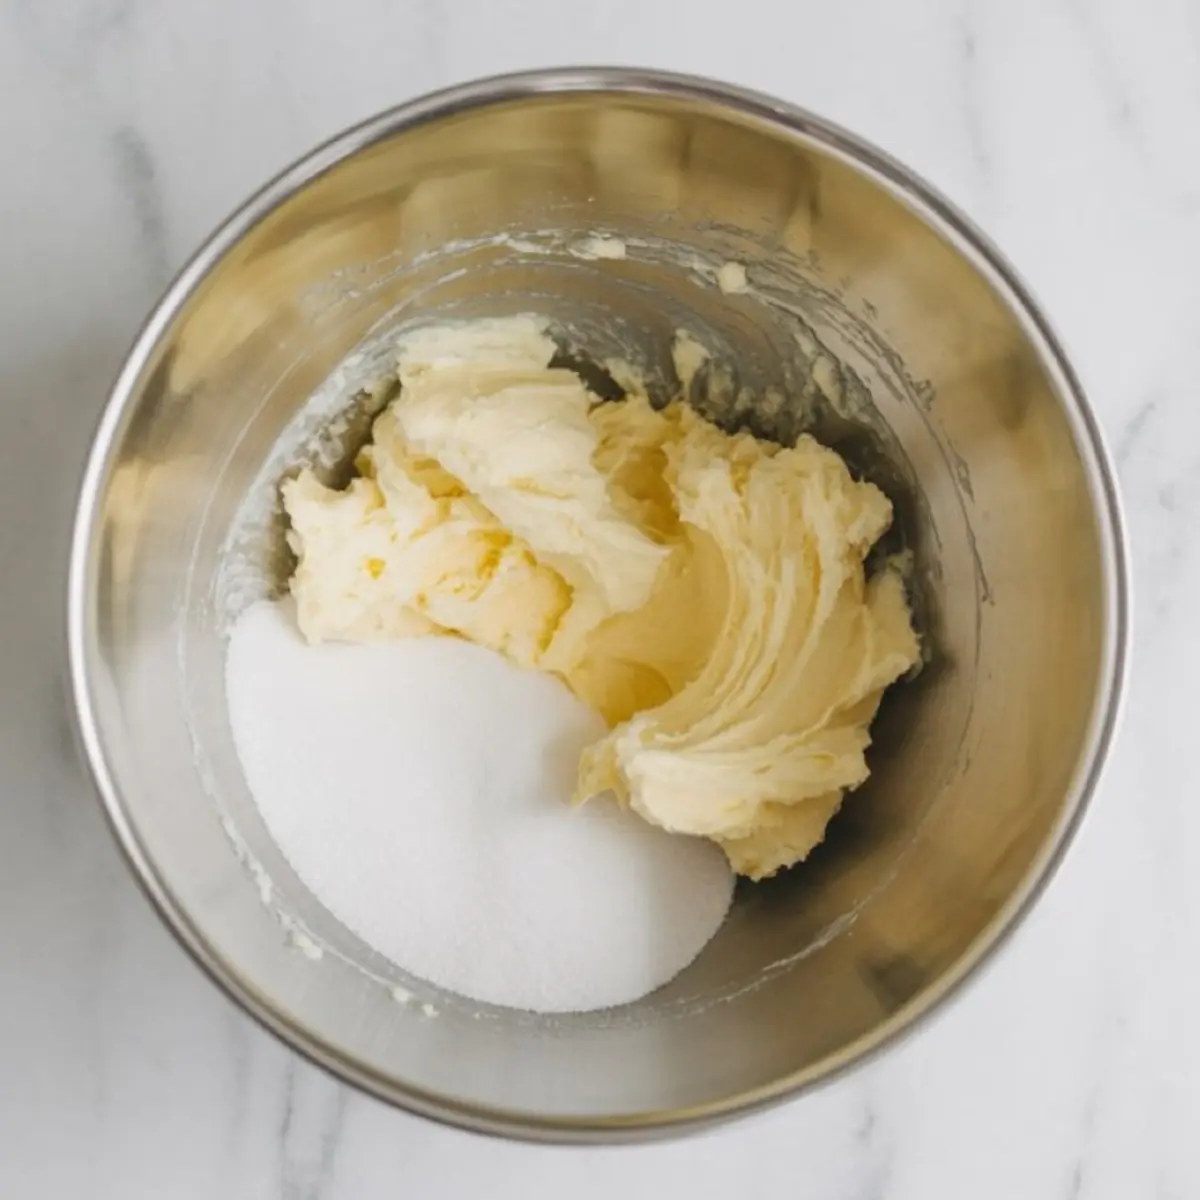
I stick with unsalted butter to control the salt balance, and I prefer creaming it with white granulated sugar for that signature cookie texture. It gives a smooth crumb and light snap. One large egg adds structure, while the pure vanilla extract brings warmth. I add a hint of almond extract sometimes. It deepens the aroma and leaves people wondering what that special note is.
The royal icing uses sifted powdered sugar and meringue powder. Sifting prevents clumps, and meringue powder gives stability. Water thins the icing, and gel food coloring gives bold color without messing with texture. I use red, black, pink, and white—nothing more, nothing less. You won’t need complicated colors to make these cookies pop.
Butter vs. Shortening: A Quick Word From My Experience
I’ve tried making sugar cookies with both butter and shortening. Butter always wins for me. The flavor is rich, clean, and unmistakable. Shortening might give slightly sharper edges, but it lacks character. For a cookie like this, flavor matters more. If you plan to serve these at a party or use them as cookies with Santa, go with butter.
Chill the Dough – It Matters More Than You Think
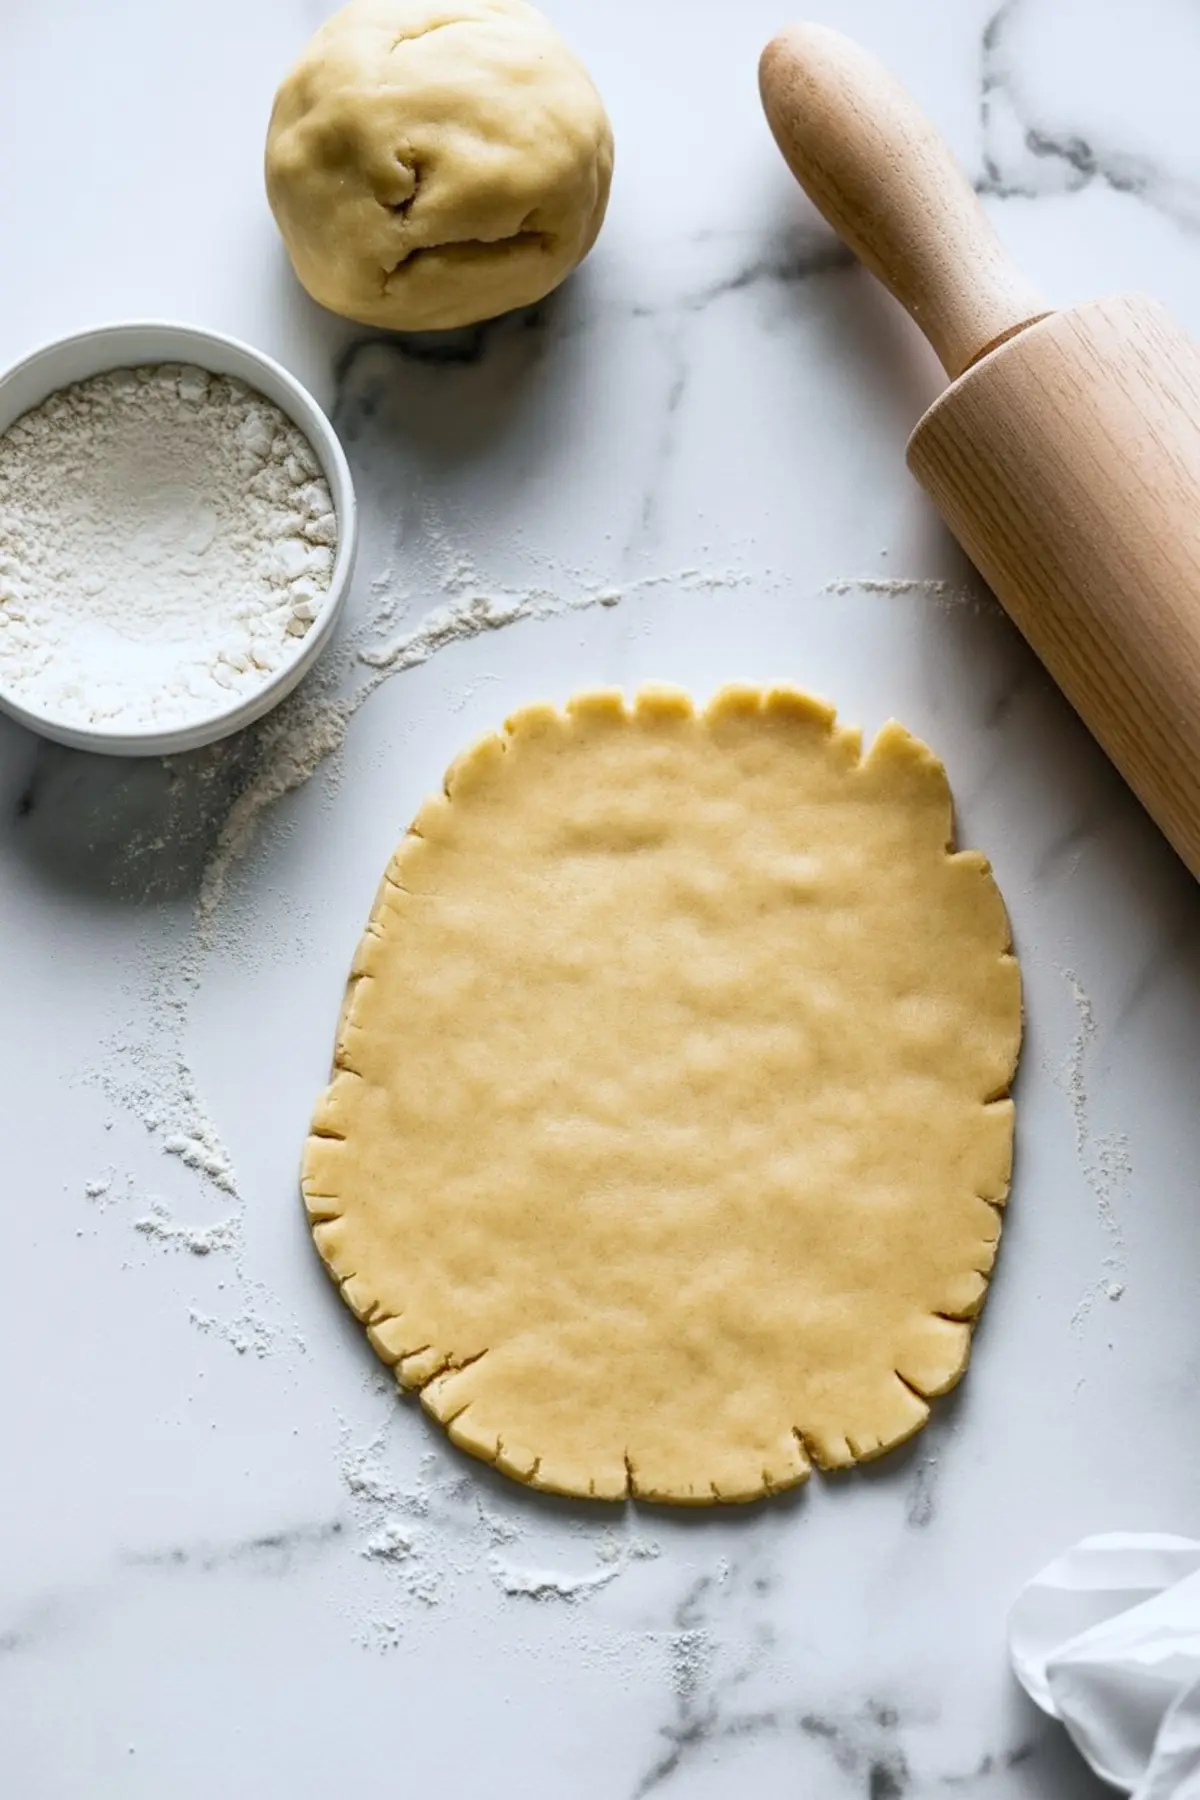
The first time I rushed this recipe, I skipped chilling. The dough rolled out fine, but the cookies baked unevenly. Some puffed too much. Others lost their shape. After that, I always chill it. One hour is enough, though overnight works well if you plan ahead.
Rolling the dough out to 1/4 inch gives the ideal base. I use a Santa-shaped cutter when I have one, but a round cutter works if you decorate smartly. These are cute Christmas cookies with or without fancy tools.
Even Baking, Even Edges
Bake at 350°F and watch closely after 9 minutes. The edges should just start to turn golden. That subtle shift means they’re ready. Leave them on the baking sheet for a few minutes before moving them. They finish setting up as they cool.
Fully cool before decorating. That’s non-negotiable. I’ve rushed the icing before and regretted it. Warm cookies melt icing. Let them cool on wire racks while you mix your royal icing.
How to Work With Royal Icing Like You’ve Been Doing It for Years
I mix the royal icing for 7 to 10 minutes on low speed. Don’t whip it hard. You want glossy, thick, stable icing. Divide into four bowls. Color each: red for the hat, white for the beard and trim, pink for the face, and black for the eyes.
Cover each bowl with a damp cloth. I learned this the hard way. The top crusts over quickly if exposed. You can always adjust consistency by adding water one teaspoon at a time.
Decorating: The Santa Claus Cookie Sequence
Start with the face. Outline and flood a pink oval in the center. Let it set for a few minutes. Add the red hat just above it. Fill in the shape smoothly, then add white trim and a pom-pom.
Next comes the beard. I pipe this with a #3 tip and layer slightly to give texture. Add the mustache separately, then place the black dots for eyes. I like a red nose, but pink works too. Finish with a little smile.
If you want to try something fun, take a look at these Grinch Cookies Decorated. They offer a contrast in color and mood to these Santa Claus Cookies.
Serving and Storage Tips From My Christmas Binder
I always store mine in a large airtight tin, layering with parchment paper. They keep well for five days at room temperature. If you want to get ahead, freeze the undecorated cookies and decorate the day before serving. That keeps the colors fresh.
Serve them on a white tray to make the red and pink pop. I often pair them with these Peppermint Chocolate Chip Cookies for variety. It creates a festive red and green mix that catches the eye.
If you’re going all-in on the cookie table, bring in Melting Snowman Cookies for whimsy. The balance of fun and tradition creates a full story on your dessert spread.
What to Bake Next For Your Cookie Tray
Once you make these Santa cookies, you might want something crunchy next. Try Gingerbread Crinkle Cookies. The warm spice complements the sweetness of the icing here.
Or make it playful with these Reindeer Cookies. Kids love the mix of chocolate and pretzels, and it rounds out the Christmas cookies Santa would approve of.
Save This Santa Cookie Project For Later

If this Santa Claus cookie recipe made your holiday brighter, pin it to your Christmas board so you don’t lose it. Come back next year or bake it again next week there’s always room for one more Santa.
And if you make them, leave a comment. Tell me how they turned out. Ask a question if you need help. I’m always here to talk cookies.
Santa Claus Cookies Recipe

Santa Claus cookies are a fun and festive addition to any Christmas baking lineup. These Christmas sugar cookies are shaped and decorated to look just like Santa himself, making them perfect for Christmas cookies decorated trays or cookie exchanges. Use them as part of your Christmas cooking traditions or set them out with milk as cookies with Santa on Christmas Eve. These Santa cookies decorated with red and white icing bring joy to kids and adults alike and stand out as cute Christmas cookies for holiday parties. Ideal for anyone creating a memorable dessert table filled with Christmas cookies Santa would love, these treats are both delicious and decorative — a true holiday classic.
Ingredients
- FOR THE SUGAR COOKIES
- 2 ¾ cups (330g) all-purpose flour
- 1 tsp baking powder
- ½ tsp salt
- 1 cup (226g) unsalted butter, softened
- 1 cup (200g) granulated sugar
- 1 large egg
- 2 tsp pure vanilla extract
- ½ tsp almond extract (optional)
- FOR THE ROYAL ICING
- 4 cups (480g) powdered sugar, sifted
- 3 tbsp meringue powder
- 6 tbsp water (more as needed for thinning)
- Gel food coloring (red, black, pink, white)
- Small round piping tips (#1, #2, #3 recommended)
- Piping bags or squeeze bottles
Instructions
- MAKE THE SUGAR COOKIE DOUGH: In a medium bowl, whisk together the flour, baking powder, and salt. In a large mixing bowl, beat the softened butter and sugar until light and fluffy, about 2–3 minutes. Add the egg, vanilla extract, and almond extract if using, and mix until well combined. Gradually add the dry ingredients, mixing on low speed until a dough forms. Divide the dough into two discs, wrap in plastic wrap, and chill for at least 1 hour or up to 24 hours.
- ROLL AND CUT THE COOKIES: Preheat the oven to 350°F (175°C) and line baking sheets with parchment paper. On a lightly floured surface, roll out one disc of dough to about ¼ inch thick. Use a Santa head-shaped cookie cutter (or a round cutter for the face base) to cut out cookies. Transfer the cookies to the prepared baking sheets, spacing them about 1 inch apart.
- BAKE THE COOKIES: Bake for 9–11 minutes or until the edges are just beginning to turn golden. Remove from the oven and let the cookies cool on the baking sheet for 5 minutes, then transfer to a wire rack to cool completely before decorating.
- PREPARE THE ROYAL ICING: In a mixing bowl, combine the sifted powdered sugar and meringue powder. Add water gradually and beat on low speed for 7–10 minutes until the icing is thick and glossy. Divide the icing into four bowls and tint each portion with gel food coloring to make red, white, pink, and black. Cover each bowl with a damp cloth to prevent the icing from drying out.
- DECORATE THE COOKIES: Use pink icing to outline and flood the face area in the center of each cookie. Allow it to set slightly before piping the red hat shape above the face and filling it in. Add the white trim and a pom-pom on the hat using stiff white icing. Pipe the beard and mustache using white icing and a round tip, layering or outlining for texture. Add two small black dots for eyes and a pink or red dot for the nose. Use red or black icing to pipe a smile. Let the cookies dry uncovered at room temperature for several hours or overnight until the icing is fully set.
Notes
Store decorated cookies in an airtight container at room temperature for up to 5 days. For longer storage, freeze undecorated cookies and decorate after thawing. Adjust the icing consistency by adding small amounts of water (to thin) or powdered sugar (to thicken).