
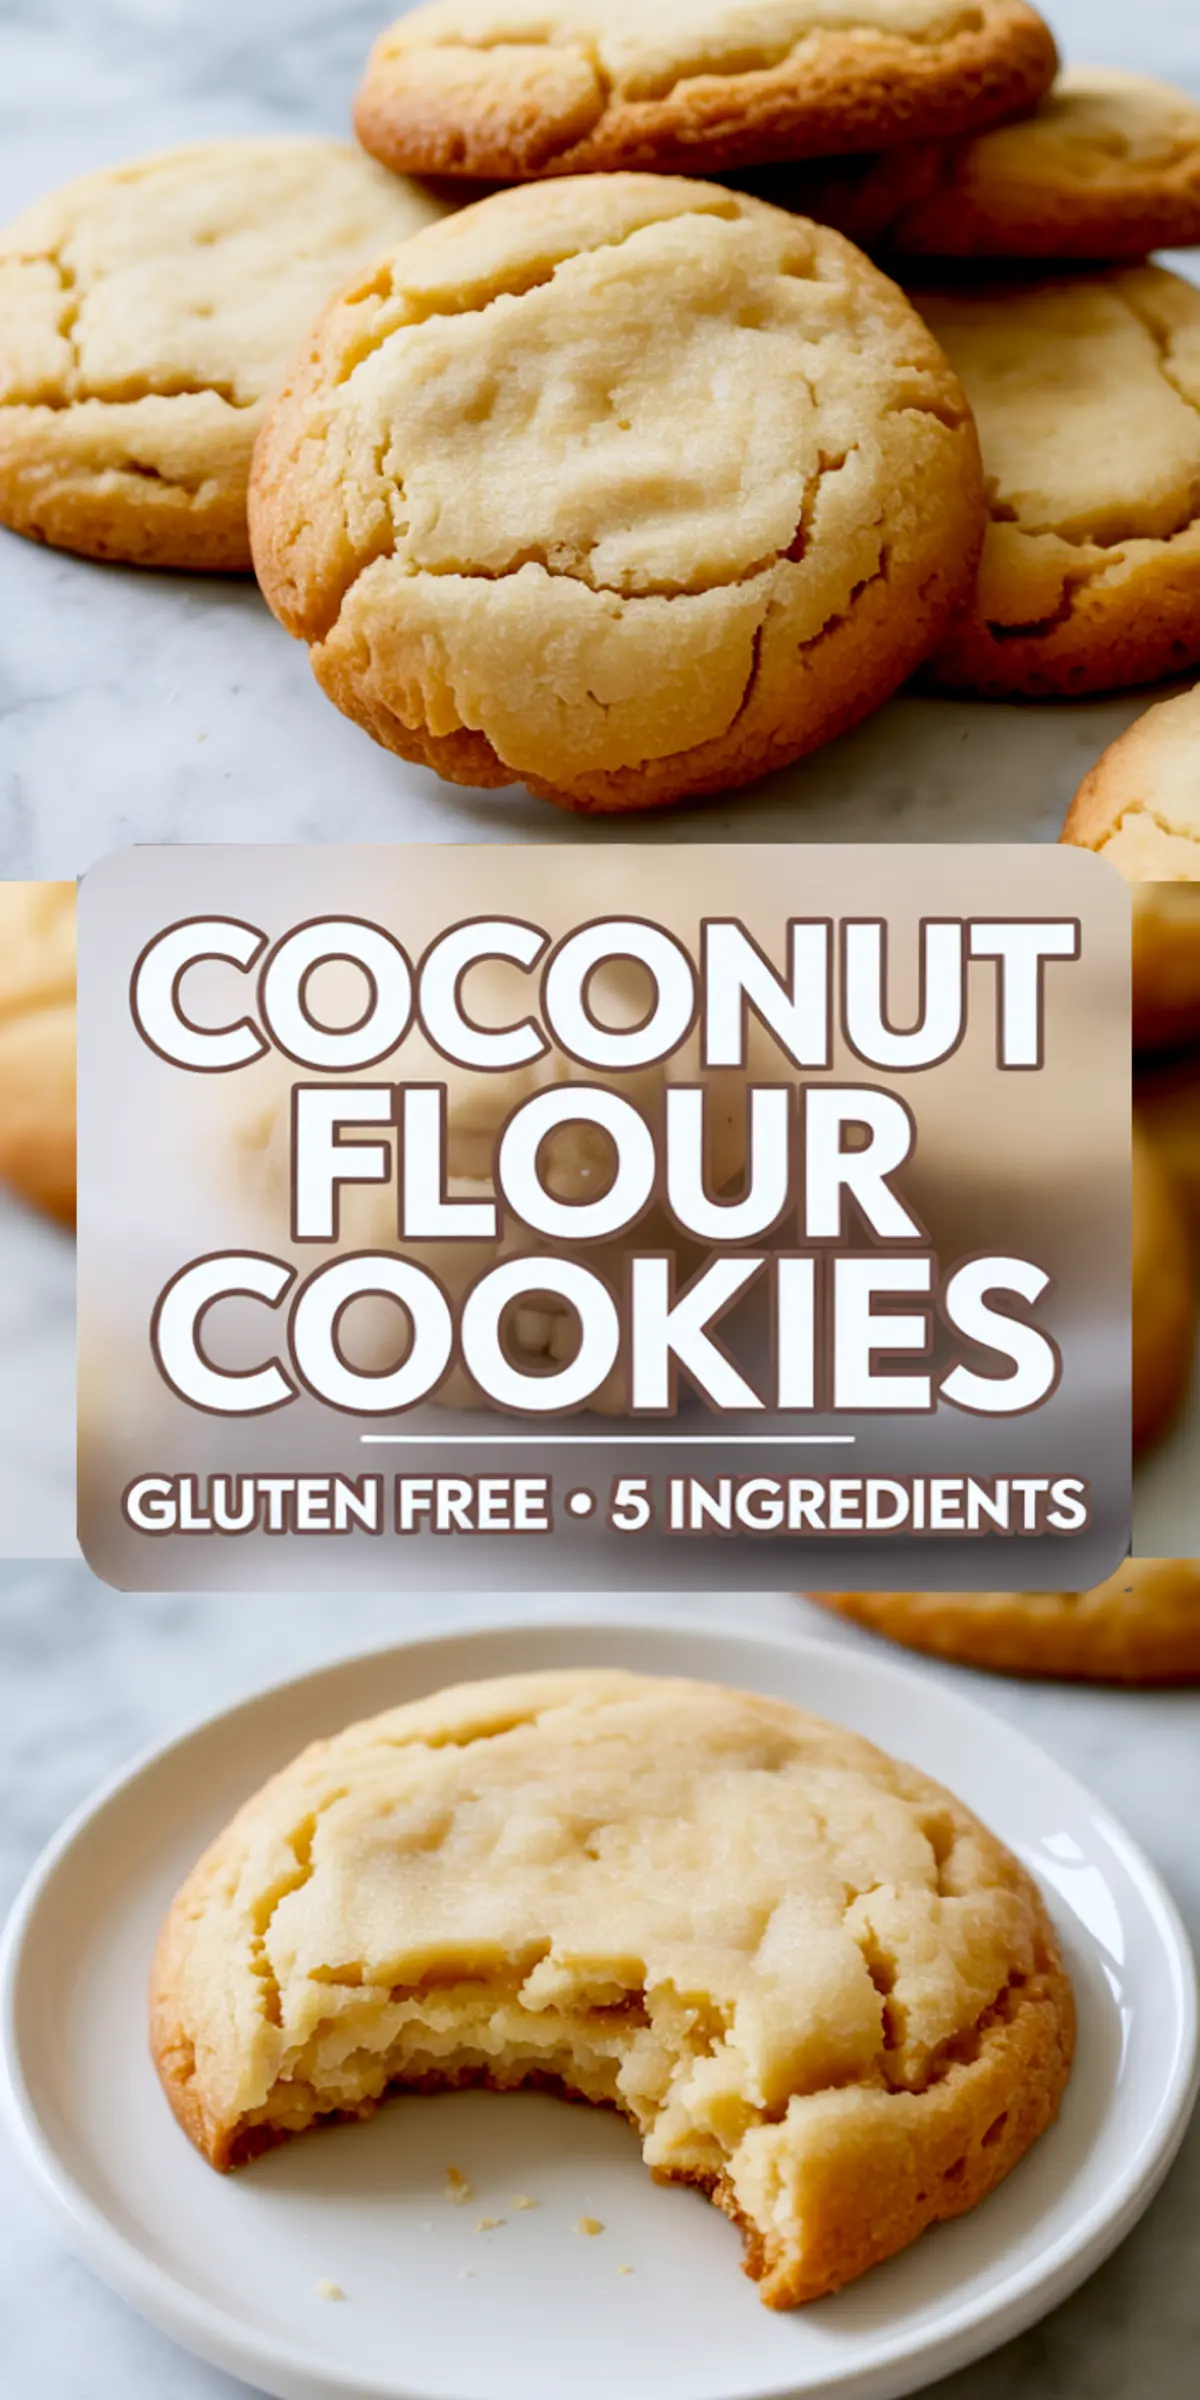
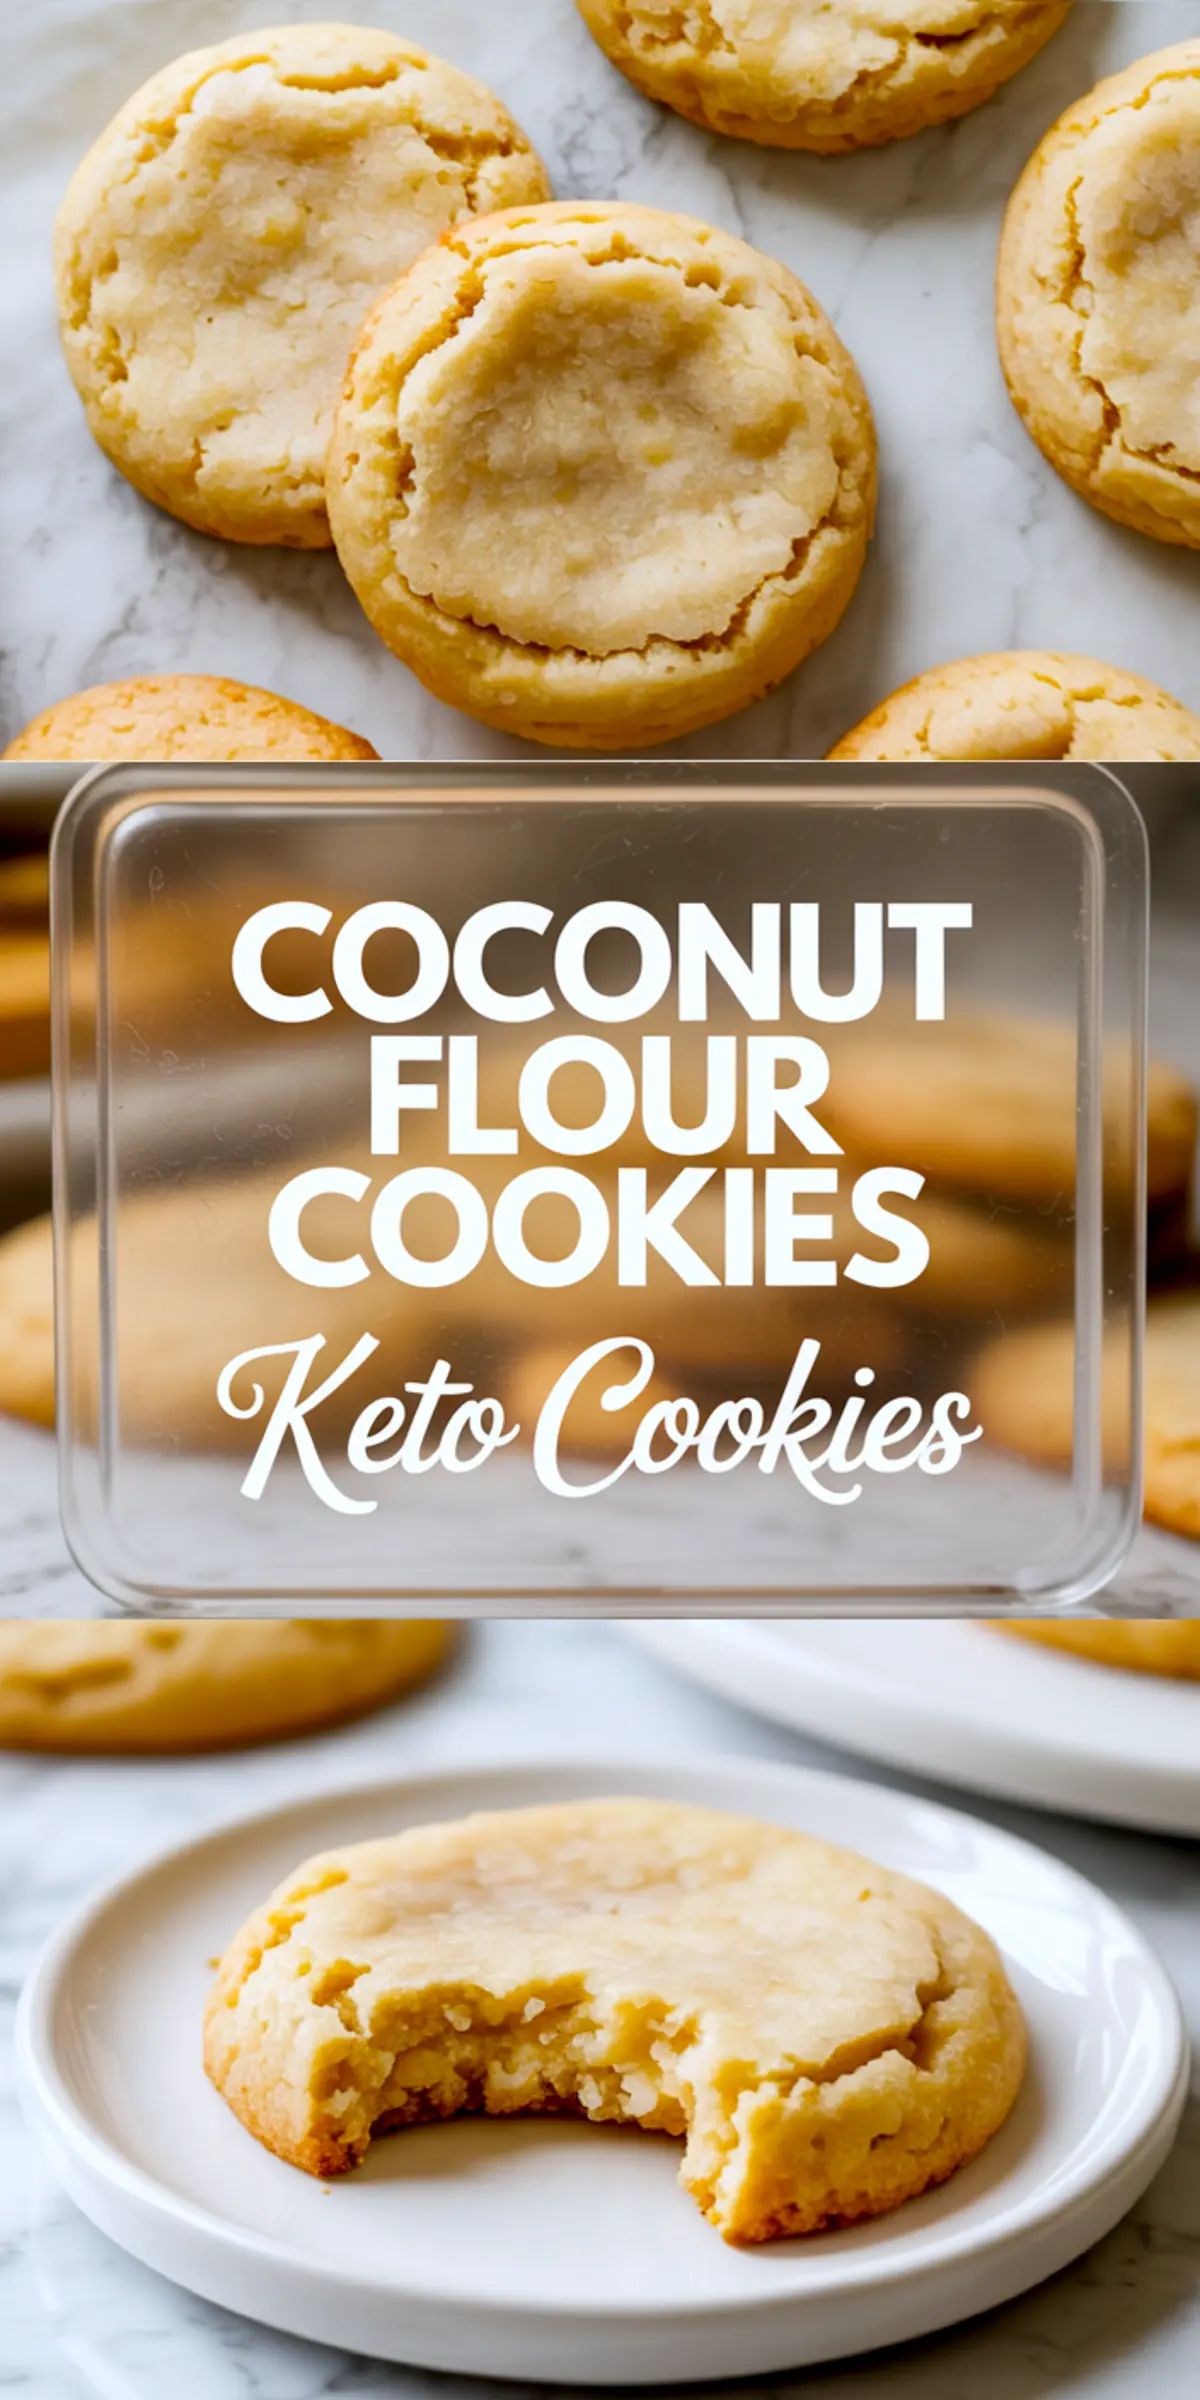
These Coconut Flour Cookies are soft-baked, gently sweetened, and made without refined flour. The recipe uses simple pantry ingredients and fits well into gluten-free, low-carb, and healthy snacking lifestyles. This is one of the easiest coconut flour cookie recipes to keep in rotation if you want a cookie that holds its shape, doesn’t dry out, and works for meal prep or quick snacks.
Following a special diet?
Every recipe on this site can be converted to gluten-free, vegan, dairy-free, keto, nut-free or egg-free with adjusted ratios so nothing falls flat.
Try the Recipe Converter →Coconut flour has a reputation for being tricky. It absorbs more liquid than typical flours, which is why the ratios here matter. This recipe balances that absorption with just the right mix of eggs and fat to give the cookies moisture without turning them cakey or crumbly.
The structure holds together without any gums or starches, which makes it an efficient option for anyone trying to keep their baking clean and simple. I return to this recipe often when I want to restock my freezer with healthy cookies made with coconut flour. No grain, no guesswork.
Focus on the Flour: Coconut Flour Basics
Coconut flour gives these cookies their soft bite and mild richness. It absorbs moisture quickly, which is why the rest time in the batter is important. If the cookies feel too wet when shaping, give the dough another 30 seconds to sit. It thickens quickly as the flour hydrates.
Good coconut flour smells faintly sweet, with a clean white color. Avoid anything that smells stale or feels gritty between your fingers. I use it in other recipes too, like these almond flour cookies for a different texture and flavor base.
Ingredient Choices That Matter
Each ingredient here plays a specific role. The melted butter softens the texture and adds flavor. For a dairy-free version, coconut oil works well and blends naturally with the coconut flavor already in the flour.
Maple syrup brings sweetness and moisture. It’s milder than honey, but both will do the job. I’ve tested both, and they behave similarly in the dough. The eggs are not optional here. Coconut flour needs eggs to bind and lift the structure. Two large ones create just the right balance.
I’ve added a pinch of salt for balance. For variation, I sometimes fold in dark chocolate chips or a bit of shredded coconut. You could also lean into a protein-rich snack and pair them with a few protein brownies for variety.
The Steps That Shape These Cookies
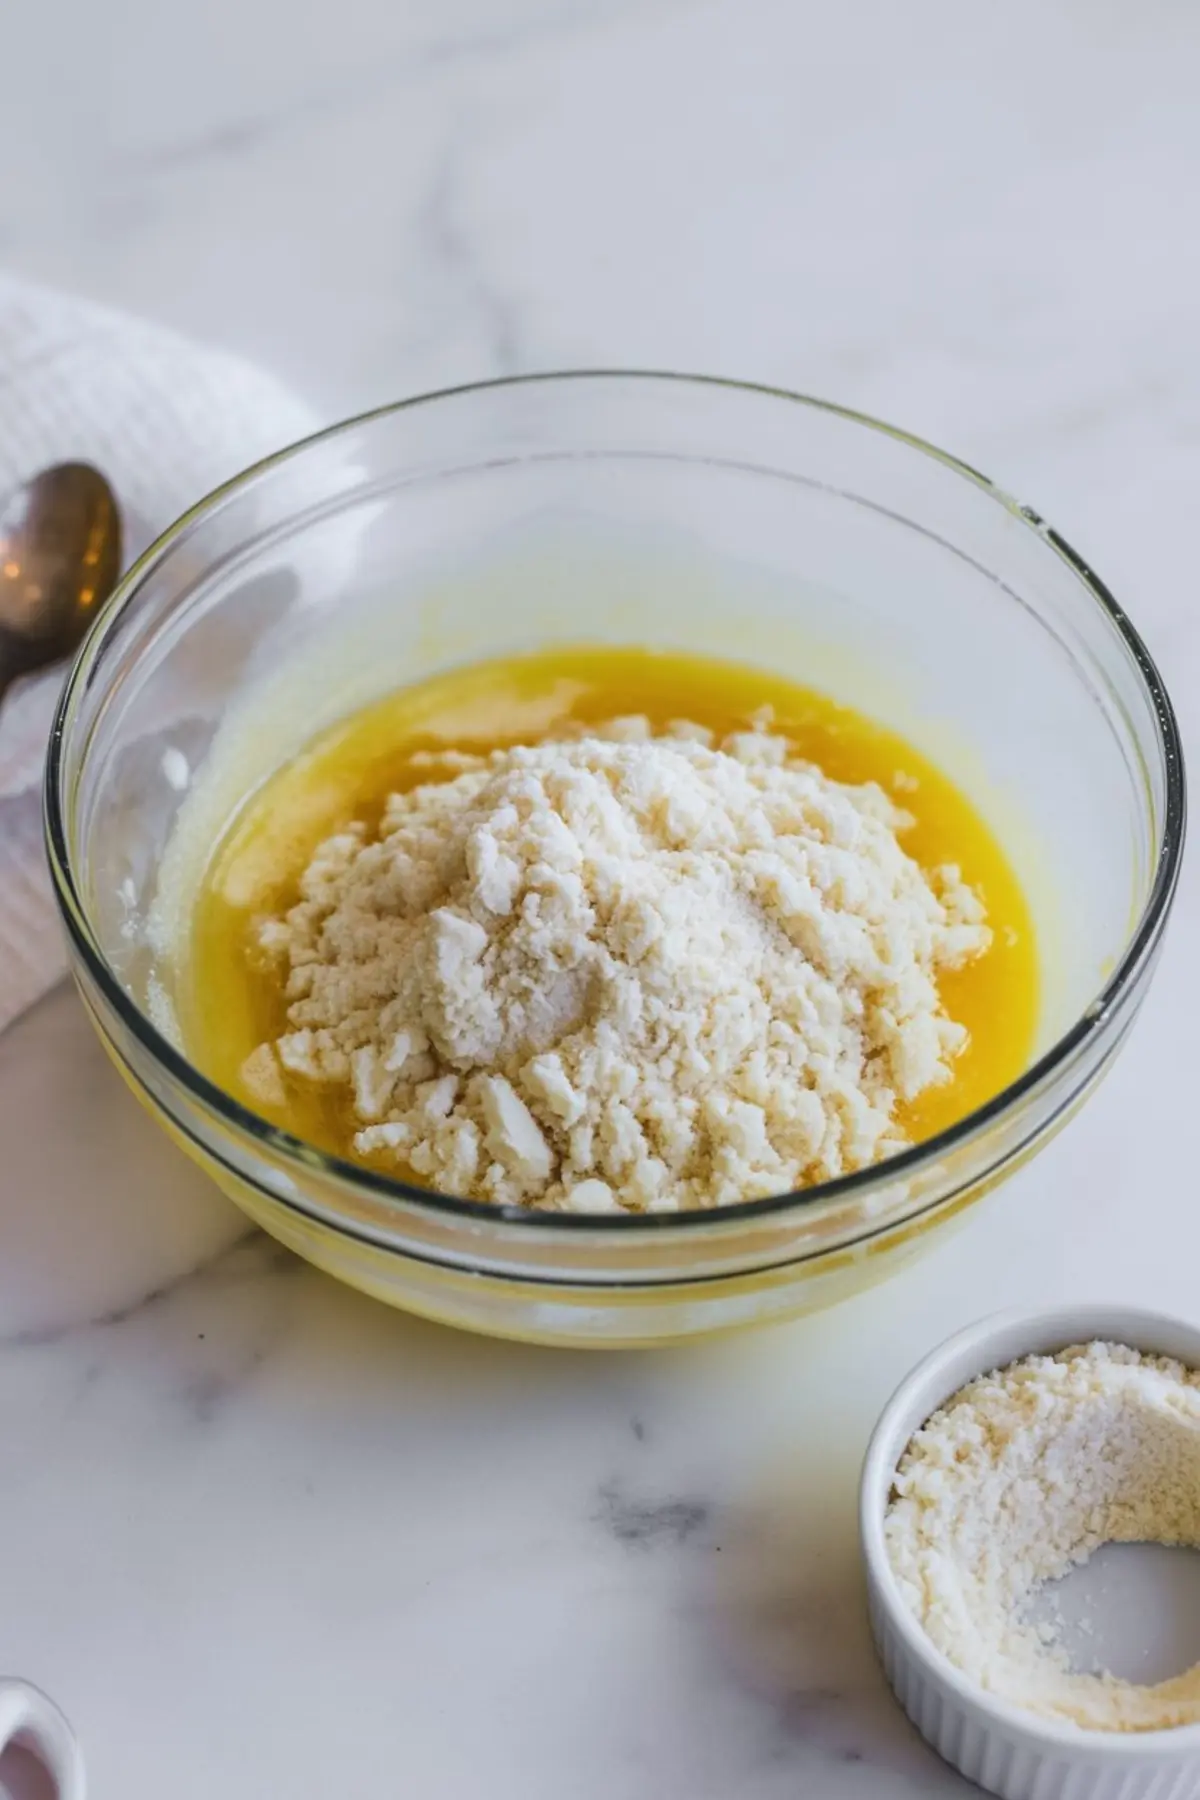
Once the wet ingredients come together, add the sifted coconut flour last. It helps reduce clumps and gives a more even batter. The dough will look soft at first, but give it a minute.
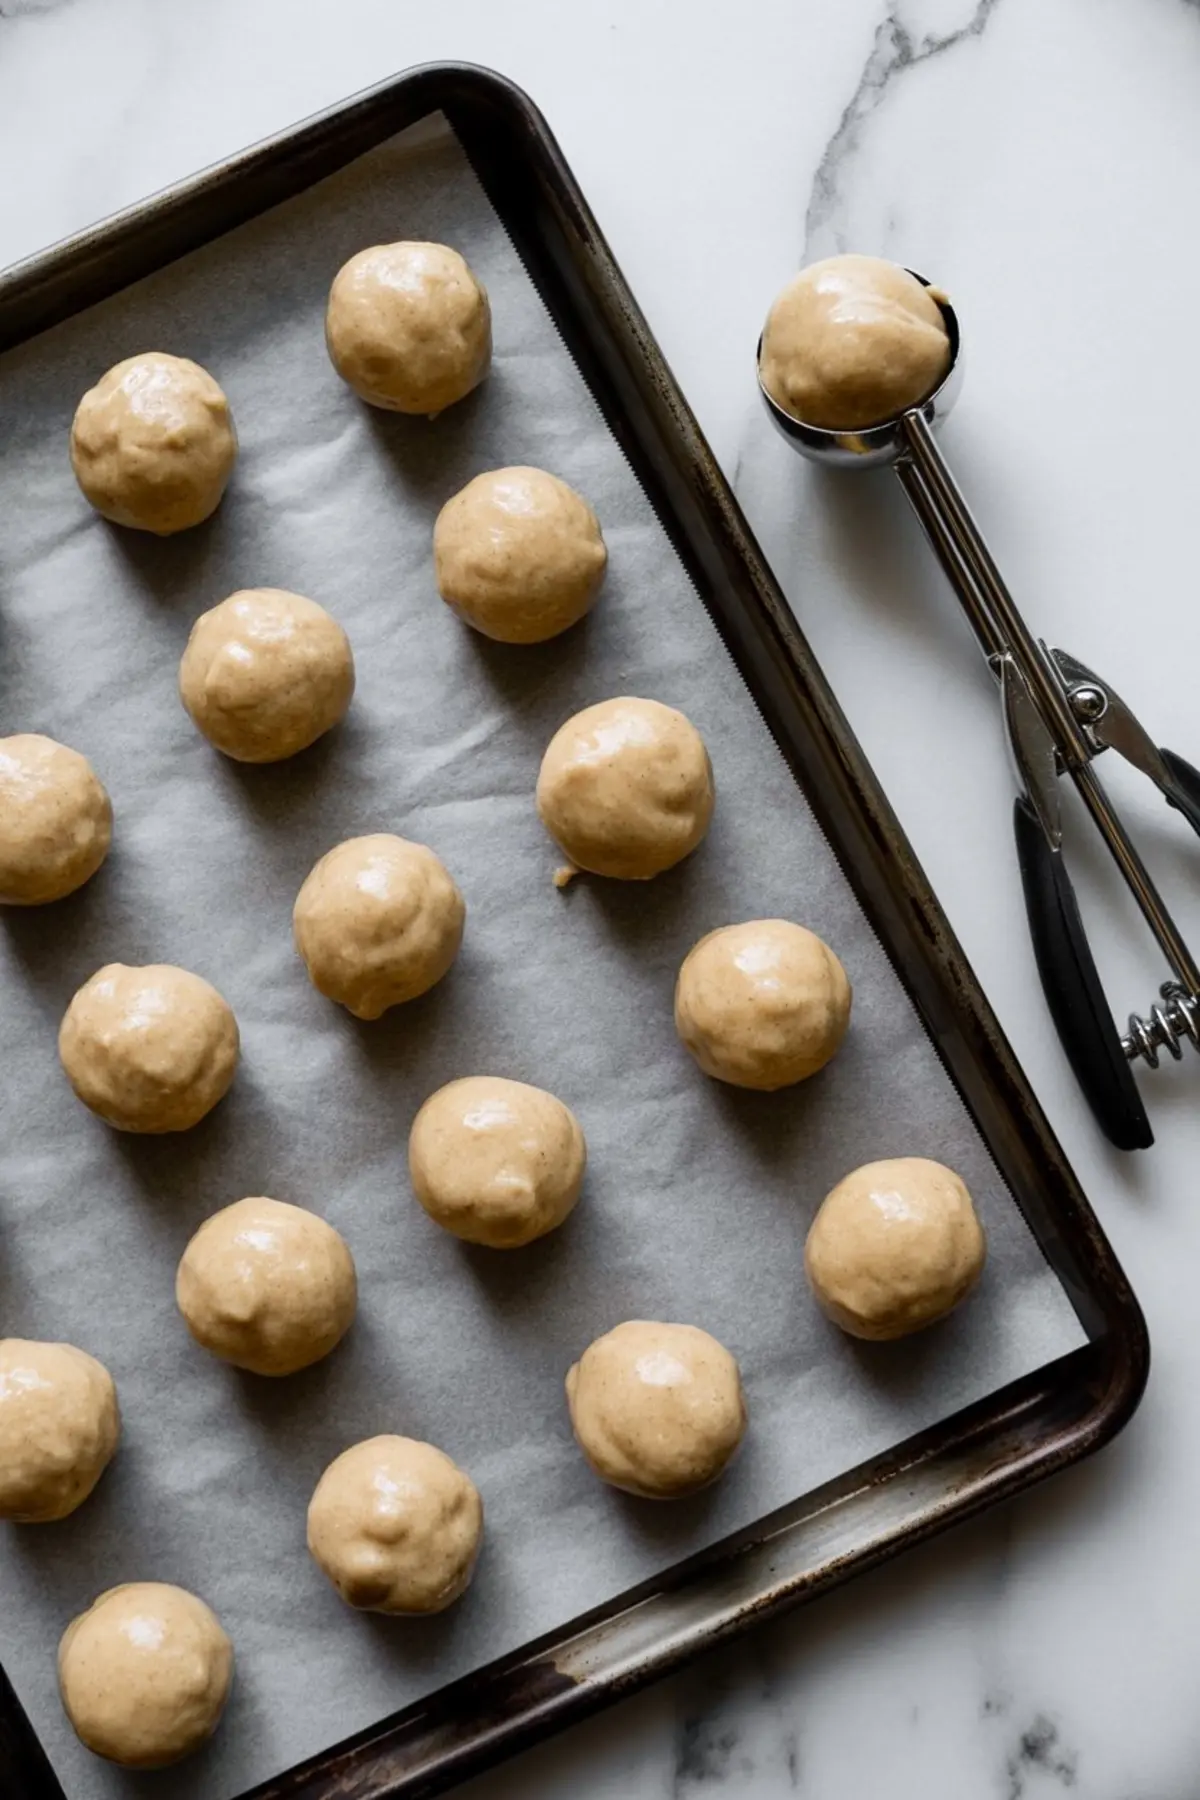
As the flour absorbs the liquid, it will become thick enough to scoop and press. These cookies don’t spread in the oven. Flatten them to the shape you want before baking. A light press with the back of a spoon usually works.
Bake at 350°F for about 11 minutes. Edges should turn golden, but don’t wait for browning across the top. That usually means they’ve gone too far.
How to Tell They’re Ready
Check the edges first. They should feel dry and slightly golden. The tops will look matte and set. They’ll feel fragile when hot but firm up on the pan as they cool.
If you pull them too early, they may break apart when you transfer them. Too late, and they turn dry. Aim for that sweet spot right in the middle.
These share similar visual cues with protein cottage cheese brownies set edges, soft centers, and a stable hold after cooling.
Variations and Add-ins
Try 2 tablespoons of dark chocolate chips if you want a sweet kick without changing the base. Add 1 tablespoon of unsweetened shredded coconut for a stronger coconut profile. A small amount of cinnamon adds warmth without overpowering the flavor.
I’ve also paired these with quinoa peanut butter cups as part of a gluten-free treat box. They store and travel well together.
How to Store and Reheat
Keep these coconut flour cookies in an airtight container at room temperature for 3 days. If you want a firmer texture, refrigerate them. That’s actually how I prefer them.
To freeze, place in a single layer in a sealed container. They hold up for about 6 weeks frozen. Defrost at room temperature. A quick warm-up in a toaster oven gives them that fresh-baked softness again.
Testing Notes and Tips
Let the dough rest before shaping. This short pause makes a big difference.
Use parchment paper every time. Coconut flour dough can be sticky on metal trays.
Stick to large eggs, not medium. Volume matters here.
Don’t skip the sifting step. It keeps the texture light
These tips apply to other similar recipes too, like chocolate protein mug cake, which also relies on balance and timing.
Save This Coconut Flour Cookie Recipe
Pin this to your healthy cookie board and keep it handy for easy, gluten-free baking. Let me know how you tweak it and what worked best in your kitchen.
I’d love to hear in the comments how they turned out for you or if you added something extra.
Coconut Flour Cookies
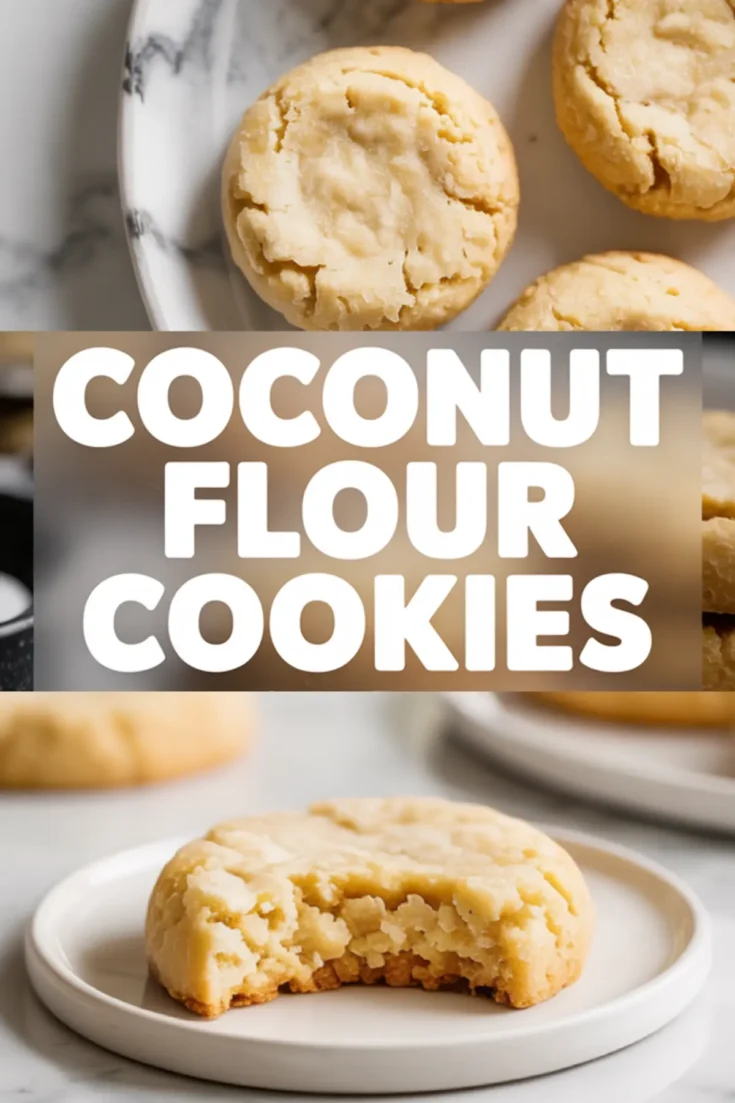
These Coconut Flour Cookies are soft, lightly sweet, and full of rich coconut flavor. Perfect for anyone looking for guilt free dessert options, they’re made with wholesome ingredients and come together quickly. Whether you follow a gluten-free lifestyle or just love experimenting with new ingredients, these cookies with coconut flour offer a simple way to enjoy a healthier treat. Great for meal prep, lunchboxes, or a light snack, they’re proof that healthy cookies with coconut flour don’t have to sacrifice taste.
Ingredients
- 1/3 cup coconut flour, sifted
- 1/4 cup melted butter (or coconut oil for dairy-free)
- 1/4 cup maple syrup (or honey)
- 2 large eggs
- 1/2 teaspoon vanilla extract
- Pinch of salt (optional)
- Optional Add-ins
- 2 tablespoons chocolate chips
- 1 tablespoon shredded coconut
- 1/4 teaspoon ground cinnamon
Instructions
- PREHEAT THE OVEN: Set your oven to 350°F (175°C) and line a baking sheet with parchment paper for easy cleanup.
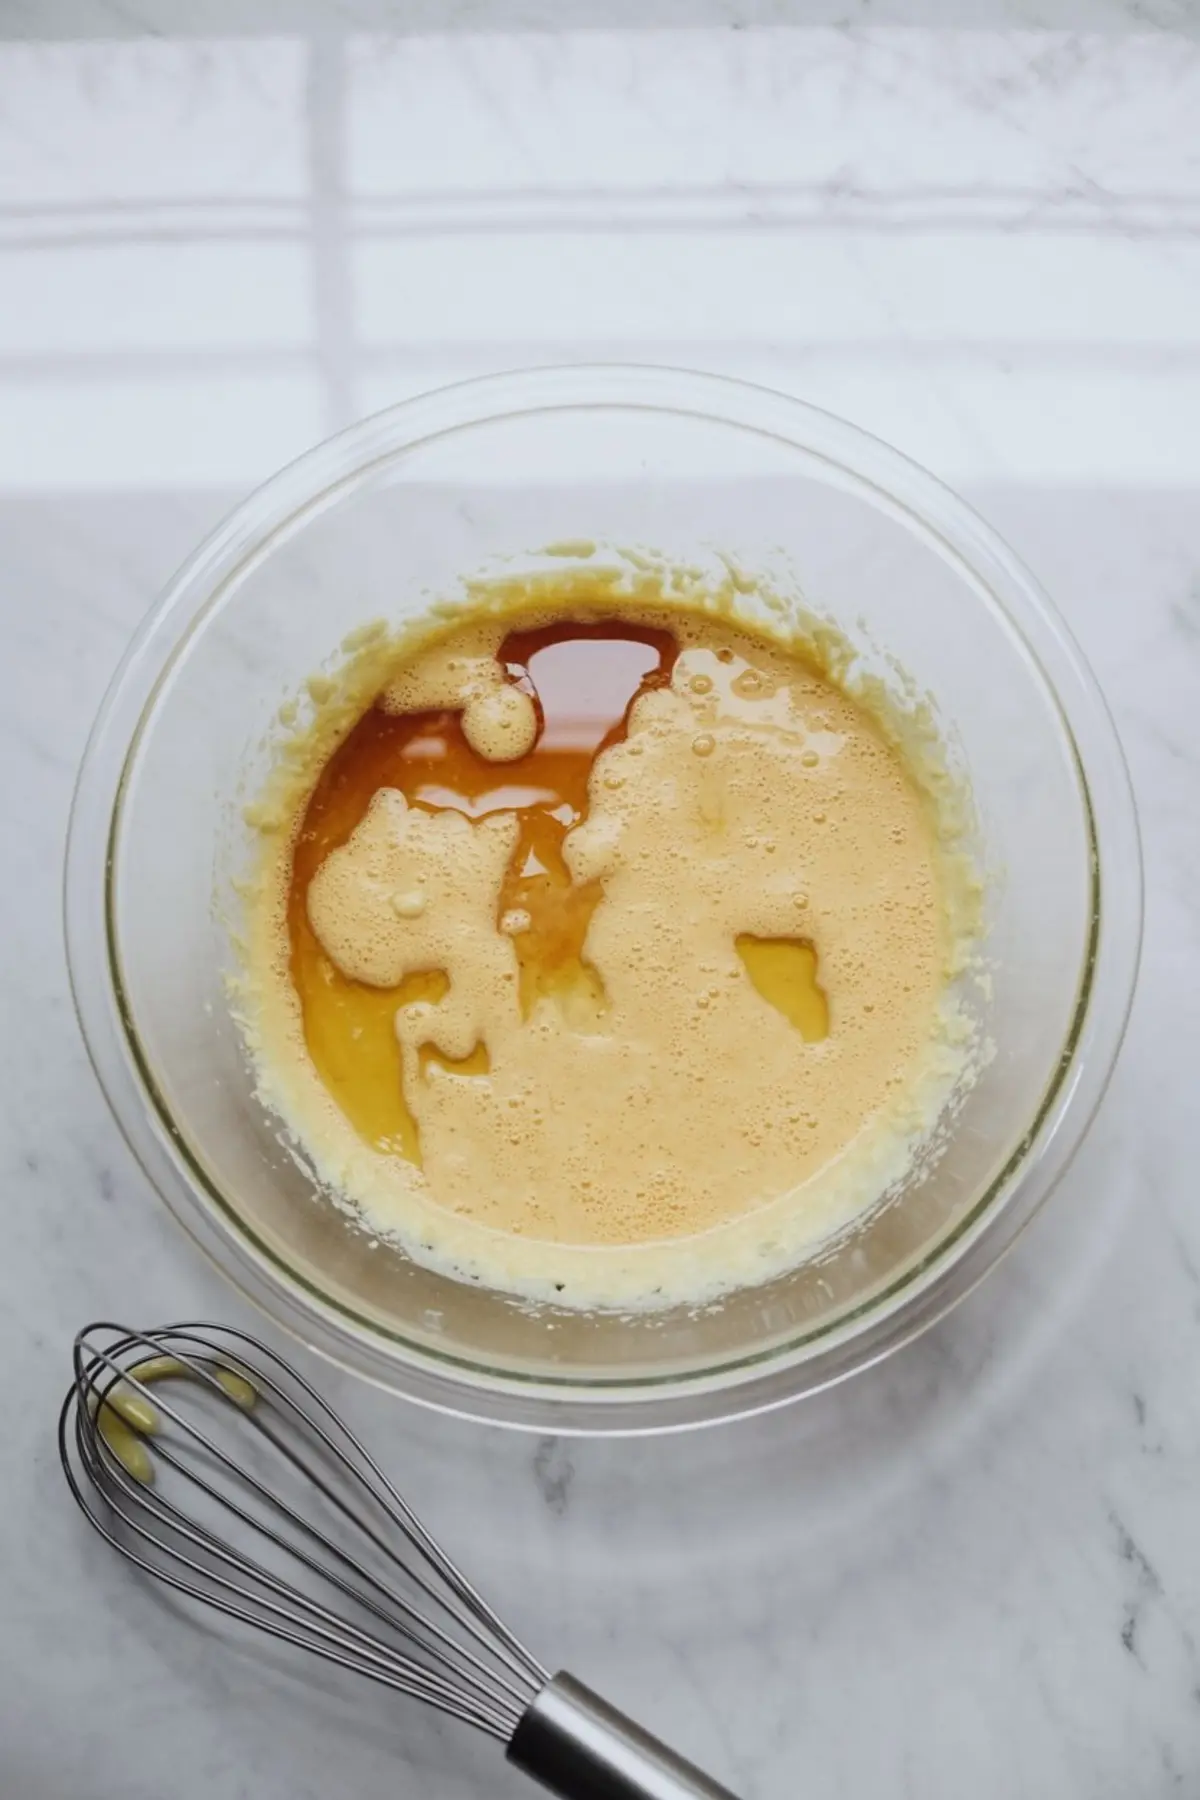
- MIX THE WET INGREDIENTS: In a medium mixing bowl, whisk together the eggs, maple syrup, melted butter (or coconut oil), and vanilla extract until the mixture is smooth and fully combined.
- ADD THE DRY INGREDIENTS: Stir in the sifted coconut flour and a pinch of salt. Mix thoroughly. The batter will thicken as the coconut flour absorbs the liquid—let it rest for 1–2 minutes to fully hydrate.
- FORM THE COOKIES: Use a tablespoon or small cookie scoop to portion the dough onto the prepared baking sheet. Gently flatten each cookie with your fingers or the back of a spoon, shaping them as needed. They will not spread during baking.
- BAKE: Place the tray in the oven and bake for 10–12 minutes, or until the edges turn golden and the tops appear set.
- COOL: Remove from the oven and allow the cookies to cool on the pan for 5 minutes before transferring them to a wire rack to finish cooling. They will firm up as they cool.
Notes
Cookies can be stored in an airtight container at room temperature for up to 3 days, or refrigerated for longer freshness. For a firmer texture, refrigerate before serving. You may adjust sweetness by using slightly more or less maple syrup, though texture may vary slightly.