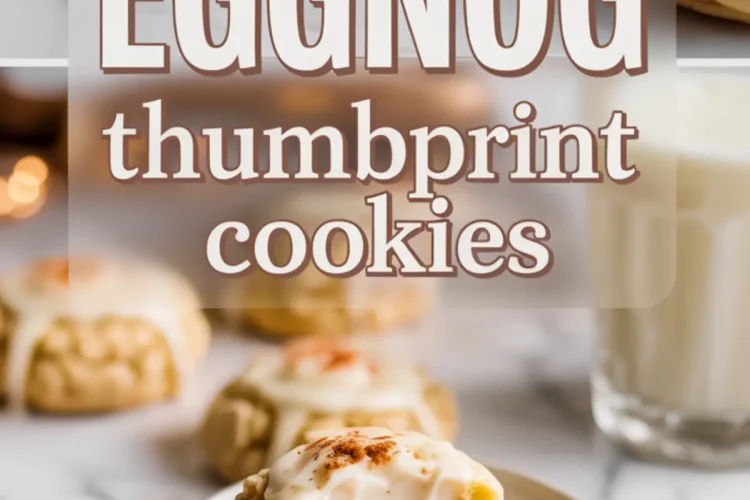
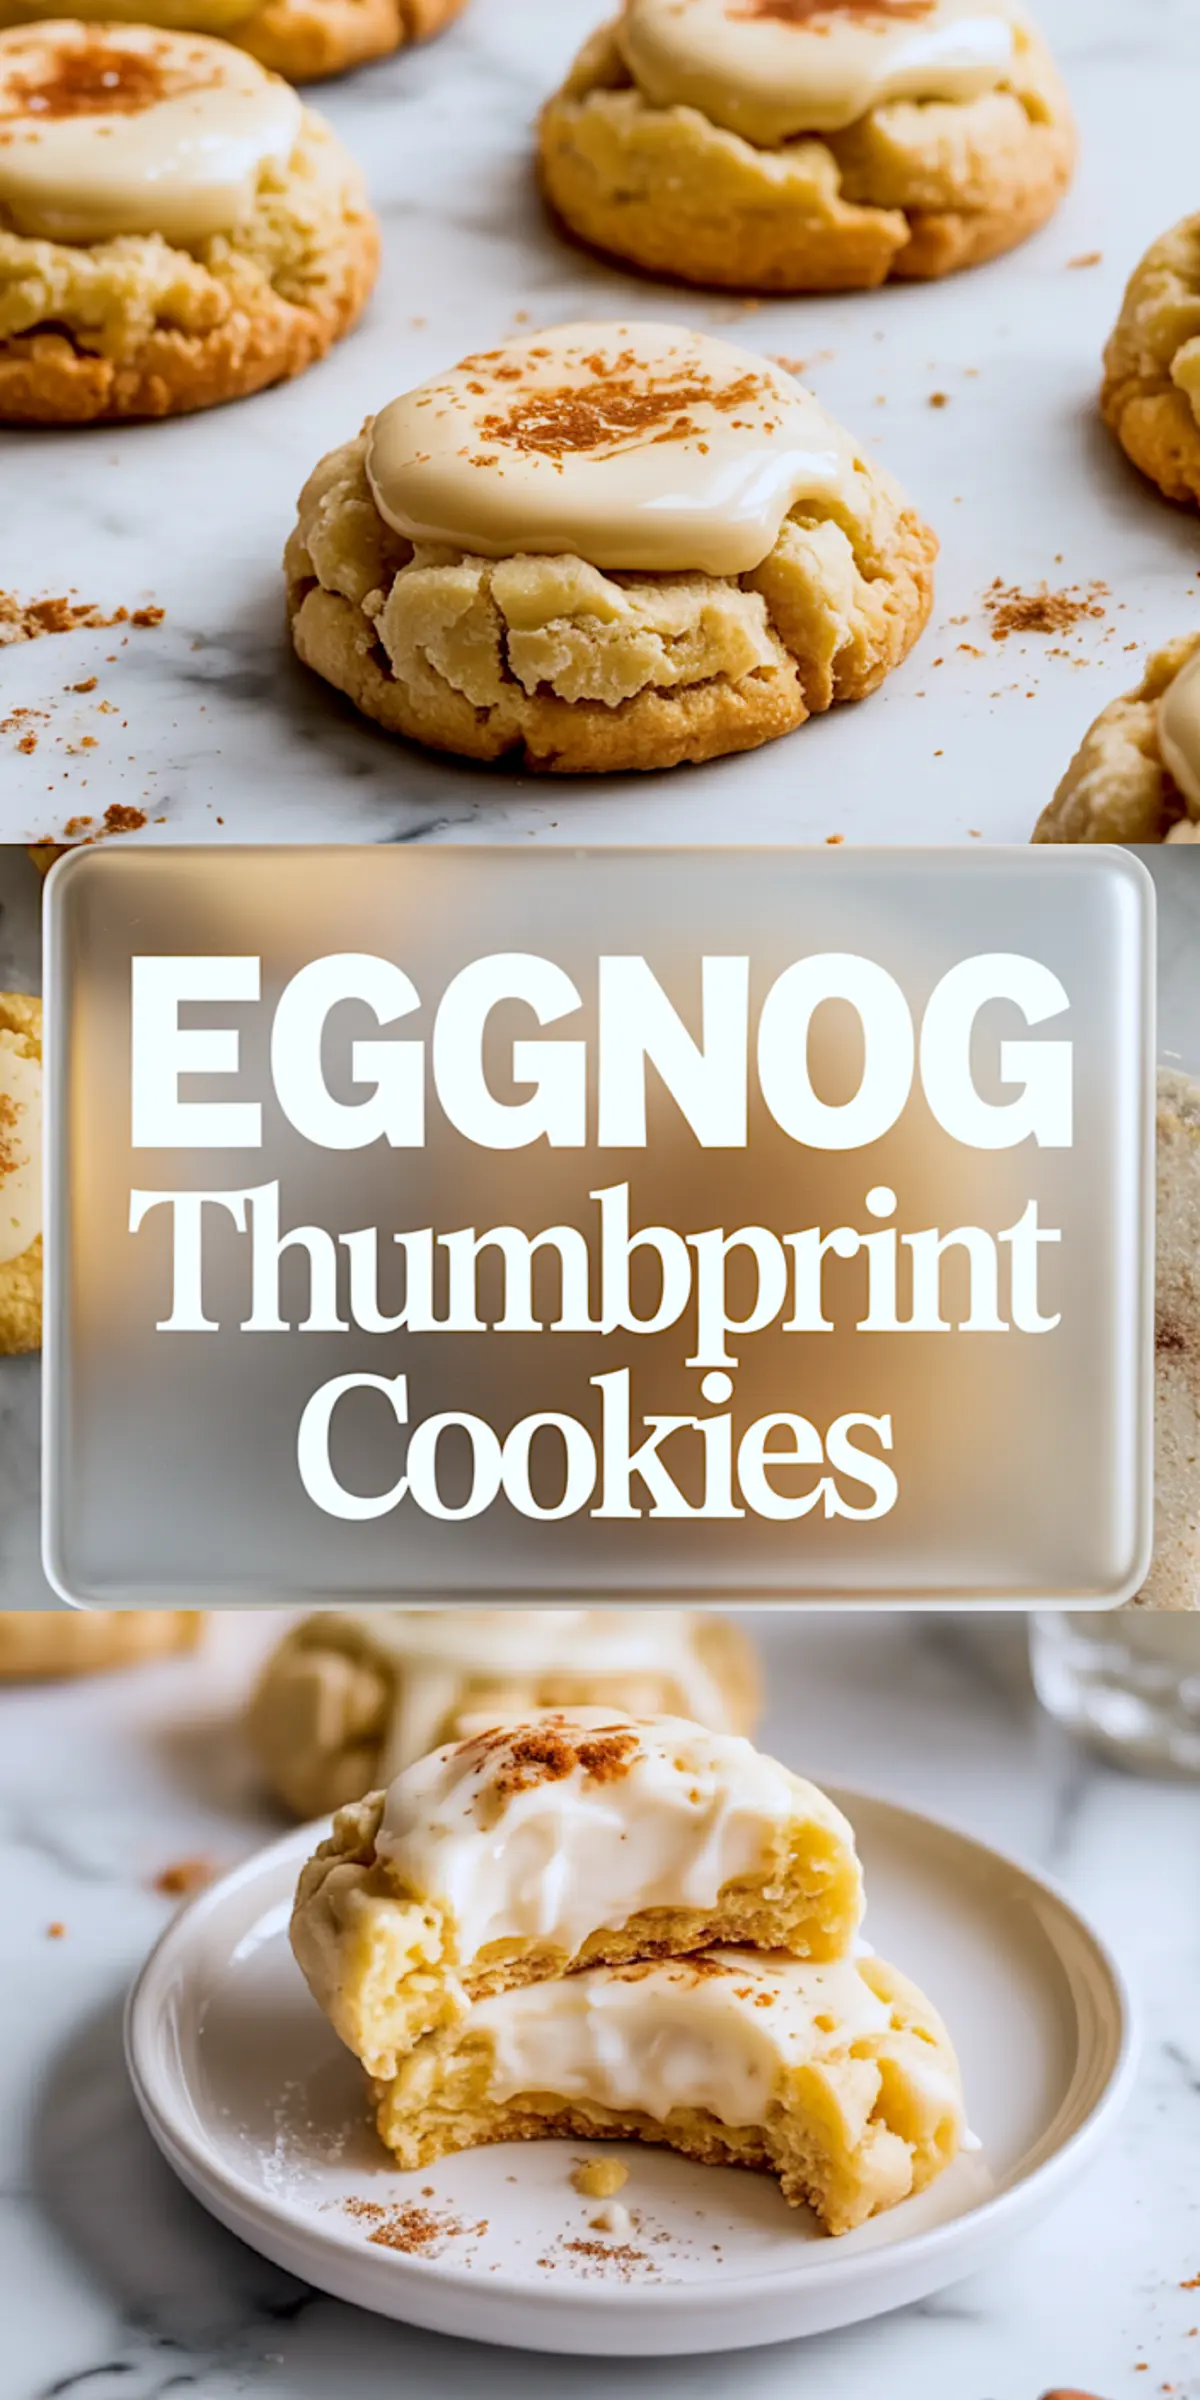
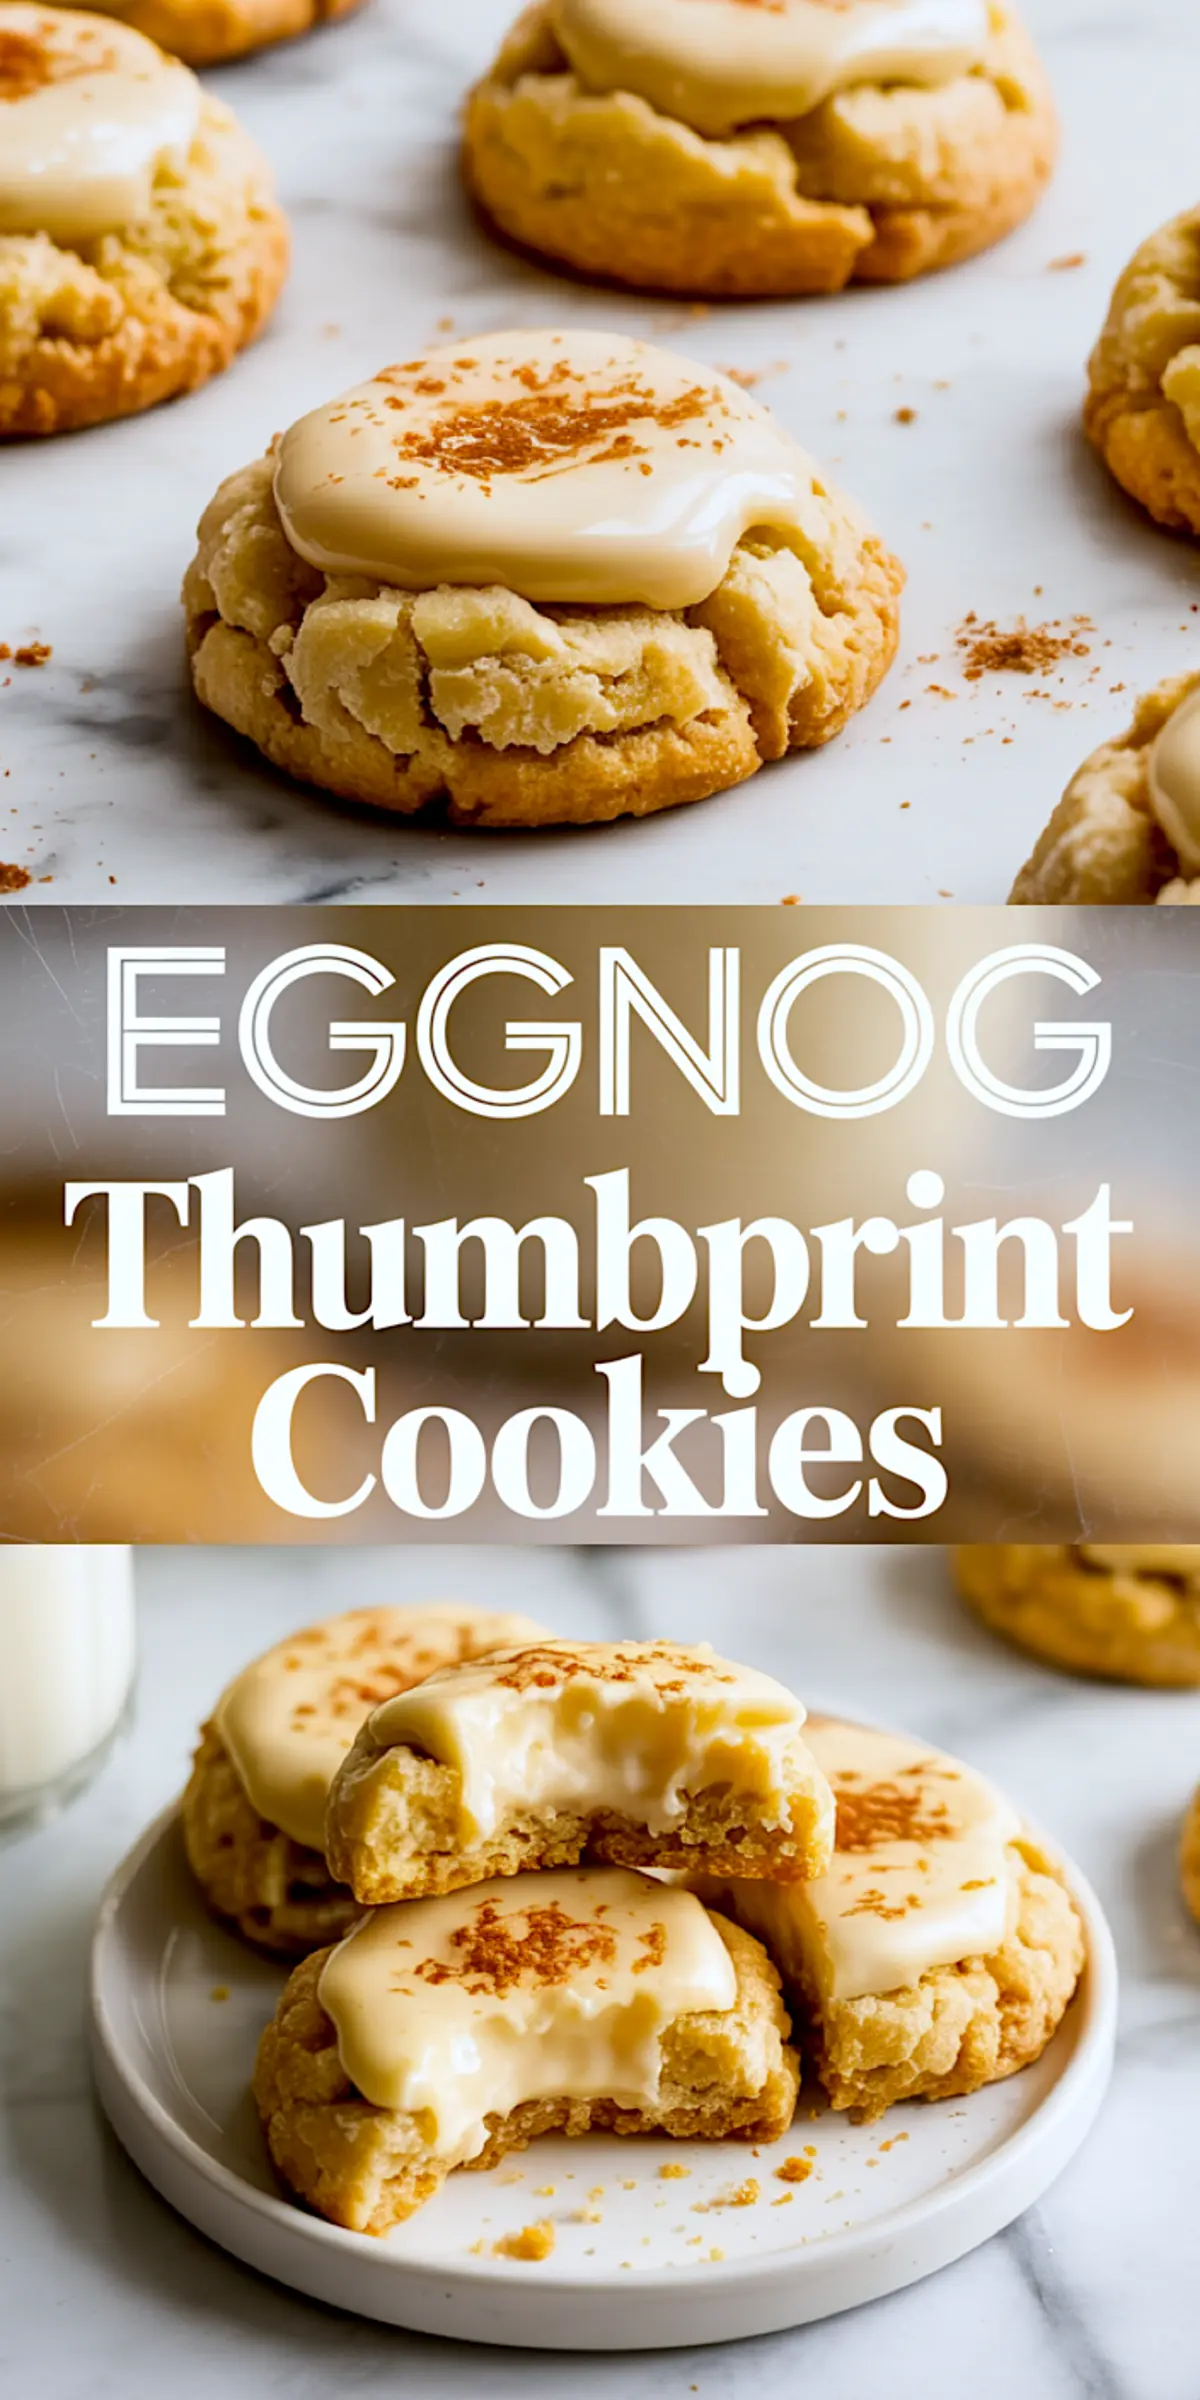
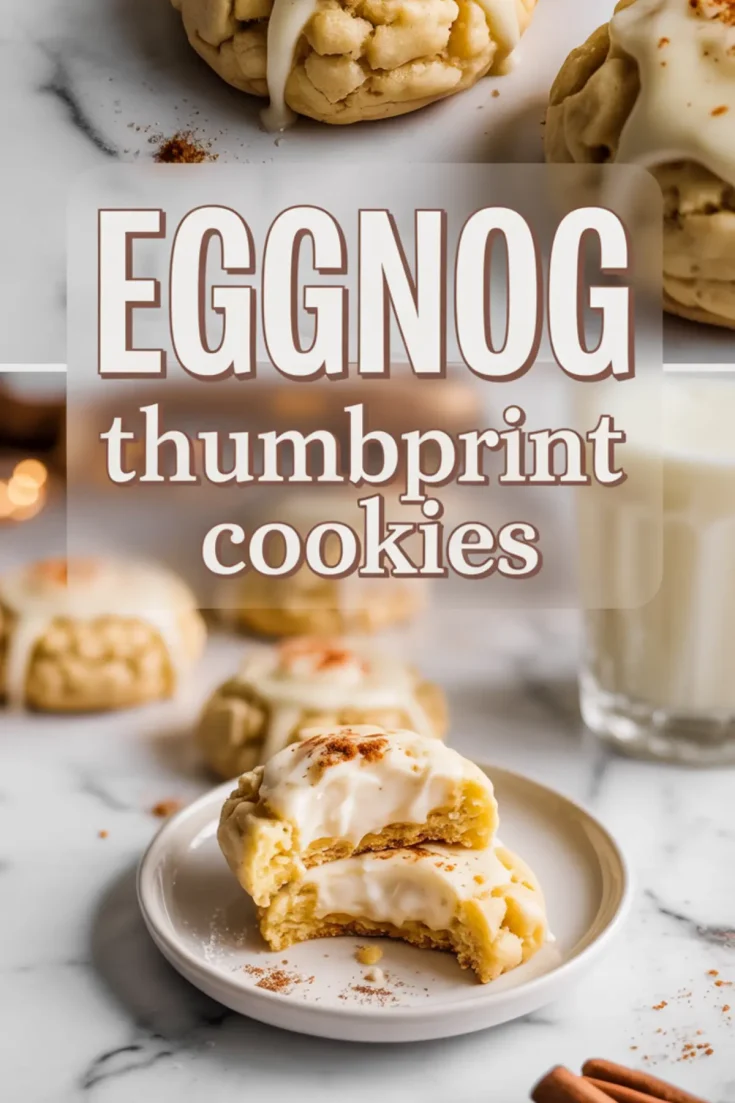
Soft, buttery, and infused with the warmth of nutmeg and cinnamon, these Eggnog Thumbprint Cookies are the kind of dessert that brings quiet joy to any Christmas table. Each cookie carries the familiar flavor of an old-fashioned eggnog recipe but in a form you can hold, share, and gift.
You’ll learn how to bring that creamy holiday drink into a melt-in-your-mouth cookie that pairs perfectly with cocoa or coffee. You’ll also see why each ingredient has a clear purpose that defines both the taste and texture.
This recipe sits comfortably between a thumbprint cookie and a shortbread, giving you the best of both. You don’t need special equipment or patience, only a bit of care and a good mixing bowl. And once you understand why each step matters, you’ll have a cookie that looks as lovely as it tastes.
Following a special diet?
Every recipe on this site can be converted to gluten-free, vegan, dairy-free, keto, nut-free or egg-free with adjusted ratios so nothing falls flat.
Try the Recipe Converter →The Reason These Cookies Feel Like December in One Bite
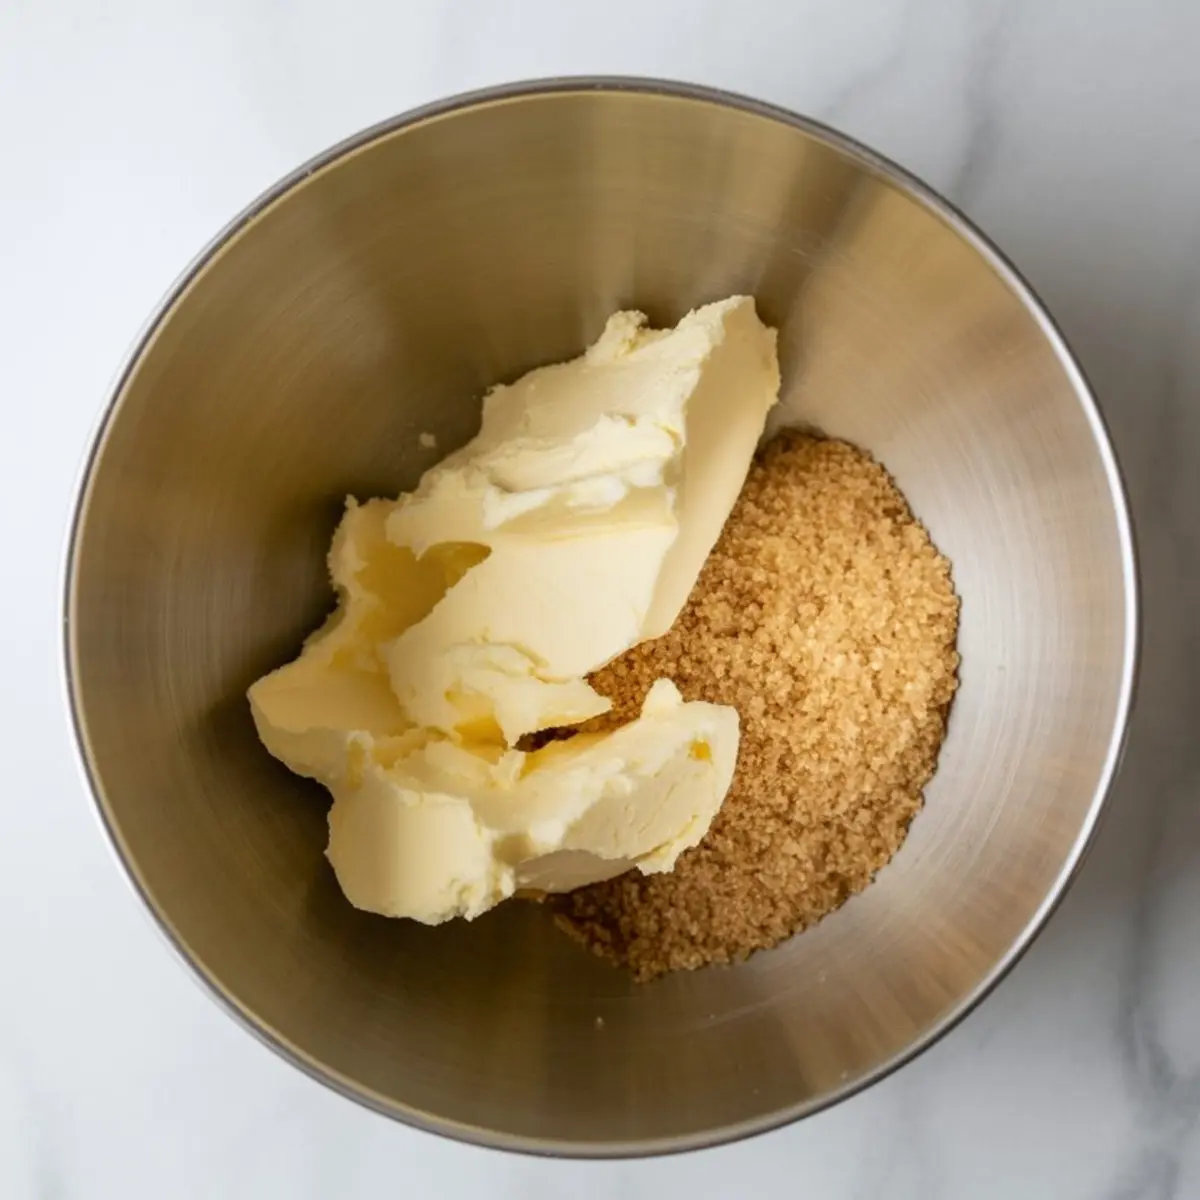
Every ingredient in this dough has intent. Butter carries flavor and tenderness. Granulated and brown sugars work together to balance sweetness with a hint of caramel depth. I’ve tested this with only granulated sugar before, and while still good, the cookie lost a bit of richness. The brown sugar brings that rounded warmth that complements the eggnog glaze later on.
Eggnog is the ingredient that defines this recipe. It gives moisture and that soft crumb that makes the cookie melt instead of crumble. Store-bought eggnog works well, but if you make your own, make sure it’s well-chilled before using. The nutmeg and cinnamon echo what’s already in your mug of eggnog, turning this into a complete sensory match.
If you enjoy that nostalgic blend of creamy and spiced desserts, you might also like my Eggnog Cheesecake Bars. They share the same flavor base but take it into a creamy, sliceable form.
Mixing the Cookie Dough with Care
When creaming butter with sugars, don’t rush. The lightness you create here gives the cookies their signature softness. If the butter is too cold, the texture will be dense. If it’s too warm, the cookies will spread too much. I’ve found that butter softened for 30 minutes on the counter reaches the ideal consistency, soft enough to press but still holding shape.
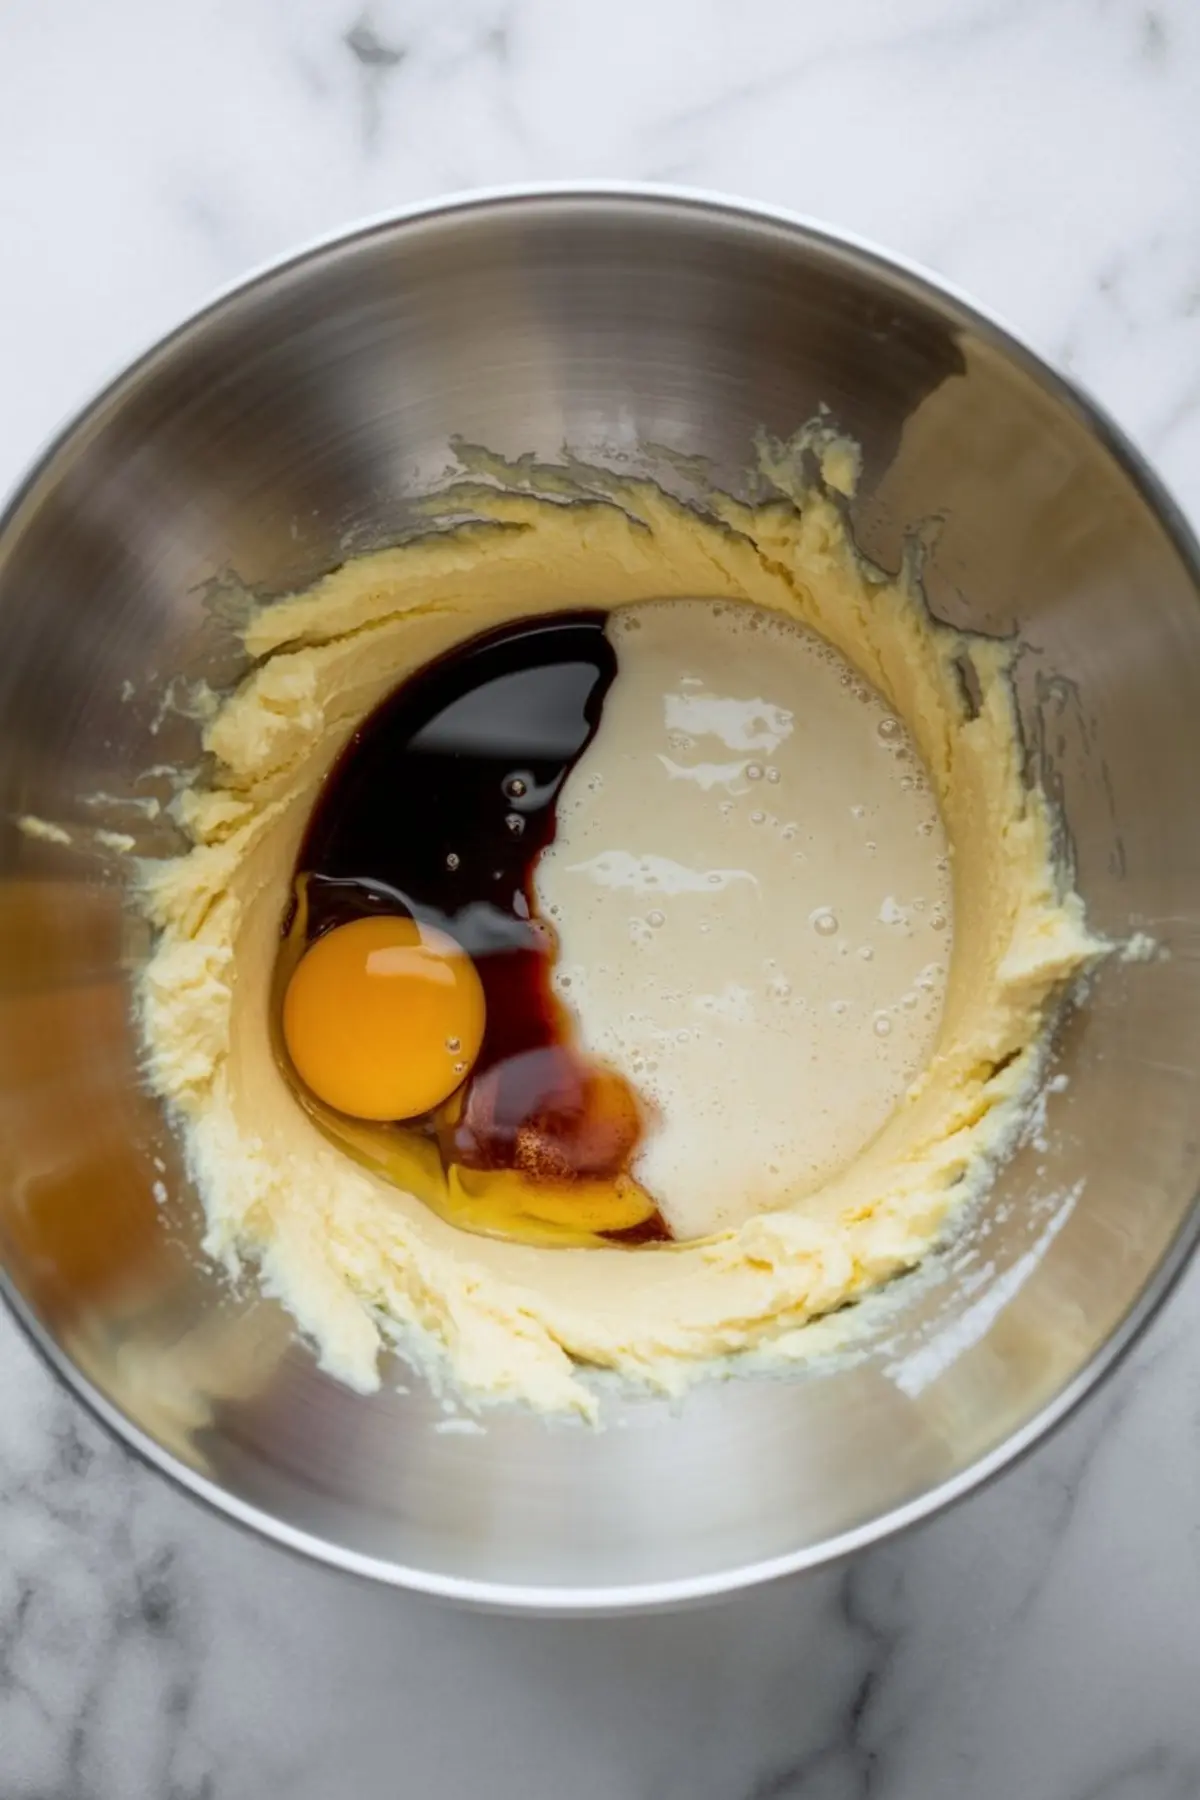
Adding eggnog at this stage creates a silky mixture that looks slightly curdled, and that’s expected. The liquid interacts with the butter differently than milk would. The curdled look means the fat and liquid are beginning to emulsify, which will smooth out once you fold in the dry ingredients.
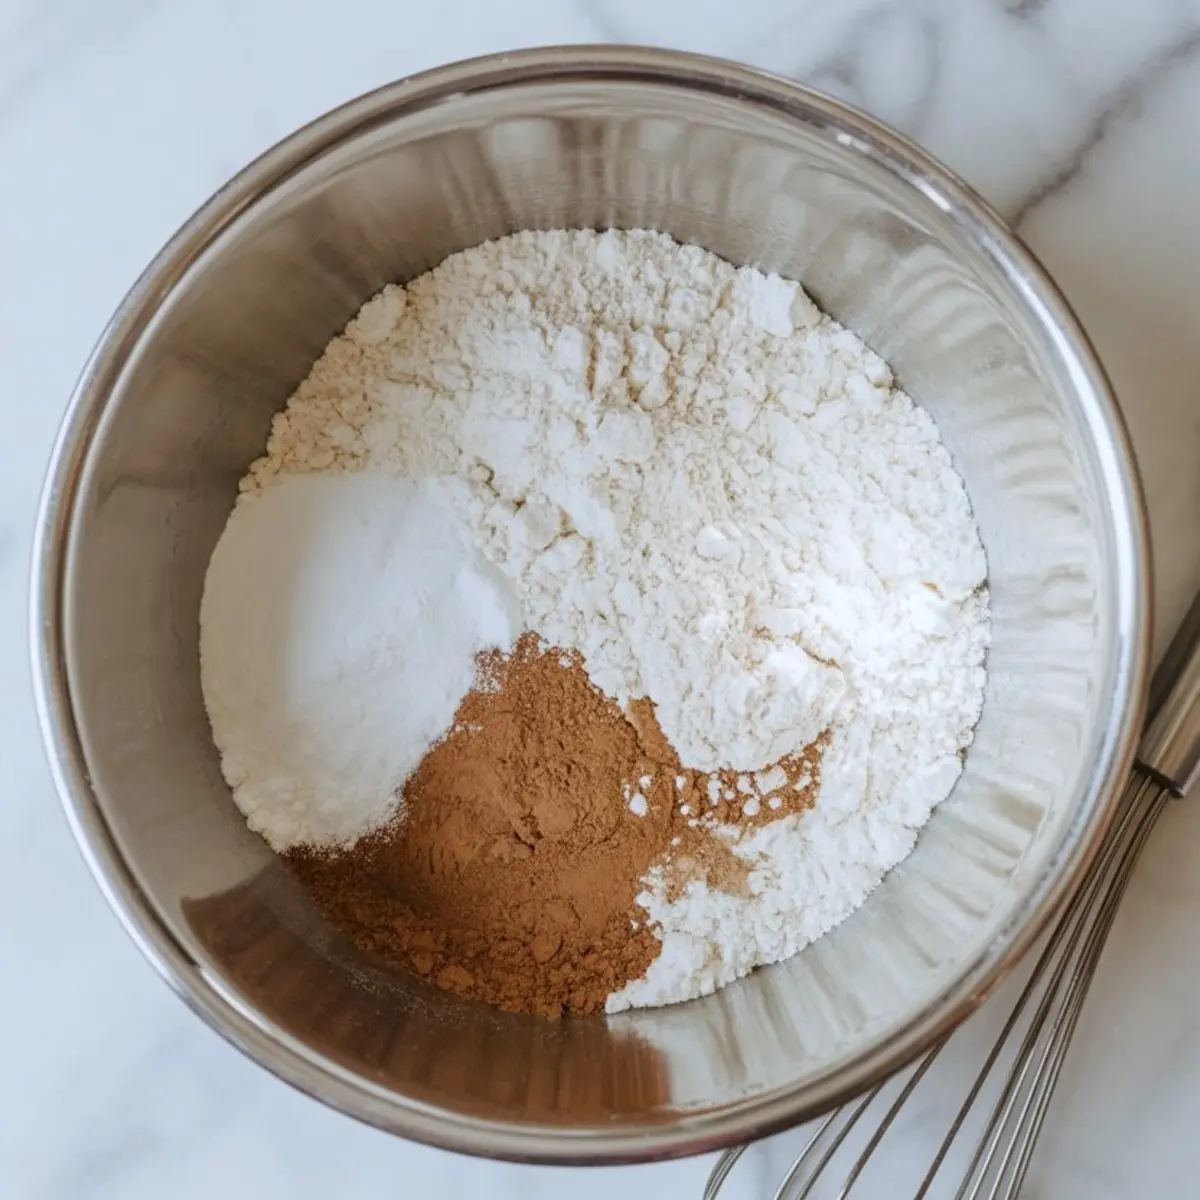
The balance of flour and leavening defines structure. Too much flour, and the cookie becomes chalky. Too little, and it collapses. I measure mine with a kitchen scale because accuracy matters in butter-based doughs.
If you’ve never tried thumbprint cookies before, my Eggnog Mousse Cups are another gentle introduction to this flavor family. They offer a creamy, no-bake variation with the same cozy spice.
The Difference Between Chilling and Skipping
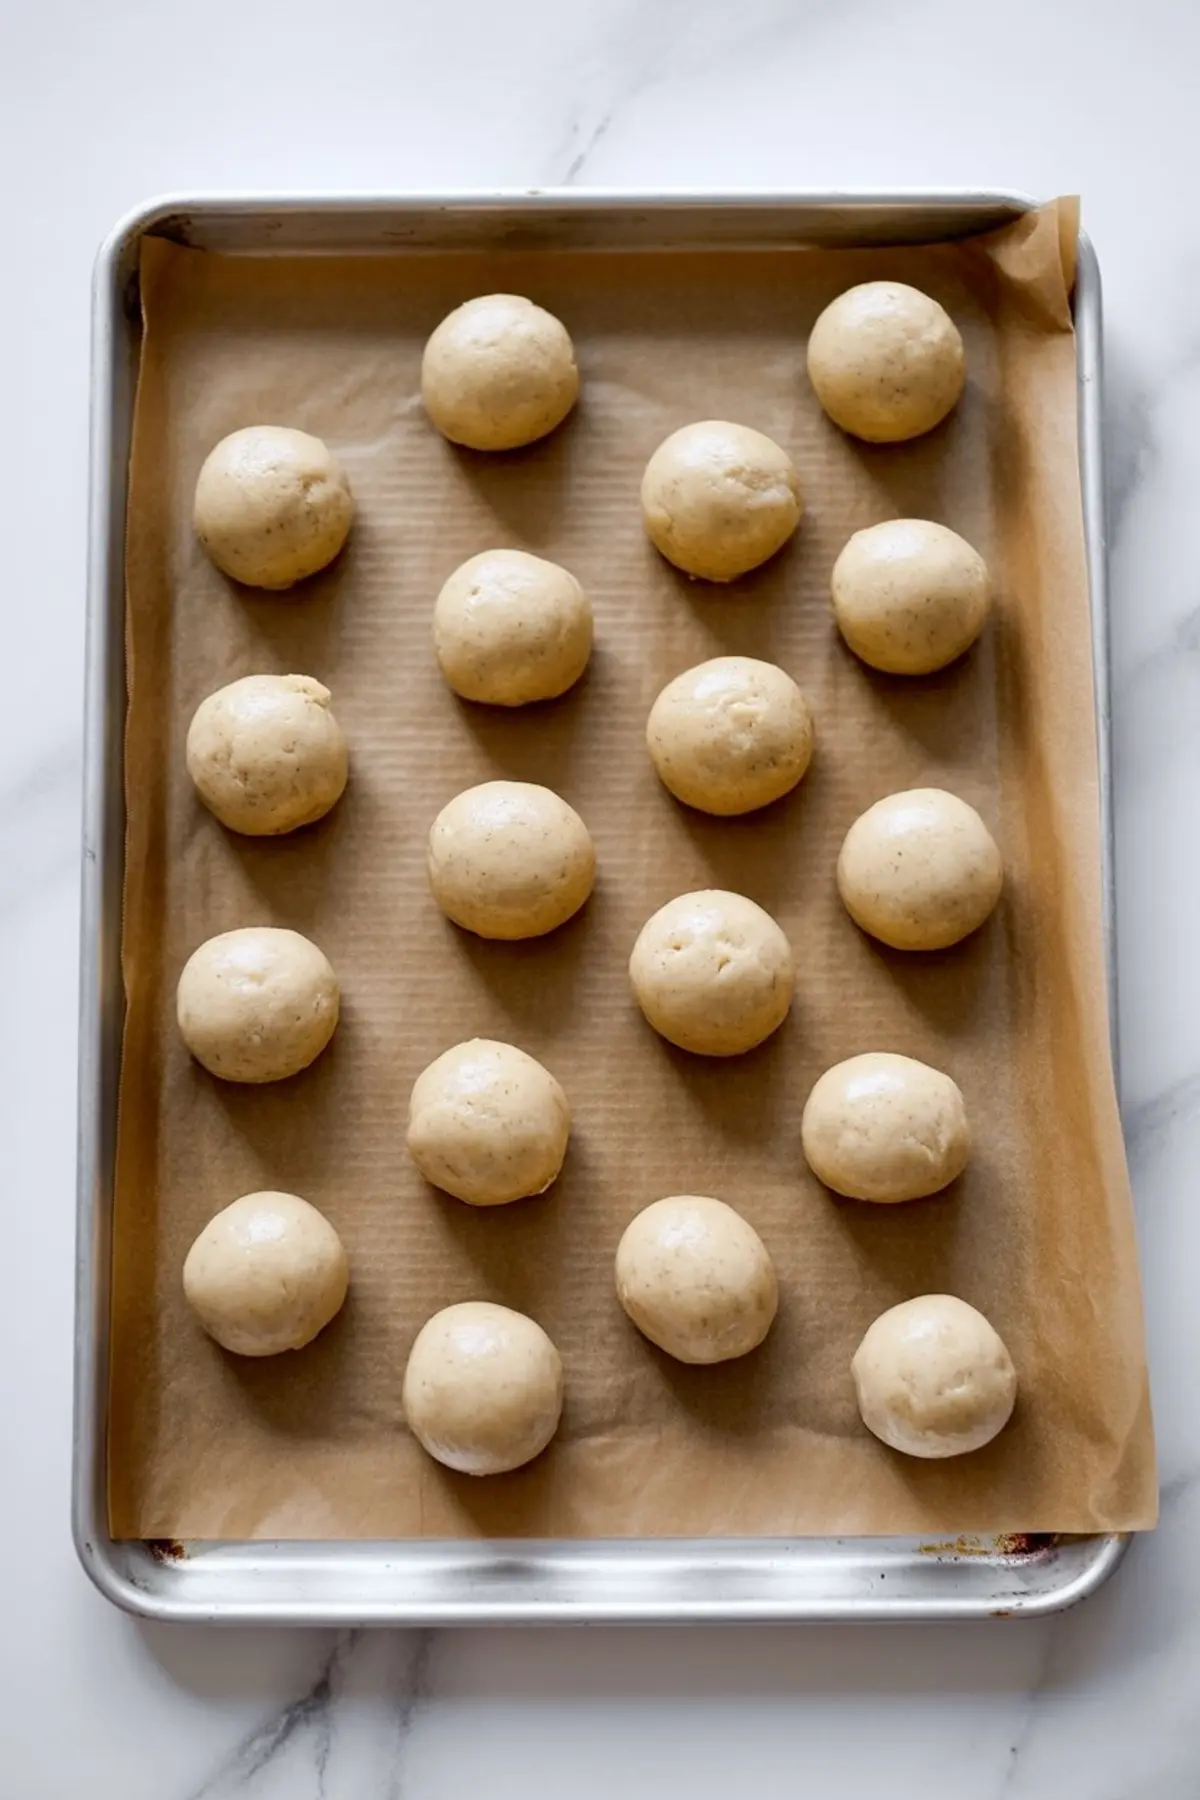
The chill step decides how your cookies will bake. Chilled dough holds its edges and keeps the indentation clear, while unchilled dough spreads into flatter rounds. I’ve tested both out of curiosity. The chilled version keeps that neat thumbprint shape, which means the glaze can sit right in the center without sliding.
Rolling each dough ball smooths out any cracks that could expand while baking. The indentation should be firm but not deep enough to pierce through. If you push too hard, the base thins and can overbake before the rest of the cookie sets.
For another holiday texture lesson, look at my Dark Chocolate Eggnog Truffles. They rely on the same principle of temperature control to maintain shape and softness.
Baking to the Right Shade
Oven time matters more than color here. The goal isn’t a golden cookie but one with pale edges and a soft center. Twelve minutes at 350°F usually does the trick. If the centers puff up, press them down again right out of the oven using a clean spoon. Warm cookies reshape easily and cool into the correct form.
I often bake two trays side by side, swapping them halfway for even heat. My notes show that cookies baked on the lower rack can brown too quickly on the base, while the middle rack keeps them evenly colored.
Creating the Eggnog Glaze
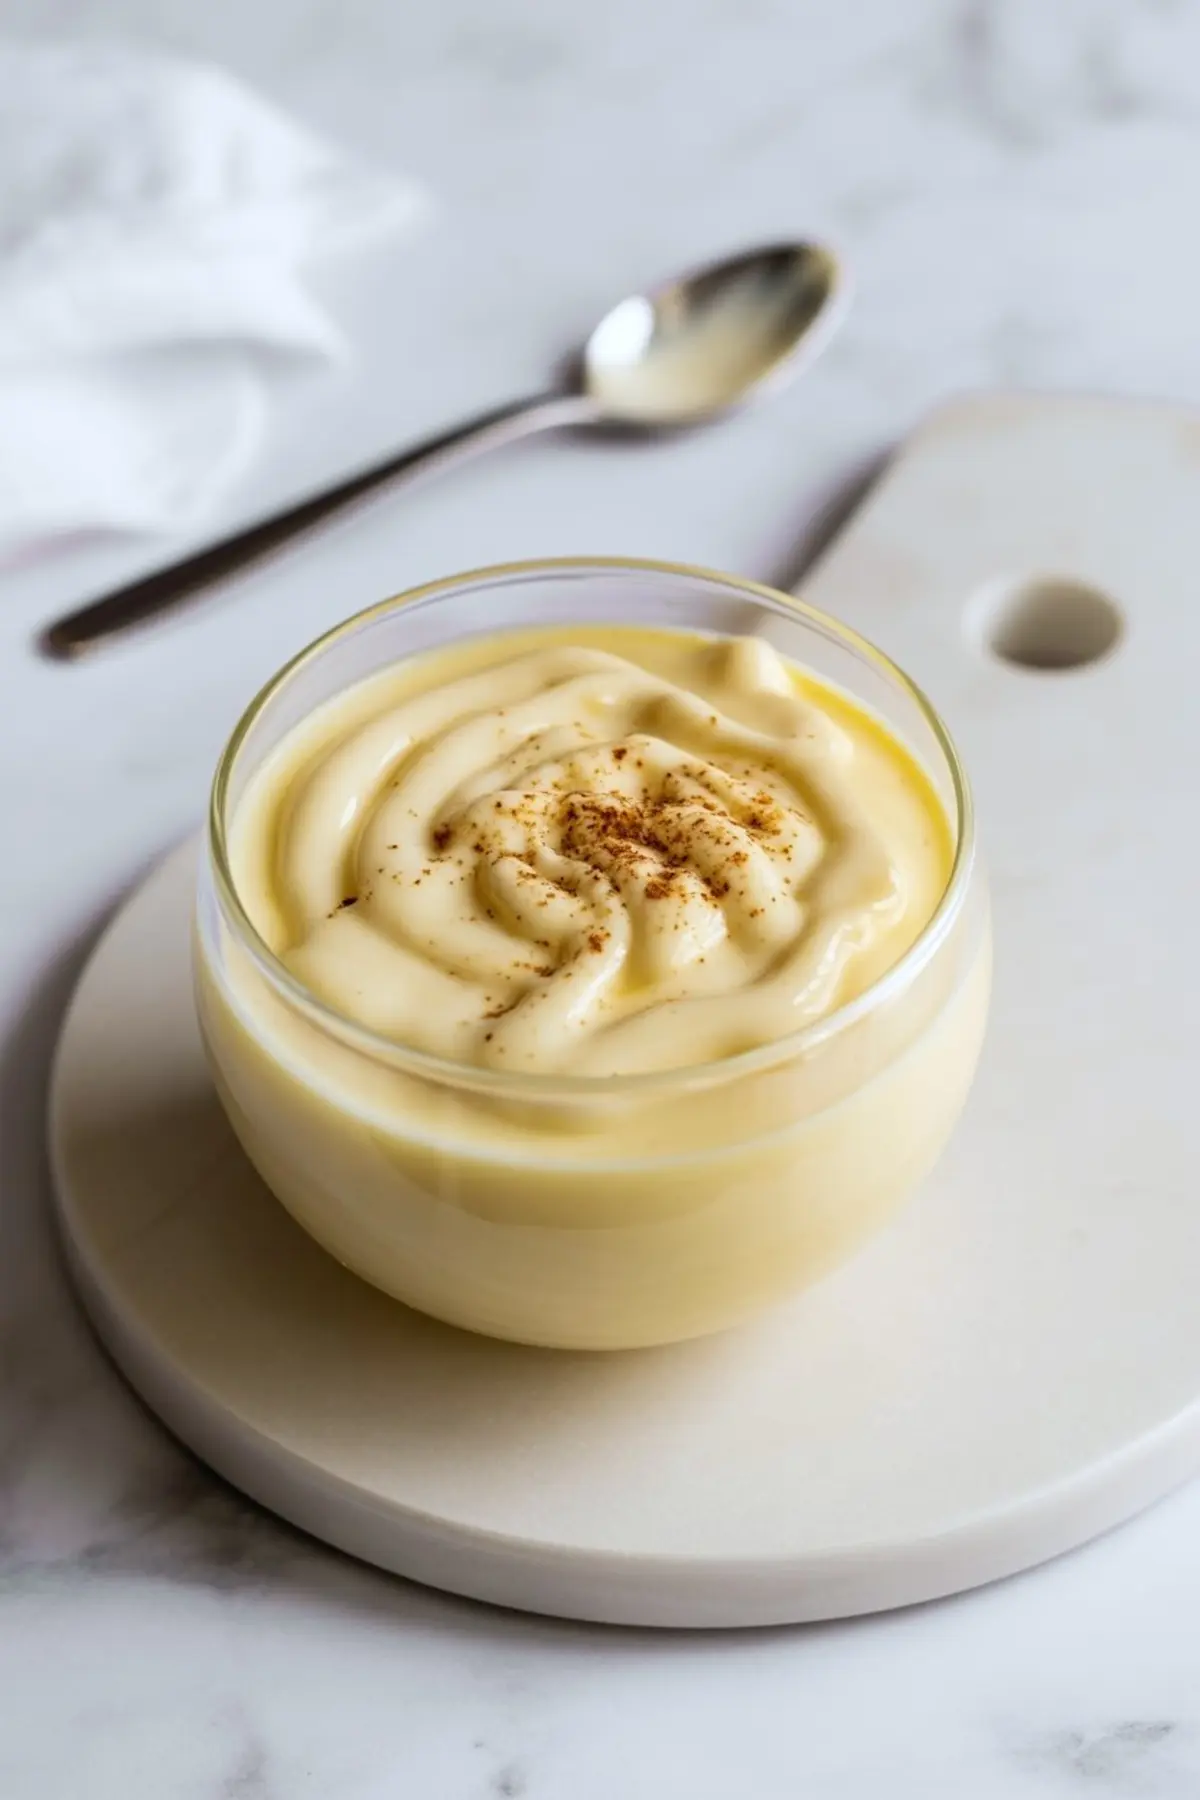
Powdered sugar forms the body of the glaze. Melted butter adds silkiness, and a small pinch of salt balances the sweetness. The eggnog ties it all together. I whisk the glaze until it’s thick yet pourable, adjusting with half a teaspoon of extra eggnog at a time if it stiffens too much.
The nutmeg sprinkle at the end isn’t decoration alone. It enhances aroma the moment the cookies cool. That scent sweet, spicy, and buttery feels like December evenings.
If you like a similar creamy topping with different flavor notes, my Snickerdoodle Thumbprint Cookies with Chocolate will show how cocoa changes the entire balance while keeping the same baking method.
Comparing Eggnog Varieties and Their Impact
I’ve tested both homemade and store-bought eggnogs in this recipe. Homemade versions tend to have more body due to real cream and fresh nutmeg, leading to a slightly richer cookie. Store-bought versions bake up lighter and a bit sweeter. For consistent results, I usually reach for the store-bought one, but during the holidays, I sometimes use my own for that extra depth. This single choice changes the cookie’s finish, so choose based on what you prefer: lighter and soft or rich and dense.
Serving and Storing These Cookies
These cookies stay fresh at room temperature for up to three days in an airtight container. I like to layer parchment between them to keep the glaze intact. For longer storage, refrigerate them. The cold keeps the glaze shiny and the texture steady.
Serve these with spiced tea, coffee, or a small glass of real eggnog. I’ve noticed that when paired with warm drinks, the cookie’s spices bloom again. That small detail makes them an excellent choice for Christmas gatherings or cookie swaps.
For another cozy winter treat that stores well, try the Eggnog Cheesecake Bars I mentioned earlier. They share ingredients but offer a creamy contrast to these soft cookies.
Share, Pin, and Bake Again
Every batch feels like a small reminder that holiday baking doesn’t need extravagance to be memorable. A simple thumbprint cookie with real butter and eggnog tells its own story.
If you make these, save the recipe on Pinterest so you can find it when next December rolls around. I’d love to hear how yours turned out. Share in the comments if you experimented with different eggnogs or added a personal twist. These small exchanges keep the baking community alive.
Eggnog Thumbprint Cookies Recipe
These soft and buttery Eggnog Thumbprint Cookies bring all the festive flavor of your favorite eggnog recipe into a cozy Christmas treat. With a melt-in-your-mouth texture and creamy eggnog filling, they’re perfect for any holiday dessert tray. If you love thumbprint cookies or are hunting for new Christmas cooking ideas, this is the seasonal twist you didn’t know you needed. Great for cookie exchanges or gifting, these treats pair beautifully with other eggnog cookies, eggnog dessert recipes, and even snickerdoodle cookies Christmas fans will adore. Simple, nostalgic, and full of cheer!
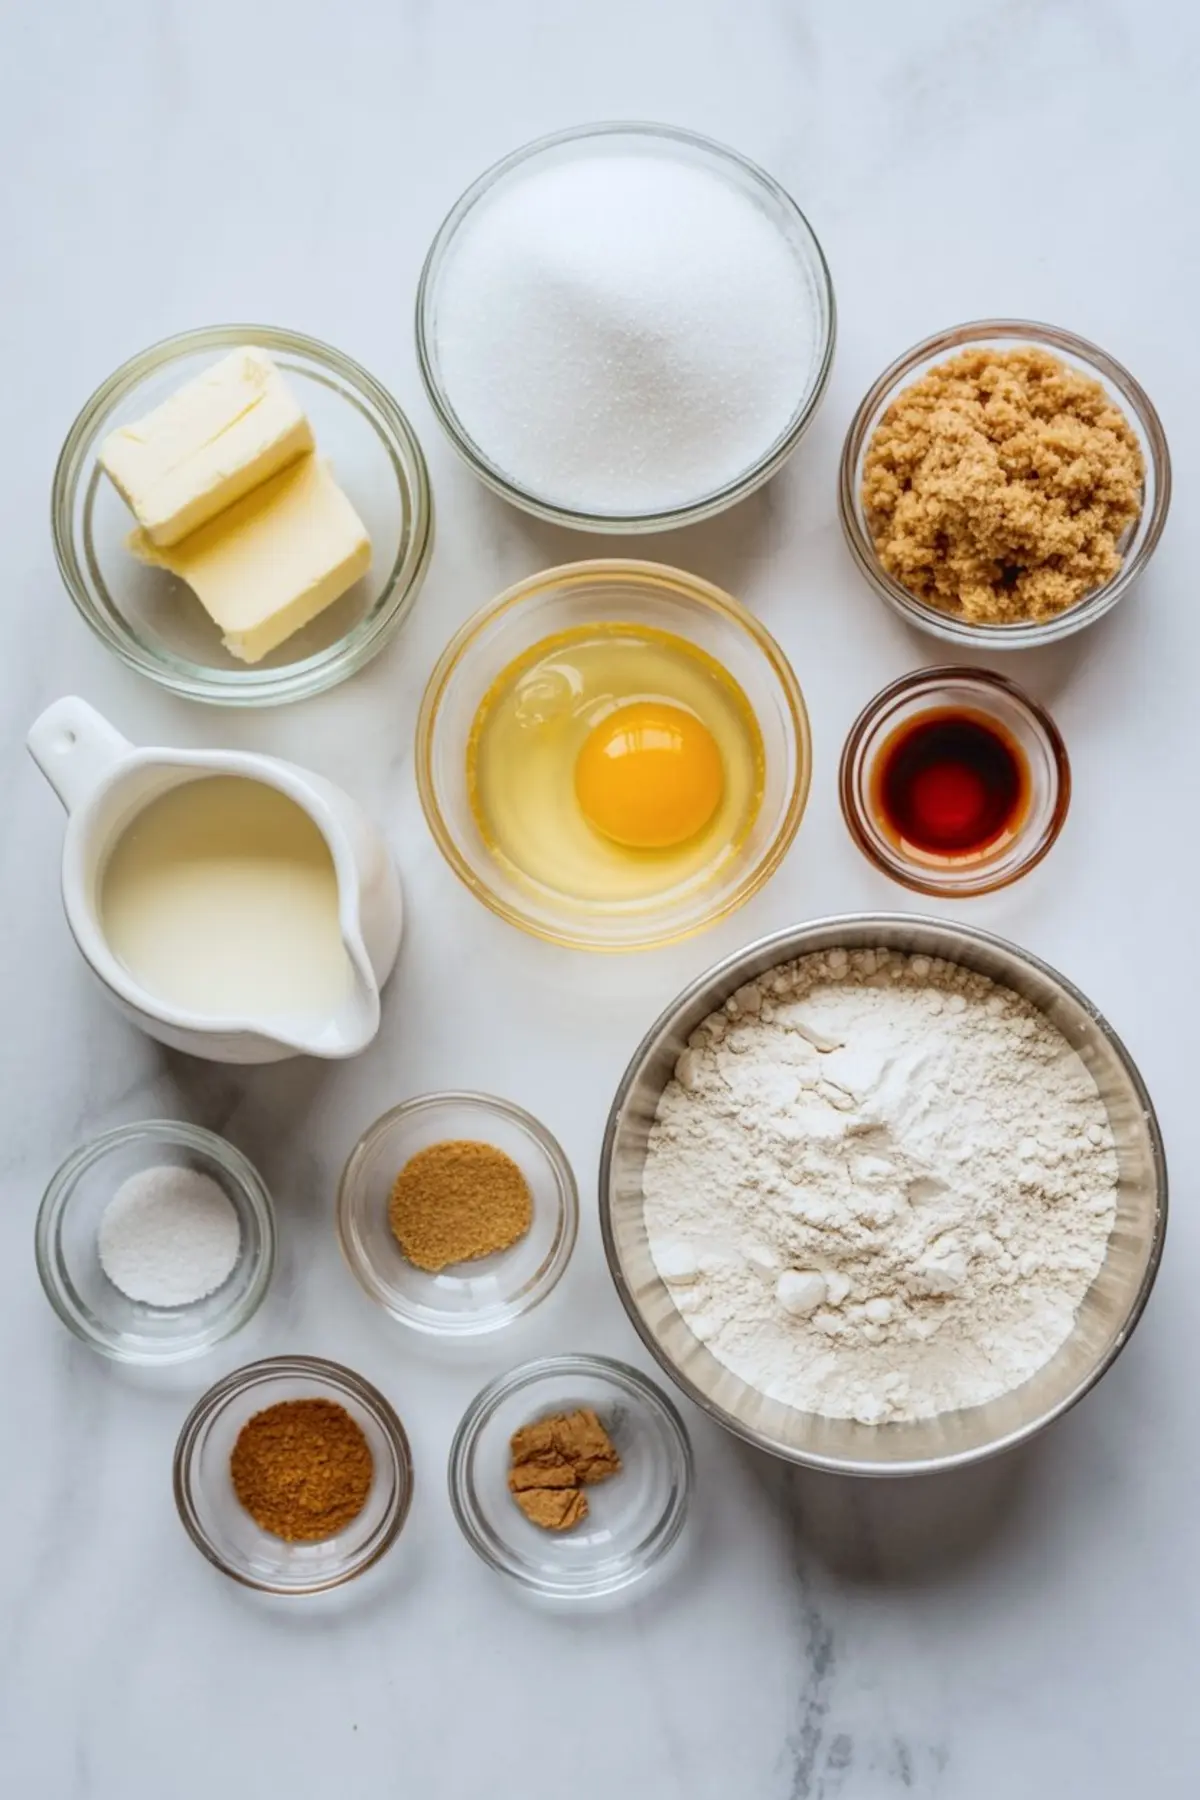
Ingredients
- FOR THE COOKIES
- 1 cup (226g) unsalted butter, softened
- 3/4 cup (150g) granulated sugar
- 1/4 cup (50g) brown sugar
- 1 large egg
- 1 teaspoon vanilla extract
- 1/4 cup store-bought or homemade eggnog
- 2 1/2 cups (315g) all-purpose flour
- 1/2 teaspoon baking powder
- 1/2 teaspoon salt
- 1/4 teaspoon ground nutmeg
- 1/4 teaspoon ground cinnamon
- FOR THE EGGNOG GLAZE
- 1 1/4 cups powdered sugar, sifted
- 2 tablespoons eggnog (plus more if needed)
- 1 tablespoon unsalted butter, melted
- 1/4 teaspoon ground nutmeg (optional)
- Pinch of salt
Instructions
- MAKE THE COOKIE DOUGH: In a large mixing bowl, cream the butter, granulated sugar, and brown sugar together until light and fluffy, about 2 to 3 minutes using a hand mixer or stand mixer. Add the egg, vanilla, and eggnog and mix until fully combined; the mixture may look slightly curdled, which is normal. In a separate bowl, whisk together the flour, baking powder, salt, nutmeg, and cinnamon. Gradually add the dry ingredients to the wet mixture and mix just until no dry flour remains.
- SHAPE THE COOKIES: Scoop the dough into 1.5-tablespoon portions and roll into smooth balls. Arrange on a parchment-lined baking sheet, spacing them about 2 inches apart. Use your thumb or the back of a small spoon to press an indentation into the center of each ball. Chill the tray of shaped cookies in the refrigerator for 20 to 30 minutes to help them retain their shape during baking.
- BAKE: Preheat the oven to 350°F (175°C). Bake the chilled cookies for 10 to 12 minutes, or until the edges are lightly golden and the centers are still soft. If the centers puff up during baking, gently press them back down using the back of a spoon while the cookies are still warm. Allow the cookies to cool completely on the baking sheet or a wire rack before filling.
- MAKE THE GLAZE: In a small bowl, whisk together the powdered sugar, eggnog, melted butter, nutmeg (if using), and a pinch of salt until smooth. The glaze should be thick but spoonable; add a few extra drops of eggnog if needed to reach the right consistency.
- FILL AND FINISH: Spoon about 1 teaspoon of eggnog glaze into each cookie's indentation. Let the cookies sit at room temperature for 30 minutes, or until the glaze sets and forms a light crust. For extra holiday flair, sprinkle a small pinch of cinnamon or nutmeg on top of the glaze before it fully sets.
Notes
Store cookies in an airtight container at room temperature for up to 3 days, or refrigerate for longer freshness. If stacking, place parchment between layers to protect the glaze.
Nutrition Information
Yield
24Serving Size
1Amount Per Serving Calories 208Total Fat 10gSaturated Fat 6gTrans Fat 0gUnsaturated Fat 3gCholesterol 43mgSodium 81mgCarbohydrates 28gFiber 0gSugar 17gProtein 3g