These gingerbread ornament cookies bring a touch of nostalgia to any December kitchen. The dough holds its shape beautifully, which means you can bake, decorate, and hang them on your tree without fear of them bending or breaking. This recipe teaches you how to make cookies that serve both as edible gifts and cheerful decorations. Each one carries that familiar aroma of cinnamon, ginger, and molasses that fills the house with warmth.
Gingerbread cookies have always fascinated me because they merge tradition with creativity. You shape them, you design them, and somehow they tell a story about your season. The spiced dough firms up just enough to handle piping and ribbons, making these cookies as practical as they are charming.
Following a special diet?
Every recipe on this site can be converted to gluten-free, vegan, dairy-free, keto, nut-free or egg-free with adjusted ratios so nothing falls flat.
Try the Recipe Converter →Building the Flavor Foundation
Brown sugar adds a mellow sweetness and a hint of caramel flavor that white sugar cannot achieve. The molasses deepens that tone, giving the cookies their signature color and chewy center. I prefer using unsulphured molasses, as it keeps the taste balanced without harsh bitterness. The butter softens the edges of the spice blend, creating a dough that bakes evenly and remains tender.
The spices matter. Ginger delivers the heat, cinnamon provides body, and cloves sharpen the aroma. A small measure of nutmeg rounds everything together. I’ve tried versions that lean heavier on clove or reduce cinnamon, but balance wins here. In my notes, the one with equal parts ginger and cinnamon always produces the best flavor after a day of resting.
How the Dough Comes Together
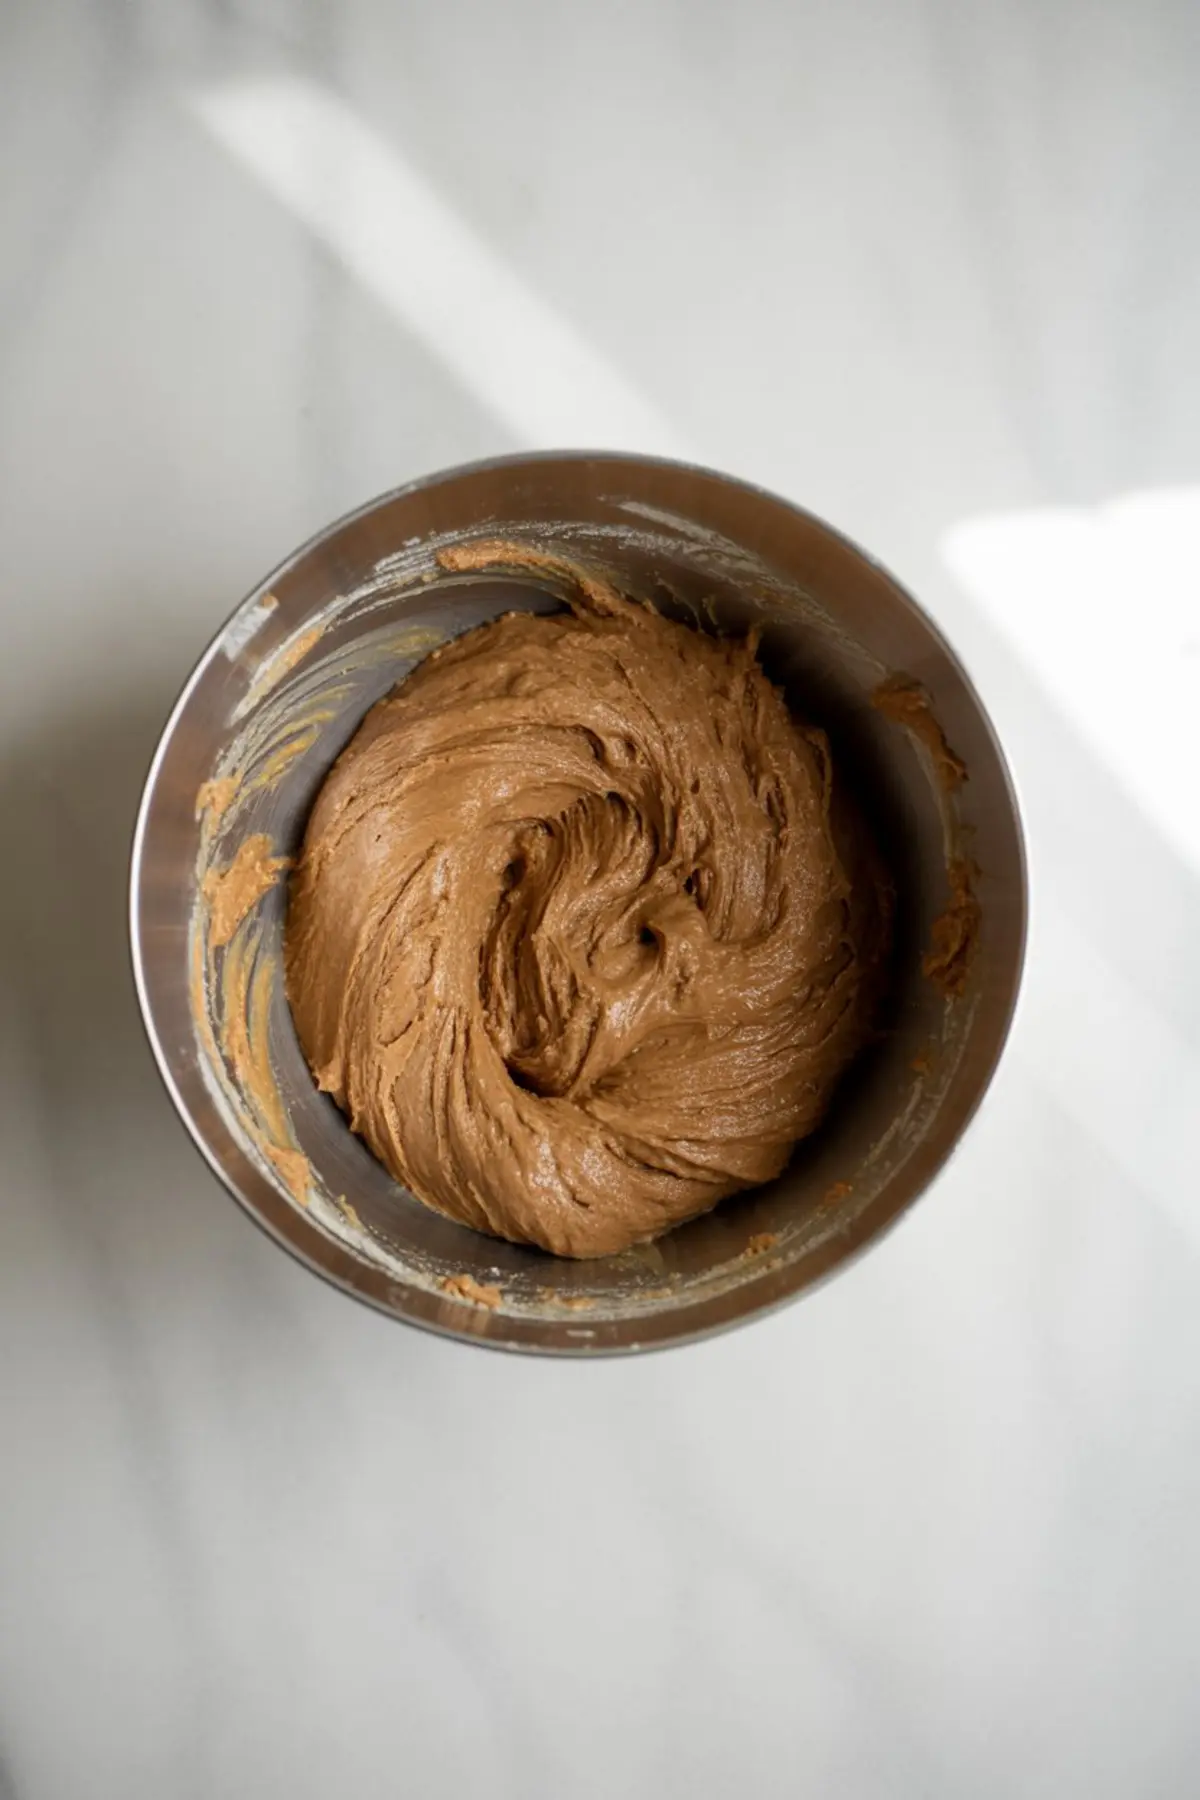
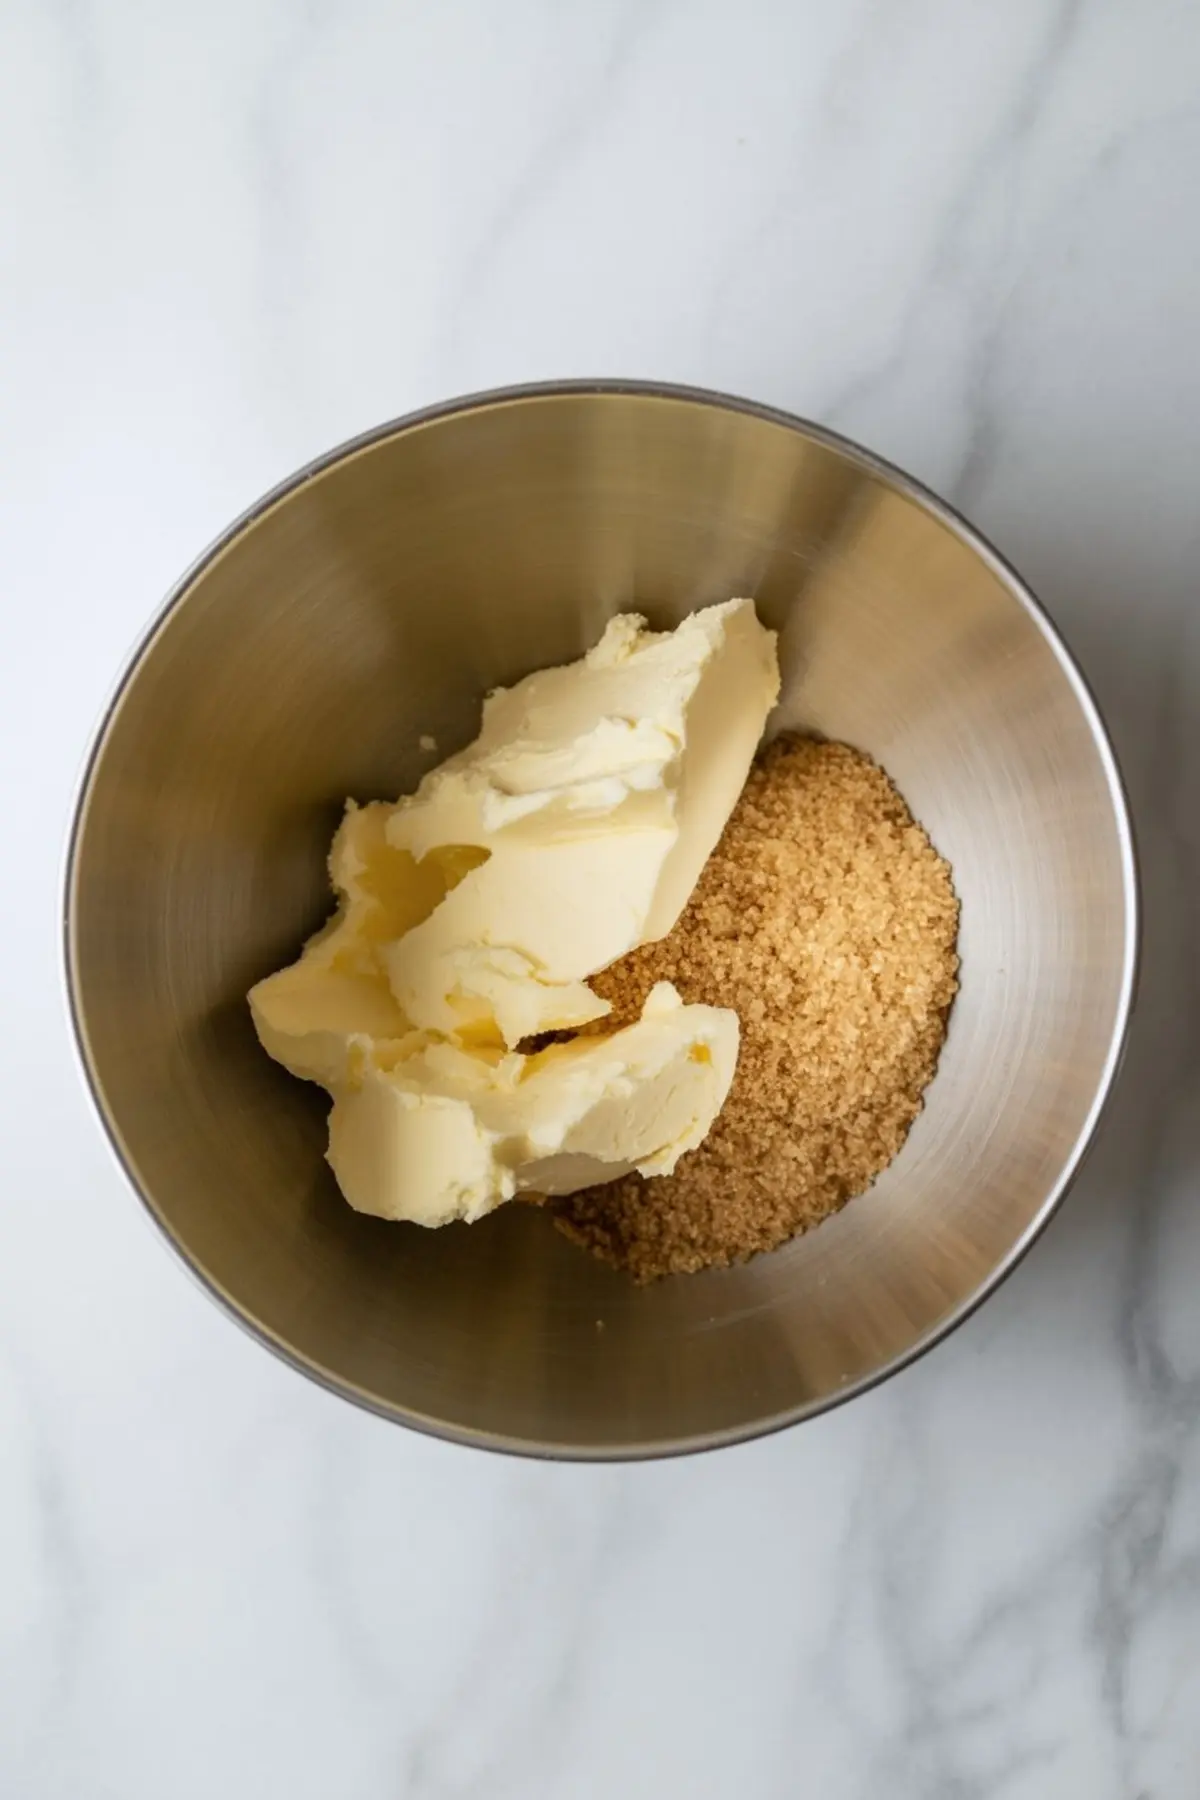
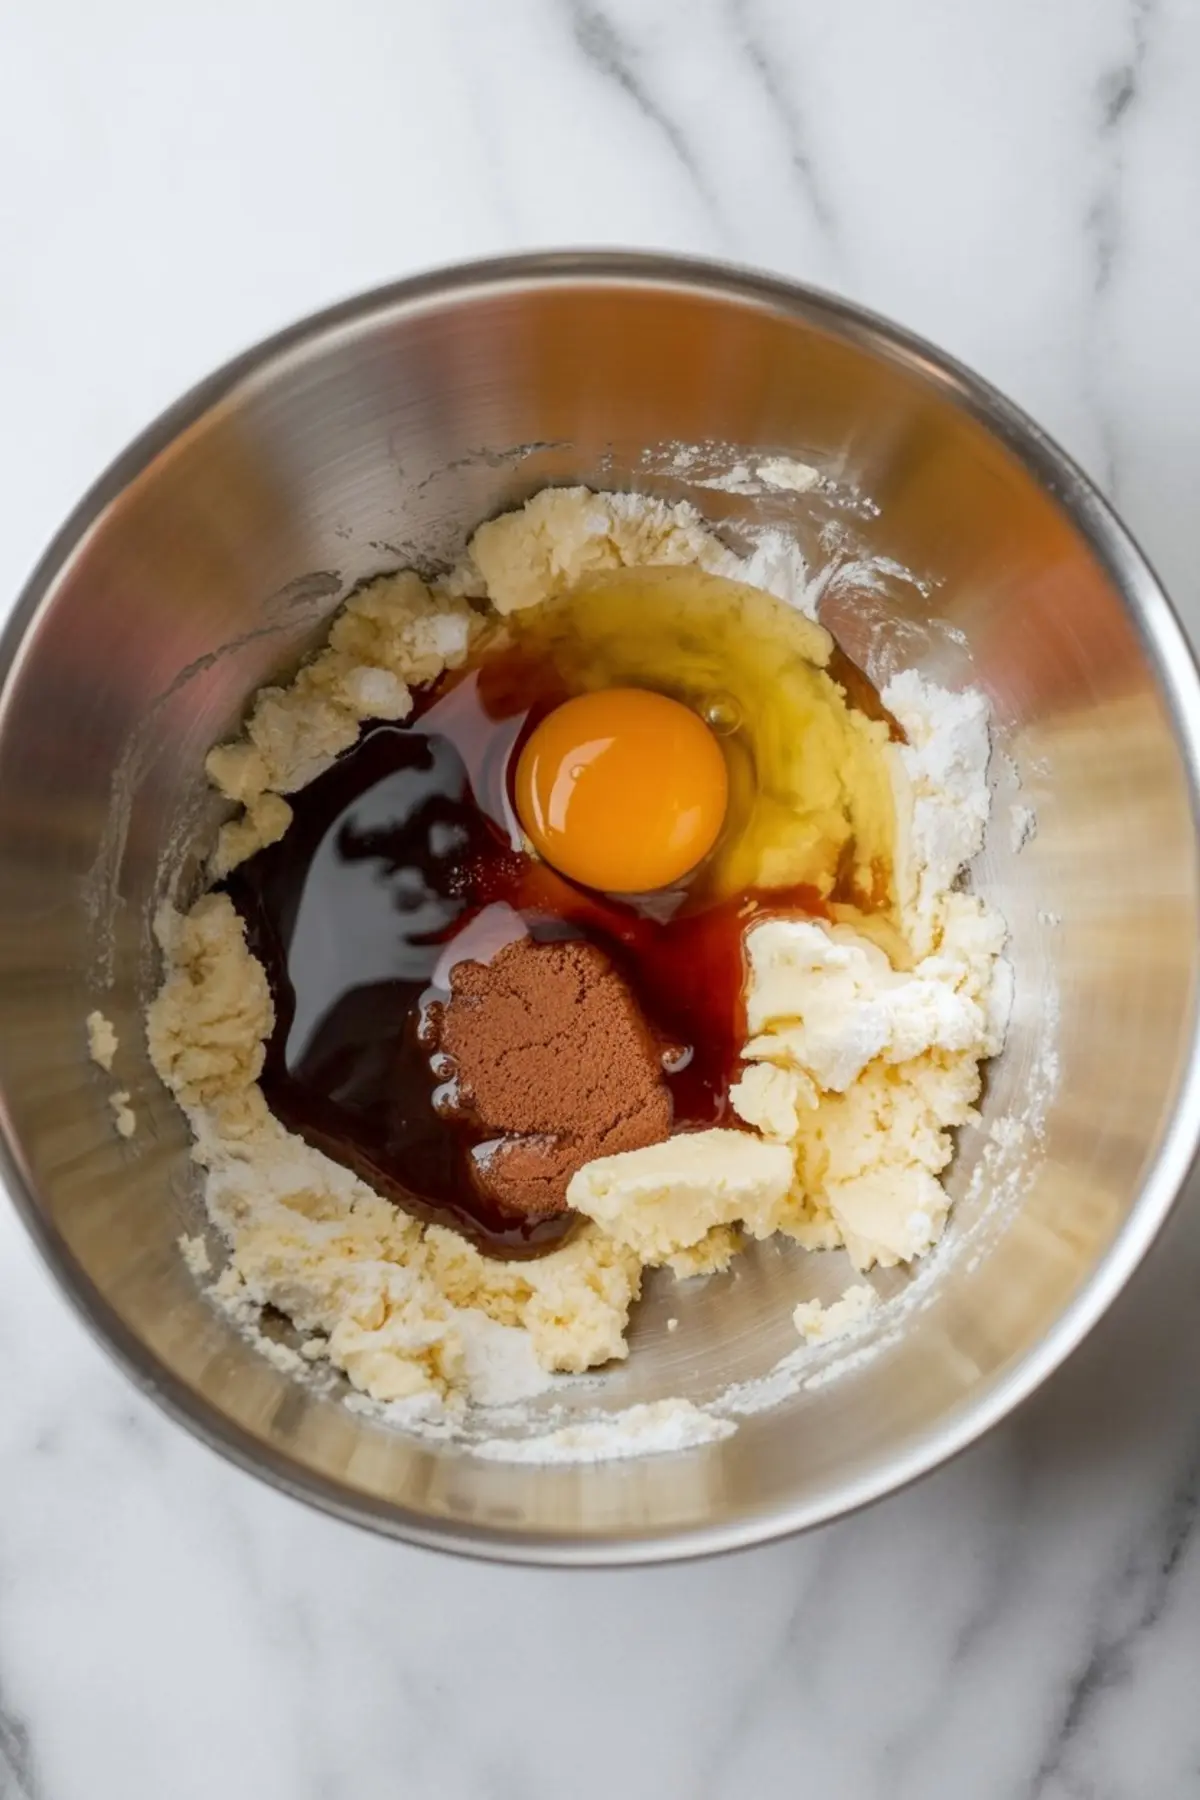
The method starts by creaming butter and brown sugar until pale and light. This step matters for structure. Air pockets form and make the dough lighter once baked. Adding molasses and egg blends sweetness and moisture before the dry ingredients step in. I always chill the dough for at least two hours. Cold dough rolls smoother and cuts sharper edges.
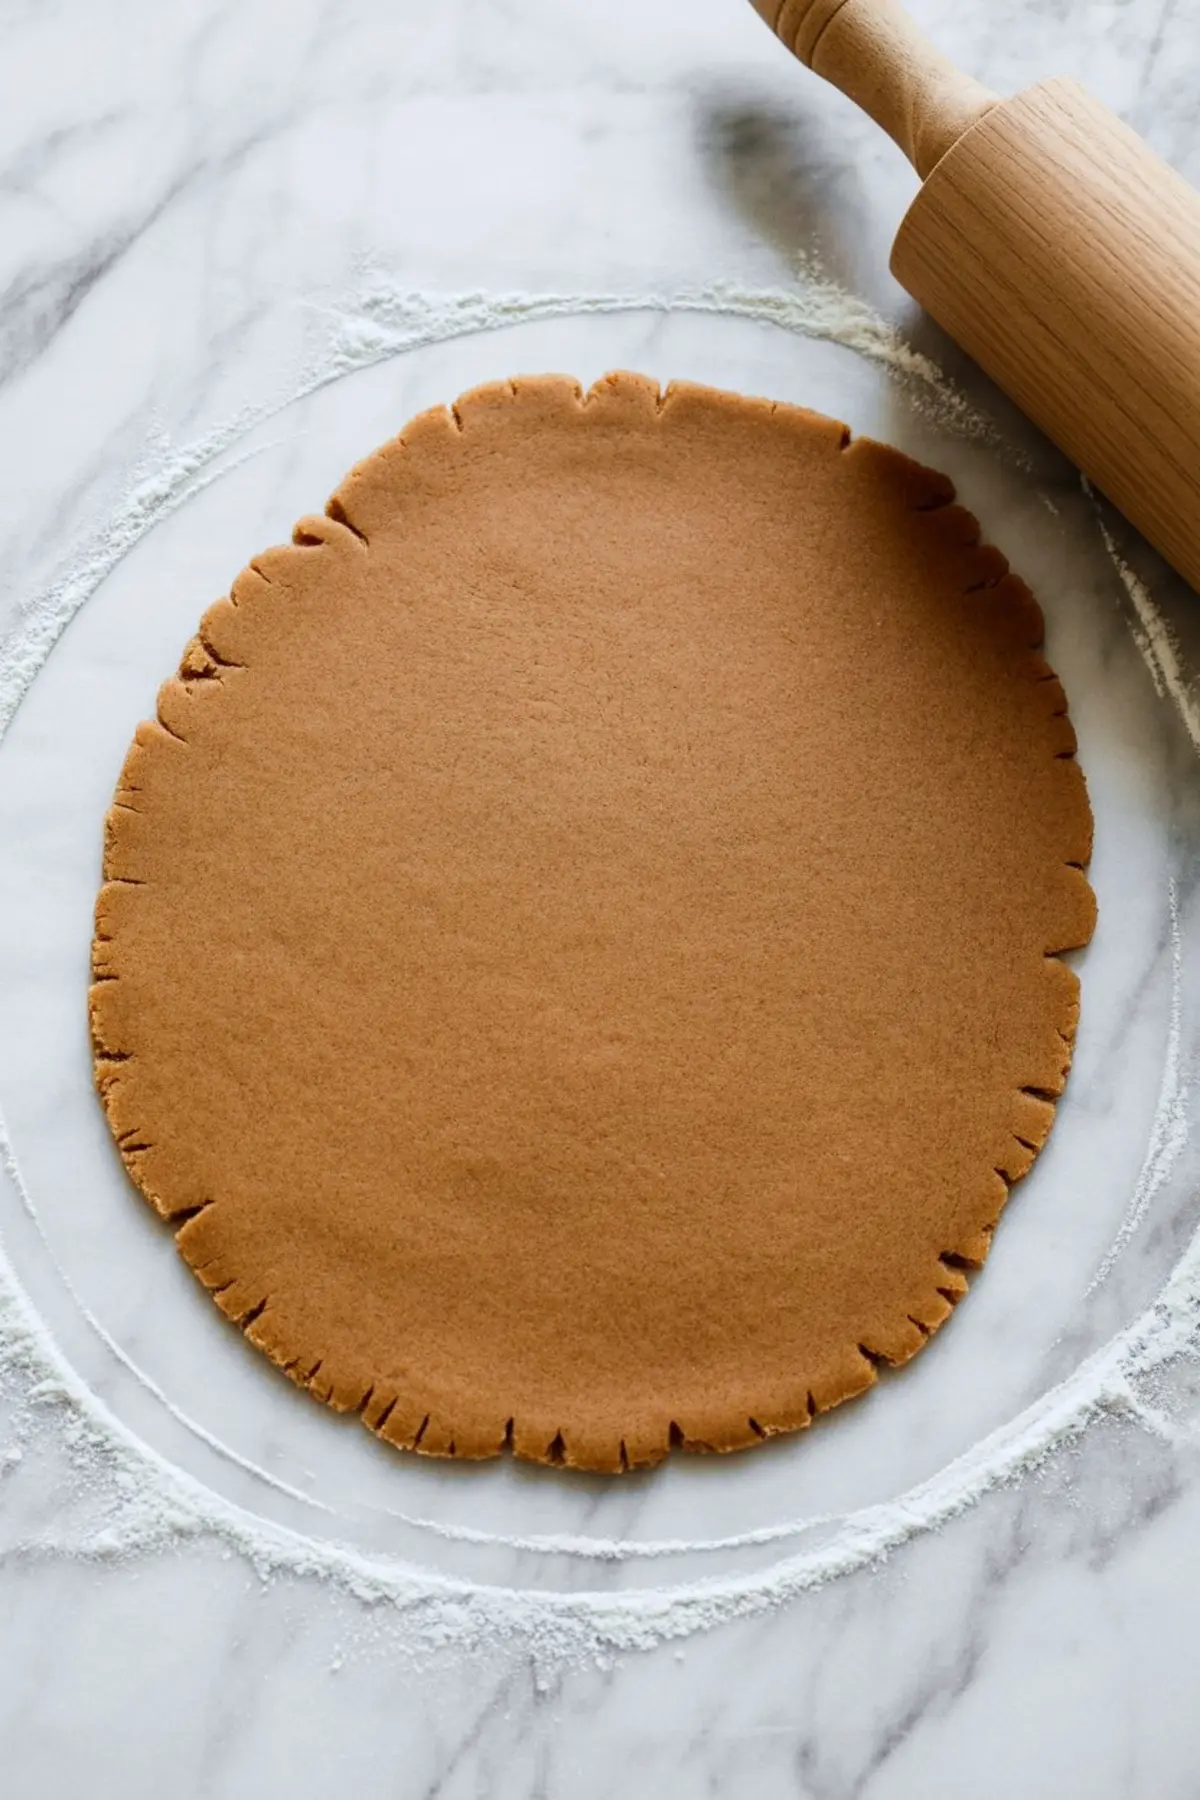
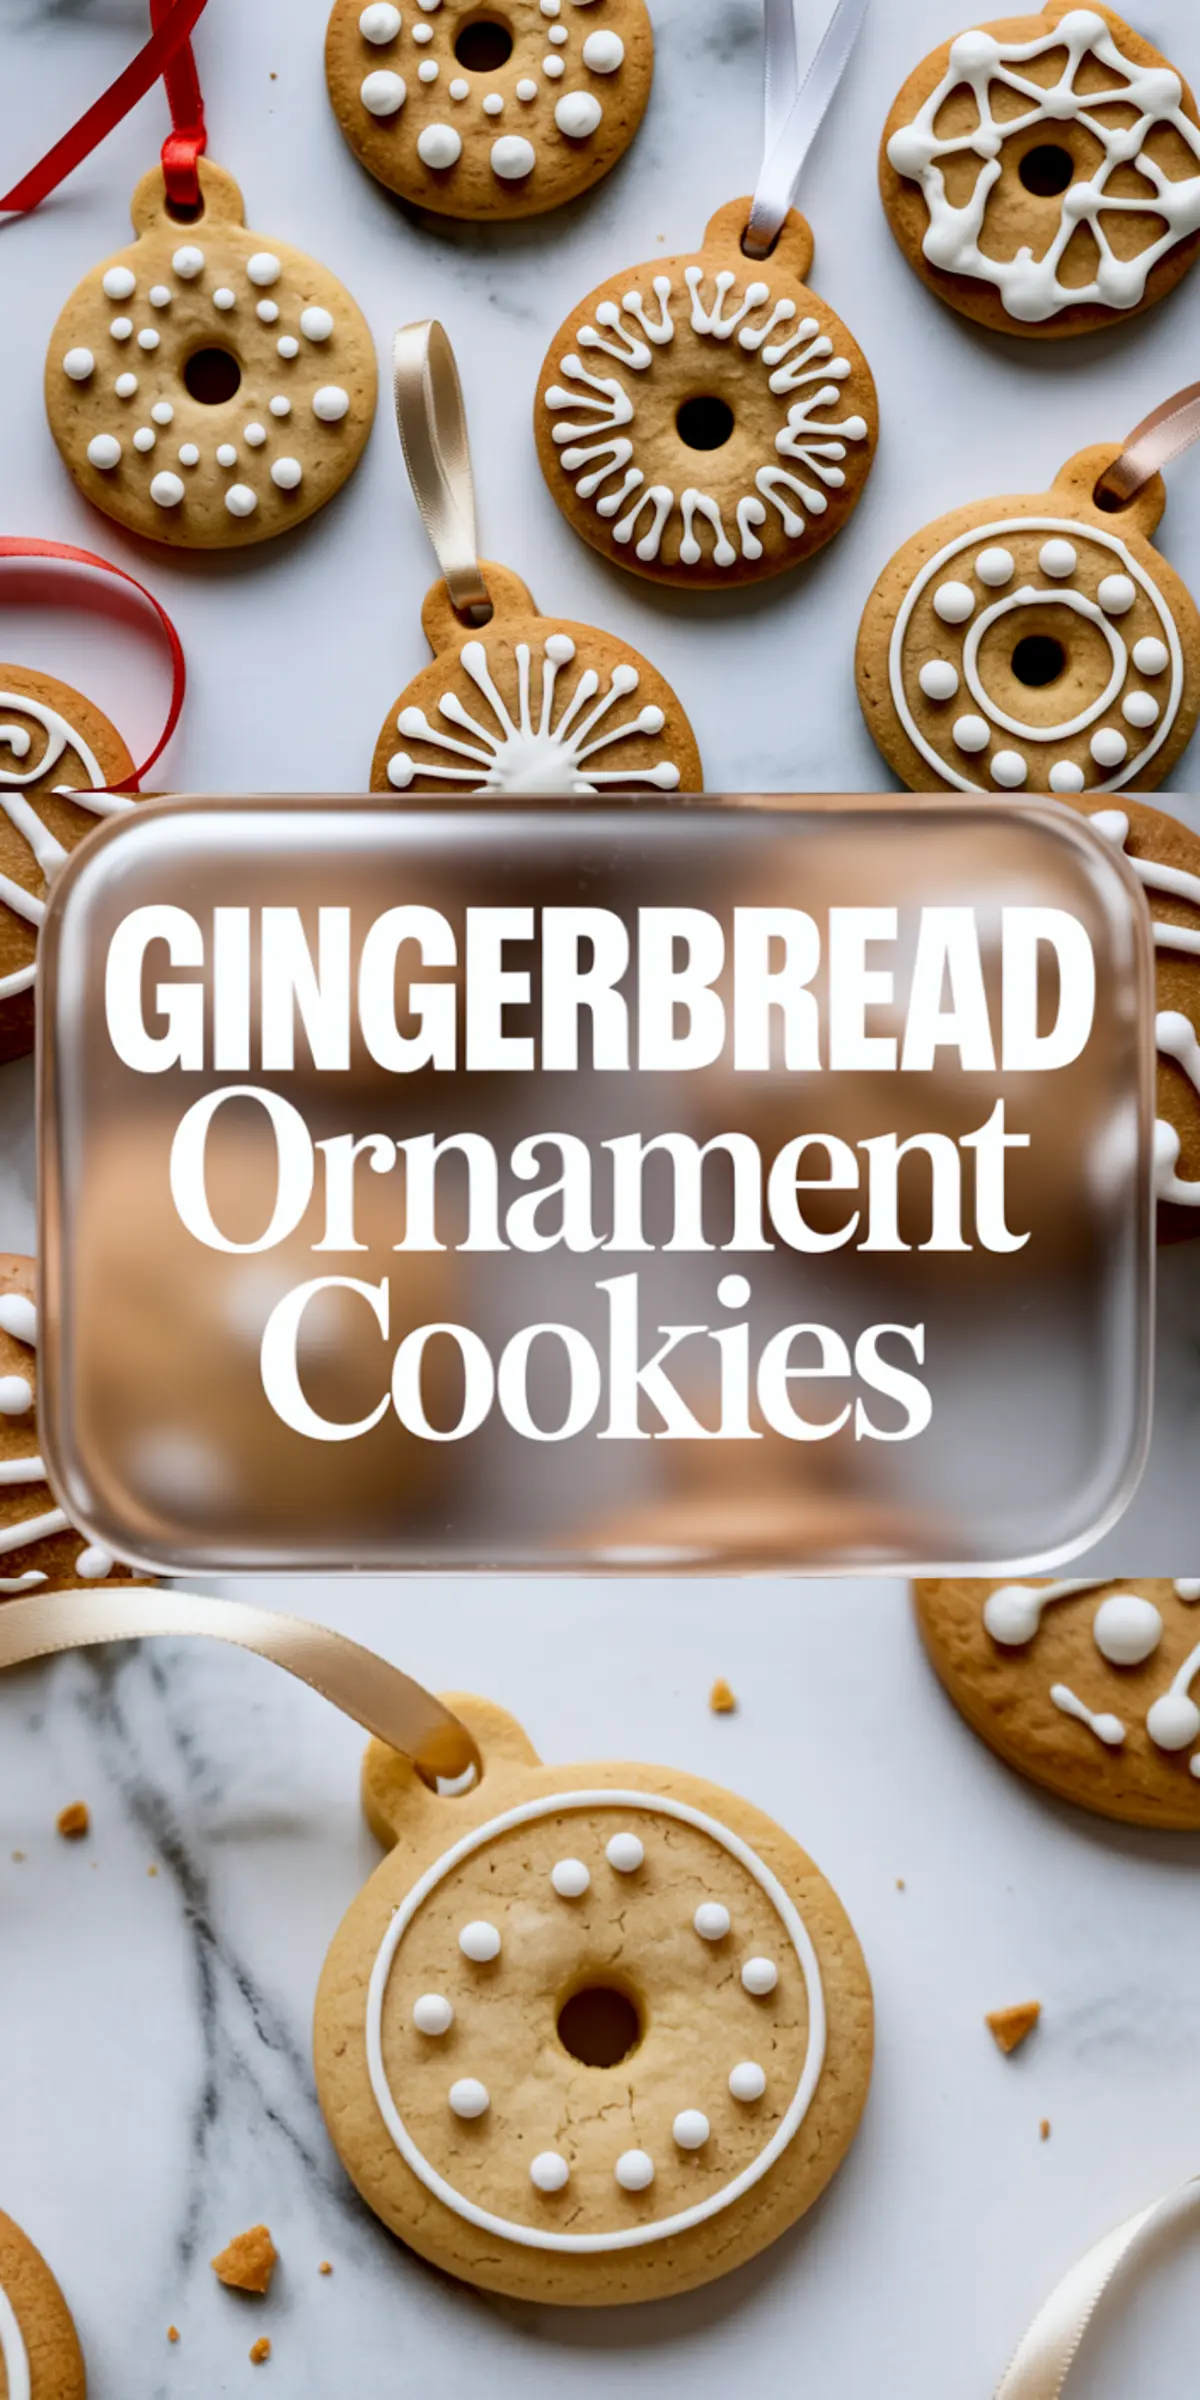
Rolling requires patience. I flour the surface lightly to prevent sticking, but not enough to dry the dough. Ornament cutters work well, though simple circles make an elegant set if you prefer consistency. Before baking, don’t forget to make small holes with a straw for the ribbons. It’s a small detail that saves trouble later.
Choosing Between Butter and Shortening
I’ve tested both fats in this dough. Butter gives flavor and a slight crispness at the edges. Shortening keeps the cookies extra smooth and soft. In my kitchen, butter always wins because it adds that unmistakable richness you expect in gingerbread. If you plan to hang them longer and care more about shape than flavor, shortening works too. Both bake evenly, but butter leaves the kitchen smelling like Christmas morning.
Baking and Cooling with Care
The baking time remains short, about eight to ten minutes. Watch for the edges to set and the centers to dry slightly. These cookies continue to cook as they rest on the tray. Let them sit for five minutes before moving them to a rack. Cooling completely before icing prevents the frosting from sliding off or softening the cookies. You’ll know they’re ready when they feel firm to touch but not brittle.
You can explore other gingerbread desserts such as Gingerbread Cake Truffles if you enjoy the same deep flavor in a softer form.
Decorating and Icing for Detail
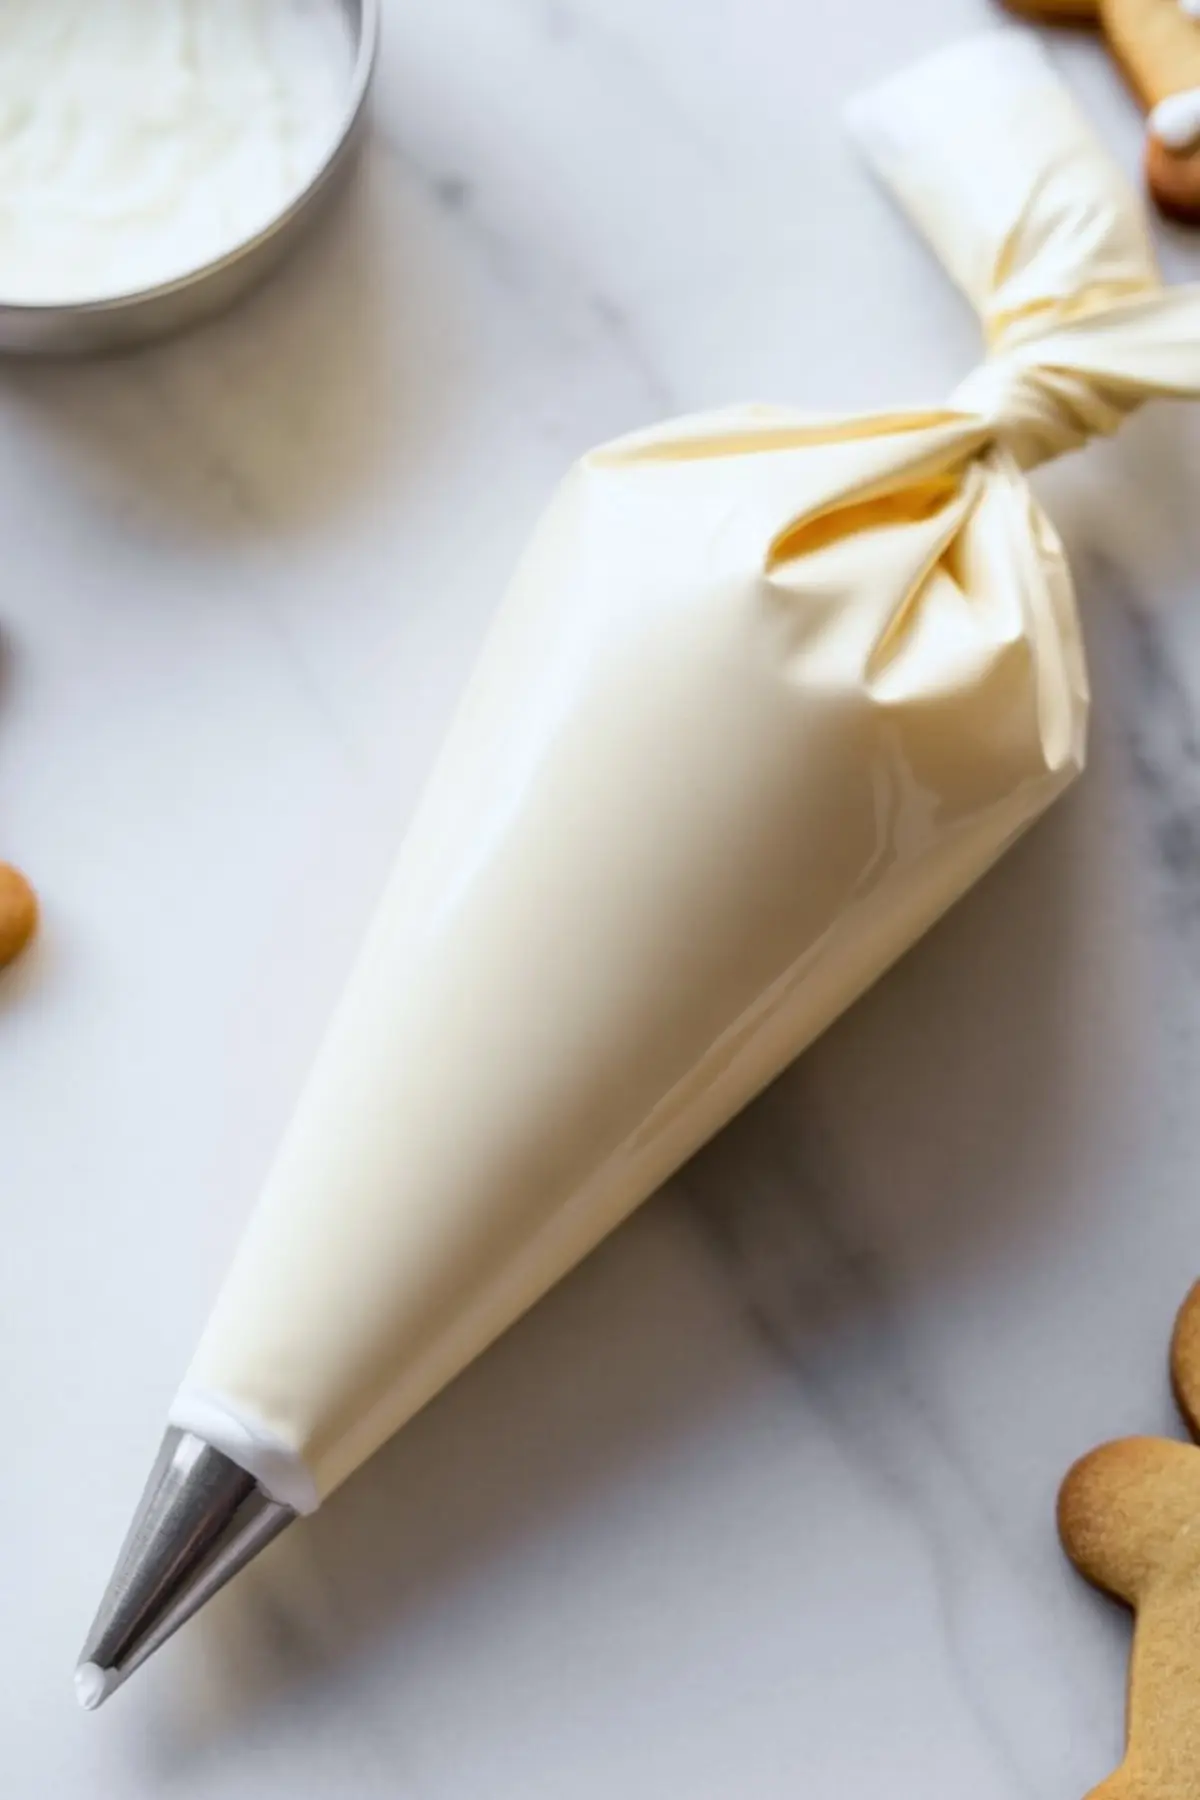
Royal icing gives these cookies their crisp finish. Powdered sugar, meringue powder, and warm water create a glossy surface that hardens overnight. Adjusting the water changes texture, so I start thick and thin it down as needed. Food coloring adds personality, but I like to keep half of the icing white for contrast.
Decorating feels personal. I use small piping tips for precision, creating lines and snowflakes, sometimes tiny dots like falling snow. I’ve learned to rest between batches, letting designs dry slightly before adding new layers. You’ll see sharper edges that way. The icing’s smooth texture complements the firm gingerbread base.
If you want another way to use leftover icing, try drizzling it over Gingerbread Crinkle Cookies. The texture contrast works beautifully and prevents waste.
Threading Ribbons and Presenting the Cookies
Once the icing dries completely, thread thin ribbons or baker’s twine through the holes. Use gentle pressure, or you risk cracking the top layer of icing. These ribbons turn each cookie into something more than dessert. They become decorations, gifts, or edible keepsakes. I like wrapping a few in clear bags tied with red string for simple, pretty packaging.
For festive table displays, scatter a few Gingerbread Cheesecake Parfaits nearby. The combination of creamy dessert and crisp cookies feels balanced, both in taste and presentation.
Serving and Storing the Cookies
These cookies keep well in airtight containers for about a week. Avoid hanging them in humid spots, as moisture softens them quickly. If you live in a damp climate, store them separately until decorating day. I sometimes place a small sachet of dry rice nearby to absorb extra moisture. It’s an old trick but it works.
They also make excellent edible tags for wrapped gifts. A single cookie tied to ribbon gives a handmade touch that people notice. You could coordinate icing colors with your wrapping paper for a consistent look.
For another gingerbread dessert that stores beautifully, take a look at Gingerbread Pudding Cups. They share the same spice base but offer a creamy spoonful instead of a crunch.
Final Thoughts and Community Invitation
Baking gingerbread ornament cookies always feels like creating small memories in the kitchen. The scent lingers long after baking ends. It brings people together, even in quiet moments when you hang the last cookie on the tree.
If you bake these, share how they turned out in the comments below. I love seeing variations, colors, and personal touches from other kitchens. Save this recipe on your Pinterest board so you can revisit it next season.
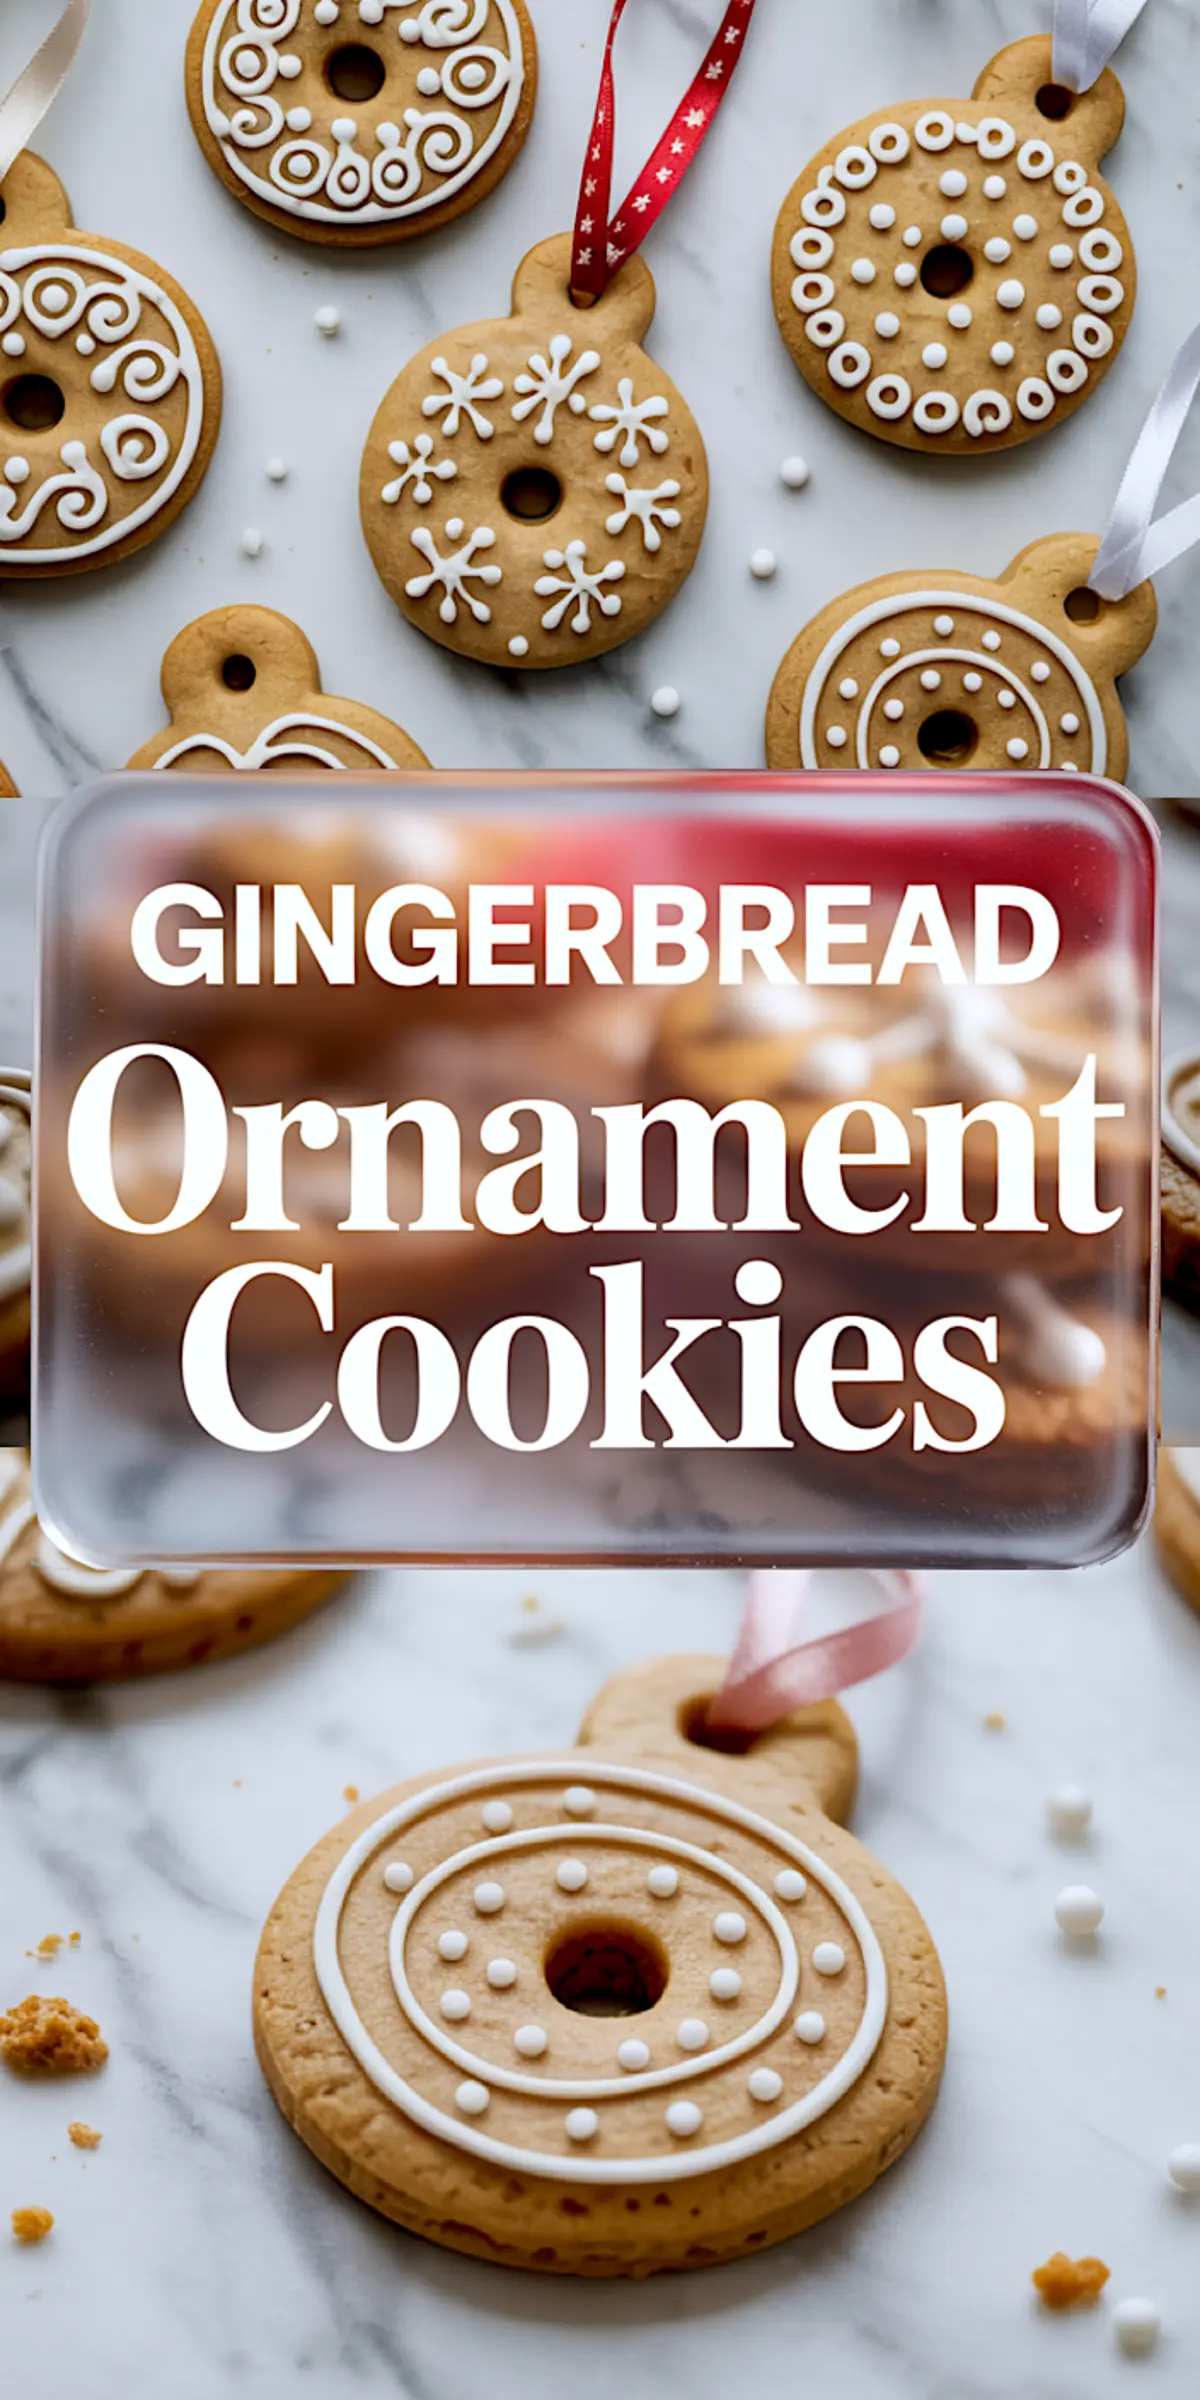
Gingerbread Ornament Cookies

These gingerbread ornament cookies are a holiday tradition you can hang and snack on! Made with spiced dough that holds its shape, these cookies bake into perfect cutouts for decorating and gifting. Thread a ribbon through each to create edible ornaments for your tree or party favors for guests. Classic gingerbread dessert meets creative Christmas cookies in this fun baking project. Pair with royal icing, sprinkles, or simple powdered sugar designs. Ideal for cookie exchanges, tree trimming, or weekend baking fun. If you’re making gingerbread recipes this season, these Christmas cookies bring festive flair with every bite!
Ingredients
- FOR THE GINGERBREAD COOKIES:
- 3 cups (375g) all-purpose flour
- 3/4 cup (150g) brown sugar, packed
- 3/4 cup (180ml) unsulphured molasses
- 1 large egg
- 1/2 cup (113g) unsalted butter, softened
- 1 tsp baking soda
- 1 tbsp ground ginger
- 1 tbsp ground cinnamon
- 1/4 tsp ground cloves
- 1/2 tsp ground nutmeg
- 1/2 tsp salt
- FOR THE ROYAL ICING:
- 3 cups (360g) powdered sugar, sifted
- 2 tbsp meringue powder
- 5–6 tbsp warm water
- Gel food coloring (optional)
Instructions
- MAKE THE DOUGH: Cream the softened butter and brown sugar in a large bowl until light and fluffy. Add the egg and molasses, mixing until smooth and well combined. In a separate bowl, whisk together the flour, baking soda, spices, and salt. Gradually incorporate the dry mixture into the wet ingredients until a soft, cohesive dough forms. Divide the dough into two disks, wrap each in plastic wrap, and refrigerate for at least 2 hours or overnight to firm up.
- ROLL AND CUT THE COOKIES: Preheat the oven to 350°F (175°C) and line baking sheets with parchment paper. On a lightly floured surface, roll out one dough disk to about 1/4-inch thickness. Use ornament-shaped or round cookie cutters to cut out shapes. Use a straw or piping tip to punch a hole at the top of each cookie for hanging. Place cookies 1 inch apart on prepared baking sheets. Bake for 8–10 minutes, or until edges are set and the centers appear dry. Let cookies cool on the baking sheet for 5 minutes, then transfer to a wire rack to cool completely.
- DECORATE: In a stand mixer, beat the powdered sugar, meringue powder, and 5 tablespoons of warm water on medium speed for about 5 minutes, or until stiff peaks form. Adjust with an extra tablespoon of water if needed for consistency. Divide and tint with gel food coloring, if using. Transfer the icing to piping bags fitted with small round tips. Decorate the cooled cookies with lines, swirls, dots, or snowflake designs. Allow the icing to dry completely for 4–6 hours or overnight before handling.
- STRING THE RIBBONS: Once the icing is fully dry, carefully thread thin ribbon or baker’s twine through the hole in each cookie. Tie a knot or bow to secure, and hang your cookies on the tree or package them as gifts.
Notes
Cookies will stay fresh for up to 1 week when stored in an airtight container. Do not hang them in humid environments. For best decorating results, let cookies cool completely before piping.