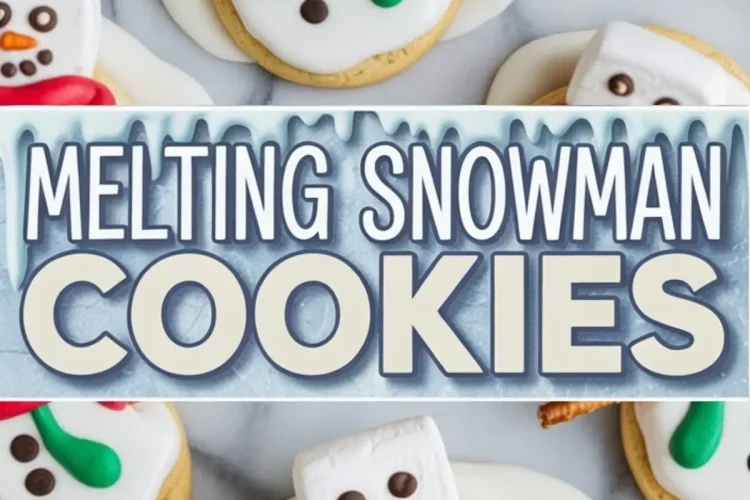
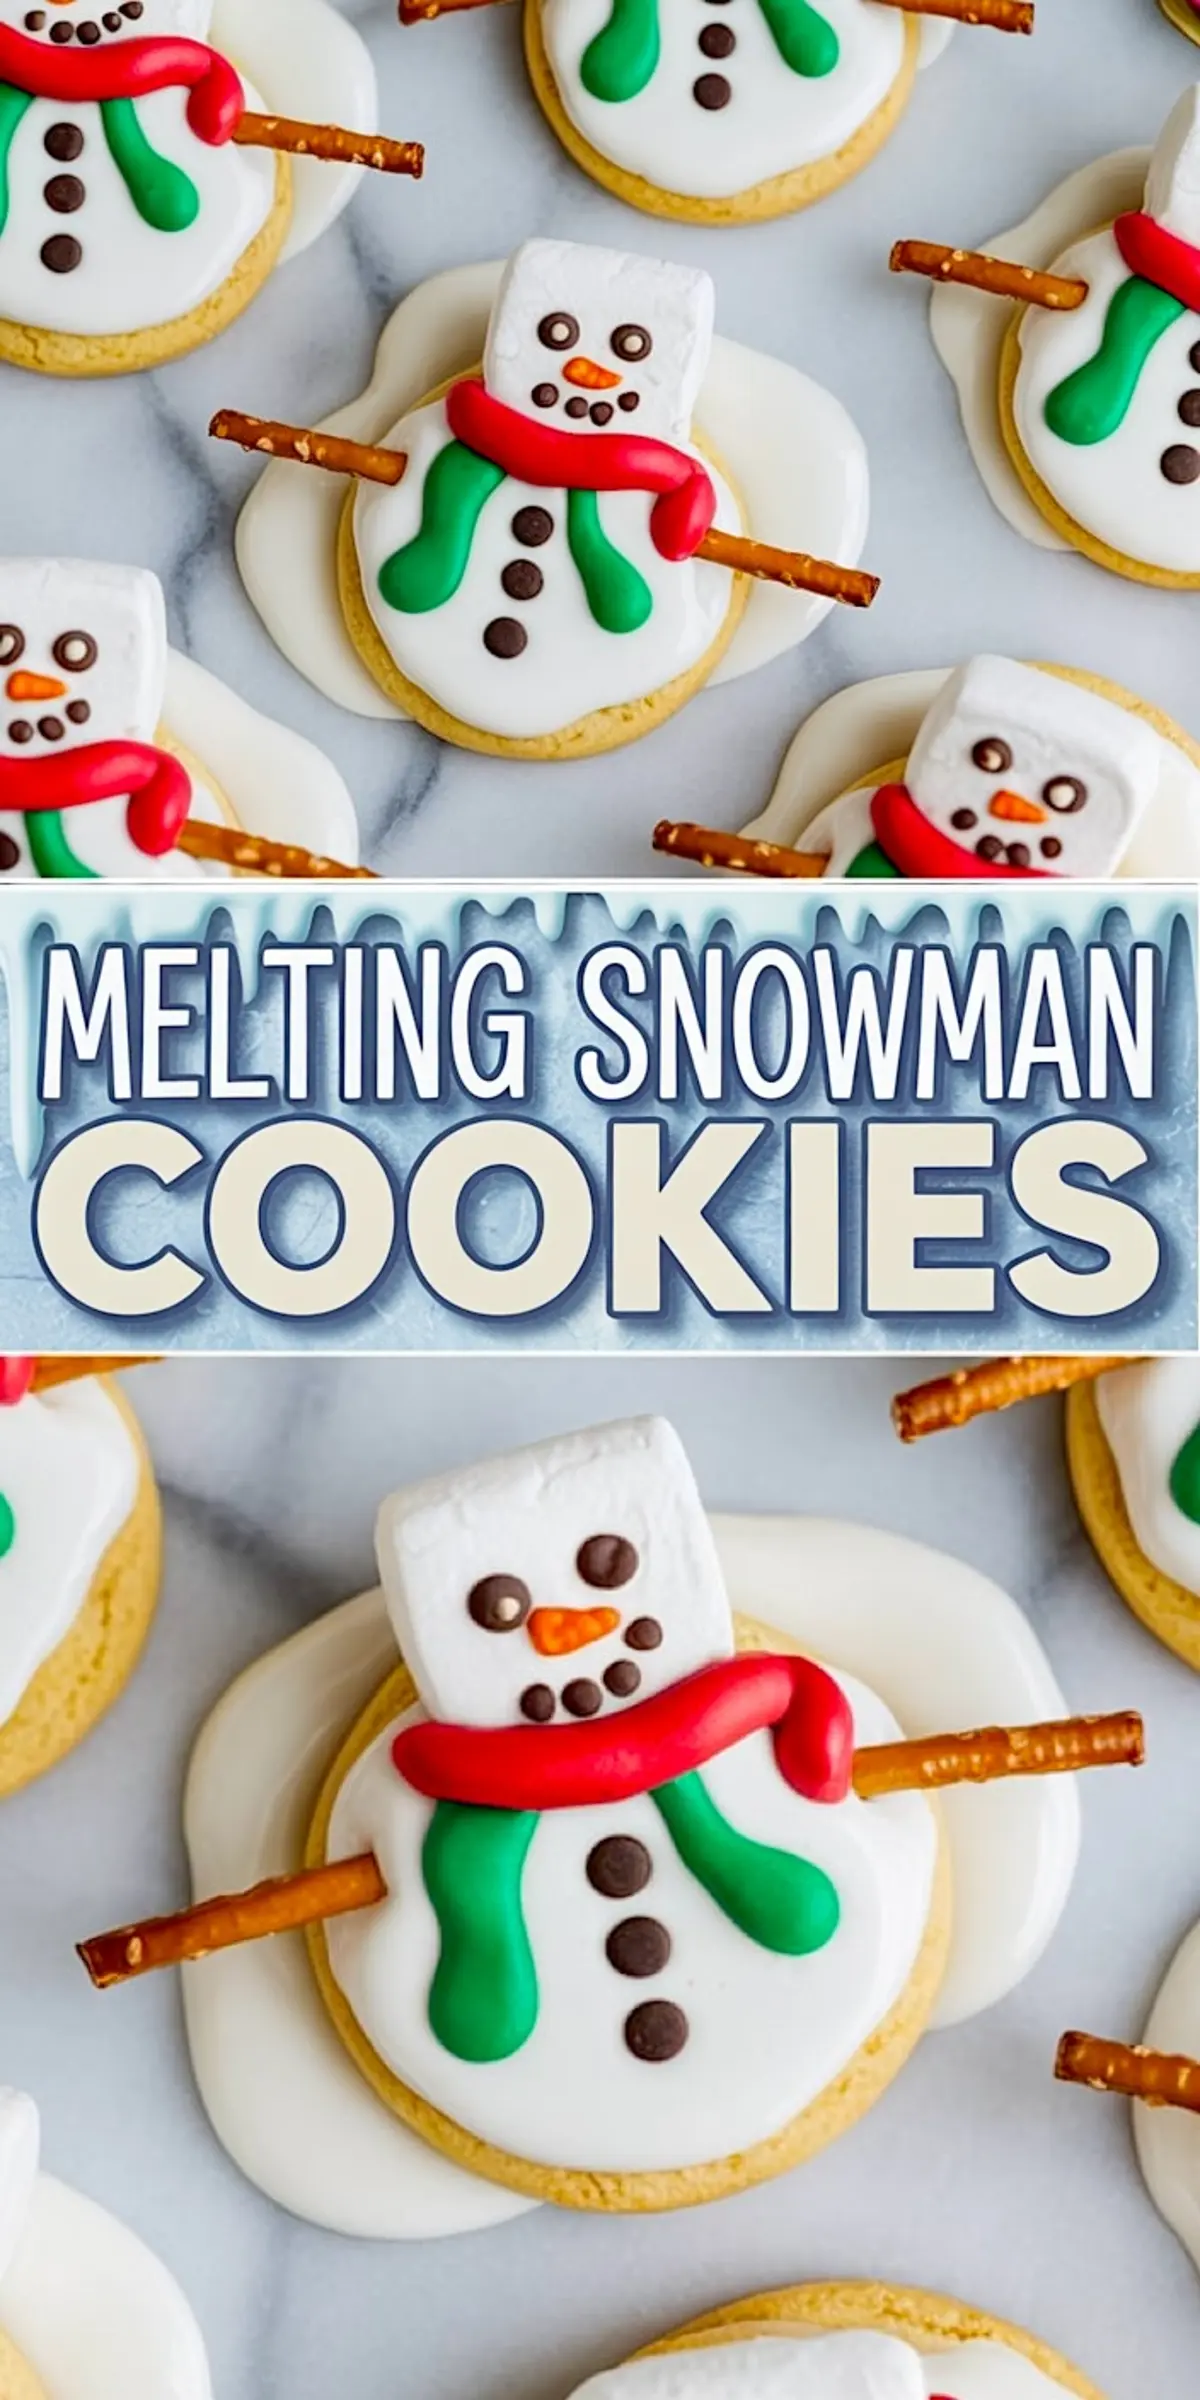
You’re looking at one of my favorite Christmas cookies to bake when laughter is just as important as flavor. These melting snowman cookies start with a soft sugar cookie base, then get topped with white icing that spreads like snow in a slow melt. A marshmallow head, crooked pretzel arms, chocolate chip buttons, and candy scarves turn them into characters. Not perfect ones, but funny, expressive little snowmen.
This melting snowman cookies recipe delivers Christmas snacks that are easy to decorate and always get people talking. They’re a hit at Christmas parties, cookie swaps, or weekend bakes with kids. If your holiday cookie list needs something fun and handmade, this is it.
You’ll learn how to make the sugar cookie base, how to layer the icing to mimic melting snow, and how to decorate each snowman with items you likely already have in your pantry.

Following a special diet?
Every recipe on this site can be converted to gluten-free, vegan, dairy-free, keto, nut-free or egg-free with adjusted ratios so nothing falls flat.
Try the Recipe Converter →Soft Sugar Cookie Base with Subtle Flavor
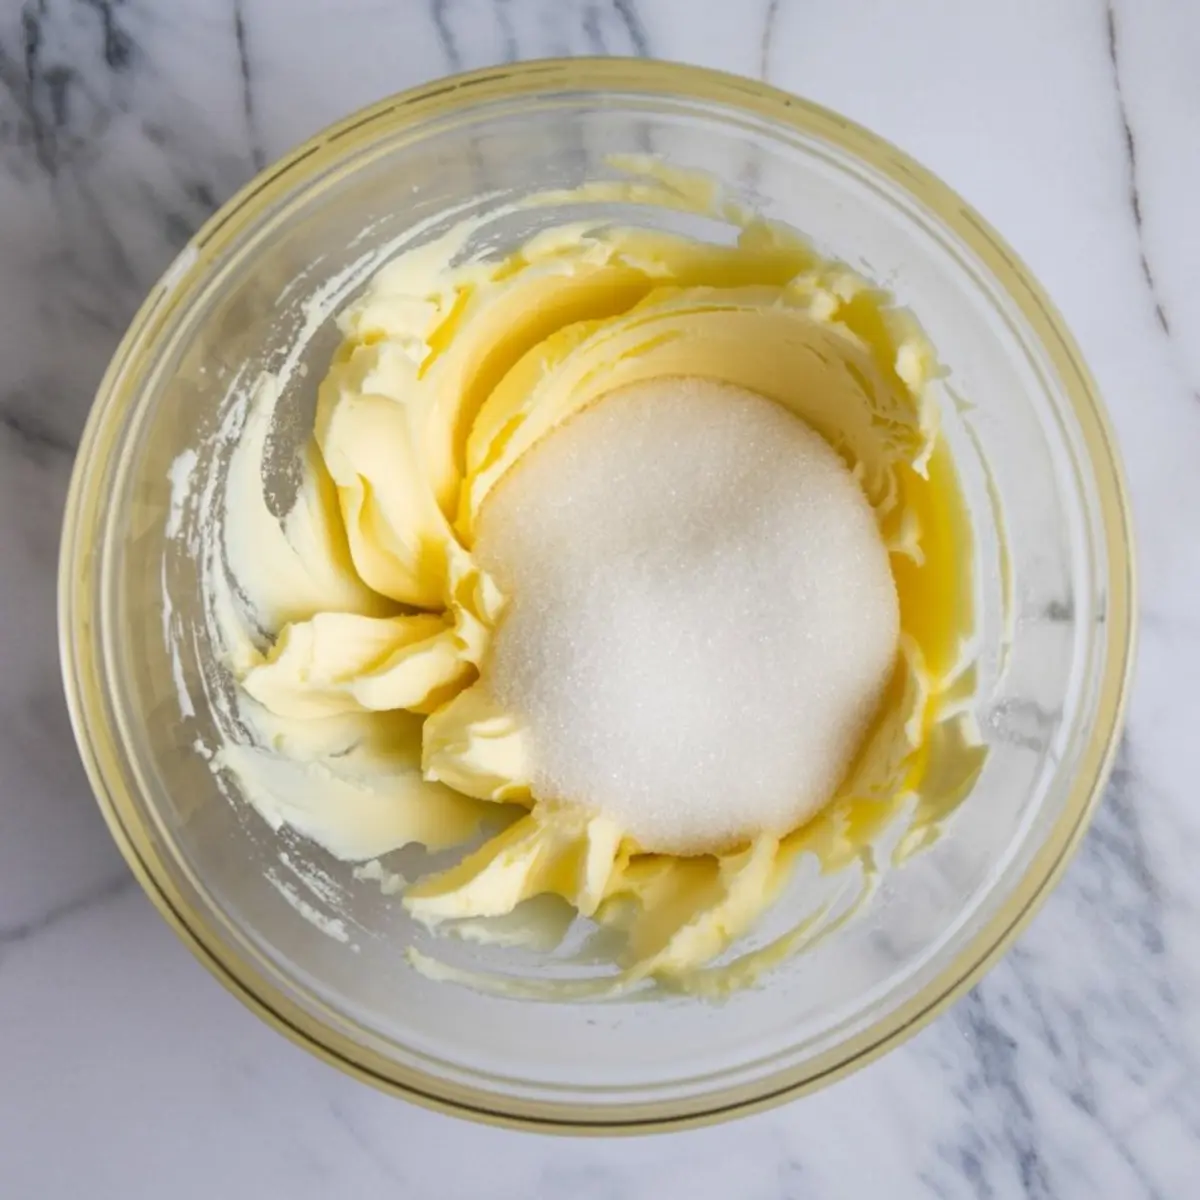
The base needs to hold its shape but still bite like a soft cookie. I use butter and sugar beaten until light, which gives structure but doesn’t harden after cooling. The flour mix includes a bit of baking soda and powder for lift, plus salt to balance the sweetness.
Egg, vanilla, and a splash of almond extract round out the dough. That almond note isn’t required, but I find it gives a nostalgic touch to the base like the cookies from my childhood tins.
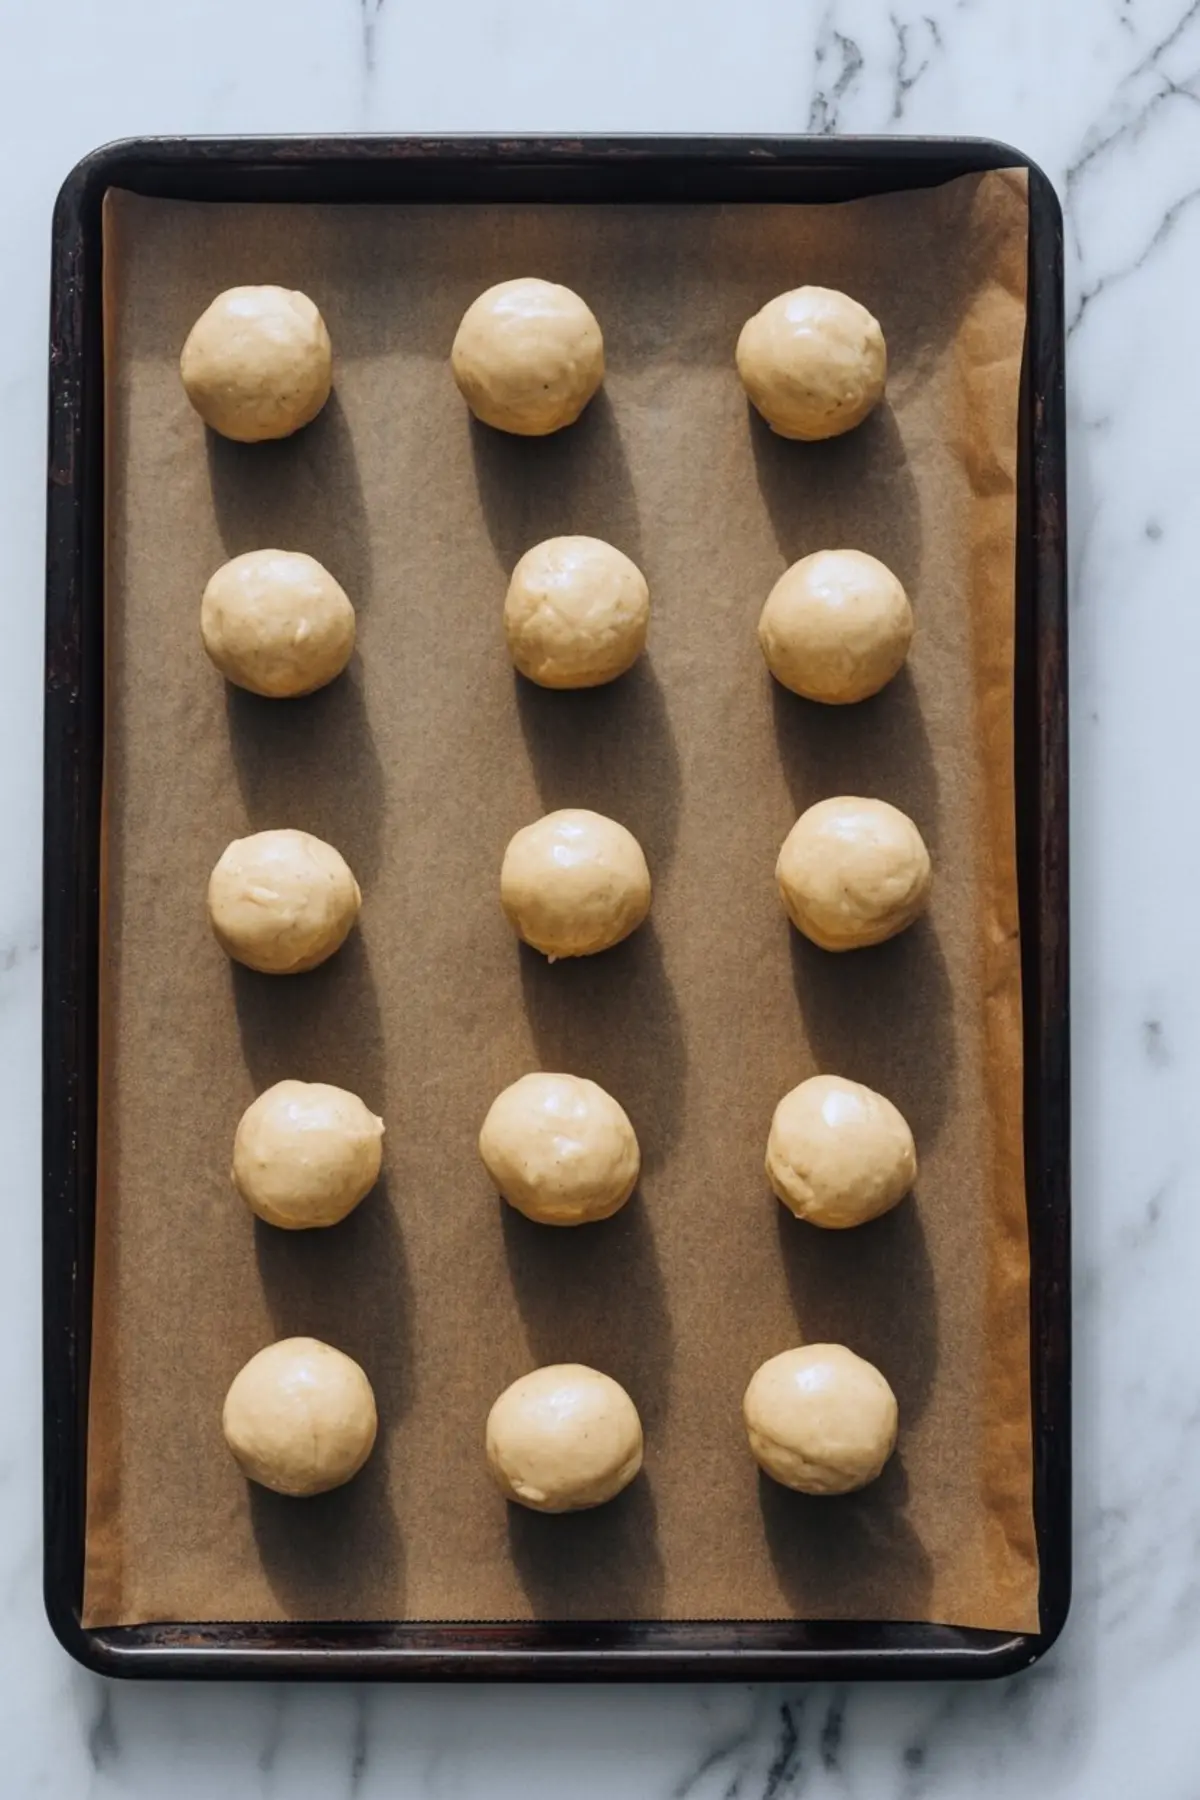
Once mixed, the dough gets portioned into balls and slightly flattened before baking. This shape gives the “snow” a wide surface to melt on.
Baking Notes That Matter
Bake just until the edges turn golden. I usually take mine out at the 9-minute mark, let them sit on the tray for another minute, then move them to cool. This stops over-baking and keeps the center soft.
Letting the cookies cool fully is non-negotiable. If they’re warm, the icing thins out too much and won’t hold the marshmallow heads upright.
In my notes, I’ve tried both homemade royal icing and a thick powdered sugar glaze. The glaze spreads more organically, but royal icing dries quicker and holds better if you need to pack these for gifts.
How to Create the Melting Snow Look

This is the fun part. Spoon a puddle of icing right in the center of each cooled cookie. Let it drift outward, unevenly. Don’t force it. You want soft edges, like real snow meeting a warm sidewalk.
The marshmallow goes on while the icing is still wet, gently pressed into the upper third of the cookie. This becomes the snowman’s head. I’ve done this step while humming carols more times than I can count.
Decorating Faces, Arms, and Accessories
Use mini chocolate chips for the eyes and buttons. I press two chips into the marshmallow for eyes and one or two more into the icing below for buttons.
Tiny orange sprinkles make great noses. Sometimes I use jelly beans cut to size when I’m out of sprinkles. For arms, pretzel sticks broken into short lengths work well. Angle them up or down for different expressions—some of my snowmen look surprised, others look like they’ve just given up.
Then come the scarves. Thin strips of red or green fondant add a holiday pop. Fruit roll-ups work too. Let them drape gently down the sides. The more relaxed the scarf, the more melted the look.
Emma’s Comparison Note: Royal Icing vs Powdered Sugar Glaze
I’ve made these with both. Royal icing sets firmer and travels better, but it can crack if overmixed or applied too thin. Powdered sugar glaze is easier to work with and gives a more natural melting look.
If I’m making a big batch for a party table, I choose glaze. If I need them to hold up in tins or gift boxes, royal icing wins. Both will taste sweet, but the texture makes the difference.
Tips for Making Ahead and Storage
Prepare all your snowman accessories before you start decorating. I put the chocolate chips, pretzels, and candy noses in small bowls. Assembly goes faster, and you don’t forget an arm halfway through.
Once the cookies are decorated, give them time to dry at room temperature. They’ll be set in an hour. If you’re short on time, chill the tray for twenty minutes. Store the cookies in a single layer in an airtight container at room temperature for up to three days.
If you’re pairing this with other Christmas baking recipes, try adding Gingerbread Crinkle Cookies for a spicy contrast or Chilly Snowman Cupcakes to keep the snowman theme.
Serving Ideas for Christmas Parties
I like to place these on a tray with white shredded coconut or crushed candy canes scattered around for effect. They always go quickly, especially with younger guests.
For a full snowman-themed dessert spread, include Snowman Cake Pops and a Classic Yule Log for the adults.
They make a fun addition to classroom parties or casual Christmas cooking days at home.
Pin This Recipe and Share Your Snowmen
If this made you smile or gave you a new idea for your cookie list, save it to your Christmas cookies easy board.
I’d love to hear how your melting snowmen turned out. Did the arms droop? Did the faces get silly? Drop a comment and share your snowy success or let me know if you tried a new twist.
Melting Snowman Cookies Recipe
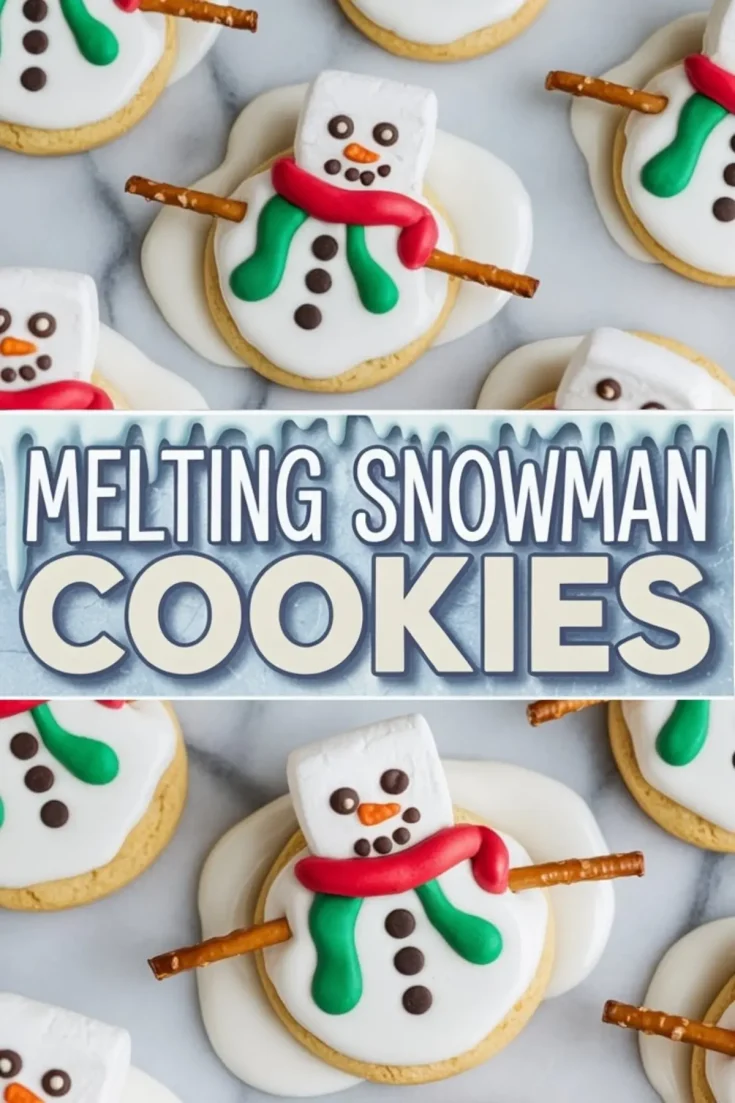
Melted snowman cookies start with a soft sugar cookie base, topped with white icing that spreads like melting snow. I press on a marshmallow for the snowman’s head, add chocolate arms, sprinkle on buttons, and draw little faces—no two ever look the same, which makes them extra fun. This melting snowman cookies recipe works great for Christmas snacks, holiday bakes with kids, or something silly for Christmas party food ideas. If you’re making Christmas cookies easy and fun, these belong on your list. I include them in my Christmas cooking every year and they always get a laugh. Add them to your christmas baking recipes or keep them in rotation for Christmas sweets and melting snowmen traditions.
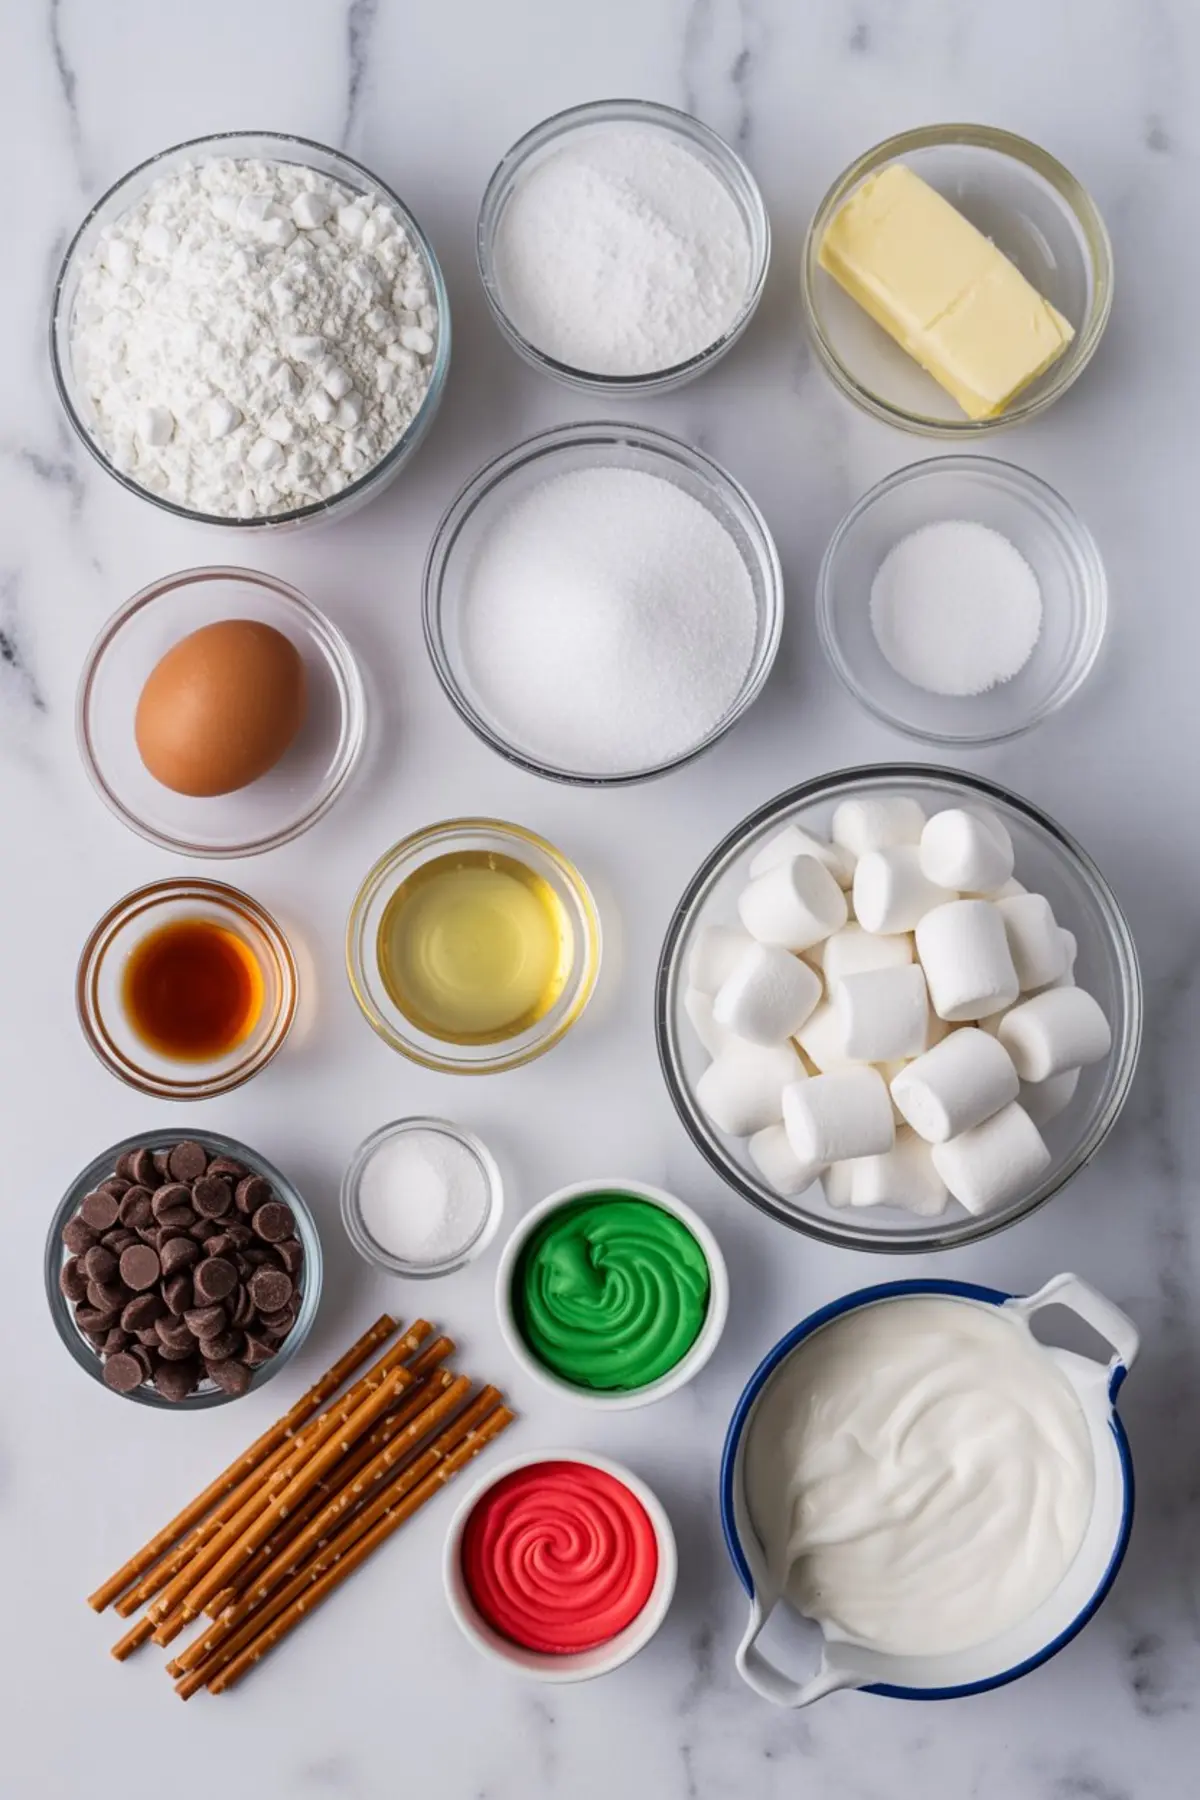
Ingredients
- FOR THE SUGAR COOKIES
- 2 ¾ cups all-purpose flour
- 1 tsp baking soda
- ½ tsp baking powder
- ¼ tsp salt
- 1 cup unsalted butter, softened
- 1 ½ cups granulated sugar
- 1 egg
- 1 tsp vanilla extract
- ½ tsp almond extract (optional)
- FOR THE DECORATIONS
- 1 batch royal icing or thick powdered sugar glaze
- 24 large marshmallows
- Mini chocolate chips (for eyes and buttons)
- 24 small orange sprinkles or pieces of orange jelly bean (for noses)
- Pretzel sticks, broken into short segments (for arms)
- Red and green fondant or fruit roll-ups, cut into thin strips (for scarves)
- Optional: shredded coconut or mini marshmallows (for base decoration)
Instructions
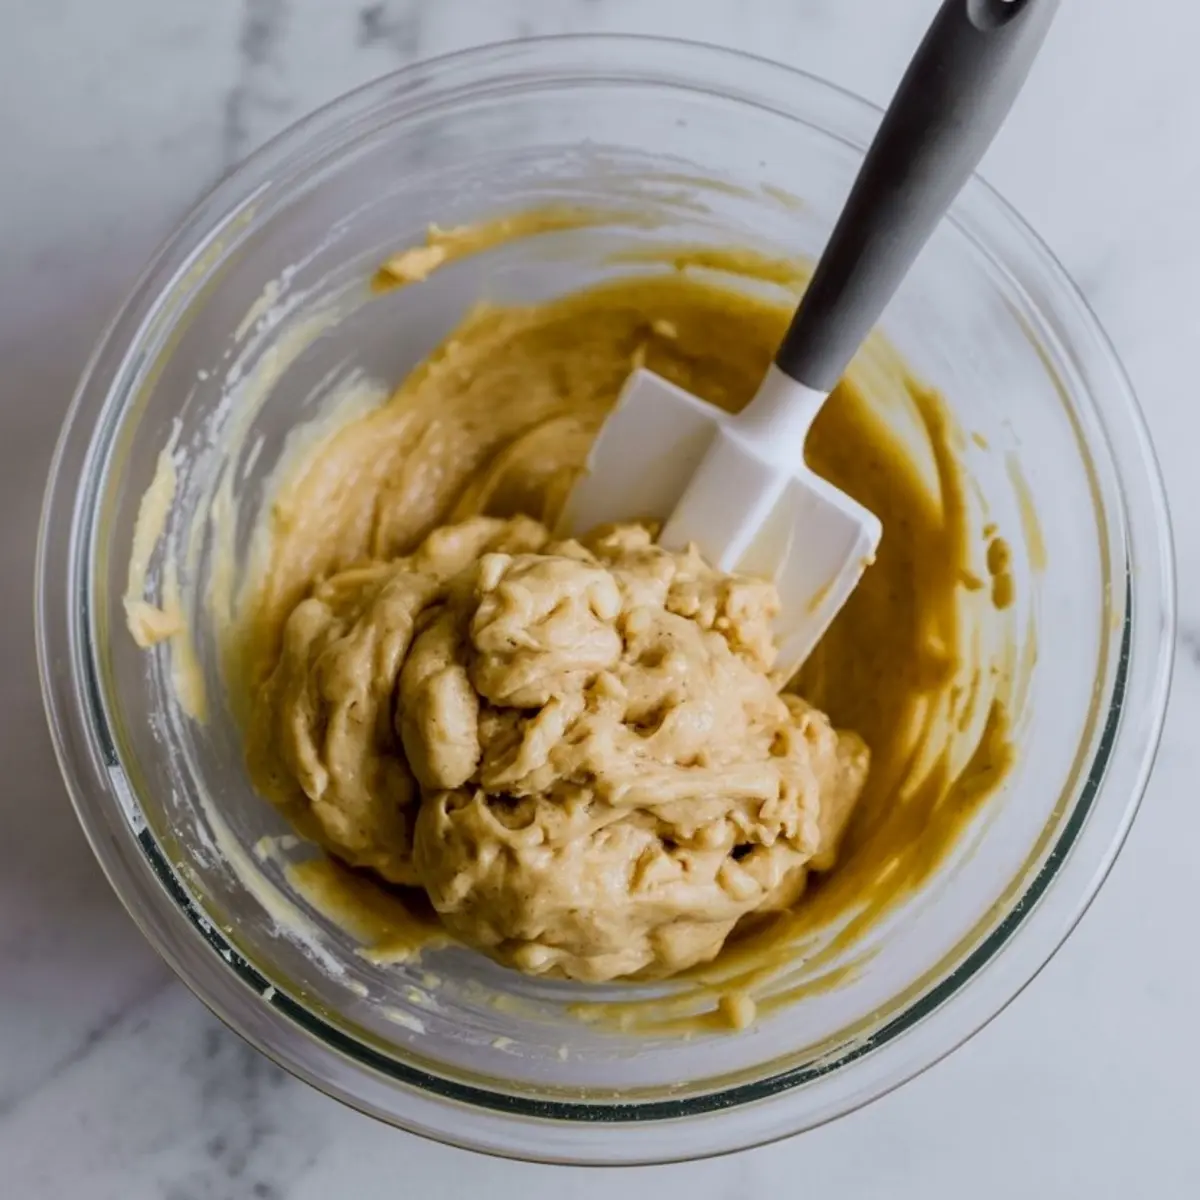
- PREPARE THE COOKIE DOUGH: In a medium bowl, whisk together the flour, baking soda, baking powder, and salt. In a large mixing bowl, beat the softened butter and sugar until light and fluffy. Add the egg, vanilla extract, and almond extract, then mix until fully combined. Gradually add the dry ingredients to the wet, mixing until a soft dough forms.
- SHAPE AND BAKE: Preheat the oven to 350°F (175°C). Roll the dough into 1 ½-inch balls and place them on a baking sheet lined with parchment paper. Flatten each ball slightly using the bottom of a glass. Bake for 8–10 minutes, or until the edges are just turning golden. Allow the cookies to cool completely on a wire rack before decorating.
- MAKE THE ICING: Prepare royal icing or a thick powdered sugar glaze. It should be thick enough to hold some shape but fluid enough to spread like melted snow. Spoon a small amount of icing onto the center of each cooled cookie, allowing it to naturally spread outward in irregular patterns to mimic melting snow.
- ADD THE MARSHMALLOW HEADS: While the icing is still wet, place one marshmallow on the top third of each cookie. Press gently so it sticks into the icing but remains upright. This represents the snowman’s head.
- DECORATE THE FACES AND BUTTONS: Press two mini chocolate chips onto the marshmallow to create eyes. Add one mini chocolate chip or sprinkle to the cookie icing as a button. Insert a small piece of orange sprinkle or orange jelly bean into the center of the marshmallow as the snowman’s nose.
- ATTACH THE ARMS: Gently press one small pretzel stick segment into each side of the marshmallow or into the icing at the base to resemble arms. Adjust angles to create expressive poses.
- ADD SCARVES: Wrap a thin strip of red or green fondant or fruit roll-up around the bottom of the marshmallow, letting the ends drape onto the icing. Press gently to secure in place.
- LET THE COOKIES SET: Allow the decorated cookies to sit at room temperature for at least 1 hour so the icing can fully harden and decorations stay in place. For faster setting, place the tray in the refrigerator for 20–30 minutes.
Notes
To make decorating easier, prep all snowman accessories ahead of time and set them in small bowls. Cookies can be stored in a single layer in an airtight container at room temperature for up to 3 days.
Nutrition Information
Yield
24Serving Size
1Amount Per Serving Calories 345Total Fat 12gSaturated Fat 7gTrans Fat 0gUnsaturated Fat 4gCholesterol 29mgSodium 144mgCarbohydrates 60gFiber 3gSugar 39gProtein 4g