As the holiday season approaches, there’s something truly special about the scents of peppermint and chocolate wafting through the air. Every year, when the first chill of December creeps in, I know it’s time to dig out my favorite cookie recipe—Peppermint Bark Cookies. These cookies bring together the nostalgic flavor of classic peppermint bark with a rich, chocolatey cookie base that will have everyone reaching for seconds.
Following a special diet?
Every recipe on this site can be converted to gluten-free, vegan, dairy-free, keto, nut-free or egg-free with adjusted ratios so nothing falls flat.
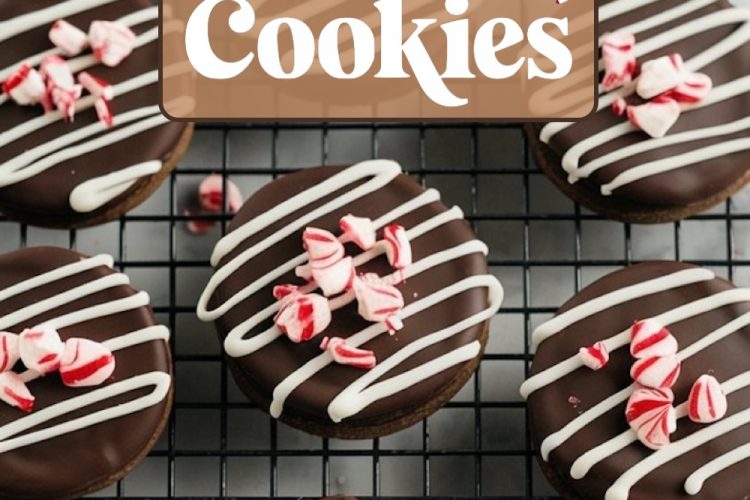
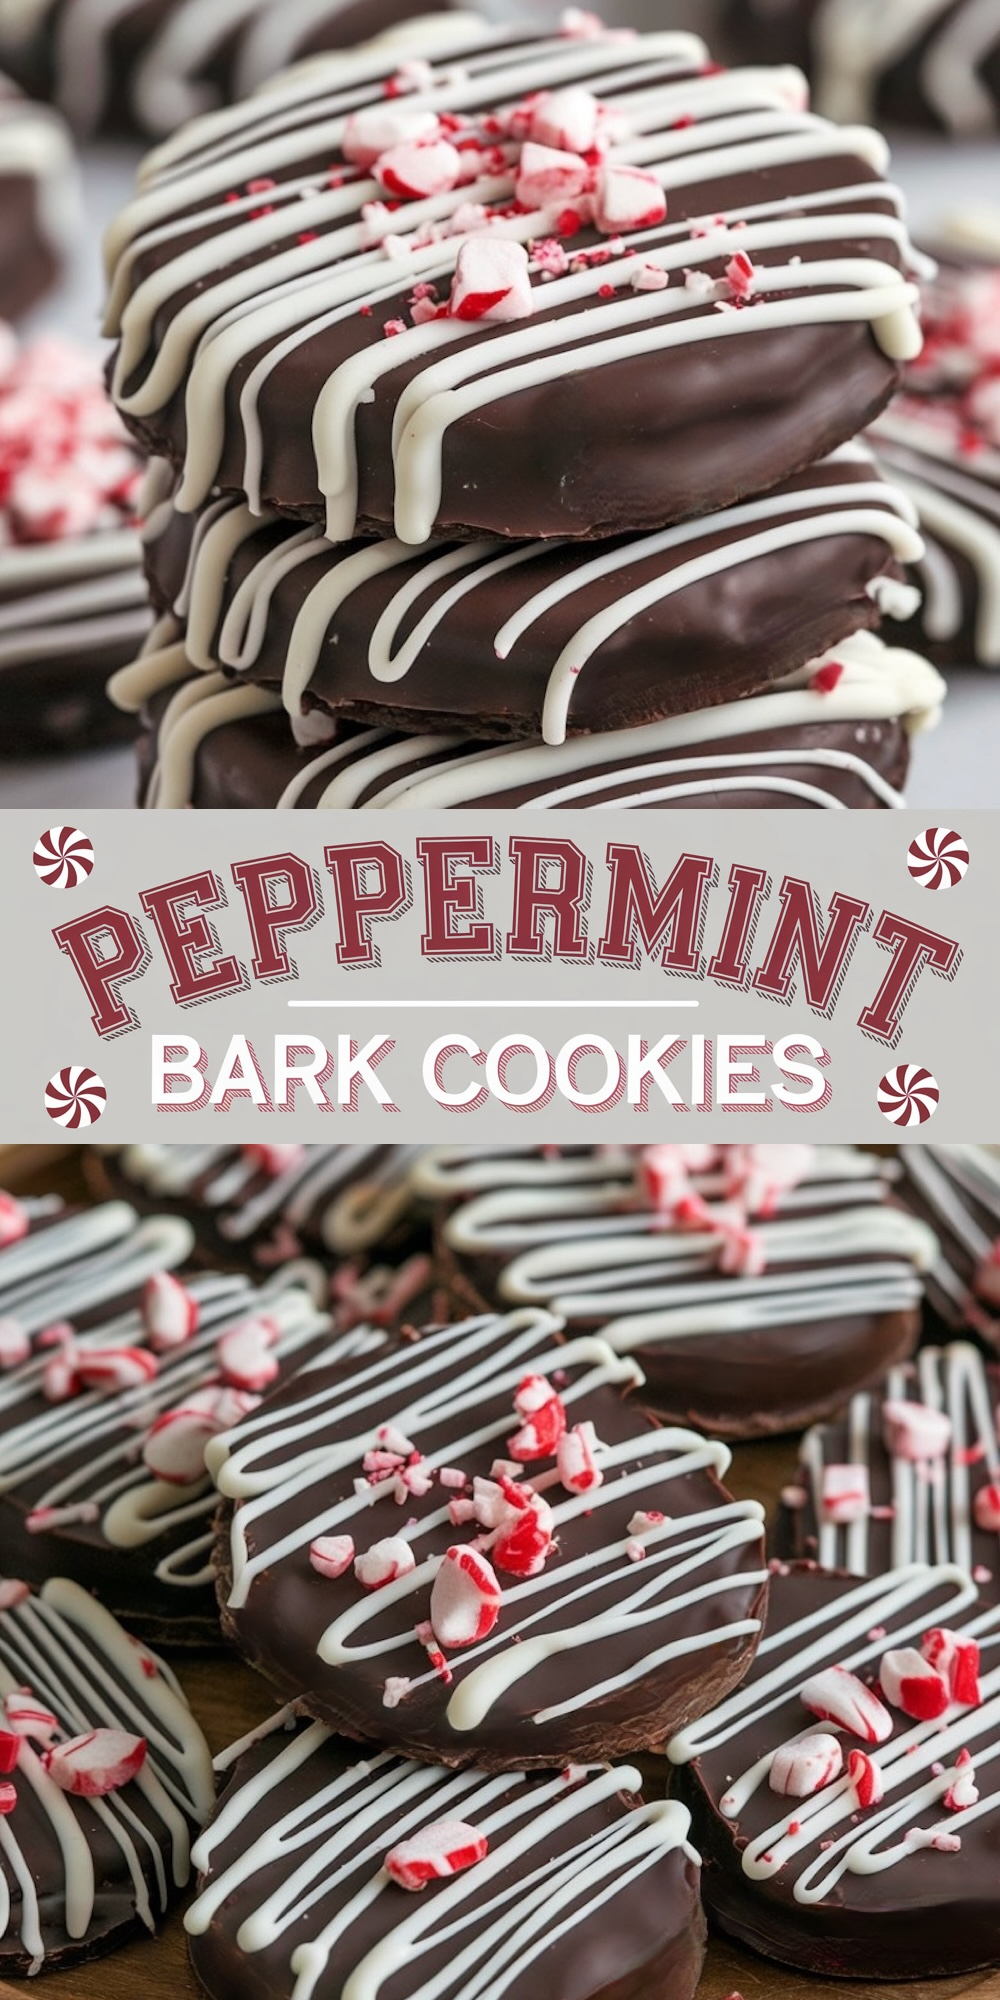
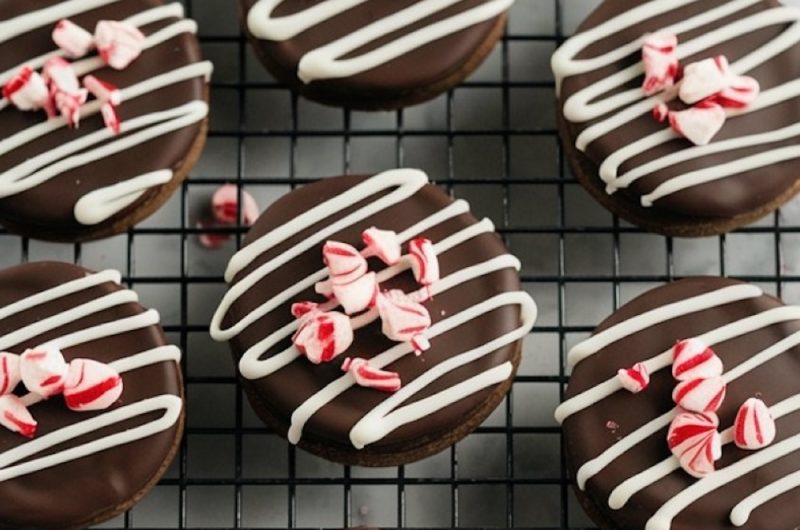
Try the Recipe Converter →This cookie has all the elements of holiday cheer: a buttery chocolate cookie, a smooth chocolate coating, a drizzle of creamy white chocolate, and the perfect sprinkle of crushed peppermint candies on top. It’s a treat that looks as stunning as it tastes, making it the perfect addition to holiday dessert trays or festive gift boxes.
The Story Behind My Peppermint Bark Cookie Tradition
I have always been a sucker for the combination of chocolate and mint, and peppermint bark has been a staple in my household for as long as I can remember. Growing up, my family would make big batches of peppermint bark to give away as gifts to friends and neighbors. The kitchen would be a flurry of activity, with chocolate melting, peppermint candies being smashed with rolling pins, and fingers constantly sneaking little bites of our creations.
As I got older, I started experimenting with different ways to incorporate these classic flavors into other desserts. One year, I decided to combine two holiday favorites—cookies and peppermint bark. The result was magical! Not only did I recreate the flavors I loved, but I also added the soft texture of a cookie and the satisfaction of biting through layers of chocolate and crunchy peppermint. This quickly became a new holiday tradition, and every year since, I’ve made these cookies for Christmas gatherings, cookie swaps, and cozy nights at home.
Ingredients You Are Going to Need
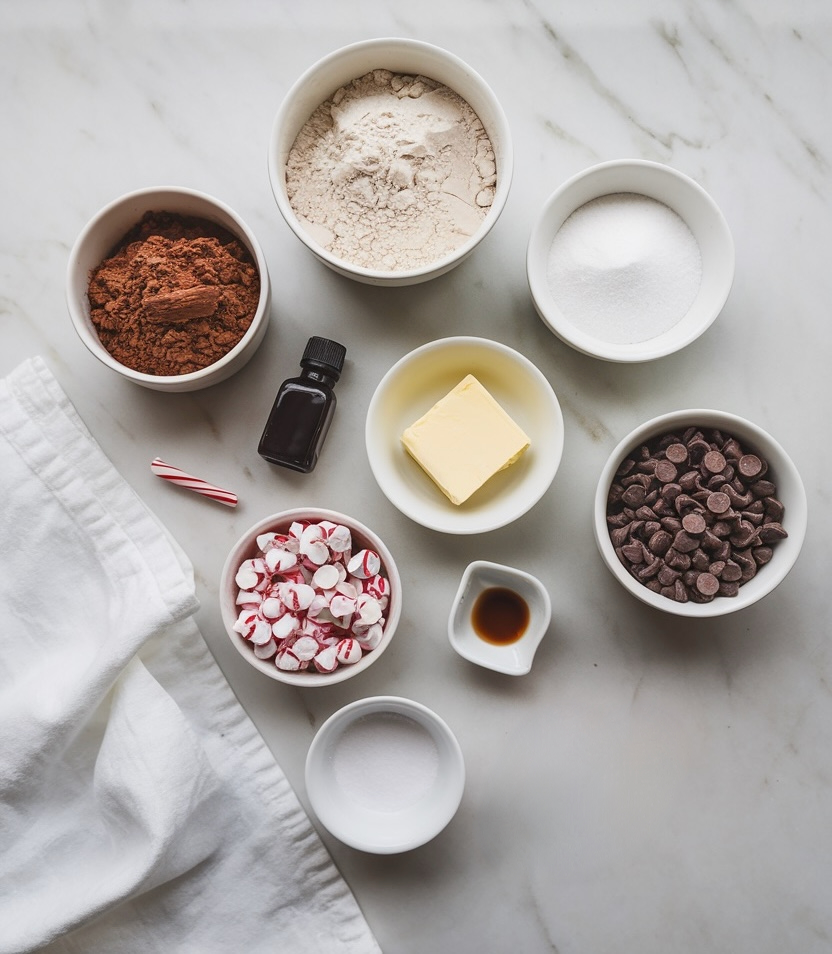
Let’s talk about the magic behind these delicious chocolate peppermint cookies—the ingredients! This recipe uses simple, accessible ingredients to create an indulgent, bakery-quality treat. For the cookie base, you’ll need unsalted butter, granulated sugar, and a large egg to create a rich, buttery dough. Vanilla extract adds a warm, subtle depth to the flavor, balancing the intense chocolate. The flour provides structure, while unsweetened cocoa powder brings a deep chocolate flavor that’s anything but ordinary. A touch of baking powder gives these cookies a gentle lift, and a pinch of salt enhances all the flavors, rounding out the taste.
Once baked, each cookie gets coated in a layer of dark chocolate. Use a high-quality dark chocolate for the best flavor—chocolate bars or chips work well. The finishing touch is a festive white chocolate drizzle and a sprinkle of crushed peppermint candies or candy canes, which add a delightful crunch and a refreshing minty flavor that pairs perfectly with the rich chocolate.
The Perfect Cookie Base: Rich, Chocolatey, and Buttery
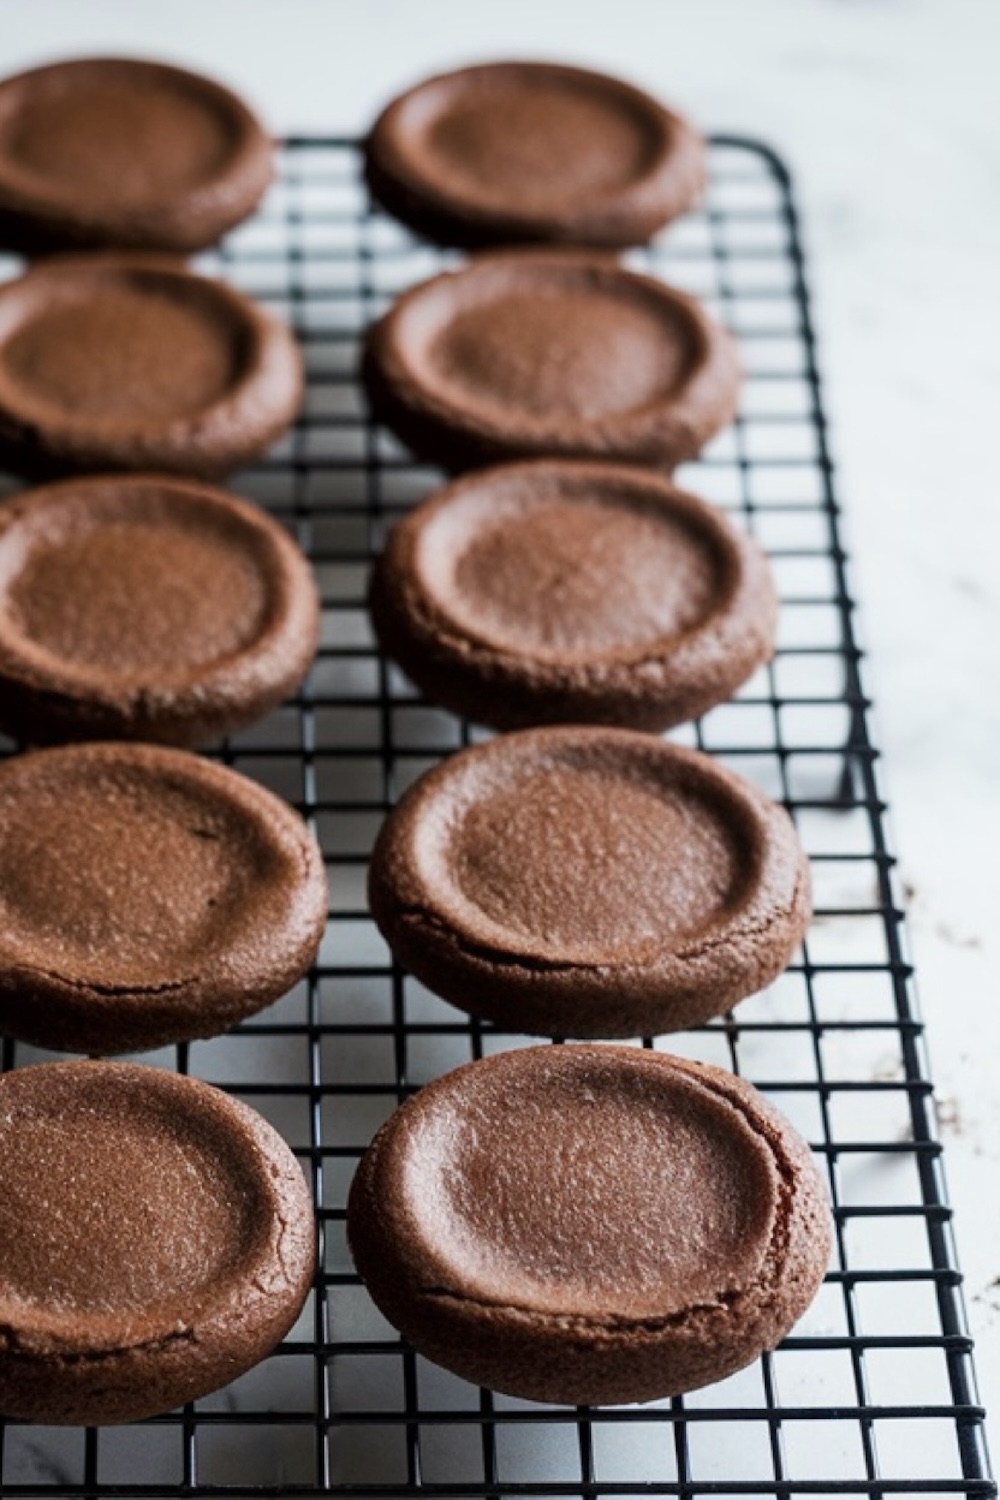
The foundation of these cookies is a soft, chocolate cookie base that’s the ideal canvas for all the peppermint bark toppings. The recipe starts with creaming butter and sugar together until it’s light and fluffy—this is the secret to achieving that perfect cookie texture. Once the egg and vanilla extract are added, the real magic begins with the dry ingredients: flour, cocoa powder, baking powder, and a pinch of salt. These simple components combine to create a cookie dough that’s rich in chocolate flavor, but still soft and tender after baking.
Rolling the dough out to about ¼ inch thick allows for the perfect balance of crisp edges and soft centers. Using a cookie cutter to create uniform shapes makes them look just as good as they taste. When they come out of the oven, the cookies should be just firm around the edges but still soft to the touch. This ensures they’ll hold up under the chocolate coating without being too hard or crumbly.
Chocolate Coating: A Smooth Layer of Decadence
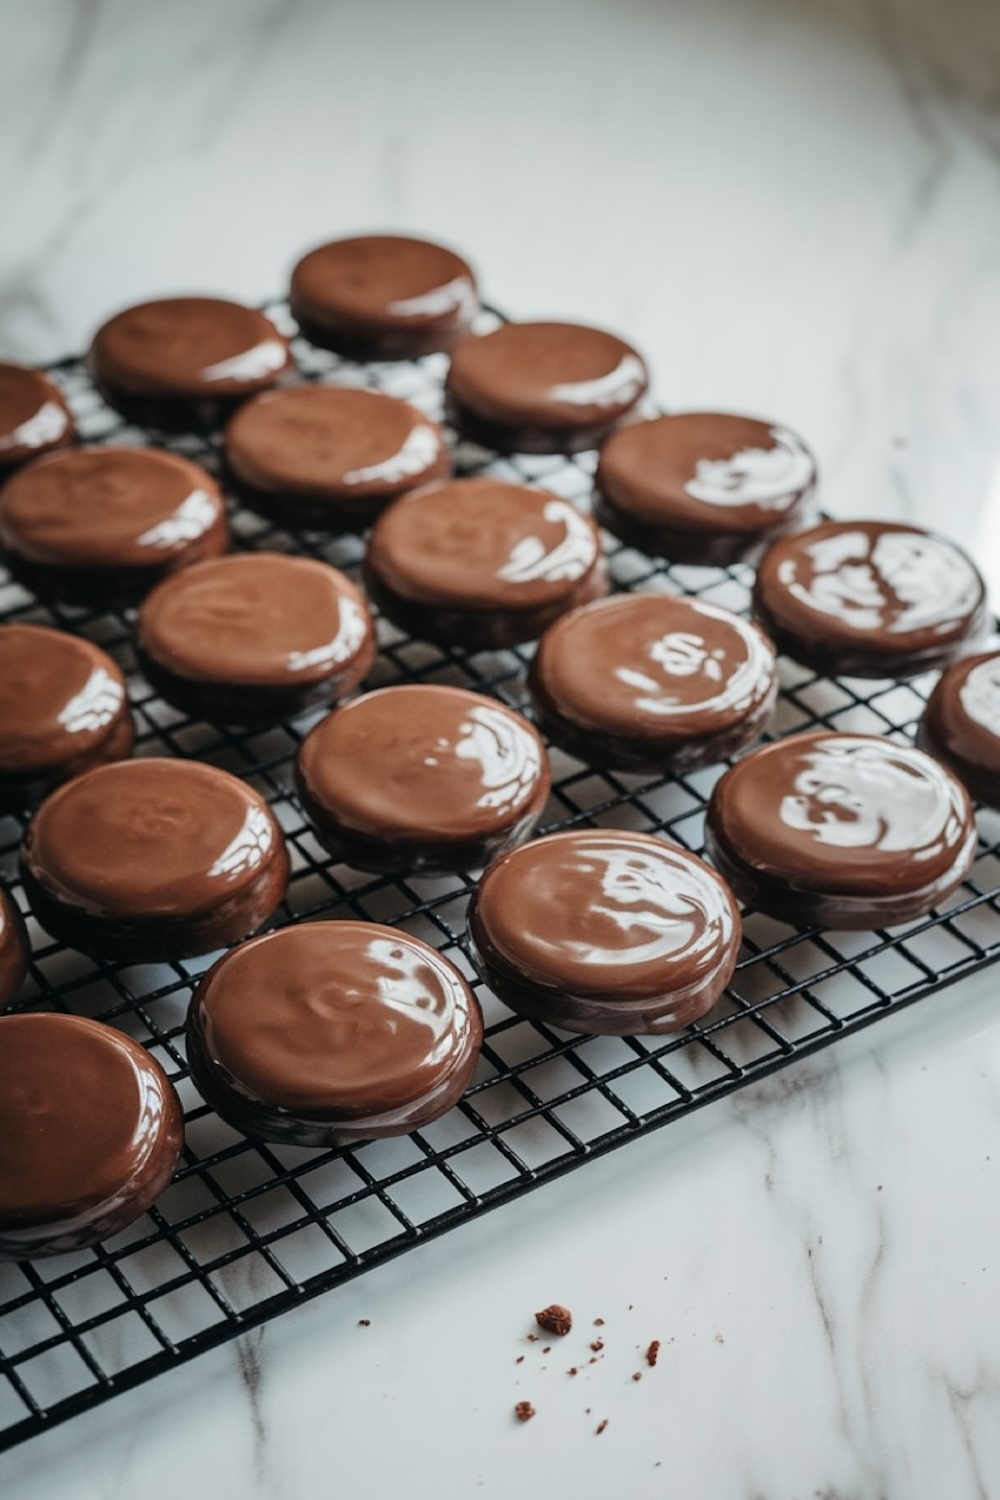
Once the cookies have cooled, it’s time to coat them in a luxurious layer of dark chocolate. You can use any good quality dark chocolate for this—chocolate chips or bars work perfectly. The trick to achieving a smooth coating is to melt the chocolate slowly and evenly, either using a double boiler or in the microwave in 30-second increments. Stirring frequently ensures the chocolate doesn’t burn and keeps it silky smooth.
Dipping the tops of the cookies into the melted chocolate can be a bit of a messy process, but it’s well worth the effort. The key is to let any excess chocolate drip off before placing the cookies back onto parchment paper. This keeps the chocolate layer thin and even, without pooling or clumping. Once dipped, pop the cookies into the fridge for 10-15 minutes to allow the chocolate to set perfectly.
White Chocolate Drizzle: Adding the Finishing Touch
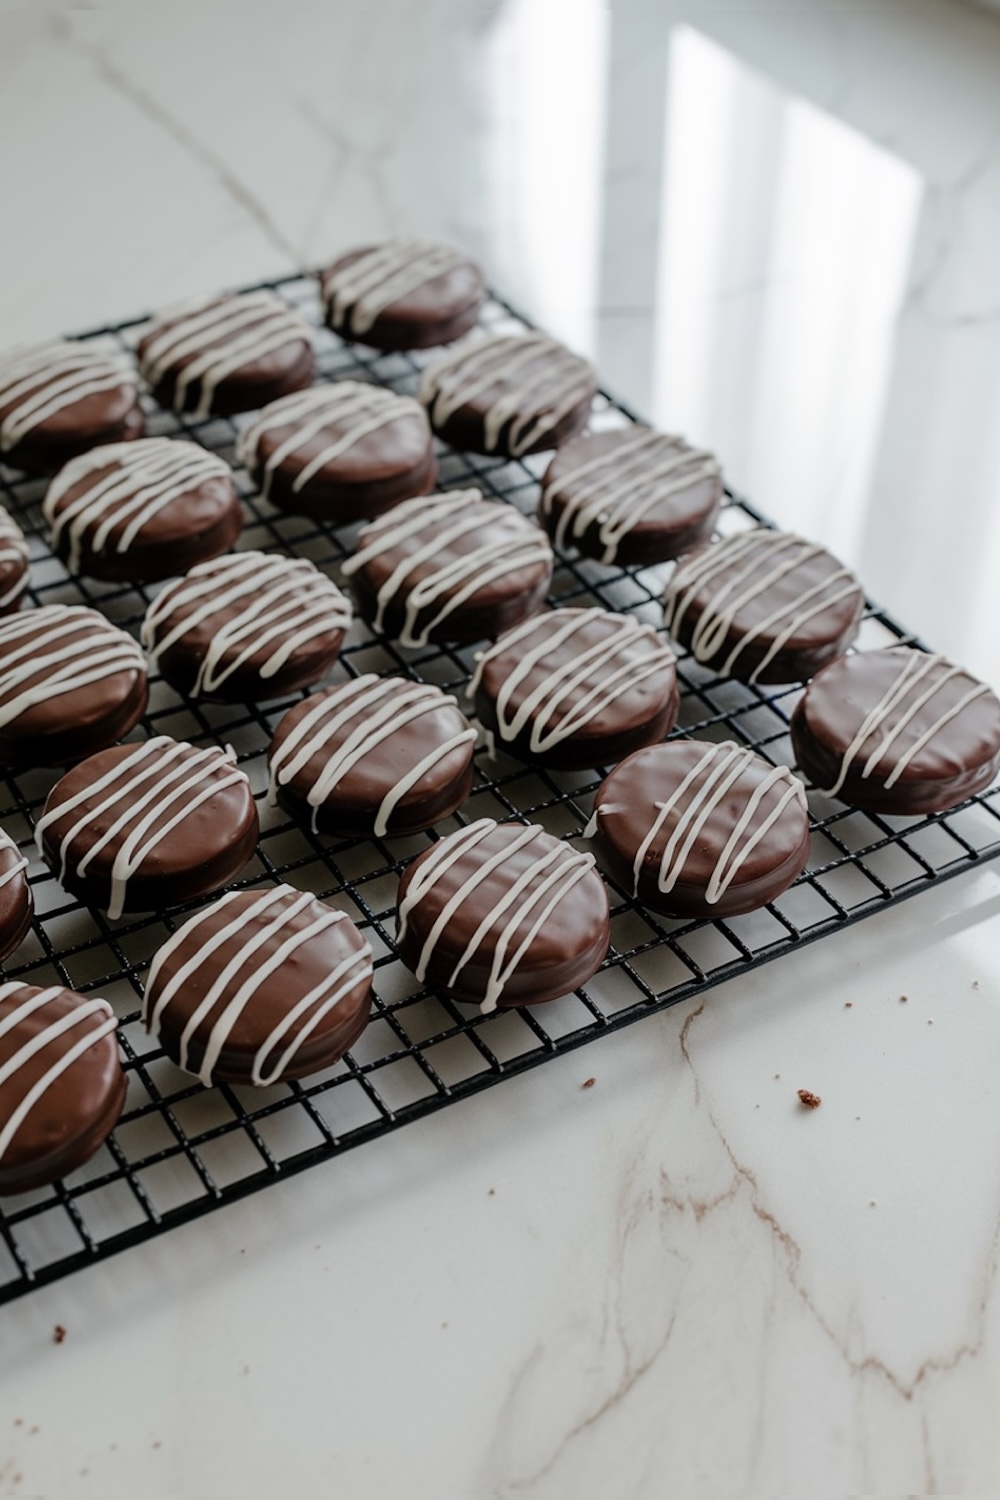
After the dark chocolate has set, the white chocolate drizzle adds an elegant contrast. Melting the white chocolate in the same way as the dark chocolate ensures that it’s smooth and easy to work with. You can use a spoon to drizzle the white chocolate in a casual zig-zag pattern, or if you’re feeling fancy, transfer the melted white chocolate into a piping bag for more precise decoration.
The beauty of this step is that it doesn’t have to be perfect. The white chocolate drizzle should look artistic and a bit freeform, adding a touch of whimsy to the cookies.
Peppermint Candy Topping: Crunchy and Festive
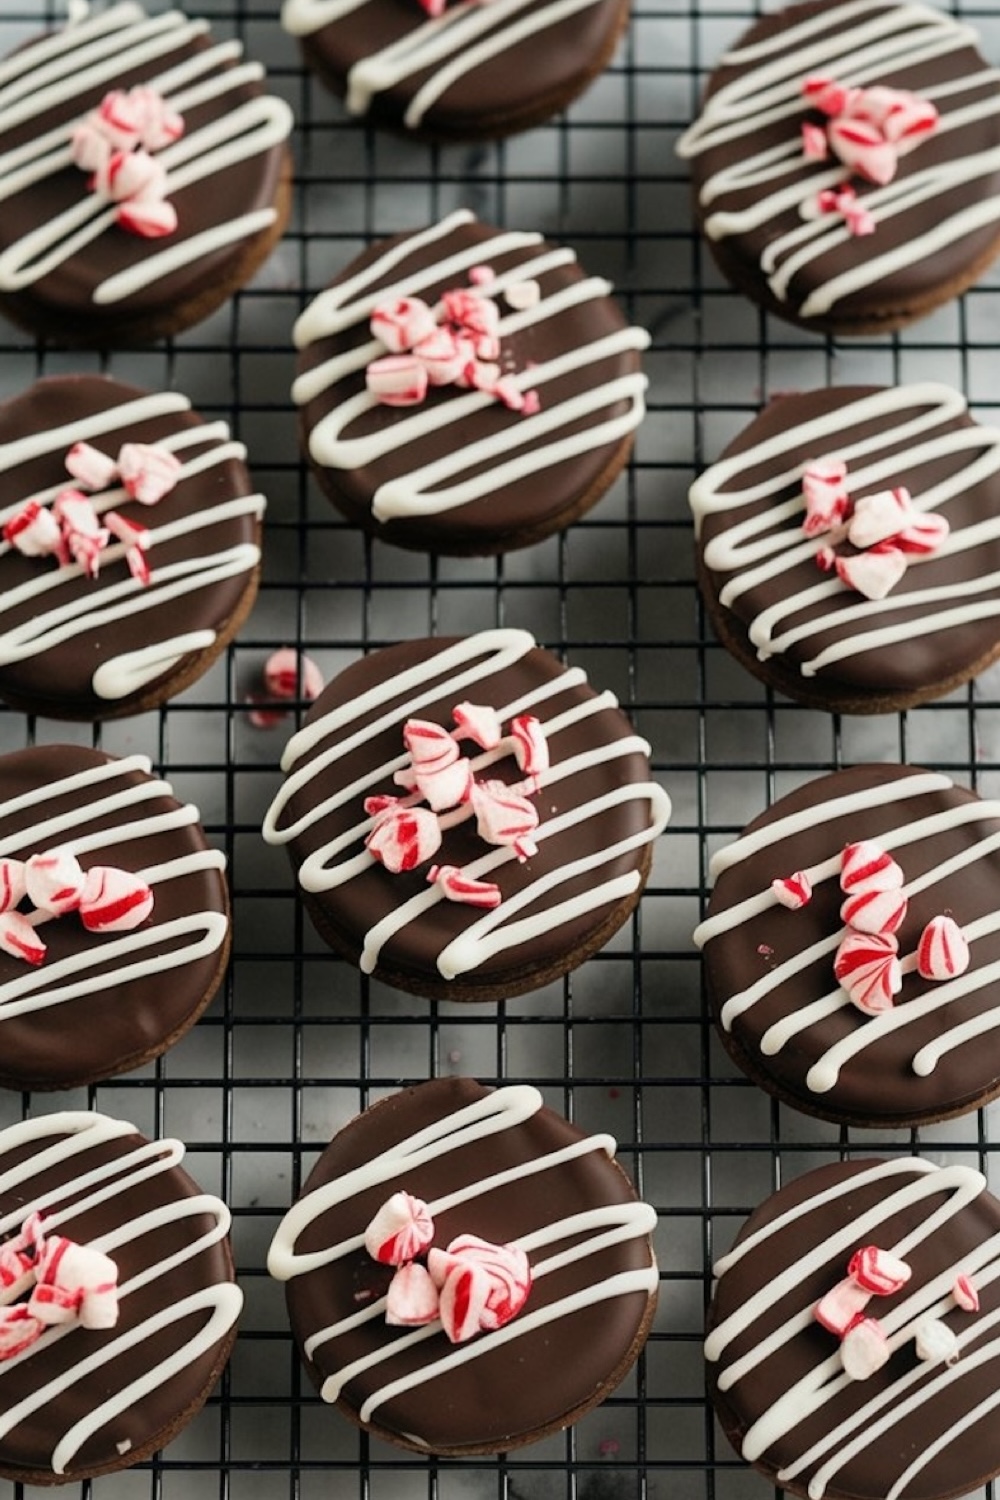
Finally, the pièce de résistance—the crushed peppermint candies. These are what make these cookies scream “holiday season.” Before the white chocolate fully sets, sprinkle the crushed peppermint over the cookies, pressing them gently into the chocolate so they stick. The contrast between the creamy chocolate and the crunchy peppermint bits creates a wonderful texture in every bite.
Crushing the peppermint can be done by placing candy canes in a ziplock bag and using a rolling pin to smash them into small pieces. It’s a great way to let off some holiday stress! Plus, the candy dust that’s left behind can be sprinkled over the cookies for an extra festive sparkle.
The Secret to Success: Chill Time and Patience
The key to perfecting these cookies is giving the chocolate ample time to set between each step. Patience is your friend here—if the chocolate isn’t fully set before adding the next layer, you might end up with a sticky mess. Allowing the cookies to rest in the refrigerator speeds up this process and ensures that the layers stay distinct and clean.
Dessert Information
These cookies are ideal for making ahead of time and can be stored in an airtight container for up to a week, which makes them perfect for the busy holiday season. The recipe makes about 24 cookies, depending on the size of your cookie cutter, and the prep and bake time is approximately 30 minutes, plus additional time for cooling and setting the chocolate.
As for calories, each cookie comes in around 200 calories, which makes them an indulgence that doesn’t feel too heavy—a perfect balance when you’re surrounded by holiday feasts.
Creative Serving Suggestions
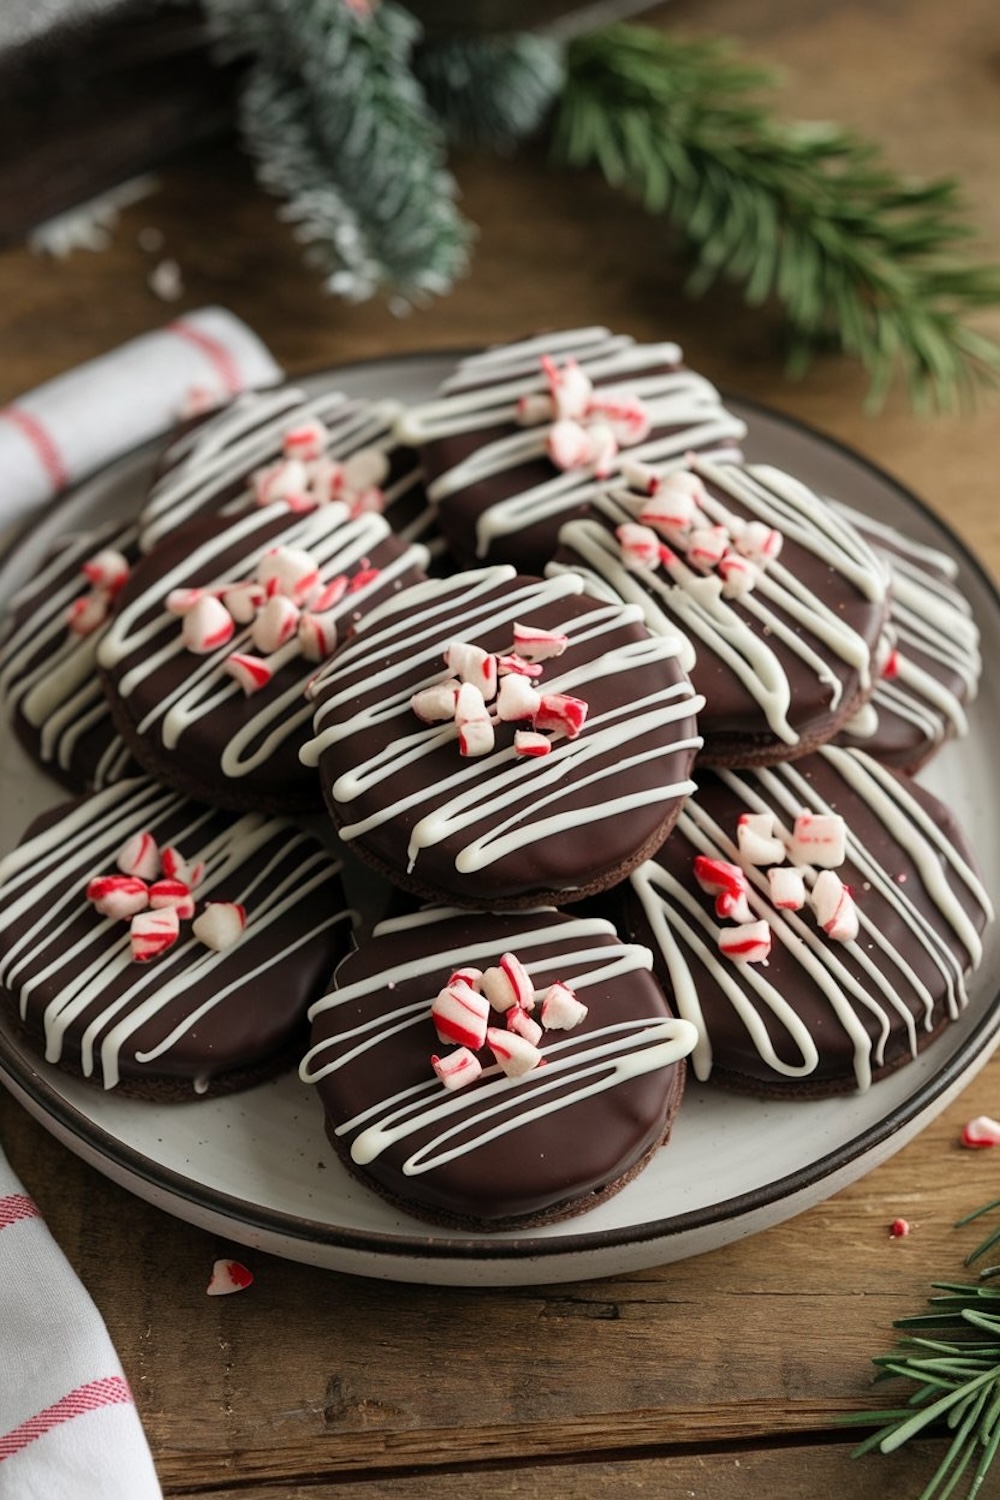
Peppermint Bark Cookies are versatile when it comes to serving. Stack them up on a holiday cookie platter with an assortment of other treats, or wrap them individually in cellophane bags tied with festive ribbons for a beautiful homemade gift. These cookies also make an excellent companion to a mug of hot cocoa or a peppermint latte. Another fun idea is to crumble one on top of ice cream for a holiday sundae.
For an extra touch, serve these cookies with a side of whipped cream or marshmallows, turning your dessert table into a winter wonderland.
Peppermint Bark Cookies
Course: Cake Ideas24
servings20
minutes10
minutes220
kcalIngredients
- For the Chocolate Cookie Base:
1 cup (226g) unsalted butter, softened
1 cup (200g) granulated sugar
1 large egg
1 tsp vanilla extract
2 cups (240g) all-purpose flour
1/2 cup (45g) unsweetened cocoa powder
1/2 tsp baking powder
1/2 tsp salt
- For the Chocolate Coating:
8 oz (225g) dark chocolate (good quality chocolate bars or chips)
4 oz (113g) white chocolate, melted for drizzling
- Topping:
1/2 cup crushed peppermint candies or candy canes
Steps
- Step 1: Make the Chocolate Cookie Base
- Preheat your oven to 350°F (175°C) and line two baking sheets with parchment paper.
- In a large bowl, cream together butter and sugar using a hand mixer or stand mixer until light and fluffy, about 2-3 minutes.
- Add the egg and vanilla extract, beating until fully combined.
- In a separate bowl, whisk together the flour, cocoa powder, baking powder, and salt.
- Slowly add the dry ingredients to the wet ingredients, mixing until just combined. The dough should be soft but not sticky.
- Roll out the dough to about 1/4 inch thick on a floured surface. Use a round cookie cutter (about 2.5 to 3 inches in diameter) to cut out your cookies and place them onto the prepared baking sheets.
- Bake for 10-12 minutes, or until the cookies are firm around the edges. Let them cool on the baking sheet for a few minutes before transferring to a wire rack to cool completely.
- Step 2: Coat the Cookies with Chocolate
- Melt the dark chocolate using a double boiler or in 30-second intervals in the microwave, stirring after each interval to prevent burning.
- Dip each cookie into the melted chocolate, ensuring the top is completely covered. Let any excess drip off before placing the cookie back on the parchment paper. Allow the chocolate to set for 10-15 minutes in the refrigerator.
- Step 3: Add the White Chocolate Drizzle
- Once the dark chocolate has set, melt the white chocolate in the same way as the dark chocolate.
- Drizzle the white chocolate over the cookies in a zig-zag pattern using a spoon or piping bag.
- Step 4: Sprinkle with Crushed Peppermint
- Before the white chocolate fully hardens, sprinkle the crushed peppermint candies over the top of each cookie, gently pressing them into the chocolate so they stick.
- Allow the cookies to cool completely so the chocolate fully sets. You can speed up this process by placing the cookies in the refrigerator for 10-15 minutes.
Dear Reader
These Peppermint Bark Cookies have quickly become a staple in my holiday baking lineup, and I’m sure they will in yours too. They are the perfect blend of nostalgia and creativity, combining the best flavors of the season into one delicious treat. If you’re looking for a way to impress guests or simply want to enjoy a cozy night in with a festive dessert, these cookies are the answer.
Love this recipe? Don’t forget to pin it to your holiday dessert board, and share your creations with me in the comments below. I’d love to hear how your peppermint bark cookies turned out!
Is candy on top the only peppermint in the recipe?
Yes, Vicki the candy on top is the only peppermint in the recipe. The base stays sweet and creamy without mint, which keeps the texture smooth. You can still add a little peppermint to the dough if you want a stronger flavor. A quarter teaspoon of peppermint extract blends in easily and keeps the texture stable, so you can adjust the taste without changing the structure.