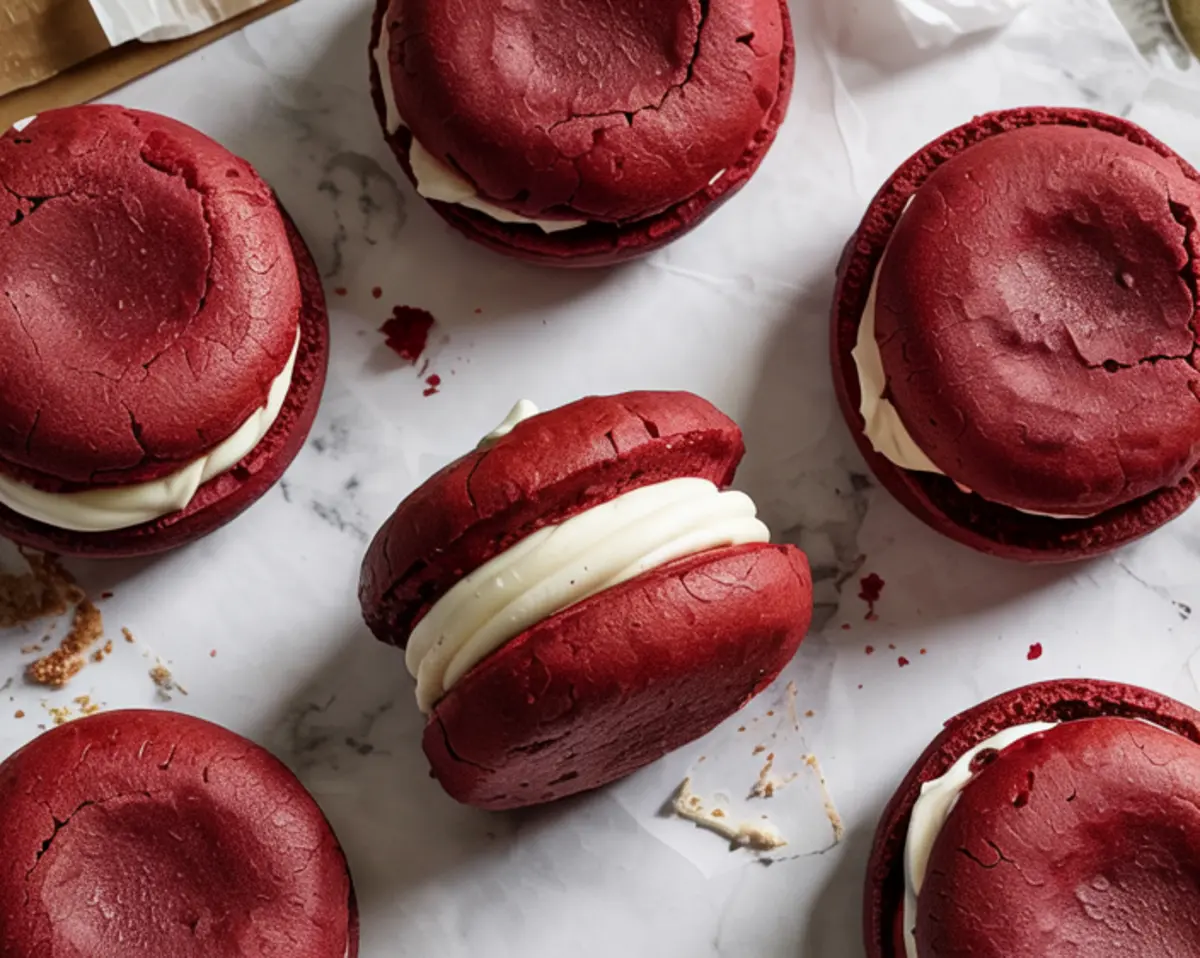
Red velvet whoopie pies sit right at the intersection of cake and cookie. You get the softness of a cupcake, the structure of a cookie, and the nostalgic comfort of that sweet, tangy cream cheese filling pressed in between.
This recipe walks you through how to make red velvet whoopie pies from scratch, no boxed mix required, unless you’re going for speed. I’ve done both. Some weeks, I want the extra depth you get from cocoa, buttermilk, and real butter creamed by hand. Other days, I reach for a cake mix and move straight to scooping. Both yield something lovely. But if you’ve got the time and the mixer, homemade gives the texture a lift and a touch more chew.
These whoopie pies bake up soft, plush, and red enough to feel festive without being artificial. They hold together well enough to gift, plate for holidays, or just stash on the counter in a container that disappears faster than you expect.
Let’s get to the details.

Following a special diet?
Every recipe on this site can be converted to gluten-free, vegan, dairy-free, keto, nut-free or egg-free with adjusted ratios so nothing falls flat.
Try the Recipe Converter →Ingredients That Create Texture and Flavor
Red velvet has always been about balance. Cocoa and vanilla lend flavor, but it’s the acidity from buttermilk and vinegar that gives the cake its signature tender crumb and slight tang. In this recipe, the flour-cocoa ratio leans more cake than brownie, which means the pies bake soft but not crumbly.
Butter adds richness. Brown sugar keeps the cakes moist longer, especially if you’re making them ahead. The tablespoon of gel food coloring gives that signature deep red hue. I prefer gel it distributes evenly and doesn’t thin out the batter. If you only have liquid, reduce the buttermilk slightly.
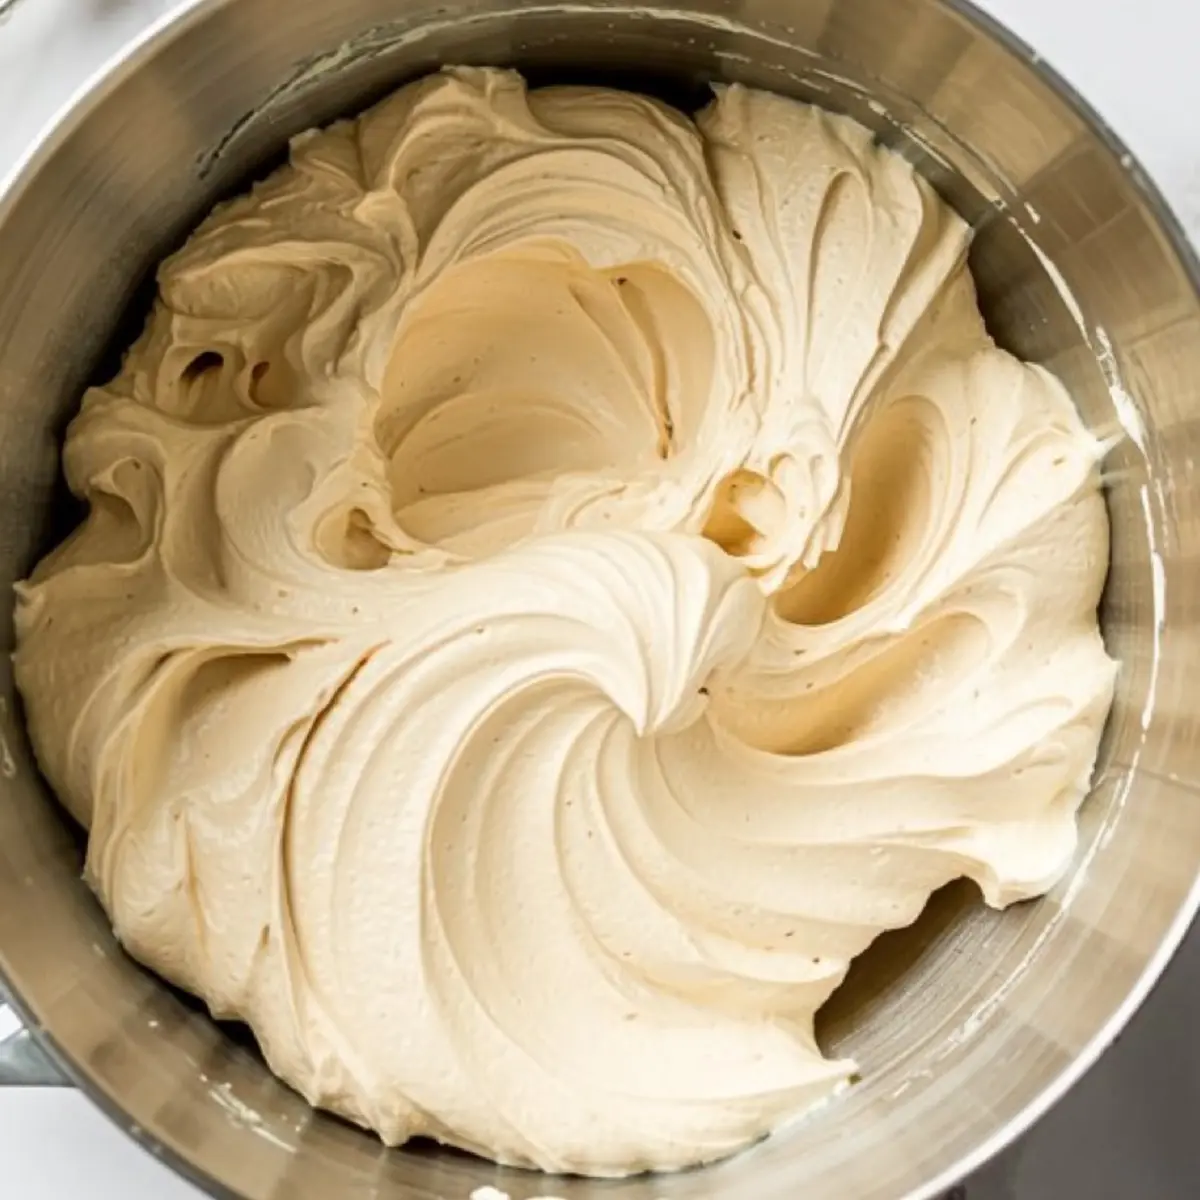
The cream cheese filling comes together with simple ingredients. I use equal parts butter and cream cheese for structure and flavor, then sifted powdered sugar for a smooth texture. You could use a stand mixer, but a hand mixer works just as well here.
You might also enjoy the Apple Cider Whoopie Pies if you’re looking for another soft cookie sandwich with seasonal flair.
Mixing Method and My Notes on Texture
Start by sifting your dry ingredients. It sounds skippable, but cocoa powder tends to clump, and you want a smooth batter. I’ve skipped this step once, and it left streaks in the final cakes subtle, but there.
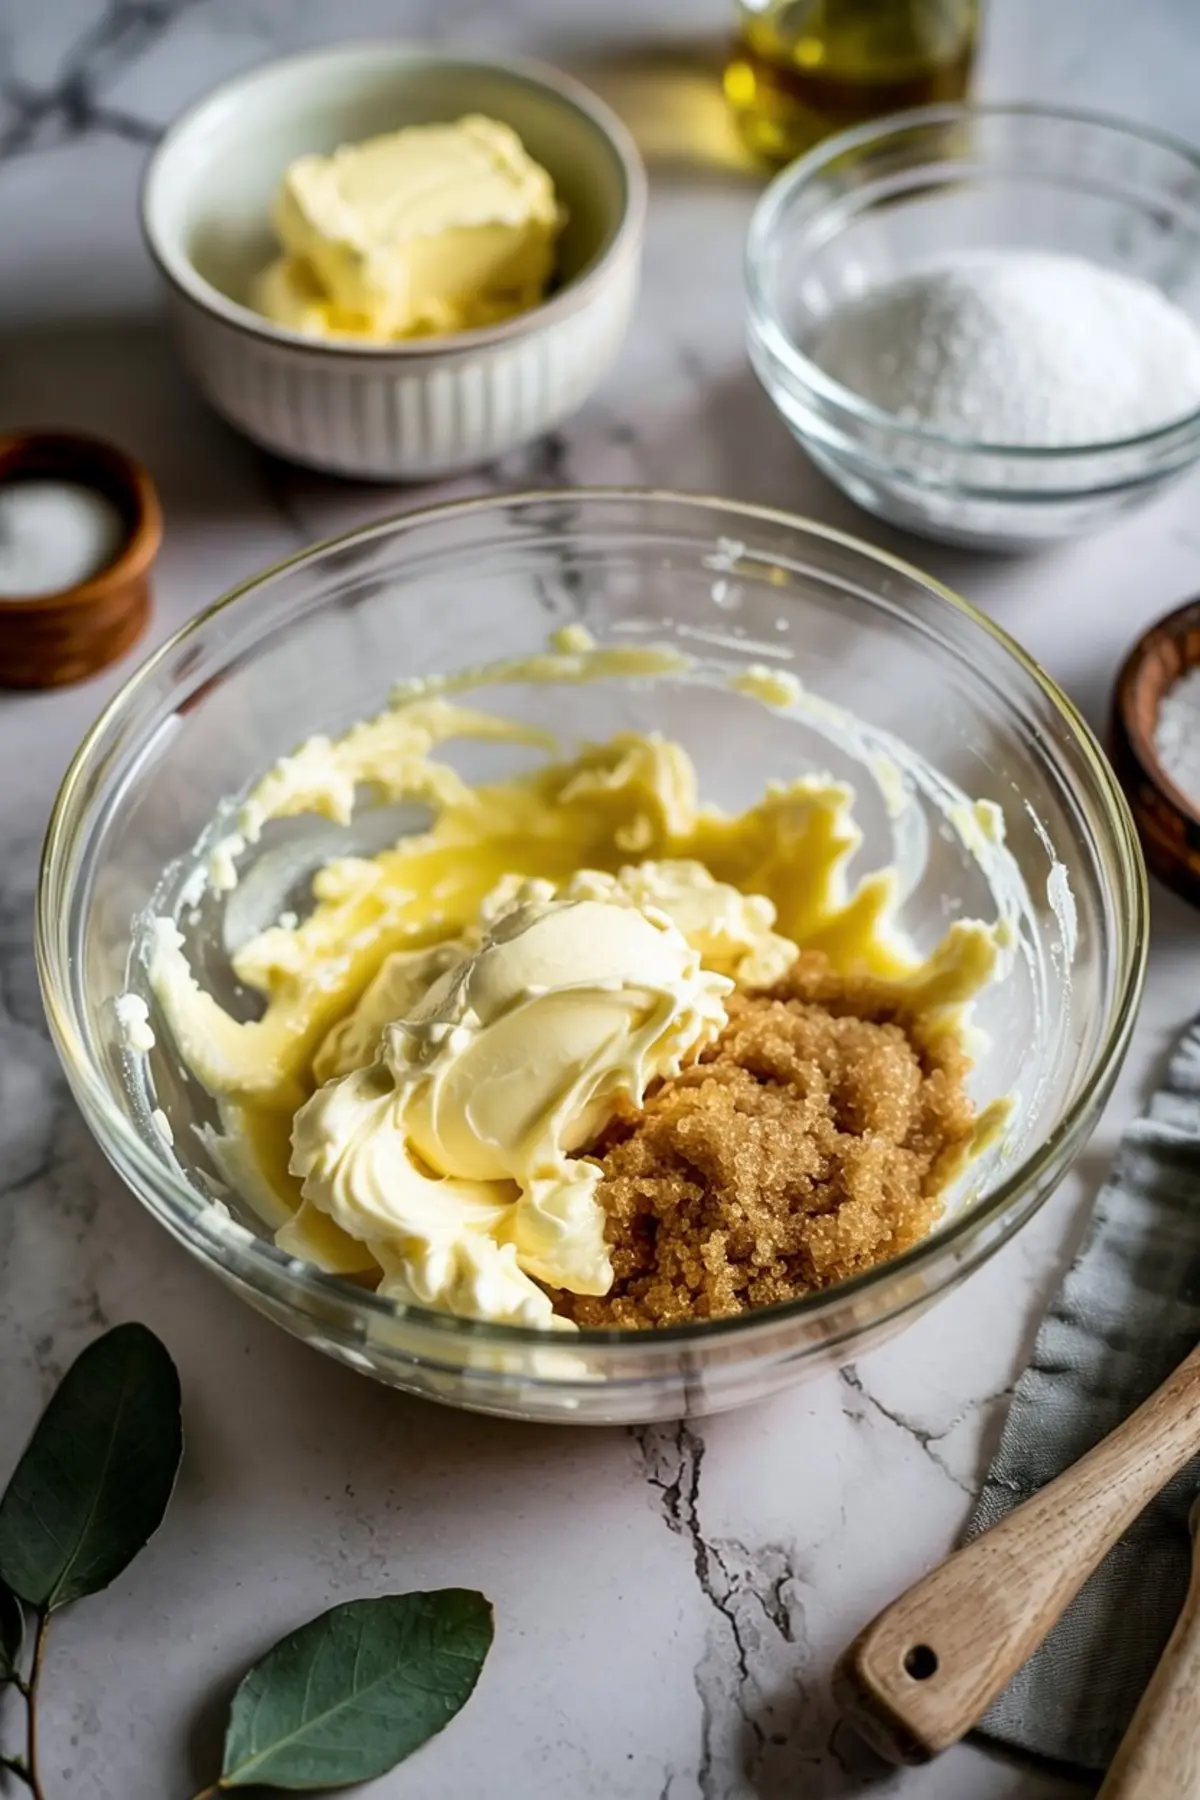
Creaming the butter and sugar until pale and fluffy is what lifts the cakes. Don’t rush this part. A few extra minutes here adds air, which helps the whoopie pies rise with those signature domed tops.
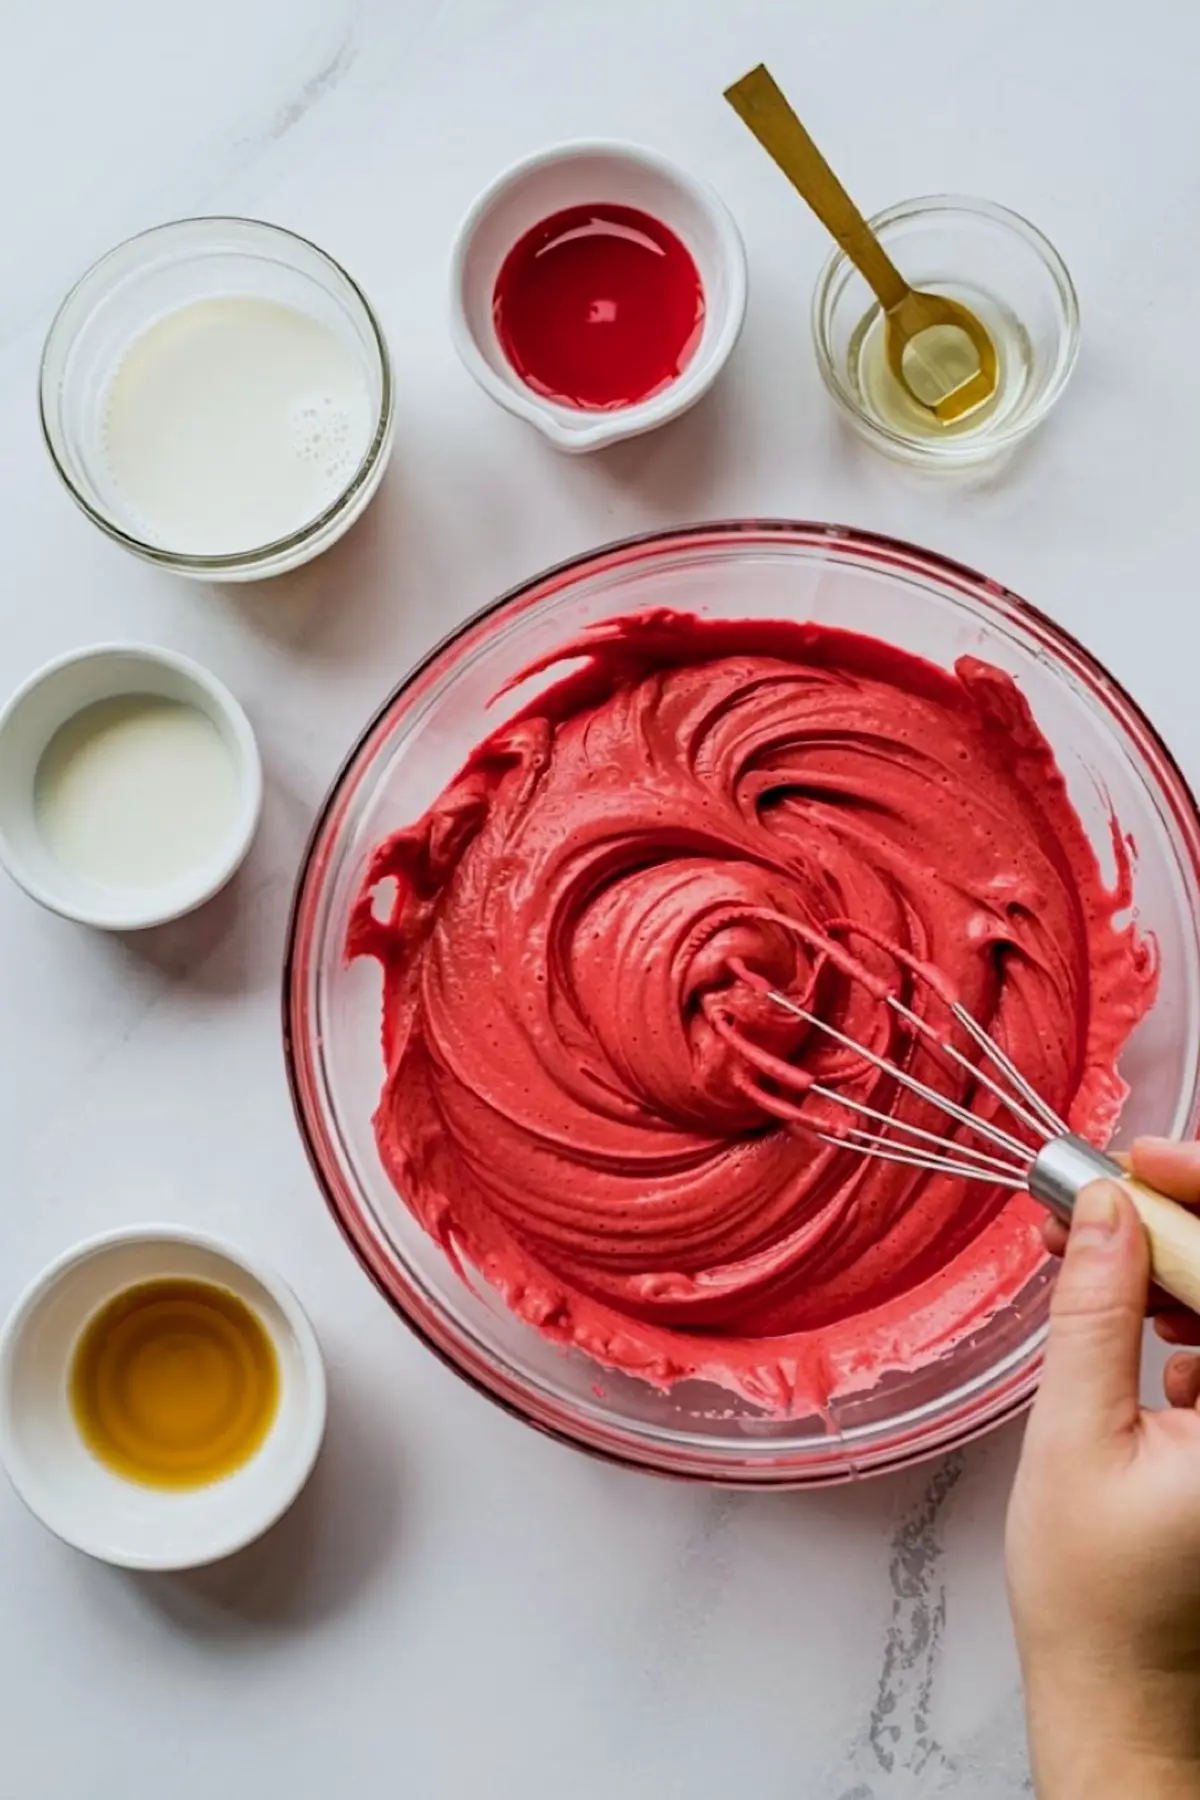
Then comes the buttermilk mixture. I like to combine the buttermilk, vinegar, and food coloring separately so the color distributes fully. Otherwise, the red streaks can be uneven.
Alternate the wet and dry ingredients into the butter mixture. This ensures the batter stays stable and smooth. Overmixing at this stage can make the cakes tough, so once everything is combined and smooth, stop. It’s done.
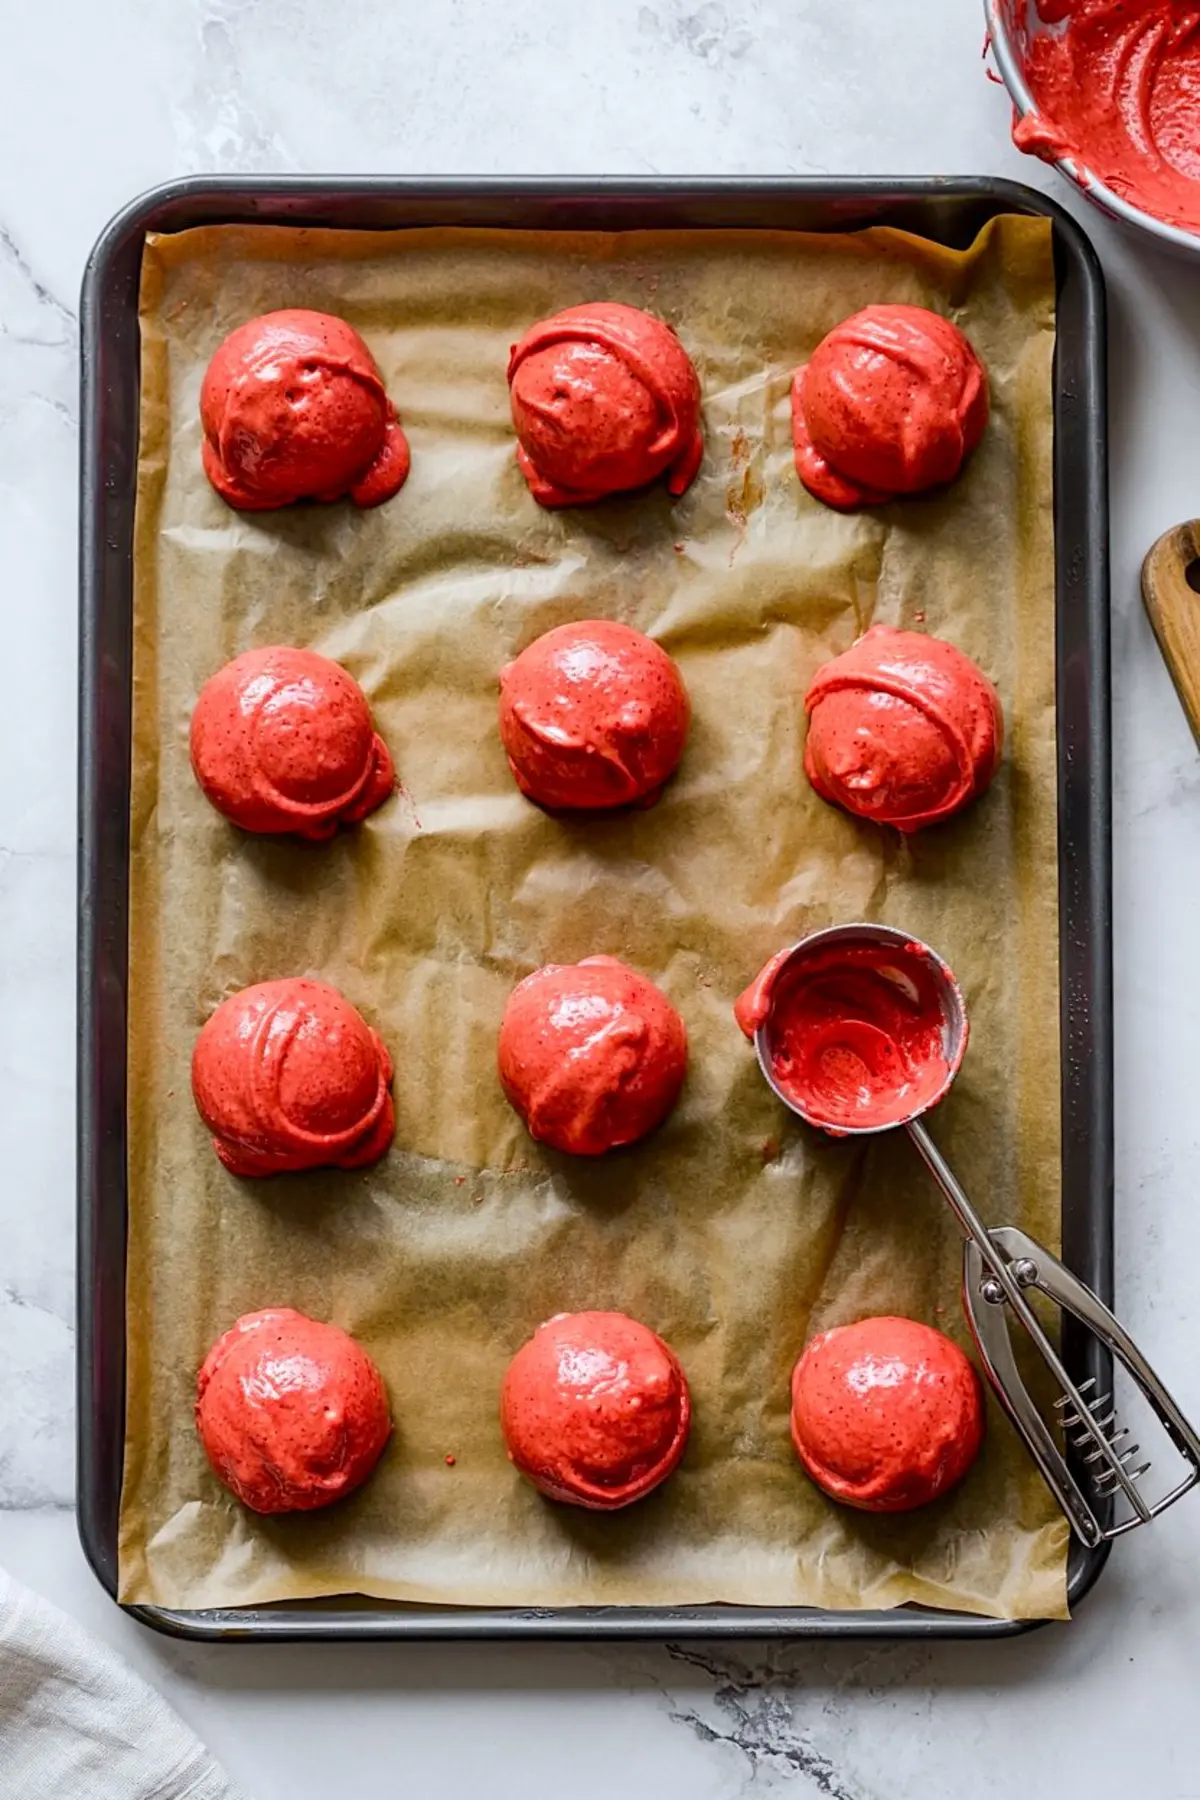
Each cake should be scooped evenly. I use a medium cookie scoop, about 1½ tablespoons. You can smooth them slightly with the back of a spoon before baking, especially if you want cleaner edges.
Cream Cheese Filling That Actually Holds Shape
I’ve made this filling many times, and I’ve tested versions that used more cream cheese or more butter. Too much cream cheese makes the filling slide. Too much butter, and it turns greasy. This ratio gives structure and just the right amount of tang.
Make sure both the cream cheese and butter are soft but not melted. Beat until fluffy before adding powdered sugar in small increments. I stop at 2½ cups, but you could add a touch more if piping with a star tip. It holds well in the fridge and firms up beautifully for clean edges.
The vanilla pulls the sweetness together. You could use clear vanilla for a whiter filling, but I use regular pure vanilla extract. Flavor always wins.
If you liked the smooth filling here, the Red Velvet Cheesecake Brownies offer another way to use that red velvet and cream cheese pairing in a completely different format.
Method Matters: Cake Mix vs. Scratch
I’ve baked red velvet whoopie pies using both scratch methods and cake mix shortcuts. Here’s what I’ve learned.
With cake mix, you’ll save 15 to 20 minutes and reduce ingredient prep. You’ll get consistent results, especially for large batches. But the cakes are softer and slightly more fragile, which means they may spread more on the tray and require extra chilling before assembly.
From-scratch offers a sturdier shell and a more complex flavor. The cocoa comes through more, and the cakes hold their shape better when piped or scooped.
If I’m baking for a holiday tray or gifting, I go with scratch. If it’s a casual dessert for a crowd, cake mix whoopie pies are simple and reliable. You get to choose based on time and purpose.
Storage and Serving Tips for Best Texture

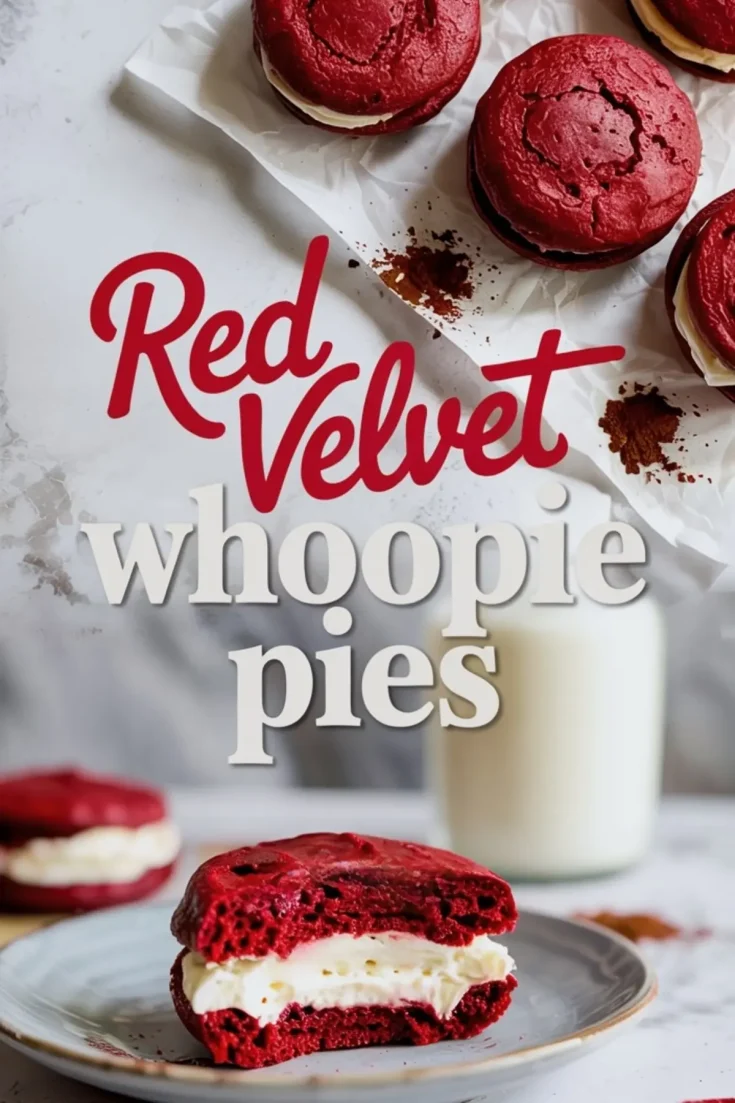
Once assembled, store these whoopie pies in an airtight container in the refrigerator. They’ll keep for up to three days, but I recommend bringing them to room temperature before serving. The filling softens, and the cakes regain their bounce.
If you plan to freeze them, wrap each individually in plastic wrap and store in a sealed bag or container. Thaw overnight in the fridge, then set out before eating. They’ll taste freshly baked.
I often serve mine stacked on a white cake stand, especially for holidays. But they also look sweet tucked into parchment-lined boxes for gifting. They hold their shape better than cupcakes and stay soft without drying out.
The Red Velvet Snowball Cookies also pack well for gifting and keep longer in tins if you’re planning ahead for events.
Small Details That Make a Big Difference
If you’re piping the filling, use a large round or open star tip for visual impact. You’ll get cleaner edges and more consistent sandwiches. If you’re spreading by spoon, aim for just under a tablespoon per cookie, then press gently with the top cake to secure.
I’ve sometimes added a light dusting of powdered sugar on top before serving. Not necessary, but a nice touch if you want to dress them up.
For those who enjoy chocolate desserts in cookie form, the Chocolate Whoopie Pies are worth exploring next.
Bake, Share, and Save This for Later
Red velvet whoopie pies aren’t complicated, but they always look like you tried harder than you did. That’s the charm. Once you’ve made them once, you’ll start experimenting—sprinkles on the edges, peppermint in the filling, heart shapes for Valentine’s Day.
They’re adaptable, soft, sweet, and a little bit nostalgic.
Pin this recipe to your board so you don’t lose it.
And if you bake them, come back and let me know in the comments—did you go scratch or shortcut? Any questions, I’d be happy to answer.
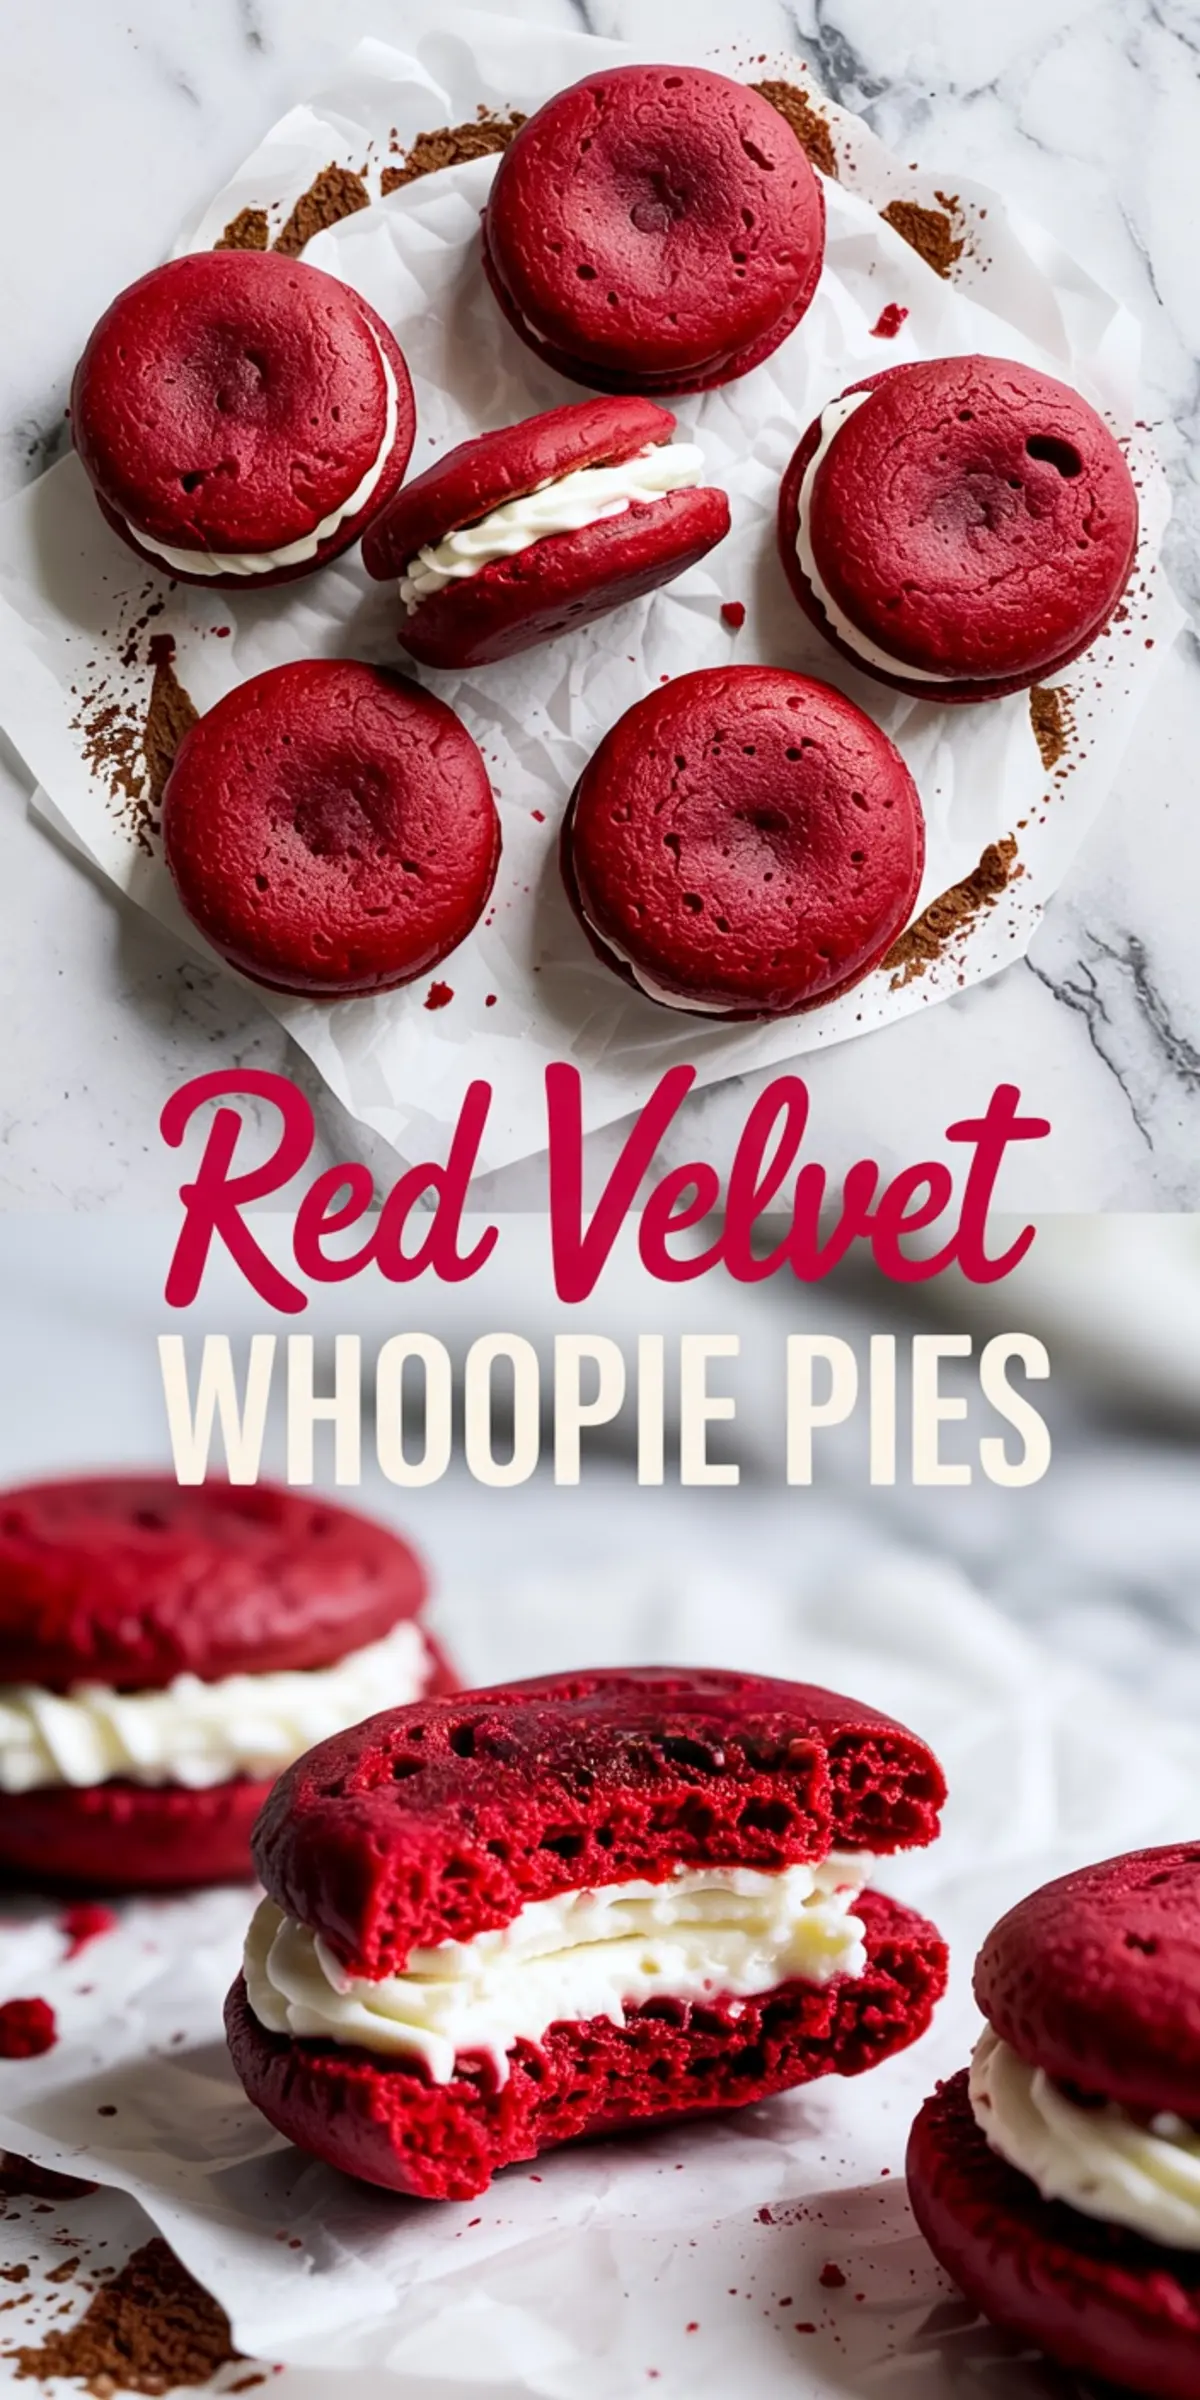
Red Velvet Whoopie Pies
Red velvet whoopie pies bring the best parts of cake and cookies into one bite. Soft red velvet rounds sandwich a creamy whoopie pie filling that’s smooth, sweet, and nostalgic. They’re simple enough to bake with a cake mix if you want the easy route, but you can also make them completely from scratch for a true bakery-style treat. I love these because they feel like both a cookie and a cupcake—portable, pretty, and always loved at parties. If you’ve ever wondered how to make red velvet whoopie pies, it’s really just mixing, baking, and filling. The result is a red velvet dessert that feels fancy but is secretly so approachable. Great for holidays, gifting, or just keeping on the counter to share.
Ingredients
- FOR THE RED VELVET CAKES
- 2 cups all-purpose flour
- 2 tablespoons unsweetened cocoa powder
- 1 teaspoon baking soda
- ½ teaspoon salt
- ½ cup unsalted butter, softened
- 1 cup light brown sugar, packed
- 1 large egg
- 1 teaspoon vanilla extract
- 1 cup buttermilk
- 1 tablespoon red food coloring (gel preferred)
- 1 teaspoon white vinegar
- FOR THE CREAM CHEESE FILLING
- 8 oz cream cheese, softened
- ½ cup unsalted butter, softened
- ½ cup unsalted butter, softened
- 2½ cups powdered sugar
- 2½ cups powdered sugar
- 1 teaspoon vanilla extract
- 1 teaspoon vanilla extract
Instructions
- PREHEAT AND PREP: Preheat the oven to 350°F (175°C) and line two baking sheets with parchment paper. Set aside.
- SIFT THE DRY INGREDIENTS: In a medium bowl, whisk together the flour, cocoa powder, baking soda, and salt until well combined and no cocoa clumps remain.
- CREAM THE BUTTER AND SUGAR: In a large bowl or stand mixer, beat the softened butter and brown sugar on medium speed until light and fluffy, about 2 to 3 minutes. Add the egg and vanilla extract, and mix until fully incorporated.
- COMBINE BUTTERMILK MIXTURE: In a small bowl or liquid measuring cup, stir together the buttermilk, red food coloring, and white vinegar until evenly blended.
- MIX WET AND DRY INGREDIENTS: Add the flour mixture and the buttermilk mixture to the creamed butter in alternating additions, beginning and ending with the flour. Stir gently between each addition and stop mixing as soon as no dry streaks remain.
- SCOOP AND BAKE: Using a medium cookie scoop (about 1½ tablespoons per cake), drop mounds of batter onto the prepared baking sheets, spacing them about 2 inches apart. Smooth the tops slightly with the back of a spoon if needed. Bake for 10 to 12 minutes or until the cakes spring back lightly when touched. Cool on the trays for 5 minutes, then transfer to a wire rack to cool completely.
- MAKE THE CREAM CHEESE FILLING: In a mixing bowl, beat the softened cream cheese and butter until smooth and fluffy. Gradually add powdered sugar, ½ cup at a time, beating well between each addition. Mix in the vanilla extract and continue beating until the frosting is thick, smooth, and spreadable.
- ASSEMBLE THE WHOOPIE PIES: Match up the cooled cakes by size. Pipe or spread a generous amount of cream cheese filling onto the flat side of one cake. Place another cake on top, flat side down, to create a sandwich. Gently press to secure.
Notes
Store whoopie pies in an airtight container in the refrigerator for up to 3 days. Bring to room temperature before serving for the best texture. For clean edges, pipe the frosting with a large round or star tip.
Nutrition Information
Yield
12Serving Size
1Amount Per Serving Calories 483Total Fat 25gSaturated Fat 15gTrans Fat 0gUnsaturated Fat 8gCholesterol 86mgSodium 339mgCarbohydrates 60gFiber 1gSugar 41gProtein 5g