A Personal Easter Dessert Story
I first tried these bright chick pops on a sunny weekend with my best friends. We gathered in my small apartment kitchen and craved something lighthearted yet sweet. I wanted a treat with uplifting color, and these yellow candy-coated pops delivered. I remember how the white chocolate smelled warm as we stirred everything together, sharing college gossip between each swirl.
That afternoon still makes me smile, especially because I felt confident enough to share my baking skills with others. I now make these pops for every springtime event, and my younger cousins love them just as much as my friends did. They look cheerful on any table, and each bite reveals a soft interior that seems to melt away with the first crunch.
Following a special diet?
Every recipe on this site can be converted to gluten-free, vegan, dairy-free, keto, nut-free or egg-free with adjusted ratios so nothing falls flat.
Try the Recipe Converter →Reasons To Love These Easter Chick Cake Pops
These treats offer a playful spin on traditional dessert bites. They look like little chicks, and kids often line up for them before any main meal. Their portability means you can hand them out at parties without worrying about plates or forks. I appreciate how they stay fresh longer when stored in the fridge, so there’s no rush to eat them on the same day.
You can tuck them into Easter baskets or share them as gifts. They also add a fun pop of color next to other confections, and they get along nicely with activities like egg painting or a casual brunch spread. If you need fresh dessert inspiration, you might enjoy my Italian Easter Cookies as another spring-themed option.
Key Ingredients for Easter Chick Cake Pops
Crumbled vanilla cake forms the heart of these little chicks. The crumbs mix well with softened cream cheese, which brings a smooth texture. A bit of sweetened condensed milk adds creaminess and ensures the cake balls bind. The yellow candy melts play the biggest role in delivering that bright color, though a pinch of yellow food coloring can boost vibrancy.

Dark chocolate chips help form the eyes, and orange candy melts shape the little beaks and feet. A styrofoam block keeps the pops upright so the coating sets cleanly. My batch also includes a teaspoon of vanilla extract for a gentle aroma, and I sprinkle in a dash more if I want a stronger vanilla scent.
Preparing the Cake Ball Mixture
You will crumble a vanilla cake into a large bowl. Mix in the softened cream cheese, sweetened condensed milk, and vanilla extract. I use a rubber spatula or even my hands for thorough mixing. The goal is a dough-like consistency that shapes into small spheres without falling apart. If the mixture feels dry, drip more condensed milk, one teaspoon at a time, until you get a workable texture.

I often taste the dough to check for sweetness, then roll it into uniform balls. Once your balls are made, place them on a parchment-lined tray so they don’t stick to the surface. A short rest in the refrigerator firms them up and makes them easier to handle.
Coating the Cake Pops in Yellow Candy
Melt the yellow candy melts and white chocolate chips together in a microwave-safe bowl. Use brief intervals of heat, stirring in between to avoid scorching. A splash of vegetable oil thins the coating so it glides over each cake ball smoothly. If you want extra bold color, whisk in a pinch of yellow food coloring powder.

To secure the sticks, dip the tip of each stick into the melted chocolate and insert it halfway into a chilled cake ball. That step helps lock everything together once it sets in the fridge. Then dip each ball completely into the melted mixture, letting excess chocolate drip off. This ensures that the shell looks even and doesn’t clump. Position them upright in the styrofoam block, where they can dry without touching each other.
My best friend once spilled candy melts all over the counter during this process, so I learned to clear the space first. You might do the same, especially if you have pets or kids running around.
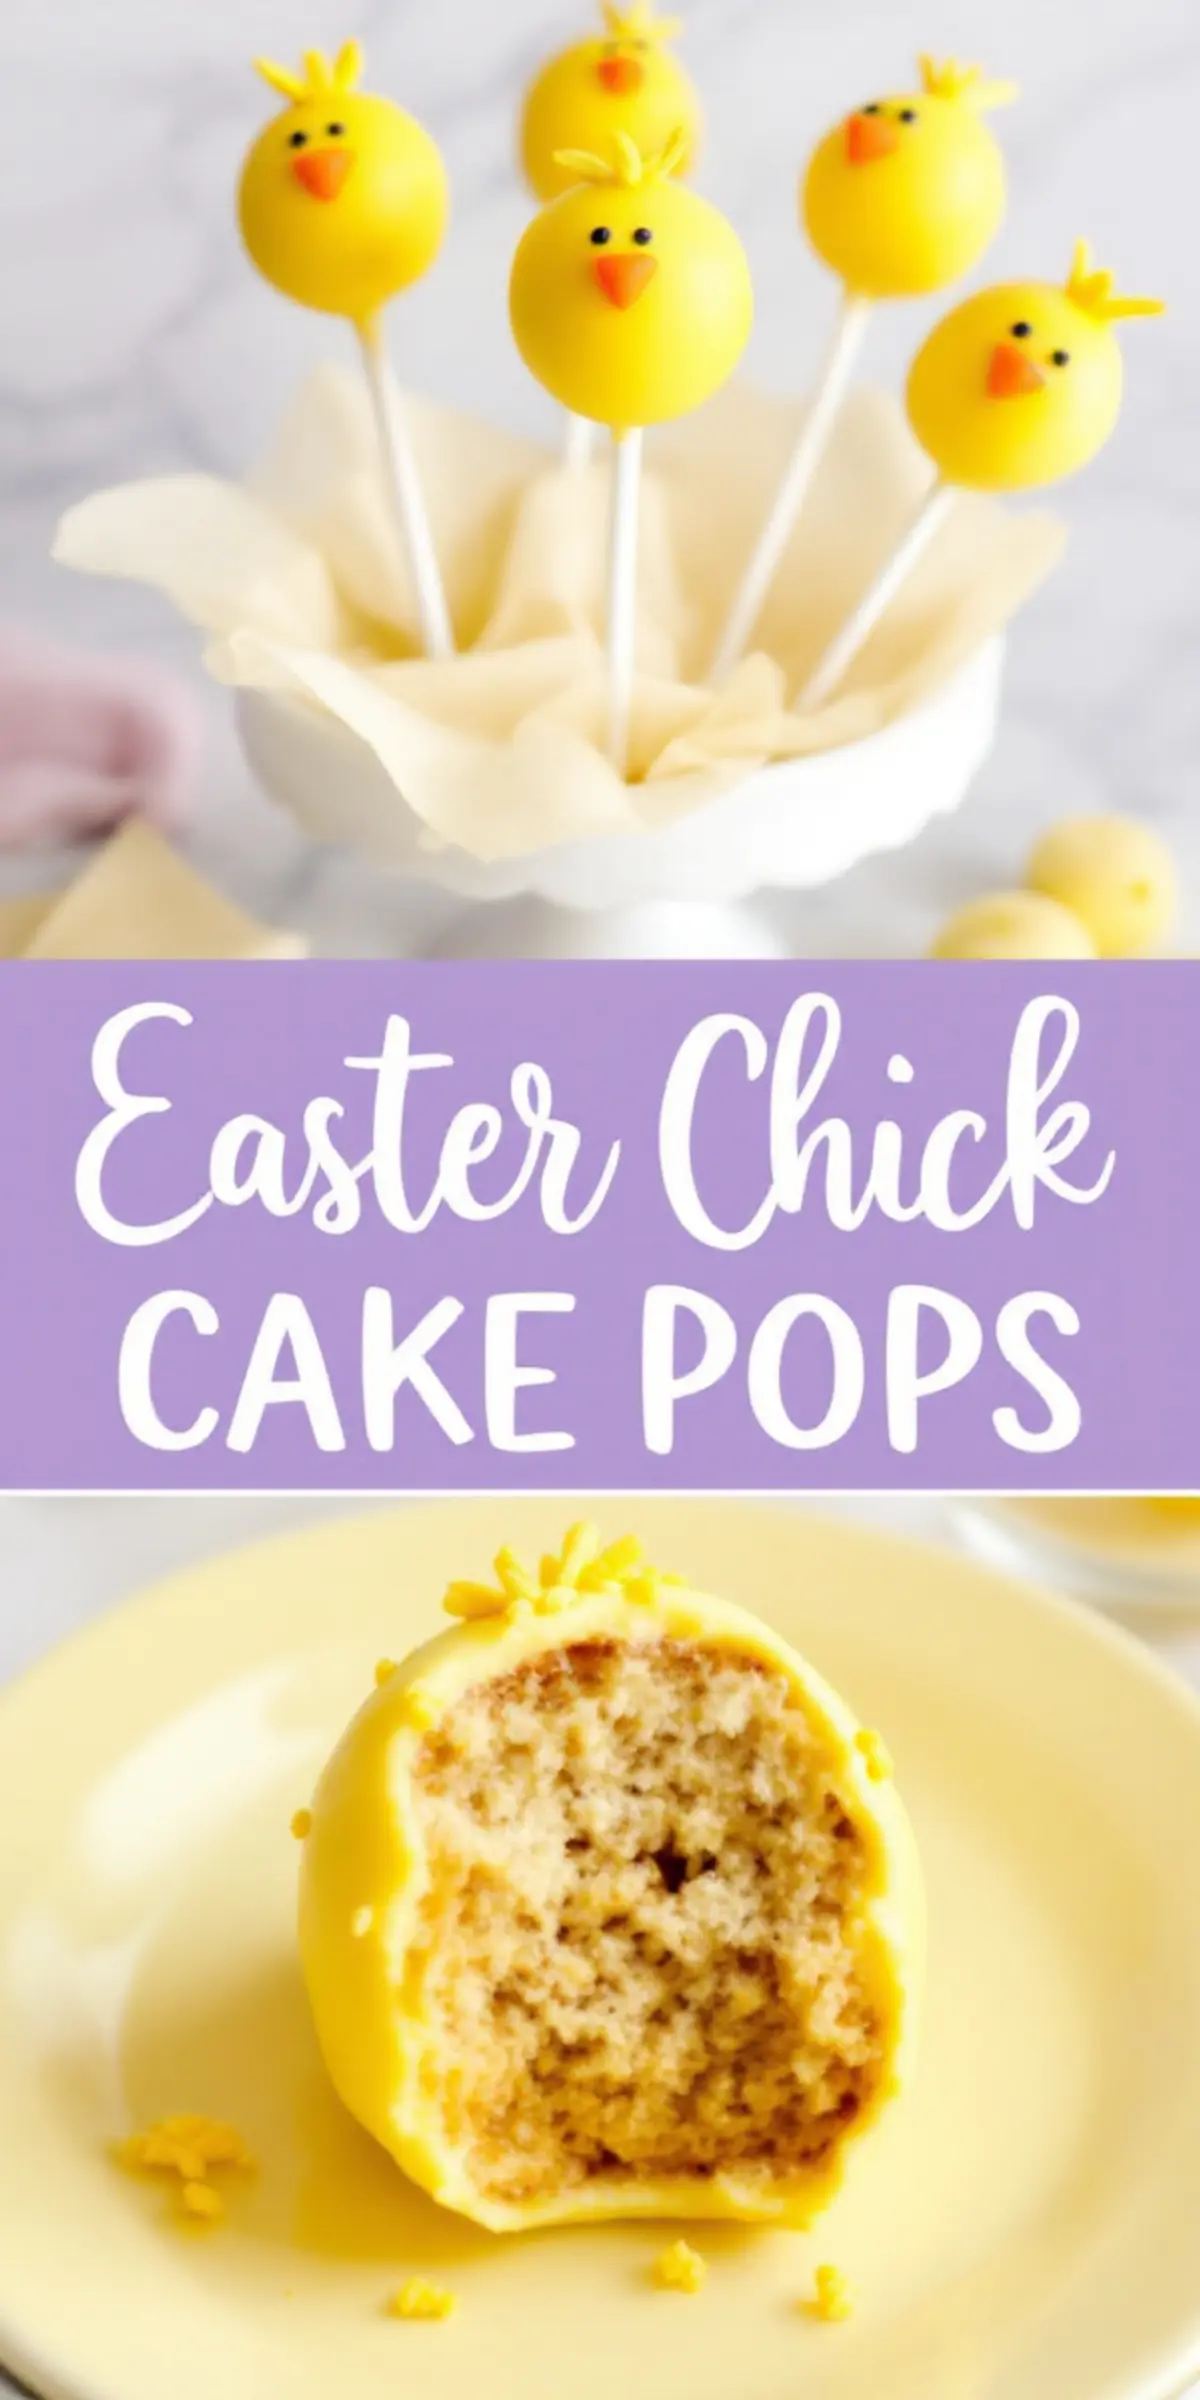
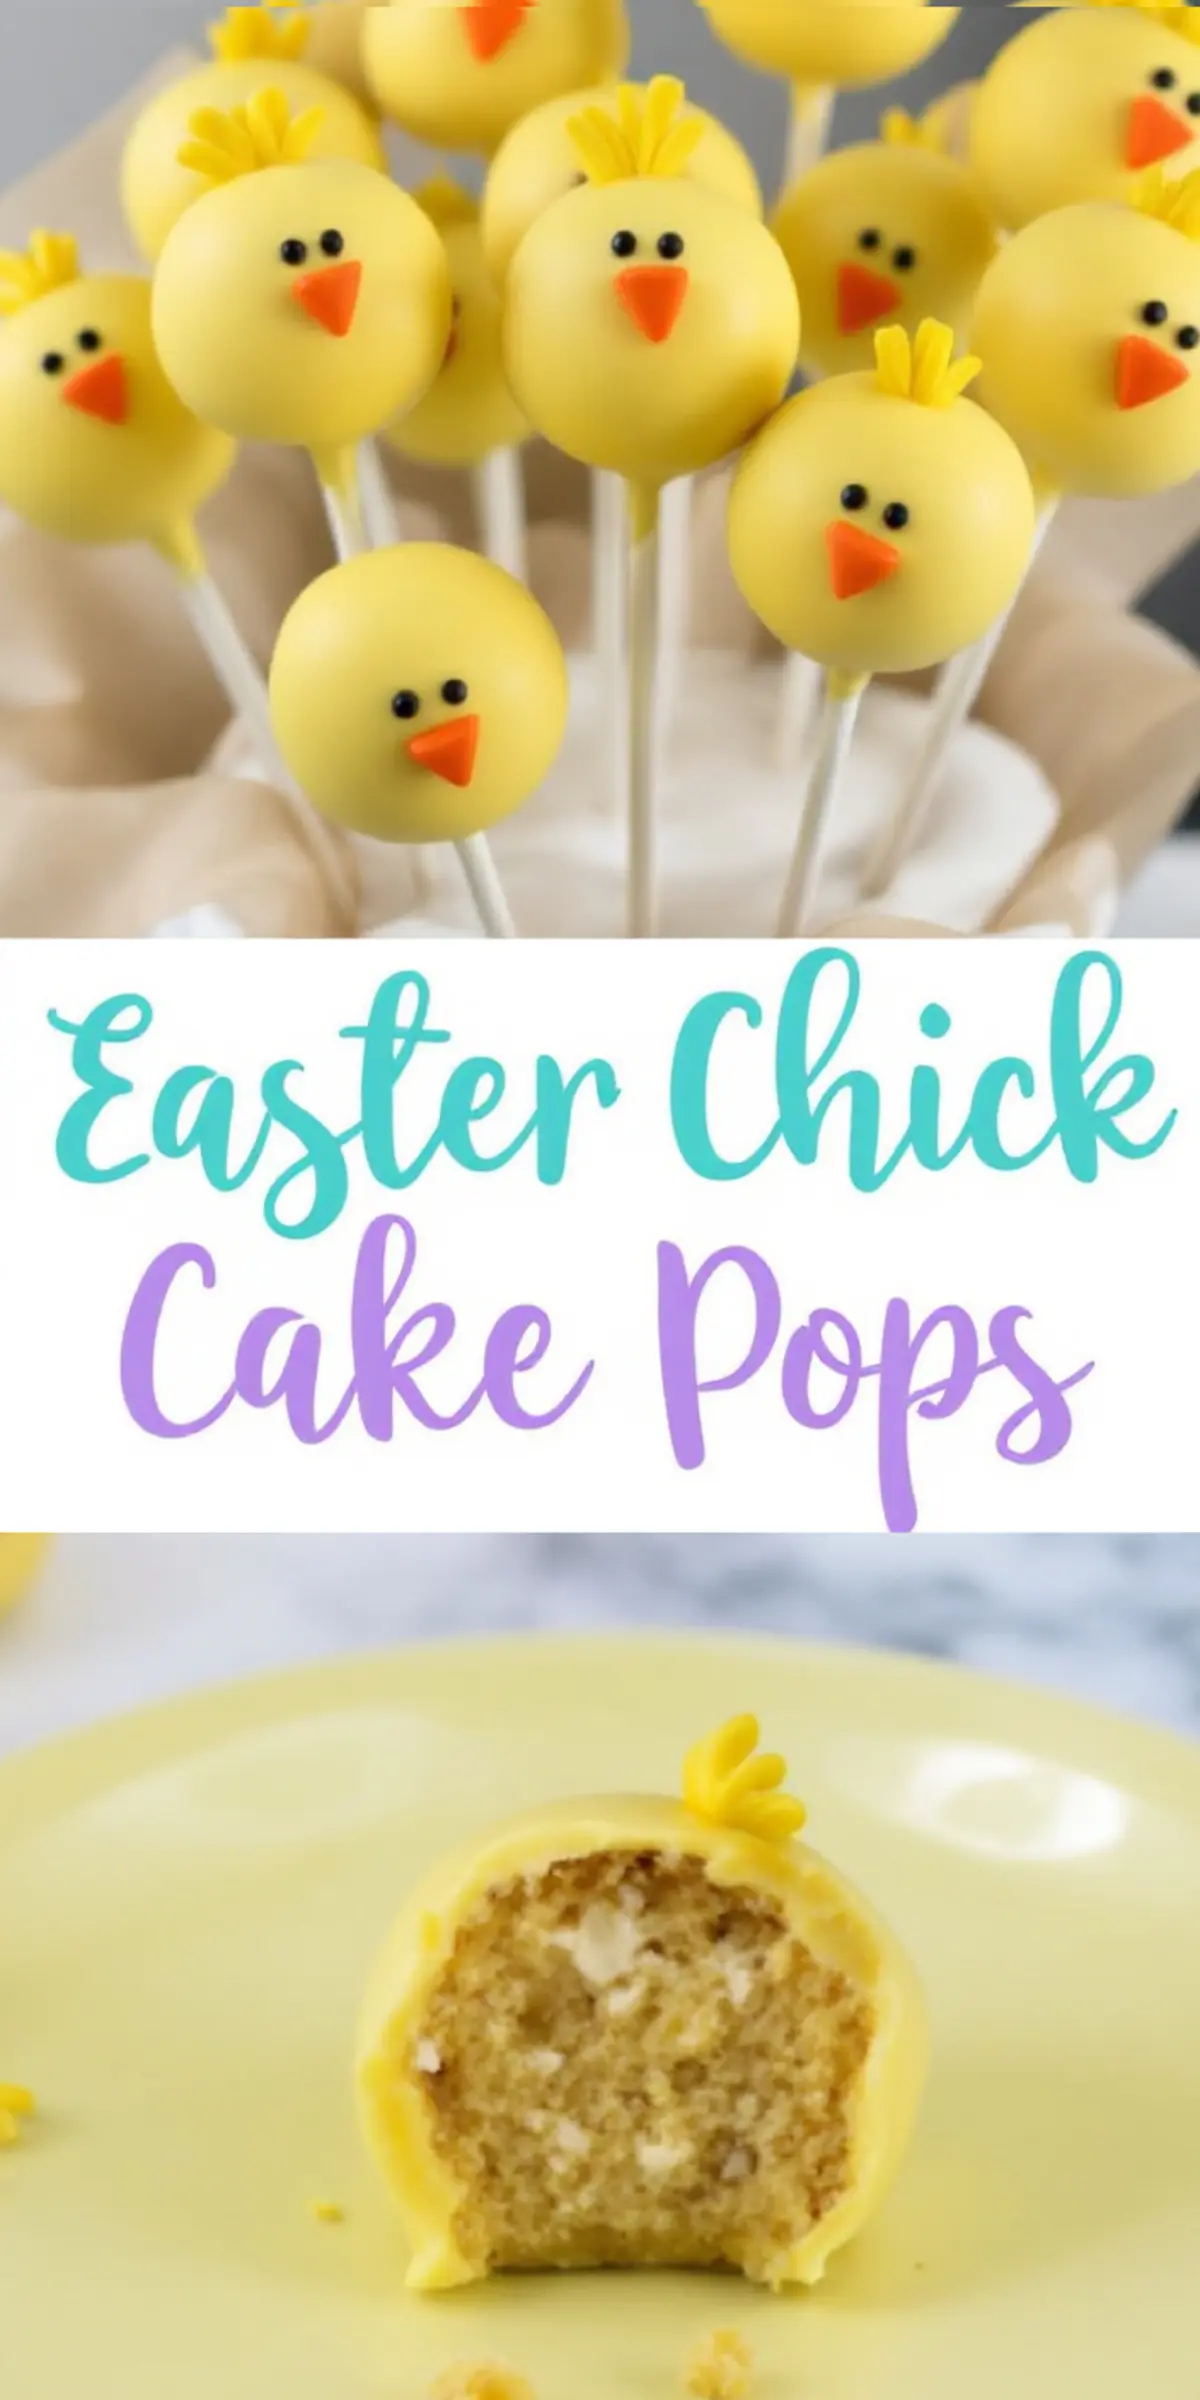
Decorating Easter Chick Faces
Melt dark chocolate chips in a separate dish. A toothpick works for dotting small eyes, although a piping bag creates neat spots. Melt orange candy melts for the beak and tiny feet, then dab them on. If you want those charming feathers, pipe or dab small dots of yellow candy melts on top of each pop. Let them harden fully before serving.
My nephew likes to help with the eyes, so I set out a few extra cake pops for his creative attempts. Some turn out cross-eyed, but they taste just as sweet.
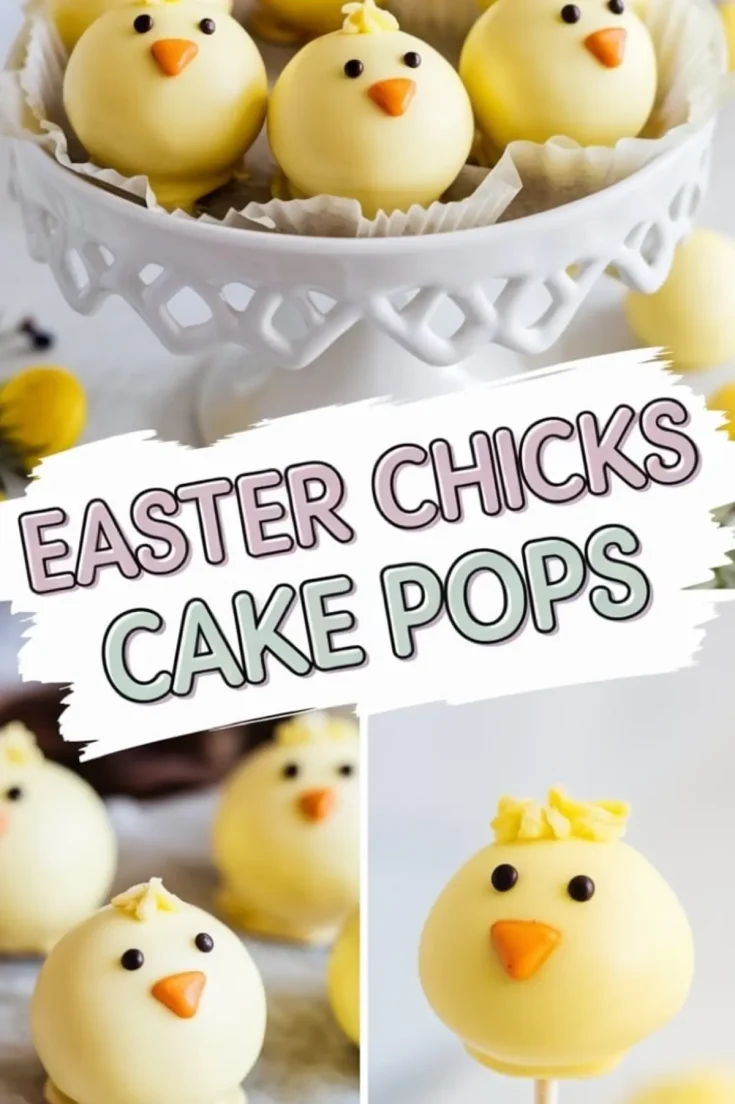
Serving and Storing the Easter Chick Cake Pops
These pops stay good in a container at room temperature for a few days, though I prefer to keep them in the fridge for extra freshness. They travel well to potlucks and office parties. I once brought a batch to a friend’s event, and I placed them in a small basket with decorative tissue paper.
People kept asking how I got them so bright and perky. If you want to pair them with other Easter hits, consider my Strawberry Pretzel Salad for a sweet and salty twist. Another popular pick around spring is my carrot cake with cream cheese frosting for those who crave a spiced classic.
Tips for a Smooth Candy Coating
I find that small bursts in the microwave work best for melting candy melts. Stir in between each session, and watch the temperature so it doesn’t overheat. The vegetable oil is key in preventing thick lumps. If the coating clumps anyway, add a few extra drops of oil. The color matters too, so go slow when adding powdered food coloring. A tiny pinch can change the shade more than you’d expect.
Avoid any water or steam that might seize up the chocolate, because once it seizes, it’s tough to fix. I remember the first time I tried melting candy melts with an uncovered bowl over boiling water. Steam sneaked in, and I ended up with a solid glob. I had to start over, which taught me to be careful.
Presenting Your Festive Easter Chick Cake Pops
These cute chicks bring energy to your dessert table. My nieces like to pose them next to small chocolate eggs or pastel candies. Some prefer to slide them into treat bags for party favors. I’ve used them as centerpieces alongside fresh flowers. The bright yellow color sets a cheery mood, especially at a daytime gathering. You can also experiment with background decorations, like edible glitter or mini marshmallows, if you want an extra playful display.
Simple Steps to Troubleshoot Issues
Cake pops that keep falling off the sticks might need more chilling time, so stick them back into the fridge for a bit. If your coating cracks, you can let the cake pops come to room temperature for a few minutes before dipping. The tiny cracks usually come from dramatic temperature changes between the cold cake ball and hot candy melt. Keep an eye on your chocolate thickness, and remember to tap away any extra coating.
Personal Advice for Easter Chick Cake Pops
I suggest a mild vanilla cake or even a lemon-flavored base. The lemon pairs well with bright yellow candy melts. My friend swears by coconut cake too, but I love how plain vanilla can highlight the color more. I also enjoy personalizing each chick. Sometimes I give them wiggly lines on top or little eyelashes. Kids squeal with delight when they see different expressions. These small touches can turn a simple snack into a conversation piece. That personal flair keeps me making them year after year.
Share, Pin, and Keep the Community Spirit
Remember to save this recipe as a pin on your dessert board. If you try it, please share your results in the comments. I want to know how your chick faces turned out or if you found any creative twists. Let’s build a fun space for dessert lovers here. Ask any questions you have, and feel free to swap tips. I love hearing how others bring these sweet chicks to life, especially in the hustle of springtime festivities.
Easter Chick Cake Pops Recipe
Easter chick cake pops are a fun and festive treat made with crumbled vanilla cake, cream cheese, and sweetened condensed milk. Each cake ball is coated in yellow candy melts and decorated with chocolate chips and orange candy melts to create adorable chick faces. These bite-sized desserts are perfect for spring celebrations.
Ingredients
- FOR THE CAKE BALLS:
- 2 cups crumbled vanilla cake
- 2 tablespoons cream cheese, softened
- ¼ cup sweetened condensed milk
- 1 teaspoon vanilla extract
- FOR THE COATING AND DECORATION:
- 1 cup yellow candy melts
- ½ teaspoon yellow food coloring powder (optional)
- ½ cup white chocolate chips, melted
- 1 teaspoon vegetable oil
- ¼ cup dark chocolate chips
- ¼ cup orange candy melts
- ADDITIONAL SUPPLIES:
- Cake pop sticks
- Styrofoam block
- Piping bag or toothpick
Instructions
- MAKE THE CAKE BALL MIXTURE: In a large bowl, crumble the vanilla cake into fine, even crumbs. Add the softened cream cheese, sweetened condensed milk, and vanilla extract, then mix until the mixture forms a dough-like consistency. If it feels too dry, add more condensed milk, one teaspoon at a time. Roll the mixture into 1-inch balls and place them on a parchment-lined tray. Refrigerate for at least 30 minutes to firm up.
- PREPARE THE CANDY COATING: Melt the yellow candy melts and white chocolate chips together in a microwave-safe bowl using 30-second intervals, stirring in between until smooth. Add the vegetable oil and stir to thin the coating. If a brighter yellow color is desired, mix in a small pinch of yellow food coloring powder.
- INSERT THE STICKS: Dip the tip of a cake pop stick into the melted yellow coating, then insert it halfway into a cake ball. Repeat with all cake balls and return them to the fridge for 10 minutes to set.
- COAT THE CAKE POPS: Dip each cake pop into the melted yellow coating, ensuring it is fully covered. Gently tap off any excess chocolate, then place the cake pop upright in the Styrofoam block to dry completely.
- DECORATE THE CHICKS: Melt the dark chocolate chips and use a toothpick or piping bag to dot small eyes onto each cake pop. Melt the orange candy melts and pipe small triangles for beaks and tiny feet on the bottom of each chick. To create feathers on top, pipe small spikes of melted yellow chocolate. Allow the decorations to set completely before serving.
Notes
For best results, use freshly baked cake or a store-bought cake with a soft texture. If the cake is too dry, add a little more sweetened condensed milk to help bind the mixture. When melting the candy melts, stir frequently to prevent overheating, which can cause the chocolate to become too thick. If needed, add a few more drops of vegetable oil to achieve a smooth consistency. Store finished cake pops in an airtight container at room temperature for up to 3 days or in the refrigerator for up to a week.
Nutrition Information
Yield
20Serving Size
1Amount Per Serving Calories 210Total Fat 8gSaturated Fat 3gTrans Fat 0gUnsaturated Fat 5gCholesterol 25mgSodium 93mgCarbohydrates 33gFiber 0gSugar 25gProtein 2g