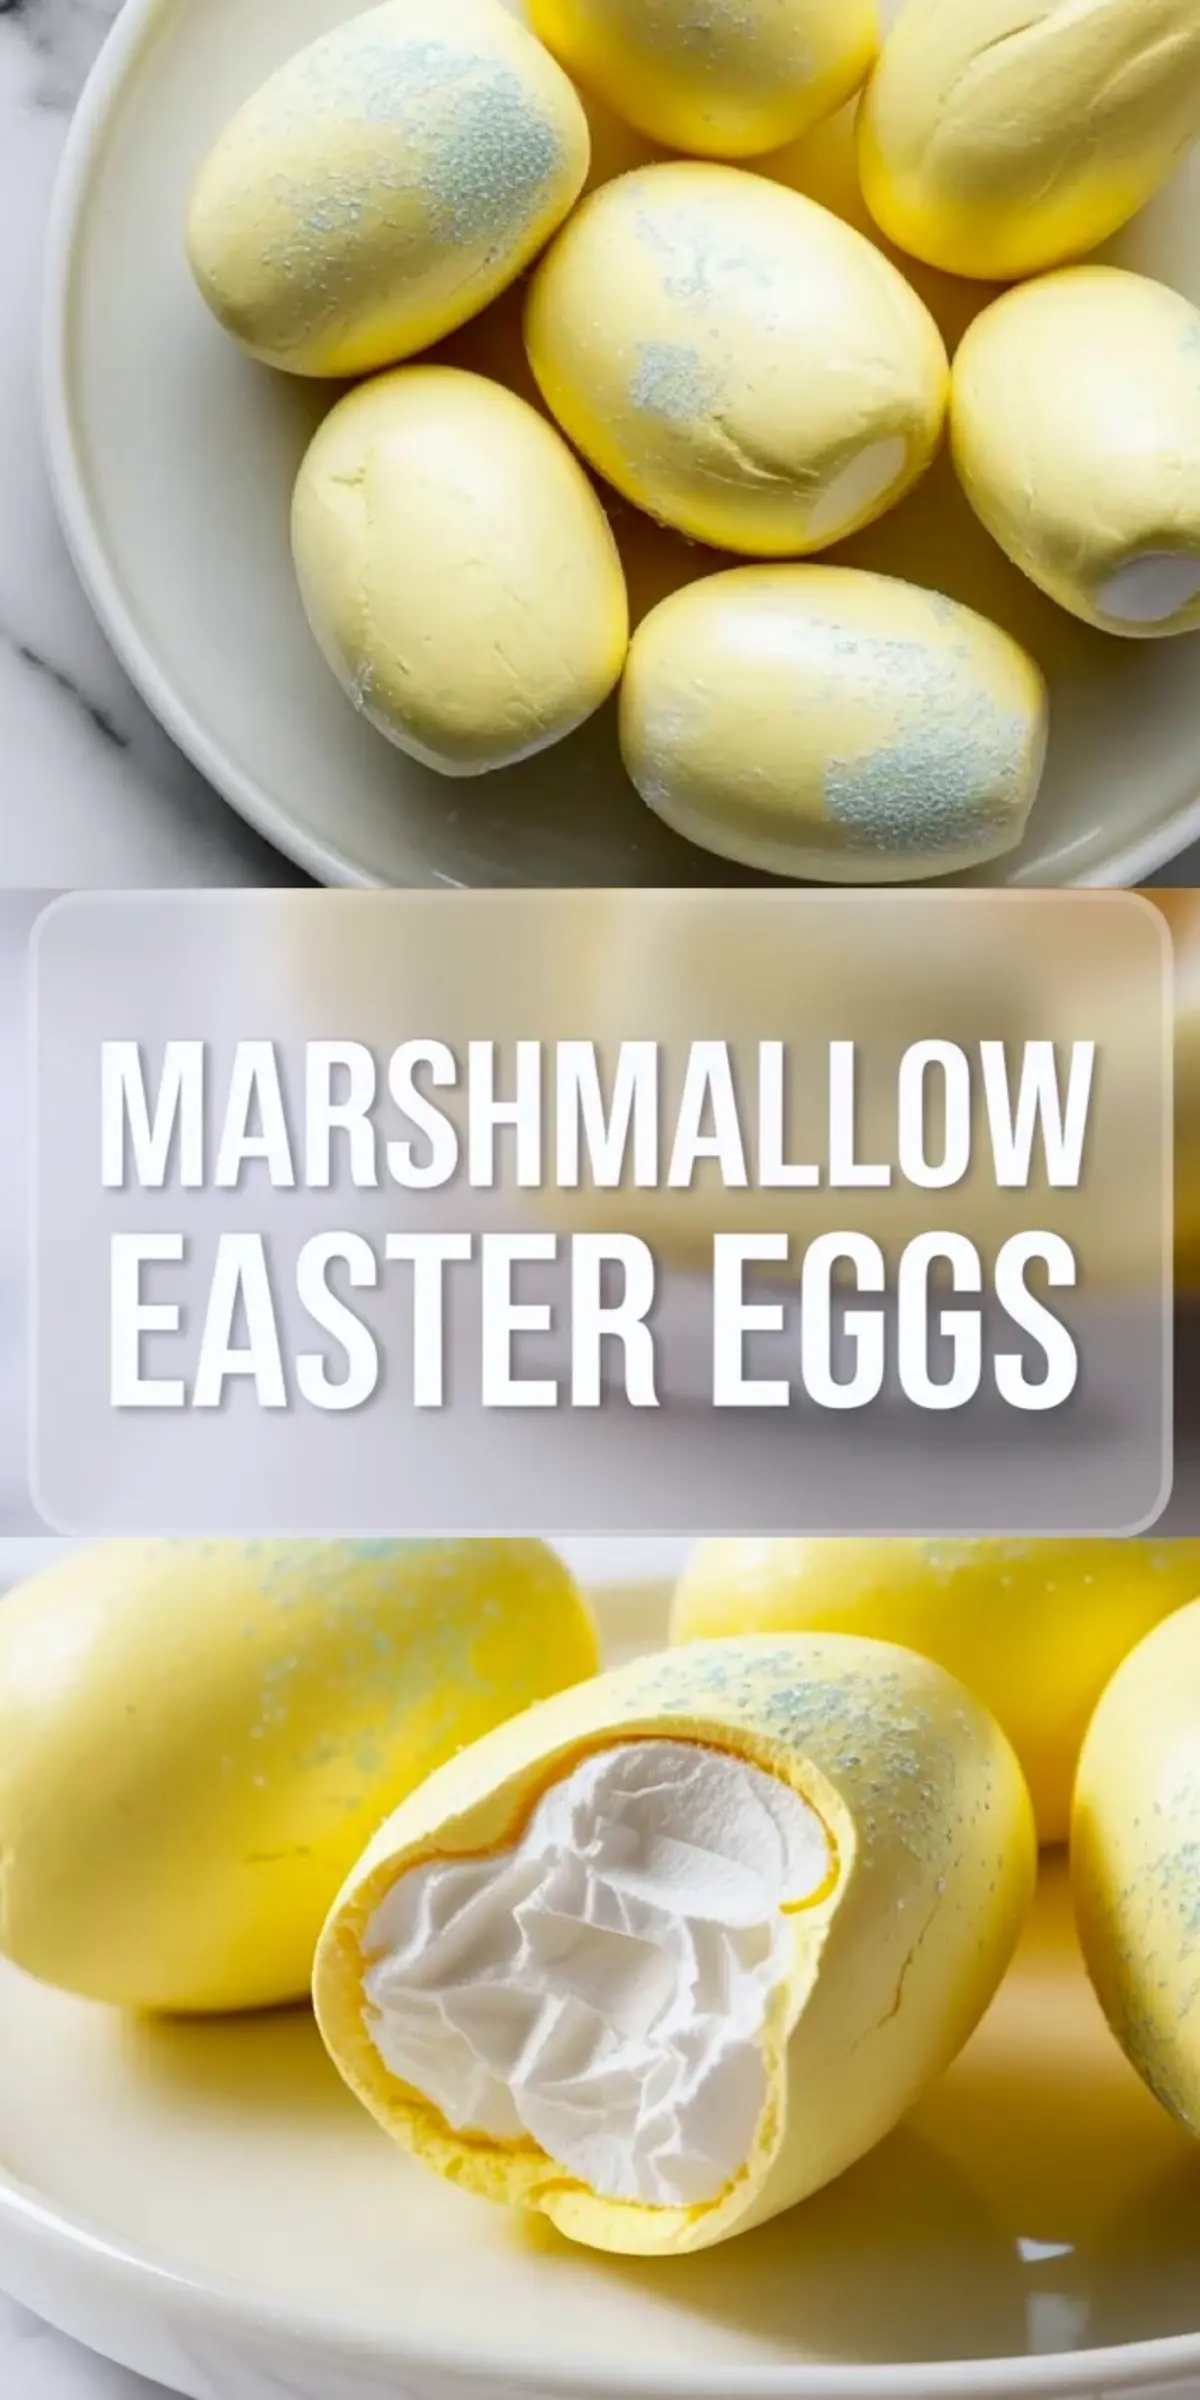
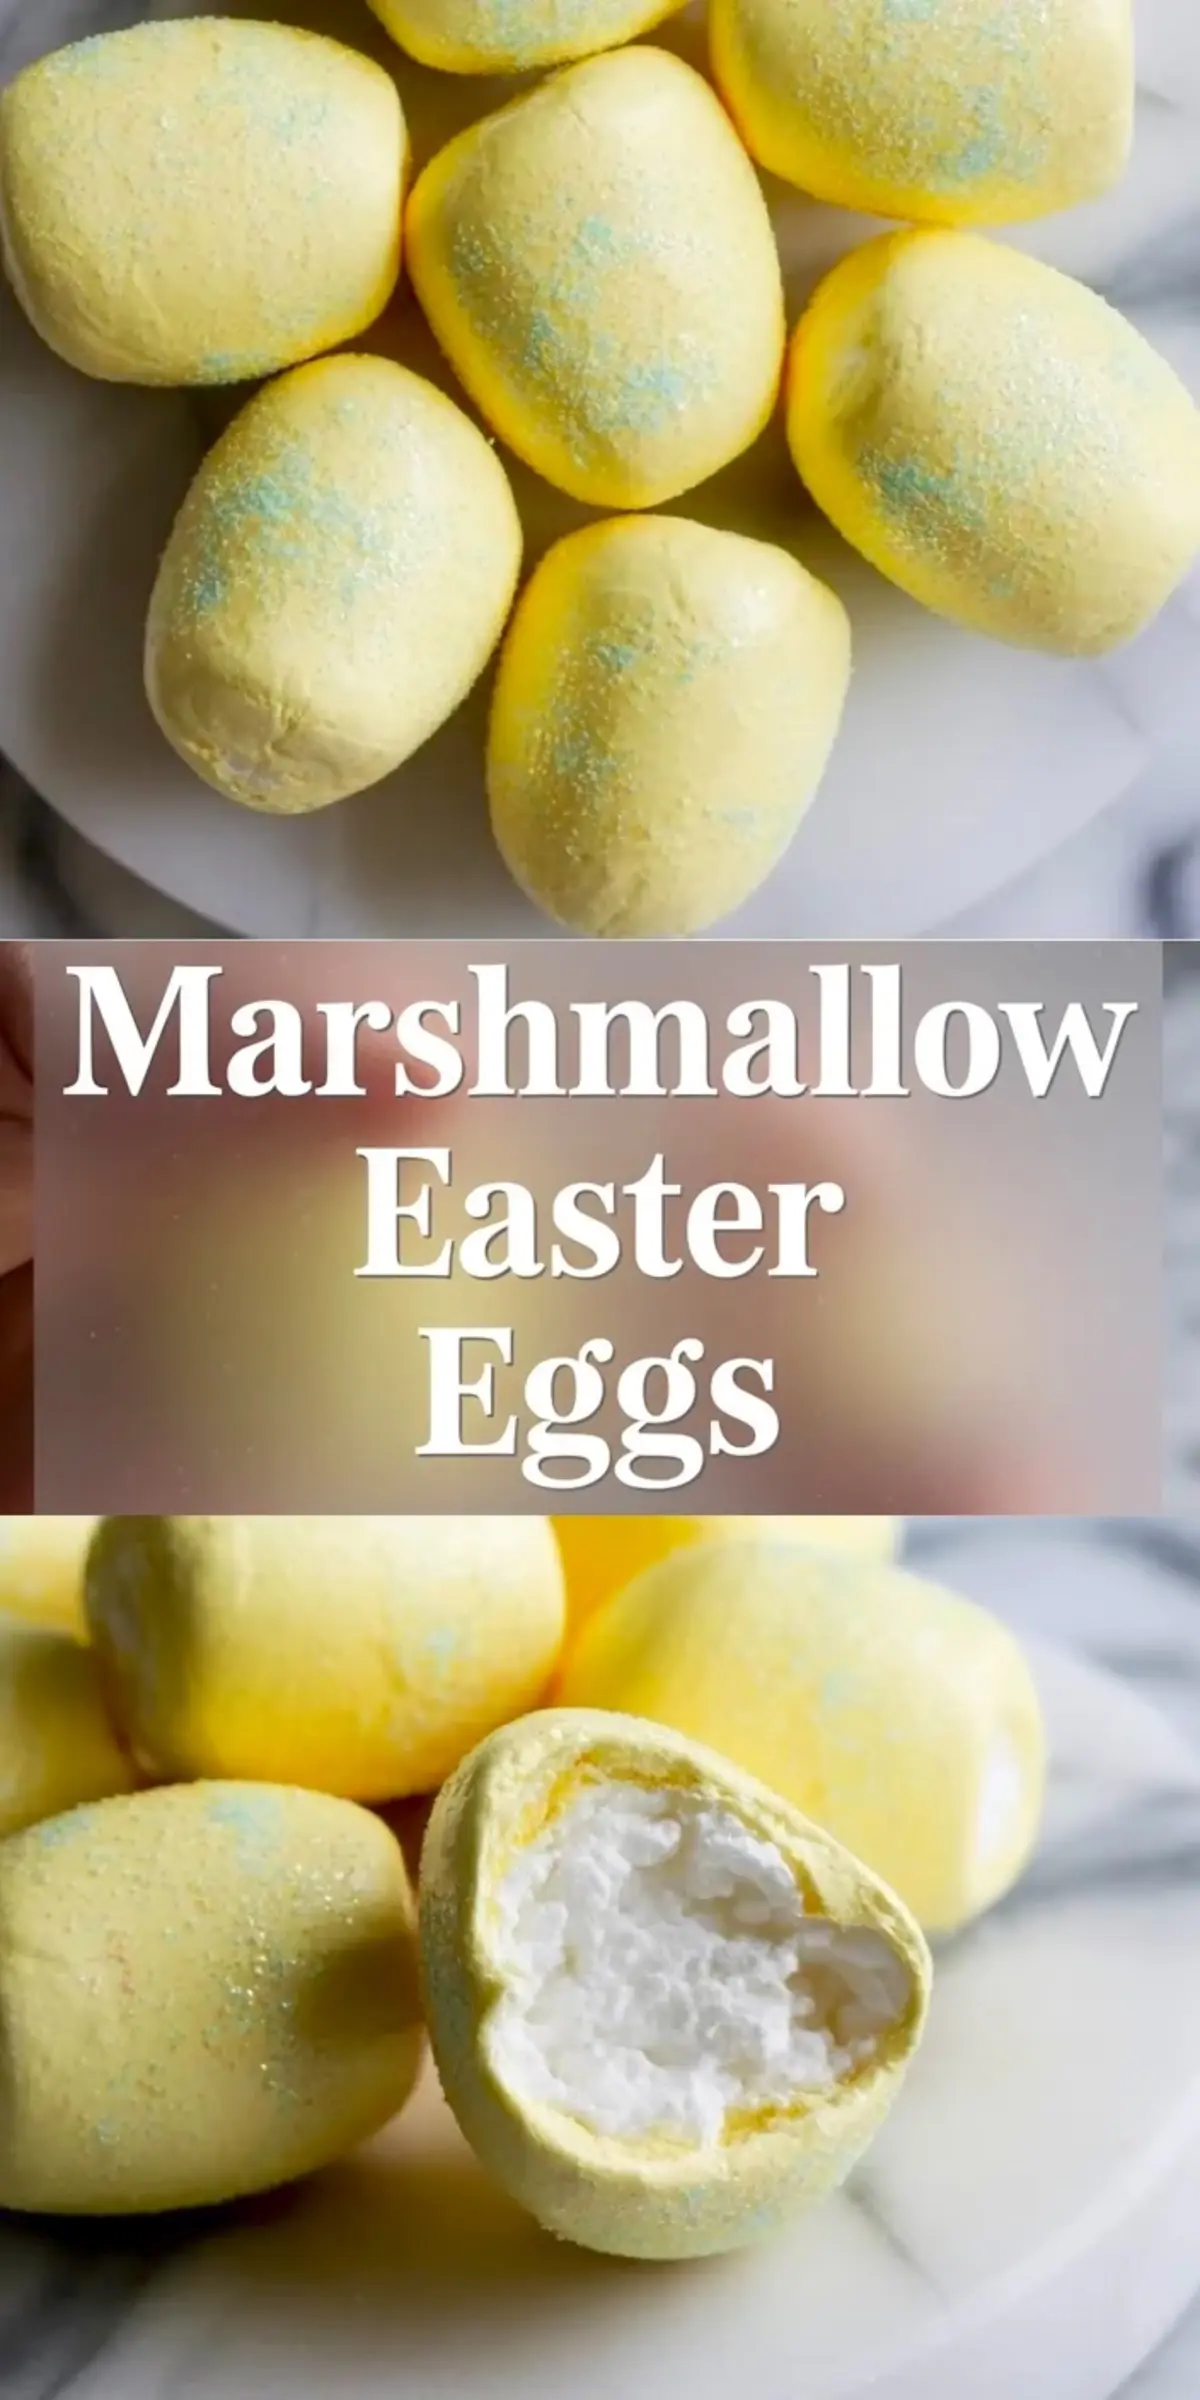
These marshmallow Easter eggs are soft, fluffy, and dyed in pastel colors to match the season. Each one feels like a handmade marshmallow treat, lightly sweet and delicately bouncy. You can shape them in egg molds or slice from a tray. They sit beautifully on dessert tables and make great homemade Easter candy gifts. This is the kind of recipe that fits searches for Marshmallow Eggs Recipe, Easter Dyed Marshmallows, or any homemade Easter treats that add charm to the holiday.
Following a special diet?
Every recipe on this site can be converted to gluten-free, vegan, dairy-free, keto, nut-free or egg-free with adjusted ratios so nothing falls flat.
Try the Recipe Converter →This recipe follows a basic marshmallow ratio with a few tweaks for shape and color. The structure depends on blooming gelatin properly and whipping the sugar syrup in at just the right temperature. That mix of timing and texture is what makes these eggs hold their form while still melting on the tongue. You don’t want rubbery, dense candy. You want soft clouds.
I’ve tested this enough to know: the 240°F mark is non-negotiable. Anything less won’t set properly. Anything more starts to toughen the mixture. That’s where most mistakes happen, especially when trying to multitask. Focus on the sugar stage and you’ll have success.
What You Need
You’ll need three gelatin envelopes for the base. These create the structure. Blooming them fully in cold water gives the marshmallow that clean set. I prefer unflavored powdered gelatin. Sheets work too, but the measurements need adjusting.
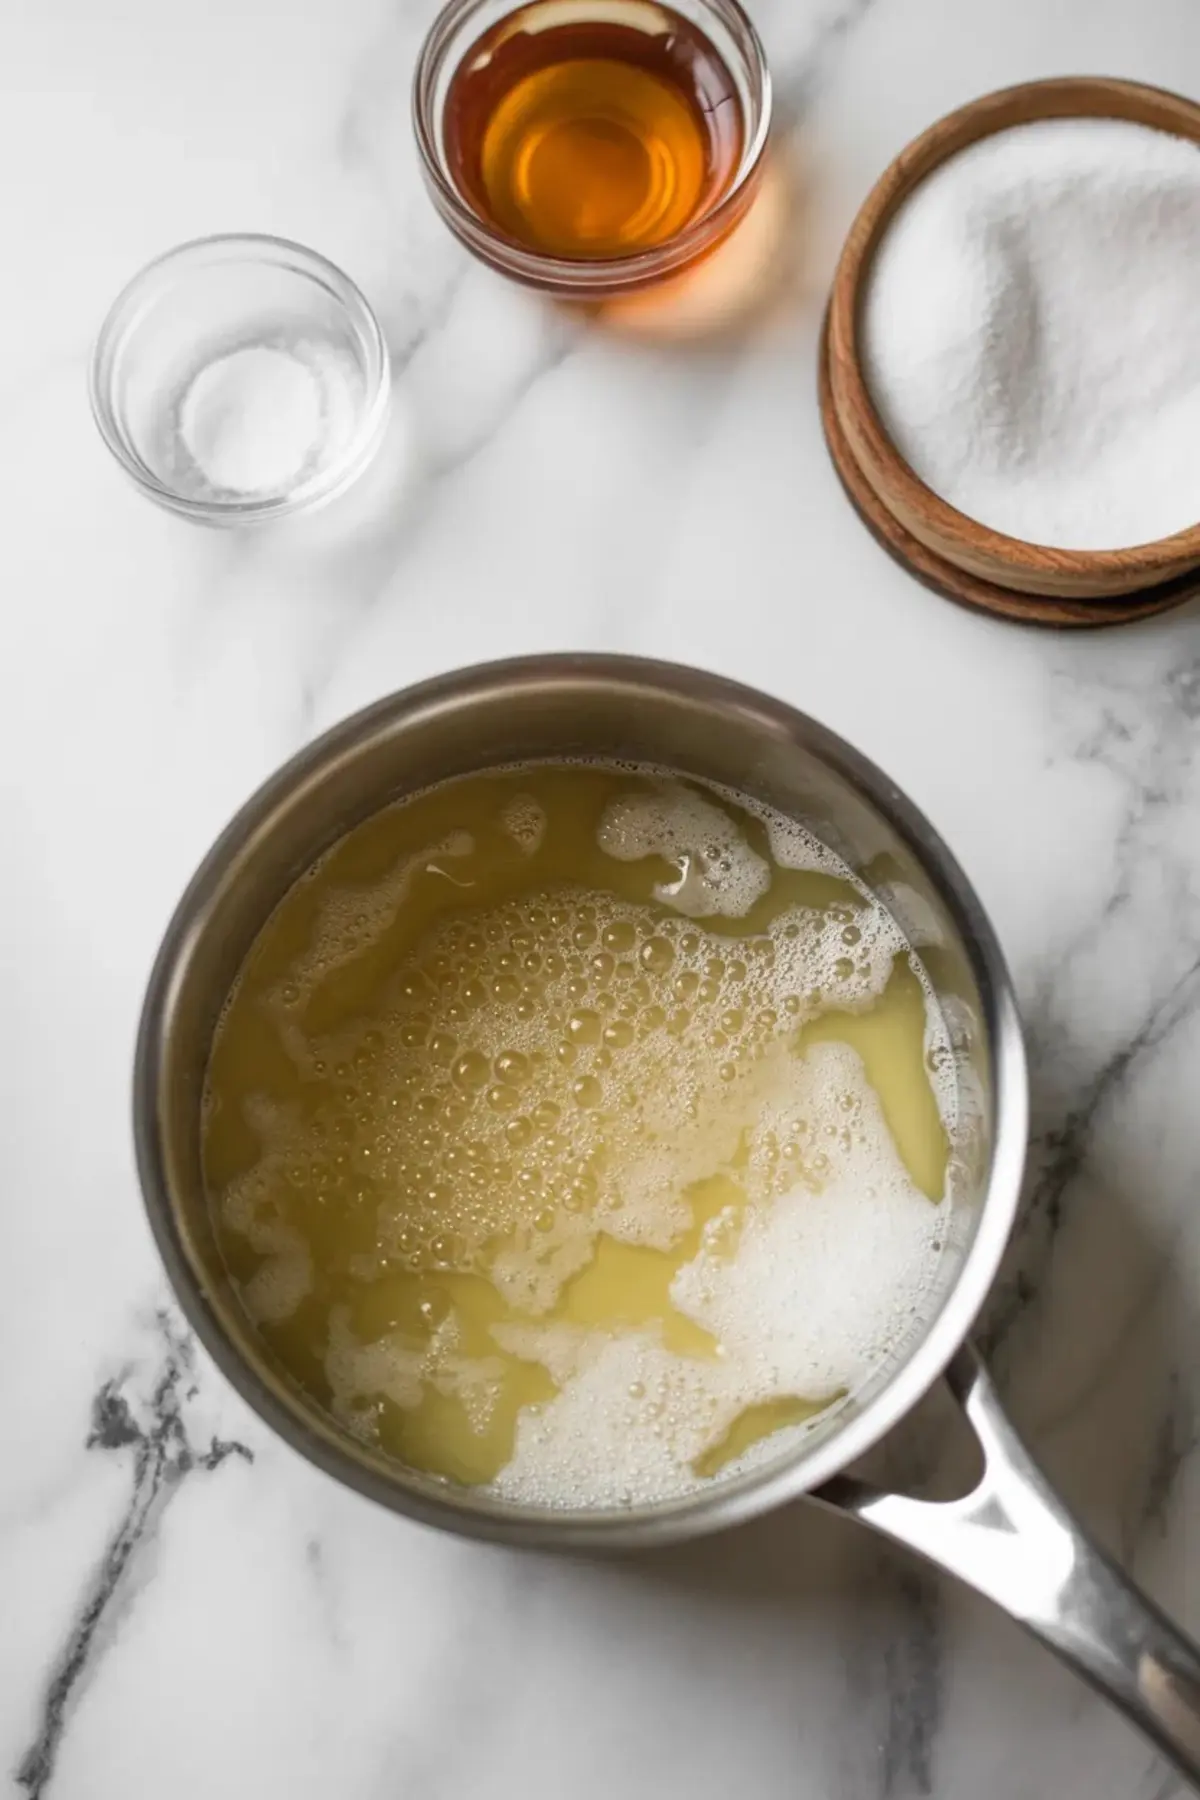
Sugar and corn syrup give sweetness and shine. The corn syrup helps prevent crystallization during boiling. Don’t swap it out here. You’ll also need salt for balance, plus vanilla extract. I’ve tried almond extract as well, it gives a nostalgic candy-shop twist.
Food coloring isn’t essential, but pastel tones make these marshmallow Easter treats more seasonal. I used yellow, pink, and a tiny drop of blue in different batches. I also keep a mix of powdered sugar and cornstarch in a jar just for dusting. It’s the same mix I use for Simple Easter Dip cookie molds.
Spotlight: The Gelatin Bloom
This step determines texture. If the gelatin doesn’t fully hydrate, the eggs end up grainy or uneven. I always pour the gelatin over cold water, not the other way around, and I leave it for the full 10 minutes without touching it.
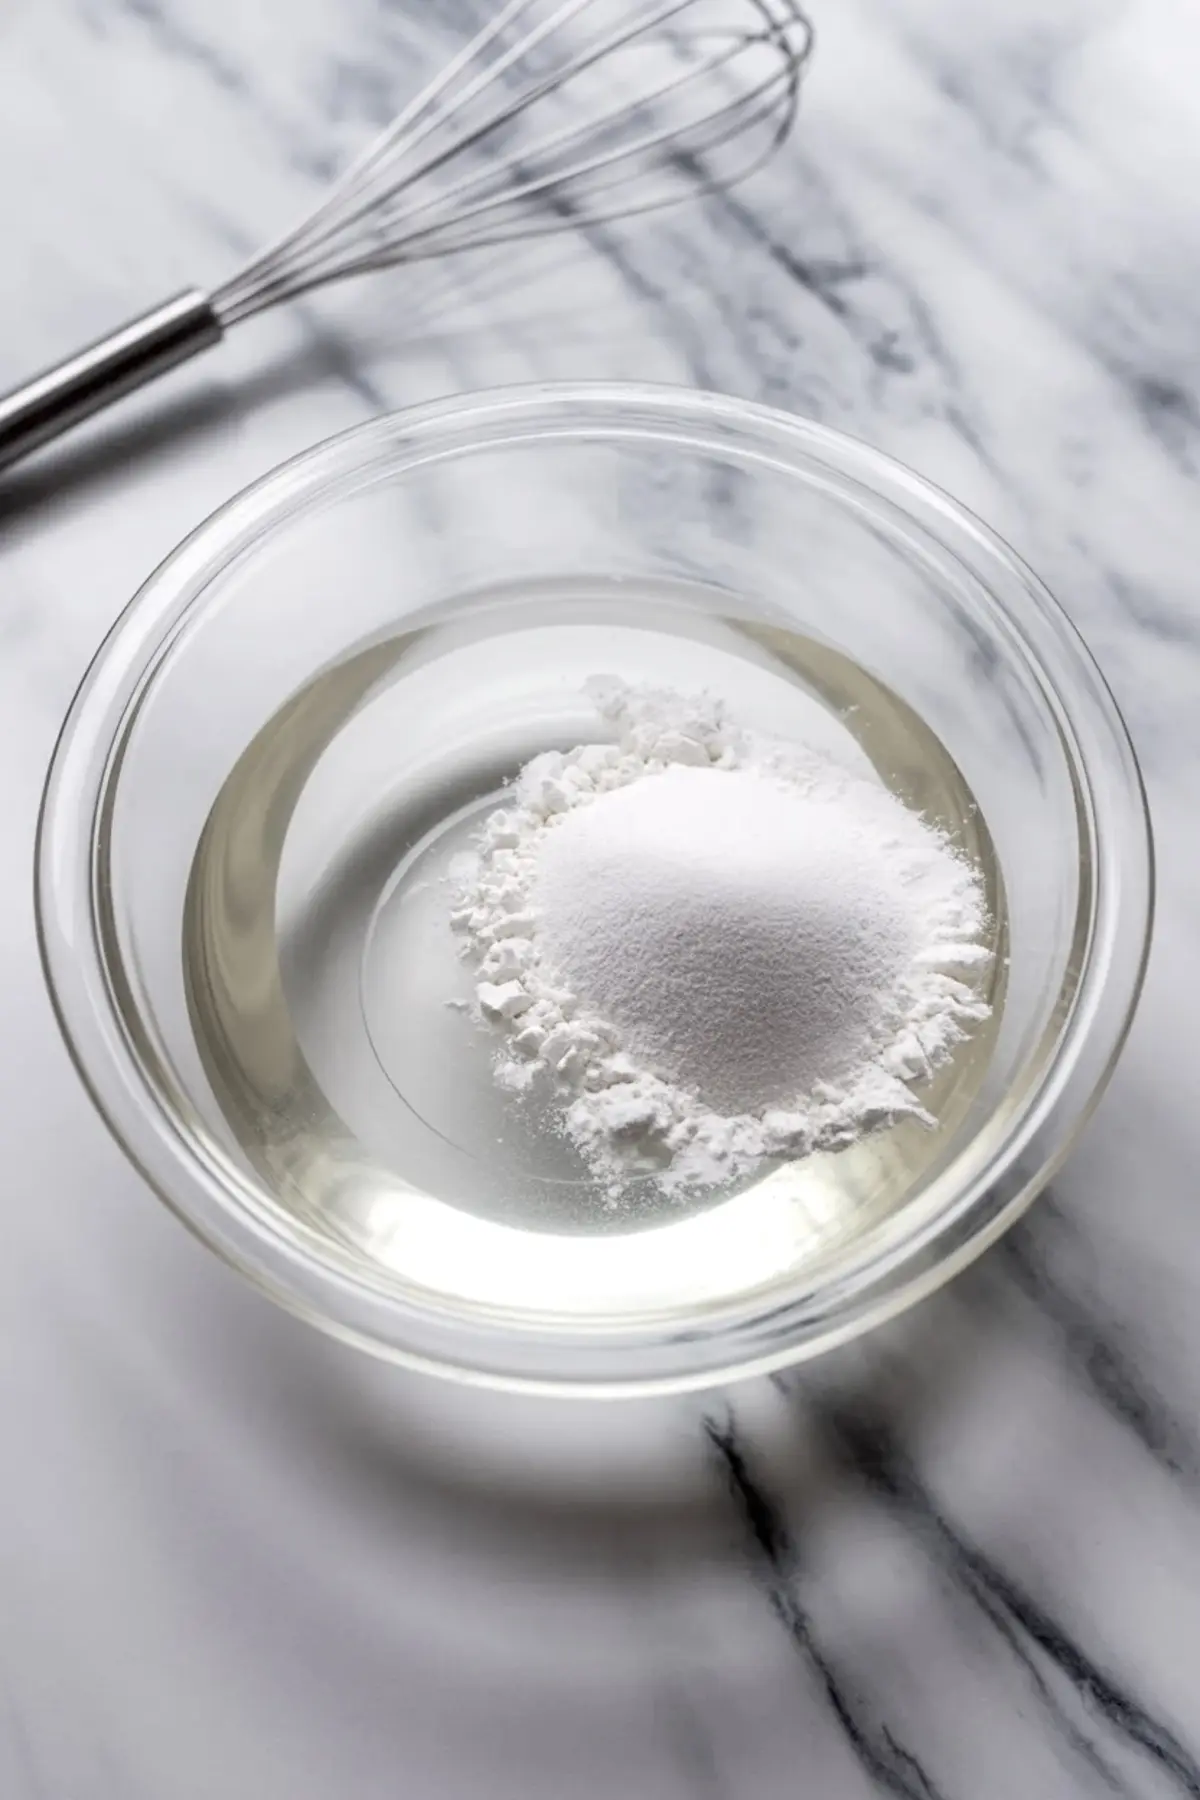
You’ll know it’s bloomed when the surface turns spongy and the powder is fully absorbed. If there are dry patches, the candy won’t whip properly. Once the syrup reaches temperature, start the mixer and pour slowly.
If you don’t have gelatin, this isn’t a recipe to substitute. Agar agar won’t hold the same texture. I’ve tried. The result turns out too brittle, especially if you’re aiming for egg molds.
How to Make It Right
Work in stages and don’t rush the cooling. I prep my molds early. A thin layer of the powdered sugar and cornstarch mix keeps everything clean. If you’re cutting instead of molding, grease your pan well and coat it too.
The syrup starts clear and thin. Once it hits a rolling boil, keep the thermometer steady and don’t stir. It should hit 240°F after about 10 minutes. Remove it the second it does.
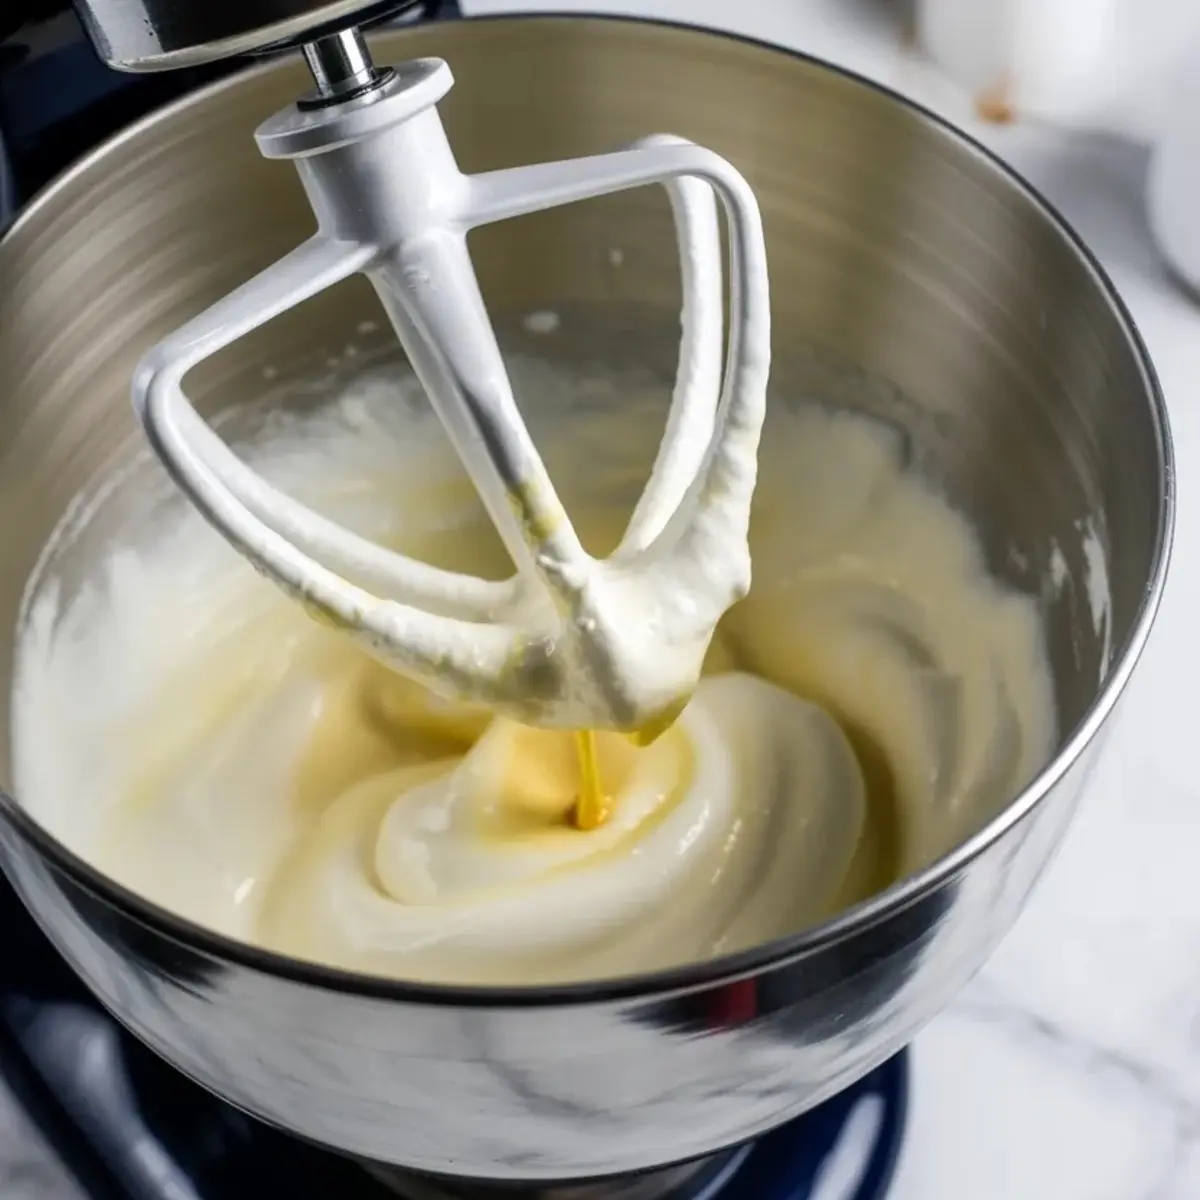
When it hits the gelatin, the mixture looks thin. Give it 2 minutes, then it thickens fast. You want that white, glossy marshmallow look. After 10 minutes, stop the mixer. Add food coloring and extract at the very end to avoid deflating the structure.
If you love Easter decorating ideas, you might also want to check out my Easter Pavlova. It layers color in a completely different way, but the timing precision is similar.
How to Tell It’s Done
The marshmallow is ready when it forms thick ribbons and leaves defined lines when lifted with a spatula. It should be glossy, not dull. If it looks dry or grainy, the syrup either went too far or was poured too fast.
After setting for 6 hours, the surface should be dry to the touch but soft when pressed. If it feels sticky, dust with more coating mix. If it feels rubbery, the syrup overheated or the whip time was too long.
Set time depends on room temperature. Cooler rooms help it firm up faster. I usually leave mine overnight for the cleanest release.
Fixing the Most Common Problems
If the mixture never firms, the syrup didn’t reach 240°F. If the texture turns gummy, the gelatin didn’t bloom fully.
Air bubbles often happen if you whip too fast too soon. Start low and ramp up. That gradual speed change matters more than it seems.
If you’re not getting clean releases from the molds, try placing them in the fridge for 15 minutes before unmolding. That quick chill helps them contract slightly.
Variations to Try
For colored stripes, divide the mix and color each batch differently. Pipe the colors side by side in the mold.
For flavored marshmallows, swap vanilla for orange or raspberry extract. I’ve used 1/2 teaspoon of lemon extract and yellow coloring for a light citrus batch.
For shimmer, dust with edible glitter right after unmolding while the surface is still slightly tacky. Or roll the sides in pastel sanding sugar like I do with Easter Dirt Cake crumbs.
How to Store Them
Leave marshmallow eggs at room temperature in an airtight container. They hold for up to one week.
If you refrigerate, let them come back to room temp before serving. Cold air stiffens the texture. They don’t freeze well, but you can freeze the plain base (before coloring or molding) if needed.
If they start to dry out, microwave for 5 seconds to revive the texture slightly.
Tips from My Kitchen
Use a candy thermometer you trust. Cheap ones jump around. That sugar stage controls everything.
Dust the molds thoroughly. Too little coating and the candy sticks. Too much and it won’t shape cleanly.
Grease any tools before touching the mixture. This includes spatulas and spoons. It’s sticky and sets fast.
Let the mixture sit uncovered. Covering traps moisture and creates wet spots.
If you’re making a big batch, work in two rounds. The mix begins setting within minutes once whipped.
You can pair these with my Easy Easter Punch Recipe for a full candy tray that actually tastes homemade.
Save This Marshmallow Eggs Recipe
Pin this for your fun Easter treats board so you have it ready next spring.
If you try these or have your own spin, share it in the comments. I’d love to hear how you decorate yours.
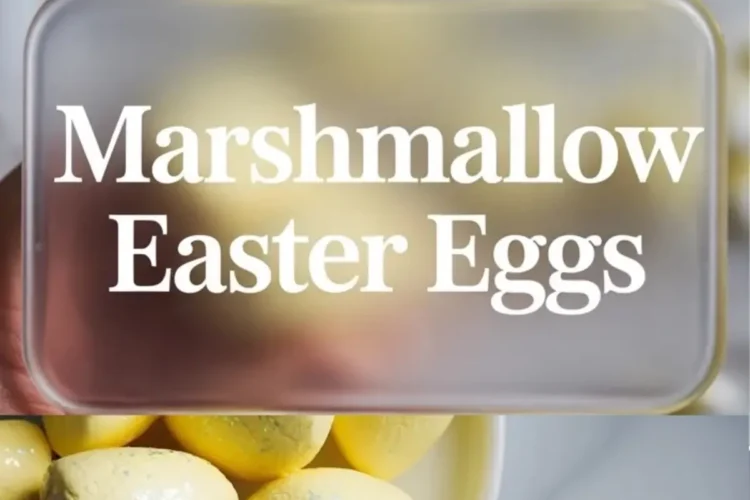
Marshmallow Easter Eggs Recipe
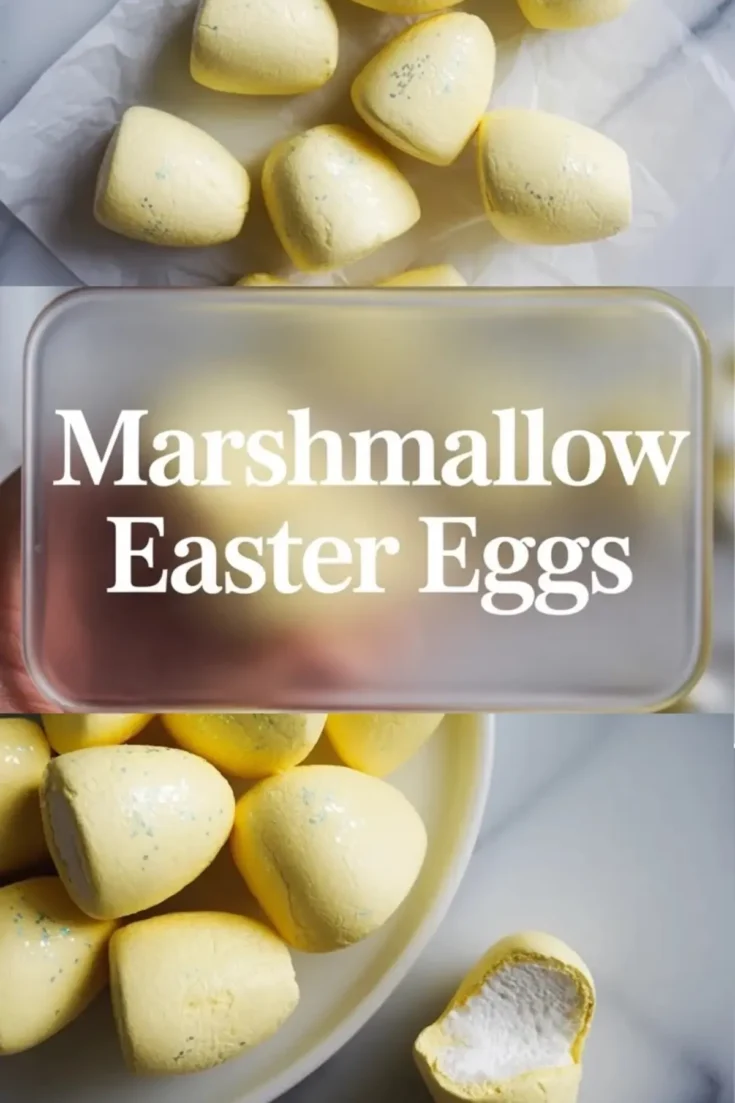
These fluffy and colorful marshmallow Easter eggs make a fun and festive homemade Easter candy recipe. Perfect for gifting or decorating dessert tables, these marshmallow treats are easy to customize with pastel colors. Great for anyone looking for Easter dyed marshmallows, marshmallow eggs recipe, or simple Easter egg treats that kids and adults will love. Add them to your collection of fun Easter treats or try them as a sweet activity with the family.
Ingredients
- FOR THE MARSHMALLOW BASE
- 3 envelopes (21g) unflavored gelatin
- 1 cup cold water, divided
- 1 ½ cups granulated sugar
- 1 cup light corn syrup
- ¼ teaspoon salt
- 1 tablespoon vanilla extract (or almond extract)
- Yellow food coloring (or any pastel color)
- FOR THE COATING
- Cornstarch and powdered sugar mix (equal parts, for dusting molds)
- Edible glitter or sanding sugar (optional)
- Edible wafer paper for stamping (optional)
Instructions
- PREPARE THE MOLDS: Lightly dust plastic or silicone egg molds with a mixture of powdered sugar and cornstarch. This prevents the marshmallows from sticking and helps them release cleanly once set. If you don't have egg molds, grease and dust a rectangular baking pan and plan to cut egg shapes later using a cookie cutter.
- BLOOM THE GELATIN: In the bowl of a stand mixer, add ½ cup of cold water and sprinkle the gelatin evenly over the surface. Let it sit undisturbed for 10 minutes so the gelatin can absorb the water and bloom.
- MAKE THE SUGAR SYRUP: In a medium saucepan, combine the granulated sugar, corn syrup, salt, and remaining ½ cup of cold water. Stir just enough to moisten the sugar. Place the pan over medium-high heat and bring the mixture to a boil without stirring. Cook until the syrup reaches 240°F on a candy thermometer (soft-ball stage).
- WHIP THE MARSHMALLOW: With the mixer on low speed, slowly pour the hot sugar syrup into the bloomed gelatin. Once all the syrup is added, increase the speed to high and whip for 10–12 minutes until the mixture becomes thick, white, and glossy. Add the vanilla extract and food coloring during the last 30 seconds of mixing.
- FILL THE MOLDS: Immediately transfer the marshmallow mixture to a piping bag or use a spoon to fill the prepared molds. Work quickly, as the mixture sets fast. Smooth the tops with a greased spatula or the back of a spoon. Let the marshmallows sit uncovered at room temperature for at least 6 hours, or overnight, until fully set.
- UNMOLD AND DECORATE: Gently remove the marshmallow eggs from the molds. Dust lightly with additional cornstarch and powdered sugar if they feel sticky. Decorate as desired with edible glitter, pastel sanding sugar, or cutouts of edible wafer paper.
Notes
If using a pan instead of molds, make sure it’s well greased and dusted before pouring in the marshmallow mixture. Once set, lift out and use a greased egg-shaped cookie cutter to cut into individual pieces. Store marshmallow eggs in an airtight container at room temperature for up to 1 week.
Nutrition Information
Yield
24Serving Size
1Amount Per Serving Calories 34Total Fat 0gUnsaturated Fat 0gSodium 31mgCarbohydrates 8gSugar 8gProtein 1g