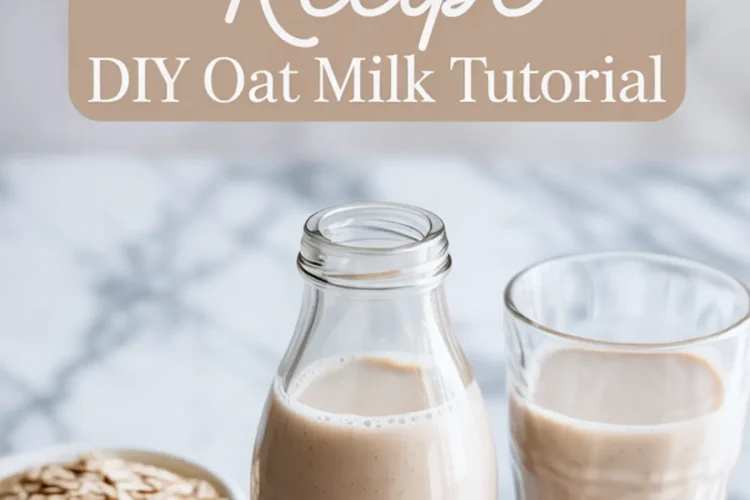
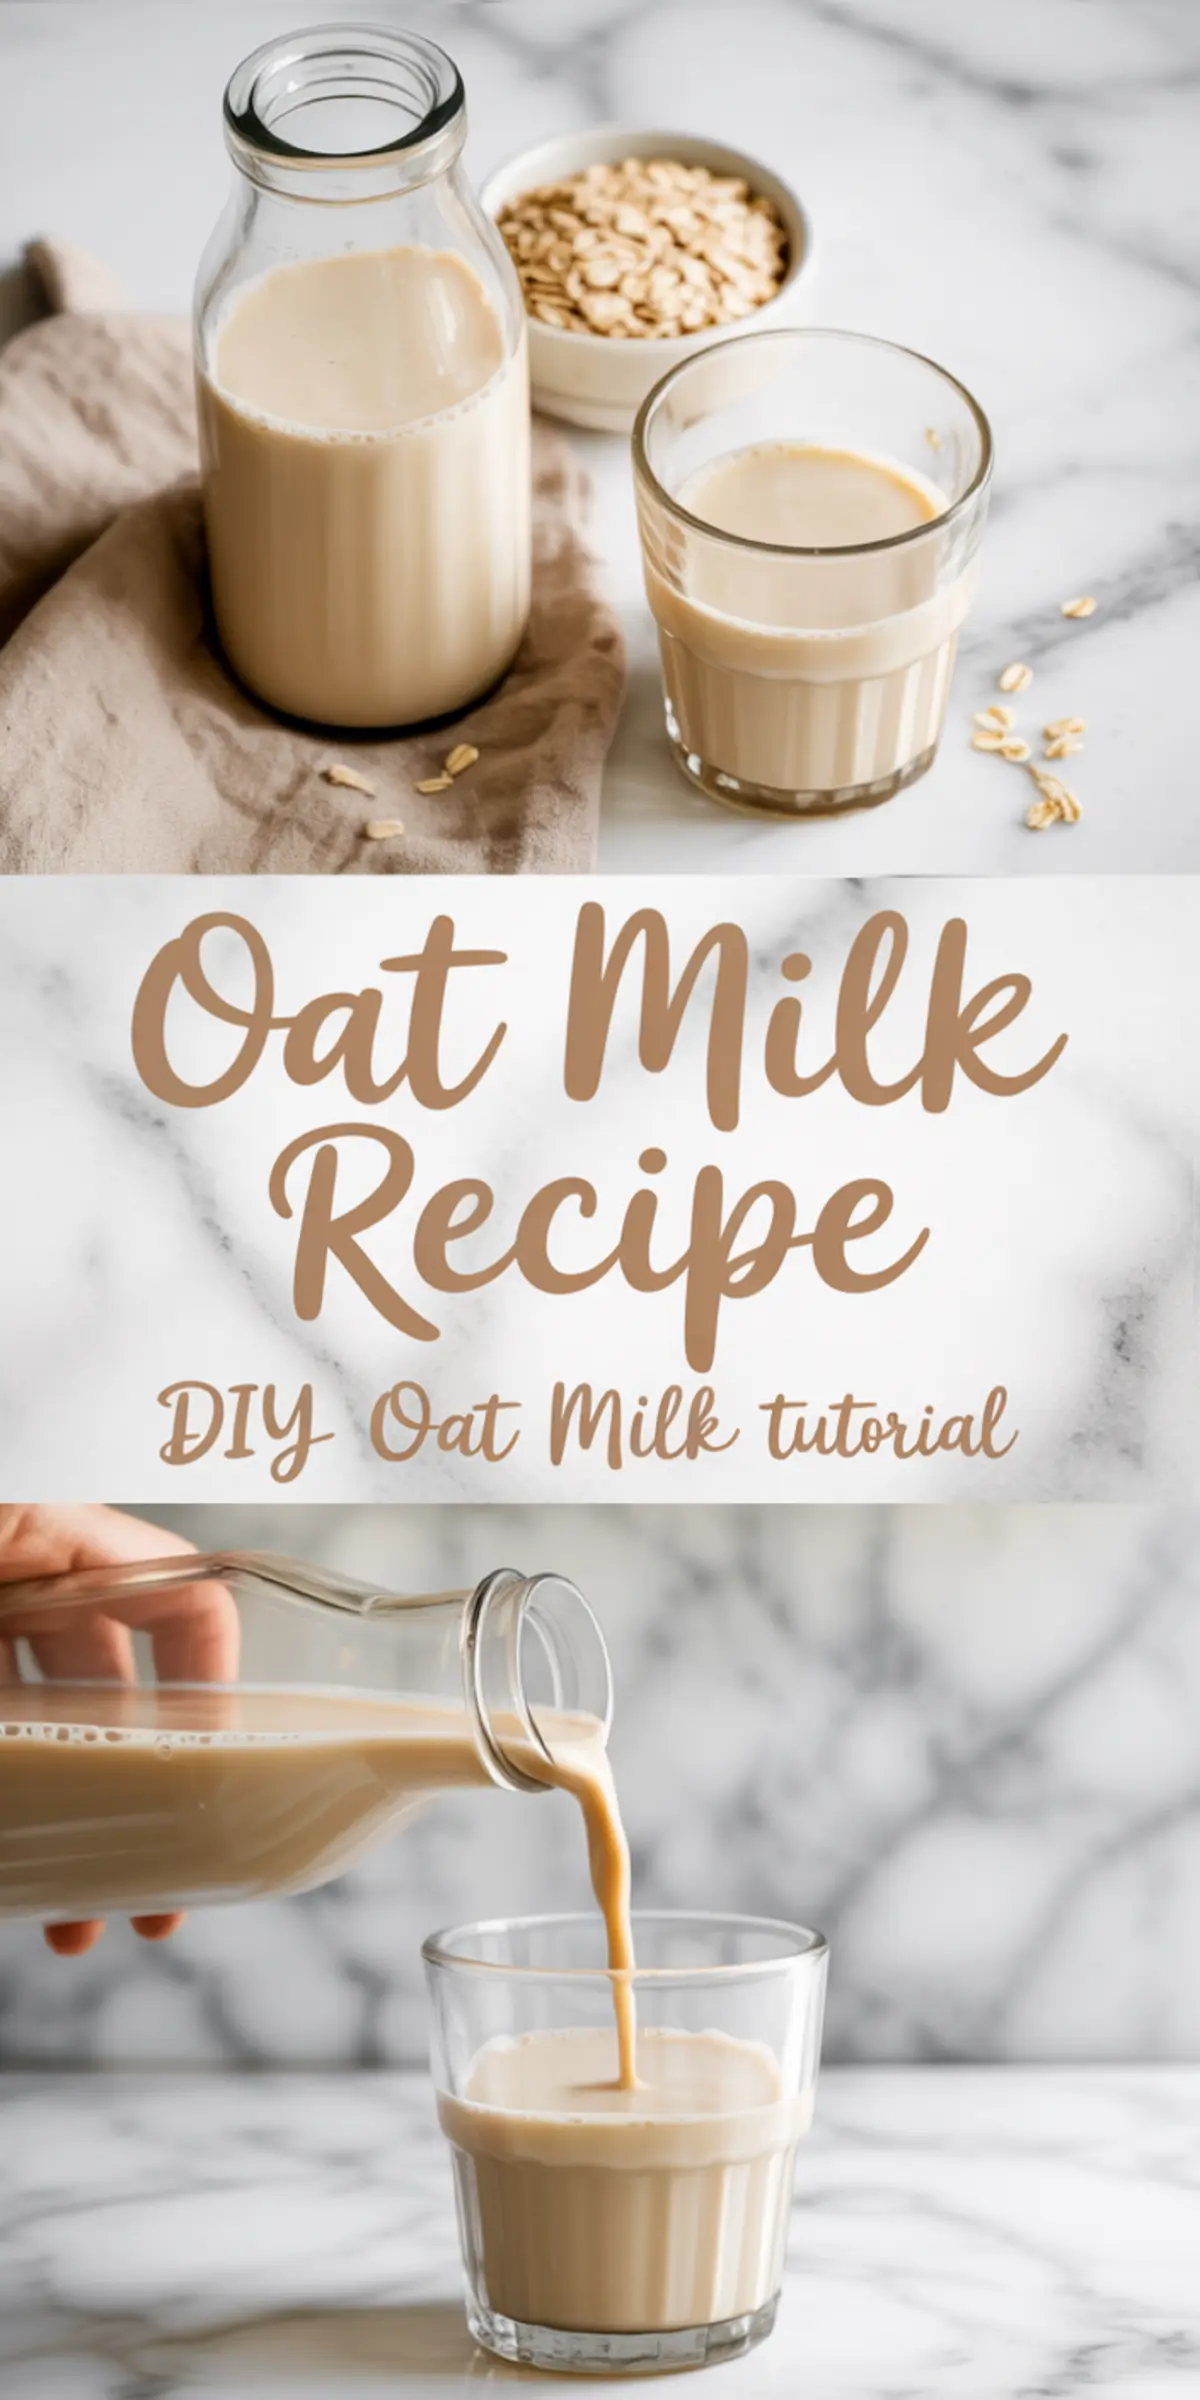
There’s something grounding about pouring your own homemade oat milk into a morning coffee.
Not just for the sake of saving a few euros, but for the quiet moment that comes from knowing what went into that jar. Oats, water, and just enough flavor to make it yours. No gums, no stabilizers, no confusion. Just a smooth, subtle dairy-free milk you can make in under ten minutes.
This oat milk recipe uses basic pantry ingredients, but the results feel far from basic. You’ll learn how to avoid the common pitfalls that make oat milk gloopy or bland. You’ll also get a few flavoring tips, proper storage guidance, and ingredient comparisons I’ve tested myself.
If you’re looking for a DIY plant-based milk that doesn’t require soaking nuts, heating the stove, or special gear—this is the place to start.
Following a special diet?
Every recipe on this site can be converted to gluten-free, vegan, dairy-free, keto, nut-free or egg-free with adjusted ratios so nothing falls flat.
Try the Recipe Converter →The Ingredients That Matter in Homemade Oat Milk
Rolled oats and water build the foundation. But not all oats behave the same way.
In my experience, quick oats break down too easily and release too much starch. That’s what causes the slimy texture many people complain about. Stick with classic rolled oats, and if you’re sensitive to gluten, look for oats marked gluten-free.
As for sweeteners, maple syrup blends in more seamlessly than honey. But both work well. I’ve found that just one tablespoon is often enough, especially if the milk will go into something already sweet like a smoothie or these Peanut Butter Oatmeal Bars.
You can skip the vanilla and salt if you’re using the oat milk for savory dishes, but for coffee or cereal, those tiny additions do round things out.
I use cold water straight from the tap. Warm water pulls more starch from the oats, which affects the texture in ways that are hard to fix later.
Why Rinsing Oats Is a Non-Negotiable Step
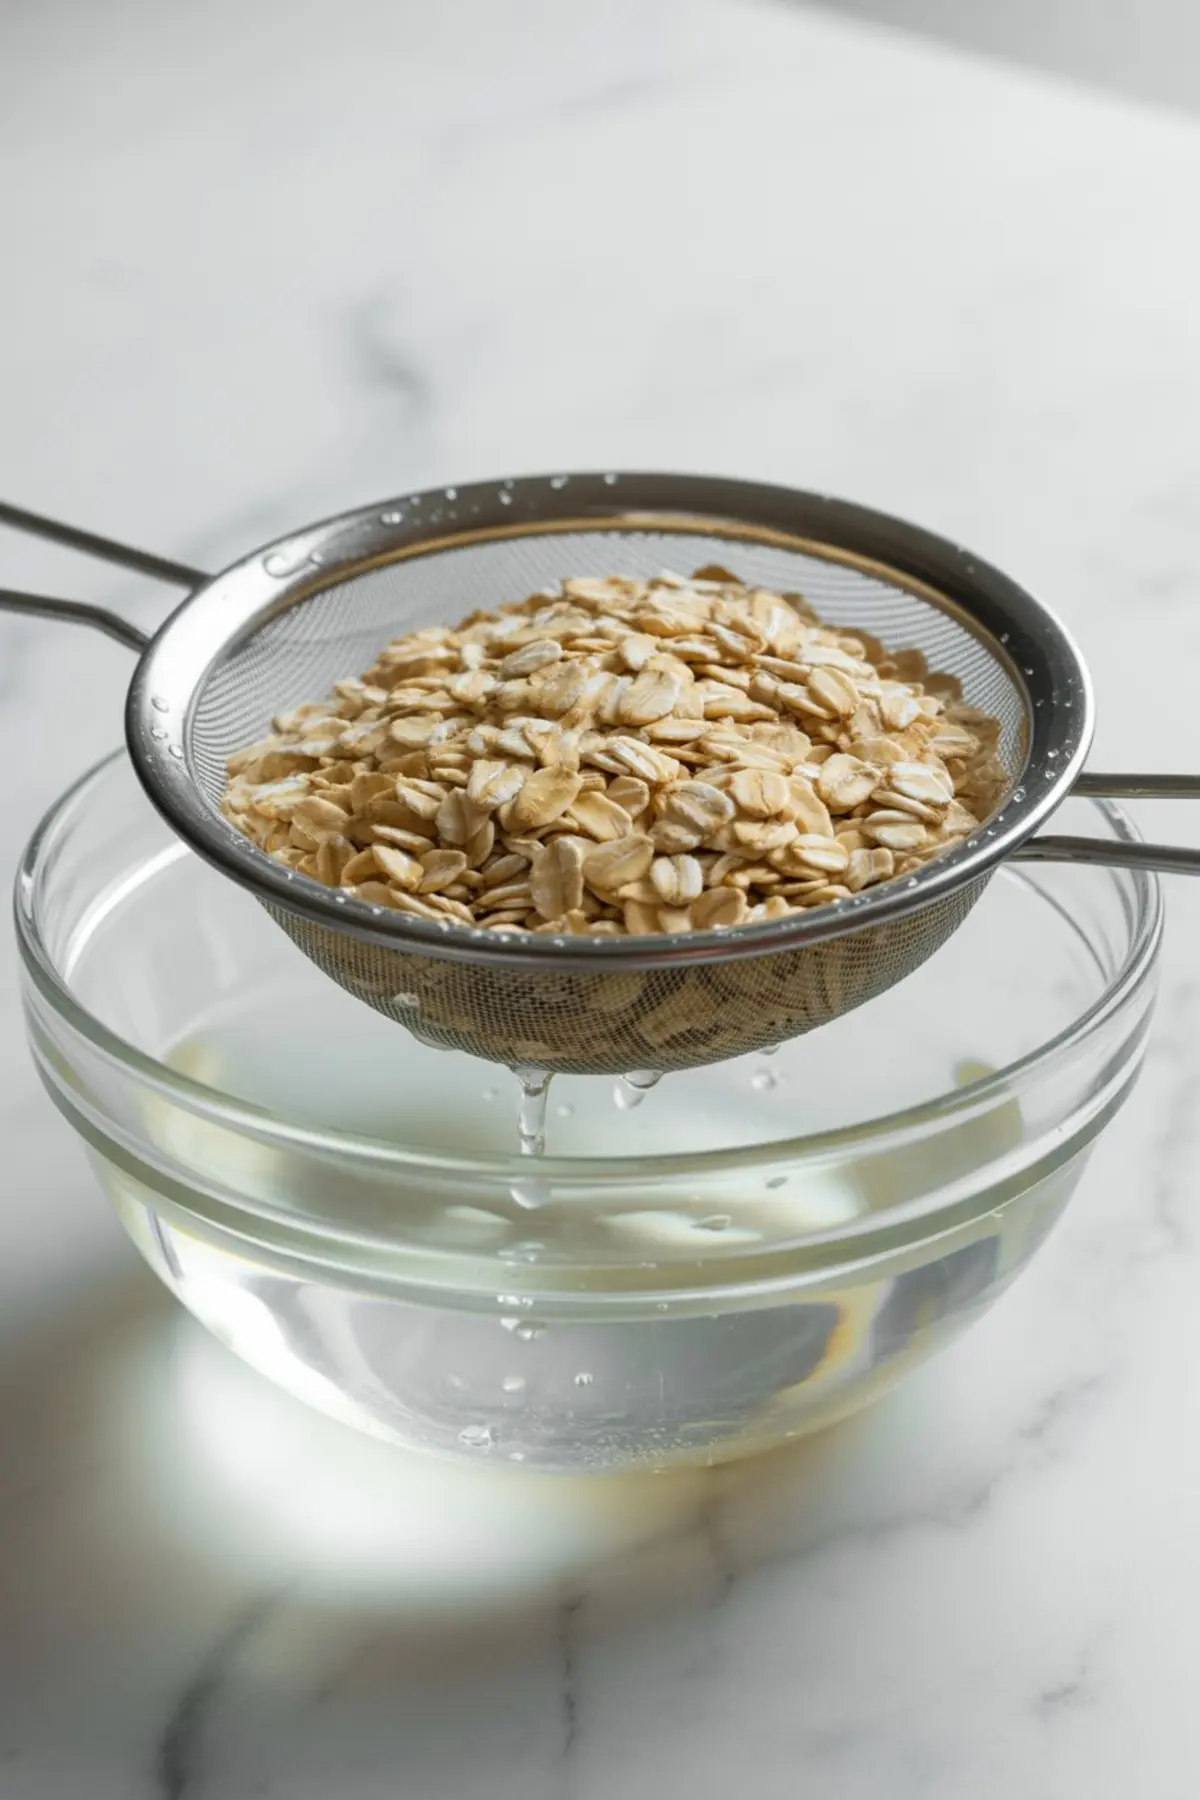
This may seem like a small step, but rinsing the oats makes a huge difference.
Rinse them well under cold running water using a fine-mesh strainer. Don’t skip this. The starch that clings to dry oats doesn’t dissolve during blending. It gums things up.
I tested batches with and without rinsing, and the difference was immediately visible in both the texture and the color. The unwashed batch looked cloudy and felt sticky. The rinsed one stayed light and clean—exactly what you want if you’re making your own oat milk to use in drinks like this Pistachio Latte.
How to Blend and Strain Without Making Slime
Once rinsed, the oats go straight into the blender. Don’t walk away here.
Blend for 30 to 45 seconds, no more. The goal is to break down the oats just enough to release their flavor, not their starch. Overblending causes the milk to thicken unnaturally. You want a clean pull, not a full puree.
Pour the mixture through a nut milk bag, fine mesh sieve, or layered cheesecloth. I prefer straining into a large glass measuring cup, it’s easier to handle and pour.
And yes, straining twice does help. Especially if you want a super-smooth result for pouring over cereal or baking with these Peanut Butter Oat Balls.
Should You Use a Nut Milk Bag or a Fine Mesh Strainer?
Both work, but the results vary.
I’ve used several methods, and I find the nut milk bag yields the cleanest milk, especially on the second strain. A fine mesh strainer can work in a pinch, but small bits often slip through unless the mesh is extra fine.
If you’re new to the process and don’t want to buy new equipment, start with the mesh strainer. You’ll get a feel for it. But if you plan to make DIY oat milk weekly, investing in a nut milk bag does save time and gives better texture.
Storing Homemade Oat Milk Without Preservatives
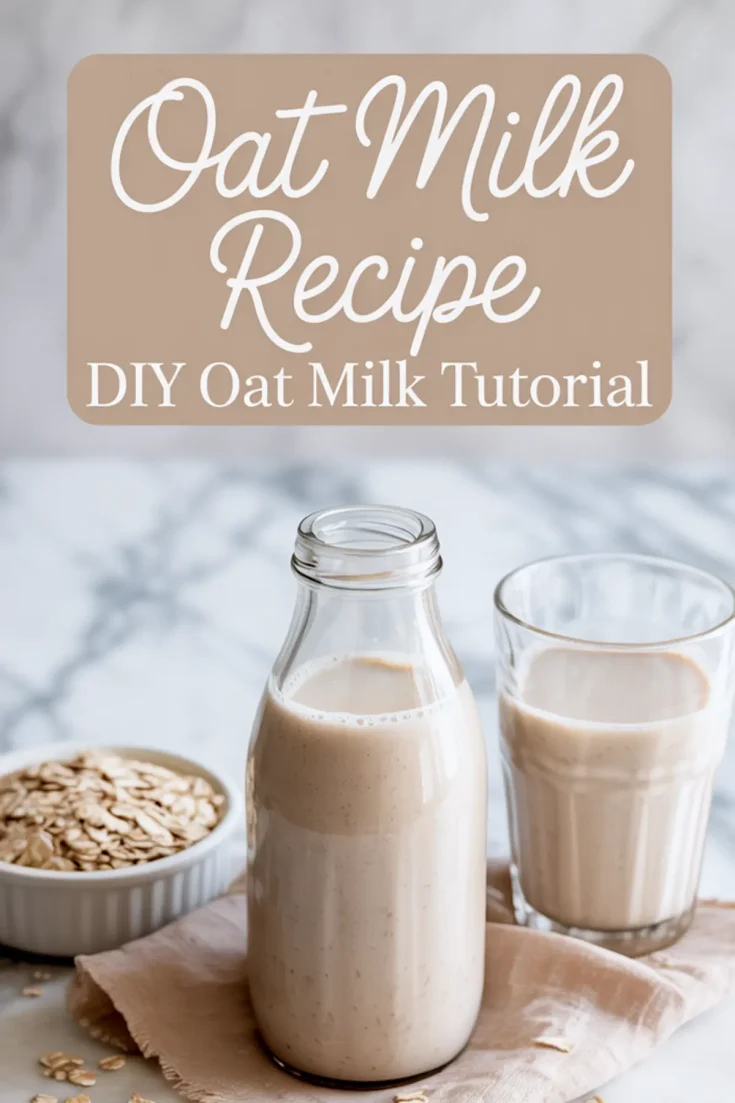
Once strained, transfer your oat milk into a clean bottle or jar with a tight lid.
Refrigerate immediately and shake before each use. Separation is normal. That’s just the nature of homemade oat milk ingredients—there are no emulsifiers keeping everything suspended.
The milk keeps well in the fridge for four to five days. After that, the flavor starts to turn. I use it quickly in my baking and morning oats. It works beautifully in this Maple Brown Sugar Oatmeal, where it adds creaminess without overpowering the natural maple flavor.
Flavor Variations and Add-Ins That Actually Work
Plain oat milk has a soft, neutral taste.
But small changes can take it in new directions. A pinch of cinnamon gives a cozy breakfast feel. A teaspoon of cocoa powder adds a mellow chocolate base for smoothies. You can even blend in a touch of cardamom or ginger for spiced oat milk that works well in chai or baking.
Don’t add fresh fruit or nut butters directly to the milk, though. That’s better left for blending just before use. Otherwise, the milk spoils more quickly.
If you’re looking for another nourishing, oat-based option, try these Peanut Butter Overnight Oats.
Why This Method Gives the Best Results
I’ve tested other oat milk recipes that skip rinsing or use boiling water. They always left a slimy texture or turned sour too fast.
In my notes, I’ve found that rinsed oats, cold water, and a short blend time offer the most reliable texture every time.
It’s easy to assume that oat milk should be as thick as dairy milk, but that expectation leads to overblending. Thin and fresh wins here. The smoothness isn’t from starch—it’s from balance.
More Milk Alternatives You Can Make at Home
Oat milk is a great starting point, but it’s not the only plant-based milk worth trying.
Almond, cashew, and hemp milk each have their strengths. But oat milk remains the easiest to make, most affordable, and most sustainable. It also works better for those with nut allergies.
If you’re trying DIY plant-based milk for the first time, this is the most forgiving place to begin.
Final Thoughts and Invitation to Save

I hope this gave you the confidence to make your own oat milk without any mystery or mess.
Try it once, and you’ll realize how much better it feels than buying carton after carton.
Save this post to your Pinterest board if you want to come back to it later.
And tell me how it turned out in the comments. Did you go plain, vanilla, or spice it up with something new?
I’d love to hear what flavor combinations worked for you. Or if you’ve got questions, just ask. Let’s build a better pantry, one jar at a time.
Oat Milk Recipe
A smooth and simple plant-based milk you can make in minutes with just oats, water, and optional flavorings. It blends easily, strains quickly, and stores well for use in coffee, smoothies, cereal, or baking.
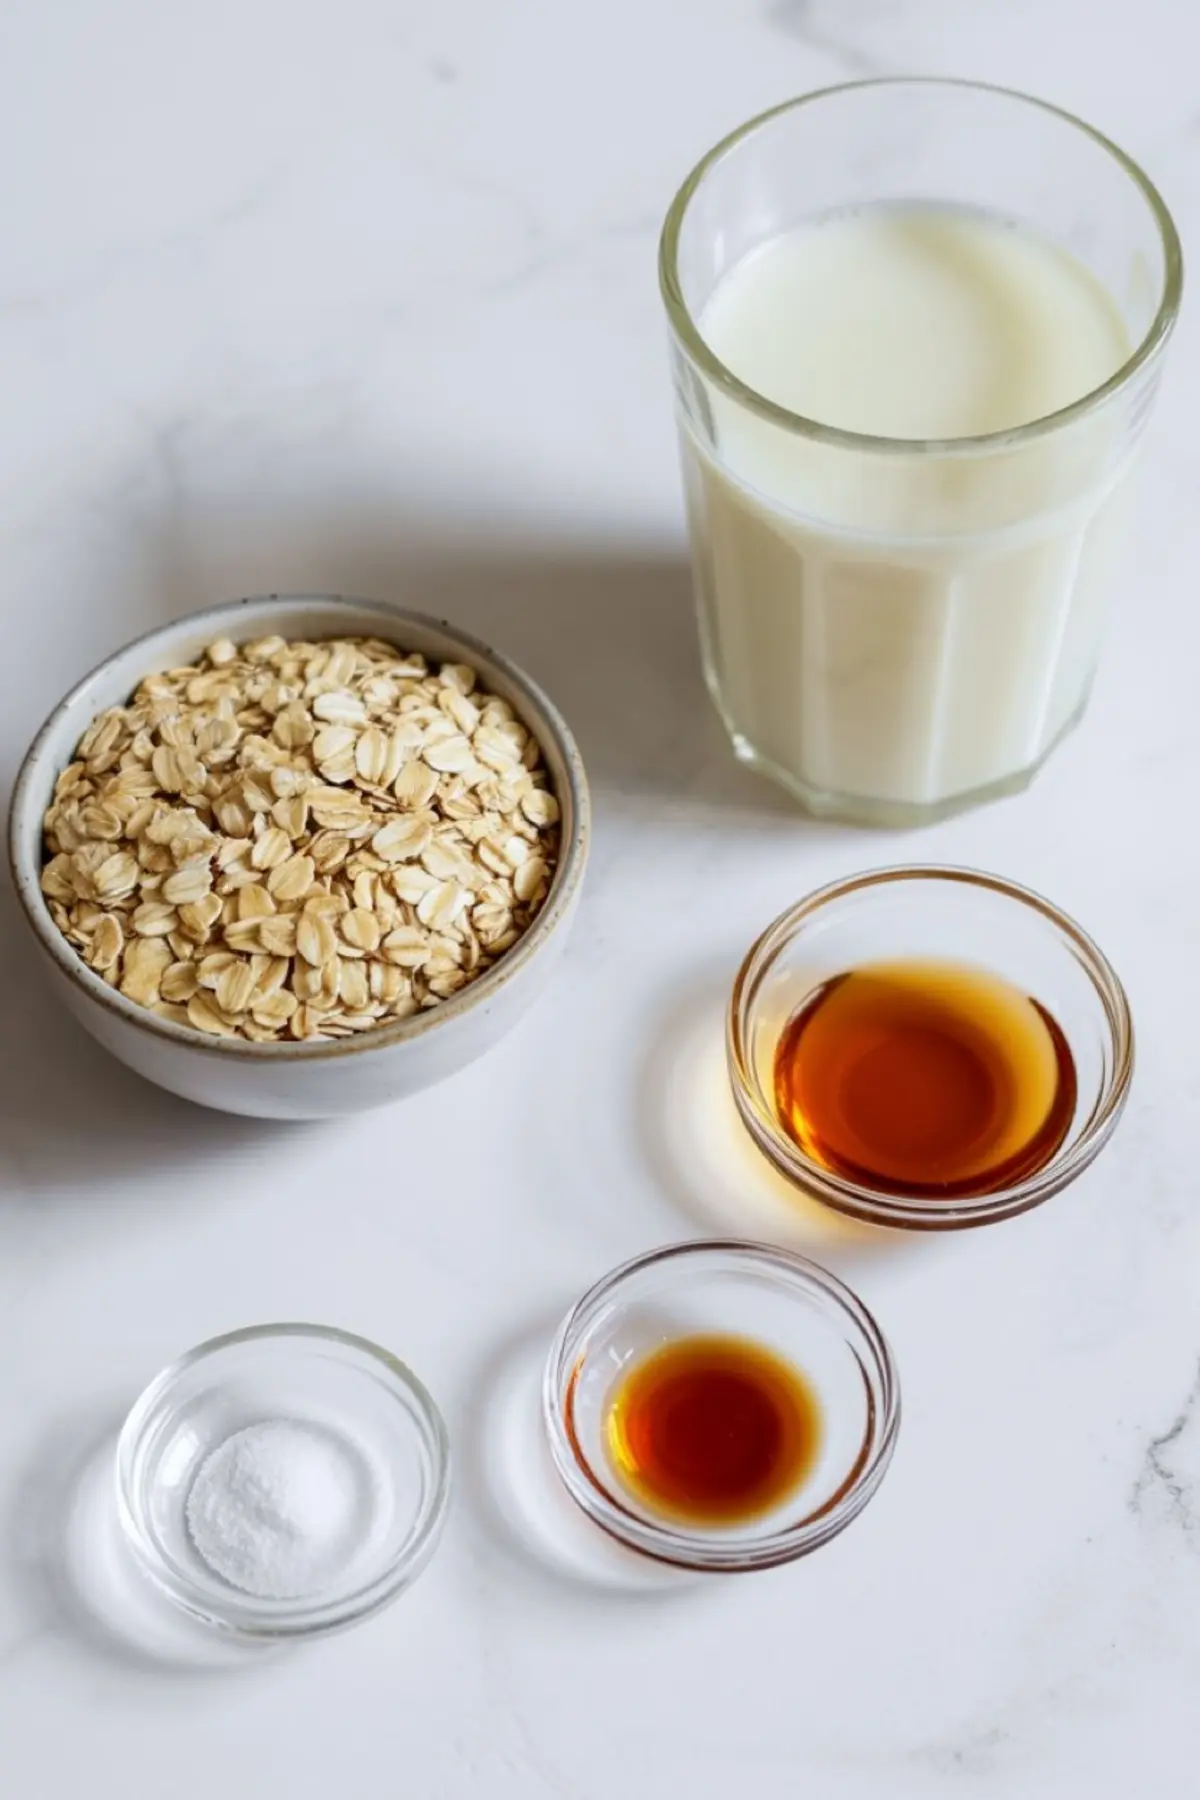
Ingredients
- 1 cup rolled oats (gluten-free if needed)
- 4 cups cold water
- 1–2 tablespoons maple syrup or honey (optional, for sweetness)
- 1/2 teaspoon vanilla extract (optional)
- Pinch of salt
Instructions
RINSE THE OATS: Rinse the rolled oats under cold running water using a fine-mesh strainer. This helps wash away excess starch that can make the milk slimy.
BLEND: Place the rinsed oats in a high-speed blender with the cold water. Add maple syrup, vanilla extract, and salt if using. Blend for 30–45 seconds, making sure not to overblend.
STRAIN: Pour the mixture through a nut milk bag, cheesecloth, or fine mesh strainer into a clean bowl or large measuring cup. For the smoothest texture, strain the liquid a second time.
STORE: Transfer the finished oat milk into a clean glass jar or bottle with a lid. Refrigerate and shake well before each use, since natural separation will occur.
Notes
The milk keeps in the refrigerator for up to 4–5 days. Adjust sweetness or flavorings as desired—cinnamon, cocoa, or even a pinch of cardamom work well.
Nutrition Information
Yield
4Serving Size
1Amount Per Serving Calories 249Total Fat 1gSaturated Fat 0gTrans Fat 0gUnsaturated Fat 1gCholesterol 0mgSodium 51mgCarbohydrates 58gFiber 2gSugar 41gProtein 3g