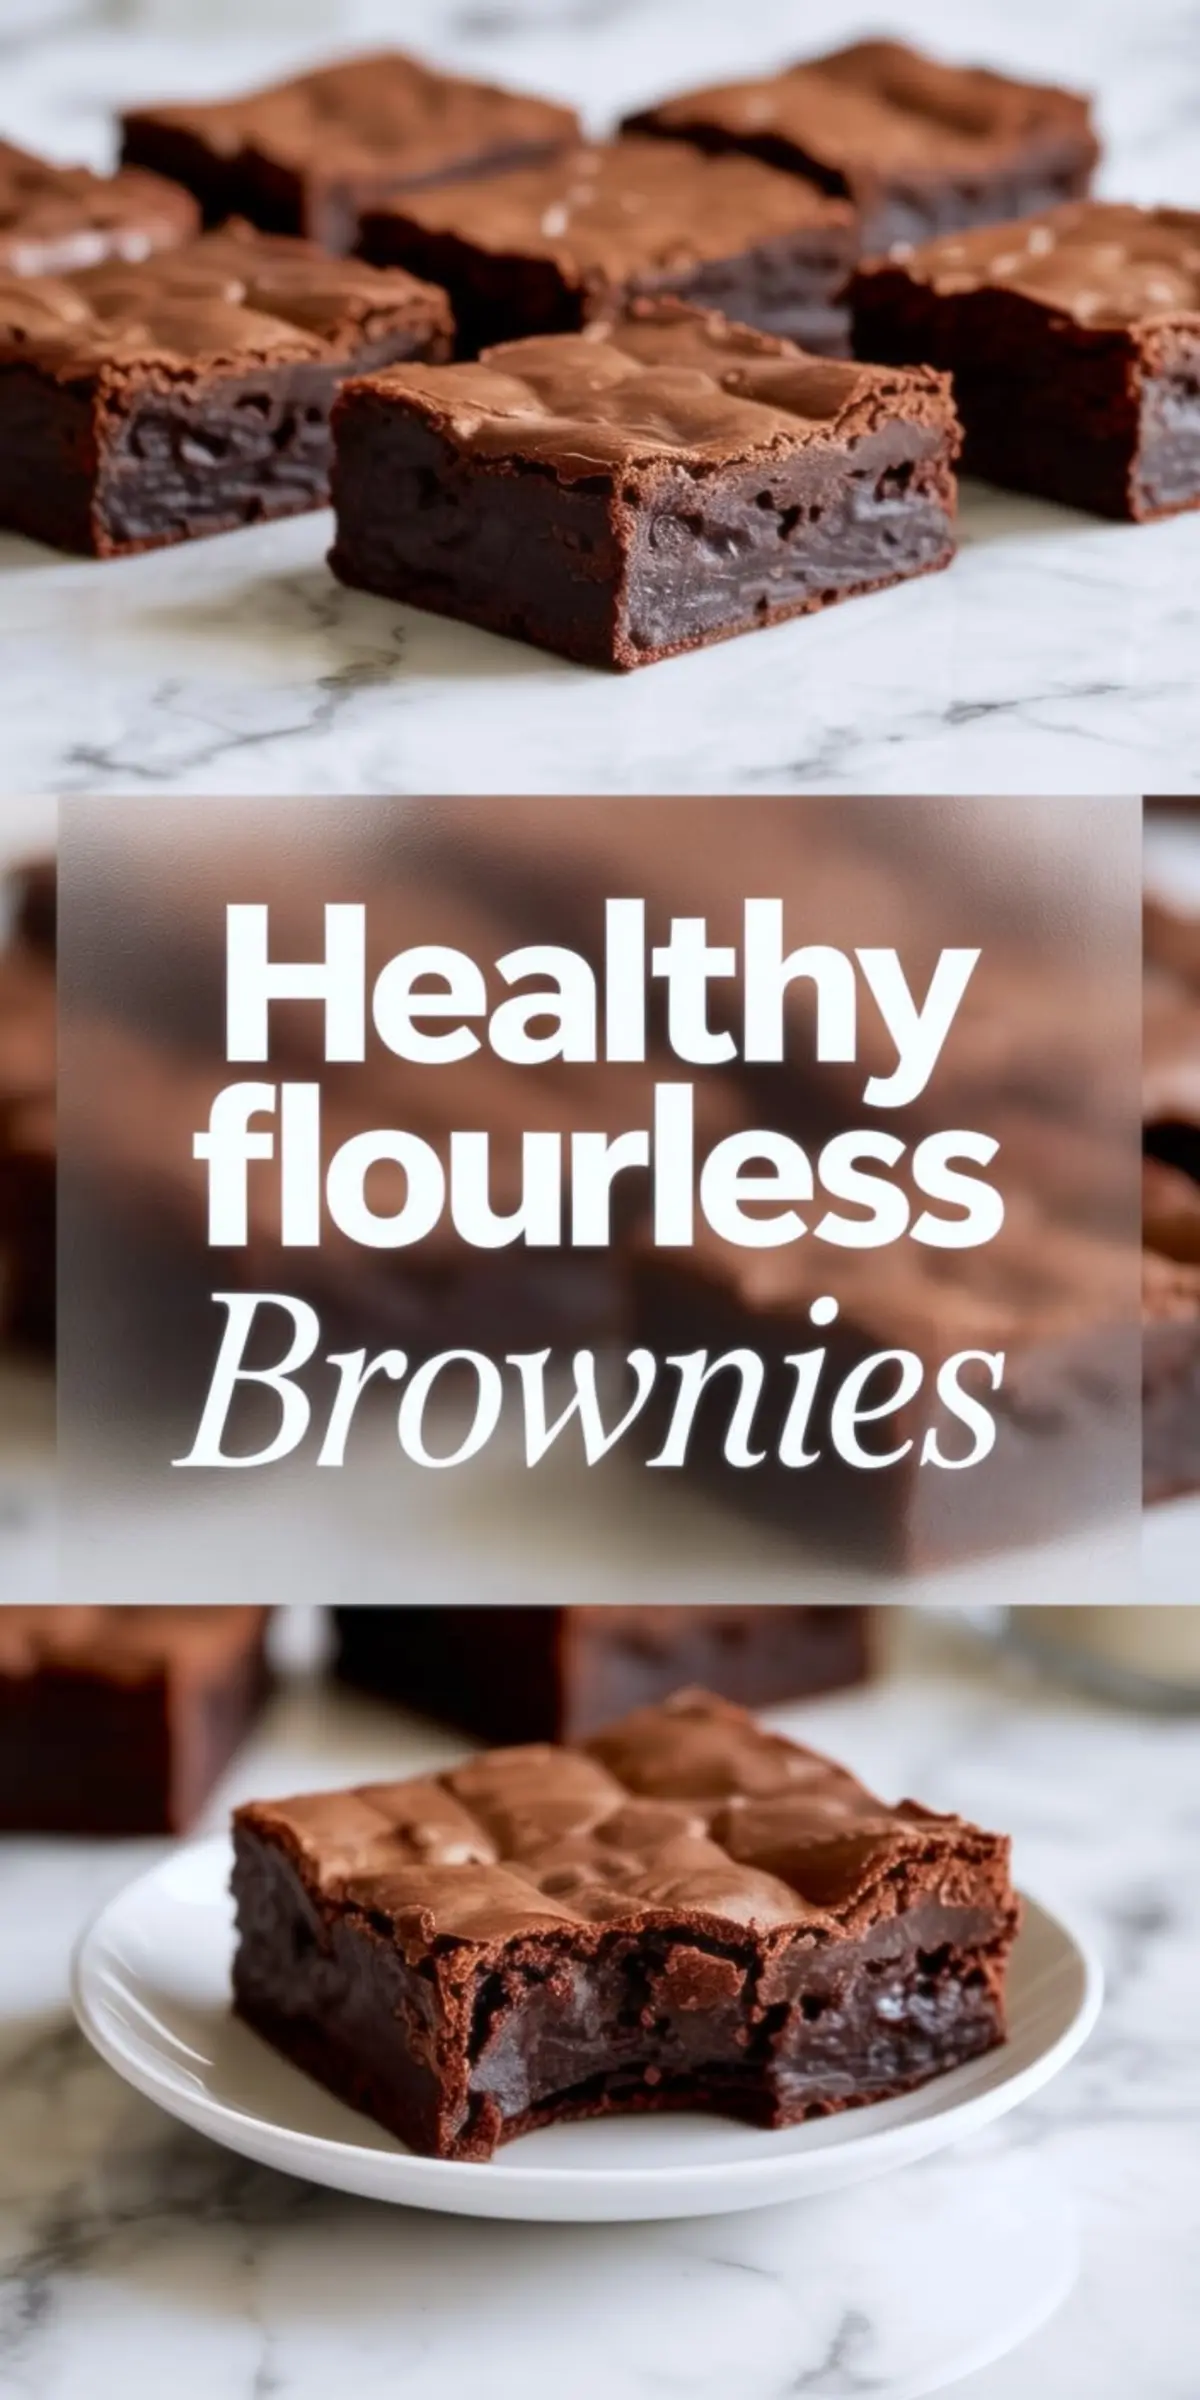
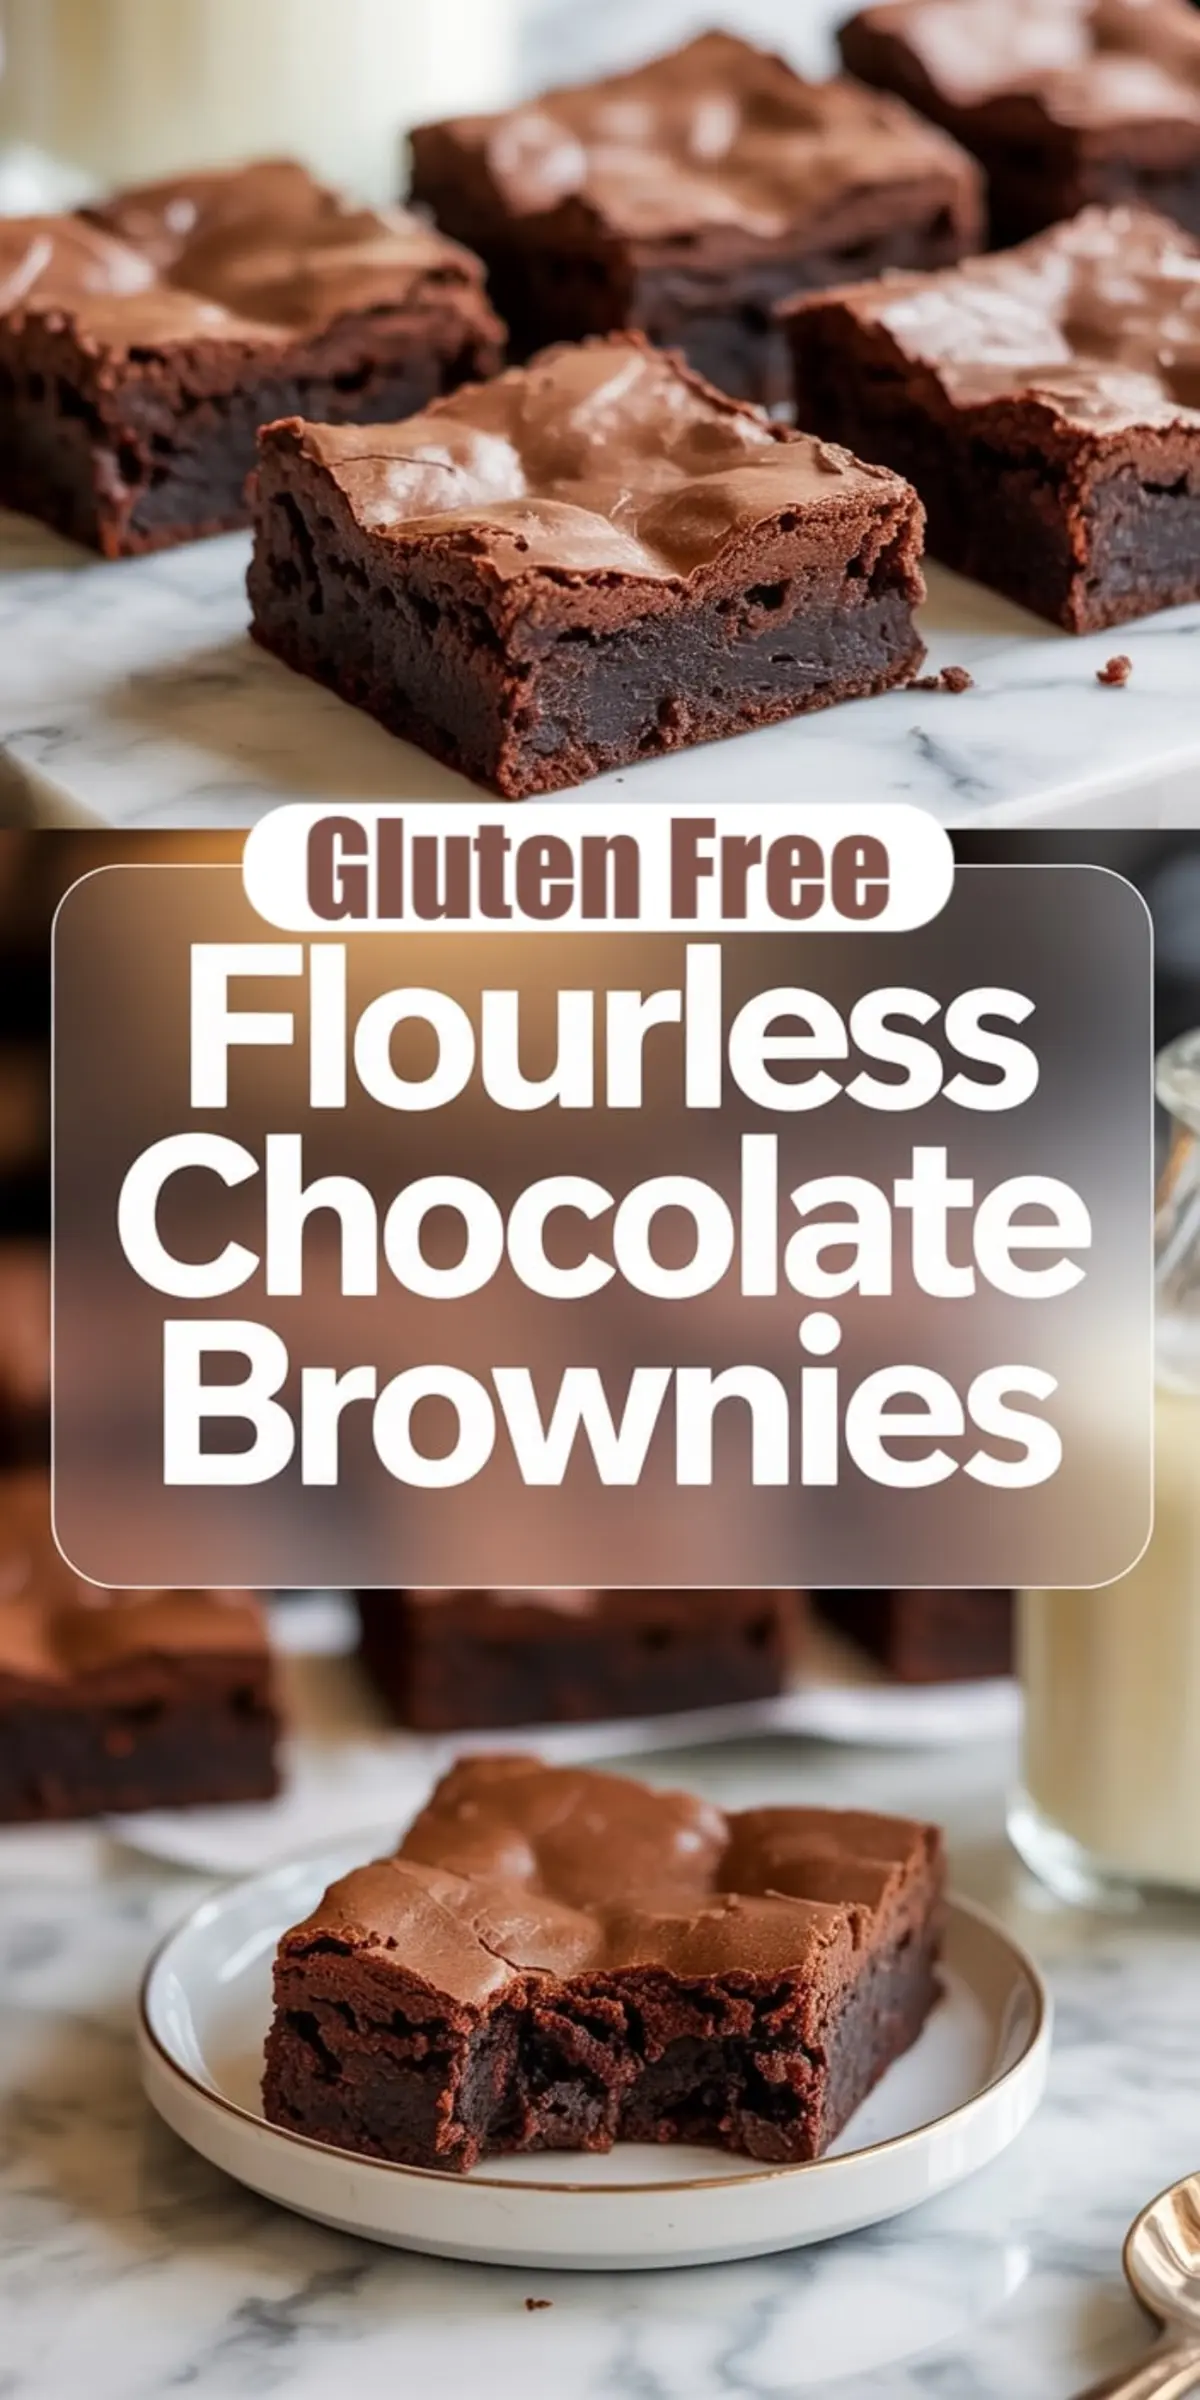
This healthy flourless brownie recipe skips the flour, cuts down on sugar, and still gives you moist, fudgy brownies full of real chocolate flavor. The base uses just dark chocolate, eggs, applesauce, and cocoa powder to create a gluten free, low calorie treat that works as dessert or a snack. If you’re looking for moist flourless chocolate brownies to satisfy a chocolate craving without compromising your healthy eating goals, this recipe keeps it simple and delivers.
Following a special diet?
Every recipe on this site can be converted to gluten-free, vegan, dairy-free, keto, nut-free or egg-free with adjusted ratios so nothing falls flat.
Try the Recipe Converter →How These Brownies Work Without Flour
This recipe doesn’t rely on any traditional flour or even gluten free blends. It uses melted dark chocolate as the structural base, which sets as it cools and firms up the brownies naturally.
Cocoa powder deepens the flavor and absorbs excess moisture from the applesauce, while the eggs hold everything together. That’s the core of it. You only need a small amount of almond flour or protein powder, and even that’s optional.
The combination produces fudgy brownies that hold together cleanly once cooled. They don’t crumble like some flourless bakes can.
It took a few rounds of testing to find the right cocoa-to-egg ratio. Keep it close to 1/4 cup cocoa per 2 eggs. That keeps the batter from getting too dry while still setting firm.
I’ve also tested these alongside my protein cottage cheese brownies, and the textures are completely different, this one leans fudgy and dense, while that one lifts slightly more with the dairy protein.
Why I Chose These Ingredients

I use 70% dark chocolate here because it gives a rich flavor without needing a ton of extra sugar. Lower cocoa content won’t set as well, and sugar-free chocolate can work, but tends to melt faster and may burn if overheated.
Coconut sugar blends easily and adds depth, almost like brown sugar. You can swap it with erythritol to lower the carbs even more, especially if you’re following a keto-style approach like in these keto brownies.
Applesauce takes the place of butter or oil. It adds moisture, soft texture, and subtle sweetness without weighing the brownies down.
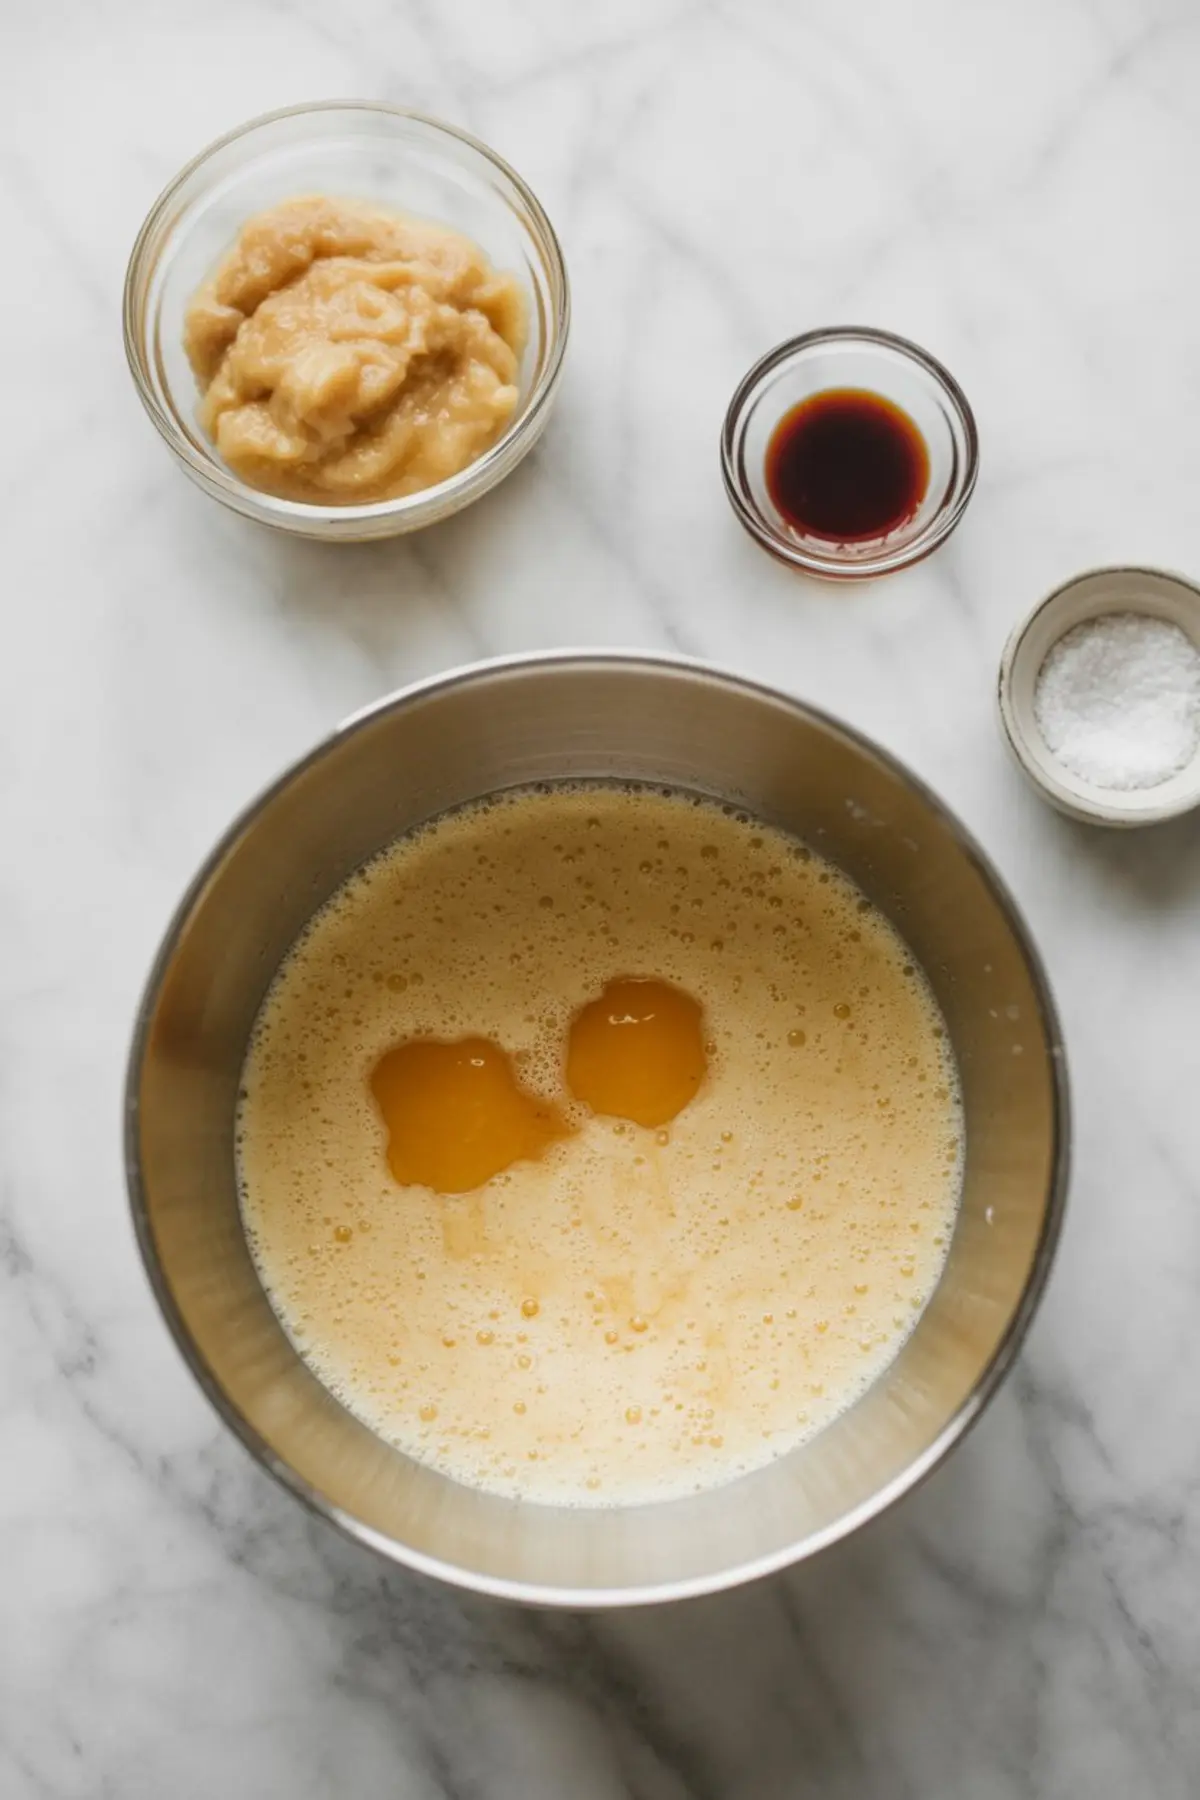
Eggs are essential here. I whisk them with the sugar to get air into the batter. That step matters, don’t skip it.
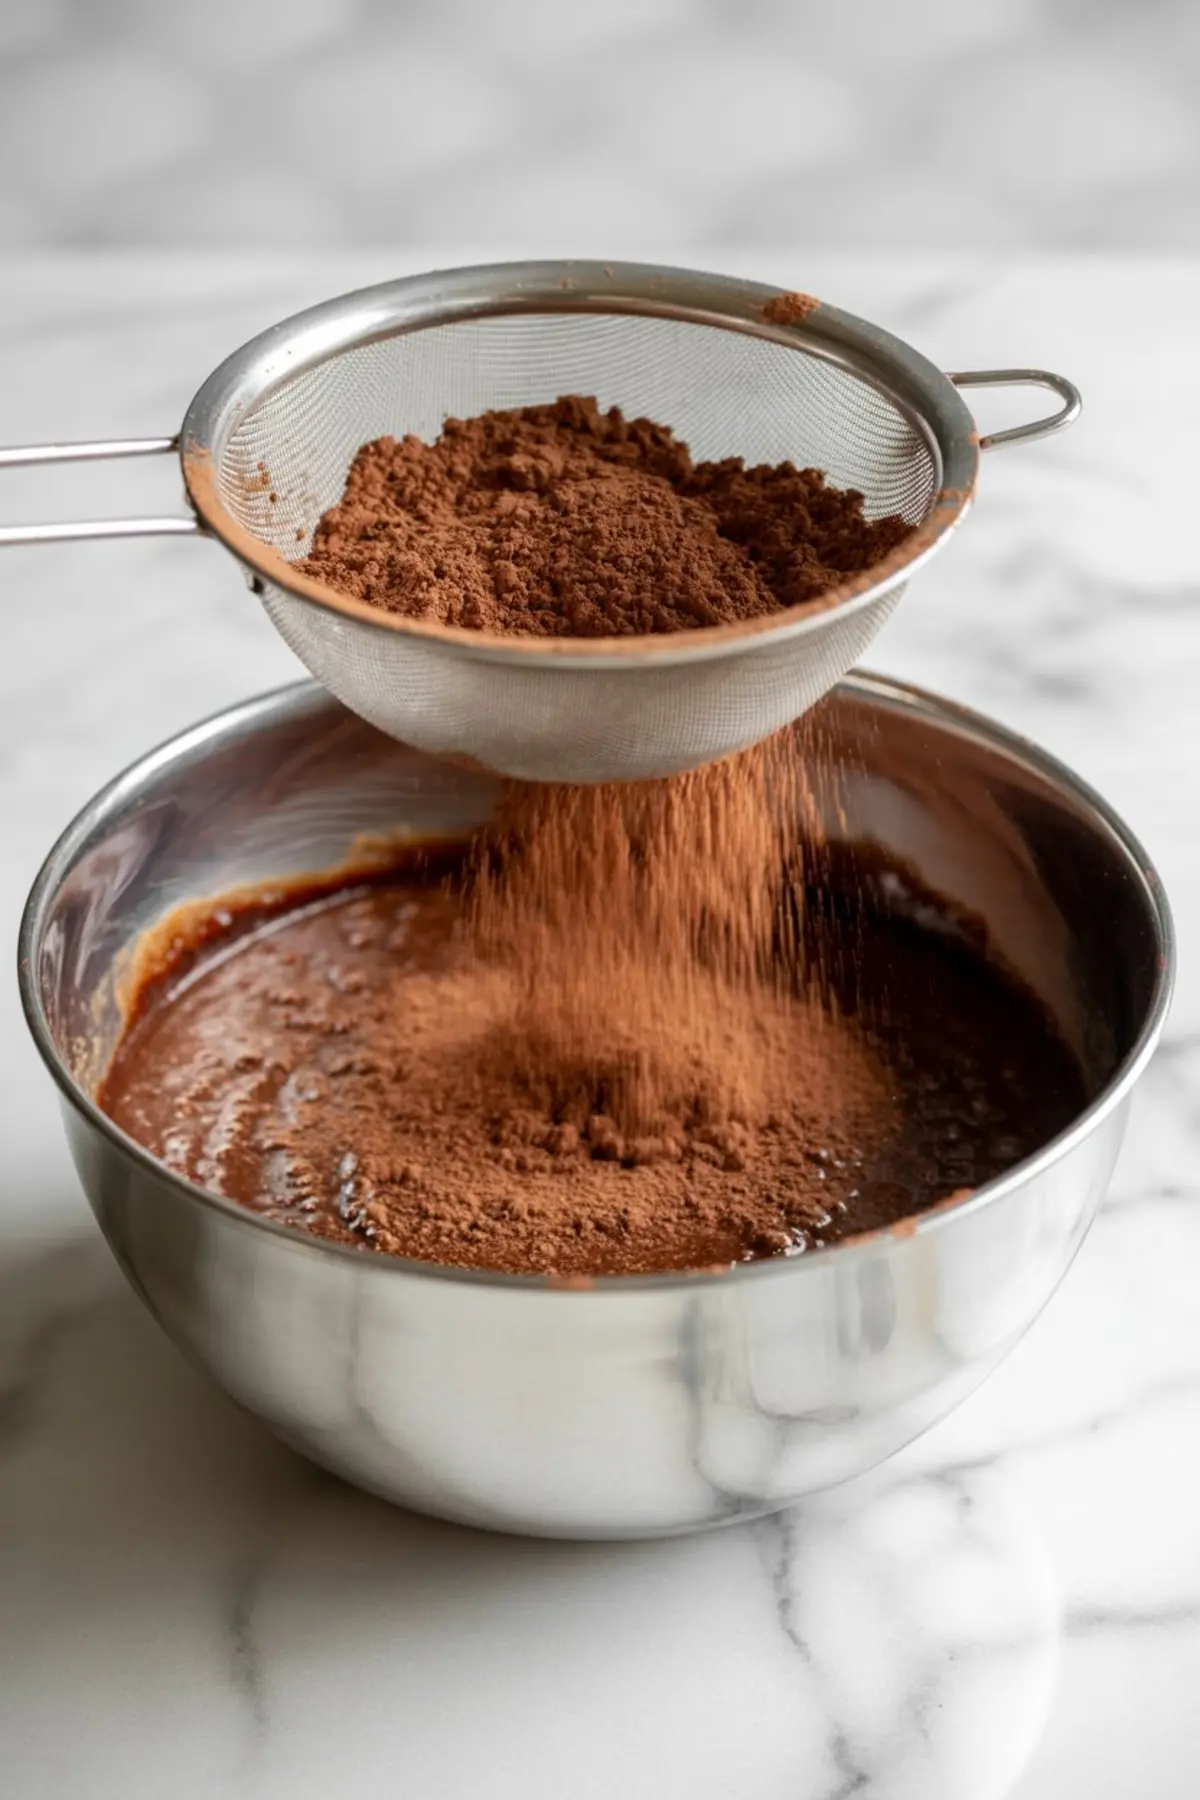
For cocoa powder, I go unsweetened and sift it well. That prevents clumps and gives the brownies a smooth, even look when sliced. I’ve also added almond flour or protein powder in some batches, especially when I want a more filling result like in these fudgy protein brownies.
Chocolate Is the Backbone Here
The most important part of this recipe is the chocolate.
It melts over a gentle heat, which gives the brownies their shine and helps them set up once baked and cooled.
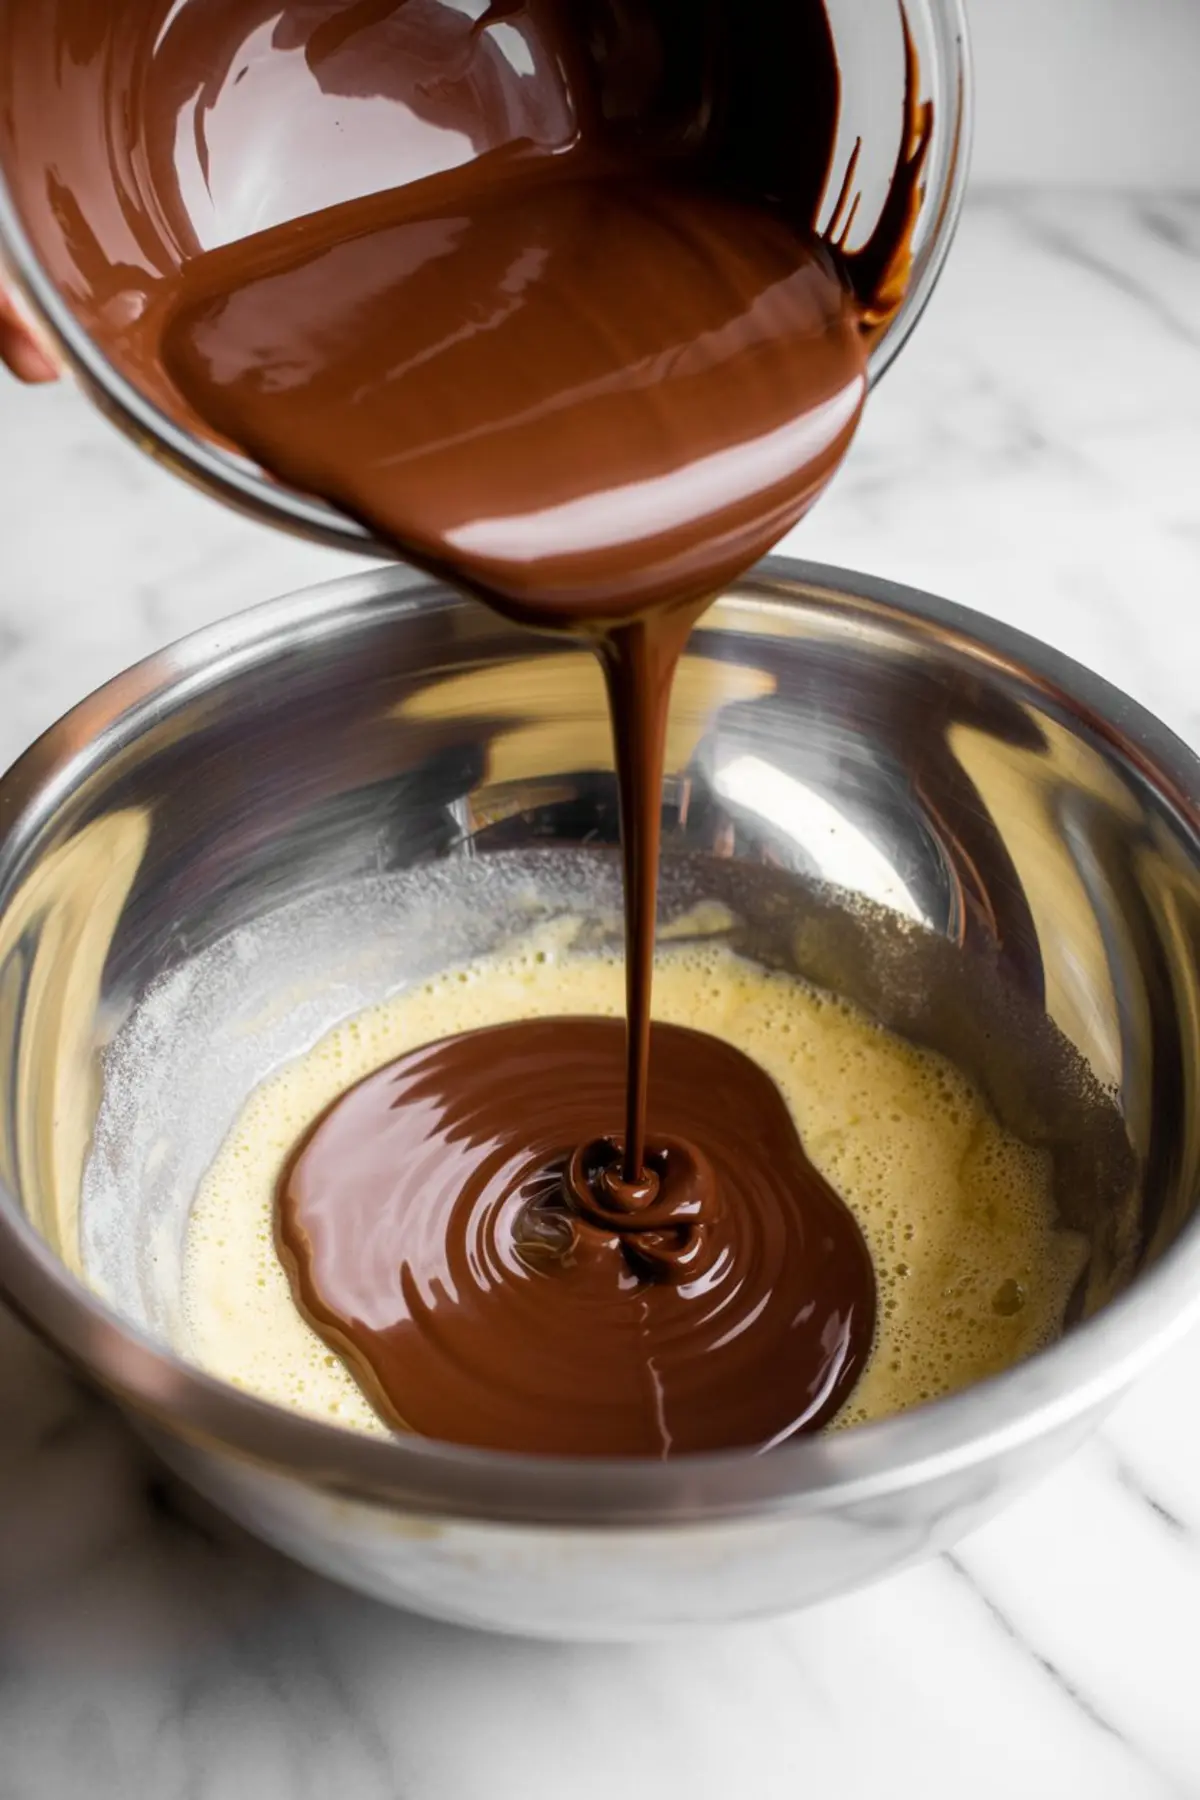
If the chocolate’s too hot when you add it, the eggs could scramble. So I always let it cool slightly first. I whisk as I pour, and that avoids curdling.
Good chocolate gives a glossy top. If your brownies come out dull or dry on top, it’s often from low cocoa content or overbaking. Go with at least 70% and measure carefully.
What It Looks Like As You Bake
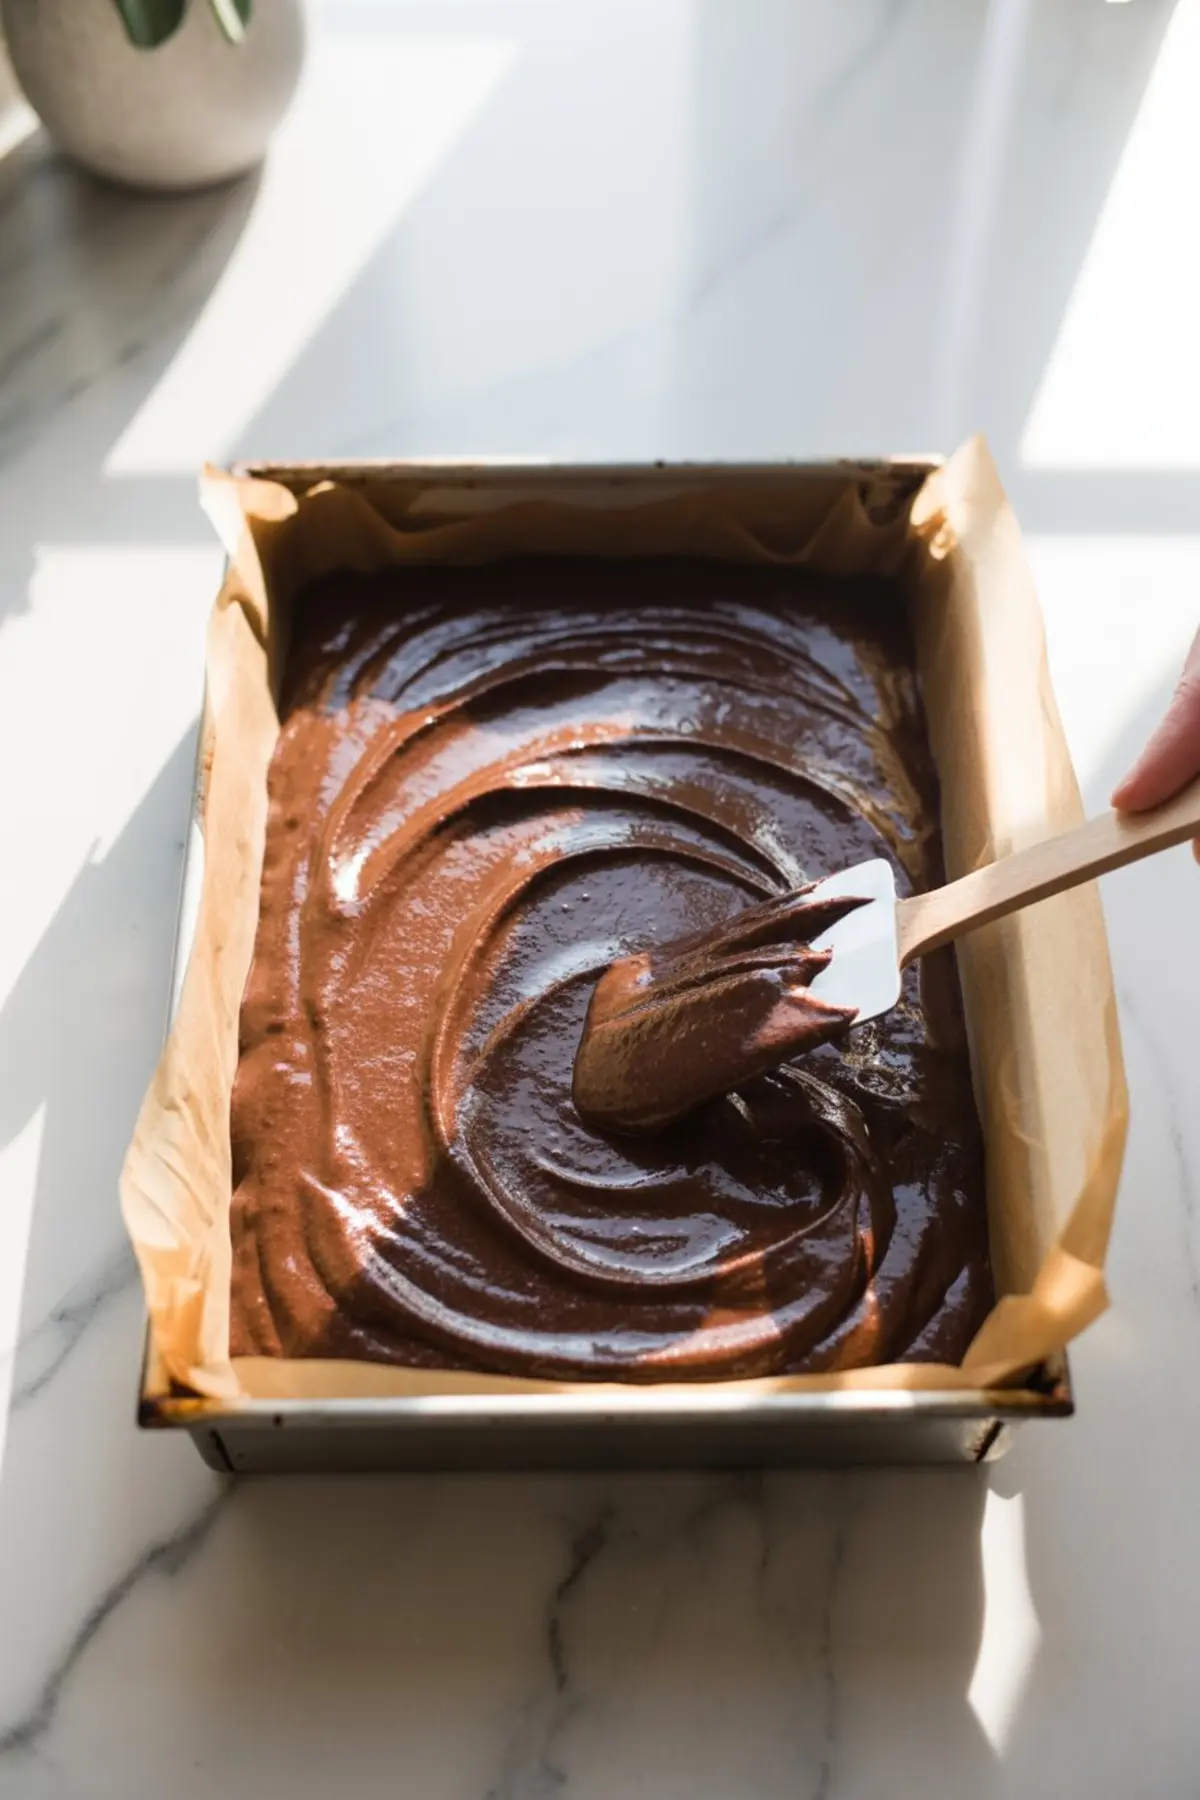
After folding in the cocoa, the batter should look smooth and slightly thick but still spreadable.
When baked, the edges will pull back slightly from the pan, and the top will develop a soft crust. A toothpick poked in the center should come out with moist crumbs, not raw batter and not totally clean.
The brownies keep cooking as they cool. If you cut too soon, they’ll fall apart. Wait at least 30 minutes. I cool mine in the pan, then lift them out with the parchment overhang.
Adjusting the Recipe
To make them higher in protein, add 1 tablespoon of unflavored whey or casein protein in place of almond flour. That gives a thicker texture without affecting moisture.
Add 2 tablespoons of chopped walnuts or hazelnuts for crunch.
For a stronger chocolate flavor, mix 1 teaspoon of espresso powder into the cocoa before folding it in. It won’t taste like coffee, just richer.
If you’re craving something more festive, top the batter with dark chocolate chunks or crushed peppermint before baking. Let them melt right into the surface.
How to Store and Reheat
On the counter, they last 2 to 3 days in a sealed container. I usually keep mine in the fridge after the first day, especially if the kitchen is warm.
In the fridge, they keep fresh for up to 6 days. The texture gets even fudgier by day 2.
You can freeze them. I slice, wrap each square in parchment, and keep them in a sealed bag for up to 2 months.
Reheat gently in the microwave for about 10 seconds if you want that soft edge again.
What I’ve Learned From Testing
Whisking the eggs and sugar properly at the start improves the final structure. It gives the brownies just enough lift without becoming cakey.
Always sift your cocoa powder. It’s the easiest way to avoid little dark streaks or clumps.
Use parchment with overhang. It makes removing and slicing cleanly so much easier.
Don’t skip cooling time. These need to firm up before slicing. If you cut early, even perfect brownies will seem underbaked.
How to Serve Healthy Flourless Brownies
Serve slightly warm with a spoonful of Greek yogurt. Stack on a plate with berries for a low calorie dessert board.
Dust lightly with powdered erythritol or cocoa powder. Cut into mini squares and pack as gluten free snacks.
Layer in a parfait glass with whipped cream and dark chocolate shavings.
Save This Recipe and Tell Me How It Went
Pin this healthy flourless brownie recipe to your dessert board for later. It’s one of those healthy recipes that earns a regular spot.
Tried a variation? Swapped ingredients? Let me know in the comments. I always check for your updates and questions.
Flourless Brownies Recipe
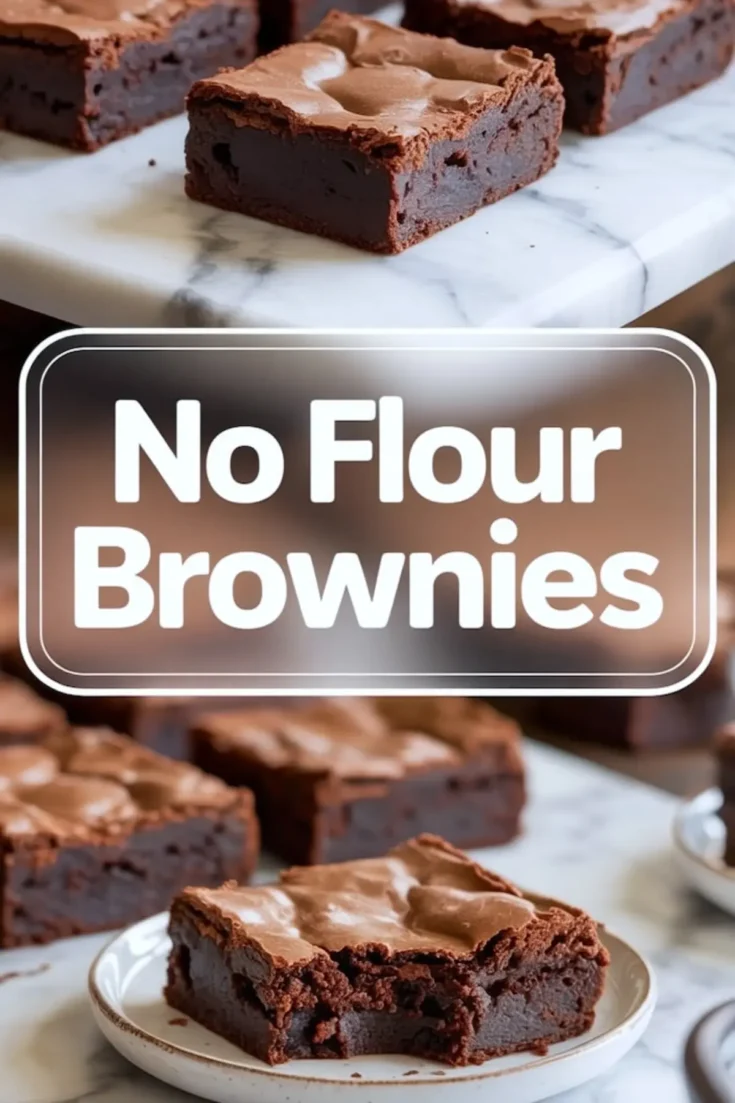
This healthy flourless brownie recipe is rich, fudgy, and packed with chocolate flavor. Made without any flour, it’s a perfect option for a gluten free dessert that satisfies any chocolate craving. These moist flourless chocolate brownies are also low calorie, making them a smart choice for healthy snacks or guilt-free indulgence. Whether you’re looking for new dessert recipes or sticking to your list of healthy recipes, these flourless brownies deliver all the decadence without the extra carbs.
Ingredients
- 100g dark chocolate (70% cocoa or sugar-free), chopped
- 50g (¼ cup) unsweetened applesauce
- 100g (½ cup) coconut sugar (or erythritol)
- 2 large eggs
- 1 tsp vanilla extract
- ¼ tsp fine sea salt
- 30g (¼ cup) unsweetened cocoa powder, sifted
- 1 tbsp almond flour or unflavored protein powder (optional)
Instructions
- PREHEAT AND PREPARE PAN: Preheat the oven to 175°C (350°F) and line an 8x8-inch (20x20 cm) square baking pan with parchment paper, leaving an overhang for easy removal.
- MELT THE CHOCOLATE: In a heatproof bowl over simmering water, melt the chopped dark chocolate, stirring until smooth. Remove from heat and set aside to cool slightly.
- WHISK EGGS AND SUGAR: In a medium mixing bowl, whisk the coconut sugar and eggs together for 2 to 3 minutes until the mixture becomes lighter in color and slightly frothy.
- ADD WET INGREDIENTS: Stir in the vanilla extract, sea salt, and unsweetened applesauce until fully incorporated.
- COMBINE WITH CHOCOLATE: Gradually pour the cooled melted chocolate into the egg mixture while whisking constantly to maintain a smooth texture and avoid curdling.
- FOLD IN DRY INGREDIENTS: Sift in the cocoa powder and optional almond flour or protein powder. Gently fold until just combined without overmixing.
- BAKE THE BROWNIES: Transfer the batter into the prepared pan, spreading it evenly. Bake for 20 to 25 minutes until the center is just set and a toothpick inserted comes out with a few moist crumbs.
Notes
Let the brownies cool completely before slicing for clean edges. Store in an airtight container at room temperature for up to 3 days or refrigerate for longer freshness.
