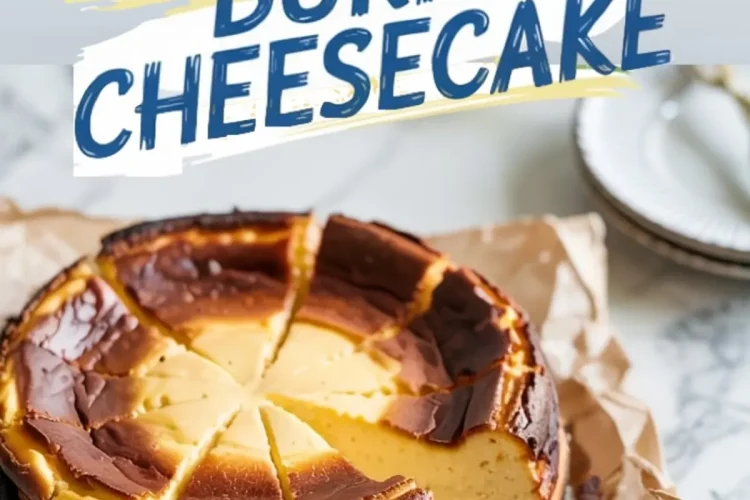
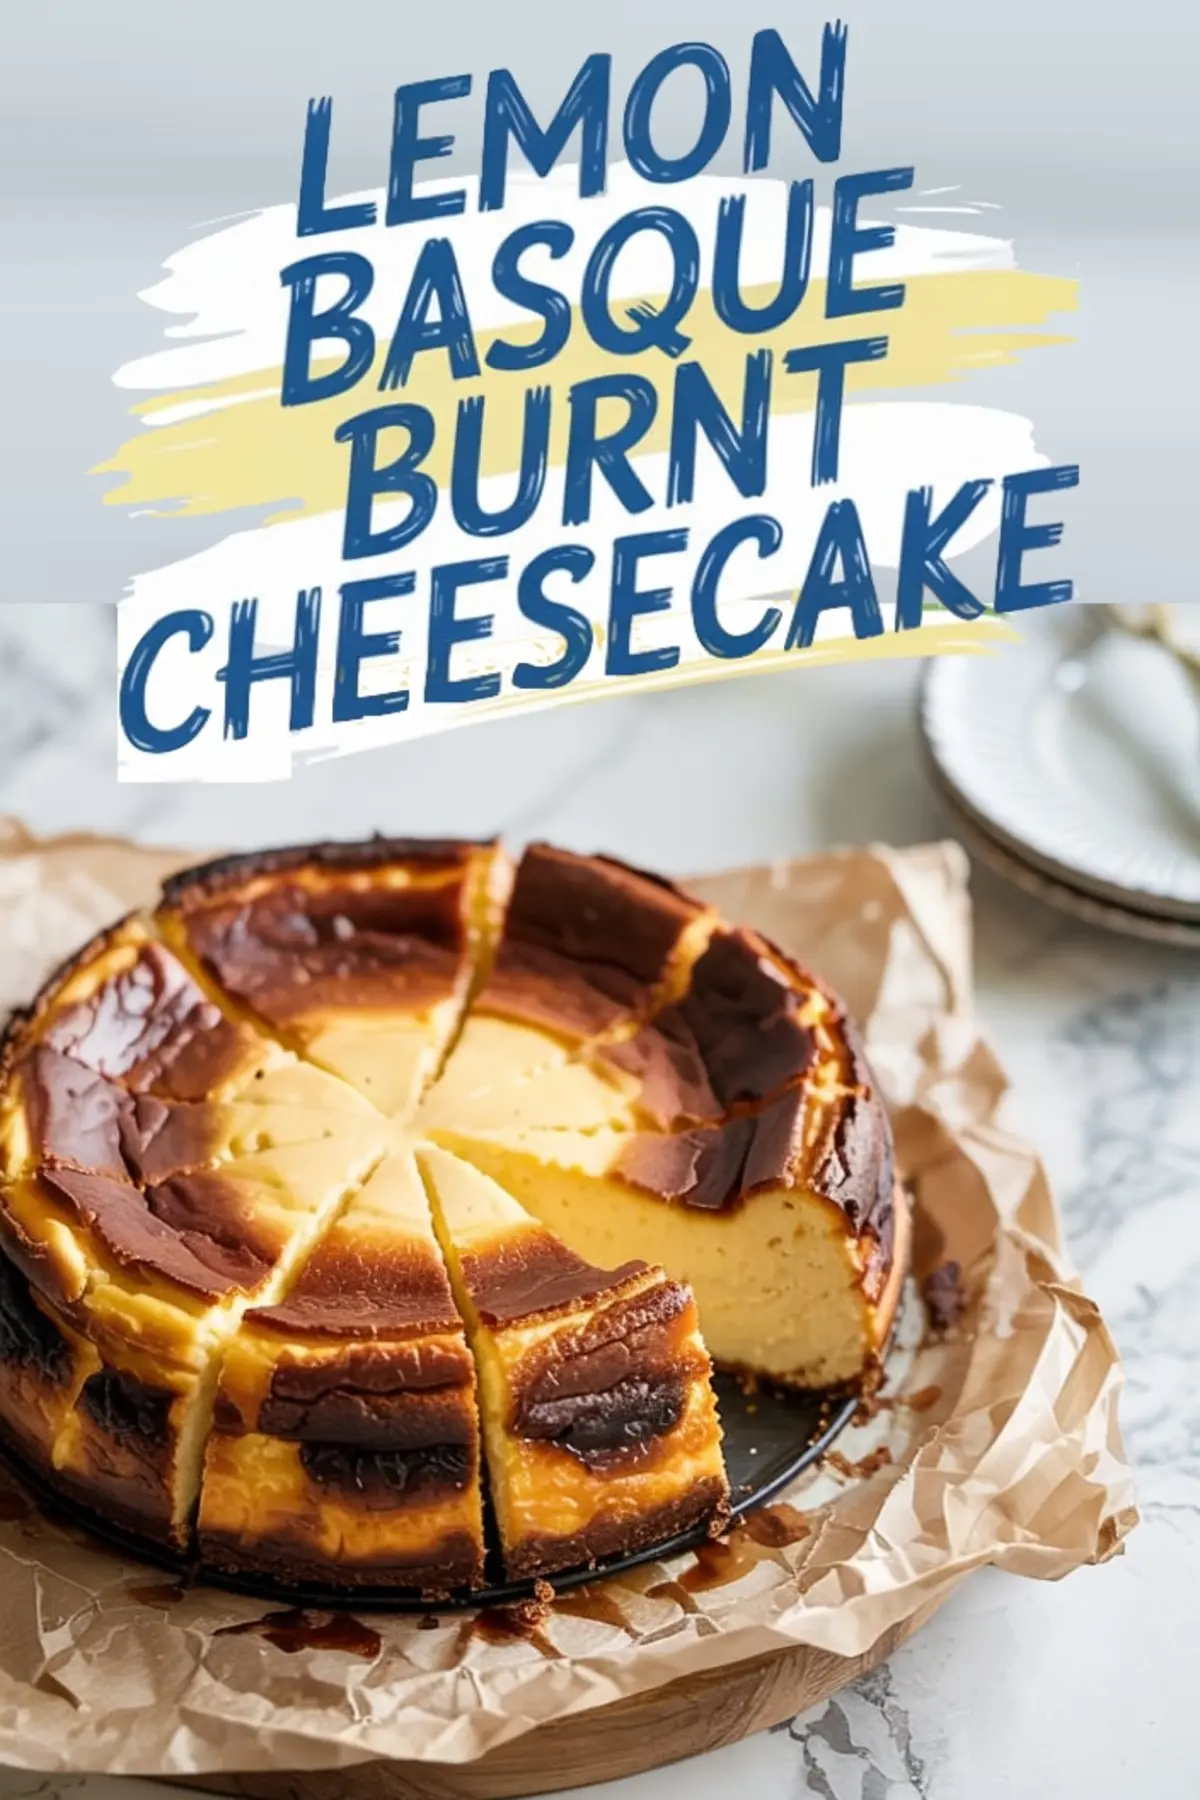
You’re not doing it wrong, this cheesecake should look burnt.
That bronzed top? It’s the signature. And when paired with fresh lemon, it adds more than color. It builds flavor. A Lemon Basque Burnt Cheesecake doesn’t follow the usual rules. There’s no crust. No water bath. No gentle baking.
This cake is baked hot and fast. The top caramelizes. The center stays smooth like custard. The result is simple to make and dramatic to serve. You’ll learn how to make it properly, how to get the most flavor out of your lemons, and how to keep the texture creamy without sinking into mush or cracking apart.
It’s rustic, but don’t mistake that for messy. Every detail still matters.
Lemon Changes Everything in a Burnt Cheesecake
Most burnt cheesecakes lean heavy and rich. They sit dense on the plate and leave you reaching for coffee. I use fresh lemon to change that balance. It cuts through the cream cheese and lifts the whole flavor.
The zest perfumes the batter. The juice adds clarity.
It’s not a lemon-flavored cheesecake. It’s a cheesecake brightened with lemon. And that’s a big difference.
If you like Lemon Cheesecake Mousse, this one is bolder—more texture, more drama, more edge. But it still finishes light.
Cream Cheese and Sugar Must Be Smooth First
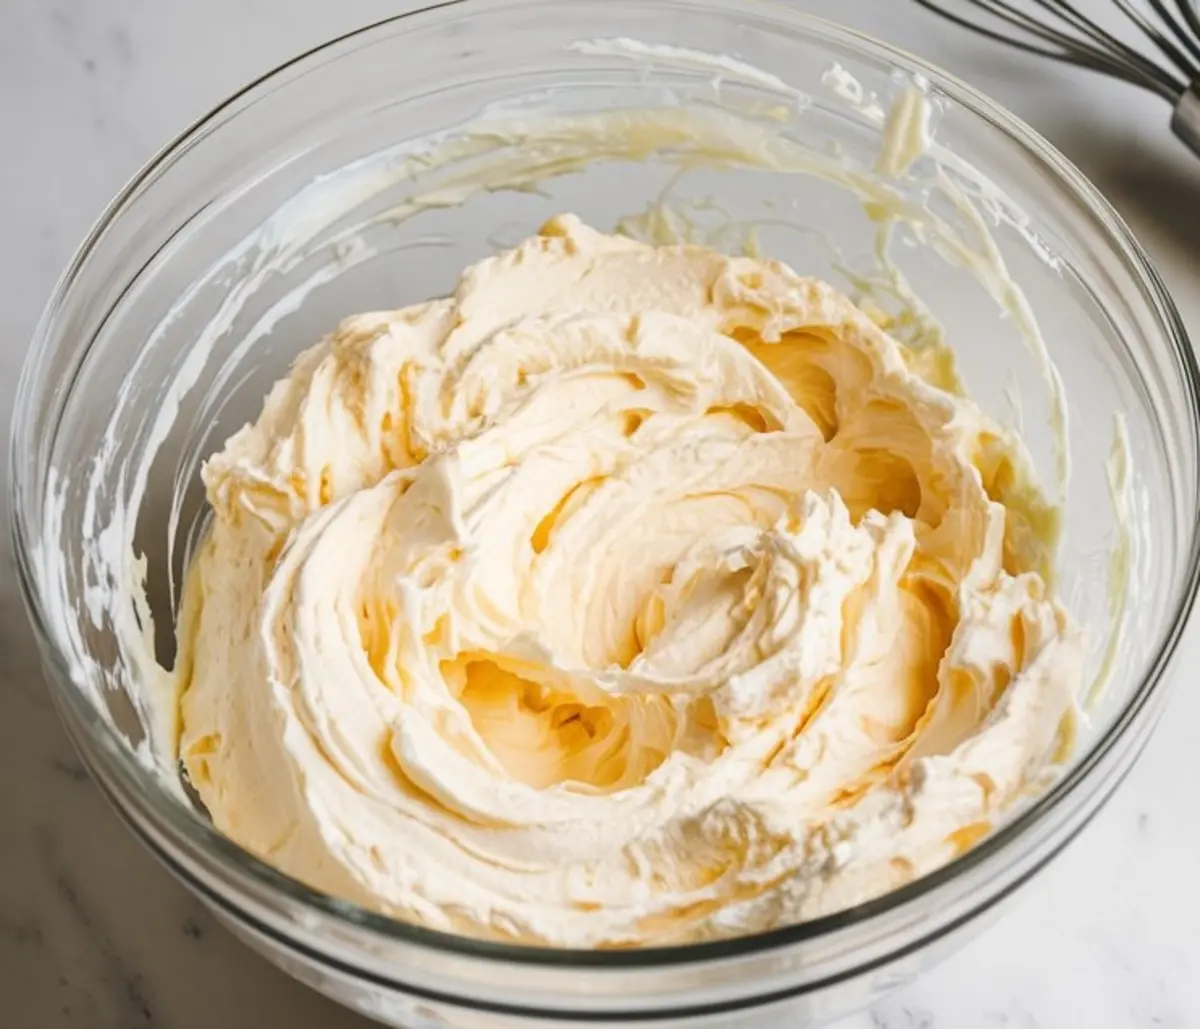
The foundation of this cake lies in how well you mix the base. I always beat the cream cheese and sugar for at least 2 minutes on medium speed. It should be soft and glossy before you add a single egg.
If you rush this step, the batter turns lumpy. That affects how it bakes, too. You won’t get the smooth custard center that makes this cake so satisfying.
One Egg at a Time Makes a Difference
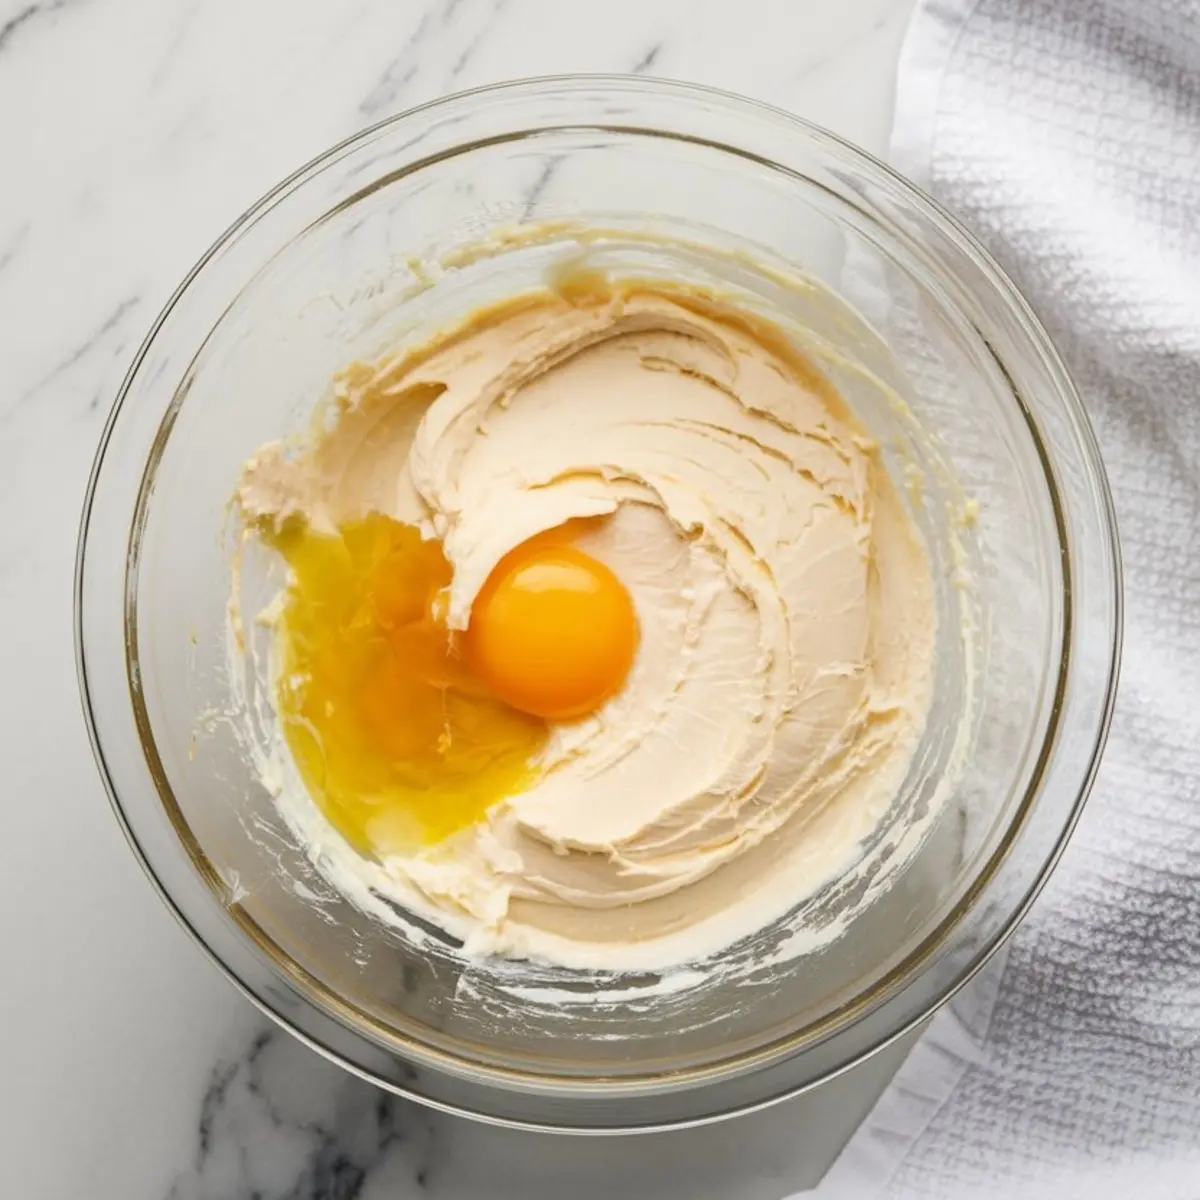
This isn’t just tradition. Adding the eggs slowly gives each one time to emulsify. I’ve tried adding them all at once—it saves 30 seconds, but it costs texture.
My notes show that the one-egg-at-a-time method leads to a more stable center. The batter feels thicker, and it bakes more evenly.
Always scrape the bowl. Especially after the second and third egg.
Heavy Cream Brings the Richness—Lemon Keeps It Bright
Once the eggs are in, you’ll add your lemon zest, juice, vanilla, salt, and heavy cream. Mix on low speed. Don’t whip it. You’re not making mousse.
The cream gives that silky texture, but it needs structure from the eggs and flour.
That’s why we add a little flour—just enough to hold things together, not enough to make it cakey.
I sift it in last and fold it by hand. Gently. No stand mixer for this step.
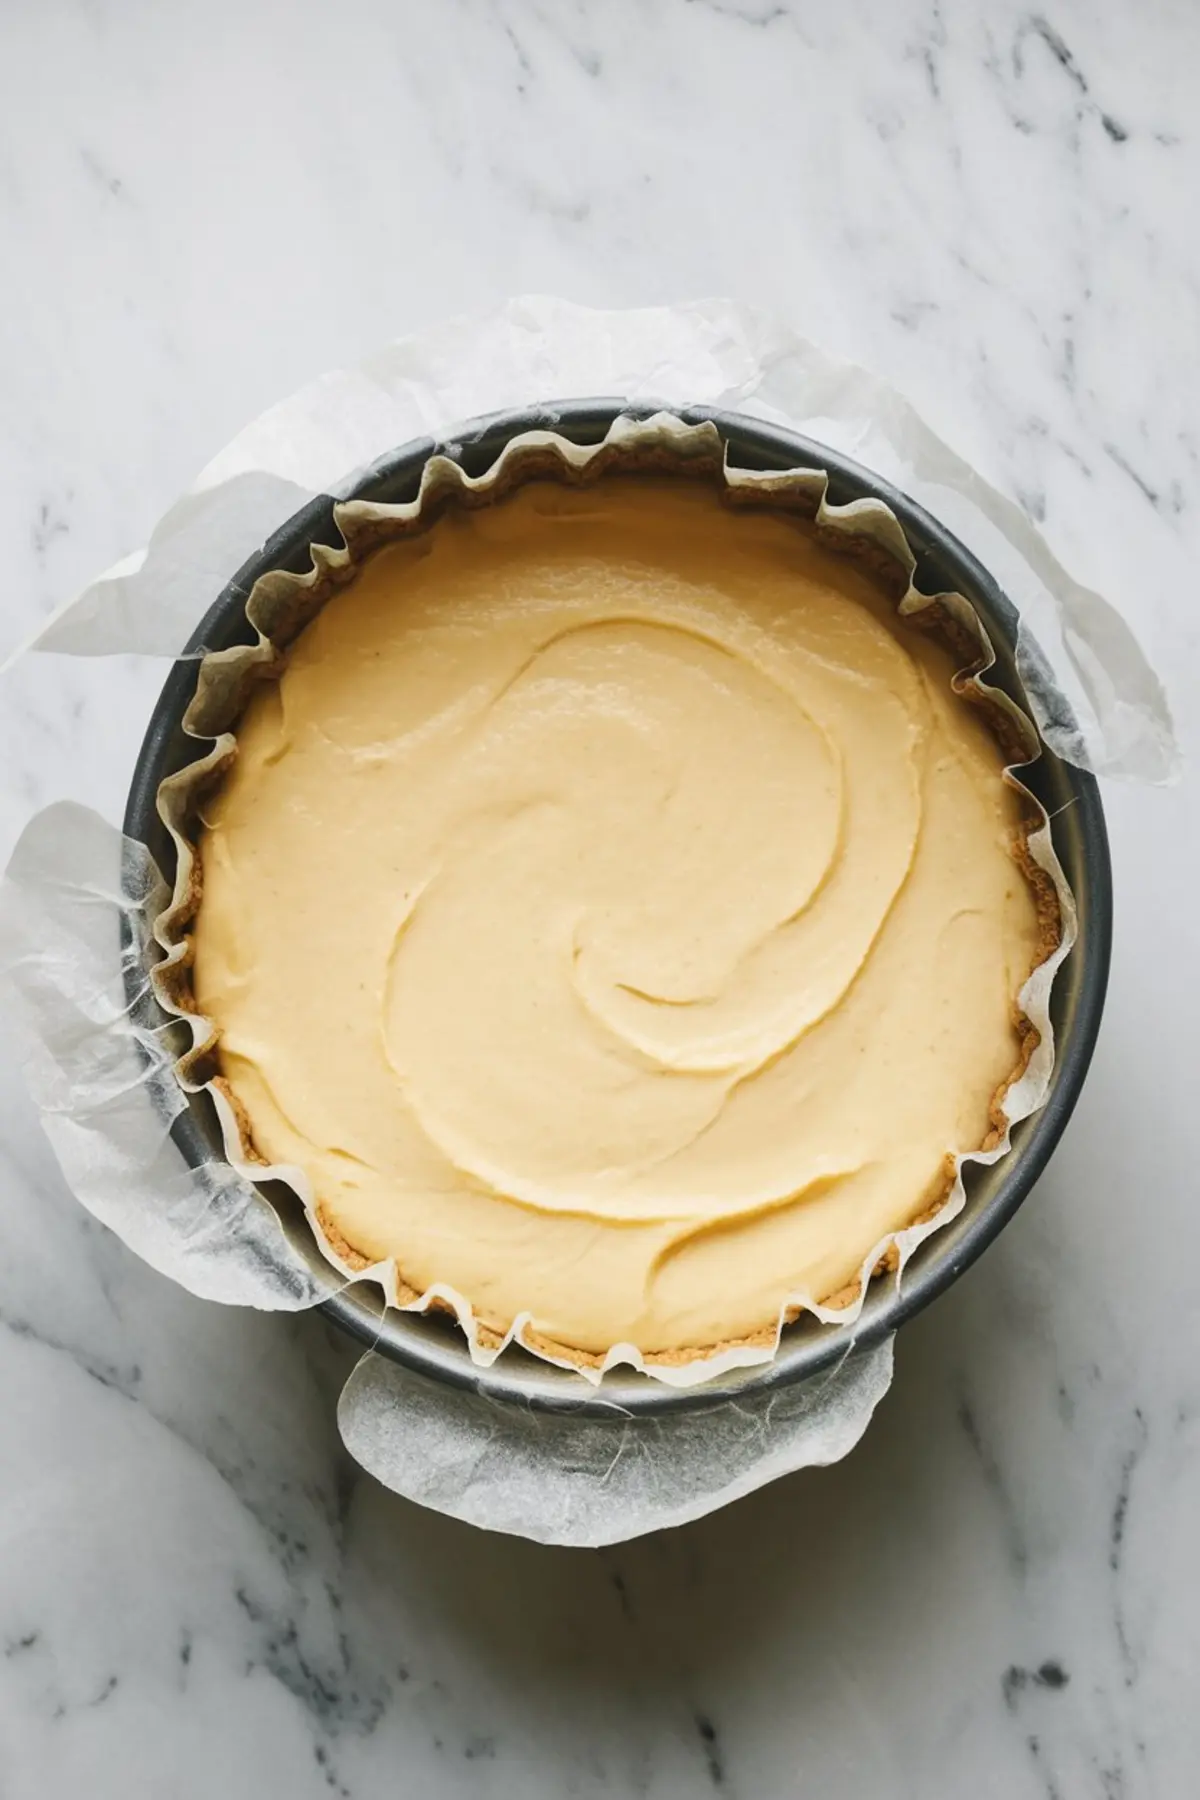
A Note from My Tests: Metal Pan vs. Glass
I’ve baked this cake in both glass and metal pans.
The metal pan wins. Every time.
Glass takes longer to heat and doesn’t brown the edges the same way. You want those caramelized sides. The metal conducts heat quickly and evenly, which this cake needs.
Use parchment with a good overhang. The batter will rise, and you want easy removal.
How Long to Bake and What “Done” Looks Like
You’ll bake this at 425°F. No lower. That’s how the top gets its deep color.
After 55 minutes, the center should still wobble slightly. That’s what you want. It will set as it cools.
Don’t worry if it cracks or sinks a little. That’s part of its personality. This is not a smooth, glossy cheesecake. This is bold and browned.
Let it cool fully in the pan before chilling. I refrigerate it at least four hours, usually overnight.
Serving Advice: Don’t Overdo the Toppings
Powdered sugar and lemon slices are all you need. Anything more competes with the texture.
The top already gives a toasty, caramel flavor. Fresh lemon garnish should match that tone—not overpower it.
Serve it chilled or at room temperature. I prefer it cold on the second day. The flavor deepens.
If you liked Passion Fruit Cheesecake Bars, this is their older, moodier cousin.
Storing Lemon Basque Cheesecake and Why It Tastes Better Later
Wrap the cake tightly once it’s cool. Refrigerate it for up to four days. The flavor improves as it sits.
I’ve never frozen this cake—because I never have leftovers. But in theory, it should freeze well in slices, tightly wrapped.
Bring it to room temperature before serving. That brings out the full lemon notes.
Burnt Doesn’t Mean Overdone—It Means Bold
This cake gives you freedom. It looks dramatic without being fussy. It tastes bright without being sharp. It feels creamy without being heavy.
It doesn’t pretend to be neat. That’s what makes it interesting.
If you want to try a more chocolate-forward version after this, I’d point you to my Chocolate Mousse Cheesecake. Same creaminess. Very different flavor profile.
Save This for Later and Share How Yours Turned Out
Pin this Lemon Basque Burnt Cheesecake so you can come back to it later. You’ll want to make it again.
Drop a comment below if you try it—especially if you put your own twist on the lemon. I always read what you send, and your questions help others too.
Let’s make this a recipe people come back to and make their own.
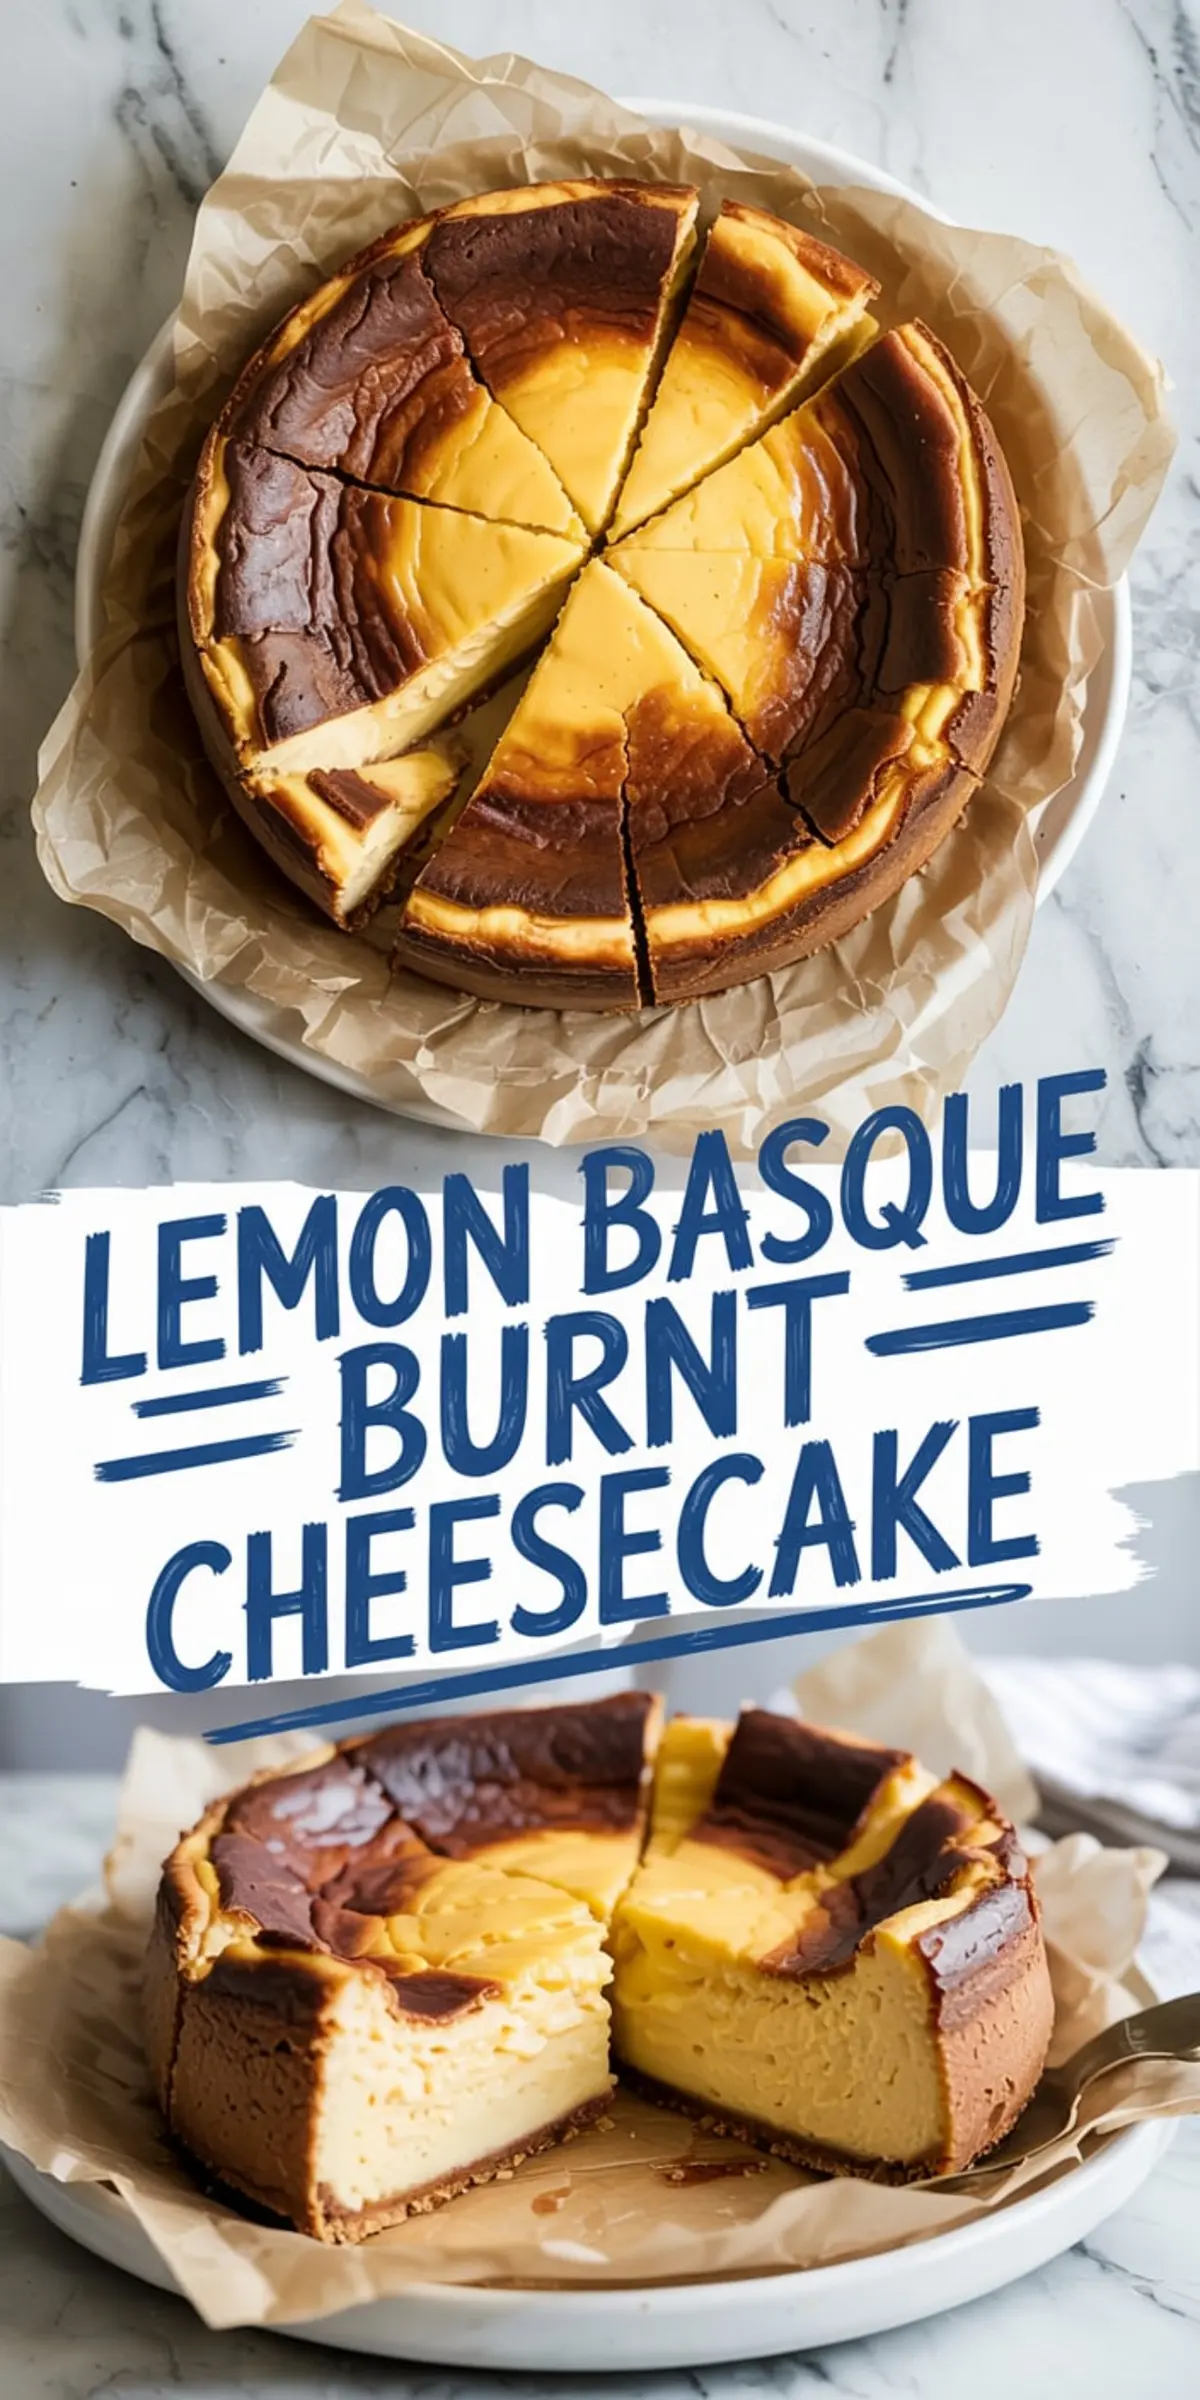
Lemon Basque Burnt Cheesecake

A Lemon Basque Burnt Cheesecake has a rich, creamy texture with a smoky caramelized top and a bright citrus flavor from fresh lemons. It has no crust, a dramatically bronzed surface, and a custardy, smooth center. This cheesecake is rustic, easy to prepare, and perfect for gatherings or enjoying with tea.
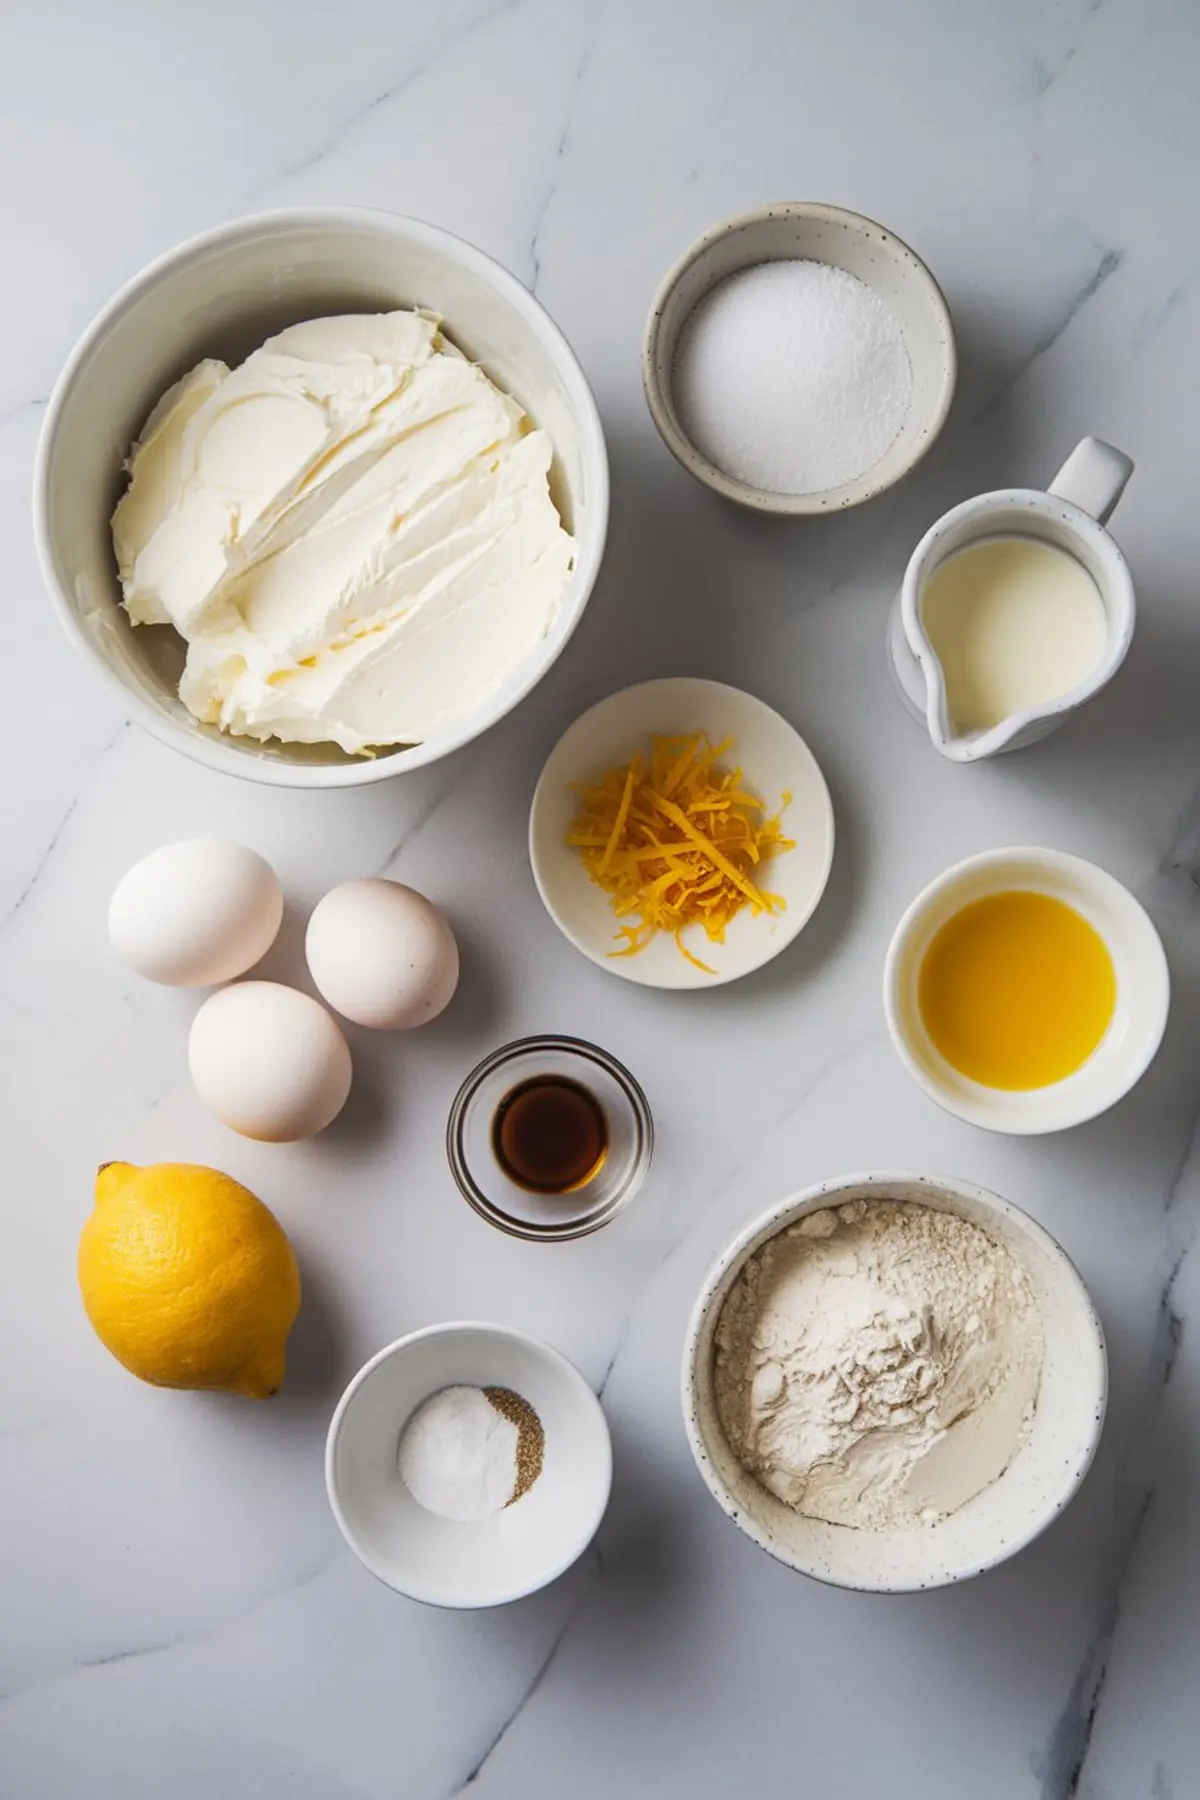
Ingredients
- FOR THE CHEESECAKE
- 2 lbs (900g) cream cheese, room temperature
- 1 1/2 cups (300g) granulated sugar
- 5 large eggs
- 1 1/4 cups (300ml) heavy cream
- Zest of 2 lemons
- 2 tbsp fresh lemon juice
- 1 tsp pure vanilla extract
- 1/4 tsp salt
- 1/4 cup (30g) all-purpose flour
- OPTIONAL GARNISH
- Powdered sugar, for dusting
- Lemon slices or zest strips
Instructions
- PREPARE THE PAN: Preheat the oven to 425°F (220°C). Line a 9-inch (23cm) springform pan with parchment paper, allowing a 2-inch overhang on all sides to help lift the cheesecake later and catch spills.
- BEAT CREAM CHEESE AND SUGAR: In a large mixing bowl, beat the cream cheese and granulated sugar together on medium speed until smooth and fluffy, about 2 to 3 minutes. Use a stand mixer or hand mixer.
- ADD THE EGGS: Add the eggs one at a time, beating well after each addition. Scrape down the sides of the bowl to ensure an even mixture.
- INCORPORATE CREAM AND FLAVORINGS: Add the heavy cream, lemon zest, lemon juice, vanilla extract, and salt. Mix on low speed until just combined without overmixing.
- FOLD IN THE FLOUR: Sift the flour over the batter and fold it in gently using a spatula to create a smooth, uniform batter.
- BAKE THE CHEESECAKE: Pour the batter into the prepared pan. Tap the pan gently on the counter to release any air bubbles. Bake for 50 to 60 minutes until the top is deeply browned and the center still has a slight wobble.
- COOL AND CHILL: Allow the cheesecake to cool completely in the pan. It will deflate slightly, which is normal. Once cooled, refrigerate for at least 4 hours or overnight until fully set.
Notes
The cheesecake should have a deep caramelized top with a soft, custard-like center. Cracks and a dark surface are expected and part of the cake’s signature appearance. Garnish with a light dusting of powdered sugar and fresh lemon slices or zest strips if desired before serving.
Nutrition Information
Yield
12Serving Size
1Amount Per Serving Calories 149Total Fat 7gSaturated Fat 3gTrans Fat 0gUnsaturated Fat 3gCholesterol 91mgSodium 156mgCarbohydrates 17gFiber 1gSugar 13gProtein 5g