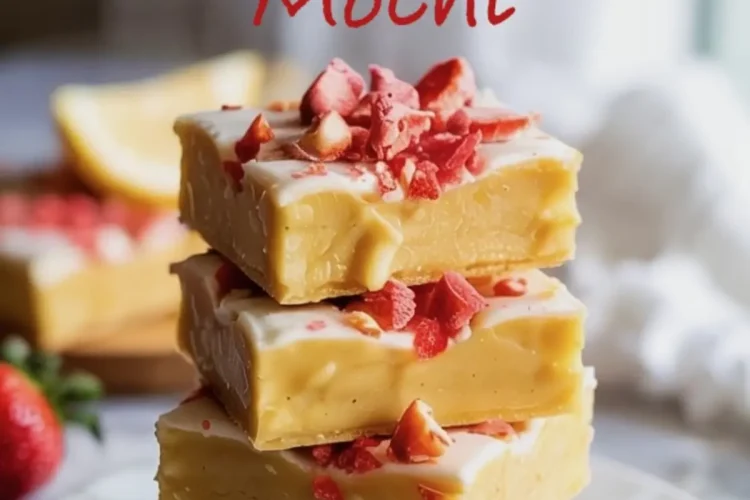
If you’ve been hunting for a dessert that’s chewy but not sticky, bright but not sharp, and rich but never heavy, you’ve found it. Lemon Butter Mochi with Berry Crunch walks that line with purpose. It’s not just a dessert—it’s a texture-first experience that delivers bright citrus, buttery depth, and a crunch that wakes up your bite.
You’ll learn how to make this one-bowl recipe, how to balance chew with crisp, and how to store it so the top stays snappy and the inside stays soft. I’ve made this a few different ways, and I’ll walk you through the most effective methods.
Following a special diet?
Every recipe on this site can be converted to gluten-free, vegan, dairy-free, keto, nut-free or egg-free with adjusted ratios so nothing falls flat.
Try the Recipe Converter →Why Lemon Butter Mochi Is Different from Other Mochi Bakes
This version adds two things most mochi recipes leave out: lemon and crunch. Mochi on its own has a beautiful chew, but it can feel flat. Here, the lemon glaze sharpens each bite and the berry topping gives a pop of brightness and texture.
I use freeze-dried strawberries for the top, not fresh berries. The difference matters. Freeze-dried stays crisp, doesn’t bleed color, and holds up for days. Fresh berries add too much moisture and shorten shelf life.
If you’ve tried Hawaiian butter mochi before, this takes that same custard-soft chew and adds a tang and texture it usually lacks.
Ingredients that Shape the Texture and Flavor
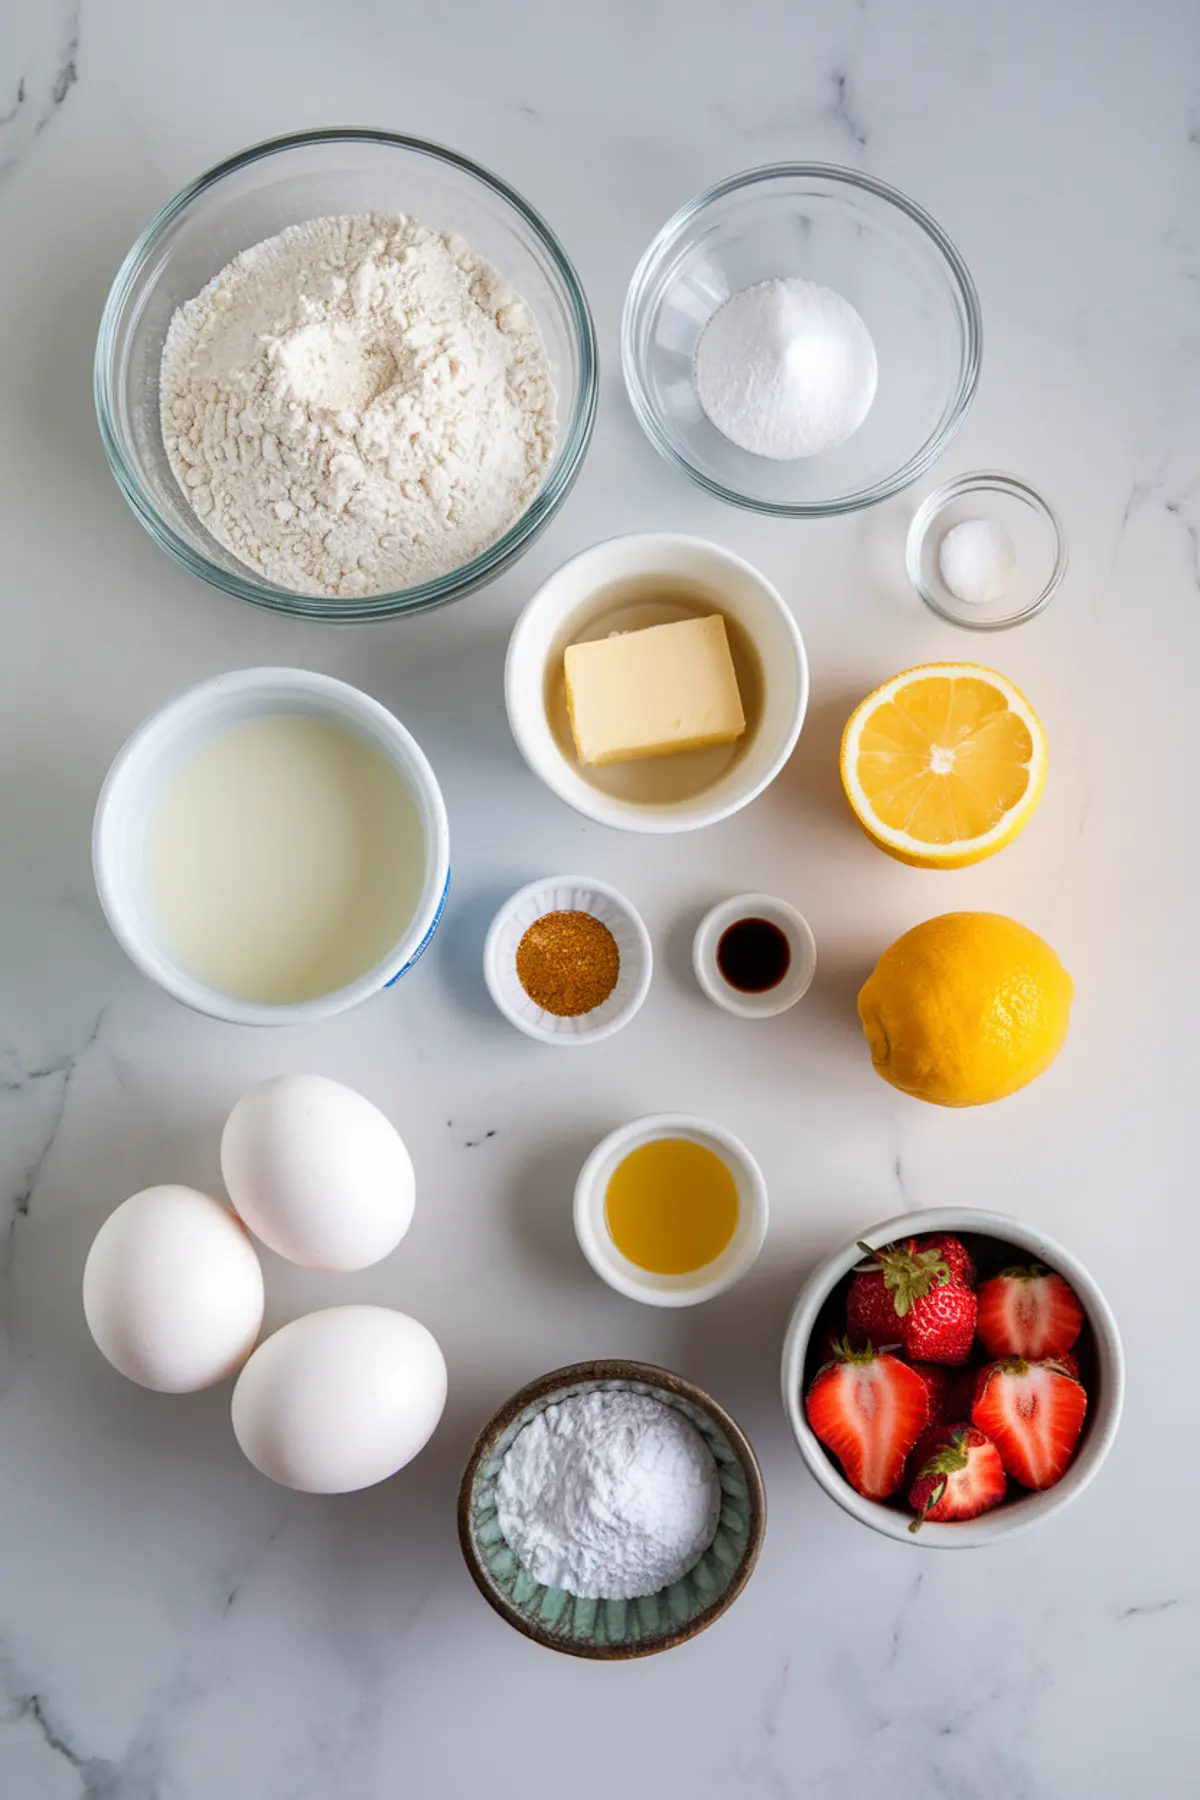
The base uses mochiko, which gives that signature chew. Sweet rice flour binds differently from wheat flour—it stretches, not crumbles. You get a clean slice with no crumbs, and that helps it hold glaze without soaking through.
Lemon juice and zest brighten the buttery richness. I use both. Juice gives acid, zest gives aroma. Without the zest, the flavor goes flat fast.
Coconut milk and whole milk balance richness. I’ve tested this recipe with all coconut milk before, but I found it overpowering. Mixing in dairy gives a cleaner finish.
One Thoughtful Comparison: Coconut Milk vs. Evaporated Milk
Some versions of mochi call for evaporated milk instead of coconut. I’ve tested both. Evaporated milk gives a tighter crumb and slightly firmer texture. Coconut gives more stretch and bounce. I prefer coconut milk for the chew and the flavor—it complements the lemon better, where evaporated milk fights it a bit.
If you’re after a stronger structure or need it to travel, evaporated milk will hold shape better. But if you want that soft bite that lingers, stick with coconut.
How to Bake and Cool for the Right Chew
Use a metal pan for best results. Glass runs too hot and can leave the edges overdone. I grease the pan lightly and line with parchment for clean removal.
Let the mochi cool fully before glazing. If you rush this step, the glaze melts into the surface instead of setting. Wait at least 30 minutes. Then pour and spread the glaze while the surface is cool but still slightly flexible.
The berry crunch topping needs to go on while the glaze is soft. That helps it grip. Don’t press it in—just scatter it lightly and let it rest.
Serving Notes and Storage Tips That Actually Work
This mochi holds its texture for two days at room temperature. After that, the top softens. Refrigeration works too, but it changes the chew. Let it sit out 30 minutes before serving if it’s been chilled.
For serving, cut with a sharp knife and wipe between cuts. That’s not just a cosmetic step—it keeps the berry crunch from dragging through the glaze and messing up the surface.
It makes neat squares that travel well. I’ve taken this to picnics and baby showers. It doesn’t weep, melt, or break down in transit.
Make It Once, Make It Often
This is a recipe you’ll remember. Not because it’s flashy, but because it does something specific very well. It’s chewy, lemony, and crisp in all the right places.
Save this to your lemon dessert board so you don’t lose it.
And if you try it, let me know how it turns out for you in the comments. Did you tweak the glaze? Add another berry? I’d love to hear.
More Lemon Desserts You’ll Want to Try:
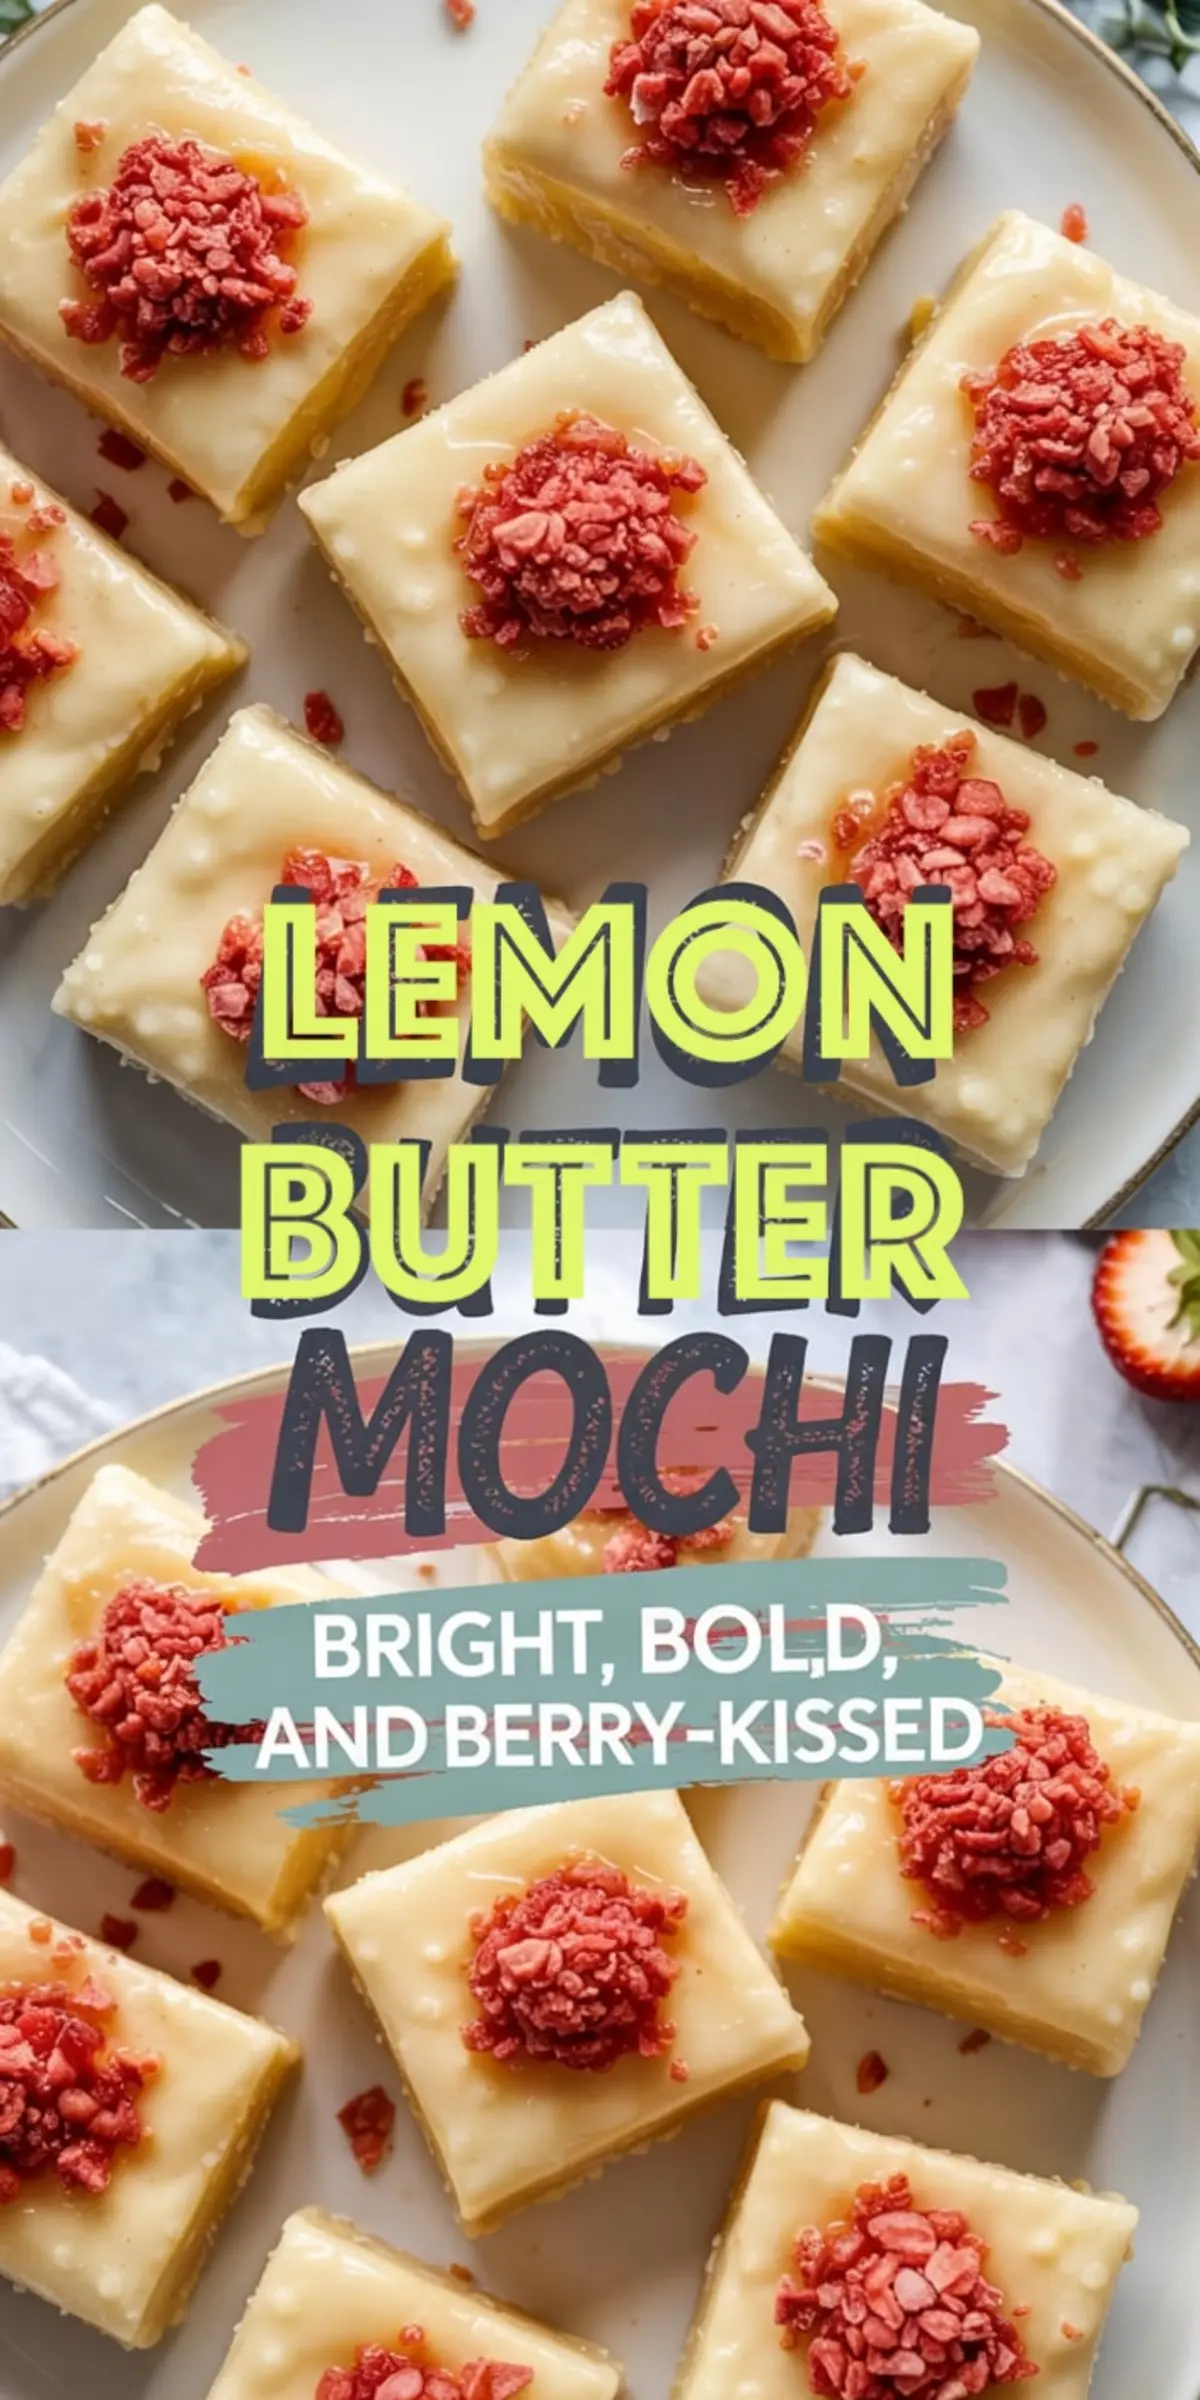
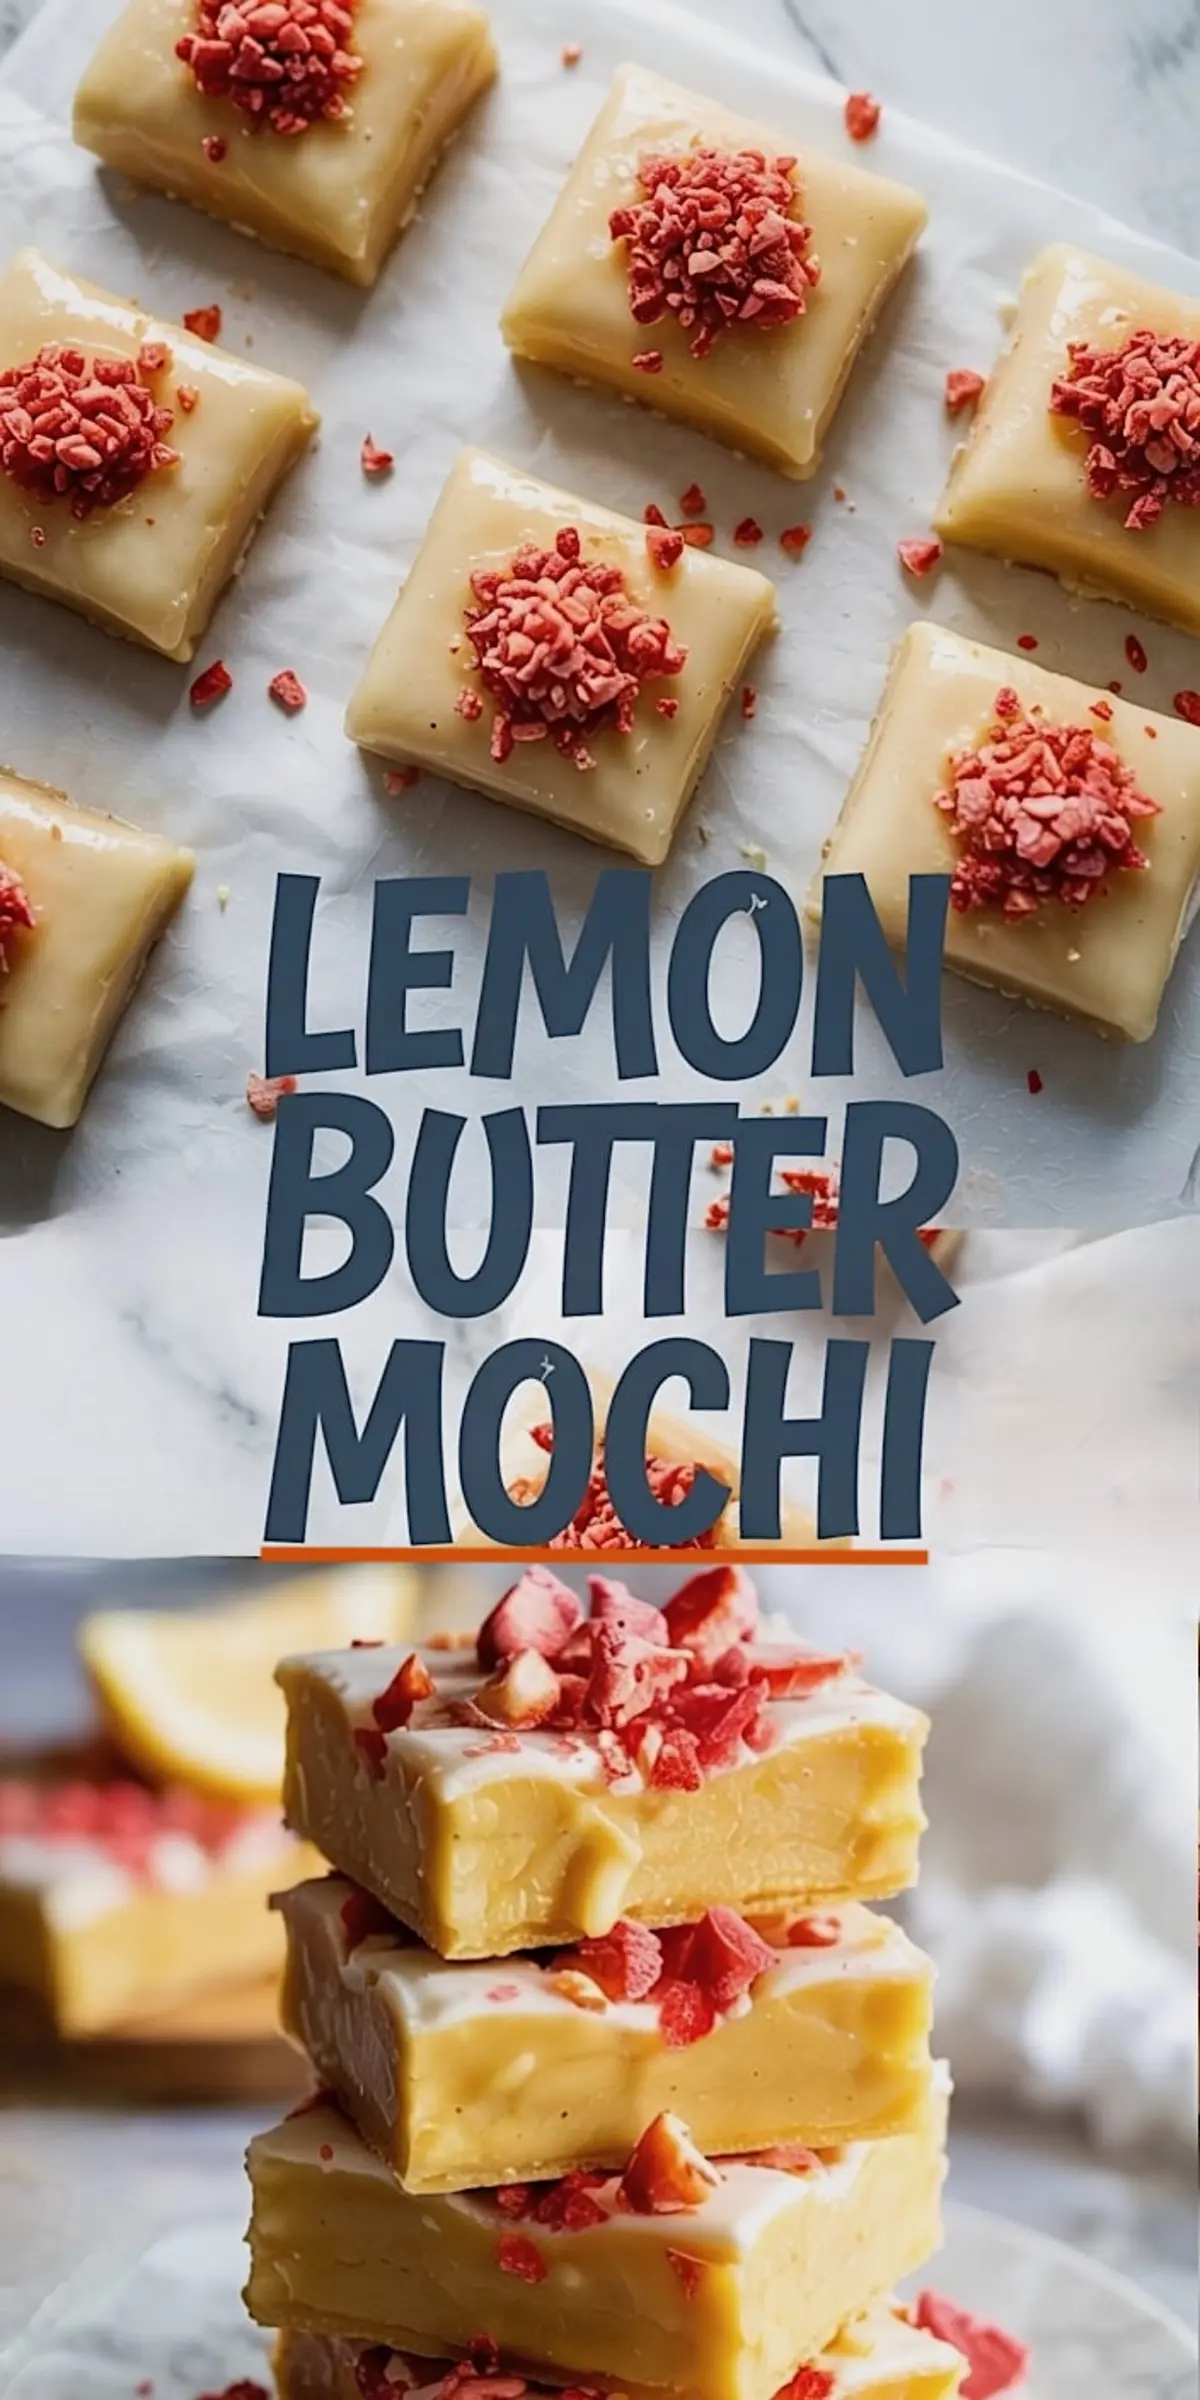
Lemon Butter Mochi with Berry Crunch Topping
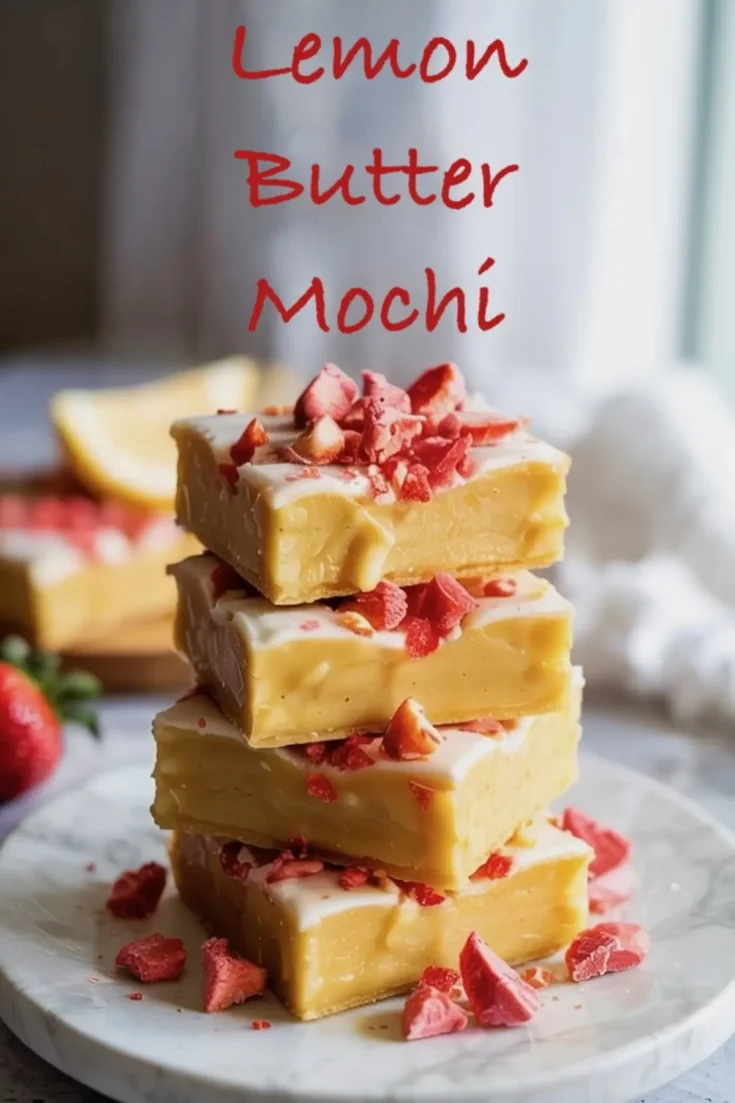
Lemon Butter Mochi is a chewy, citrus-forward dessert made with glutinous rice flour, fresh lemon juice, and butter for a rich and springy base. A simple lemon glaze adds extra zing, and a topping of crushed freeze-dried strawberries finishes each bite with a bright, crunchy contrast. This gluten-free treat is easy to make in one bowl and slices neatly into shareable squares.
Ingredients
- FOR THE LEMON BUTTER MOCHI
- 2 cups sweet rice flour (mochiko)
- 1 ½ cups granulated sugar
- 1 tsp baking powder
- ¼ tsp salt
- 1 cup unsalted butter, melted and slightly cooled
- 1 can (13.5 oz) full-fat coconut milk
- ½ cup whole milk
- 4 large eggs
- Zest of 2 lemons
- ½ cup fresh lemon juice
- 1 tsp vanilla extract
- FOR THE LEMON GLAZE
- 1 ½ cups powdered sugar
- 2 tbsp fresh lemon juice
- 1 tbsp milk (optional for thinner glaze)
- FOR THE BERRY CRUNCH TOPPING
- ½ cup freeze-dried strawberries, crushed
Instructions
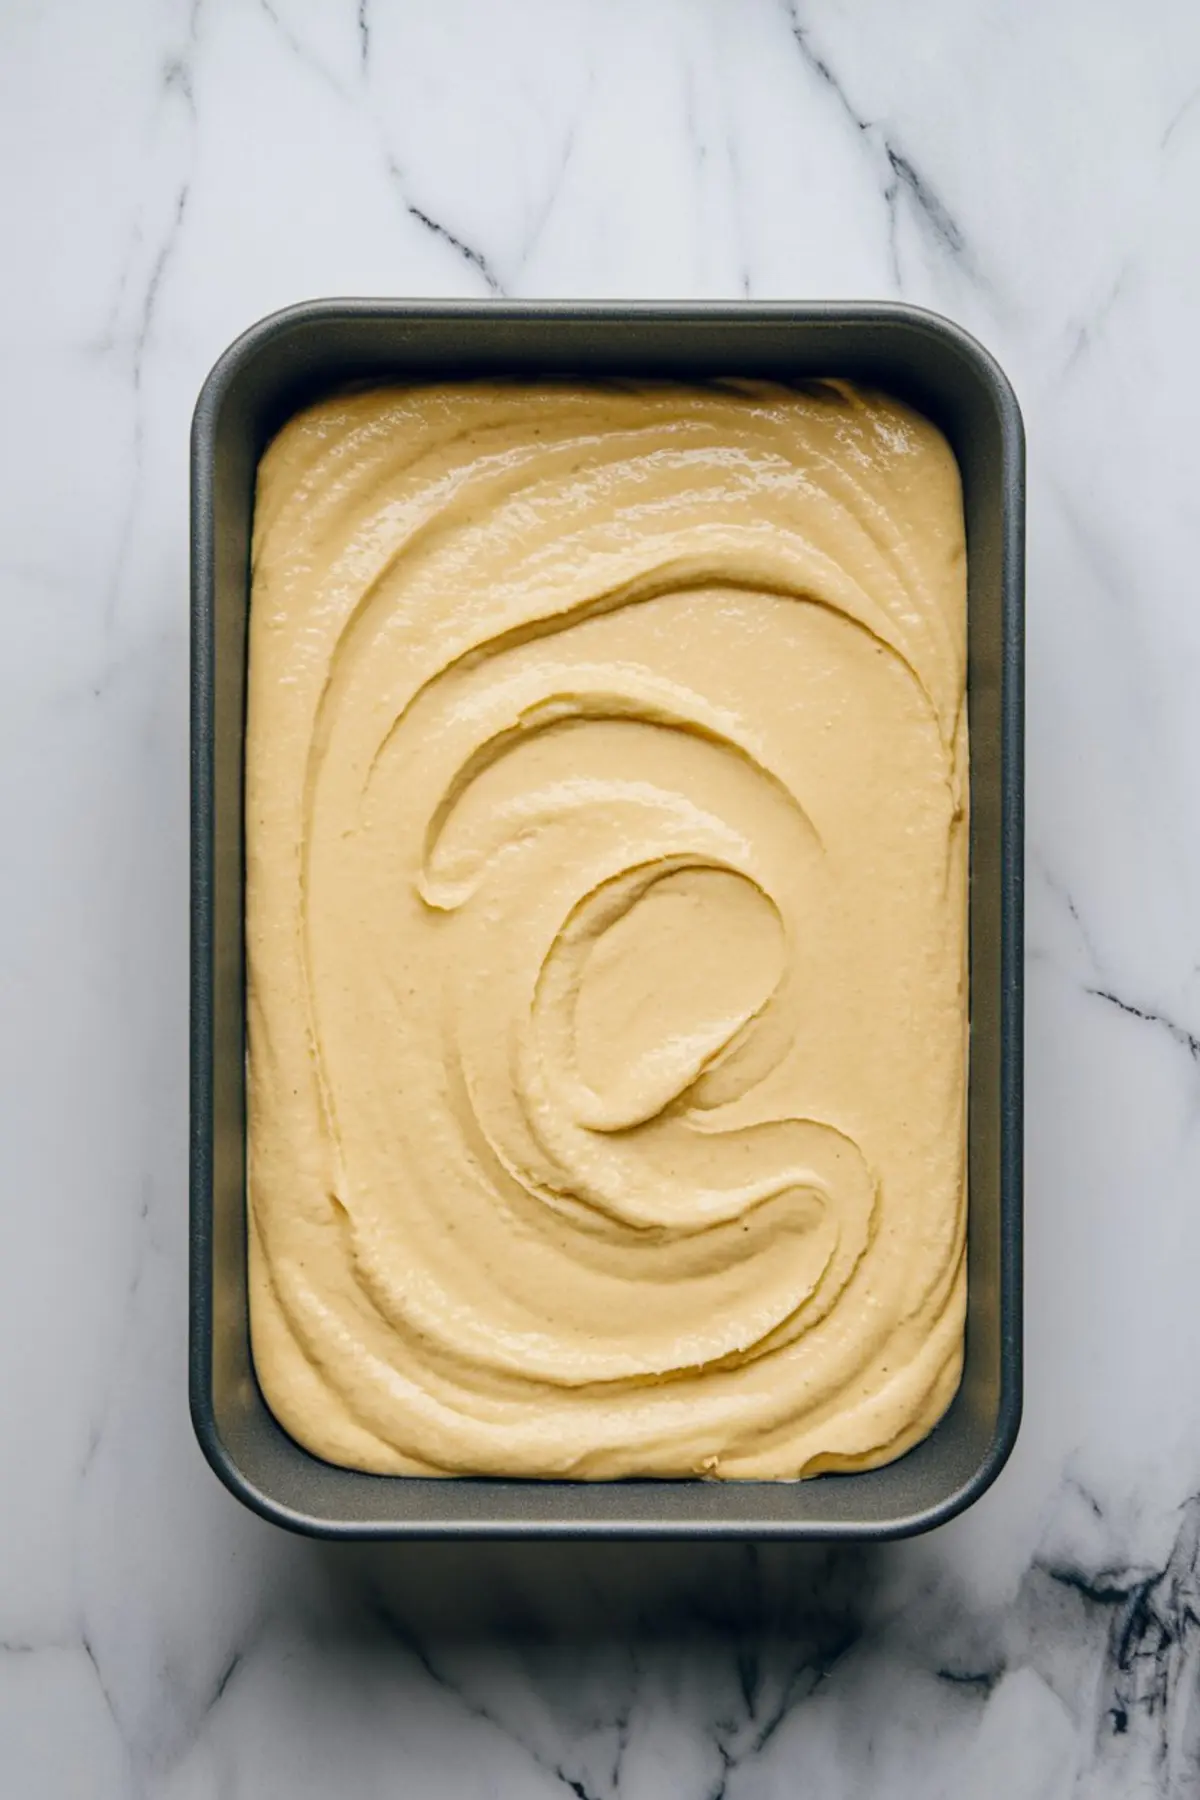
- PREHEAT AND PREP: Preheat the oven to 350°F (175°C). Grease a 9x13-inch baking pan or line it with parchment paper for easy removal.
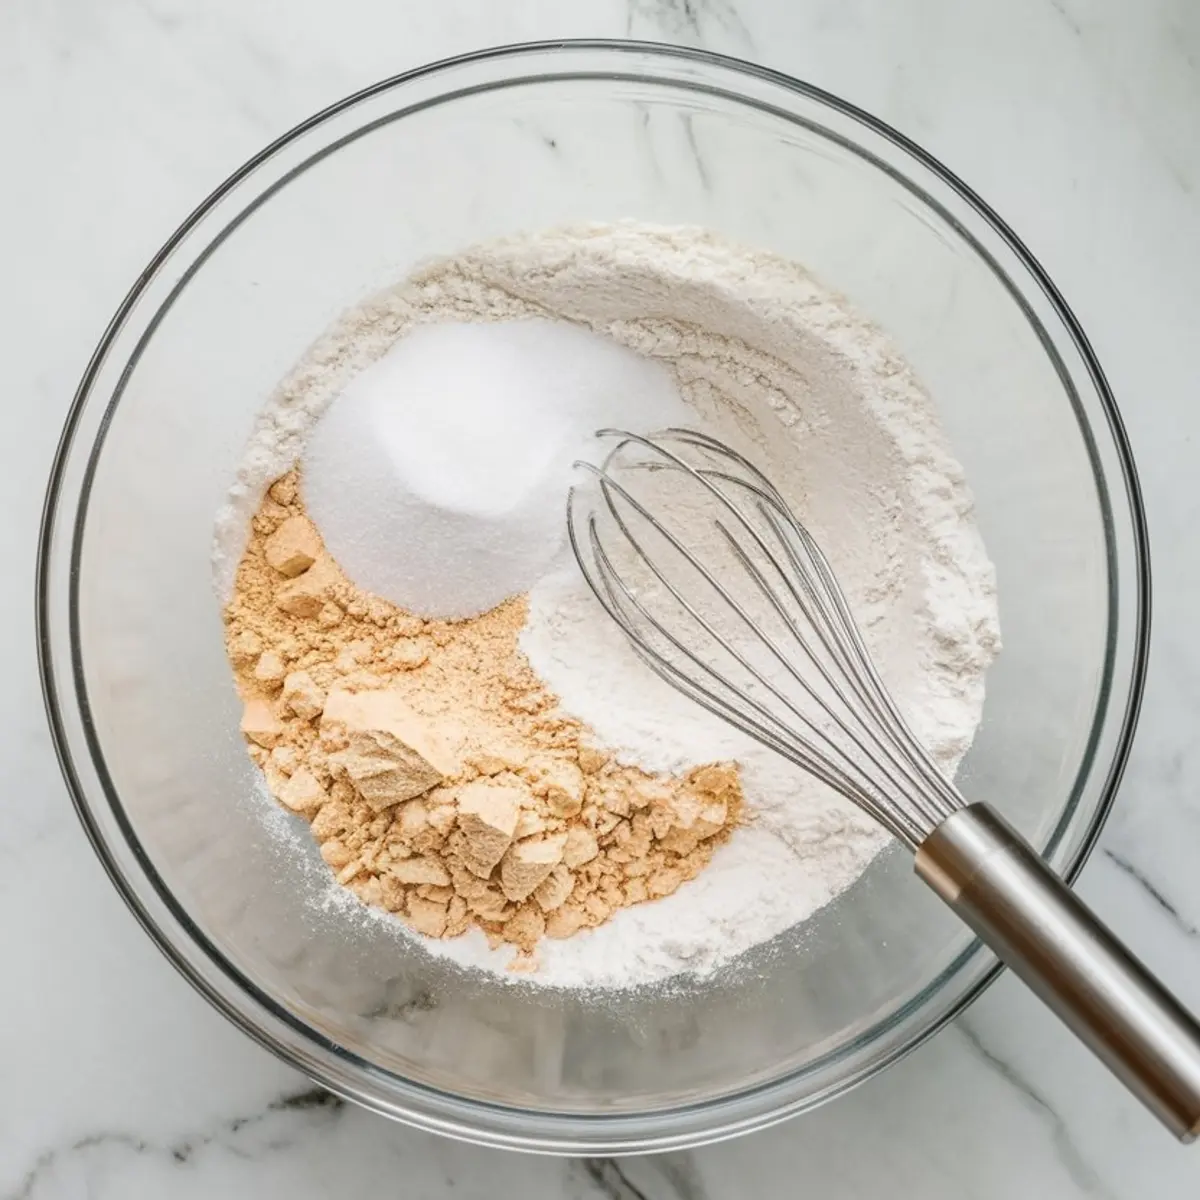
- MIX THE DRY INGREDIENTS: In a large mixing bowl, whisk together the sweet rice flour, granulated sugar, baking powder, and salt until well combined.
- ADD THE WET INGREDIENTS: Add the melted butter, coconut milk, whole milk, eggs, lemon zest, lemon juice, and vanilla extract to the dry ingredients. Whisk until the batter is completely smooth. The batter will be thin—that is expected.
- BAKE: Pour the batter into the prepared pan and smooth the top. Bake for 50–60 minutes, or until the center is set and a toothpick inserted comes out mostly clean. The surface should be slightly golden and may have small cracks.
- COOL AND GLAZE: Allow the mochi to cool in the pan for at least 30 minutes. While it cools, whisk the powdered sugar with the lemon juice, adding milk a little at a time if a thinner consistency is preferred. Pour the glaze over the cooled mochi and spread evenly with a spatula.
- TOP WITH BERRY CRUNCH: While the glaze is still soft, sprinkle the crushed freeze-dried strawberries generously over the top. Let it rest for 15–20 minutes to allow the glaze to set and absorb the berry color slightly.
- SLICE AND SERVE: Once fully set, cut into squares using a sharp knife, cleaning the blade between cuts for clean edges. Serve at room temperature.
Notes
Store in an airtight container at room temperature for up to 2 days or refrigerate for up to 5 days. For the best texture, let refrigerated mochi come to room temperature before serving.
Nutrition Information
Yield
24Serving Size
1Amount Per Serving Calories 230Total Fat 11gSaturated Fat 7gTrans Fat 0gUnsaturated Fat 3gCholesterol 53mgSodium 76mgCarbohydrates 31gFiber 1gSugar 22gProtein 3g