Most lemon curd recipes sound easy until you stand over the stove, whisk in hand, hoping it doesn’t split, scramble, or turn lumpy.
I’ve stood there myself. Many times.
That’s why today, you’re not just getting another lemon curd recipe. You’re getting my method. The one I’ve refined through dozens of batches for cakes, tarts, pies, and even spoonfuls stolen straight from the jar.
By the end, you’ll have full confidence to make lemon curd that turns out silky and balanced every single time.
You’ll see how this works as a base for many lemon curd dessert ideas like Lemon Curd Cake, cupcakes, pies, mille-feuille, and more.
Let’s get started.
Following a special diet?
Every recipe on this site can be converted to gluten-free, vegan, dairy-free, keto, nut-free or egg-free with adjusted ratios so nothing falls flat.
Try the Recipe Converter →Why This Lemon Curd Stands Out
Lemon curd can easily go wrong when people rush the heat or skip small details.
My method focuses on even cooking, controlled temperature, and proper finishing.
That’s why this lemon curd stays vibrant, smooth, and never grainy.
The combination of whole eggs with extra yolks creates both structure and richness.
The butter emulsifies for that silky mouthfeel.
The pinch of salt rounds out the sharp citrus, keeping the flavor balanced.
You’re not just making a spread. You’re building a versatile lemon curd filling you can rely on for many desserts.
Choosing and Preparing Your Ingredients
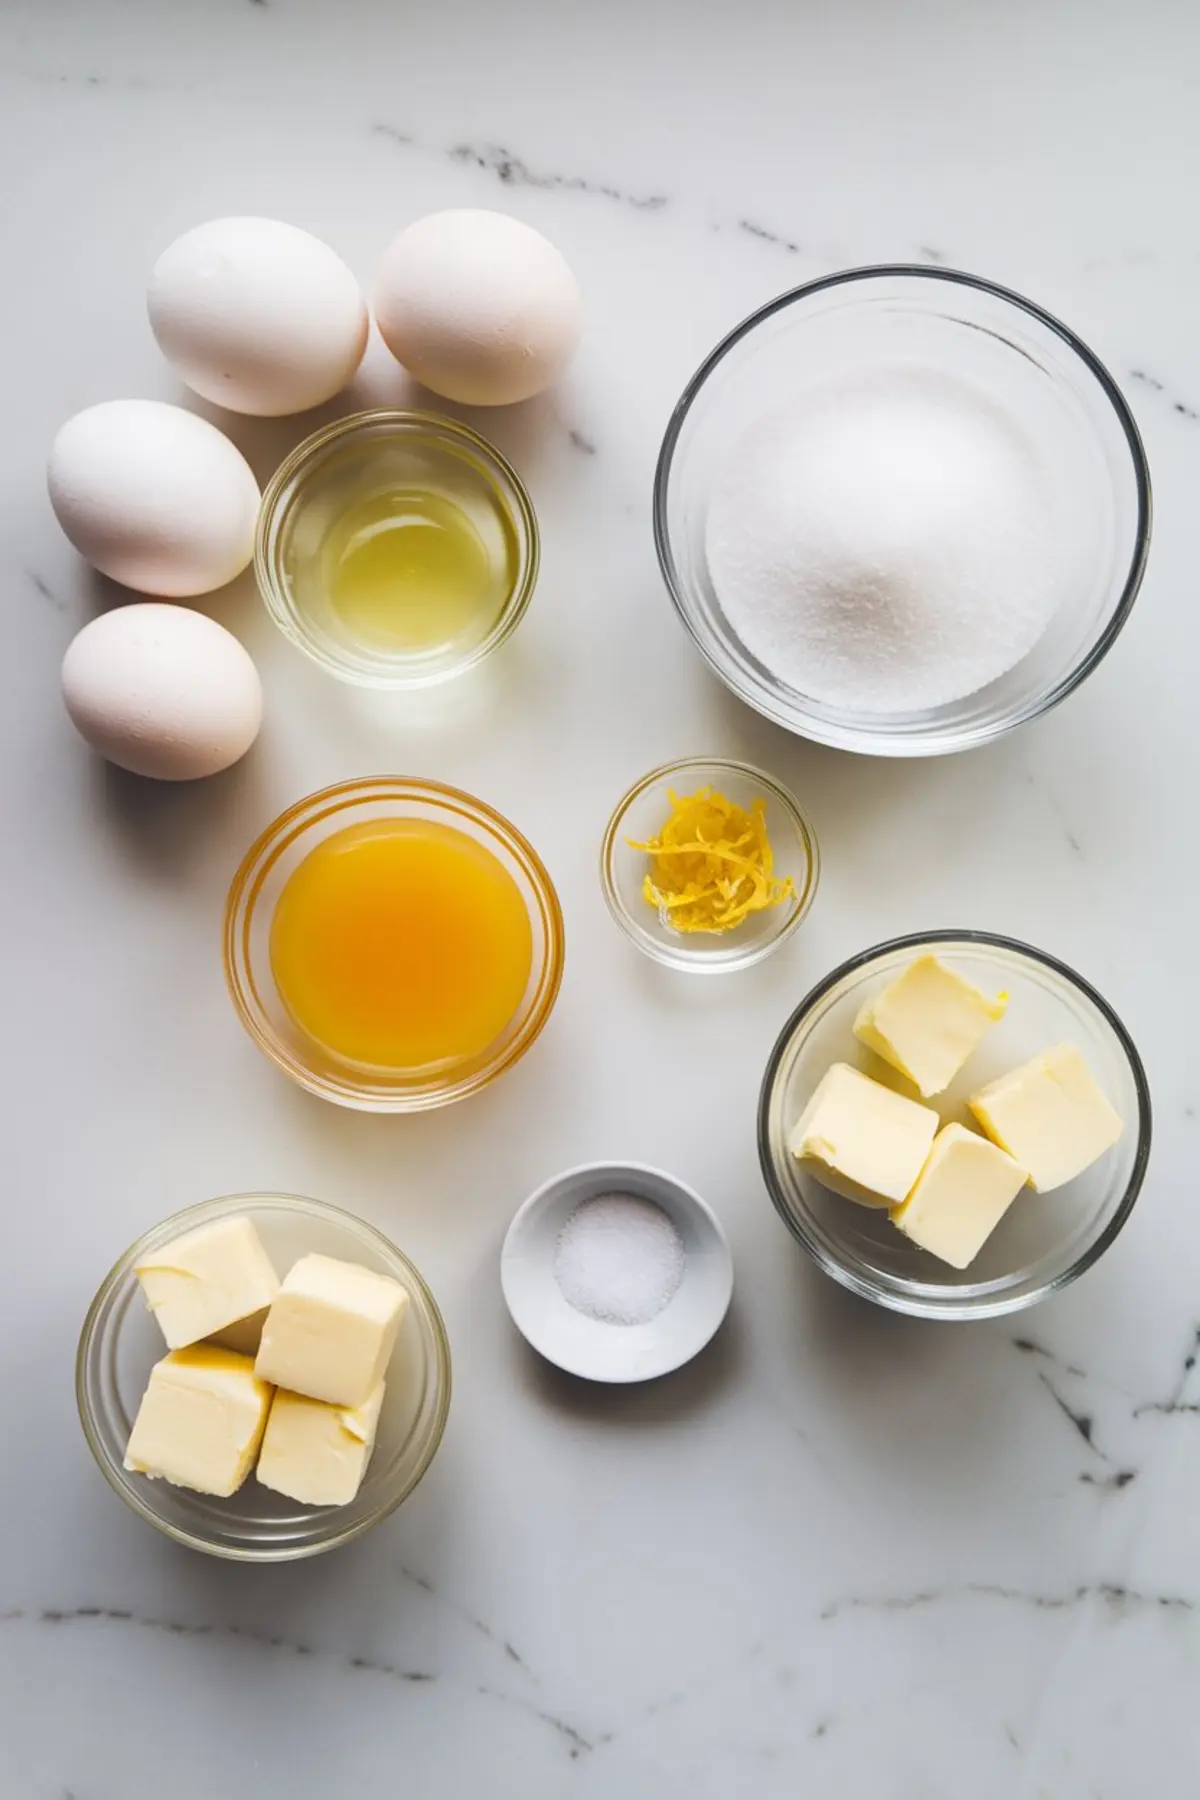
Fresh lemons give you better control over flavor. Bottled juice lacks the brightness and subtle floral notes that make lemon curd shine.
I always zest my lemons first, before juicing. The oils in the zest deepen the flavor and lift the aroma.
The egg balance is important. I use 4 large yolks and 2 whole eggs. The extra yolks bring richness without making the curd too stiff.
Granulated sugar balances the acidity while keeping the texture smooth.
Use unsalted butter cut into small cubes. It melts evenly and helps the curd emulsify into that soft, creamy finish.
A fine mesh strainer is not optional here. It removes any bits of cooked egg and gives your curd the flawless, glossy texture you want.
Practical Comparison: Whole Eggs vs. Yolks-Only
I’ve tested curds using only yolks, and while the texture becomes richer, it can lean heavy and overly thick for certain desserts like Lemon Curd Mille-Feuille.
Whole eggs, combined with extra yolks, strike a better balance. The result holds its shape but remains light enough to pipe into cupcakes or layer into a Lemon Curd Cake Recipe.
For fillings, this ratio works best.
For thicker tarts or firmer pies, you might experiment with more yolks.
But for most home bakers, my balanced method delivers the most versatile result.
Start With the Right Tools
Before you touch an egg, set up your equipment.
Have your saucepan, whisk, silicone spatula, fine mesh strainer, and a clean bowl ready.
Once the curd starts cooking, you won’t have time to search for tools. Preparation saves mistakes.
I use a heavy-bottomed saucepan to distribute heat evenly. Thin pans increase the risk of hotspots and scrambling.
Whisk Together Eggs and Sugar
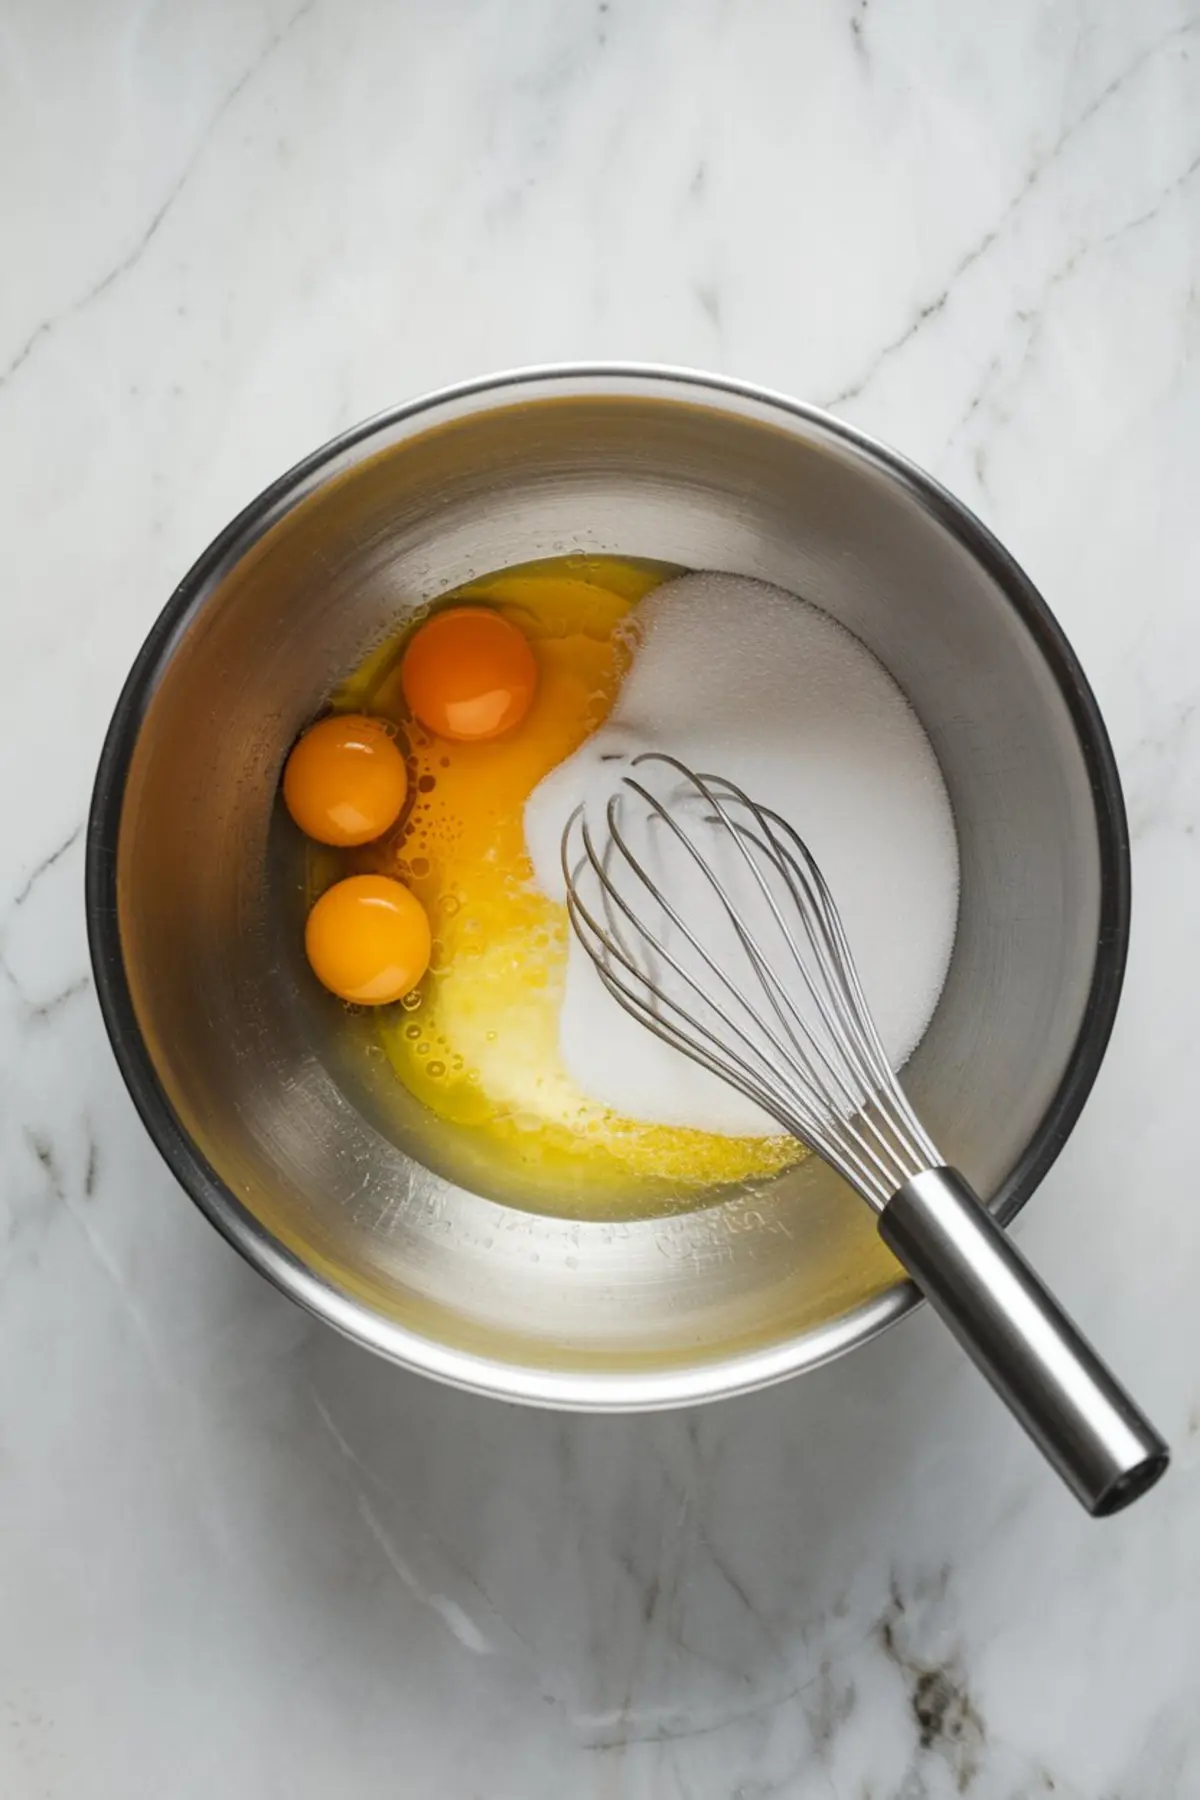
Crack the eggs directly into your saucepan. Add the sugar.
Whisk steadily until the mixture looks smooth and slightly thickened.
You’re dissolving the sugar fully now, which helps prevent gritty curd later.
Incorporate the Lemon Juice, Zest, and Salt
Slowly pour in the fresh lemon juice while whisking. The zest goes in next, along with that pinch of salt.
At this stage, the mixture already smells bright and inviting.
Make sure everything is fully blended before adding heat.
Cook Low and Slow
This is where most lemon curd recipes fail.
Set the saucepan over low to medium-low heat.
Use your silicone spatula to stir constantly.
Scrape both the bottom and sides of the pan as you stir.
The curd thickens gradually over 8 to 12 minutes. You’ll feel the change in resistance as it reaches the right texture.
Look for the point where it coats the back of a spoon and leaves a clean line when swiped.
Rushing the heat creates curdled eggs. Patience delivers silk.
Strain for a Silky Finish
As soon as the curd reaches thickness, remove it from heat.
Immediately pour it through the fine mesh strainer into your clean bowl.
This step removes any small cooked bits and zest pieces. What’s left is pure, smooth curd ready for the final step.
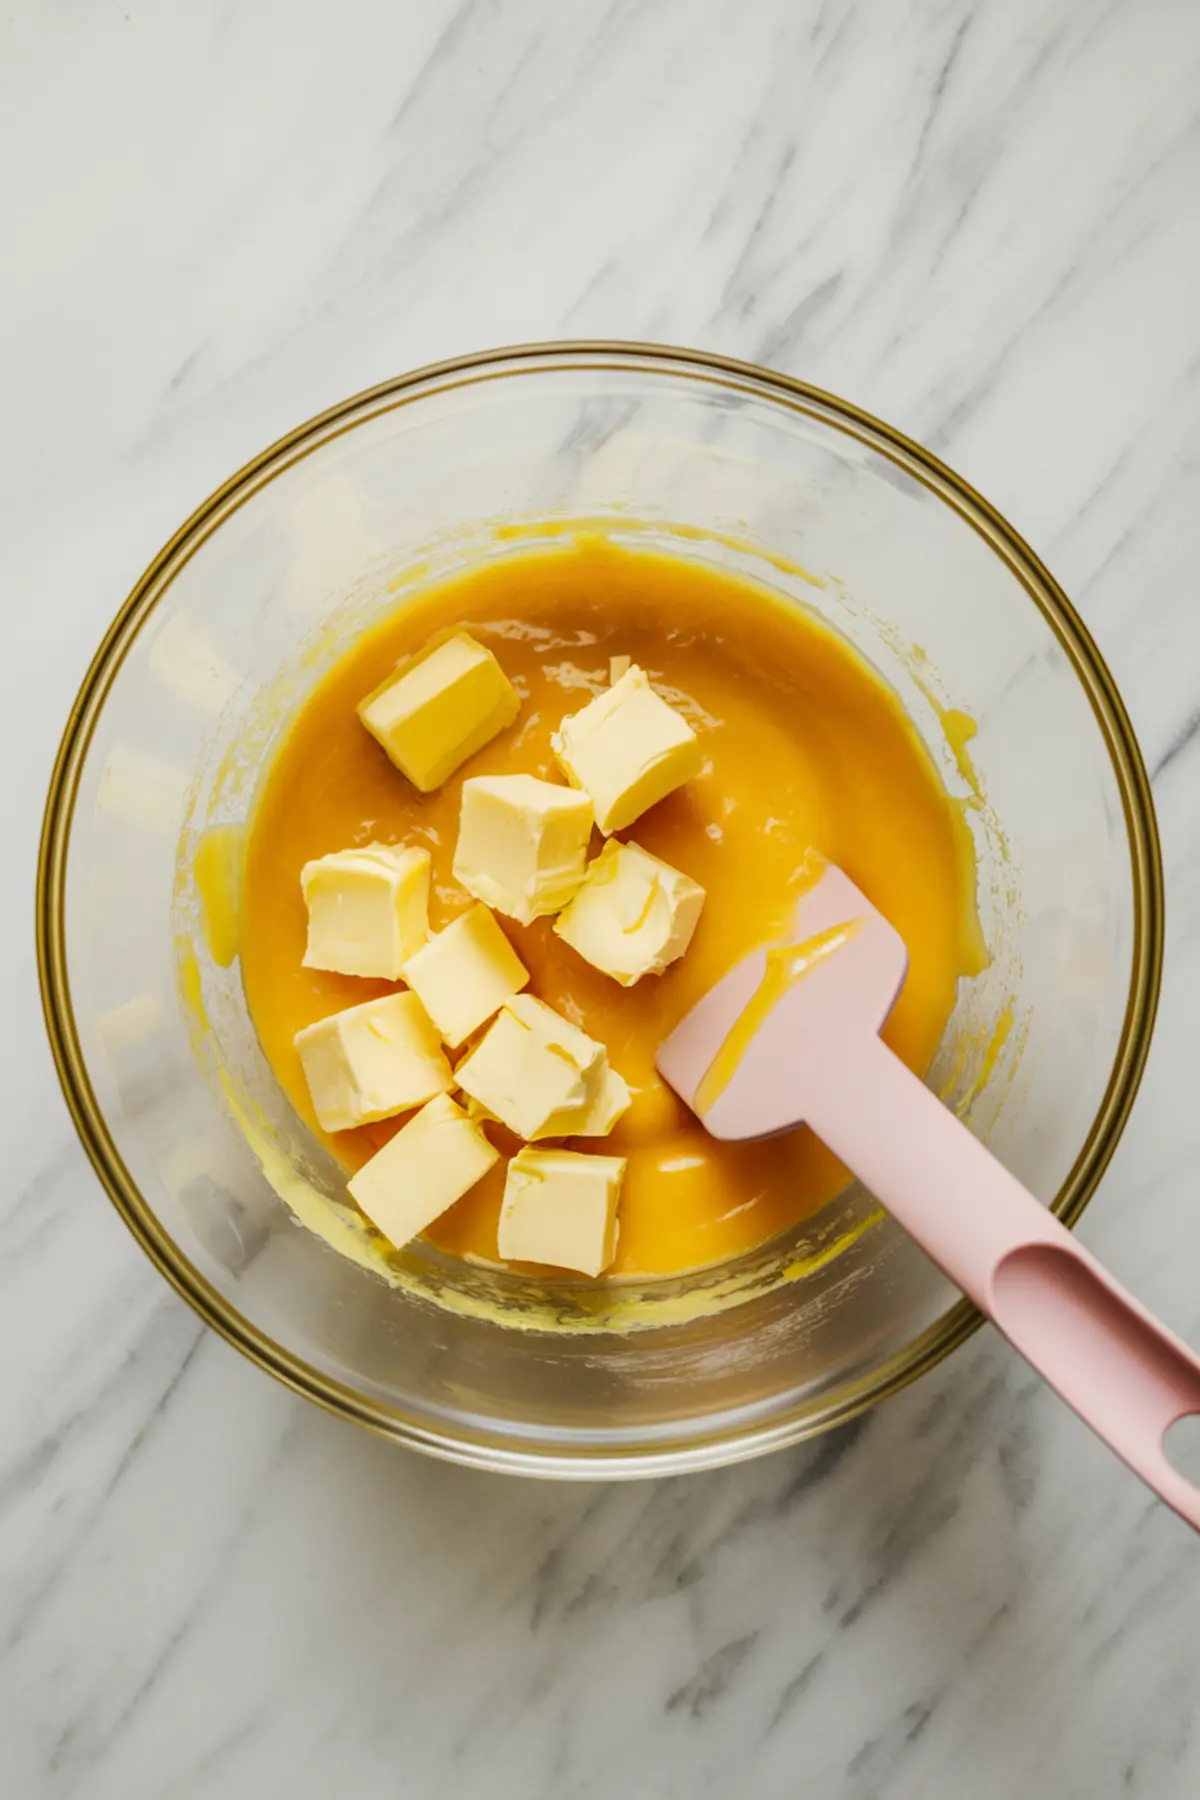
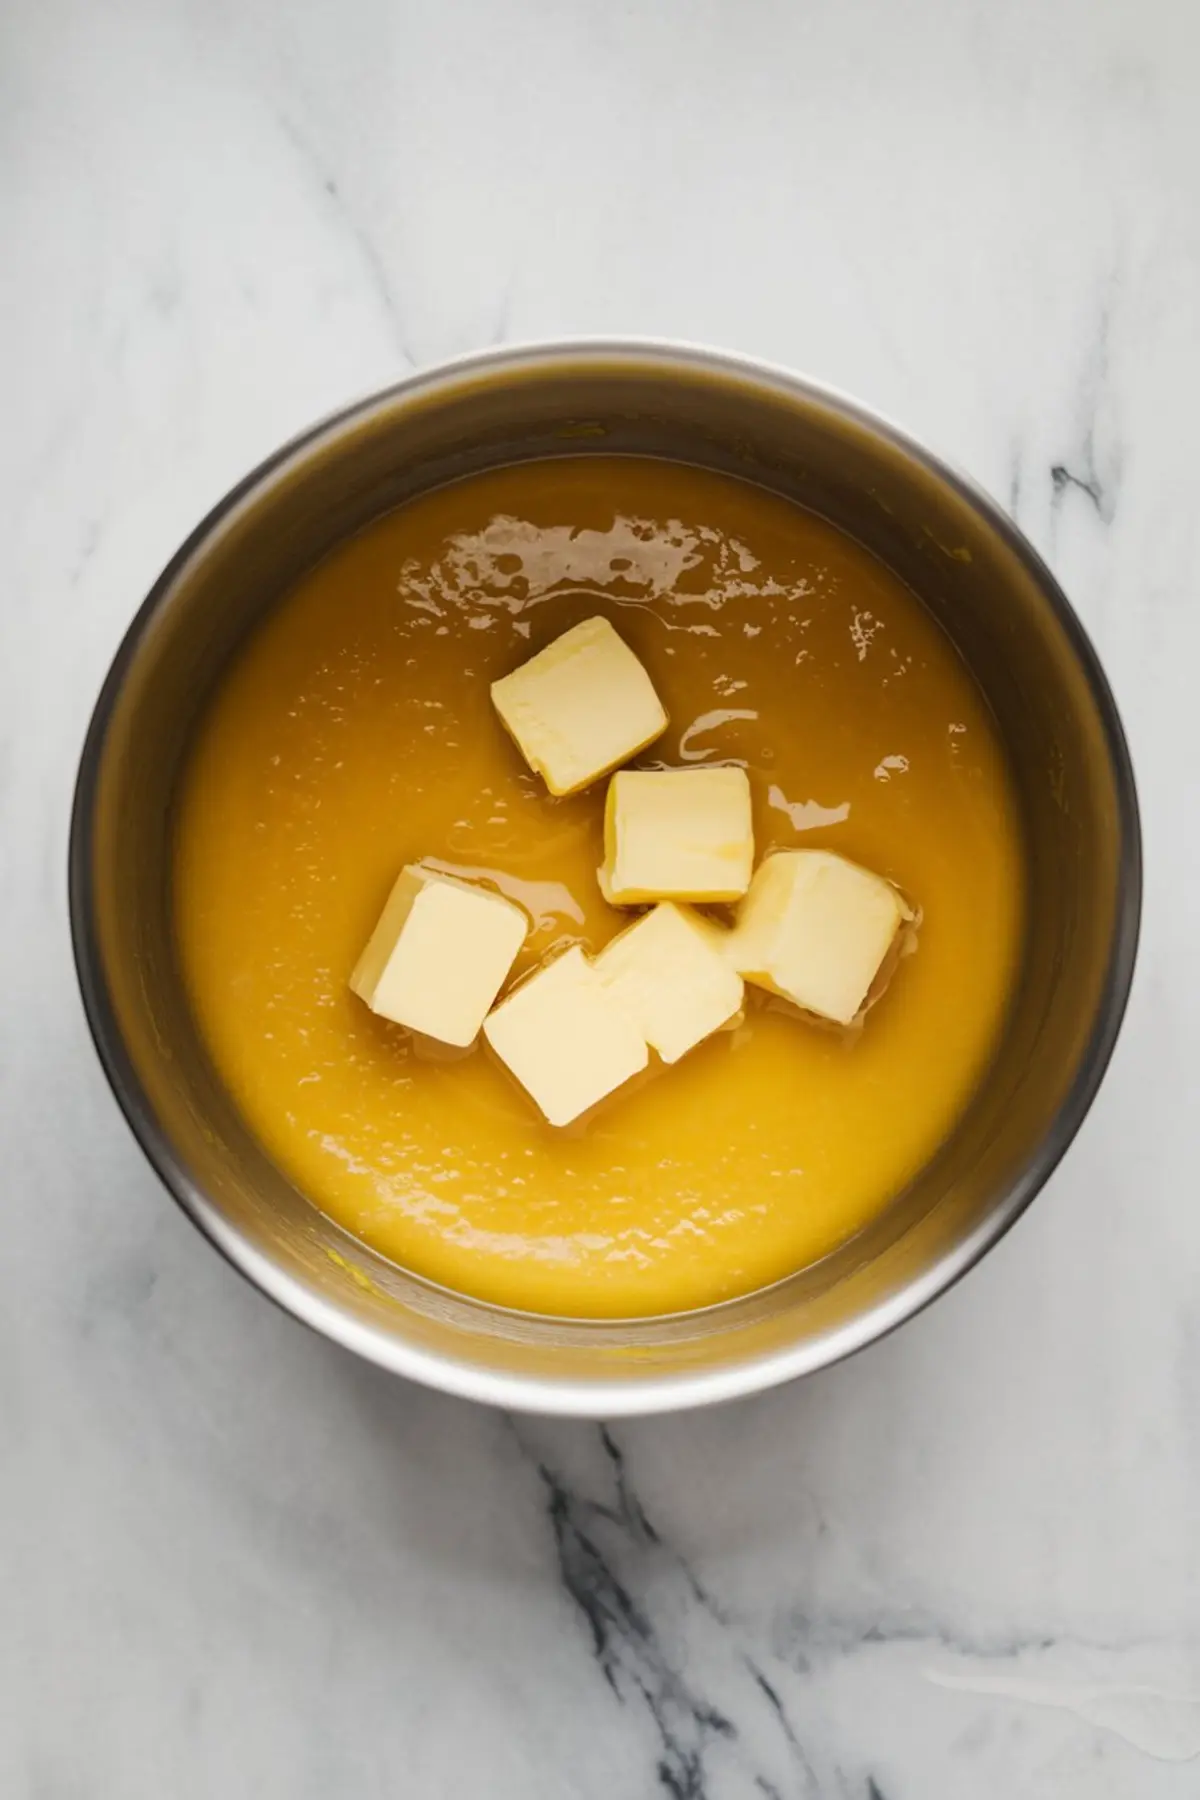
Stir In the Butter
Drop the cold butter cubes into the warm curd.
Stir gently until all the butter melts and blends in fully.
The butter transforms the curd into a glossy, smooth, spreadable filling that cools to the ideal consistency.
Cooling and Storing Your Lemon Curd
Place plastic wrap directly on the surface to prevent a skin from forming.
Let the curd cool completely before storing it in the refrigerator.
Lemon curd keeps well for about 10 days chilled. For longer storage, freeze it in airtight containers.
How I Use My Lemon Curd
This lemon curd recipe works beautifully across many desserts using lemon curd.
I often spoon it into Lemon Curd Cookies or fill Lemon Curd Cupcakes for parties.
It layers perfectly into tarts, swirls into cheesecakes, or simply spreads over scones for breakfast.
If you wonder what to do with lemon curd once you make it, start simple. A spoon and fresh berries already create a beautiful lemon curd dessert idea.
This is also an excellent base if you’re searching for the best lemon curd recipe for cake fillings or pie toppings.
Let’s Wrap It Up
You don’t need to fear making lemon curd at home.
With steady heat, fresh ingredients, and a few simple techniques, you’ll have consistent, silky results every time.
Save this recipe to your Pinterest board so you always have it ready when citrus season calls.
And if you try it, share your experience in the comments below. I love hearing your questions, tweaks, and how you made this your own.
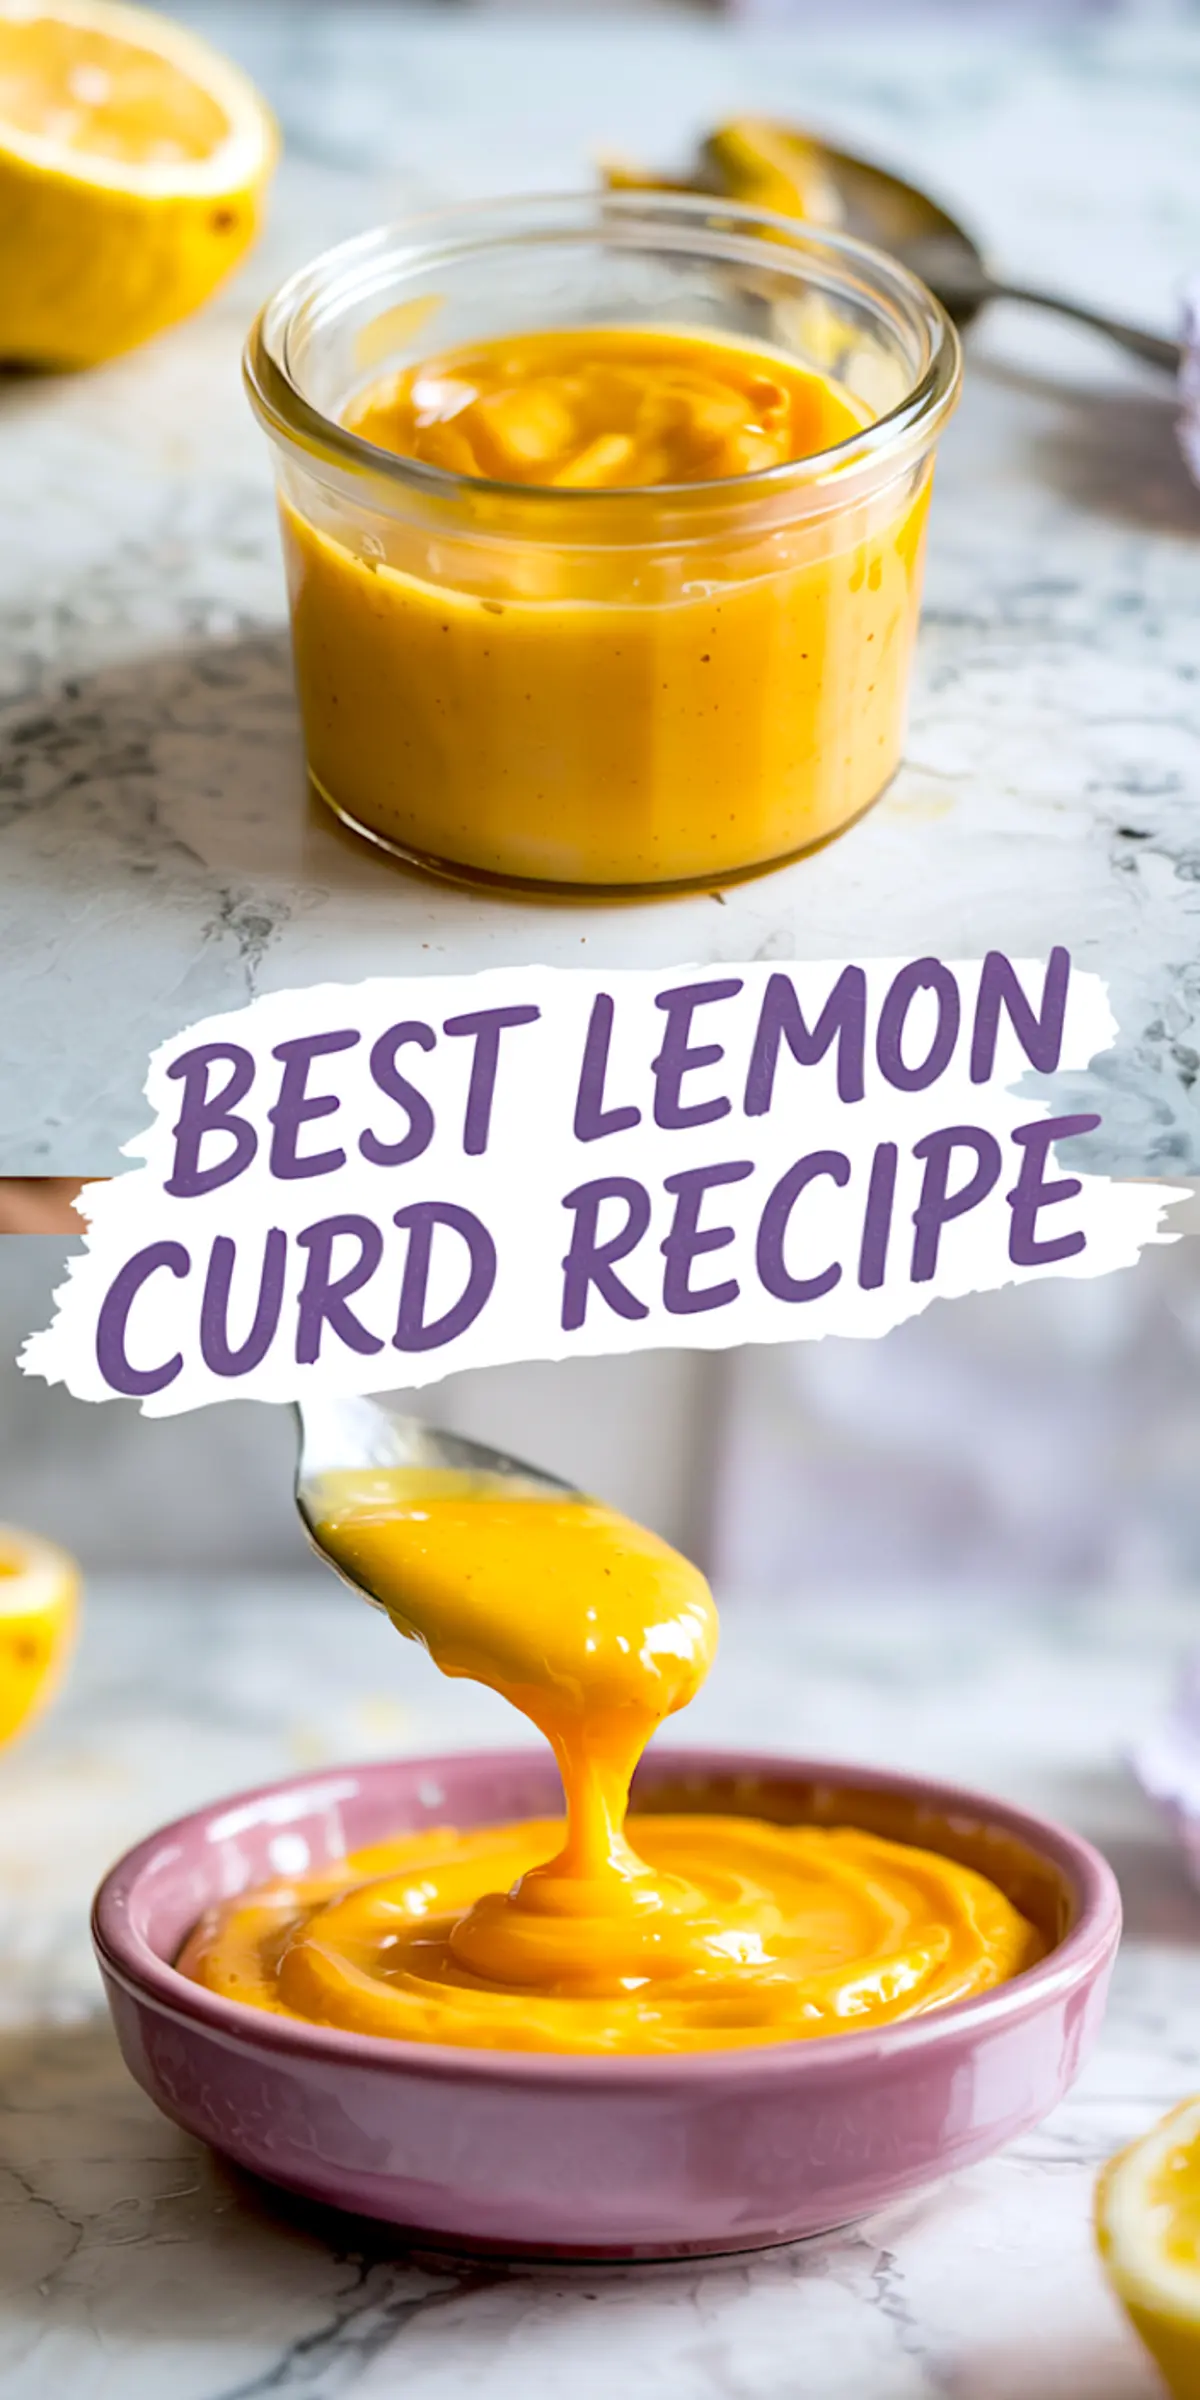
Lemon Curd Recipe
Lemon curd is bright, smooth, and perfectly balanced between sweet and tart. This recipe produces a silky curd that works beautifully as a spread, filling, or topping. With careful technique and simple ingredients, you can achieve consistent, flawless results every time.
Ingredients
- 4 large egg yolks
- 2 whole large eggs
- 1 cup granulated sugar
- 1/2 cup freshly squeezed lemon juice (about 3-4 lemons)
- 1 tablespoon lemon zest (optional but highly recommended)
- 6 tablespoons unsalted butter, cut into small cubes
- A pinch of salt
Instructions
PREPARE YOUR TOOLS: Have a medium heavy-bottomed saucepan, fine mesh strainer, whisk, and silicone spatula ready before starting.
WHISK THE EGGS AND SUGAR: In the saucepan, combine the egg yolks, whole eggs, and granulated sugar. Whisk until fully blended and slightly thickened.
ADD LEMON JUICE, ZEST, AND SALT: Slowly whisk in the lemon juice, lemon zest, and a pinch of salt, ensuring the mixture is completely combined.
COOK LOW AND SLOW: Set the saucepan over low to medium-low heat. Stir constantly with a silicone spatula, scraping the bottom and sides to prevent curdling. Continue stirring for 8 to 12 minutes, until the curd thickens and coats the back of a spoon.
STRAIN FOR SILKY SMOOTHNESS: Remove the curd from heat immediately and pour through a fine mesh strainer into a clean bowl to remove any cooked egg bits and zest.
STIR IN THE BUTTER: Add the butter cubes to the warm curd. Stir until the butter is fully melted and incorporated, creating a smooth, velvety texture.
COOL AND STORE: Place plastic wrap directly onto the surface of the curd to prevent a skin from forming. Let it cool completely before refrigerating.
Notes
The lemon zest is optional but highly recommended for added brightness and depth of flavor. Use fresh lemon juice for the best results.
This is fantastic!! Thank you for sharing your recipe!!
So glad you enjoyed it, Jacqui. Lemon curd is one of those things that feels like a small victory when it turns out just right. Thanks for taking the time to say something! 🍋