If you’ve ever tried to make mini tarts that look like flowers but ended up with something closer to pancakes in a muffin tin, I’ve been there. I wrote this for you – the baker who wants those sharp petal edges to stay crisp and the lemon curd to settle in smoothly without weeping.
You’ll learn the method I rely on to keep the shape intact, how to prep and chill the dough without fuss, and what sets this curd apart from most I’ve tested. There’s no mystery here, just straightforward technique.

Following a special diet?
Every recipe on this site can be converted to gluten-free, vegan, dairy-free, keto, nut-free or egg-free with adjusted ratios so nothing falls flat.
Try the Recipe Converter →Why These Flower Lemon Tarts Work Better Than Most
This recipe walks a line between crisp and tender, bright and buttery. The tart shells bake into defined flower cups without shrinking. The curd holds its gloss even after chilling.
I’ve compared several shaping methods over the years, and the one I use here—rolling the dough thin and pressing into mini muffin tins with just a bit of lift at the edges – makes a difference. It encourages those petal points to bake golden and stay put.
How to Make Flower Tart Shells That Hold Shape
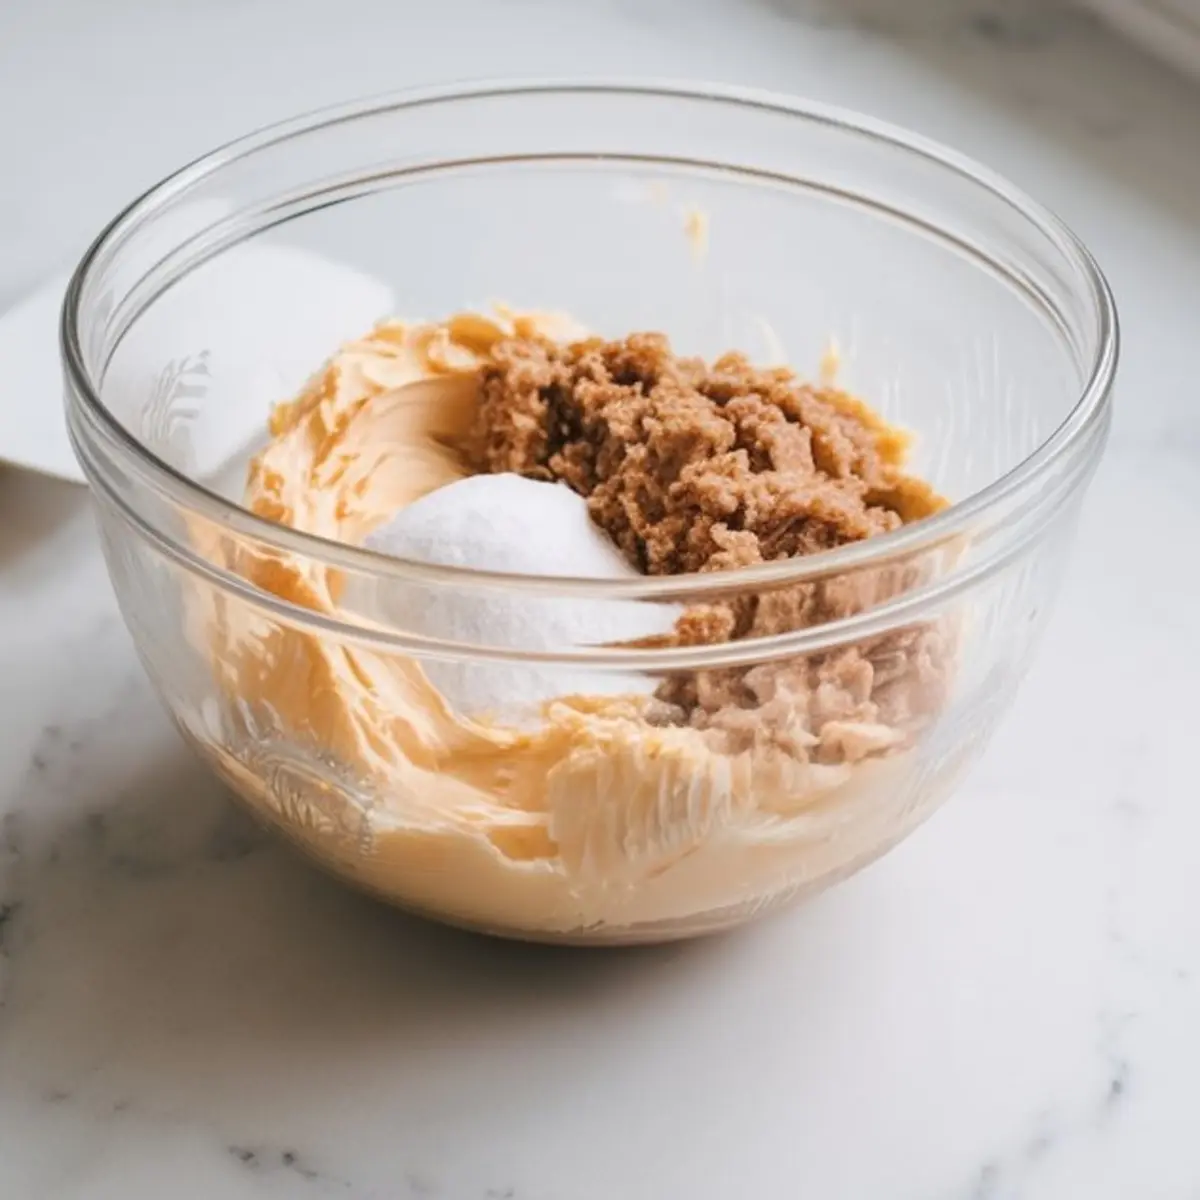
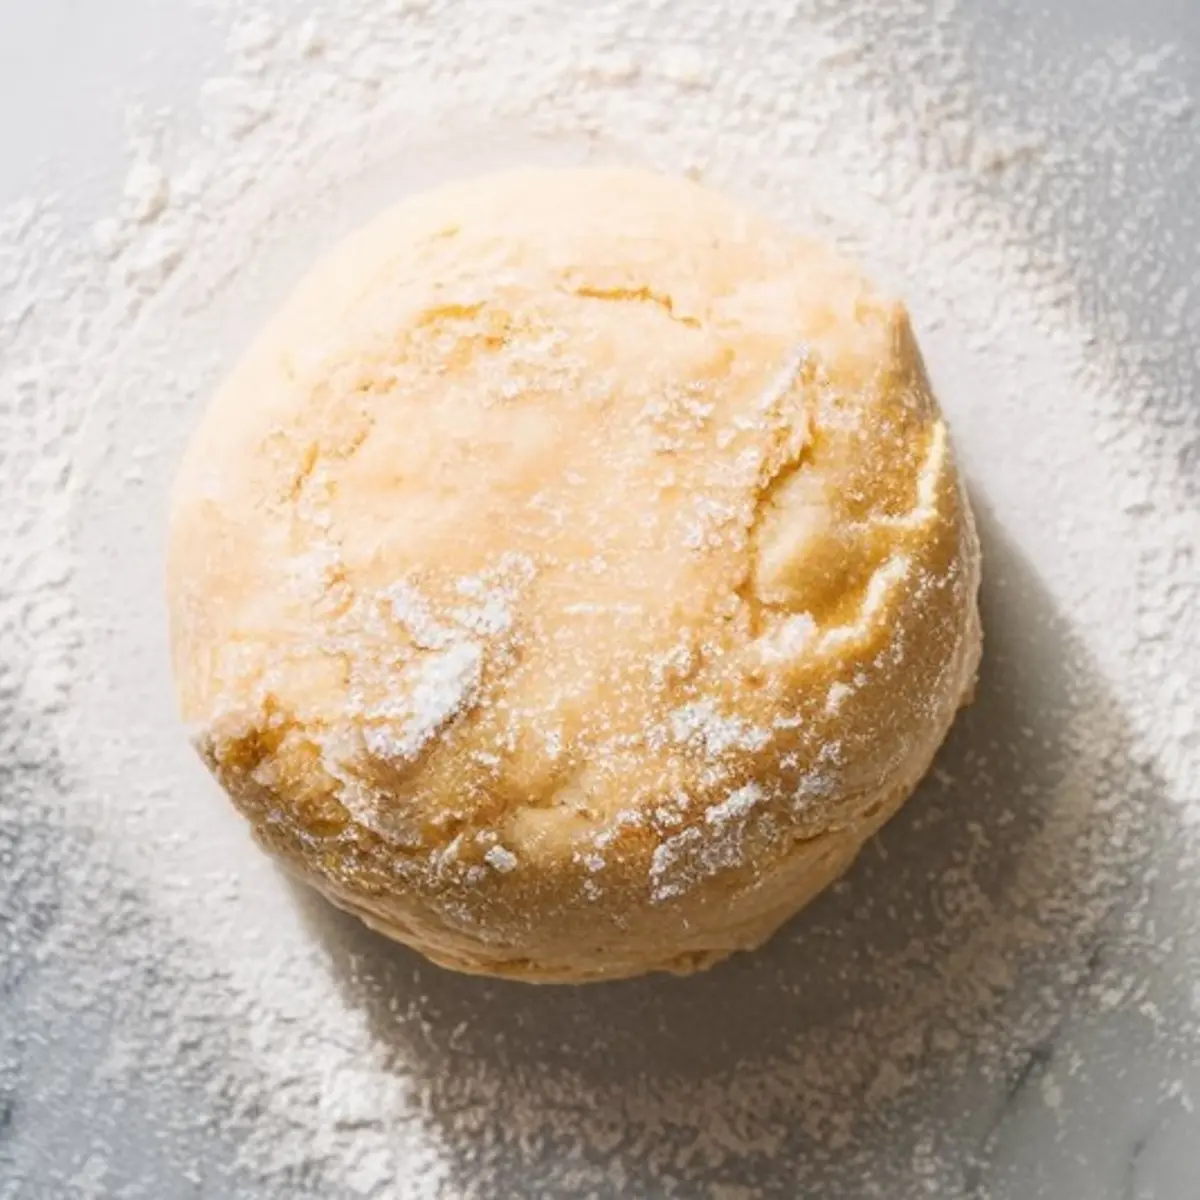
Start with soft, room temperature butter. Cream it with powdered sugar until smooth. I always add the yolk and vanilla before the dry ingredients, this keeps the dough pliable but not sticky.
After flour and salt go in, mix only until the dough holds together. Press it flat and chill it at least 30 minutes. This step can’t be rushed. If it’s not cold, the flower shape won’t survive the oven.
Tips for Rolling and Cutting Clean Petal Shapes
Once the dough is chilled, roll it on a floured surface to about 1/8 inch thick. Use a 3.5-inch flower-shaped cookie cutter. I press mine into a mini muffin tin gently, letting the petal edges peek above the rim.
Then I dock the bottoms with a fork and chill the whole tin again for 10 to 15 minutes. That second chill matters—it keeps the petals from puffing or collapsing.
Use Pie Weights to Keep the Centers Flat
I bake the shells in two rounds. First, with pie weights or beans in parchment for 10 minutes. Then, remove the weights and bake another 5 to 7 minutes until just golden. Cool completely before filling.
Dusting the Shells: Small Step, Big Difference
After the shells cool, I dust the rims with powdered sugar. This adds contrast when the lemon curd goes in. I’ve skipped this step before and always regret it—the final look feels unfinished without it.
Making Smooth Lemon Curd That Doesn’t Break
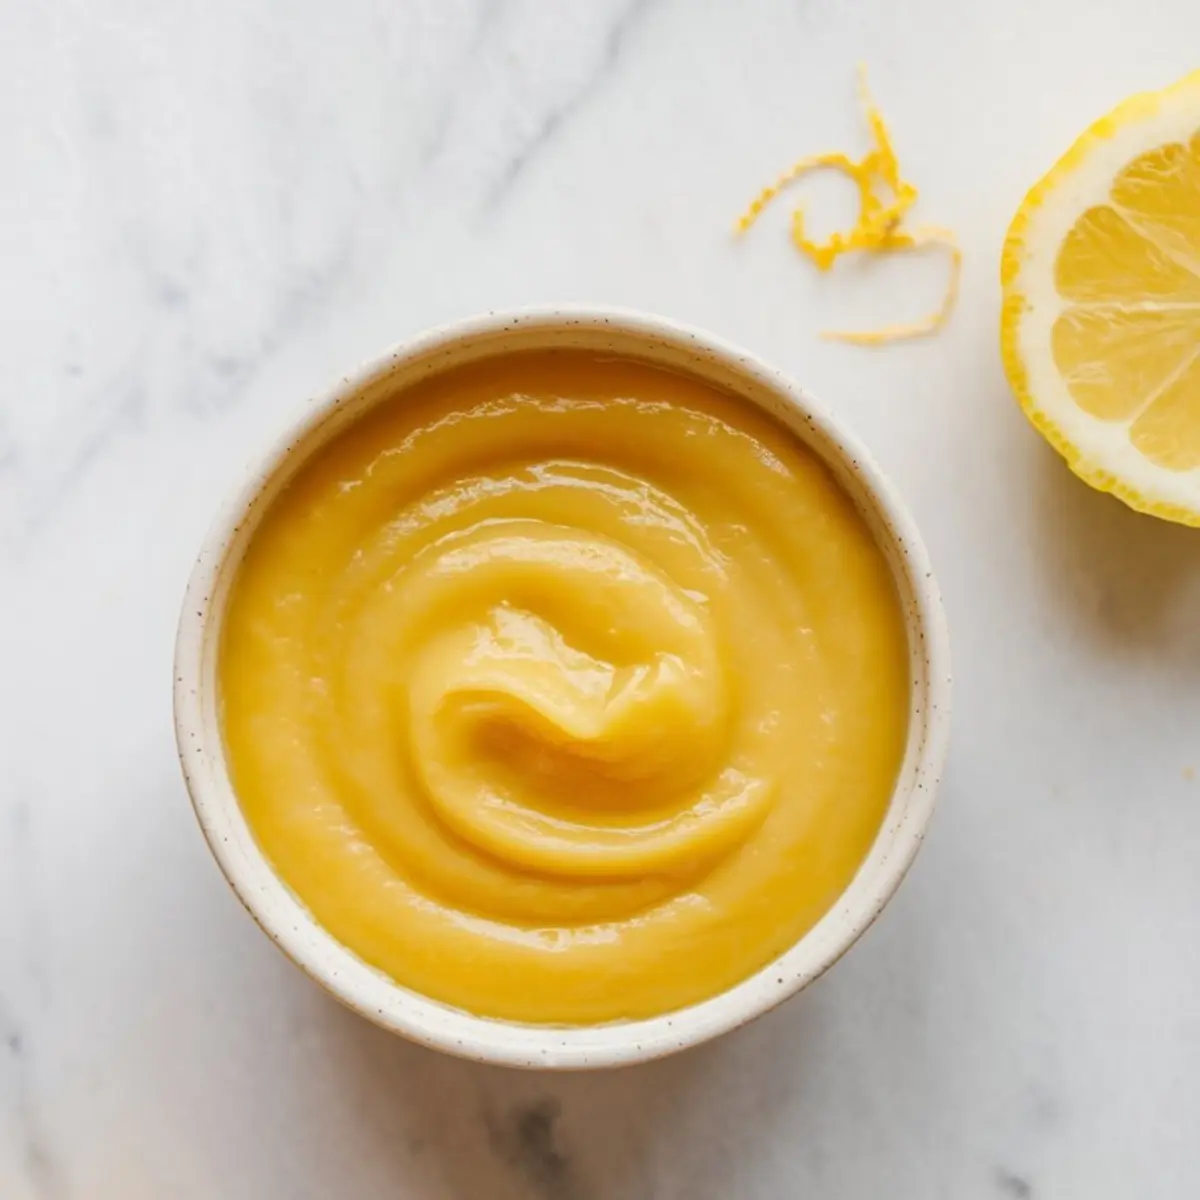
In my experience, curd comes down to patience and movement. Whisk together lemon juice, zest, sugar, and eggs. Cook over medium heat, stirring constantly. Never walk away.
It thickens slowly, then all at once. Once it coats the back of a spoon, pull it from the heat and stir in cold butter. Strain for silkiness.
I cover mine with plastic wrap touching the surface to avoid skin, then chill for at least one hour.
Butter vs. Oil in Tart Dough
In my recipe notes, I once tested a neutral oil instead of butter to see if it would produce a crispier shell. It didn’t. Butter gave better structure and flavor, while the oil made the shells too soft and greasy after baking.
For defined flower edges, butter wins every time.
How to Assemble Without Mess
Once the curd is chilled and thick, spoon or pipe it into each shell. A piping bag makes cleaner edges. Add an edible flower, a lemon zest curl, or a thin lemon slice if you like. Serve cold or room temp.
Storage and Serving Tips from My Kitchen
I keep these in the fridge, loosely covered. They hold well for 24 hours without the shell going soft. After that, the curd starts to weep slightly.
If you’re making them ahead for a party, bake the shells the day before and fill the morning of. These have been a hit at spring showers, tea tables, and one bridal brunch where they vanished before the coffee brewed.
More Lemon Recipes to Try Next
If you love citrus, you might enjoy these Lemon Poppyseed Mini Bundt Cakes or the creamy Meyer Lemon Pudding Cake. I’ve also made these Lemon Cookie Cups for bake sales and Lemon Curd Cake for birthdays.
Save and Share Your Baking Wins
You can pin this recipe to your lemon dessert board and come back to it anytime. If you make these flower tarts, let me know in the comments. I’d love to hear how they turned out or what twist you added.
Mini Flower Lemon Tarts Recipe
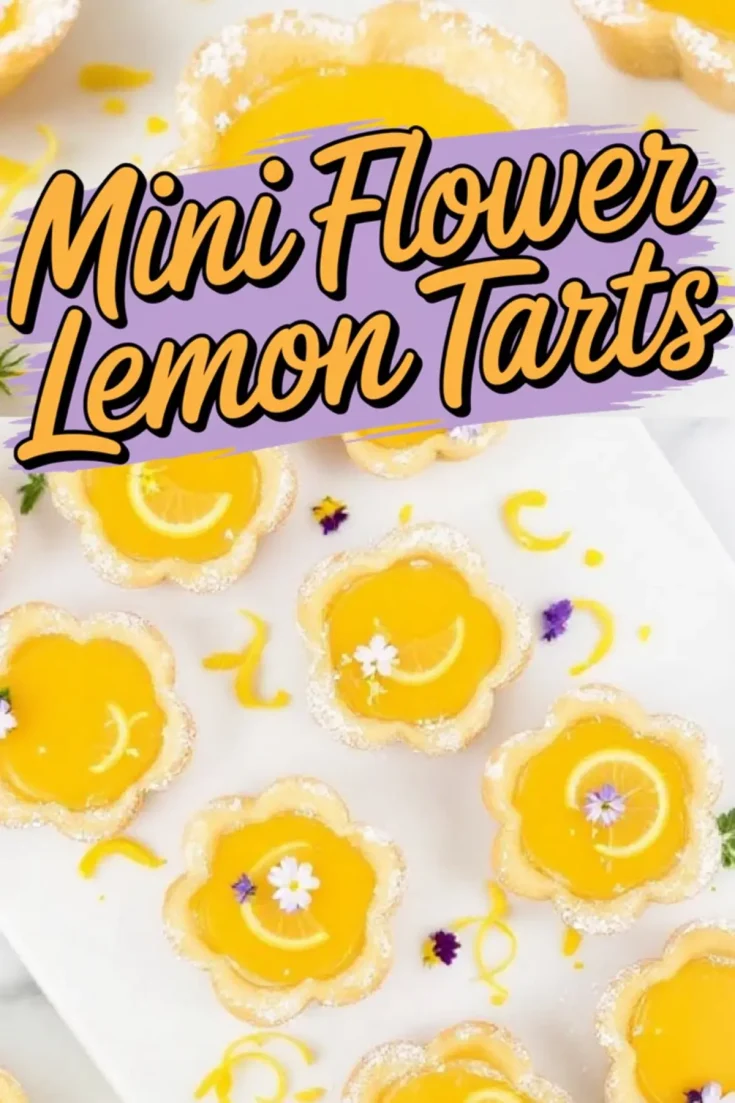
Mini Flower Lemon Tarts feature crisp, buttery flower-shaped tart shells filled with smooth lemon curd and finished with a light dusting of powdered sugar. These bright, delicate treats bring fresh citrus flavor and visual charm to spring gatherings and afternoon tea tables.
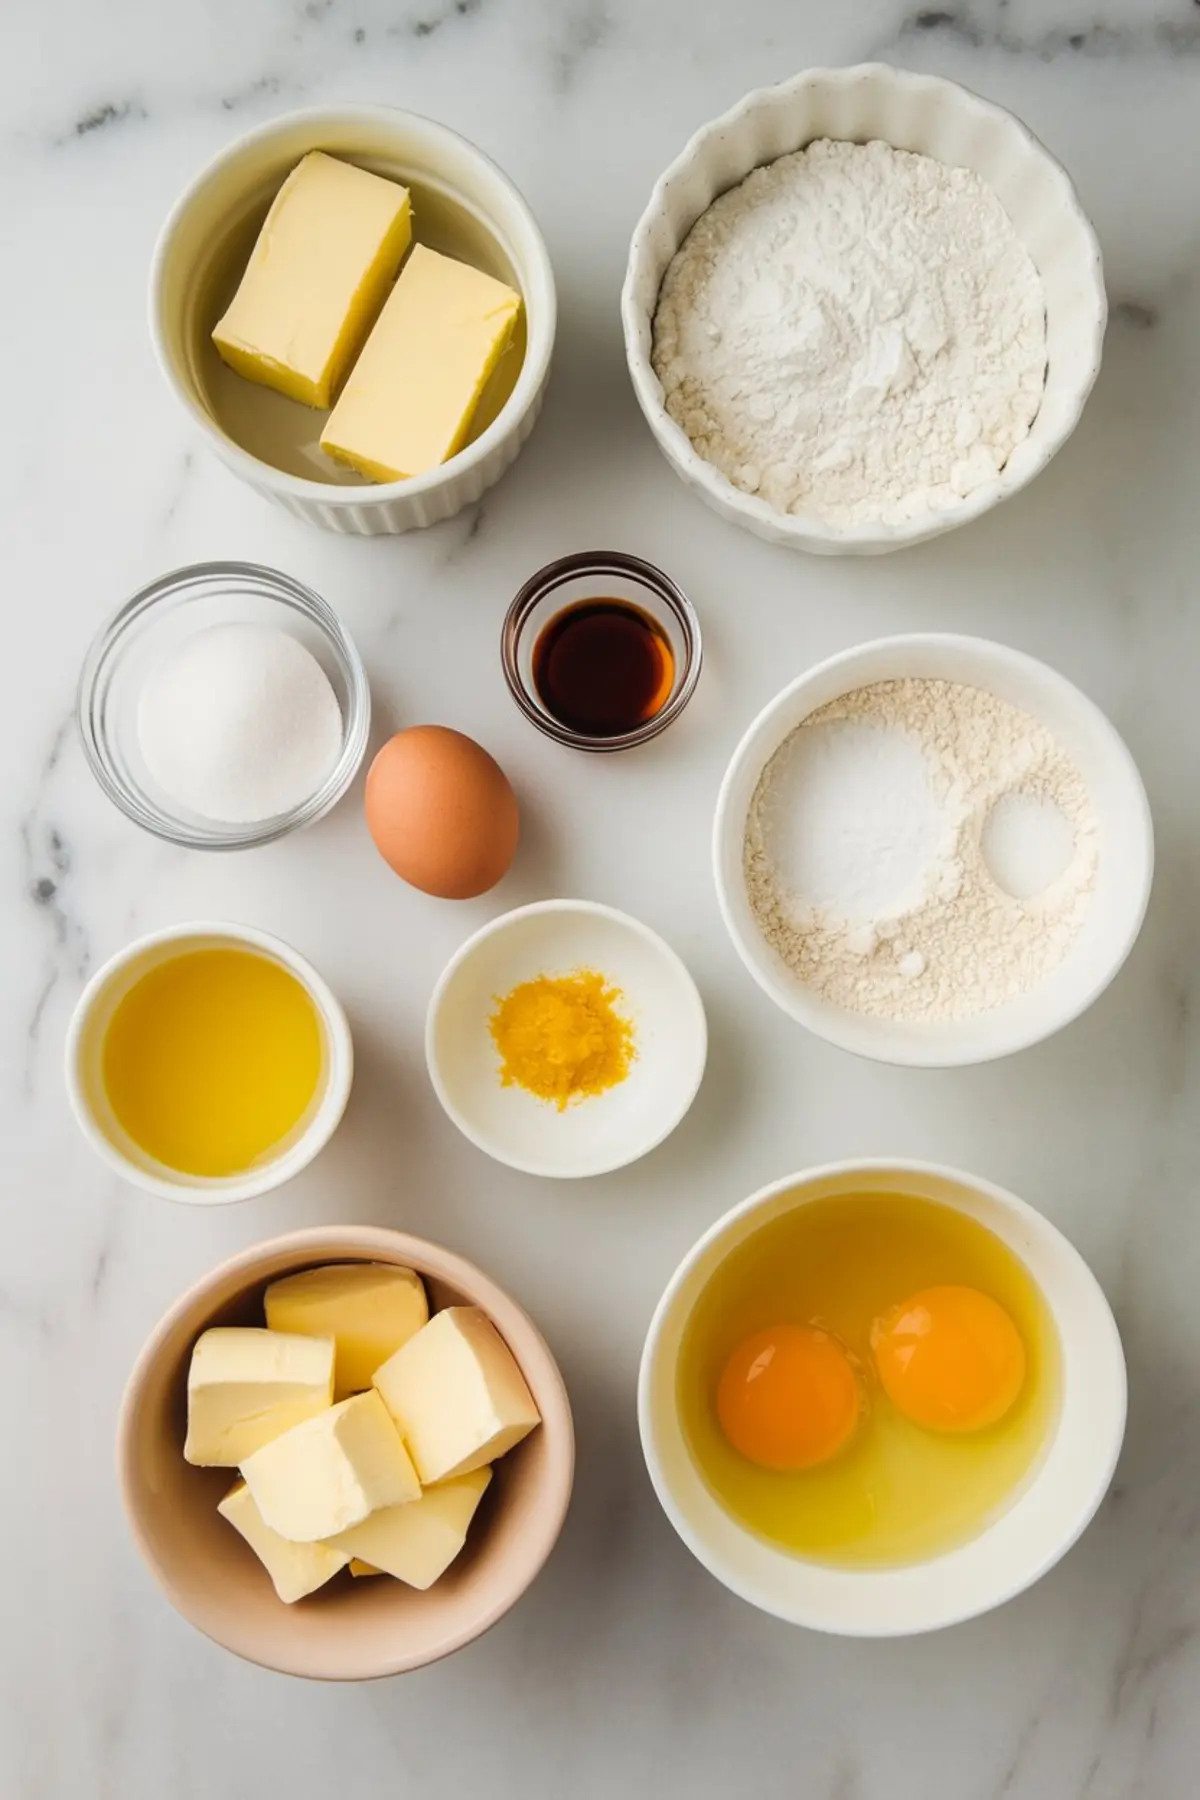
Ingredients
- FOR THE FLOWER TART SHELLS
- 1 cup (2 sticks) unsalted butter, softened
- 1/2 cup powdered sugar
- 1 large egg yolk
- 1/2 teaspoon vanilla extract
- 2 cups all-purpose flour
- 1/4 teaspoon salt
- FOR THE LEMON CURD
- 3/4 cup fresh lemon juice (about 4 lemons)
- Zest of 2 lemons
- 3/4 cup granulated sugar
- 3 large eggs
- 1/2 cup unsalted butter, cut into cubes
- FOR FINISHING
- Powdered sugar, for dusting
- Edible flowers or lemon zest, for garnish (optional)
Instructions
- MAKE THE TART DOUGH: Cream the softened butter and powdered sugar together in a large bowl until smooth and fluffy. Add the egg yolk and vanilla extract, then mix until fully incorporated. Stir in the flour and salt until the dough comes together, being careful not to overmix. Flatten the dough into a disc, wrap it in plastic wrap, and refrigerate for at least 30 minutes.
- SHAPE AND BAKE THE TART SHELLS: Preheat the oven to 350°F (175°C). On a lightly floured surface, roll the chilled dough to about 1/8 inch thick. Use a 3.5-inch flower-shaped cookie cutter to cut out shapes. Gently press each flower shape into the wells of a mini muffin tin, allowing the petal edges to rise slightly above the rim. Dock the bottoms of each tart with a fork, then chill the entire pan in the refrigerator for 10 to 15 minutes. Bake the shells with pie weights or parchment and dried beans for 10 minutes. Remove the weights and continue baking for another 5 to 7 minutes, or until the shells are lightly golden. Let the tart shells cool in the pan for 5 minutes, then carefully remove and allow them to cool completely on a wire rack.
- DUST THE BAKED SHELLS: Once the tart shells are fully cooled, lightly dust the edges with powdered sugar using a fine mesh sieve. This adds a clean contrast to the lemon curd filling.
- MAKE THE LEMON CURD: In a medium saucepan, whisk together the lemon juice, lemon zest, granulated sugar, and eggs. Place the saucepan over medium heat and cook, stirring constantly, until the mixture thickens to a custard-like consistency, about 8 to 10 minutes. Remove from the heat and whisk in the butter until the curd is smooth and fully emulsified. For a silky finish, strain the curd through a fine mesh sieve. Cover with plastic wrap pressed directly onto the surface of the curd and chill in the refrigerator for at least 1 hour.
- ASSEMBLE THE TARTS: Spoon or pipe the chilled lemon curd into each prepared tart shell. Garnish with edible flowers, lemon zest curls, or thin lemon slices, if desired. Serve chilled or at room temperature.
Notes
To help the flower shape hold during baking, avoid overworking the dough and be sure to chill the shaped tarts before baking. If your flower cutter is too large or small, adjust rolling thickness and baking time as needed.
Nutrition Information
Yield
24Serving Size
1Amount Per Serving Calories 203Total Fat 8gSaturated Fat 4gTrans Fat 0gUnsaturated Fat 3gCholesterol 66mgSodium 64mgCarbohydrates 31gFiber 1gSugar 20gProtein 3g