
I enjoy the bright burst of citrus in a creamy treat, and lemon mousse always brings back cherished memories. My grandmother introduced me to this cool and tangy dessert on a warm afternoon, and that first spoonful felt like a moment of pure sunshine. Each bite tasted sweet, tart, and comforting in ways I never forgot. That special feeling guided me when I created my own version of lemon mousse, which still reminds me of those cozy kitchen chats with family.
Following a special diet?
Every recipe on this site can be converted to gluten-free, vegan, dairy-free, keto, nut-free or egg-free with adjusted ratios so nothing falls flat.
Try the Recipe Converter →My Sweet History with This Creamy Citrus Treat
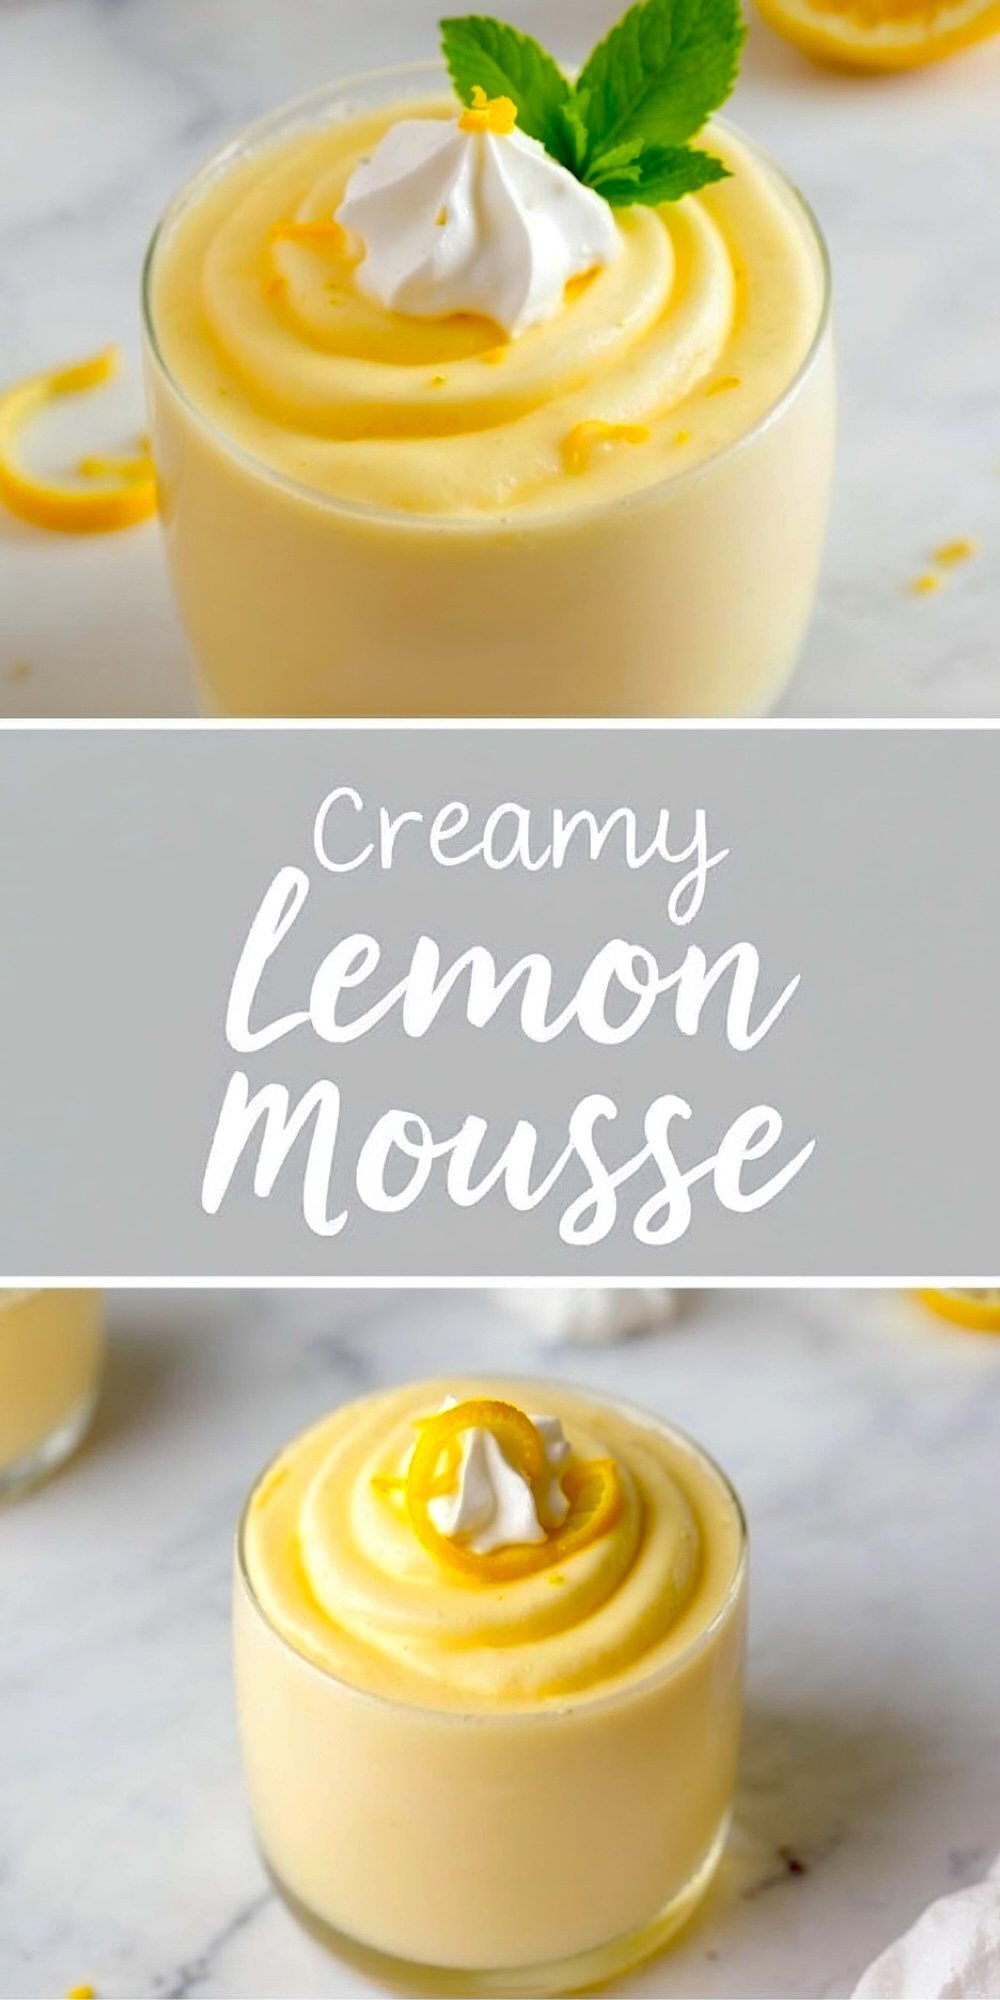
I remember the clinking of vintage bowls and the gentle hum of conversation as I took my first bite of lemon mousse in my grandmother’s dining room. She added fresh mint leaves from her garden as a finishing touch. That splash of green against the pale yellow mousse told me this dessert was something magical. I tried to replicate that same harmony when I started cooking by myself.
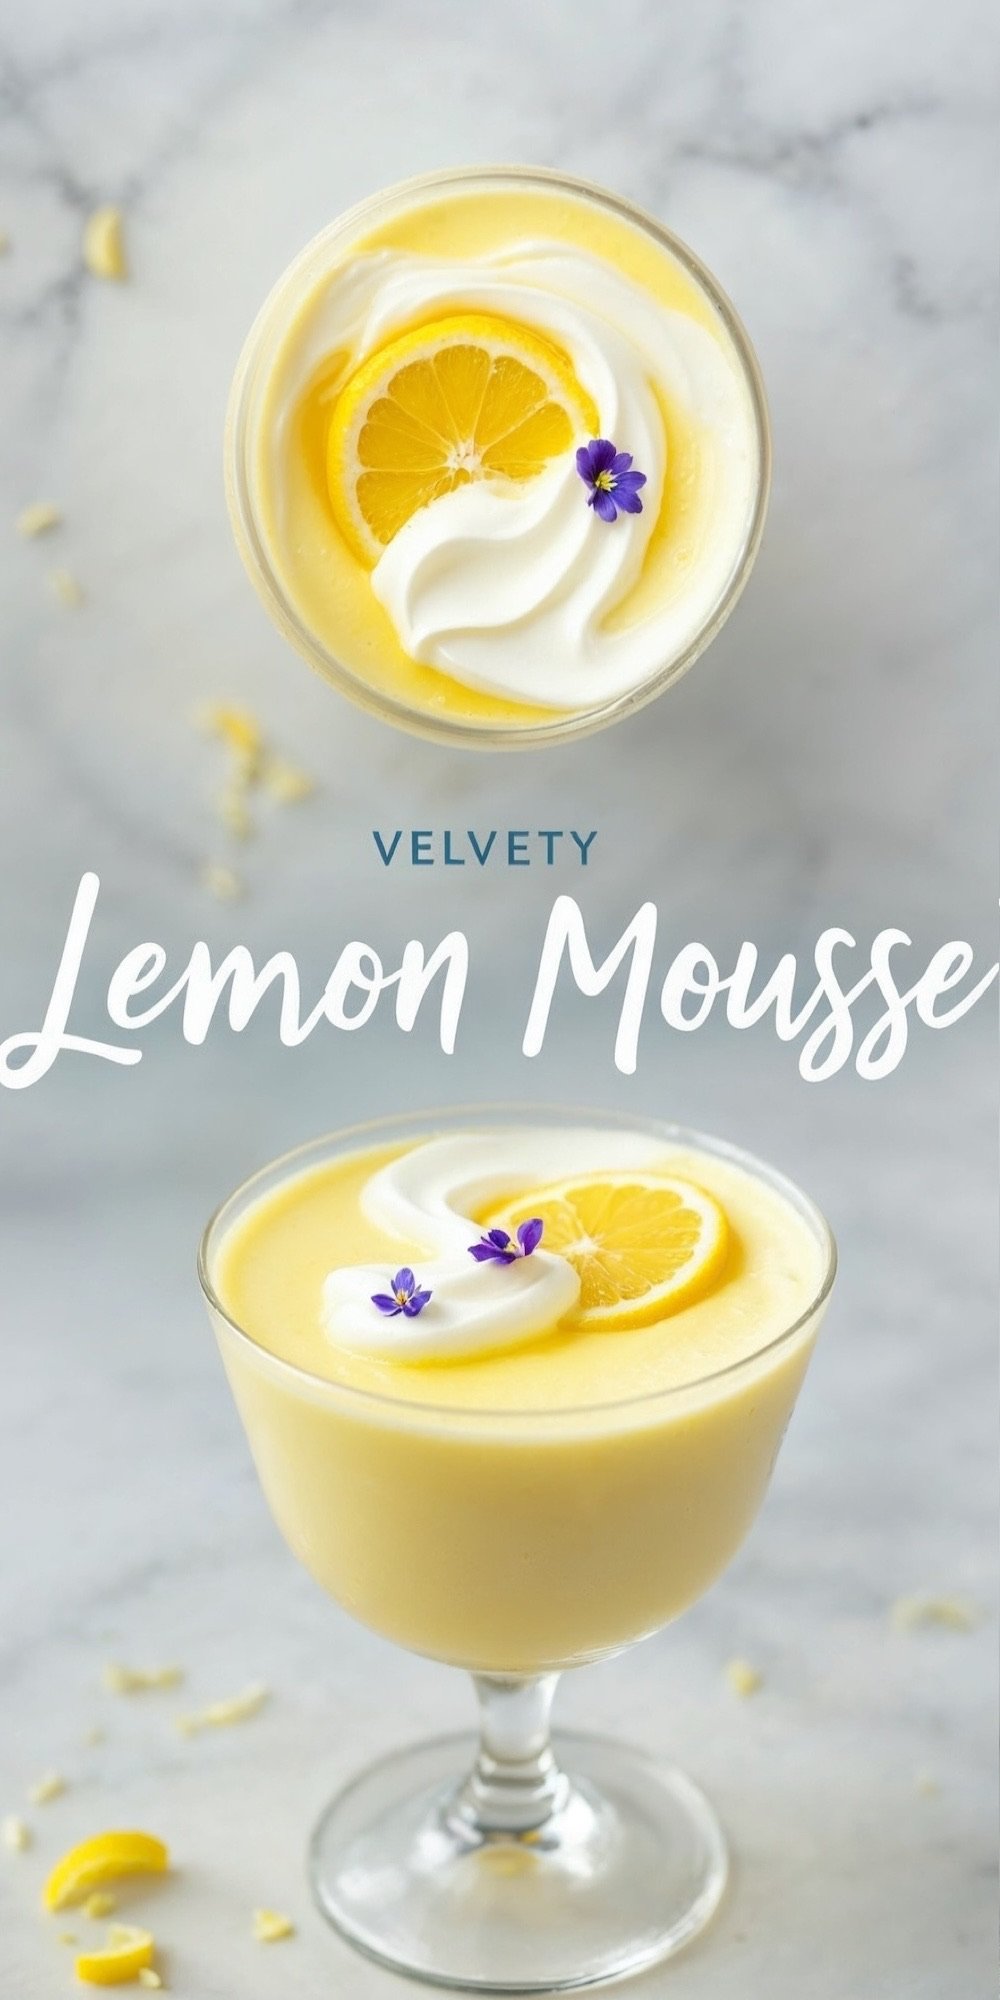
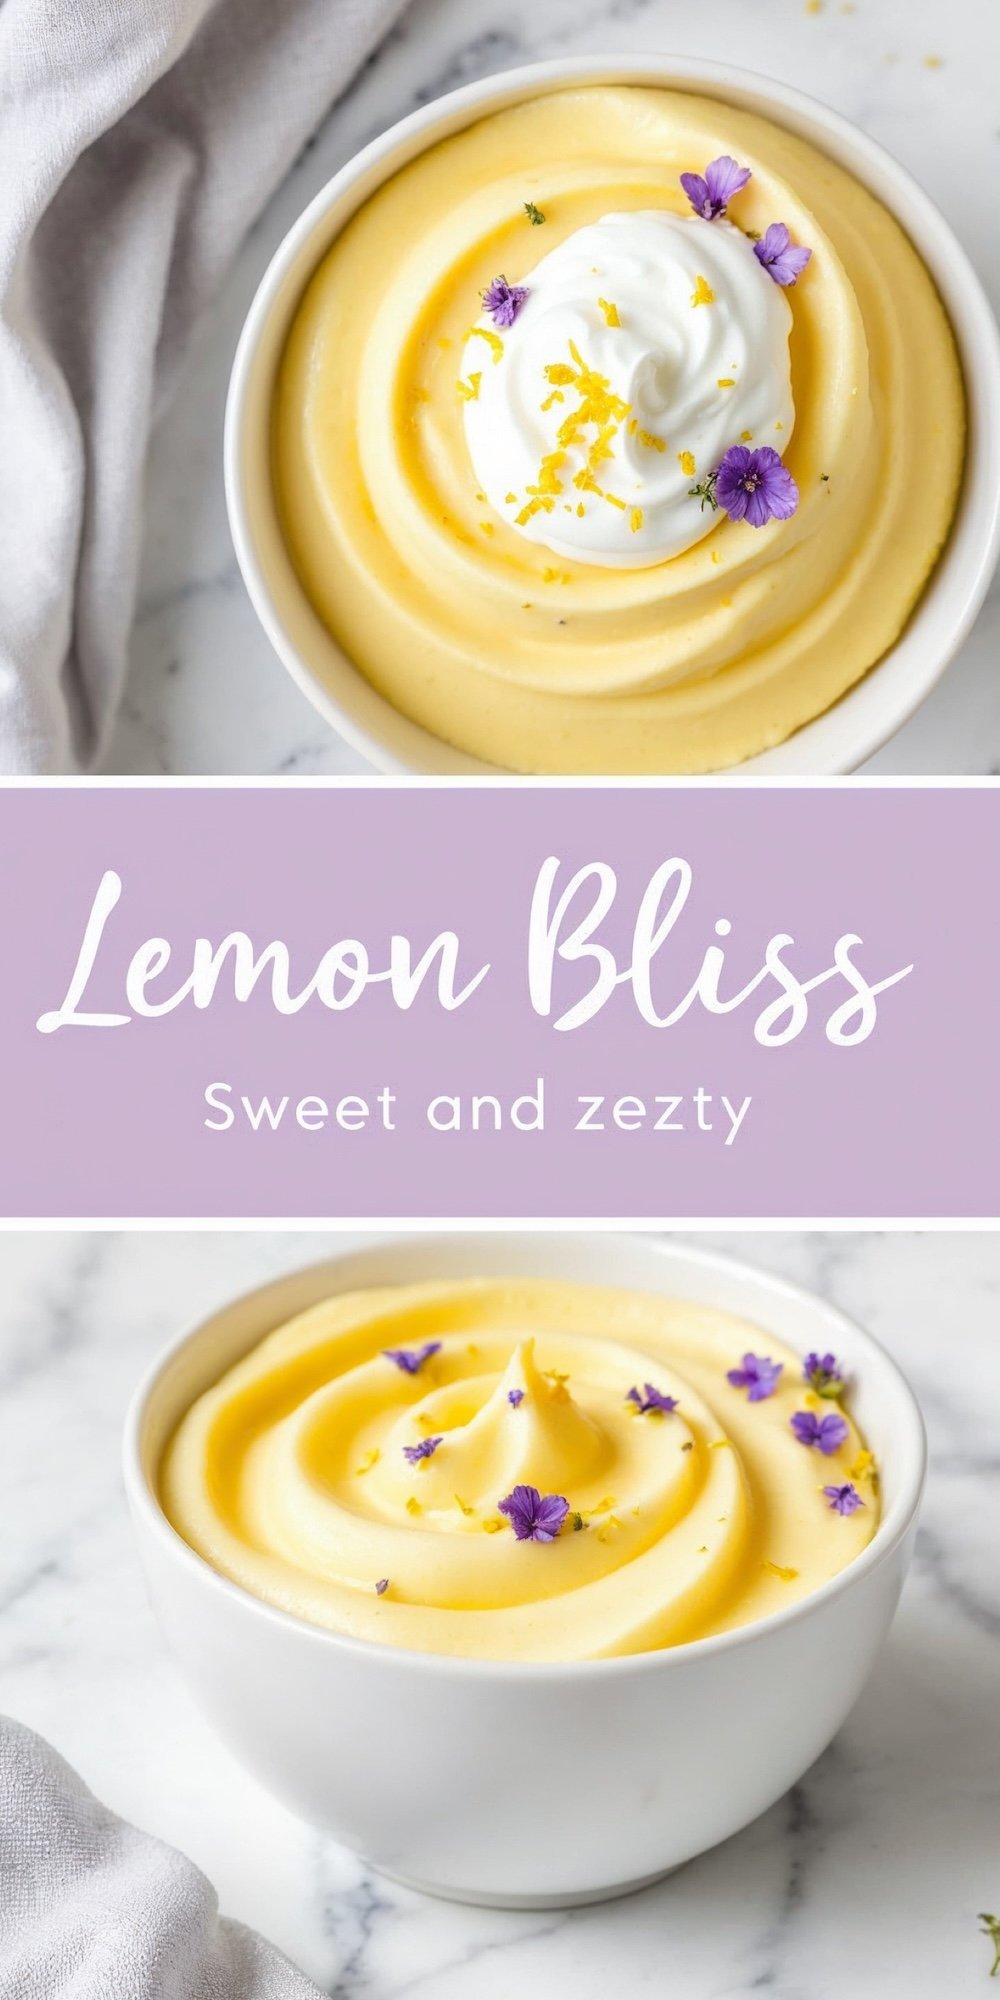
My lemon mousse began as an experiment, but I soon found that a careful balance of tangy citrus, silky cream, and a light, airy texture captured the same feeling I had all those years ago. I still love to serve it in little glass cups, each with a garnish that hints at the fresh ingredients inside.
Why Quality Ingredients Make a Difference
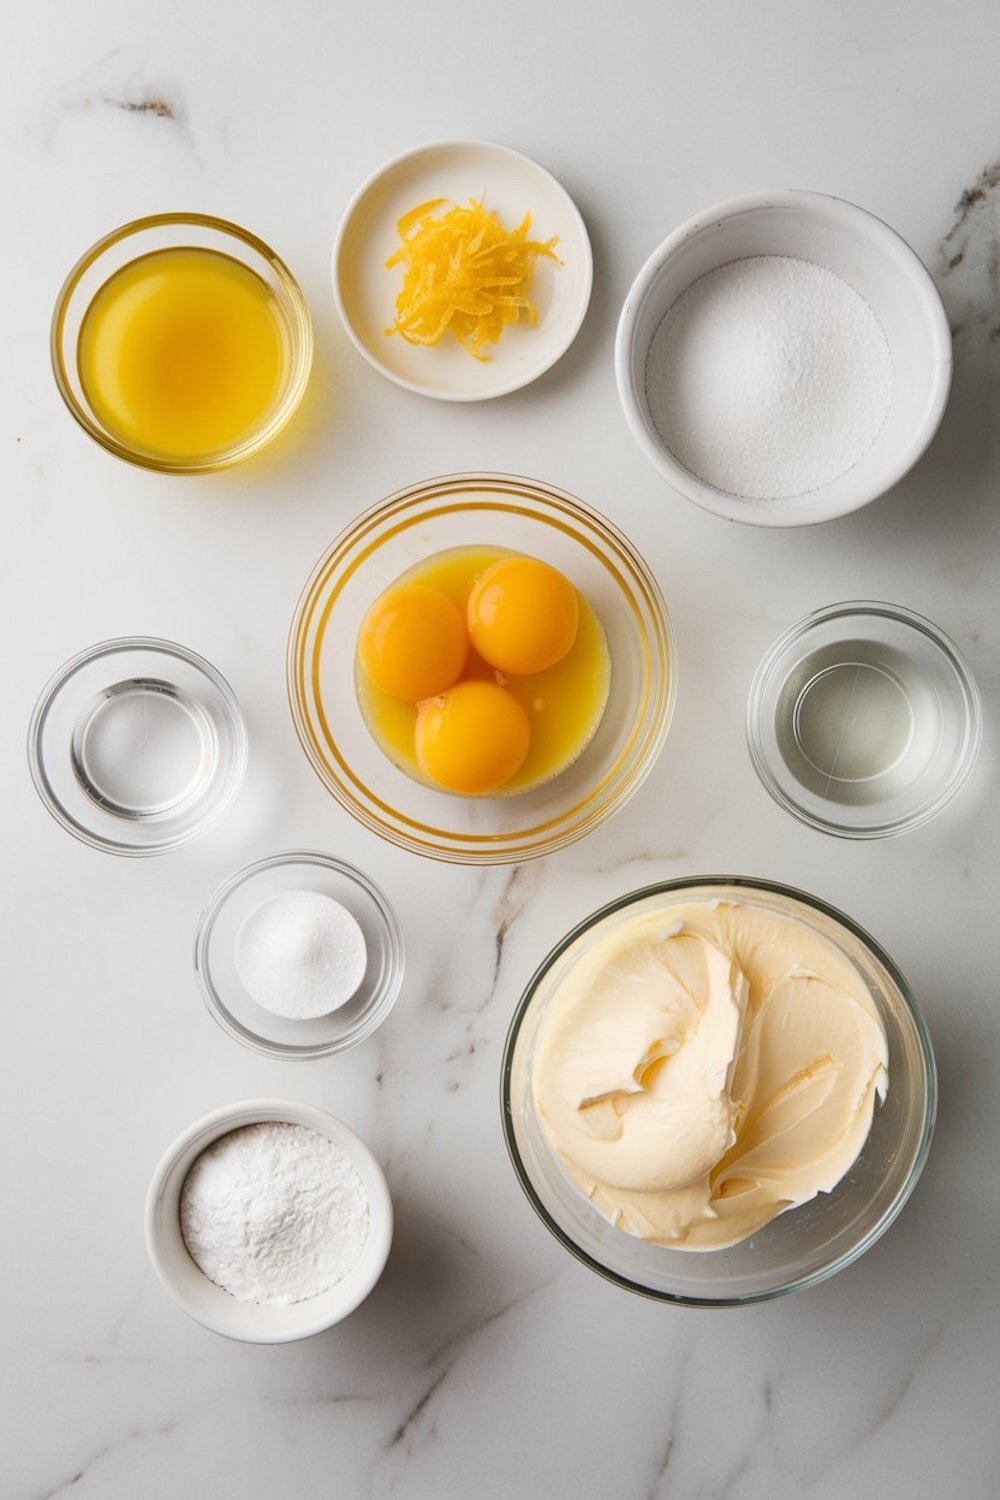
I choose fresh lemon juice rather than anything bottled. The vibrant kick of real juice pairs with the zest to create a signature flavor that has depth and sparkle. Egg yolks, sugar, and water unite in a saucepan to form a smooth lemon curd. This simple mixture needs gentle heat, plus constant stirring, to keep its texture velvety.
Gelatin helps achieve that lush consistency, so it’s important to soften it in cold water before dissolving it in short bursts of heat. A quick stir into the cooled lemon mixture blends everything into a bright foundation. Heavy whipping cream takes care of the satisfying richness, and powdered sugar sweetens it just enough to offset the citrus bite.
Building the Tangy Lemon Base
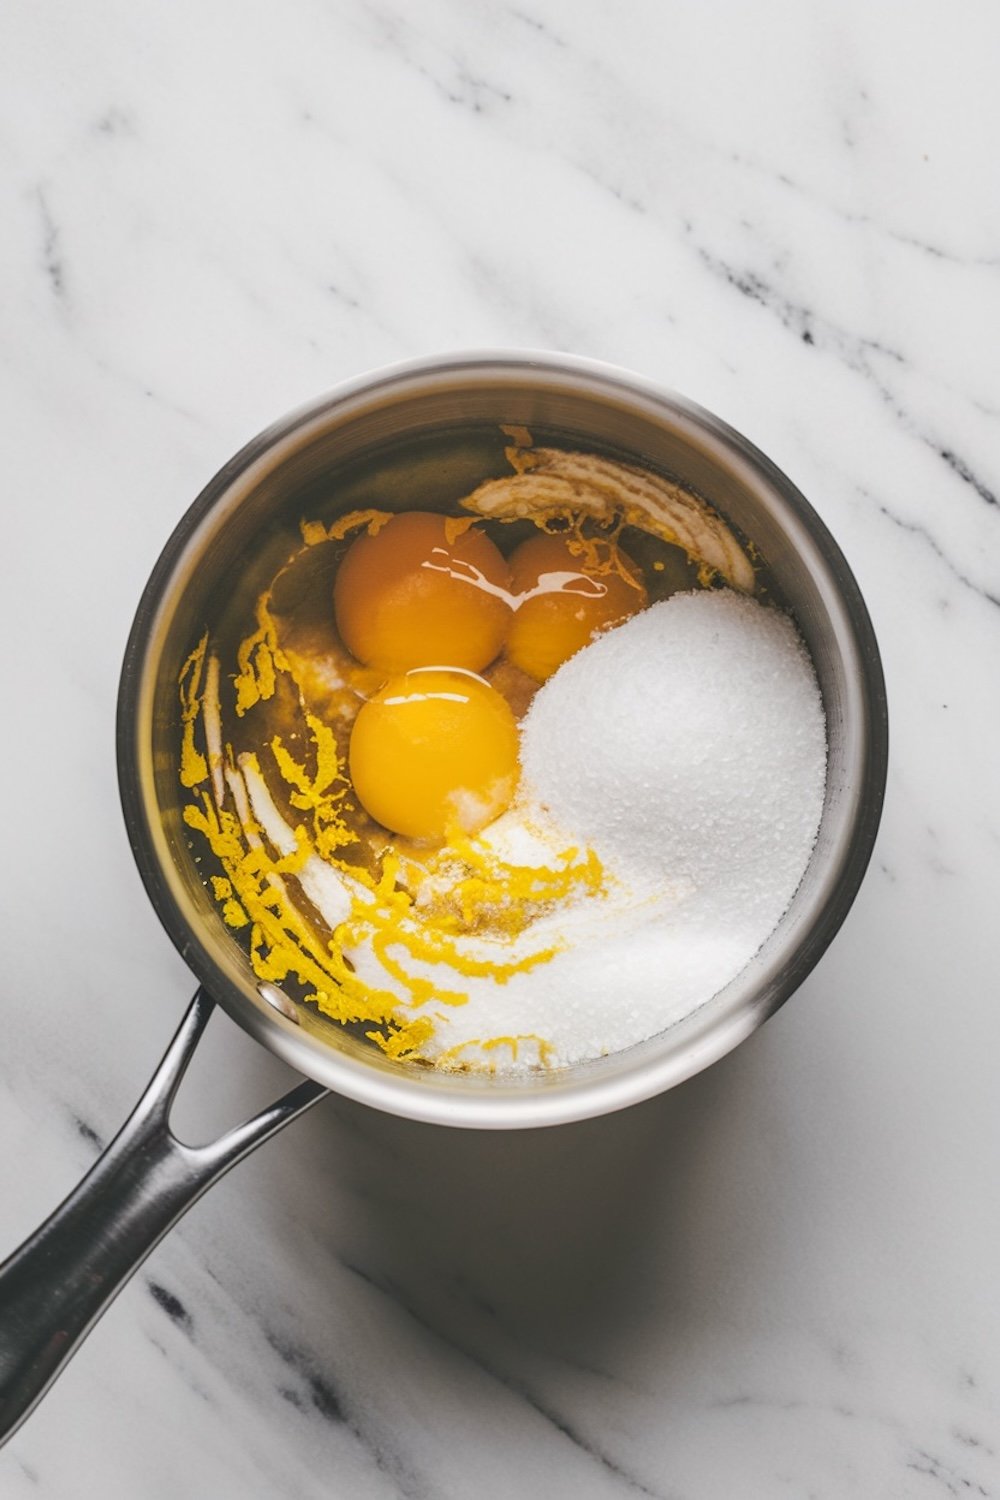
I find that whisking lemon juice, zest, egg yolks, sugar, and water in a saucepan sets the perfect stage. The mixture must heat over medium while I stir to prevent any uneven thickening. The goal is a curd that clings to a spoon without dripping. I recall the first time I tried this step by myself, I hovered over the pot like it might suddenly vanish. Patience pays off here.
Once the curd thickens, the pan leaves the stove, and the mixture cools on the counter. This part of the process gives the citrus flavor time to mingle in a relaxed way, without losing its spark.
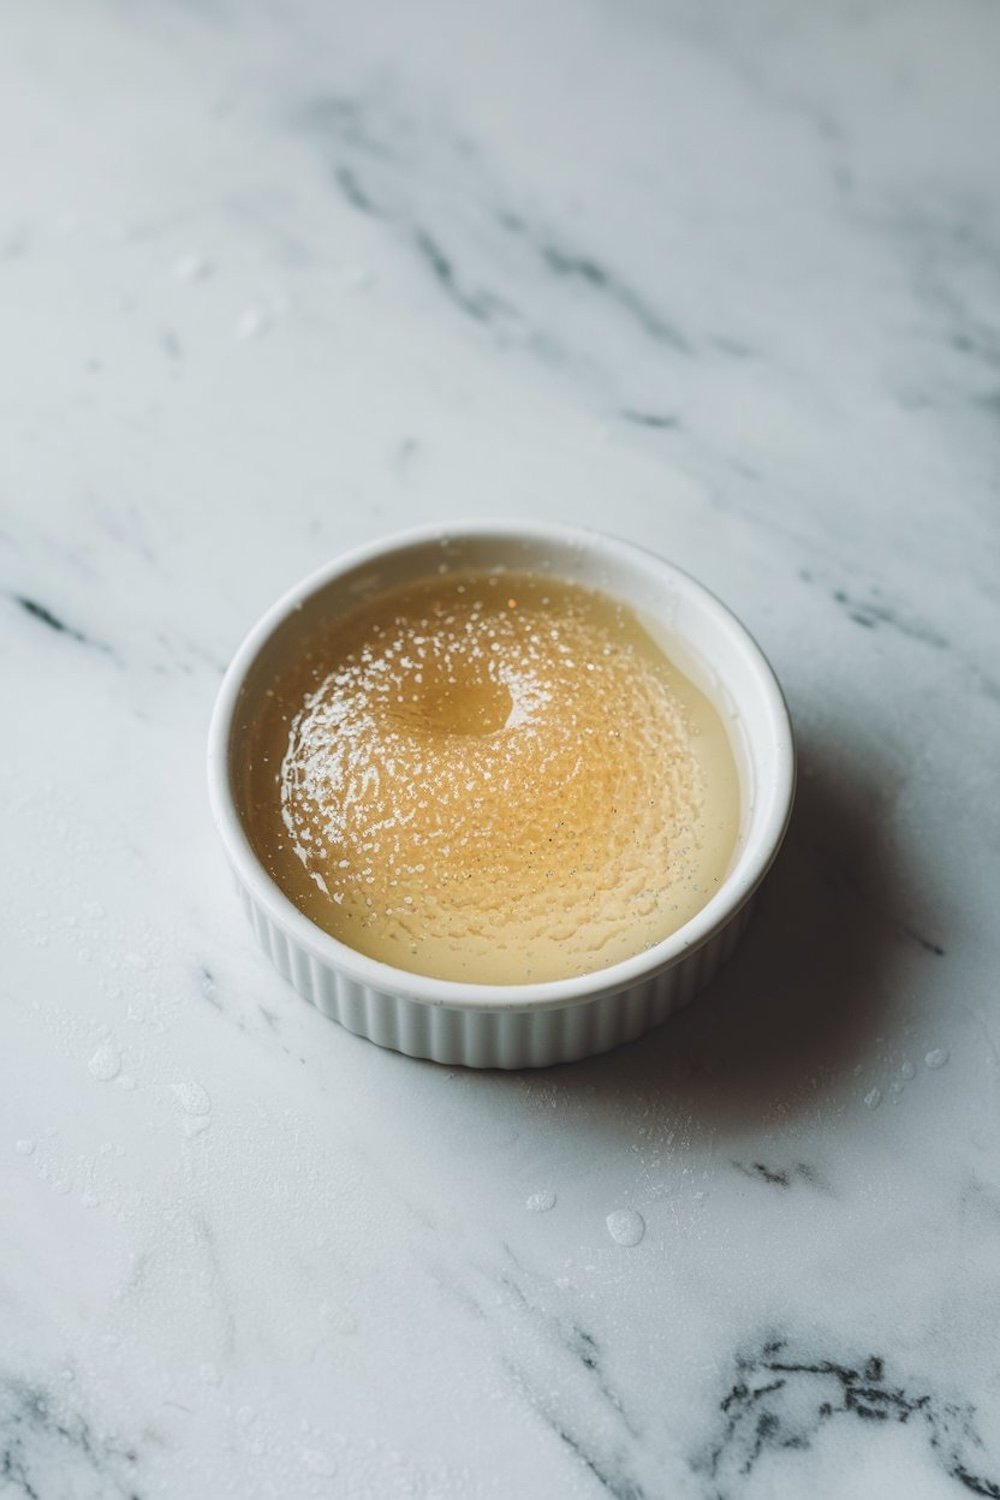
Preparing Gelatin for an Airy Finish
I sprinkle gelatin over a small dish of cold water. It sits untouched for around five minutes, taking on a soft, gel-like look. A few seconds in the microwave melts it fully, and that warm liquid gelatin stirs into the cooled lemon curd. This extra step supports the mousse texture and ensures a smooth mouthfeel. I treat this moment with care because I want that gentle fluff, rather than lumps or graininess. My grandmother once told me that good technique shows respect for the ingredients.
Achieving Clouds of Whipped Cream
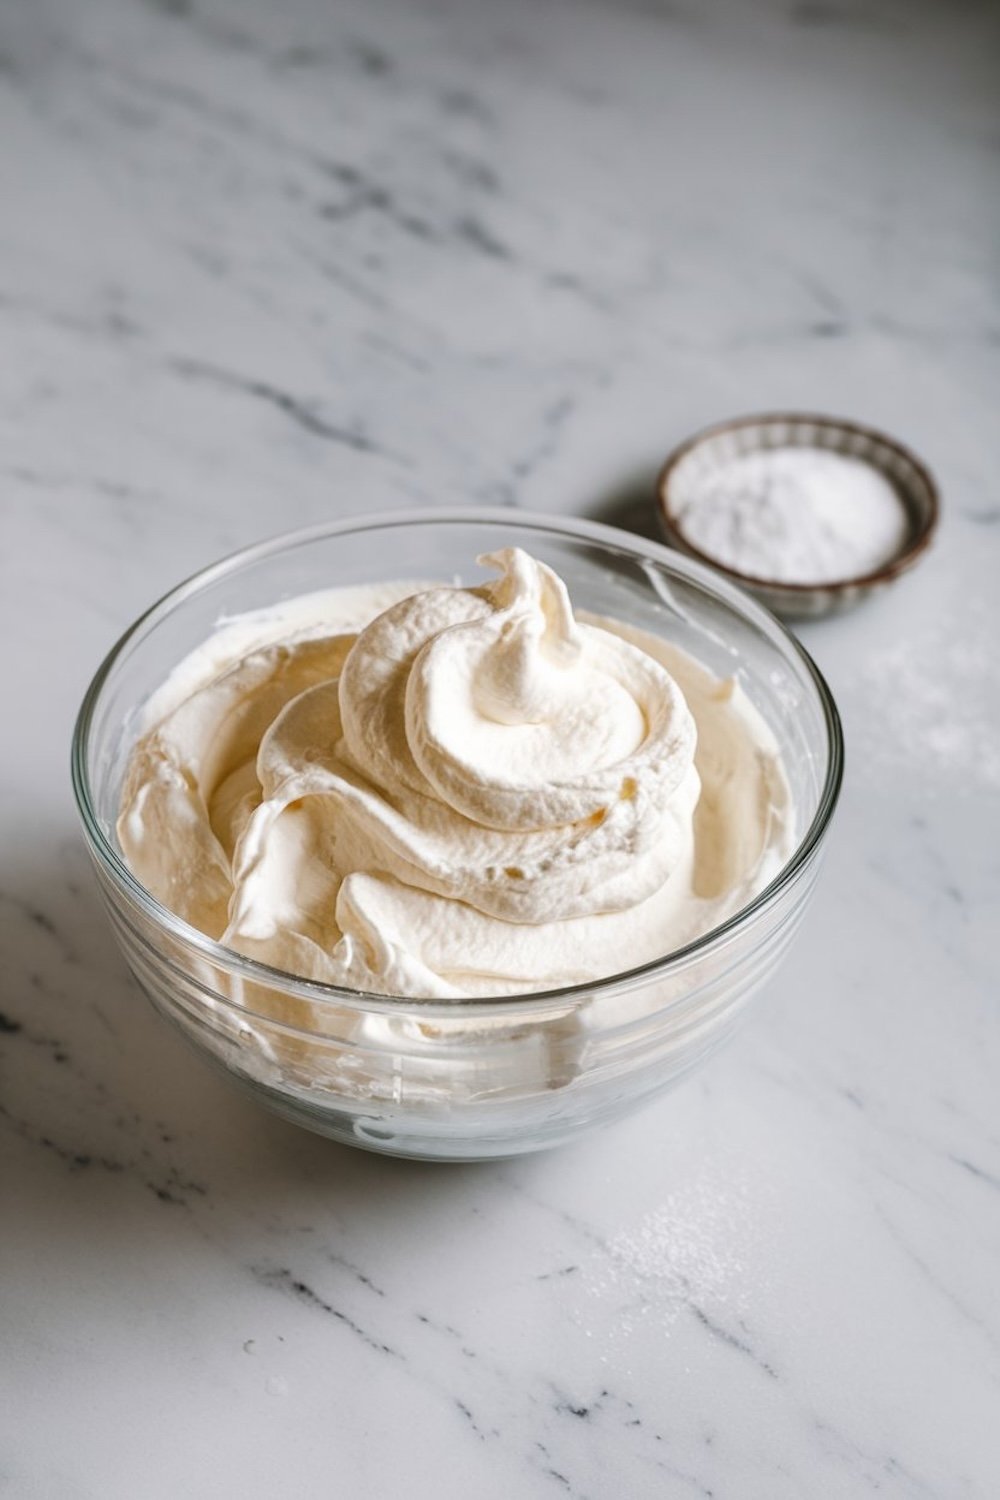
I reach for my mixing bowl and chill it in the freezer for a few minutes. Cold equipment helps me whip the cream more quickly. The heavy cream and a bit of powdered sugar go into the bowl. I then use my hand mixer to form soft peaks, which soon firm into stiff peaks that hold their shape. My experience taught me that whipped cream needs a bit of attention and a watchful eye.
Overwhipping can ruin the texture, and underwhipping can lead to a mousse that sags. I reserve a small portion of whipped cream for decoration later, then keep the rest for blending into the lemon mixture.
Combining Lemon and Cream into a Silky Dessert
I gather the cooled lemon base and gently fold in the whipped cream. A careful folding motion keeps the air intact, so the mousse stays light. Fast stirring can deflate the cream, and that would take away the lovely fluff I’ve been working to preserve. I follow a simple pattern of turning the bowl while sliding my spatula under the mixture, then sweeping it over the top in small arcs. This step never fails to calm me because I see the dessert come together in a swirl of pale yellow and white.
Resting and Chilling for the Best Texture
I spoon the mousse into individual cups or small bowls. It feels like a moment of artistry, setting each portion into place. Plastic wrap goes on top, and the cups chill in the fridge for about two hours. This short wait allows the dessert to set into a light, airy cushion. I often use that time to plan garnishes or to tidy up. The fragrance of lemon still lingers on my fingertips, which always sends a pleasant signal that dessert is on the way.
Final Flourishes That Bring It All Together
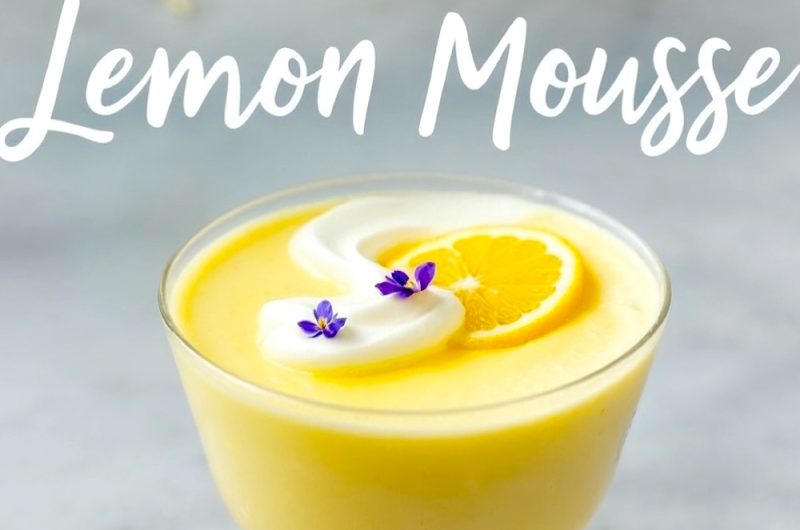
I top each serving with a swirl of reserved whipped cream. A scattering of lemon zest adds color and reminds everyone of the main ingredient. Fresh mint leaves also look beautiful against the pale mousse. For an extra whimsical touch, I sometimes tuck an edible flower on the rim. My mother once loved to garnish her desserts with pansies, so I have carried on that tradition from time to time. That small garnish on top encourages people to dip their spoons in with a sense of delight.
Storage Tips and Serving Time
I keep leftover cups of mousse covered in the fridge for up to three days. The flavor remains bright on the first day, though it may soften a bit over time. I finish the leftover portions sooner rather than later, since the swirl of tangy citrus can become muted if I forget them in the back of the fridge. Friends and family often request this mousse when they plan casual gatherings, so it never stays in my refrigerator for long.
Ideas for Flavor Pairings
I love to spoon a layer of raspberry purée or fresh blueberry compote on top of my lemon mousse. That subtle sweetness pairs well with the tart citrus notes. A few crumbled cookies on top give a welcome crunch. My nephew once asked me to swirl in a small amount of strawberry purée, which created a pink marbled effect that tasted wonderful. That swirl is just one of many ways to play with presentation.
Other No-Bake Mousse Variations to Explore
I also recommend sampling other no-bake treats if lemon mousse inspires you to explore more. No bake desserts offer a way to enjoy sweet delights without the hassle of an oven.
I often reach for Keto Chocolate Mousse when I need a chocolate fix. Raspberry Mousse delivers a burst of bright berry flavor, and Strawberry Mousse brings fresh fruit fragrance that reminds me of a spring day. Each recipe has its own charm, and I find that rotating through them keeps dessert time interesting.
An Invitation to Relive My Lemon Mousse Journey
I treasure the memory of discovering lemon mousse with my grandmother. That first spoonful caught me off-guard with its zingy flavor. My love for that taste has never faded. This dessert stands out as a light, creamy choice when I crave something sweet. My final suggestion is to make enough servings for your loved ones, or to store extras for a midnight treat when you want a moment of citrus brightness. Each spoonful can bring you a little closer to that feeling of summertime bliss.
Reflecting on Culinary Comfort and Simple Joy
I often reflect on how a basic list of ingredients can stir memories that last a lifetime. Lemon mousse might seem easy, but the sense of contentment it provides can feel endless. My kitchen transformations revolve around mindful cooking and appreciation for each step. The result is a dessert that pleases both the eyes and the palate. I find calm in whisking and folding, and I hope you find the same comfort in your own mousse-making adventures.
Lemon Mousse Recipe
Course: No-Bake Desserts4-6
servings20
minutes2
hours300
kcalIngredients
- For the Lemon Mousse:
1/2 cup (120 ml) fresh lemon juice (from 2–3 lemons)
1 tablespoon lemon zest (plus more for garnish)
3 large egg yolks
1/2 cup (100 g) granulated sugar
1/4 cup (60 ml) water
1 teaspoon unflavored gelatin
1 cup (240 ml) heavy whipping cream, chilled
2 tablespoons powdered sugar
Whipped cream (for topping) – optional
Edible flowers (such as violets or pansies) – optional
Fresh mint leaves
Additional lemon zest
Steps
- 1. Make the Lemon Base
- In a small saucepan, whisk together the lemon juice, lemon zest, egg yolks, granulated sugar, and water.
- Place the saucepan over medium heat and cook, stirring constantly, until the mixture thickens and coats the back of a spoon (about 5–7 minutes). Do not let it boil, or the eggs will curdle.
- Remove the saucepan from the heat and let it cool to room temperature.
- 2. Bloom the Gelatin
- In a small bowl, sprinkle the gelatin over 2 tablespoons of cold water. Let it sit for 5 minutes to bloom.
- Once bloomed, gently heat the gelatin in the microwave for 10–15 seconds until fully dissolved.
- Stir the dissolved gelatin into the cooled lemon mixture.
- 3. Whip the Cream
- In a large mixing bowl, beat the heavy whipping cream with powdered sugar until stiff peaks form.
- Reserve about 1/2 cup of the whipped cream for topping, if desired.
- 4. Fold It All Together
- Gently fold the whipped cream into the lemon mixture in three additions. Use a spatula to fold until no streaks remain, being careful not to deflate the mousse.
- Spoon the mousse into individual serving glasses or bowls.
- 5. Chill
- Cover the glasses with plastic wrap and refrigerate for at least 2 hours or until set.