

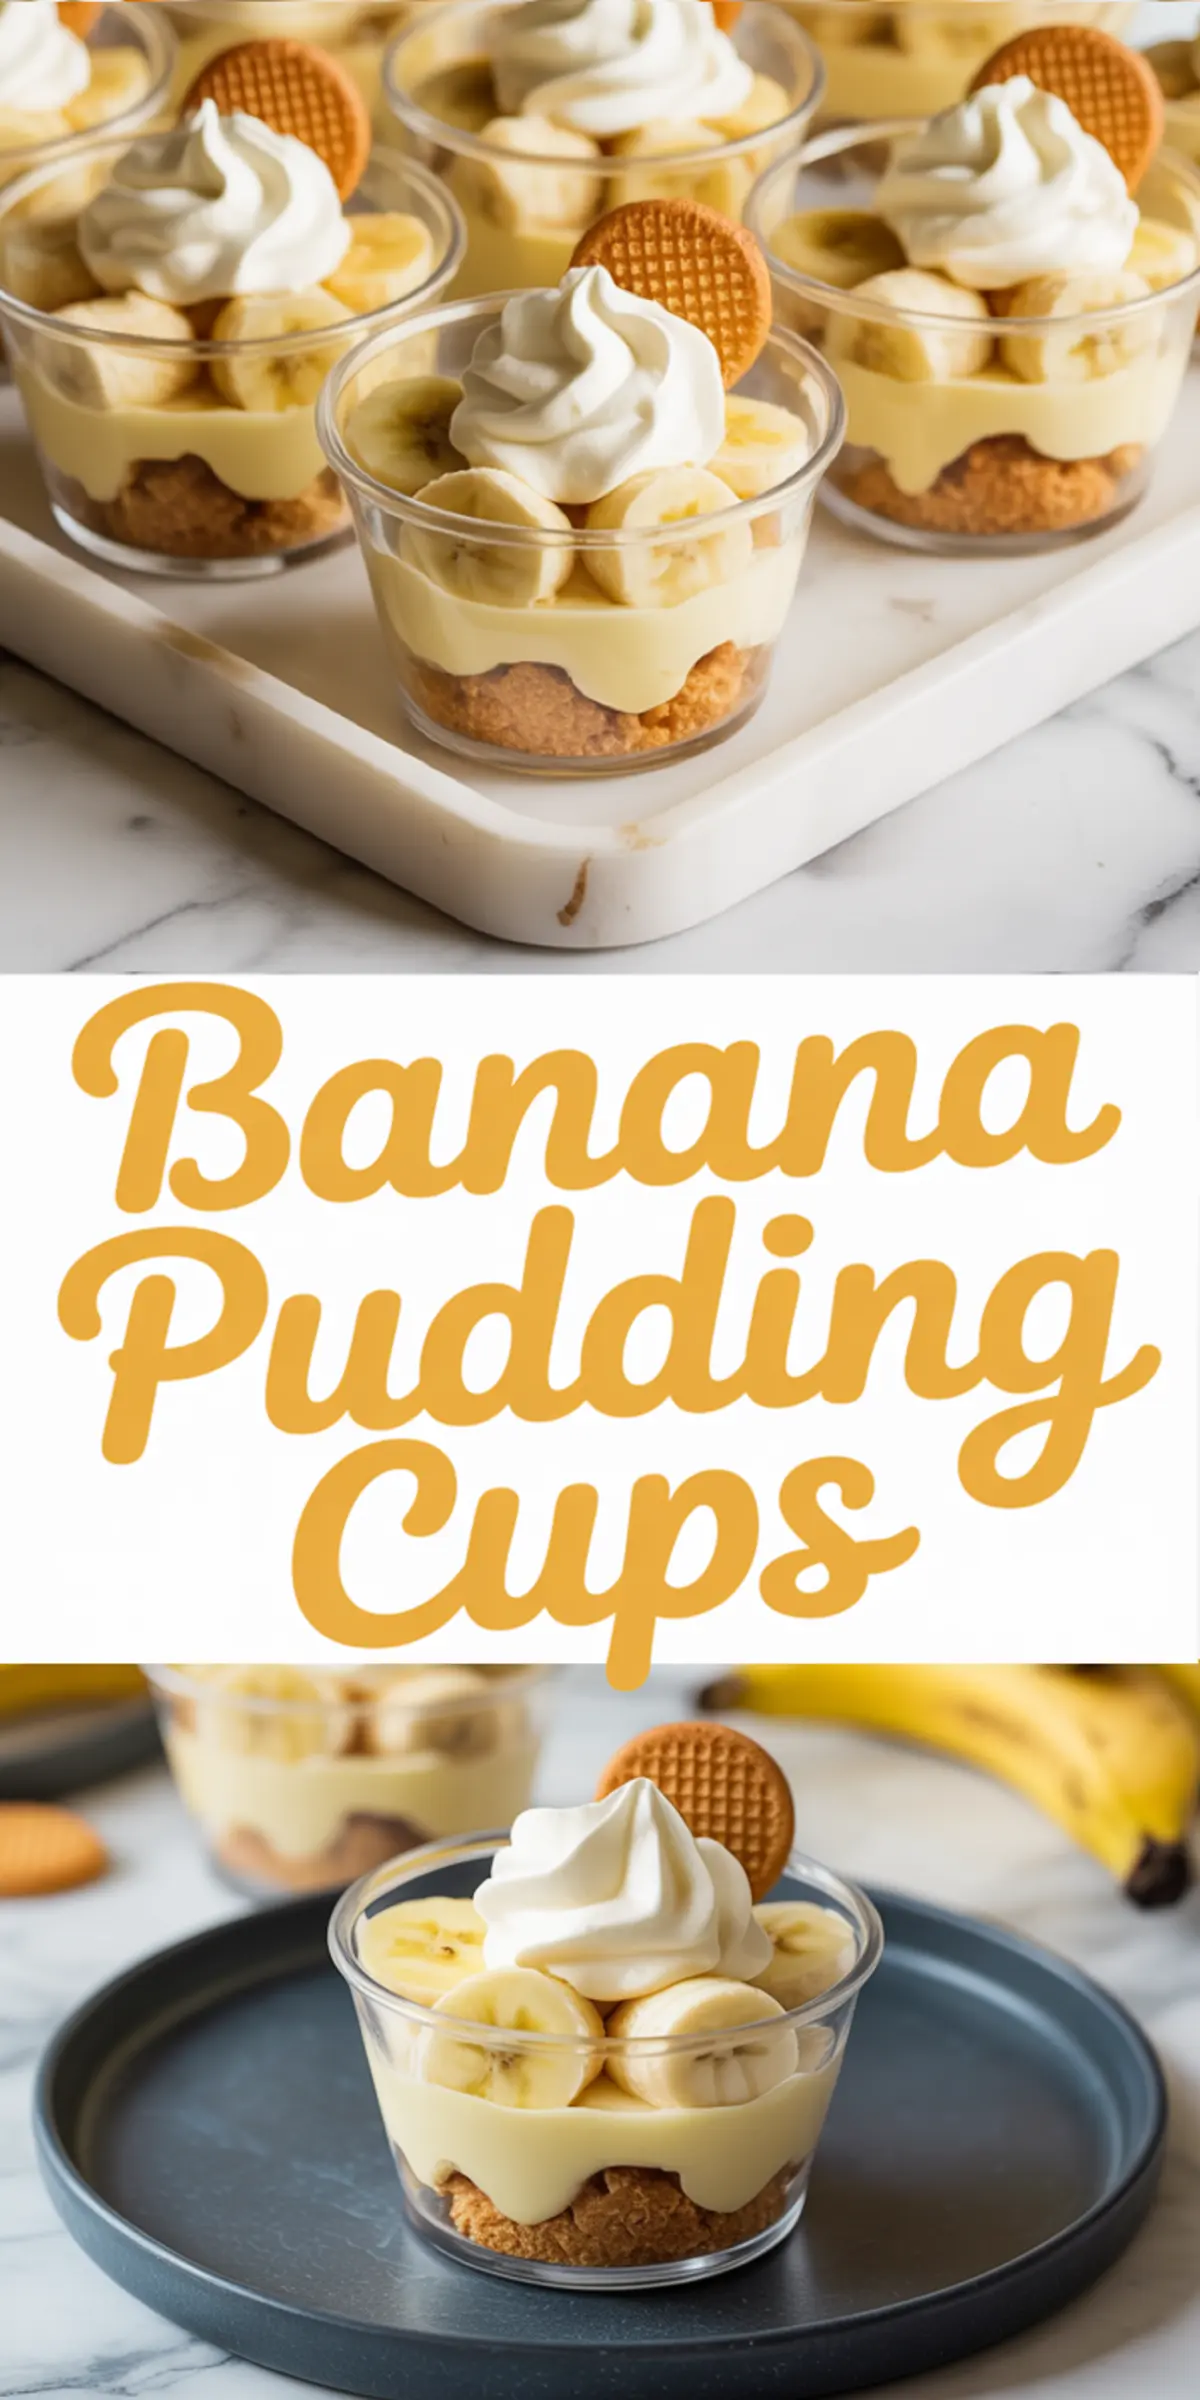
These homemade banana pudding cups are individual no-bake desserts made from a 5 ounce box of instant vanilla pudding whisked with 2 cups of cold milk, lightened with whipped cream, and layered with sliced bananas and vanilla wafers. They take 20 minutes to put together plus 2 hours in the fridge, and the recipe makes 8 cups.
The one trick is the milk. Two cups is less than a large pudding box usually calls for, so the pudding sets thick enough to stack in neat layers instead of sinking into the cookies.
Following a special diet?
Every recipe on this site can be converted to gluten-free, vegan, dairy-free, keto, nut-free or egg-free with adjusted ratios so nothing falls flat.
Try the Recipe Converter →What Goes Into 8 Cups
- Pudding: 1 (5 ounce) box instant vanilla pudding mix and 2 cups cold milk
- Cream: 1 cup heavy cream whipped with up to 2 tablespoons powdered sugar and 1 teaspoon vanilla, or 1 tub whipped topping
- Fruit: 4 to 5 ripe bananas, sliced just before layering
- Cookies: 30 to 35 vanilla wafers or butter cookies, plus extra for the tops
- Time: 20 minutes hands on, 2 hours chilling, 2 hours 20 minutes total
- Per cup: about 4 wafers, half a banana, and a scant ½ cup of pudding, in 8 to 9 ounce clear cups
- Make ahead: up to 24 hours in the fridge
Picking Bananas and Wafers
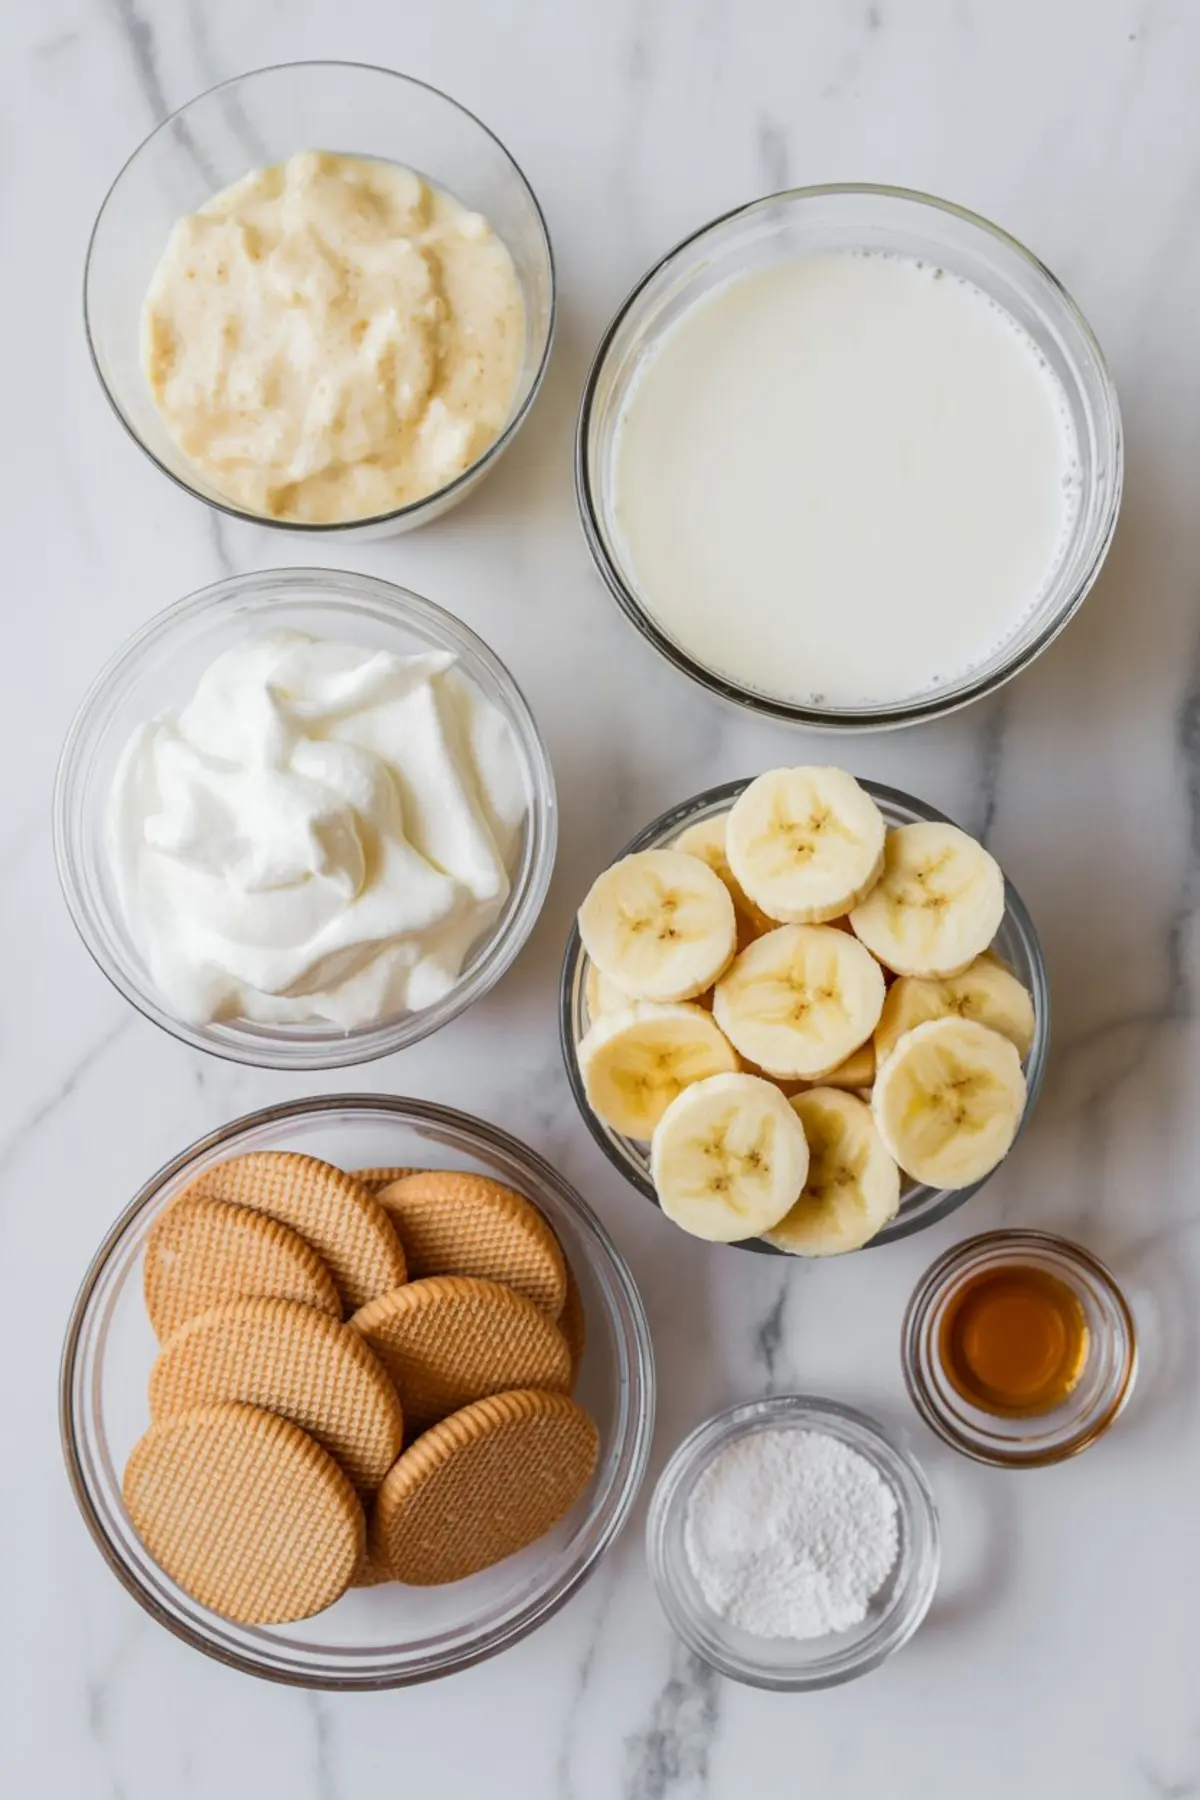
Use bananas that are fully yellow with a few brown freckles. Green-tipped bananas taste starchy against the sweet pudding, and black-spotted ones are so soft they turn to mush and brown fast once sliced. Slice them about ¼ inch thick right before you layer, never ahead.
Vanilla wafers (Nilla wafers in most US stores) are the traditional choice because they soften into a cake-like layer after a couple of hours. Butter cookies work too, but they stay firmer and taste richer. Crush some for the bottom layer and keep whole ones for the tops.
Real whipped cream tastes cleaner and holds a piped swirl. A tub of whipped topping is the shortcut many people know from Jell-O style banana pudding cups.
Making a Pudding Thick Enough to Layer
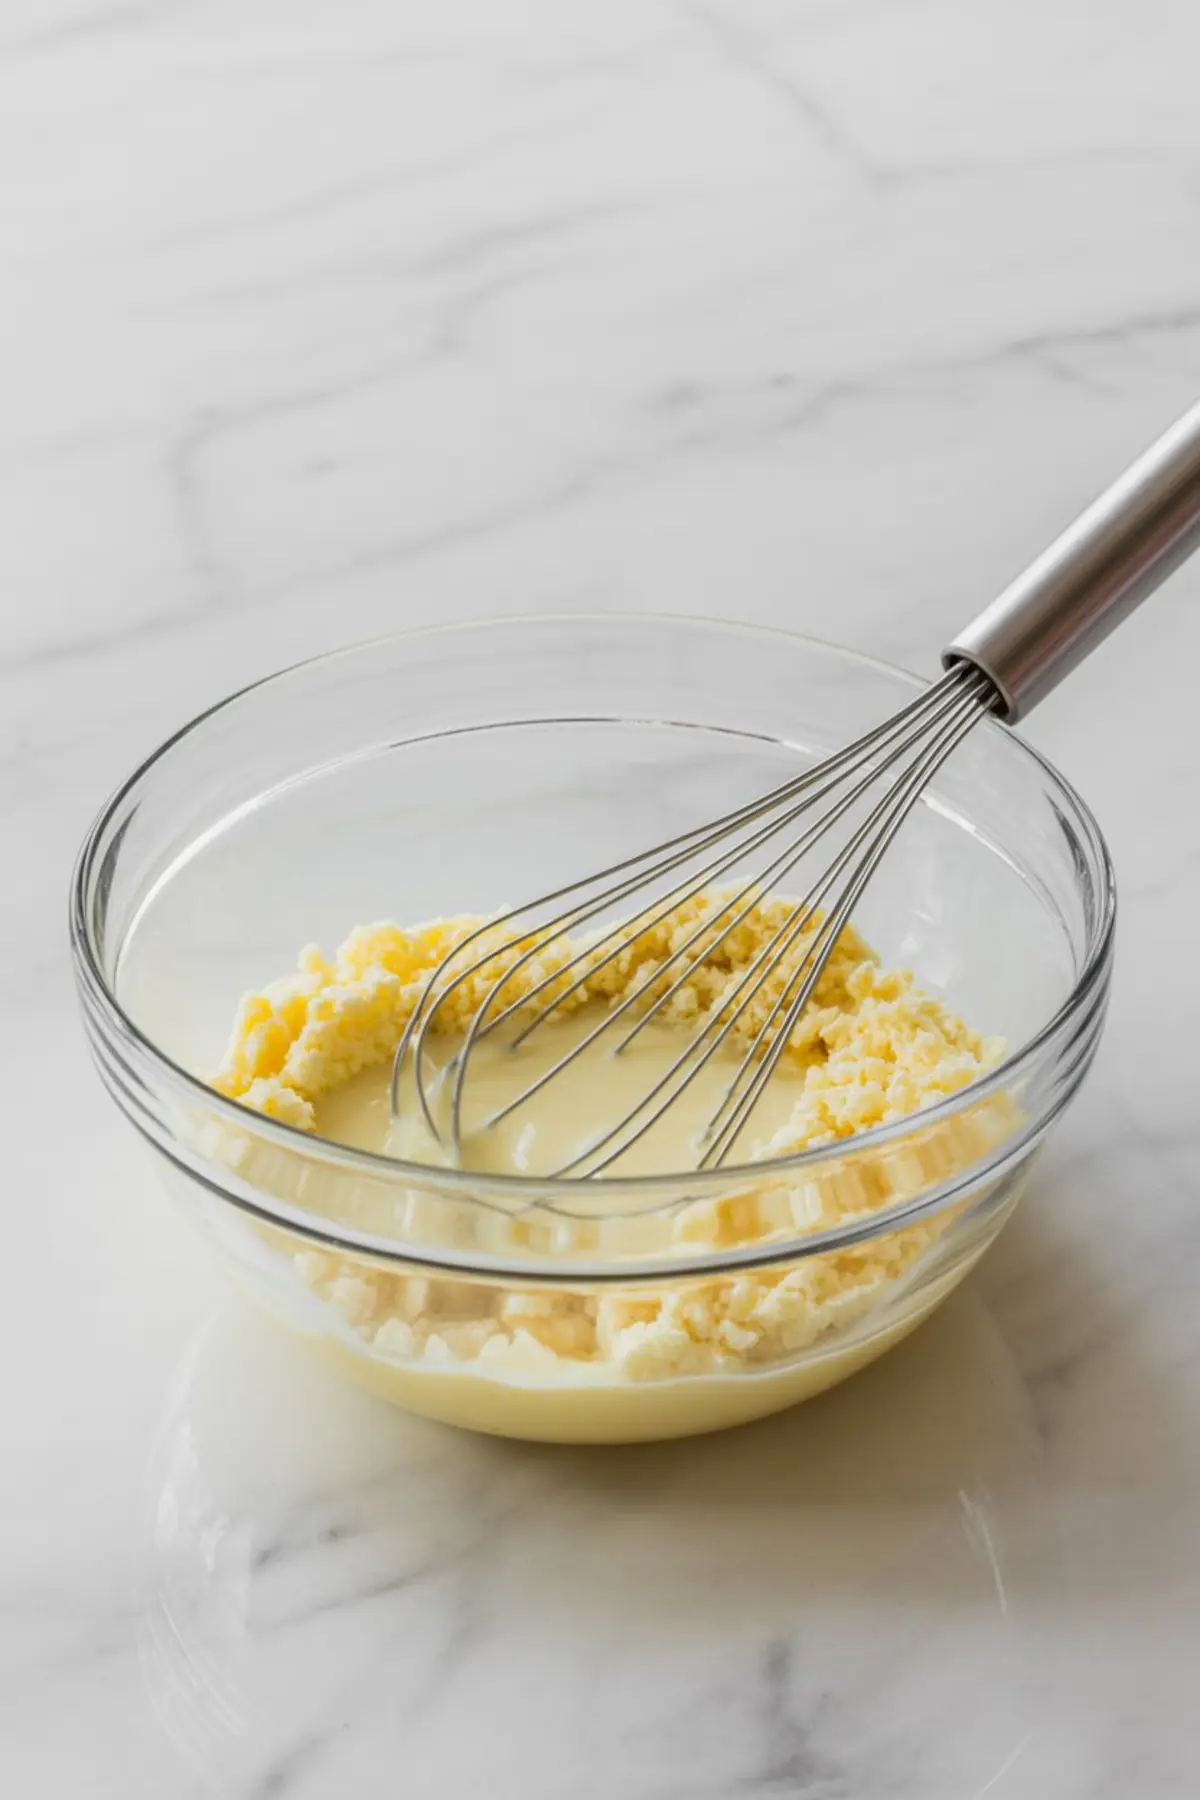
Whisk the pudding mix into the cold milk for about 2 minutes, until it turns thick and smooth, then leave it for 5 minutes to firm up. The milk needs to be straight from the fridge. Warm milk sets slowly and leaves you with a loose pudding that runs down the sides of the cups.
In a second bowl, whip the cream with the powdered sugar and vanilla to soft peaks: the cream holds a shape but the tip curls over when you lift the whisk. Stop there. Cream beaten stiff turns grainy and will not fold smoothly. If you want a firmer piped top, my whipped cream frosting is stabilized for that.
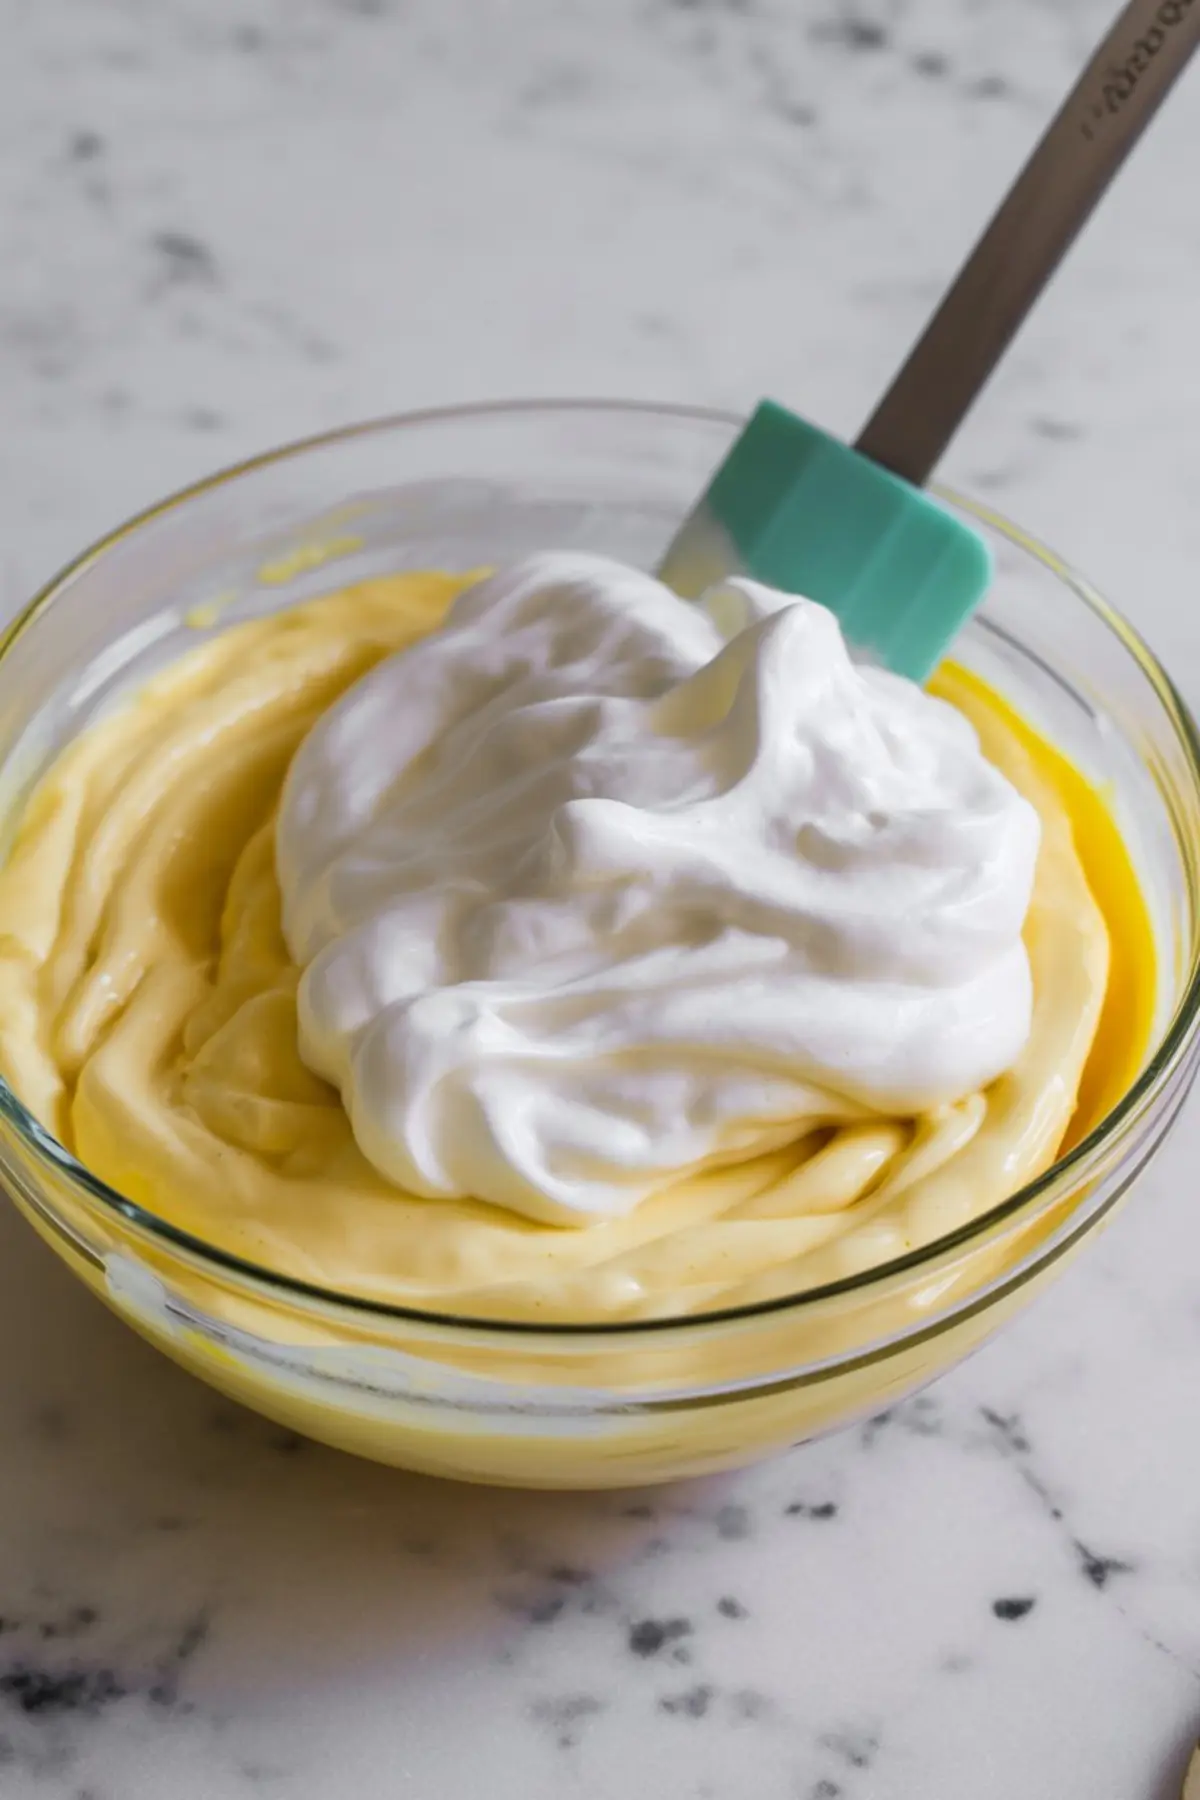
Fold half of the whipped cream into the pudding in two additions, turning the bowl and sweeping the spatula through the middle instead of stirring. The pudding should look pale and fluffy, with no white streaks. Keep the other half of the cream for the tops.
Layering Individual Banana Pudding Cups
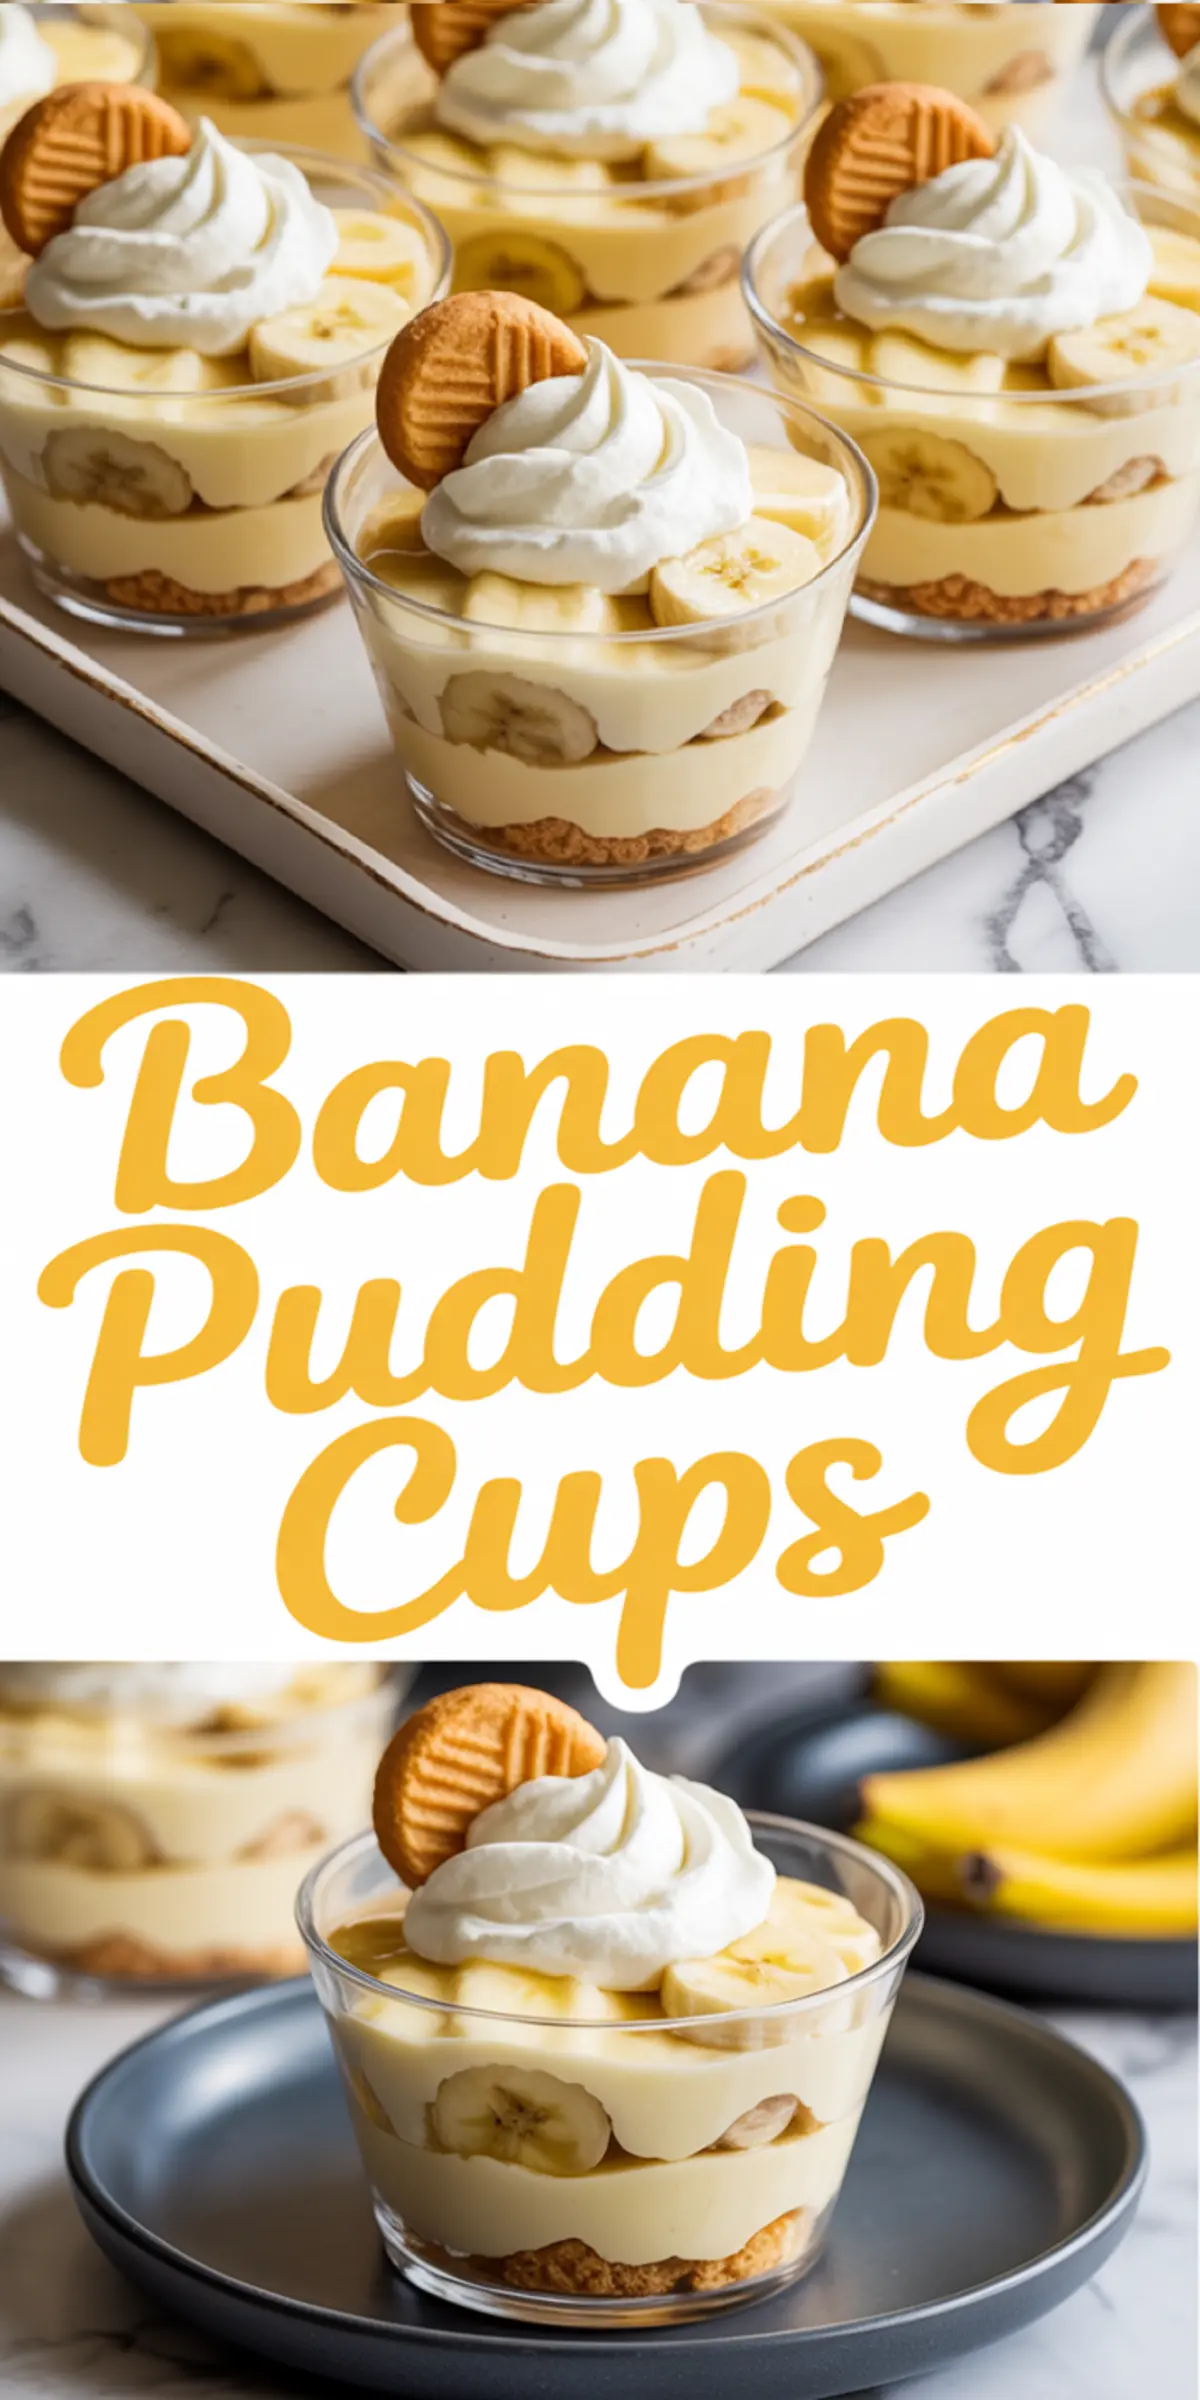
Line up 8 clear cups so the layers show. For each cup:
- A spoonful of crushed wafers in the bottom.
- A layer of pudding, then a single layer of banana slices.
- More pudding, spread to the edge so every banana slice is covered.
- Repeat once more if the cup has room, finishing with pudding on top.
- A swirl of the reserved whipped cream, one wafer, and a banana slice.
Covering the bananas matters more than speed. Air is what turns the slices brown, so a banana pressed under pudding stays pale for a day while one sticking out on top darkens within hours. That is why the garnish slice goes on last.
Chill the cups for at least 2 hours so the wafers soften and the layers firm up.
Instant Pudding vs From Scratch Custard
Instant pudding sets in 5 minutes, needs no stove, and holds firm layers in a small cup. That is why this recipe uses it. A cooked vanilla custard tastes richer and more eggy, but it has to cool completely before layering, which adds an hour or more, and it is looser, so the wafers soften faster.
If you love the cooked custard version, it shines in a big dish like my homemade banana pudding or a banana cream pie. For cups you can make the night before, instant is the steadier choice.
If the Layers Go Wrong
- Pudding is runny: the milk was not cold or it was whisked too briefly. Whisk 1 more minute and chill the bowl 10 minutes before layering.
- Cream went flat after folding: it was stirred in, not folded, or added all at once. Fold in two additions with a light hand.
- Whipped cream looks grainy: it was beaten past soft peaks. If you have a little cold unwhipped cream left, fold in a tablespoon or two to smooth it.
- Bananas turned brown: they were sliced too early or left exposed to air. Slice right before assembly and bury them in pudding.
- Wafers are too soggy: the cups sat longer than 24 hours. Serve within a day.
Make-Ahead Tips for Parties
You can assemble these cups up to 24 hours before serving. Two hours of chilling gives soft, cake-like wafers; overnight they are softer still. If your crowd likes some crunch, sprinkle crushed wafers over the cream right before serving rather than cutting the chilling time.
Banana pudding cups with lids are the easiest dessert to carry. Use 9 ounce cups with snap-on lids, keep the reserved whipped cream in a piping bag in a cooler, and pipe the tops and add the wafers when you arrive. Keep the cups cold until they are served.
The first time I brought these to a friend’s gathering, the little cups disappeared before anything else on the table. For more single-serve layered desserts, try s’mores pudding shots or, in December, eggnog pudding shots. Leftover bananas? Use them in banana chia pudding or a banana cake.
Quick Answers About Mini Banana Pudding
How far ahead can I make banana pudding cups?
Up to 24 hours. Chill them at least 2 hours so the wafers soften, and add the garnish banana slice just before serving.
How much pudding goes in each cup?
A scant ½ cup of the pudding and cream mixture per cup, with about 4 wafers and half a banana, fills an 8 to 9 ounce cup.
Can I use a small 3.4 ounce box of pudding?
This recipe is written for a 5 ounce box with 2 cups of milk. A smaller box with the same milk sets softer and makes fewer cups.
Can I freeze banana pudding cups?
It is not a good idea. The bananas turn brown and watery and the pudding goes grainy when it thaws.
Banana Pudding Cups Recipe

These banana pudding cups are individual no-bake desserts made with instant vanilla pudding, cold milk, whipped cream, fresh bananas, and vanilla wafers. The recipe takes 20 minutes plus 2 hours of chilling and makes 8 homemade banana pudding cups, each with soft, cake-like wafers and thick, creamy layers. A 5 ounce box of pudding is whisked with only 2 cups of milk so it sets firm enough to layer, and half the whipped cream is folded in to keep it light. Serve these mini banana pudding cups at parties, potlucks, baby showers, and holiday dessert tables, or pack them in lidded cups to travel. Use butter cookies instead of wafers if you like. Make them up to 24 hours ahead and keep them chilled.
Ingredients
- 1 (5-ounce) box instant vanilla pudding mix
- 2 cups cold milk
- 1 cup heavy cream, whipped (or 1 tub whipped topping)
- 4–5 ripe bananas, sliced
- 30–35 vanilla wafer cookies (or butter cookies)
- 2 tablespoons powdered sugar (optional, for sweetening whipped cream)
- 1 teaspoon vanilla extract
- Extra cookies and whipped cream for garnish
Instructions
MAKE THE PUDDING BASE: In a large bowl, whisk together the instant pudding mix and cold milk until thick and smooth. Let the mixture sit for 5 minutes to firm up.
PREPARE THE WHIPPED CREAM: In a separate bowl, whip the heavy cream with powdered sugar and vanilla extract until soft peaks form. Gently fold half of the whipped cream into the pudding mixture for a light texture, reserving the other half for topping.
ASSEMBLE THE CUPS: Place a layer of crushed cookies in the bottom of each serving cup. Spoon a layer of pudding over the cookies, then add sliced bananas. Repeat the layers until each cup is filled, finishing with pudding on top.
TOP IT OFF: Add a generous swirl of whipped cream. Garnish each cup with a cookie and banana slices.
CHILL BEFORE SERVING: Refrigerate the cups for at least 2 hours to allow the flavors to blend and the cookies to soften slightly.
Notes
Use cold milk straight from the fridge and whisk for about 2 minutes so the pudding sets thick. Whip the cream only to soft peaks and fold it in gently in two additions. Slice the bananas just before assembling and cover every slice with pudding to keep them from browning; add the garnish banana slice right before serving. Chill at least 2 hours so the wafers soften. The cups can be made up to 24 hours in advance; for crunch, top with crushed wafers just before serving. Do not freeze.
