
I have cherished lemon treats since childhood. My grandmother used to present a plate of lemon sweets with a pitcher of iced tea on warm afternoons. That moment sparked my deep fondness for tangy desserts, and I have experimented with various versions ever since.
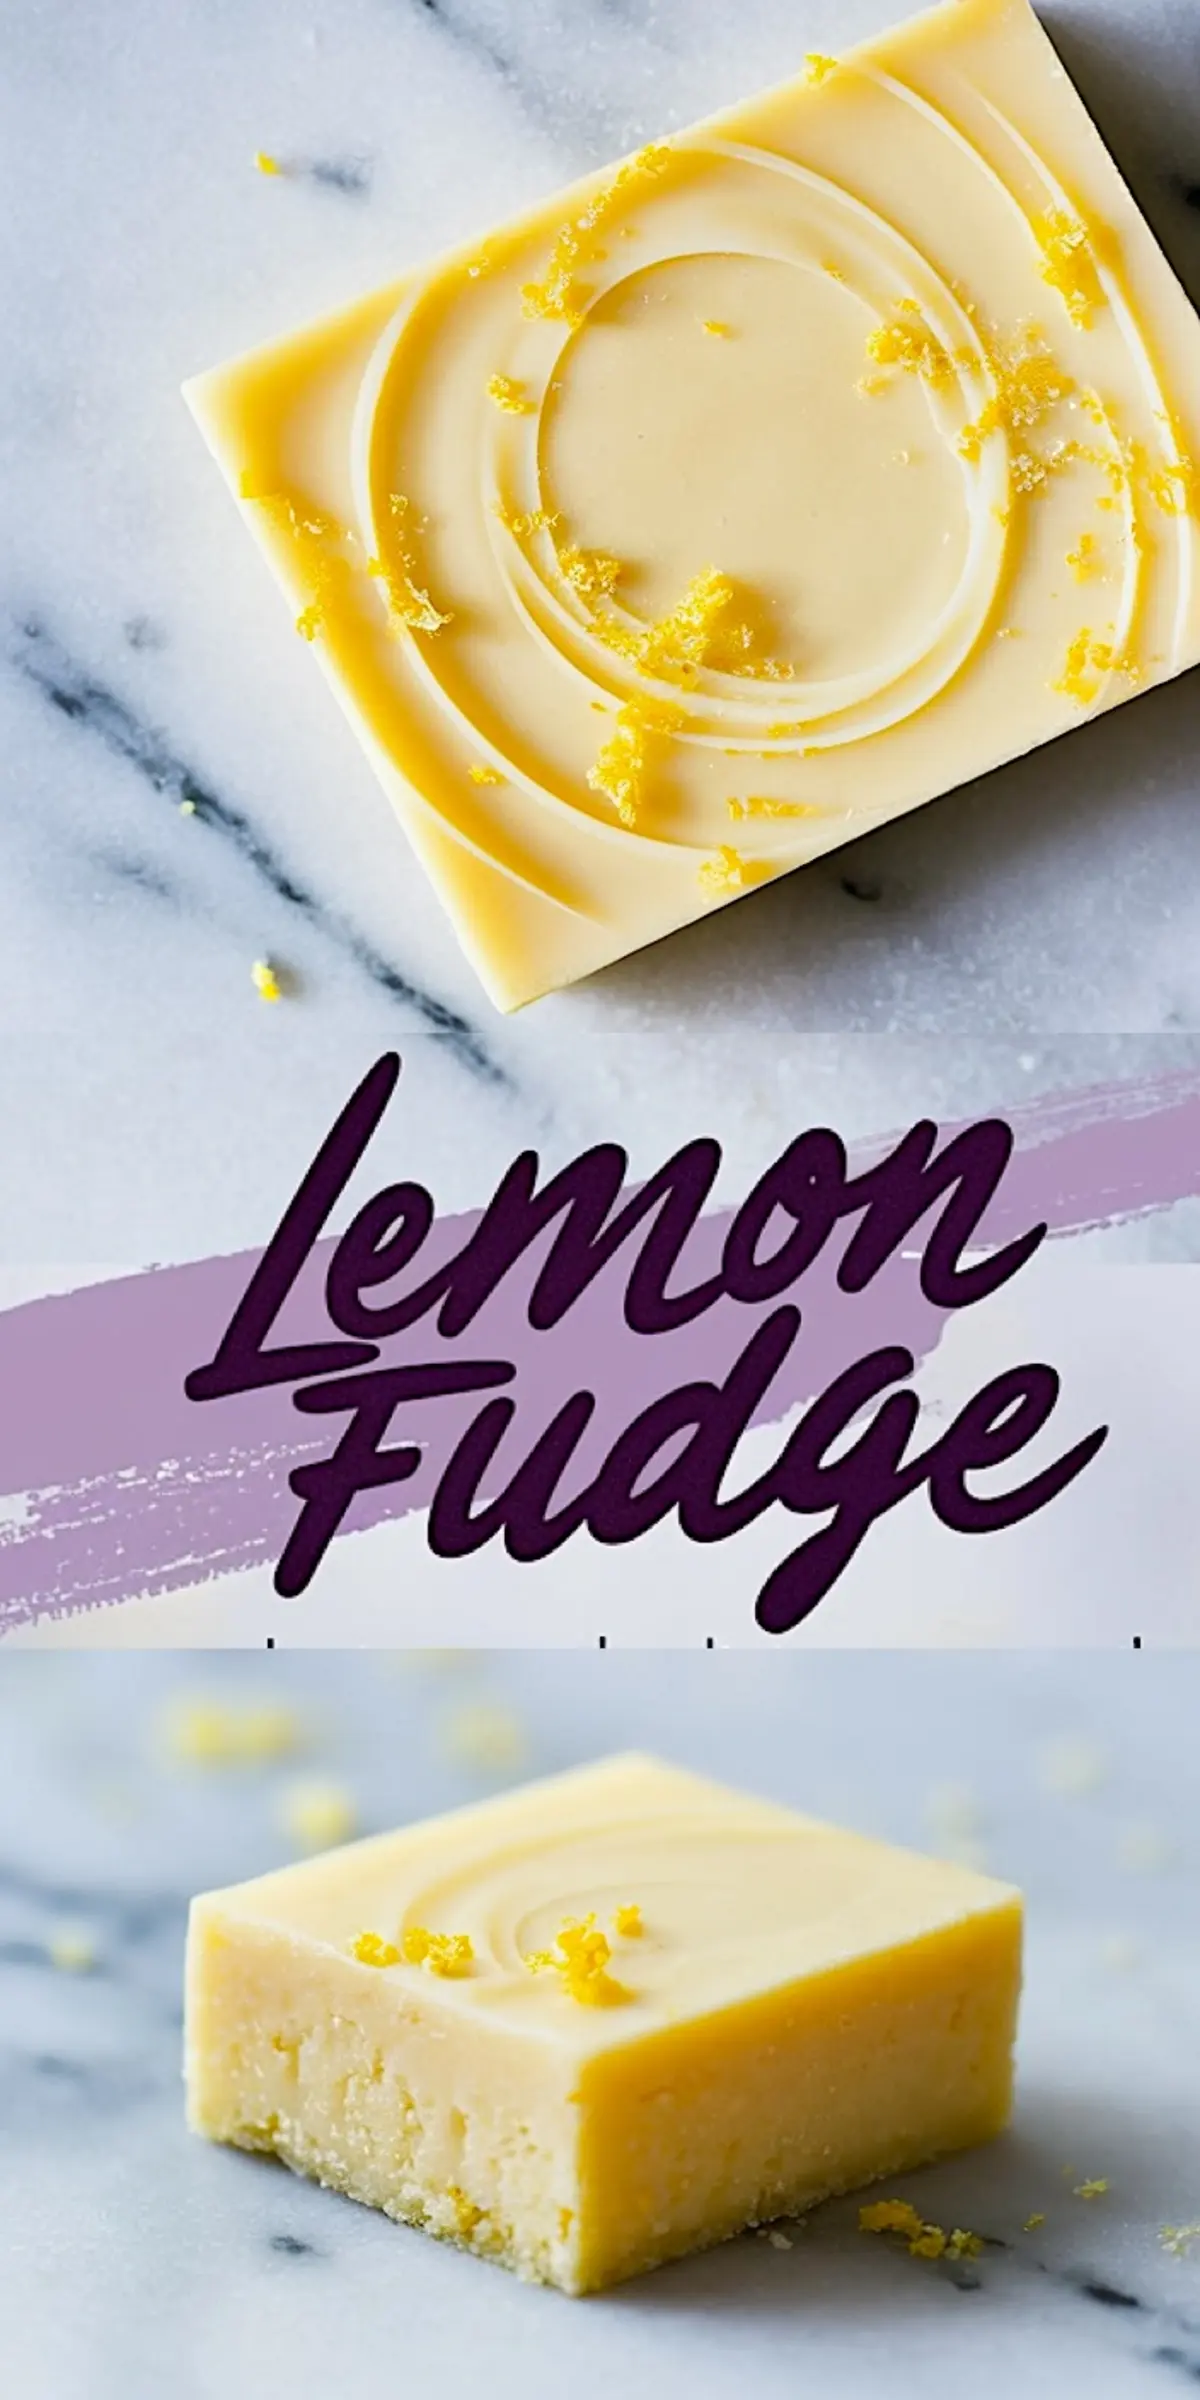
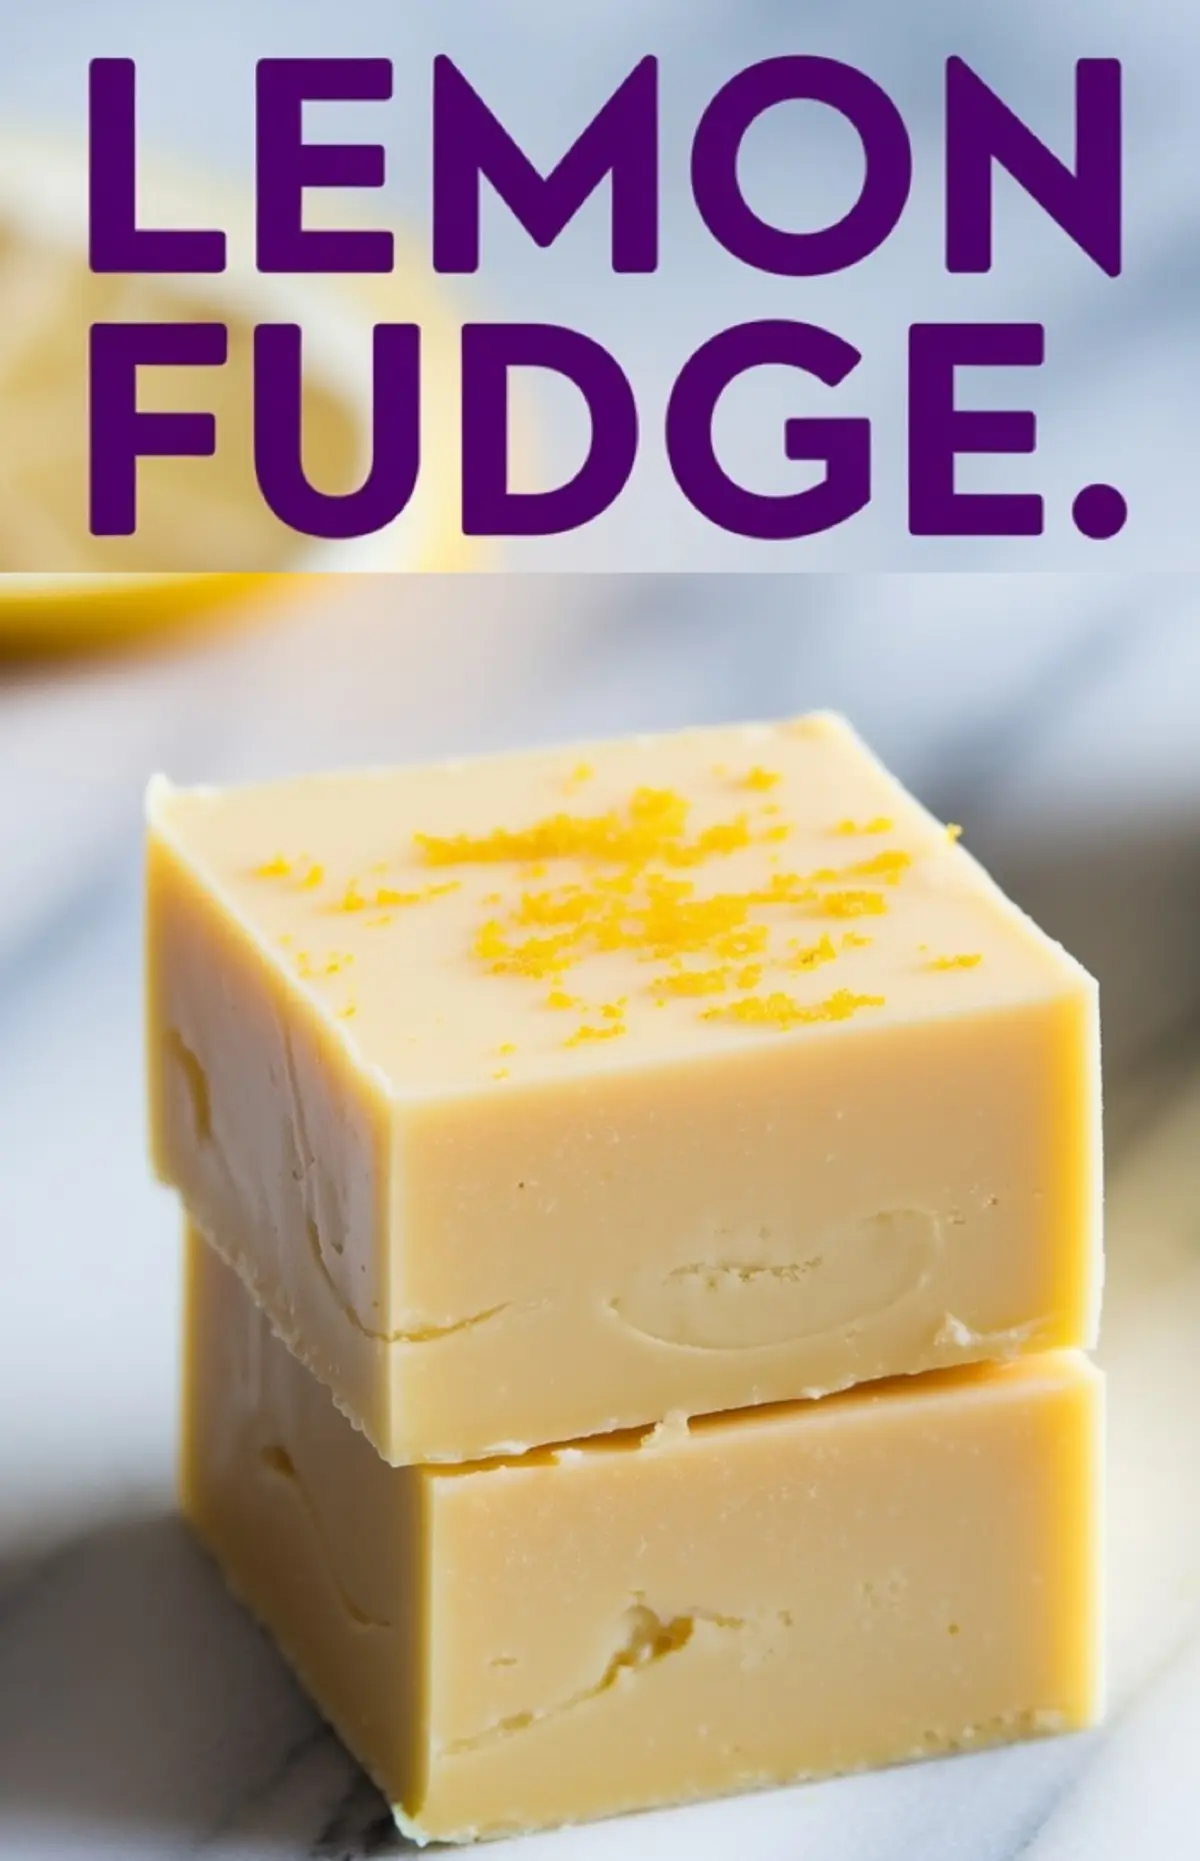
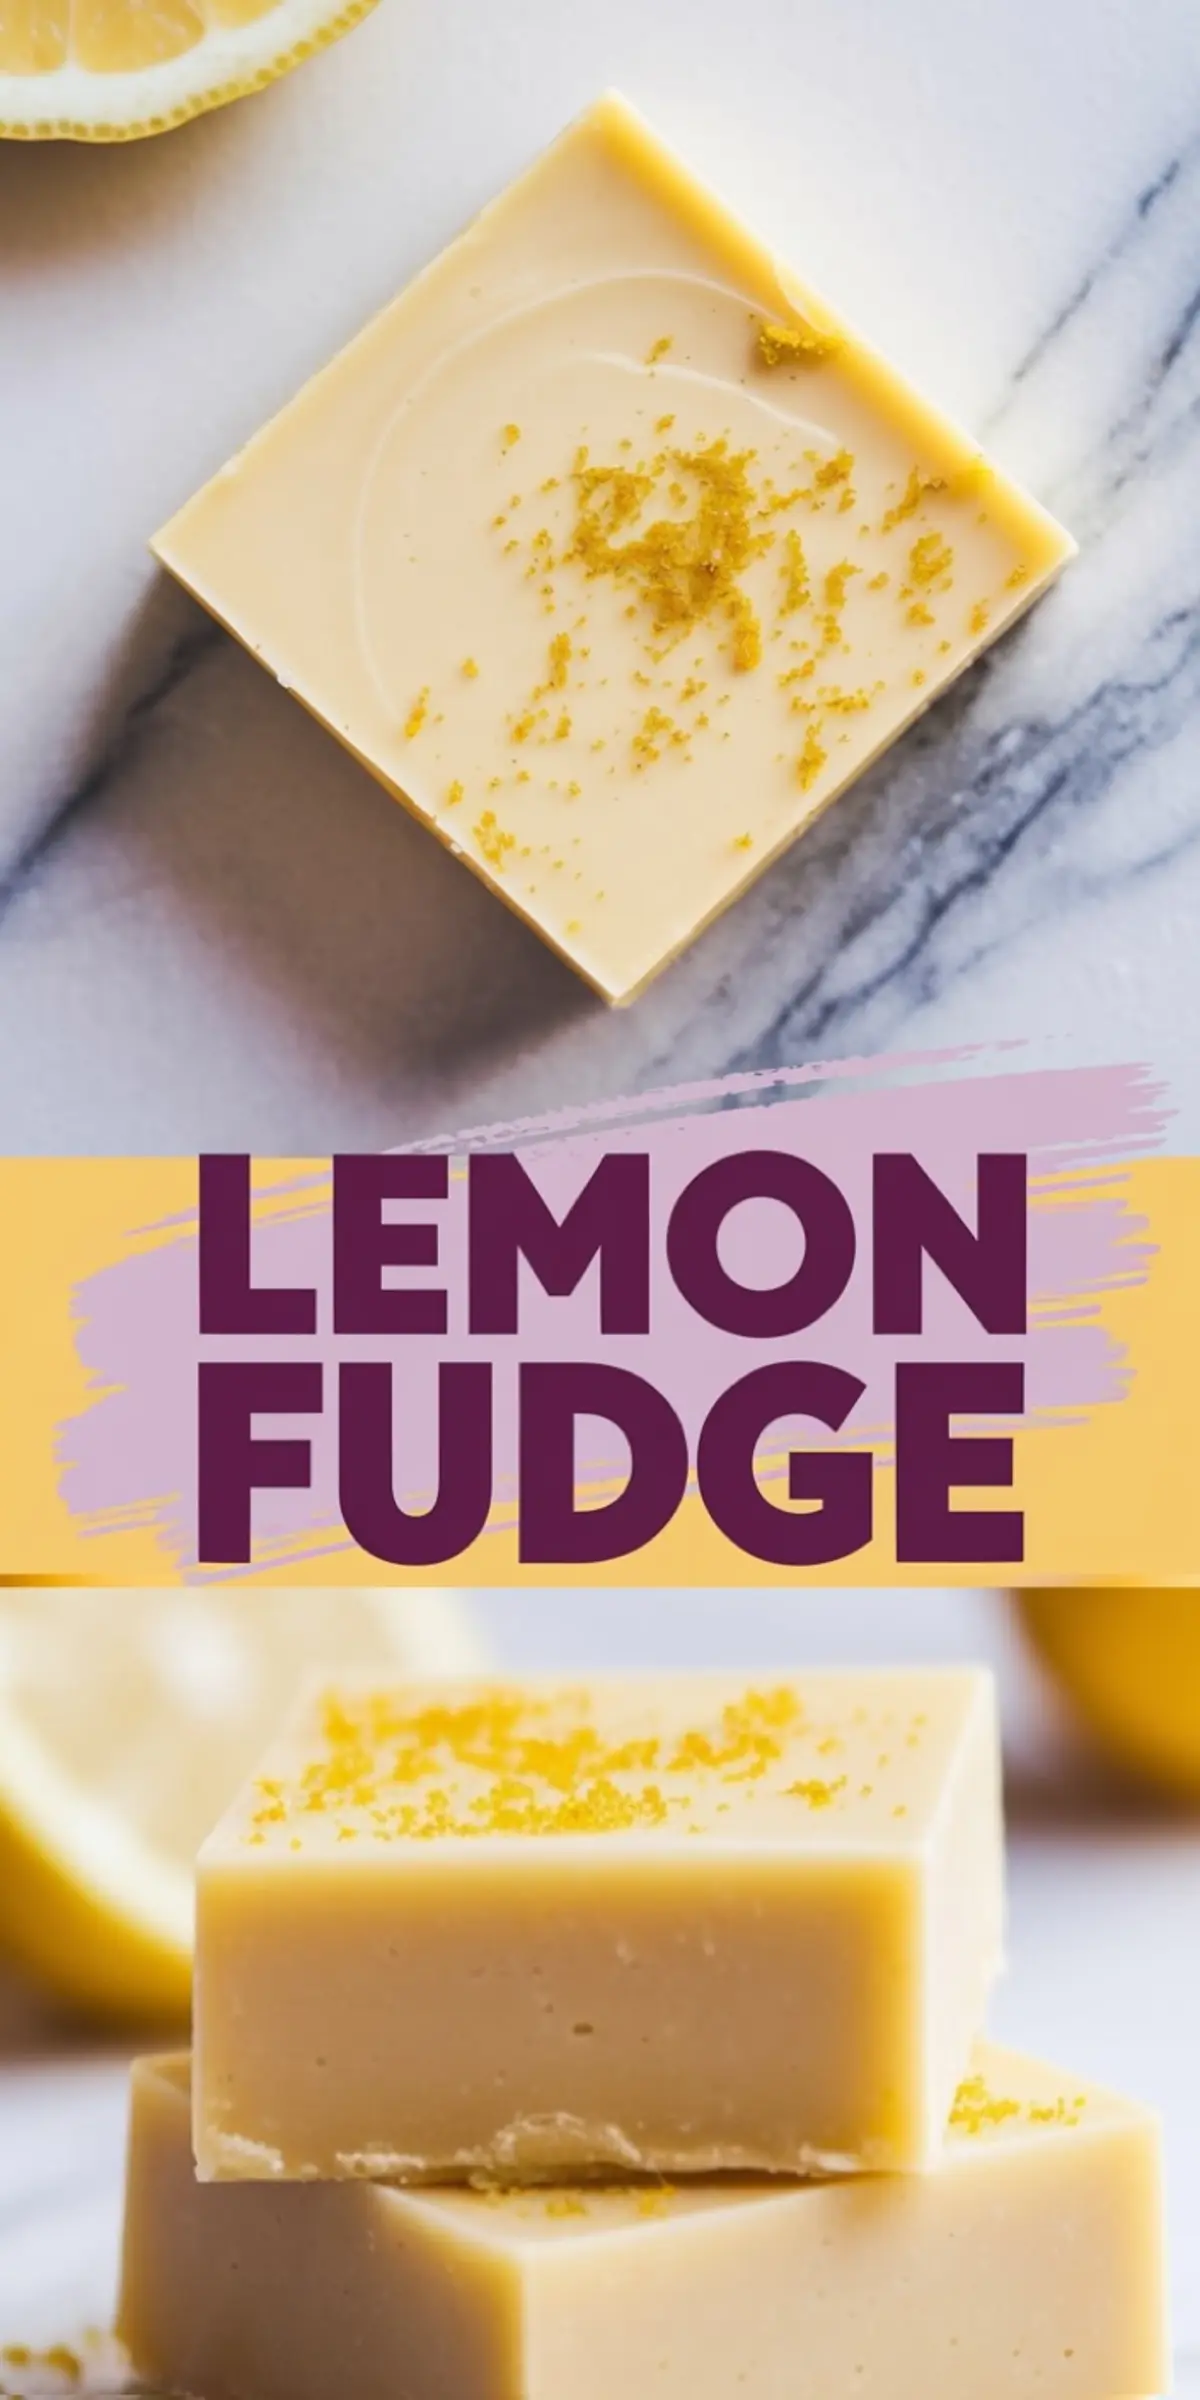
My curiosity guided me to combine bright citrus with creamy white chocolate, and I found a new favorite. This fudge pairs the zip of fresh lemon zest with a velvety texture. I enjoy every fork-free bite, and I believe you will adore it too.
Following a special diet?
Every recipe on this site can be converted to gluten-free, vegan, dairy-free, keto, nut-free or egg-free with adjusted ratios so nothing falls flat.
Try the Recipe Converter →My Personal Take On Lemon Fudge And Its Backstory
My love for lemon fudge traces back to early baking adventures. I found inspiration in an old community cookbook that featured a rich lemon bar recipe. I admired the simplicity and thought of adjusting it into a purely no-bake dessert.
I tried different proportions of sweetened condensed milk and white chocolate. I discovered that adding real lemon zest and a touch of lemon extract boosted the citrus flavor. I tested it on a few friends, and they all insisted I share it here on my blog.
Baking has always been my happy corner. I rarely shy away from zesty experiments, and this fudge reflects my desire to offer something bright and uplifting. I hope you give it a try and enjoy the burst of flavor in each square.
Ingredients For That Zesty And Creamy Finish
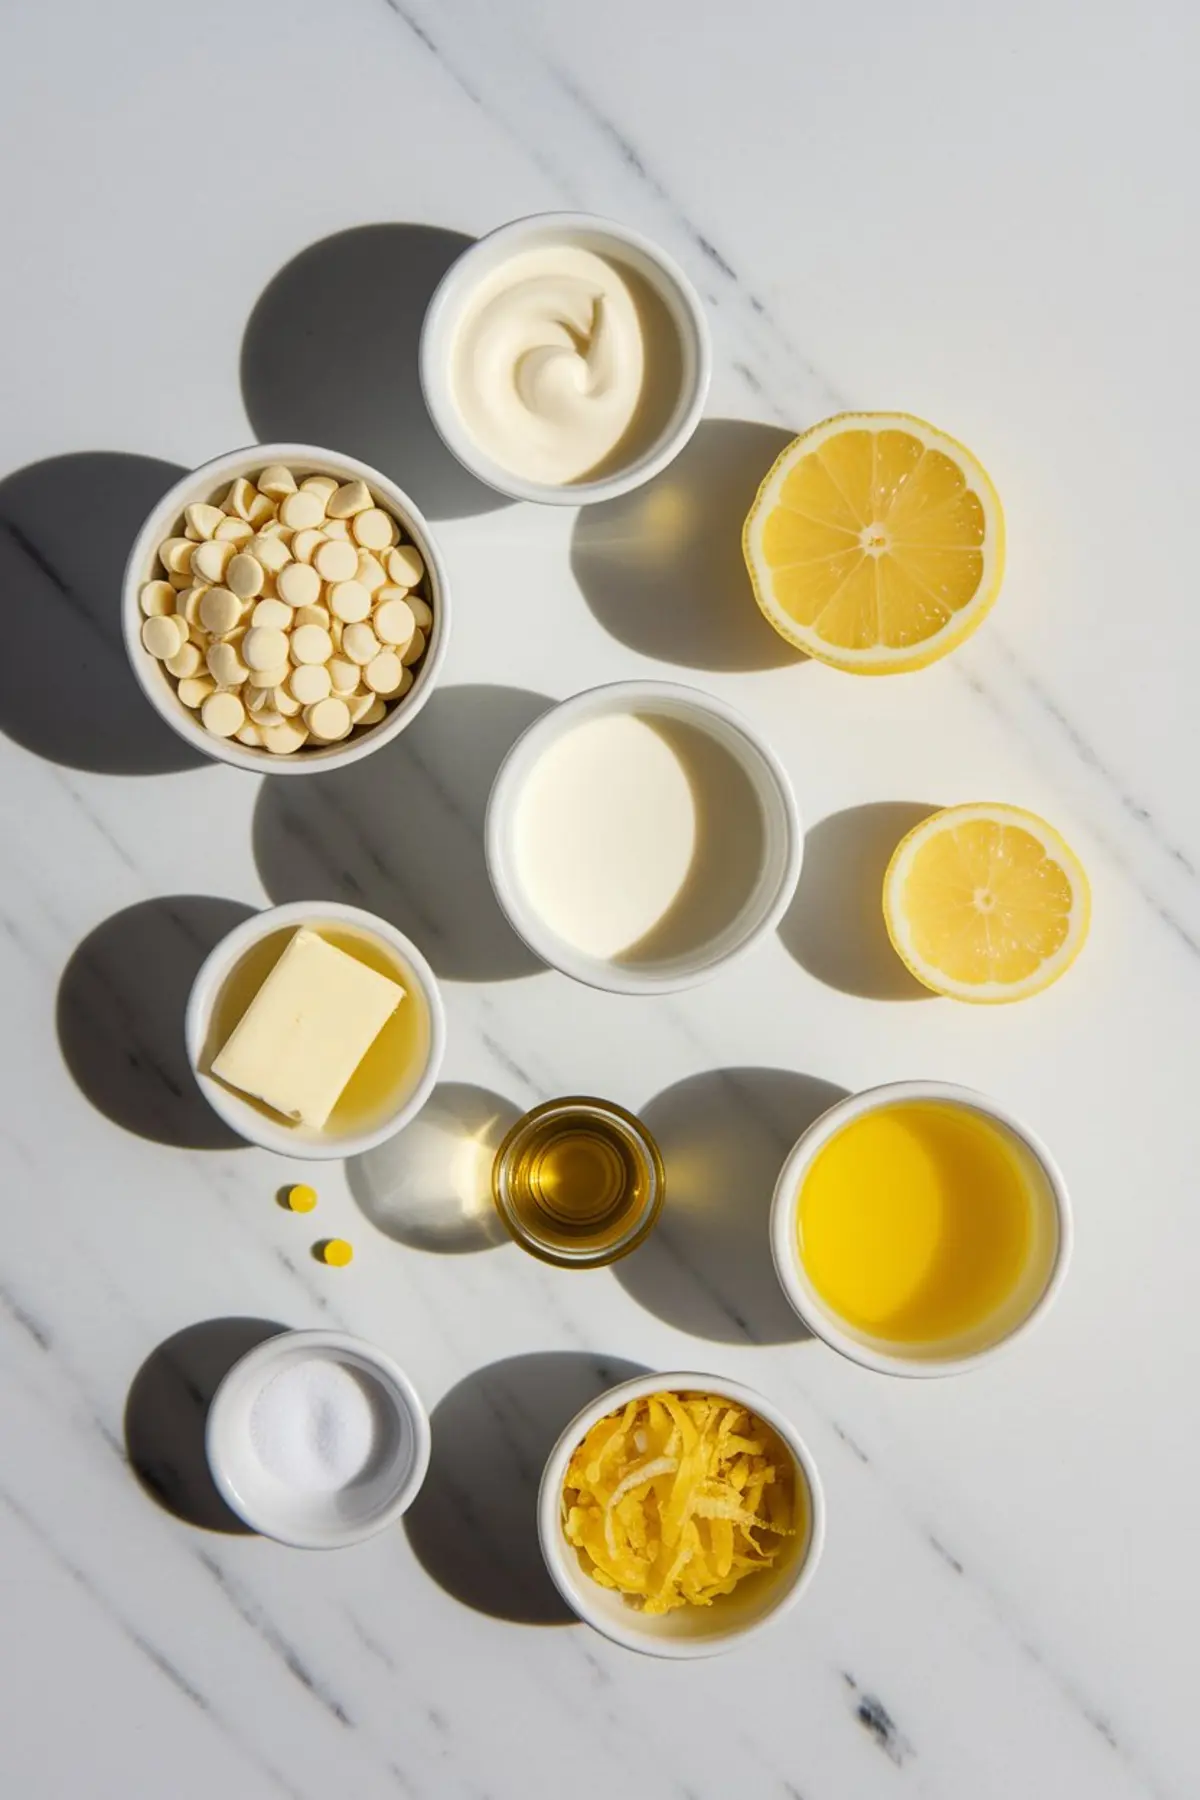
Fresh lemon zest defines the core flavor of this dessert. I like zesting lemons just before mixing to keep the aromatic oils at their fullest. The sweetened condensed milk binds everything and lends a smooth consistency, which is essential for fudge.
White chocolate brings a sweet and creamy backbone. I usually pick a quality brand because it melts evenly and doesn’t seize. A pinch of salt cuts through the sweetness, making every bite balanced and satisfying.
You can include a bit of lemon extract for a stronger punch of citrus. I once skipped the extract, and the fudge still turned out delicious. However, I recommend it for that extra brightness, especially if you enjoy a strong lemon taste.
Steps To Create Your No-Bake Masterpiece

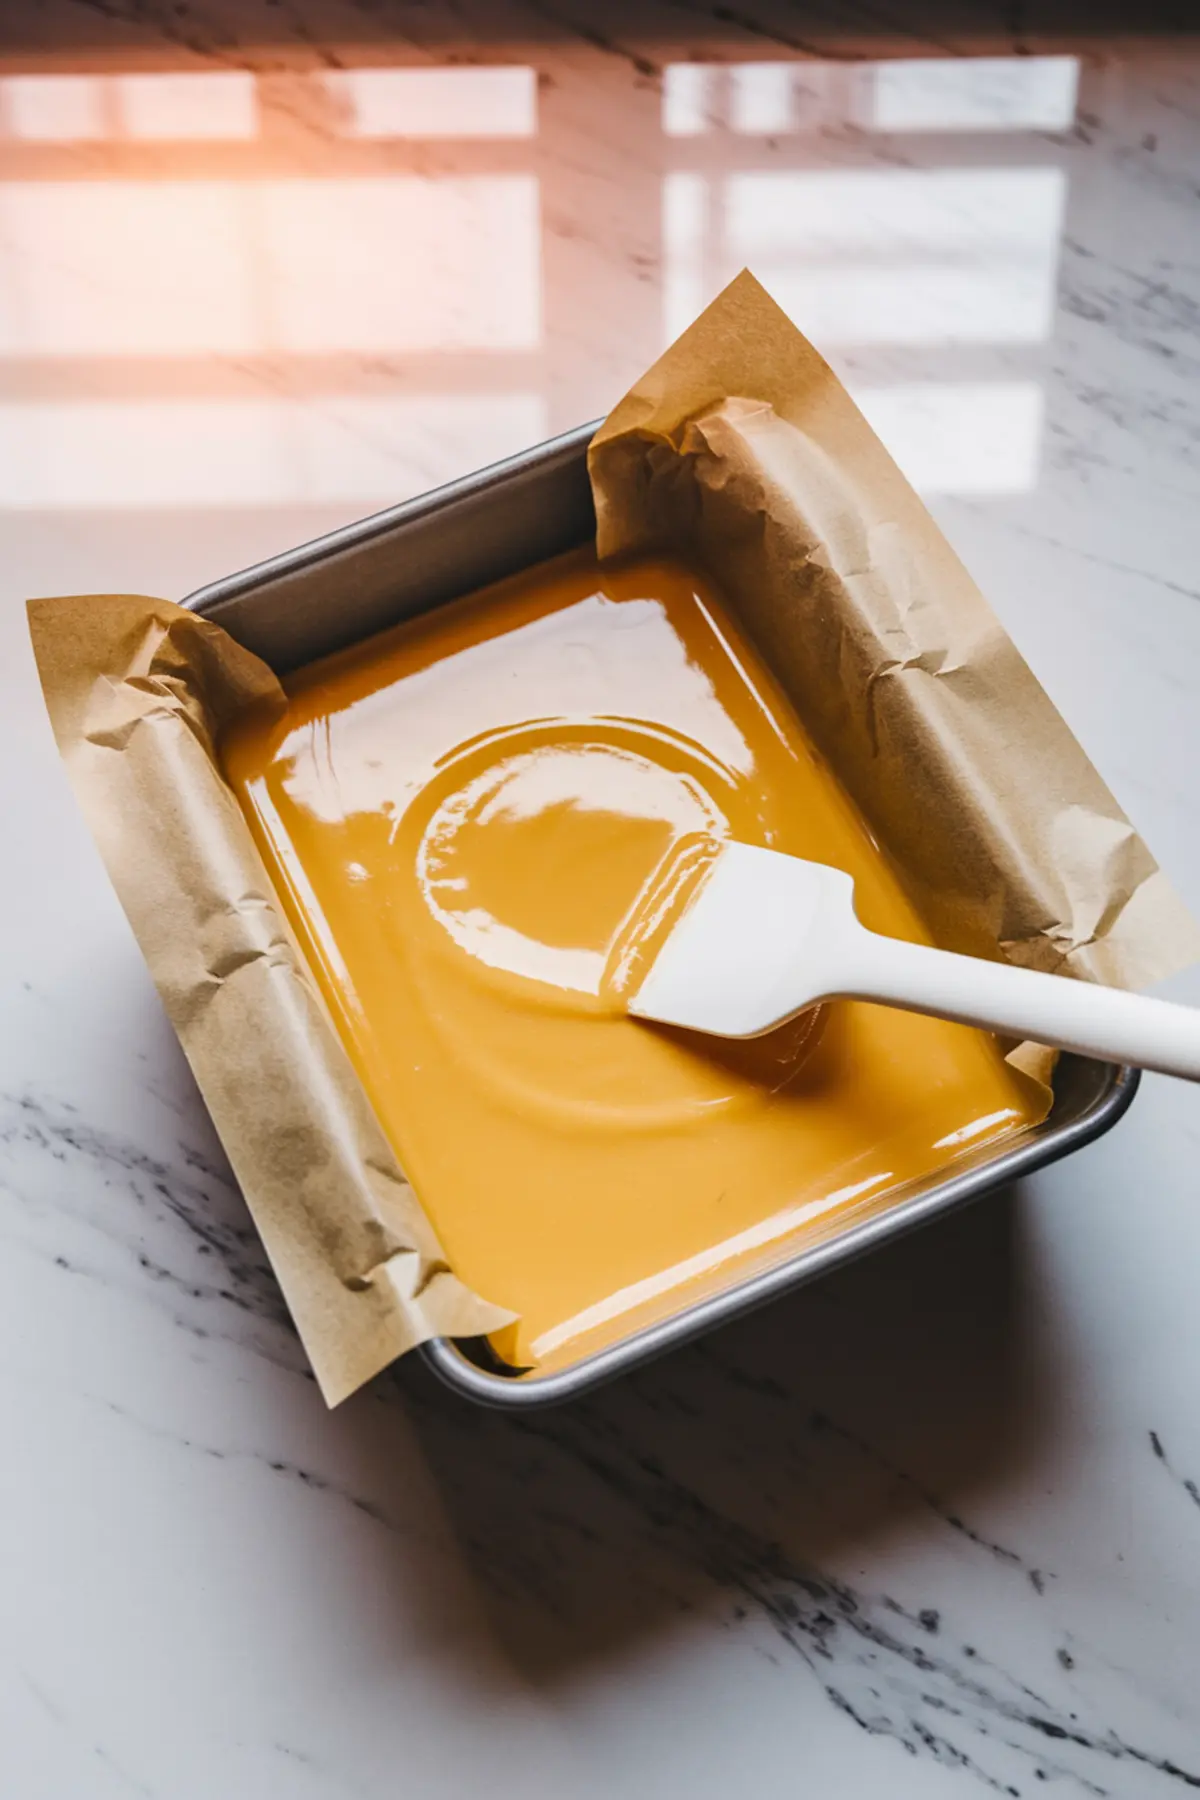
I line my baking pan with parchment paper, leaving a small overhang that helps lift the fudge out once it sets. This method prevents any sticky mishaps. Then, I heat my white chocolate with the sweetened condensed milk and butter, stirring gently.
I prefer a double boiler, but a microwave works as long as you stir after short bursts. This approach keeps the mixture from overheating. After it’s smooth, I add lemon zest, lemon juice, and the extract.
A few drops of yellow coloring can perk up the fudge’s visual appeal if you want that pop of brightness. Pour everything into the prepared pan and sprinkle extra zest on top. Let it cool, then slide it into the fridge to firm up for a few hours.
Techniques I Rely On For Silky Texture
I learned from trial and error that proper melting of white chocolate makes all the difference. White chocolate can burn fast if left unattended. Stirring keeps it glossy and helps incorporate the sweetened condensed milk.
An uneven melt might lead to small lumps that affect consistency. When I have the time, I favor the classic double boiler approach. The gentle heat offers a bit more control, reducing the risk of scorching.
Covering the pan is unnecessary, though I sometimes place a sheet of parchment on top to prevent any fridge odors from seeping in. Leave it alone for a few hours, and the result is a clean slice when you’re ready to serve.
Fun Twists You Can Attempt
I sometimes use half white chocolate and half white candy melts. That swap works fine if you have trouble locating all the ingredients. I have also sprinkled shredded coconut on top for extra crunch.
Friends who love bright flavors enjoy an extra tablespoon of lemon juice. On the other hand, those who prefer subtlety may reduce the zest. Experiment until you find the right balance.
You can even fold in a few crushed graham crackers for texture. I did that once to mimic a lemon pie vibe. My kids found it fun, and it brought a playful texture to the fudge squares.
Keeping It Fresh And Presentable
Proper storage matters if you want to keep the fudge delicious. I place the squares in a single layer in an airtight container. I separate layers with parchment if I stack them.
The fudge stays good in the fridge for up to two weeks. Some folks freeze it if they plan on keeping it longer. I freeze mine if I need a quick treat in the future or if I’m shipping it to relatives.
Friends have told me they keep a small stash as a sweet pick-me-up on hectic workdays. I find it handy to grab a square whenever I want a dessert that doesn’t need forks or spoons.
Serving Suggestions And Tasty Variations
I serve these fudge pieces with fruit platters to balance the sweetness. A bowl of fresh berries pairs well with the bright citrus notes. A drizzle of melted white chocolate on top can add a decorative flourish if you’re entertaining guests.
If you want even more lemon magic, consider presenting these squares with a tangy dessert trio. You can check out my Lemon Macarons for a delightful bite-sized treat. My Lemonade Bundt Cake is another fun choice for a crowd.
For a restaurant-style finale, sample my Lemon Creme Brulee. Pairing fudge with creme brulee creates a dynamic dessert spread. It never fails to impress at gatherings or family dinners.
A Personal Note On My Baking Journey
Dessert-making turned into a creative outlet for me. Lemons grew into my favorite flavor because they elevate even the simplest recipe. I find it comforting to see bright citrus peel swirl into warm chocolate.
My mother always insisted on fresh ingredients, and I’ve embraced that philosophy. It has guided my approach to cooking and baking. I skip packaged shortcuts when I can, and that extra care elevates each dish.
Close friends sometimes tease that I smell like lemon zest half the time. I find that sweetly funny. I see it as a sign of devotion to my craft.
Ideas To Boost Flavor And Tactile Contrast
Crushed pretzels on top of the fudge add a bit of salt. I tested it recently, and the mixture of sweet, salty, and tangy made me grin. I love hearing that crunch when I bite into a piece.
Adding dried fruit bits, such as cranberries, gives a bit of chewiness. That small change can transform this recipe into a cheerful holiday gift. Let your imagination guide you, and keep track of how each tweak affects the texture.
Temperature also impacts the final outcome. If you notice your fudge setting too quickly, keep stirring until it’s smooth again. If it gets too firm, a gentle reheat can solve the issue.
Simple Tips For The Perfect Slice
A neat, firm slice makes these squares look bakery-ready. I run a sharp knife under hot water and wipe it dry before each cut. That reduces cracking and gives clean edges.
If the fudge seems too stiff, letting it sit for a few minutes solves that. I also keep a warm cloth nearby to remove any sticking bits from the blade. This approach has helped me keep the squares looking professional.
Friends who love entertaining often ask how to make their desserts look more polished. Using a warm knife and ensuring it’s clean after each pass is the key detail I stress. Quick results and minimal fuss.
Final Thoughts—Pin And Join The Conversation
I hope you try this creamy lemon fudge and feel the same spark of joy I do whenever I taste it. Save this recipe to your Pinterest boards so you can whip it up any time. Share your experiences in the comments, and let me know how it turned out or if you have any fun ideas.
Your feedback encourages a welcoming mood here on the blog. I often pick a few comments to feature in future posts, and it’s always thrilling to hear your tips. Let’s grow our baking adventures together, one lemony dessert at a time.
Lemon Fudge Recipe
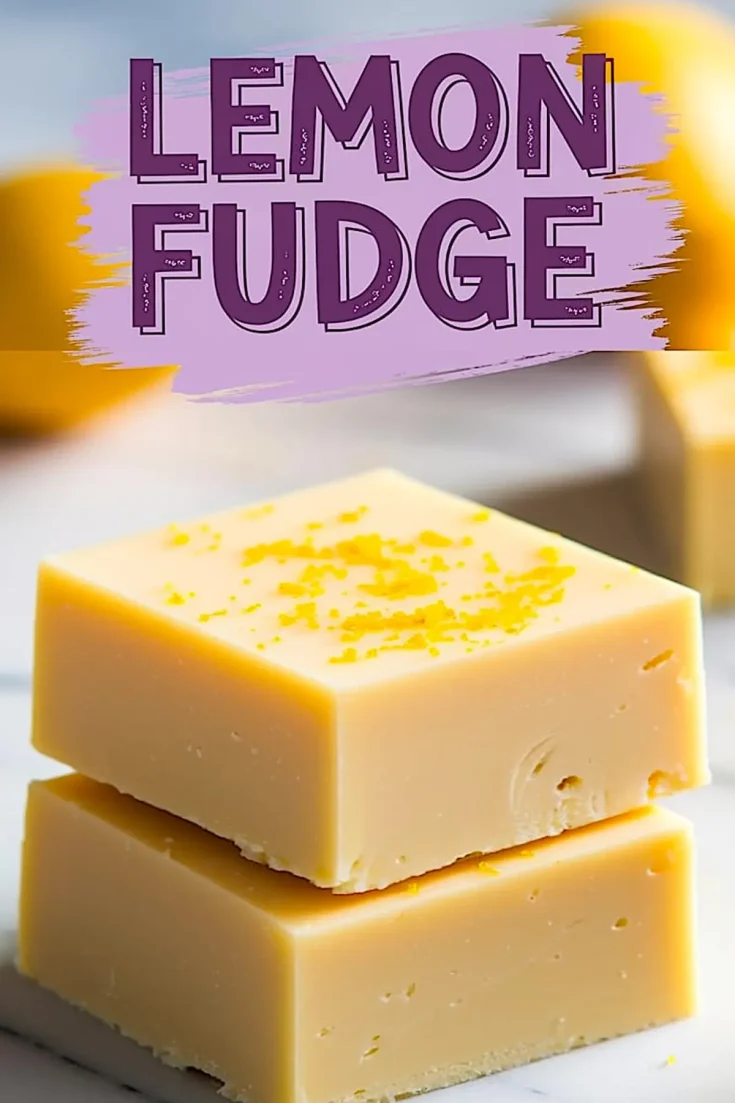
Sweet, citrusy, and smooth, this lemon fudge combines white chocolate with fresh lemon zest and juice for a bright and creamy treat. The simple no-bake method ensures a velvety texture with every bite.
Ingredients
- 2 ½ cups (450g) white chocolate chips or chopped white chocolate
- 1 can (14 oz) sweetened condensed milk
- 2 tbsp unsalted butter
- Zest of 2 lemons, plus extra for garnish
- 2 tbsp fresh lemon juice
- ½ tsp lemon extract
- A pinch of salt
- A few drops of yellow food coloring (optional)
Instructions
- PREPARE THE PAN: Line an 8x8-inch (20x20 cm) baking pan with parchment paper, leaving an overhang on the sides for easy removal.
- MELT THE CHOCOLATE MIXTURE: In a heatproof bowl, combine the white chocolate chips, sweetened condensed milk, and butter. Melt the mixture using a double boiler or microwave in 20-second intervals, stirring between each, until smooth.
- ADD THE LEMON FLAVOR: Remove from heat and stir in the lemon zest, lemon juice, lemon extract, and salt. If using food coloring, add a few drops and mix until evenly combined.
- POUR AND SET: Pour the fudge mixture into the prepared pan, smoothing the top with a spatula. Sprinkle extra lemon zest on top. Let cool at room temperature for 10–15 minutes, then refrigerate for at least 3 hours or until firm.
- SLICE AND SERVE: Once fully set, lift the fudge from the pan using the parchment overhang. Cut into small squares or rectangles with a sharp knife. Serve and enjoy.
Notes
For the smoothest fudge texture, use high-quality white chocolate, as lower-quality brands may not melt as evenly. If melting in the microwave, stir well between each 20-second interval to prevent overheating, which can cause the chocolate to seize.
Fresh lemon juice provides the best flavor, but bottled lemon juice can be used in a pinch. The addition of lemon extract enhances the citrus flavor, making the fudge taste brighter and more pronounced. If a more intense yellow color is desired, a few drops of yellow food coloring can be added, but this is optional and does not affect the taste.
Lining the pan with parchment paper and leaving an overhang makes it easier to lift the fudge out once it has set. Chilling for at least 3 hours ensures a firm texture, but letting it sit overnight in the refrigerator will yield even cleaner cuts. If the fudge is too firm to cut easily, let it sit at room temperature for a few minutes before slicing with a sharp knife. Wiping the knife blade with a damp, warm cloth between cuts helps achieve neat edges.
Store lemon fudge in an airtight container in the refrigerator for up to 2 weeks. For longer storage, freeze in a sealed container with parchment paper between layers for up to 3 months. Thaw in the refrigerator before serving.
Nutrition Information
Yield
20Serving Size
1Amount Per Serving Calories 68Total Fat 4gSaturated Fat 3gTrans Fat 0gUnsaturated Fat 1gCholesterol 5mgSodium 14mgCarbohydrates 8gFiber 1gSugar 7gProtein 1g