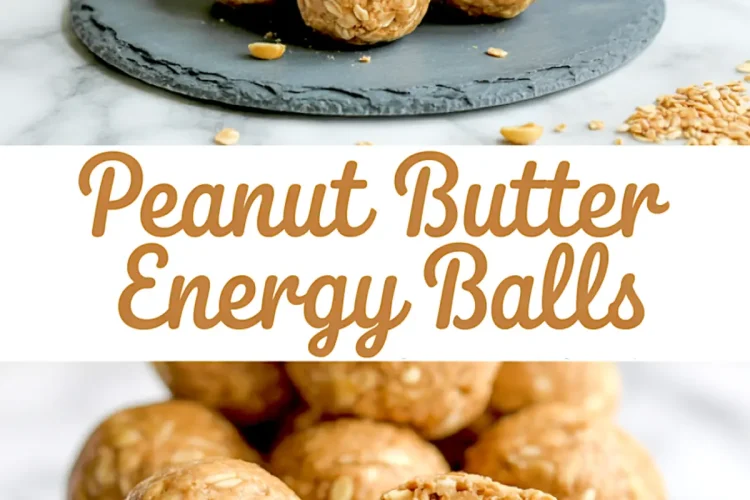
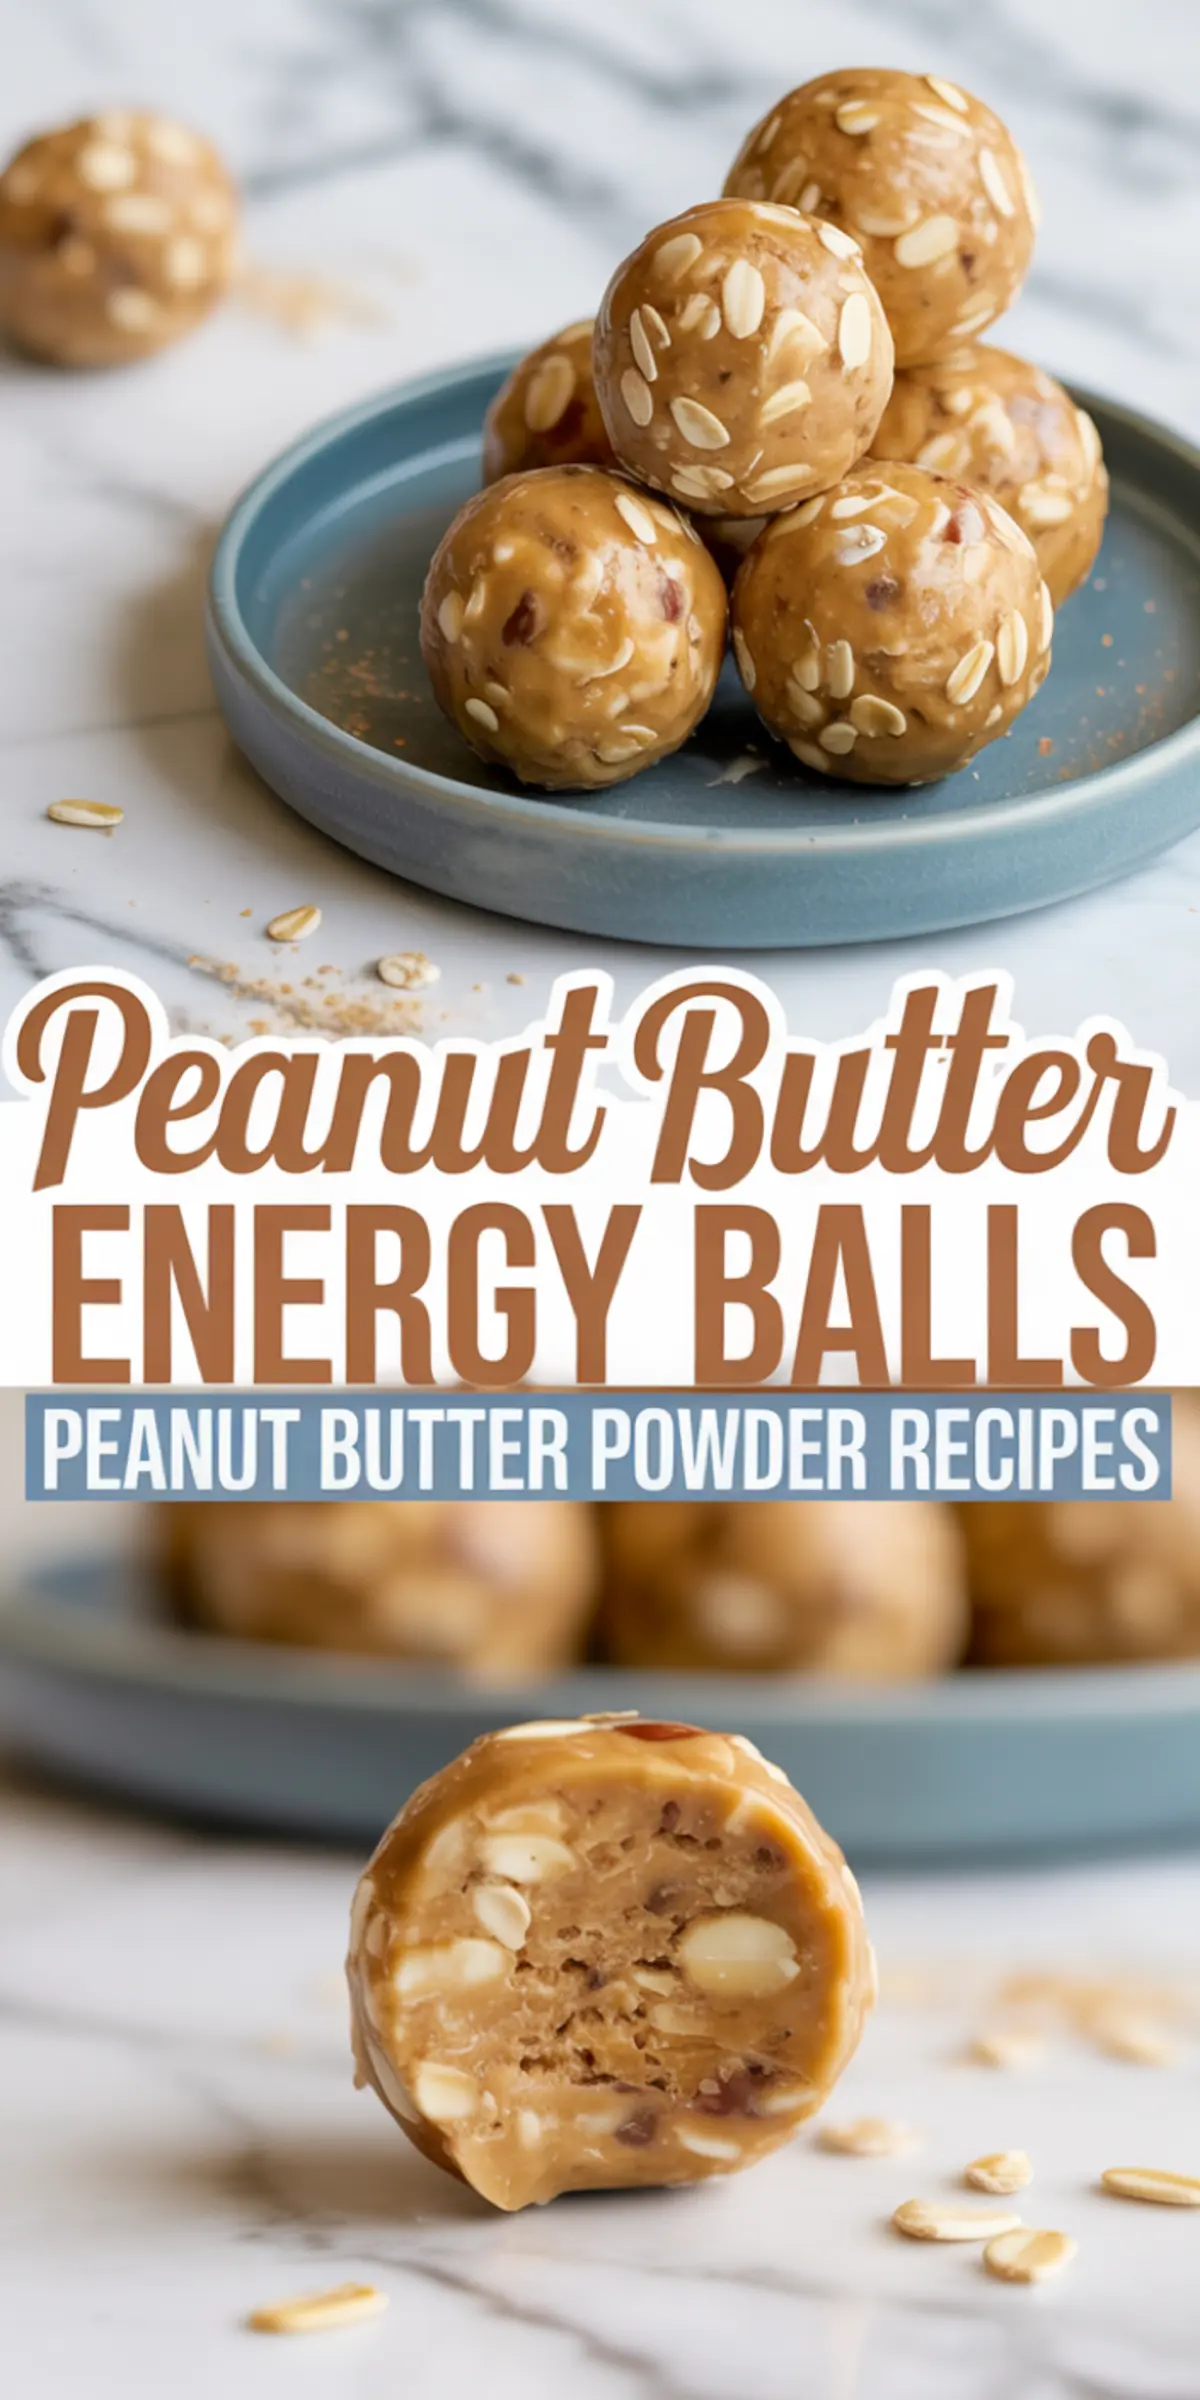
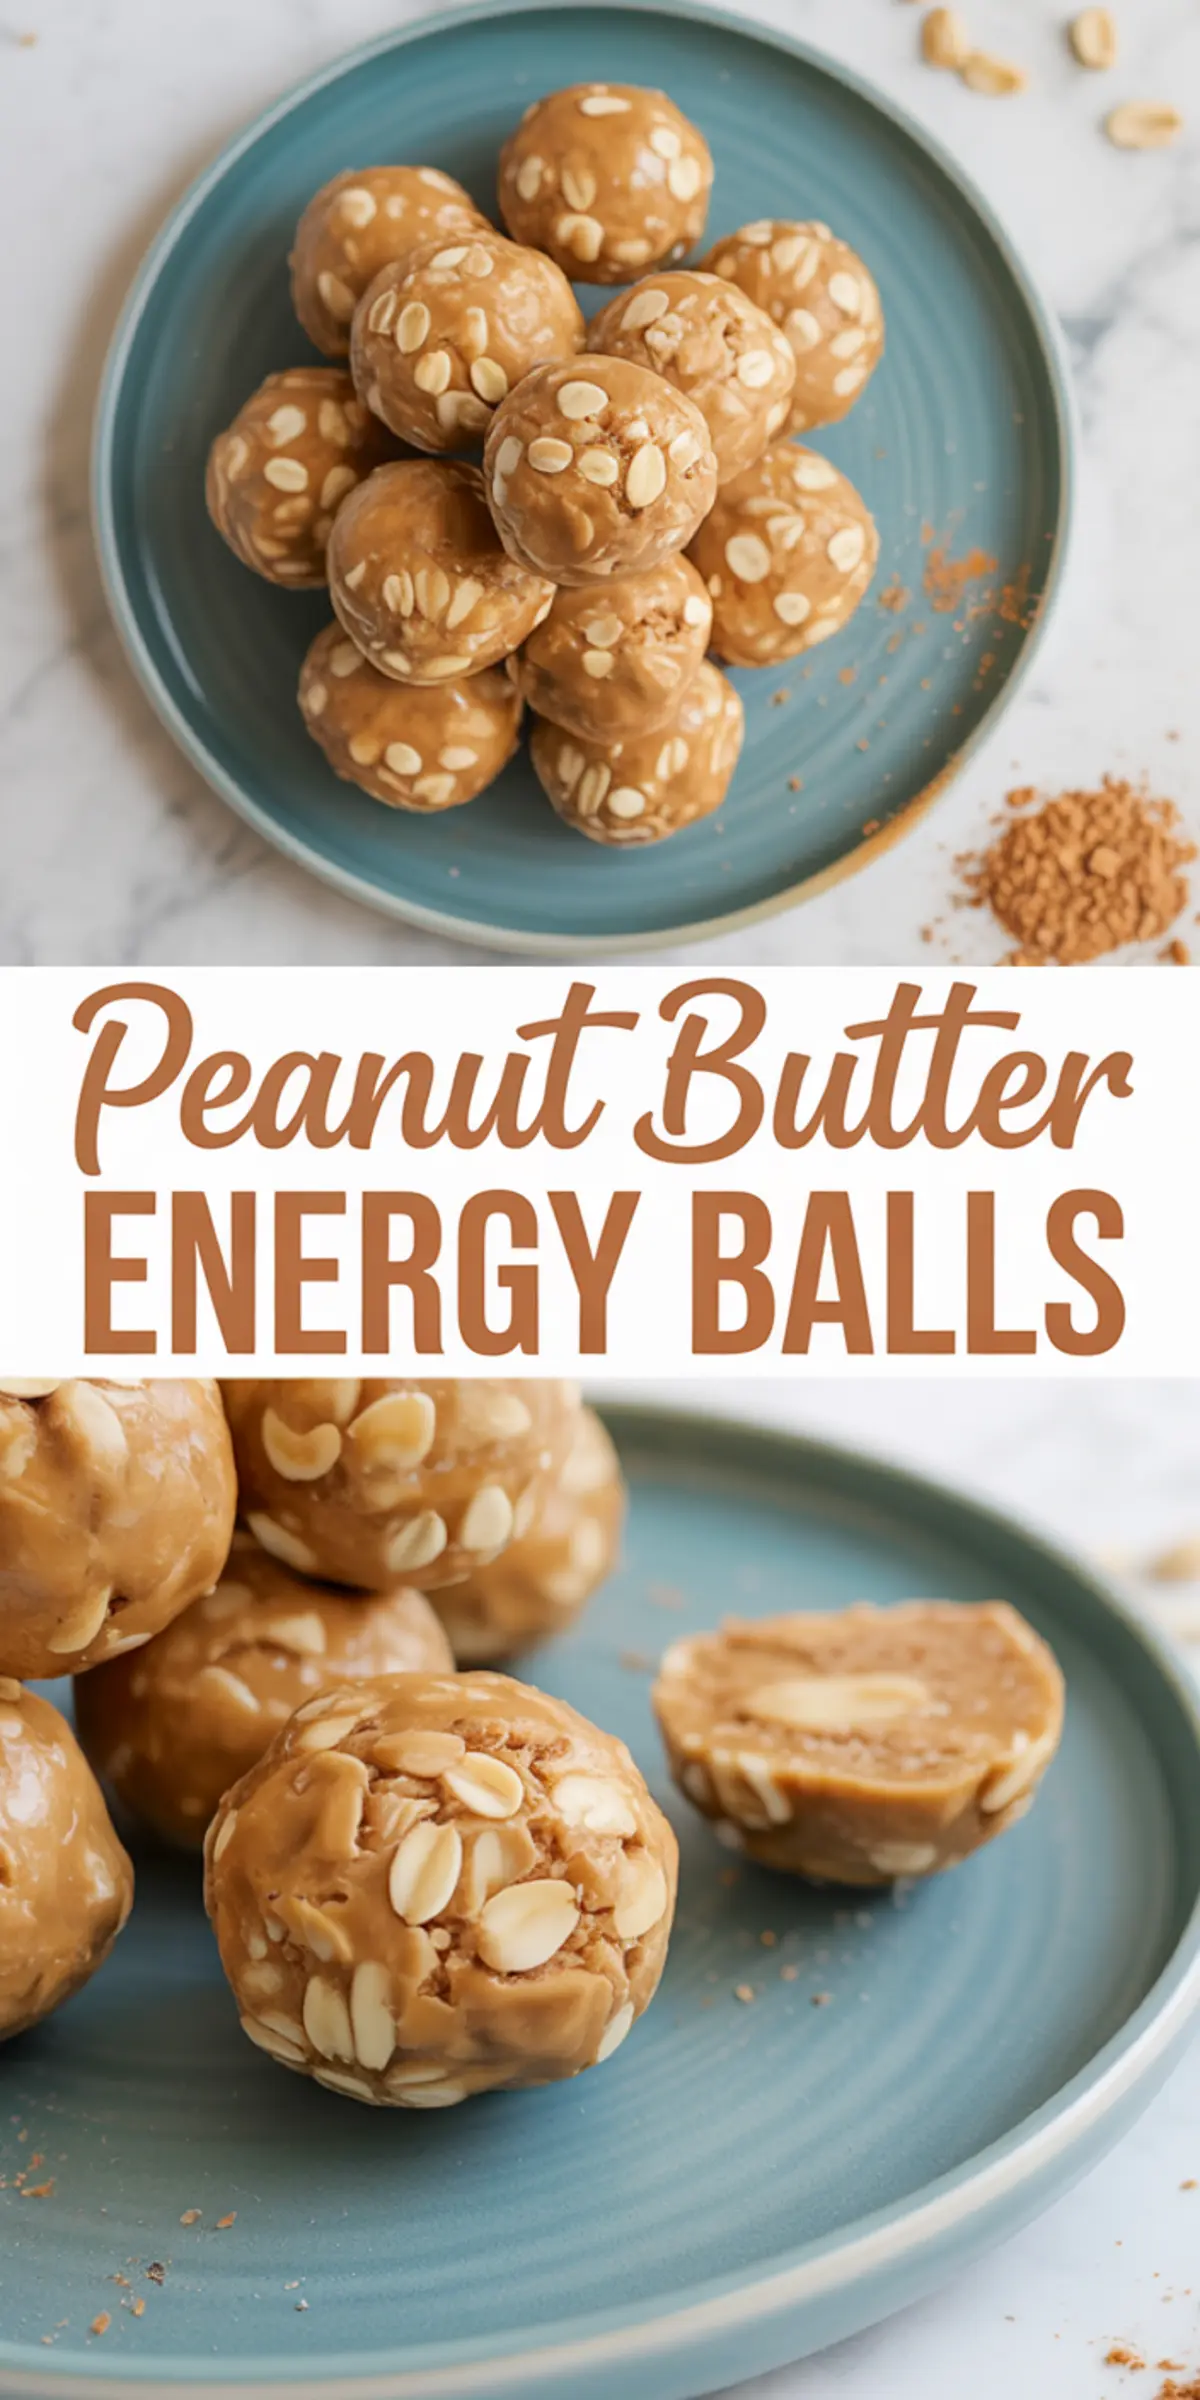
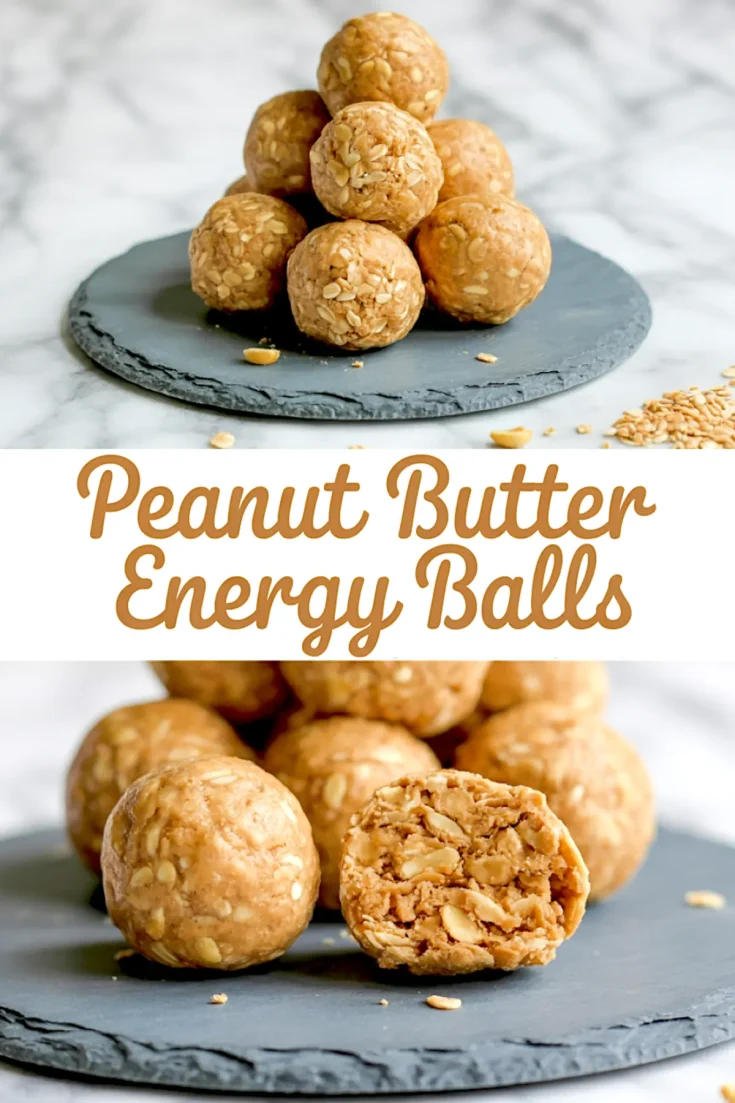
You need something that holds up in a lunchbox, works after a workout, and doesn’t crumble into guilt. These no-bake peanut butter energy balls do just that. With a balanced mix of protein, texture, and a little chocolate, they’ve earned their place in my weekly prep.
You’ll learn how to make them with one bowl, a handful of ingredients, and a few smart adjustments. You’ll also get a clear comparison that explains a key ingredient choice—because getting the texture right matters more than any pretty photo.
These peanut butter energy bites work well as a breakfast-on-the-go or a stash-in-your-freezer kind of treat. I’ve made them dozens of times. They hold shape, taste real, and give you something steady to grab without a second thought.
Why Peanut Butter Powder Makes a Difference
Most energy ball recipes lean too heavy on peanut butter, turning into sticky, dense lumps. Adding peanut butter powder changes the balance. It deepens the flavor without weighing down the texture.
You still get that creamy peanut note, but with a lightness that makes them more snackable. I’ve made batches both with and without it, and the difference is noticeable. The powder absorbs just enough moisture to keep the mix from sticking to your hands, especially helpful if you want to roll them fast.
If you don’t have peanut butter powder, you can leave it out, but the result shifts toward a softer, stickier dough. In my notes, the version with the powder holds shape better after chilling. For the best high protein peanut butter balls, I recommend keeping it in.
What You Need for This One-Bowl Snack

Start with old-fashioned oats. These give structure and a bit of chew, which you’ll need to balance the creamy elements. Quick oats can be used, but they break down more, resulting in a softer bite. If you’re after that satisfying texture, go with rolled.
Creamy peanut butter brings the fat and flavor base. I use natural peanut butter, stirred well. It binds the mix without overpowering. A bit of honey or maple syrup adds sweetness and helps hold the mixture together. Both work fine, so go with what’s in the pantry. Maple gives a deeper, more mellow taste.
Mini chocolate chips offer just enough indulgence to keep things interesting. I’ve made versions without them, but the few scattered chips lift the whole bite. If you prefer unsweetened, chopped peanuts also work well for texture.
For a high protein energy balls option, these ingredients line up well with your daily goals. You’re getting protein, healthy fat, and slow-digesting carbs in every bite.
If you’re already working with protein-focused snacks, these peanut butter oat balls are another make-ahead winner.
Mixing Method That Saves Time and Cleanup
Use one large bowl to combine the oats, peanut butter powder, and salt. If you’re adding chopped peanuts for crunch, toss them in now. This keeps the dry ingredients evenly distributed before adding the wet.
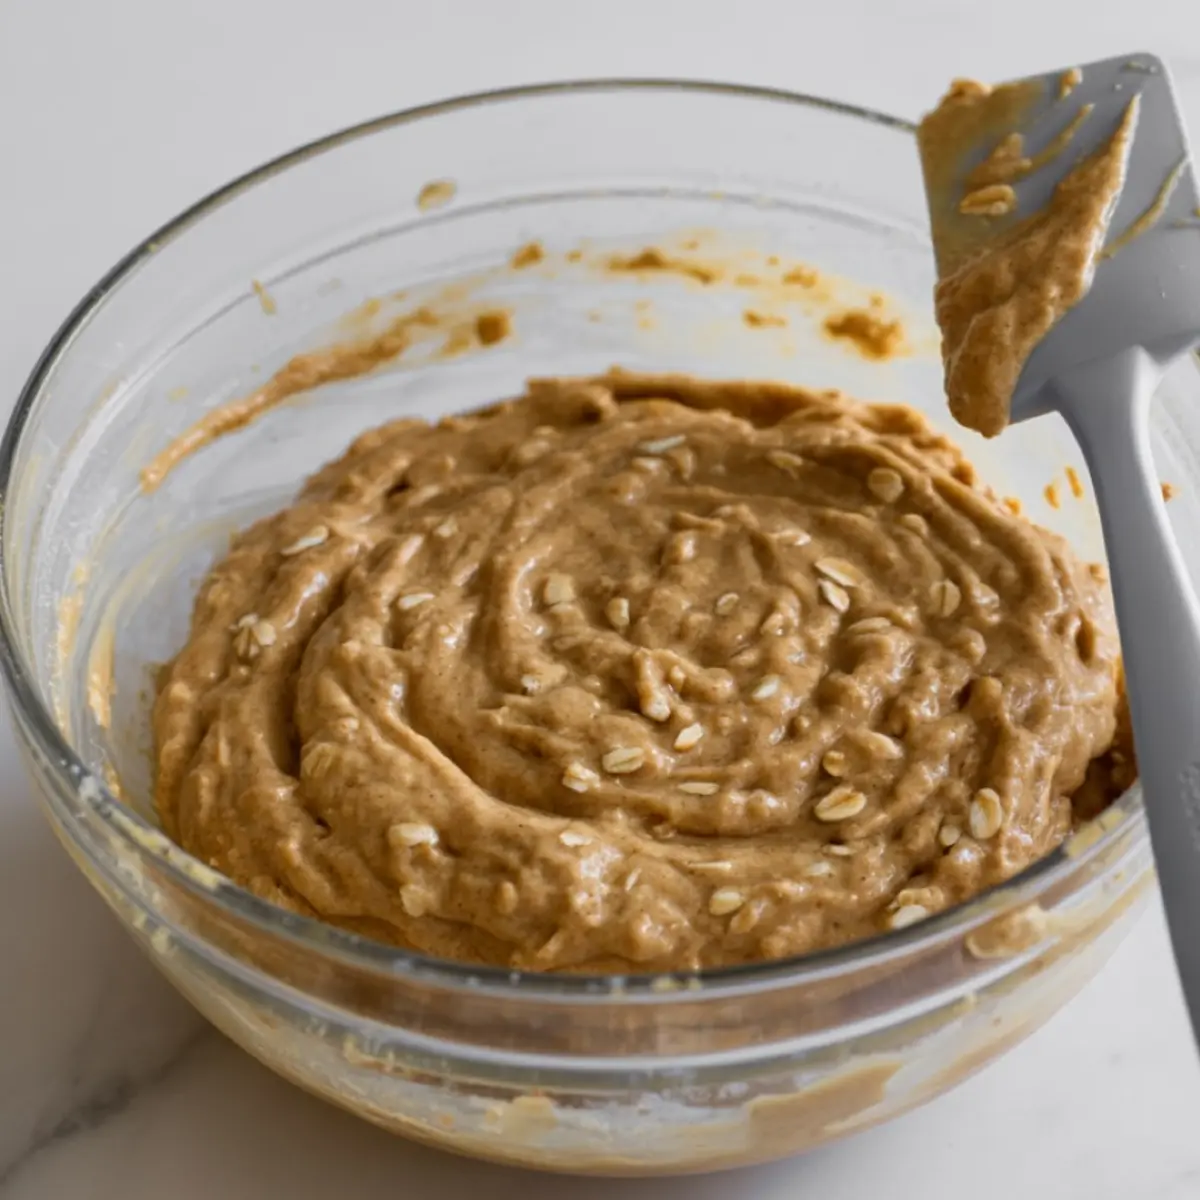
Next, fold in the peanut butter, honey or syrup, and a splash of vanilla. Stir until it begins to clump into a soft dough. Depending on your peanut butter brand, the texture may seem dry at first. Add milk slowly, one spoonful at a time, just until it softens enough to roll.
Once the mixture feels cohesive, stir in the chocolate chips. Don’t overmix here—they just need to scatter throughout. Then scoop and roll. I use a small cookie scoop for uniform size, but a regular spoon works just as well.
If you want more quick prep snacks, I suggest these easy protein balls that skip the chocolate and focus on peanut flavor.
How to Chill, Store, and Keep Them Fresh
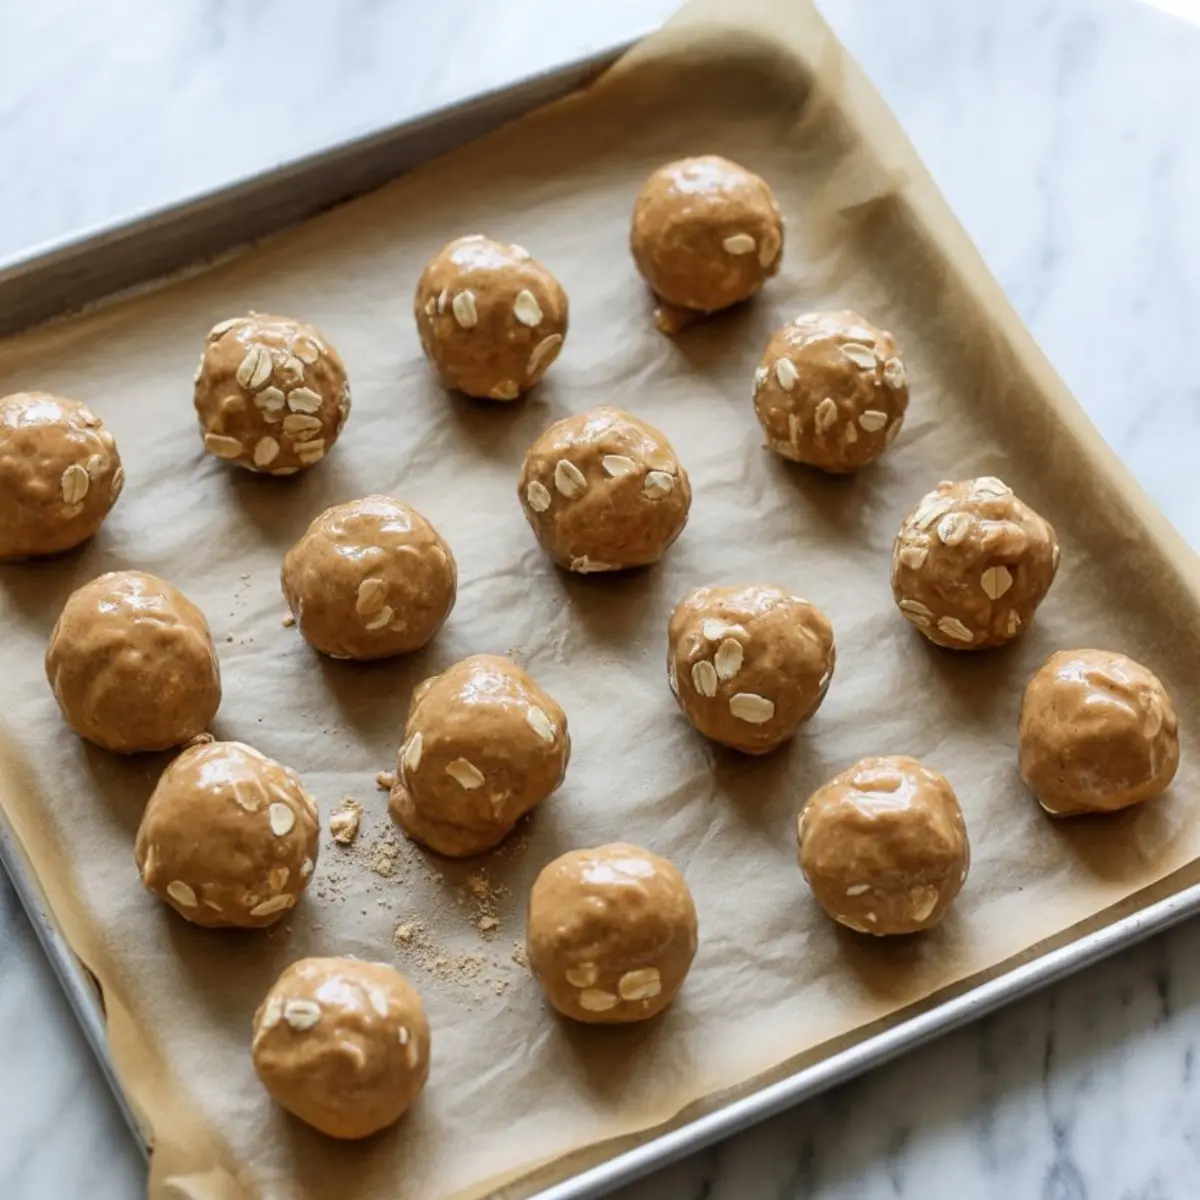
Line a tray with parchment or wax paper, then place the rolled balls spaced apart. Chill for at least 30 minutes. This helps them firm up without sticking together in storage.
For fridge storage, use an airtight container and keep them for up to a week. For longer storage, freeze the balls in a single layer first. Then transfer to a zip bag or freezer-safe box. They’ll keep for about three months. You can eat them straight from the freezer or let them soften for a few minutes.
In warmer months, the chilled texture is actually better. They’re still soft enough to bite but hold their shape longer in lunchboxes or snack bags.
If you’re looking to pair them with a seasonal bite, try pumpkin protein balls—they freeze well too and add a fall variation without extra effort.
One Practical Ingredient Swap to Know
I’ve tested both maple syrup and honey for this energy balls recipe. Both bind the dough, but honey results in a slightly firmer texture. Maple syrup keeps the mix softer and adds a deeper sweetness.
If you’re packing them for travel or a warm climate, honey holds up better. For a smoother mix with a richer flavor, maple syrup wins. I use honey when I plan to store in the fridge and grab throughout the week. Maple when I want a softer bite straight from the freezer.
In my kitchen notes, honey batches rolled faster with less milk. Maple ones needed a touch more moisture but tasted slightly richer.
Related Recipes to Keep On Hand
- No-Bake Peanut Butter Bars – great for a sliceable snack
- Healthy Peanut Butter Balls – more texture, fewer extras
- Easy Peanut Butter Protein Balls – simplified and quick
- Pumpkin Protein Balls Recipe – a fall spin with fiber boost
Make-Ahead Snacks That Actually Work
These peanut butter energy balls store easily, pack quickly, and taste good enough to make again. You’re not left with something that feels like a chore to eat. You can mix them in ten minutes and roll while the coffee brews.
I’ve brought them to meetings, packed them in lunchboxes, and kept a stash in the back of my freezer for snack emergencies. They hold up without fuss. That’s what makes them worth making.
Save this on your Pinterest board for snack ideas, and let me know in the comments if you’ve tried a variation. Did you go maple or honey? Did you add cinnamon, chia, or dried fruit? I read every comment and love seeing how you make it work in your kitchen.
Peanut Butter Energy Balls Recipe
These no-bake peanut butter energy balls combine wholesome ingredients with quick prep and no oven time. Peanut butter powder adds a deeper peanut flavor while keeping the texture light. Great for breakfast on the go or a mid-day snack, they store well in the fridge or freezer and come together in one bowl with minimal cleanup.
Ingredients
- 1 cup old-fashioned rolled oats
- 1/2 cup creamy peanut butter
- 1/4 cup peanut butter powder
- 1/4 cup honey or maple syrup
- 1/4 cup chopped peanuts (optional)
- 1/4 cup mini chocolate chips (optional)
- 1/2 teaspoon vanilla extract
- Pinch of sea salt
- 1–2 tablespoons milk or plant milk (as needed)
Instructions
- COMBINE DRY INGREDIENTS: In a large mixing bowl, stir together the rolled oats, peanut butter powder, chopped peanuts (if using), and a pinch of sea salt until evenly mixed.
- ADD WET INGREDIENTS: Add the creamy peanut butter, honey or maple syrup, and vanilla extract. Mix thoroughly with a spoon or spatula until the ingredients begin to come together. If the mixture is too dry or crumbly, add 1 to 2 tablespoons of milk, a little at a time, until it forms a soft, pliable dough.
- FOLD IN CHOCOLATE CHIPS: Gently fold in the mini chocolate chips if using. Mix until the chips are evenly distributed throughout the dough.
- ROLL INTO BALLS: Scoop out portions of dough using a tablespoon or small cookie scoop. Roll each portion between your palms to form smooth, compact balls. Repeat until all dough is used. You should end up with about 18 to 20 balls.
- CHILL: Place the rolled balls on a parchment-lined plate or tray. Refrigerate for at least 30 minutes to allow them to firm up before serving or storing.
Notes
Store energy balls in an airtight container in the refrigerator for up to one week, or freeze for up to three months. Use certified gluten-free oats if needed. Adjust sweetness by using honey or maple syrup based on preference.
Nutrition Information
Yield
20Serving Size
1Amount Per Serving Calories 106Total Fat 6gSaturated Fat 1gTrans Fat 0gUnsaturated Fat 3gCholesterol 2mgSodium 58mgCarbohydrates 11gFiber 1gSugar 7gProtein 4g