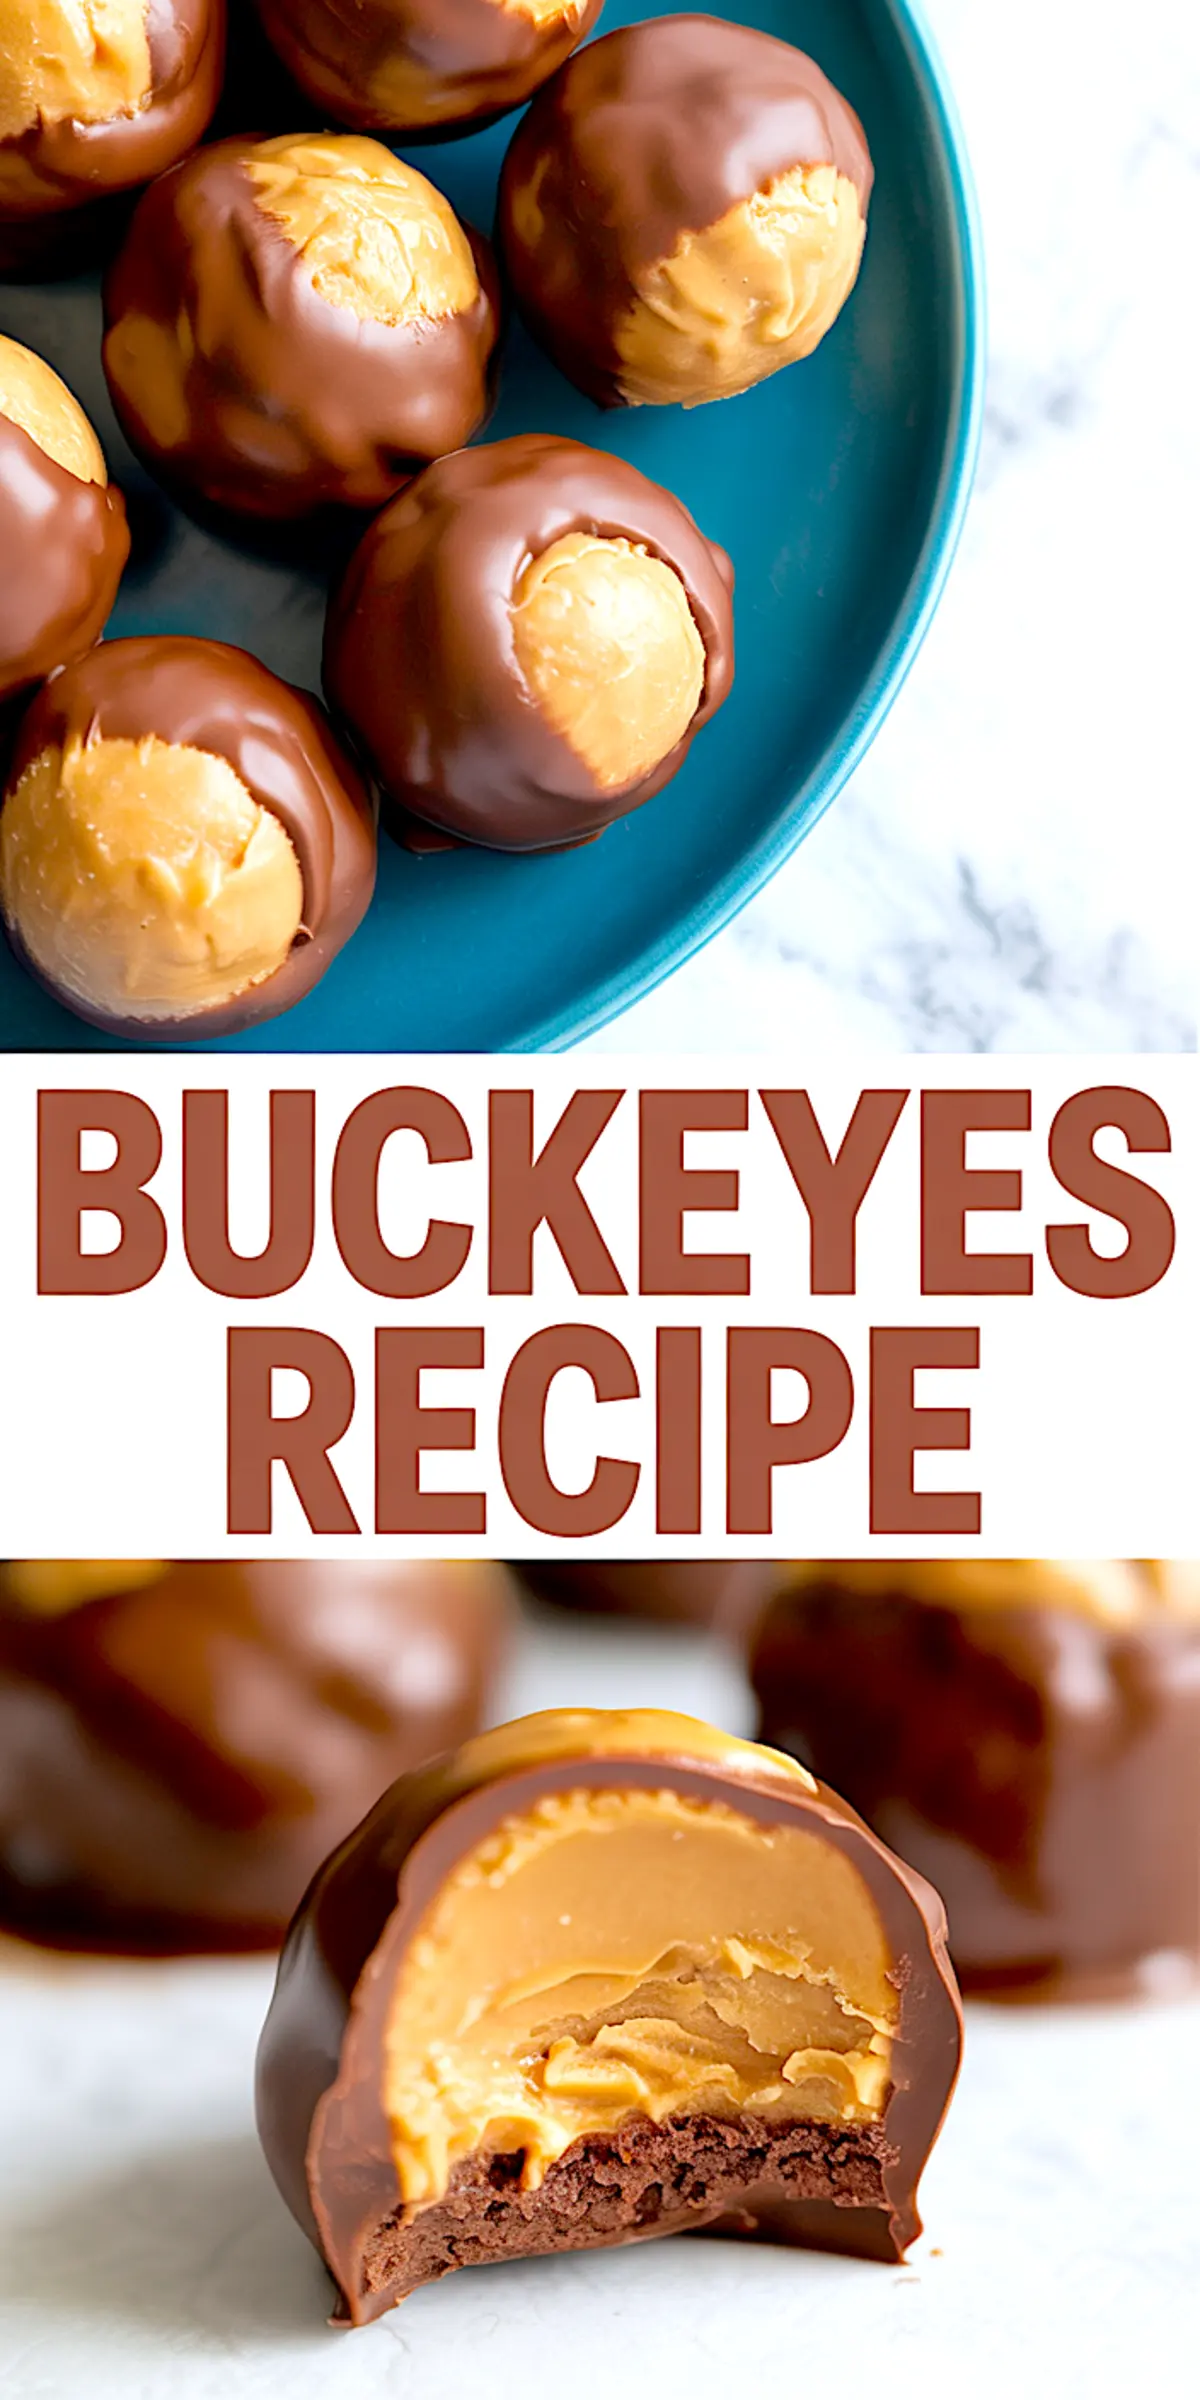
The first time I made these Easy Buckeyes, I understood why they’ve held their place in Midwest kitchens for generations.
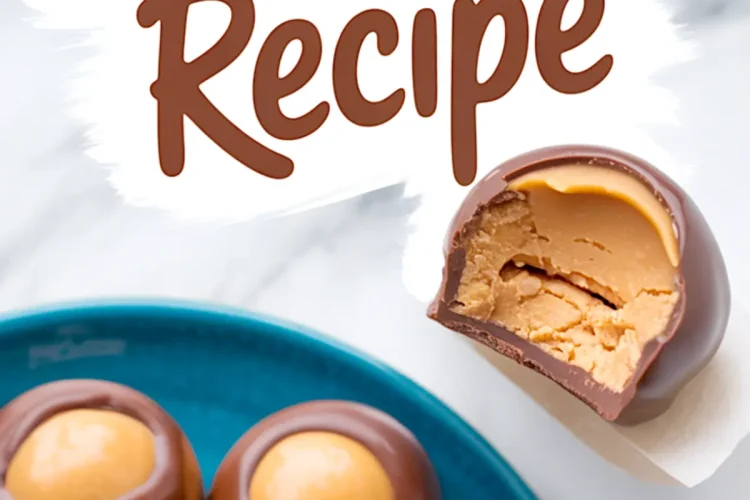
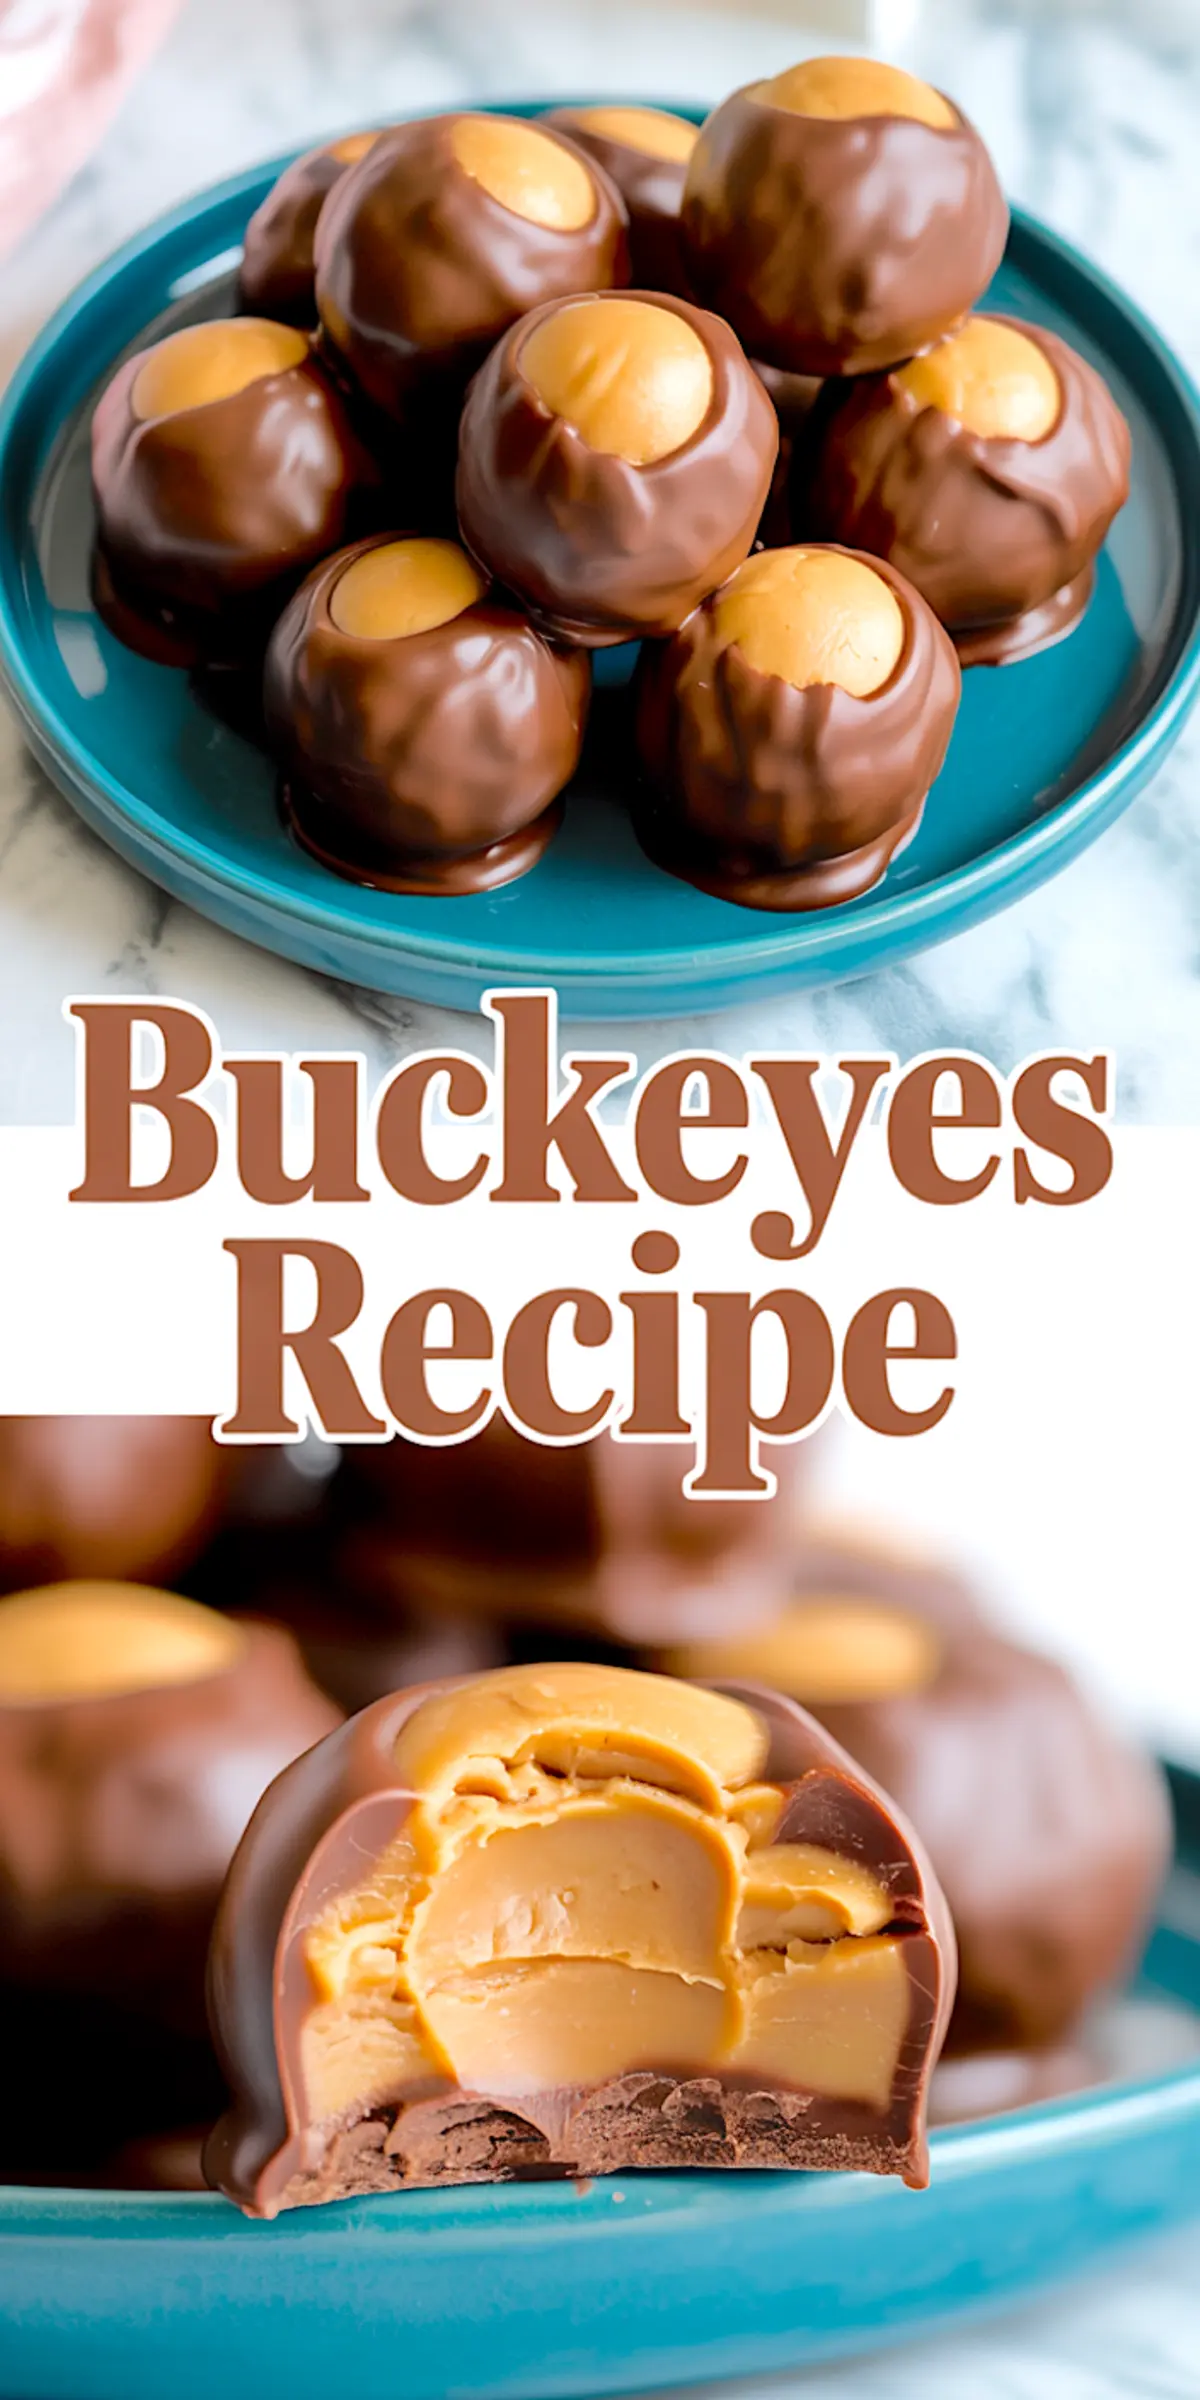
You get the creamy, sweet peanut butter center wrapped in a smooth chocolate shell, with that little circle of peanut butter showing on top. It’s simple candy-making at home, without complicated steps or candy thermometers.
You’ll learn how to make Buckeye Candy the way home cooks have done it for years. I will show you how to avoid common mistakes, choose the right ingredients, and serve them beautifully. You’ll walk away confident, ready to make the best Buckeyes Recipe for your next holiday tray or weekend treat.
Following a special diet?
Every recipe on this site can be converted to gluten-free, vegan, dairy-free, keto, nut-free or egg-free with adjusted ratios so nothing falls flat.
Try the Recipe Converter →Why This Homemade Buckeyes Recipe Works
I’ve tested many versions of Buckeye Balls, from the old church cookbooks to modern blog variations.
The trick is balance. You want a peanut butter dough that’s firm enough to hold shape, but soft enough to bite through without crumbling.
Using regular creamy peanut butter (not natural or oily versions) gives you the best texture. The combination of softened butter and powdered sugar stiffens the dough just right.
The chocolate shell gives contrast. When you bite through that snap of chocolate into the creamy center, it delivers exactly what Buckeye Candy Recipe lovers expect.
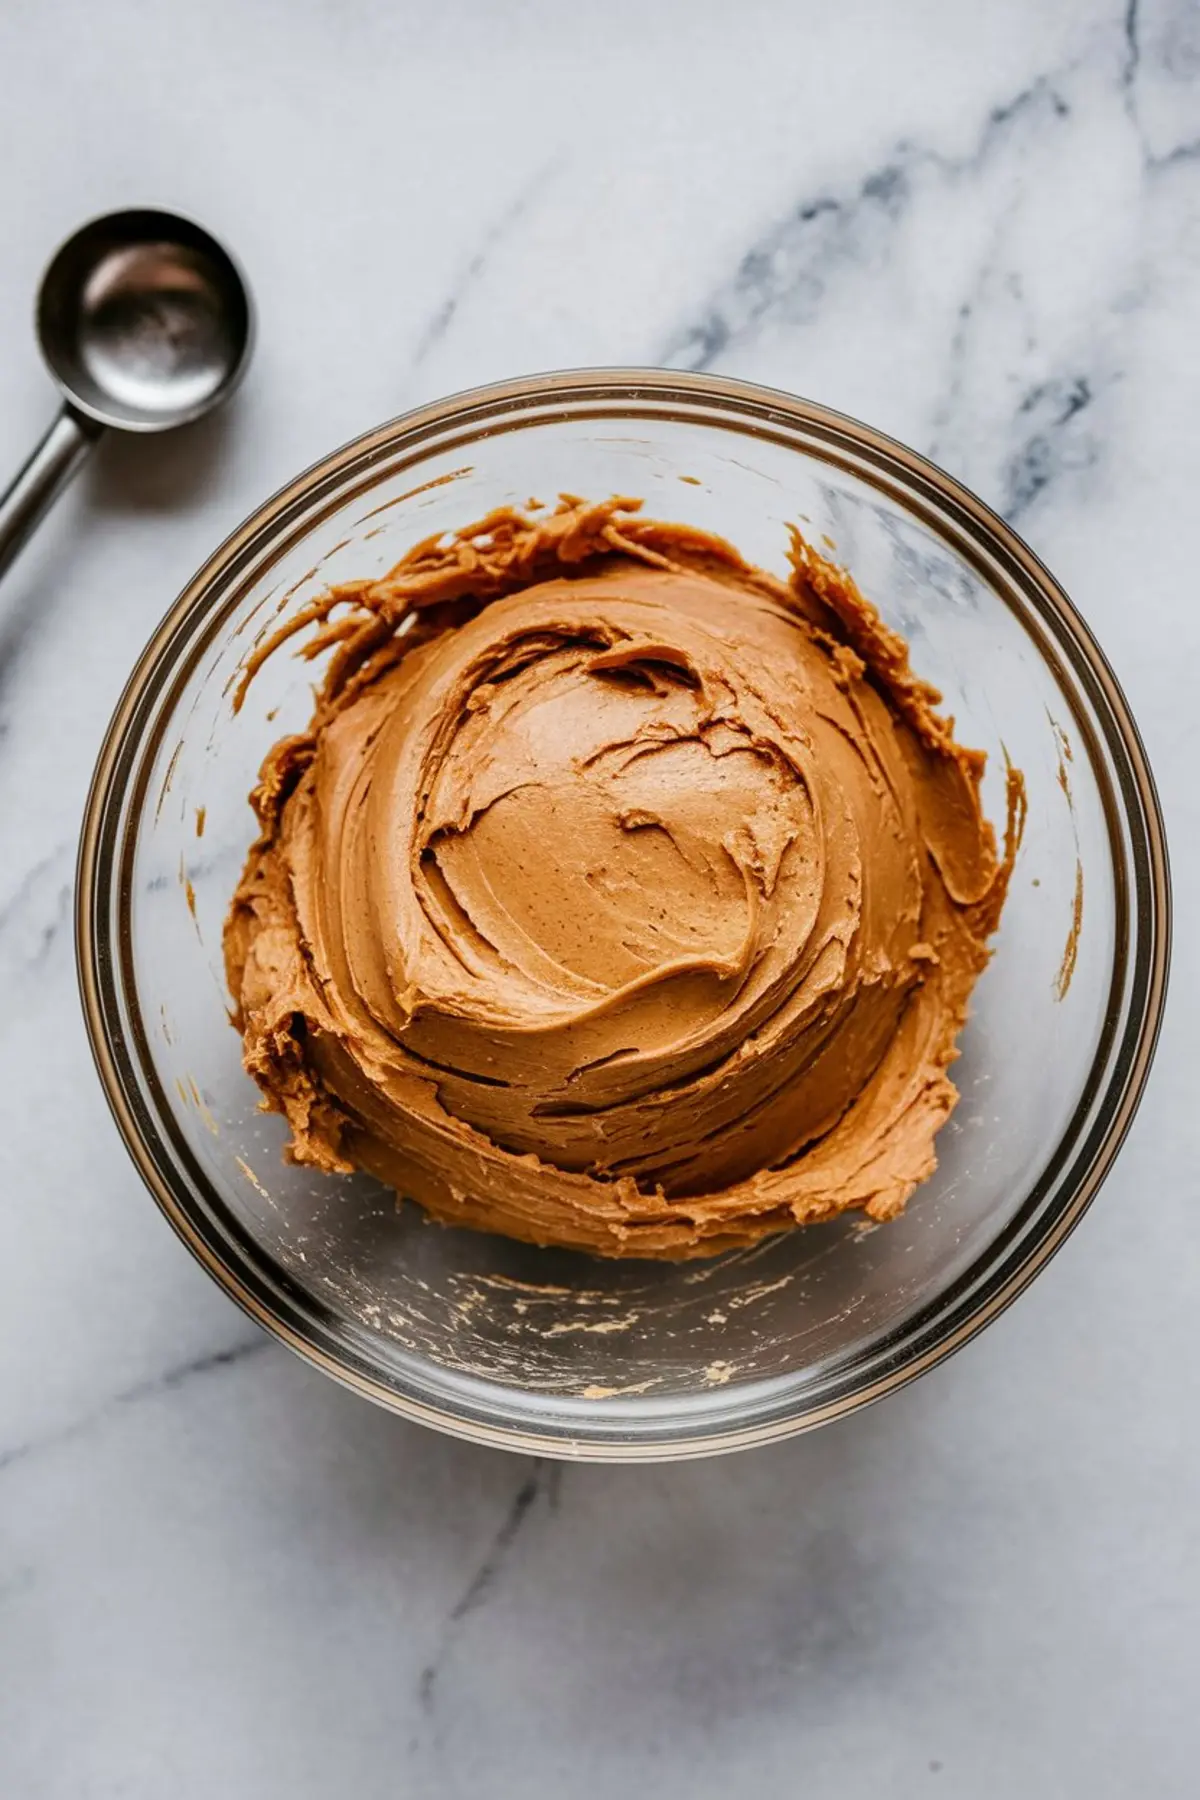
Mixing the Peanut Butter Dough for Buckeye Balls
Start with creamy peanut butter and softened unsalted butter.
I always let the butter sit on my counter for about an hour before starting. This way, it blends evenly with the peanut butter, creating a smooth mixture without lumps.
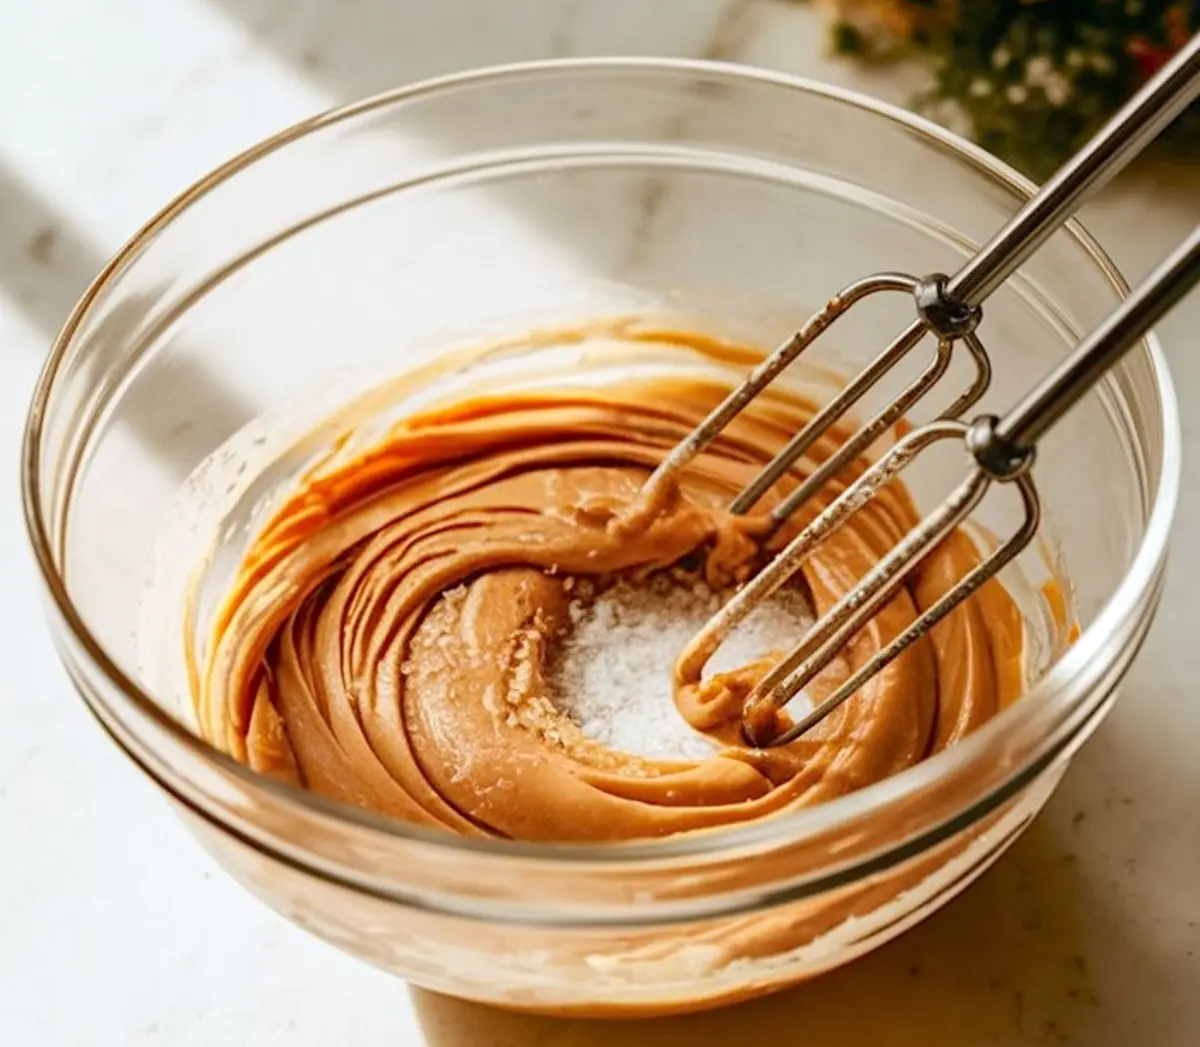
Once combined, add vanilla and salt. Then slowly add powdered sugar, half a cup at a time.
In my notes, I’ve found that starting with 3 ½ cups of powdered sugar and adjusting up to 4 cups depending on the humidity works well. The dough should feel stiff but pliable, holding its shape easily without sticking to your fingers.
At this stage, it helps to chill the dough for about 10 minutes. This makes rolling much easier, especially if your kitchen runs warm.
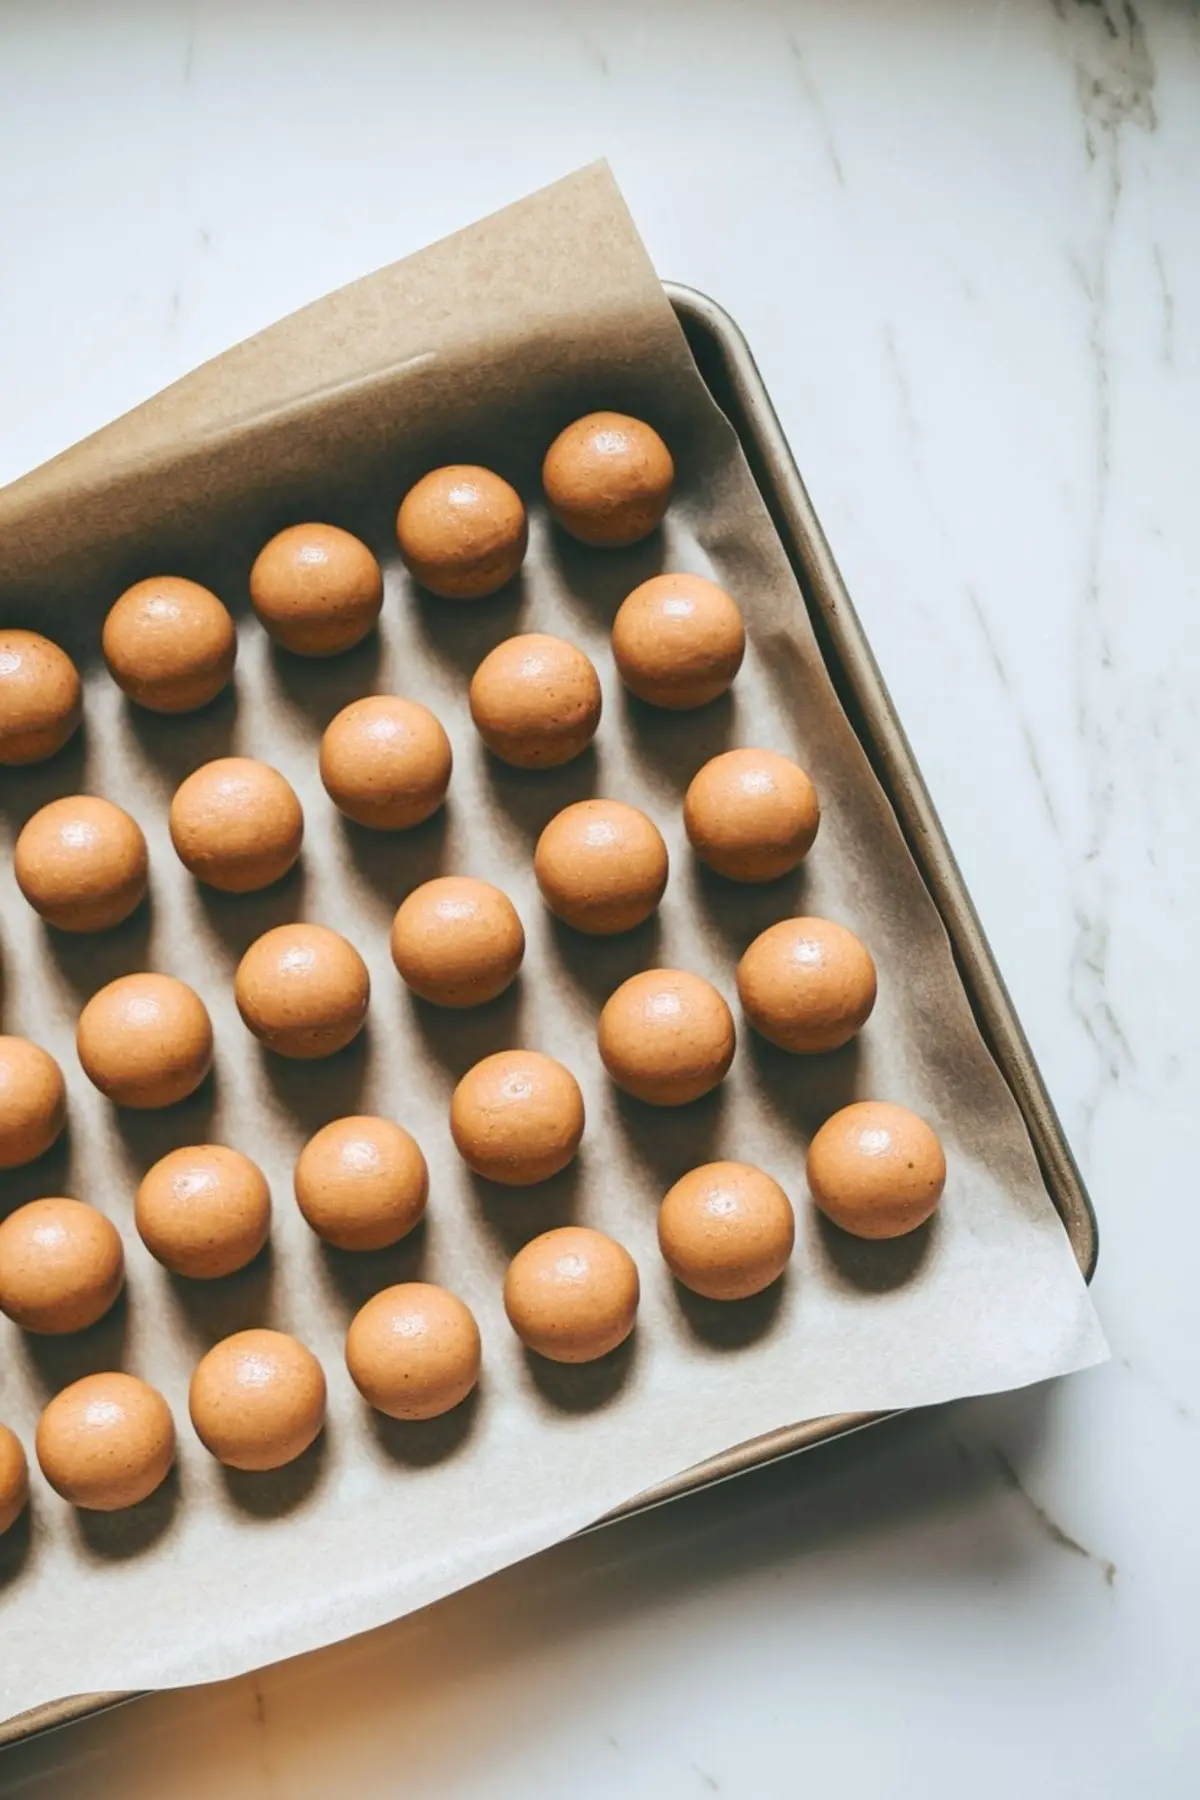
Rolling and Chilling: The Step That Sets You Up for Success
Take a tablespoon of dough and roll it between your palms to form smooth, even balls.
I like to place them directly onto a parchment-lined baking sheet, spaced slightly apart. Once you finish rolling, place the tray in the refrigerator for at least 30 minutes. If you’re short on time, the freezer will firm them up in about 15 minutes.
This chilling step prevents the balls from slipping off the toothpicks or falling apart when dipped into the warm chocolate.
Melting Chocolate: Microwave vs Double Boiler
For dipping, both microwave and double boiler methods work.
I’ve tried both many times. The microwave is faster, especially for small batches. Place your chocolate chips in a microwave-safe bowl with a spoonful of shortening or coconut oil. Heat in short intervals, stirring after each.
If you prefer more control, use a double boiler. This method gives you a smoother melt, with less chance of overheating. The steam gently melts the chocolate, which stays fluid longer.
Either method delivers a glossy coating, but the double boiler remains my personal favorite when I have the extra few minutes.
Dipping the Buckeye Candy for That Signature Look
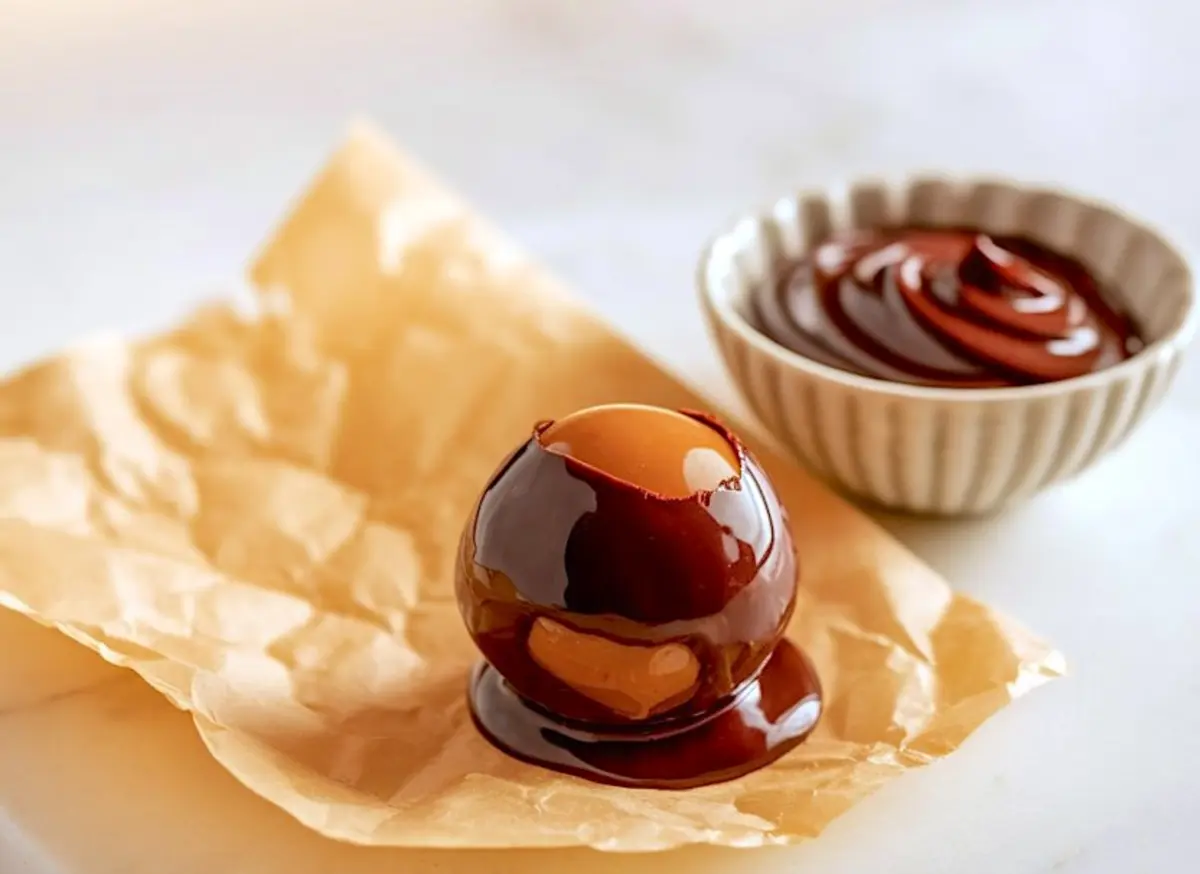
Once the balls are chilled and the chocolate is ready, insert a toothpick into the center of each ball.
Dip about three-quarters of the way, leaving the signature “buckeye” circle on top. Let any extra chocolate drip off before setting the ball back onto the parchment.
After dipping, I gently smooth over the toothpick hole with a clean fingertip or small offset spatula.
This little touch gives them a polished finish, almost like you picked them up at a candy shop.
Letting Buckeyes Set and How to Store Them
Once dipped, transfer the tray back into the refrigerator. Give them about 30 minutes to set completely.
For storage, place the Buckeye Balls in an airtight container. They keep well in the refrigerator for up to two weeks. For longer storage, freeze them and thaw before serving.
I always let them sit at room temperature for about 15 minutes before serving. This allows the center to soften slightly, giving the best bite.
Related Recipes to Try Next
If you enjoy peanut butter and chocolate together, you may also love these recipes:
- Reese’s Peanut Butter Cake
- Peanut Butter No Bake Cookies
- Peanut Butter Overnight Oats
- Chocolate Peanut Butter Cupcakes
- Peanut Butter Fudge
The One Ingredient Swap That Changes the Texture
In my tests, using coconut oil instead of shortening for the chocolate coating creates a slightly thinner shell with a softer bite.
Shortening gives you a slightly thicker and more stable coating, better for warm environments or shipping the candy.
If you plan to serve Buckeyes at a party table where they may sit out, I lean toward shortening. If serving straight from the fridge at home, coconut oil works beautifully for a softer mouthfeel.
This small adjustment allows you to control the final texture depending on your needs.
Serving Buckeye Balls for Holidays or Gifts
Buckeye Candy shines during the holidays, but works equally well for football parties, potlucks, or homemade gifts.
I like to pack them into small candy boxes lined with parchment. Adding a ribbon turns them into simple yet thoughtful gifts.
At gatherings, I serve them alongside a platter of Peanut Butter Fudge and Peanut Butter No Bake Cookies to give variety without overwhelming the table.
Troubleshooting Common Buckeye Problems
If the dough feels too sticky, add a bit more powdered sugar until it firms up.
If cracks appear when dipping, it usually means the dough balls were too cold. Let them sit at room temperature for a few minutes before dipping.
Chocolate too thick? Stir in a teaspoon of oil to loosen it before continuing.
I’ve made every one of these mistakes in my early batches, so don’t worry if you need to adjust. This candy forgives minor errors and still turns out beautiful.
Pin This Easy Buckeyes Recipe and Share Your Experience!
I would love to hear how your Buckeye Candy turns out.
Share your results or any questions in the comments. Don’t forget to save this recipe on Pinterest so you can easily find it again for your next holiday baking session!
Easy Buckeyes Recipe

Classic peanut butter and chocolate candy with a creamy center and crisp shell. A nostalgic no-bake treat popular in the Midwest, especially around the holidays or football season.
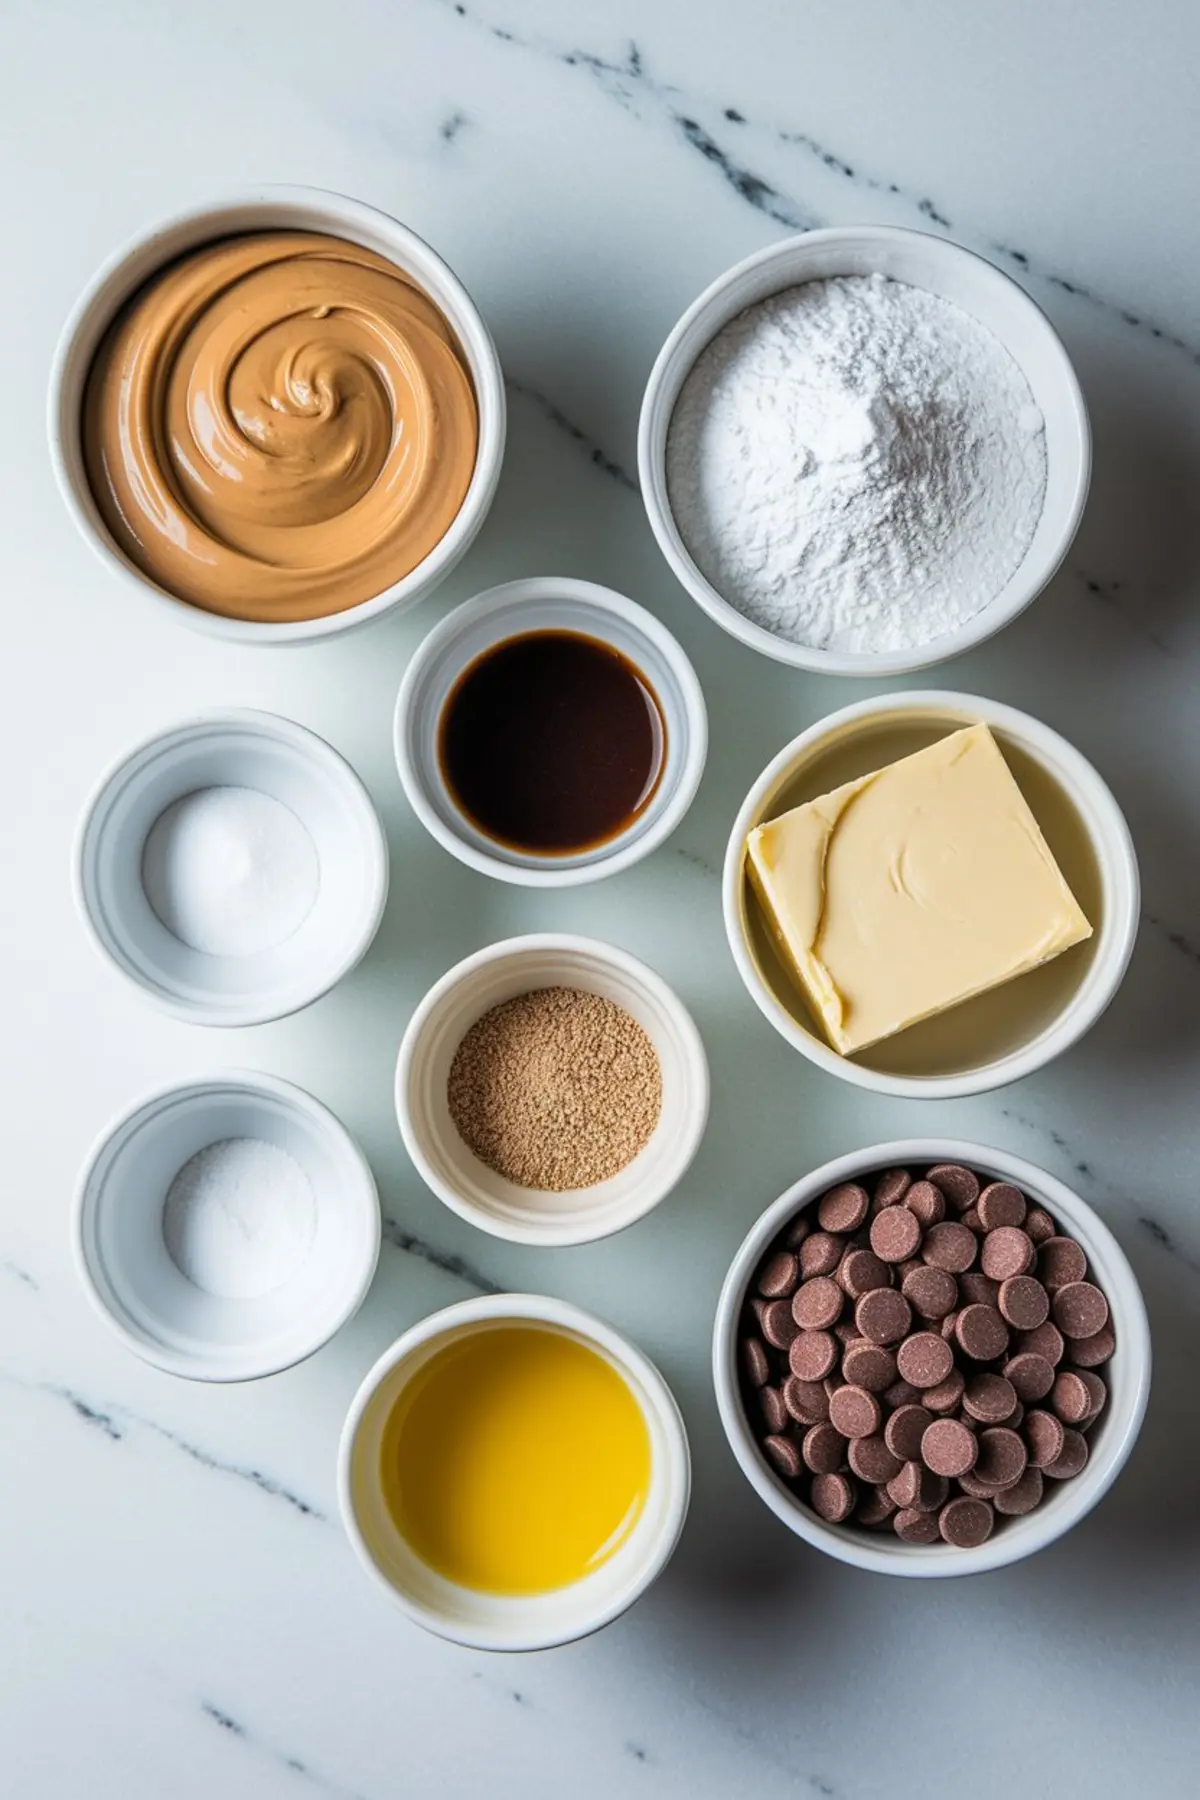
Ingredients
- 1 ½ cups creamy peanut butter (not natural)
- ½ cup unsalted butter, softened
- 1 teaspoon vanilla extract
- ¼ teaspoon salt
- 3 ½ to 4 cups powdered sugar
- 12 ounces semi-sweet or dark chocolate chips
- 1 tablespoon shortening or coconut oil (optional)
Instructions
- MIX THE PEANUT BUTTER DOUGH: In a large mixing bowl, combine peanut butter, softened butter, vanilla, and salt. Mix with a hand mixer or stand mixer until smooth and creamy. Gradually add powdered sugar, about ½ cup at a time, mixing until the dough becomes stiff and no longer sticky. You should be able to roll it into balls easily.
- ROLL INTO BALLS: Scoop out about 1 tablespoon of dough and roll it into a ball using your hands. Place each ball onto a parchment-lined baking sheet. Repeat with the remaining dough. Once all the balls are rolled, chill them in the fridge for at least 30 minutes or freeze for 15–20 minutes until firm.
- MELT THE CHOCOLATE: In a microwave-safe bowl, add the chocolate chips and optional shortening or coconut oil. Microwave in 30-second intervals, stirring after each, until the mixture is fully melted and smooth. Alternatively, melt the chocolate using a double boiler if preferred.
- DIP THE BUCKEYES: Insert a toothpick into the center of each chilled peanut butter ball. Dip each ball about three-quarters of the way into the melted chocolate, leaving the top portion exposed to resemble a buckeye. Let any excess chocolate drip off, then place the dipped ball back on the baking sheet. Smooth over the toothpick hole if desired.
- LET THEM SET: Refrigerate the dipped Buckeyes for about 30 minutes or until the chocolate is fully set. Once firm, they are ready to serve or store.
Notes
Store Buckeyes in an airtight container in the refrigerator for up to 2 weeks, or freeze for longer storage. Allow them to come to room temperature before serving for the best texture.
Nutrition Information
Yield
36Serving Size
1Amount Per Serving Calories 311Total Fat 12gSaturated Fat 5gTrans Fat 0gUnsaturated Fat 6gCholesterol 8mgSodium 69mgCarbohydrates 51gFiber 1gSugar 47gProtein 3g