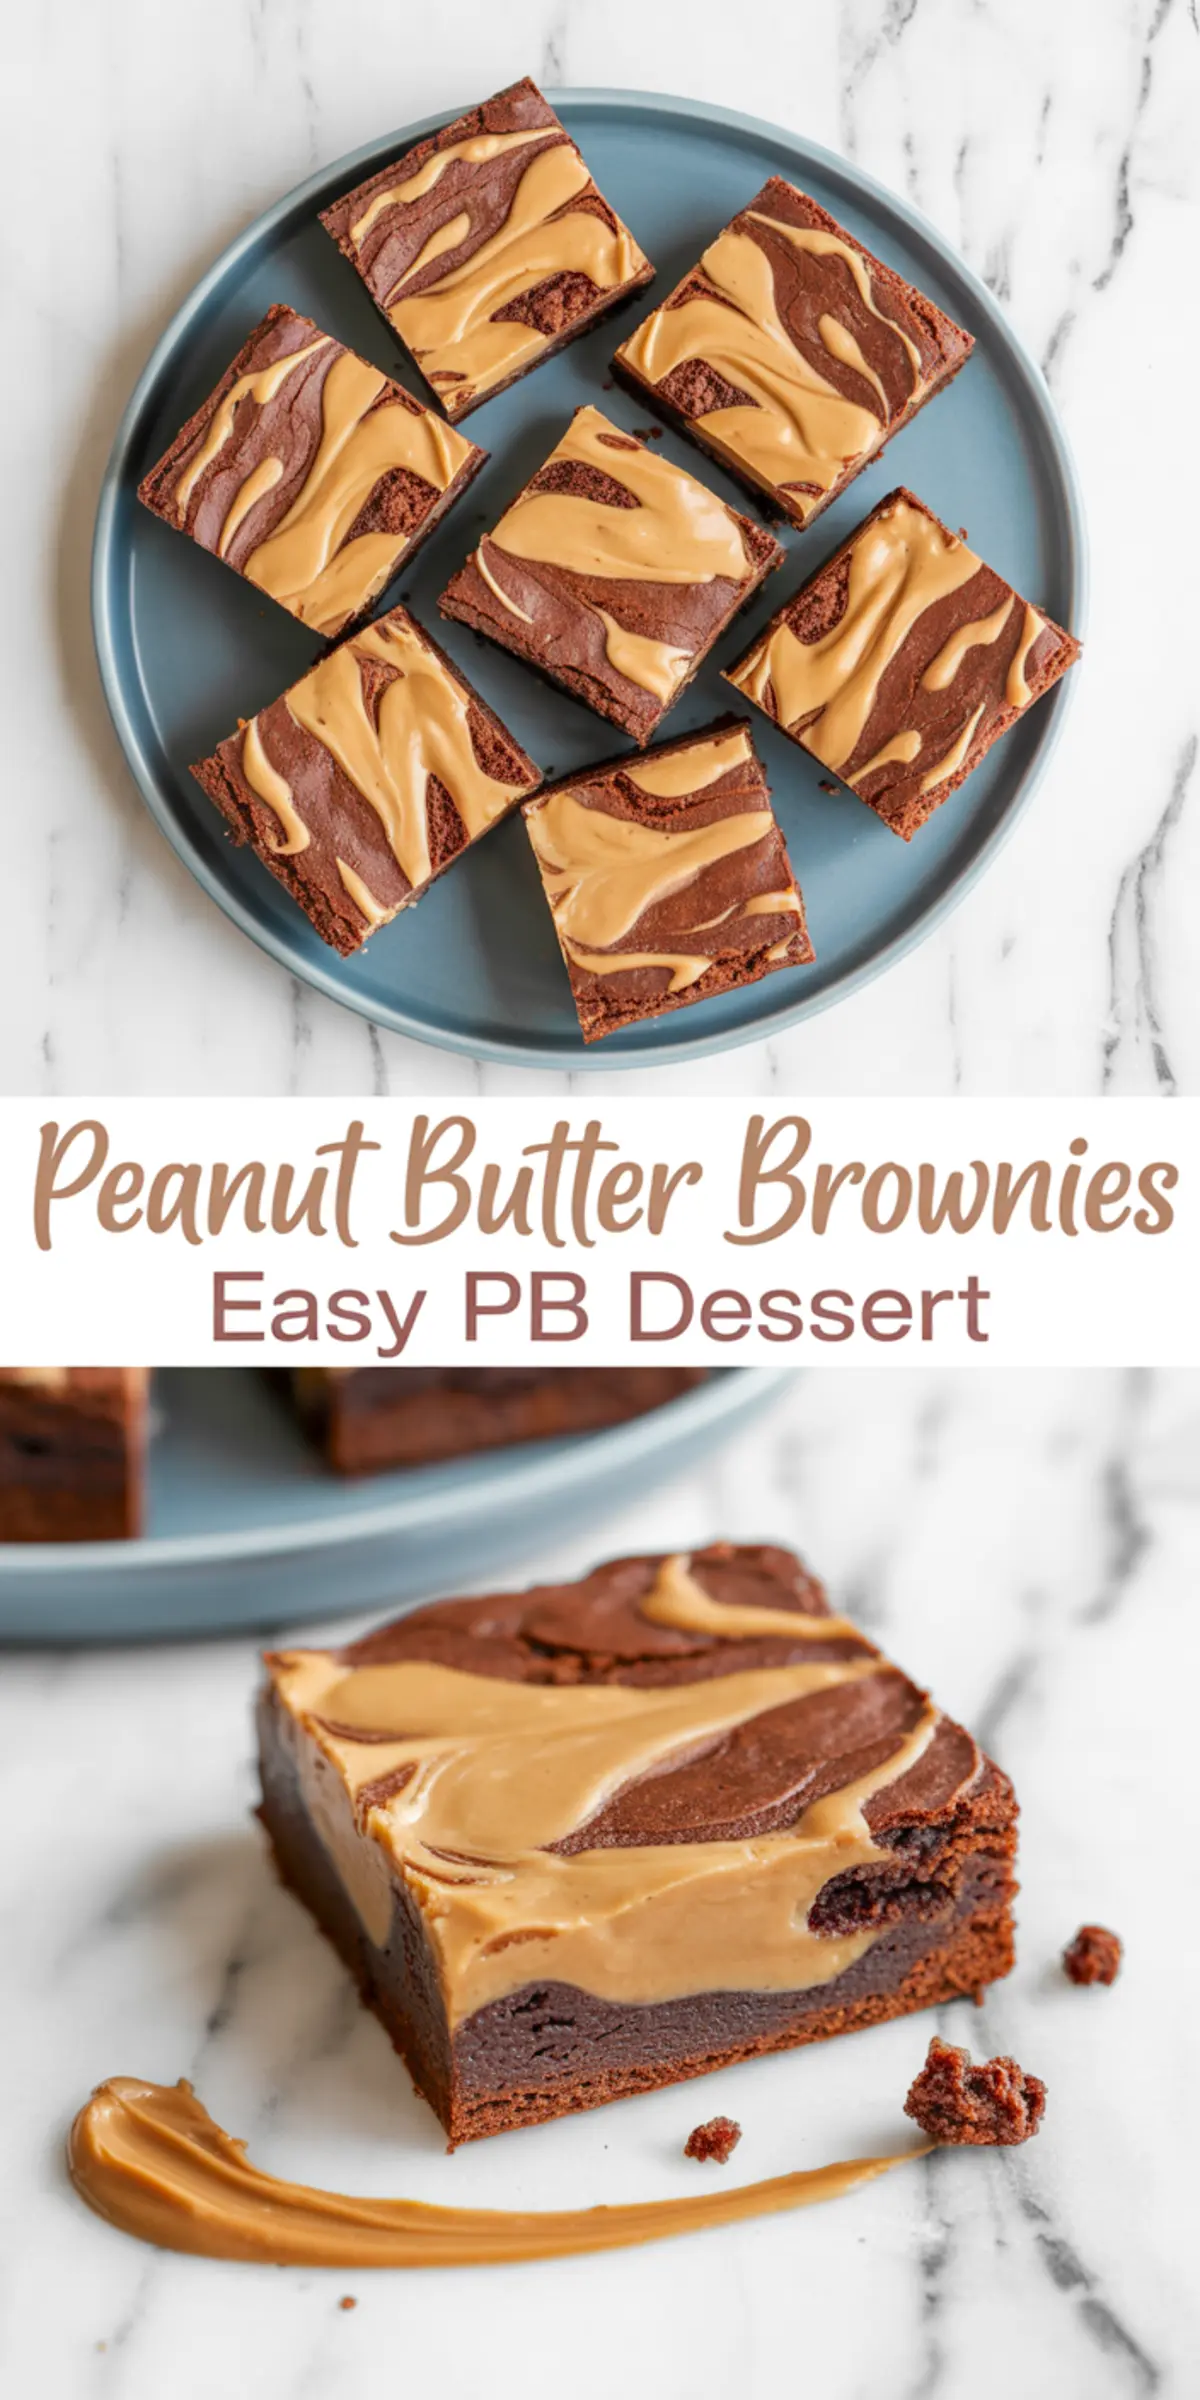
These peanut butter brownies give you that bold, bakery-style swirl without any complicated steps or specialty tools.
You’ll get rich cocoa flavor from a one-bowl batter and a creamy peanut butter ripple that sets up beautifully in the oven. This recipe delivers a chewy, fudgy brownie base with smooth swirls that stay soft even after cooling. If you’ve made other chocolate and peanut butter desserts and felt they leaned too sweet or too dry, this one lands right in the middle—moist, balanced, and deeply satisfying.
You’ll learn how to get a marbled peanut butter top that stays visible after baking, how to prevent dense or dry brownies, and how to serve and store them without losing texture.
This works especially well for small-batch bakers, potluck planners, or anyone looking for peanut butter desserts that feel like more than a shortcut.
Following a special diet?
Every recipe on this site can be converted to gluten-free, vegan, dairy-free, keto, nut-free or egg-free with adjusted ratios so nothing falls flat.
Try the Recipe Converter →Why this batter base stays soft, not cakey
The ratio of butter to flour in this recipe stays on the low-flour side, which keeps the structure dense enough to stay chewy.
I’ve used this same ratio in other peanut butter desserts, and what I’ve noticed is how this particular mix lets the cocoa speak without creating a dry finish. That soft bite also makes it easier to cut clean squares—no crumbling at the edges.
If you’re working with basic pantry items and want results that feel upgraded, this method delivers that payoff. And since the peanut butter swirl doesn’t get fully absorbed during baking, you’ll also get a layered look and taste in each square.
You’ll find that these are closer in texture to Chocolate Mousse Brownies than to traditional cakey ones. They hold their shape but stay gooey near the center, especially after a brief chill.
Ingredient note: Peanut butter texture and sweetness
For the swirl to stay distinct and not melt into the batter, you’ll need a peanut butter that’s smooth but stable. I’ve tested this with both natural peanut butter and shelf-stable varieties.
If you use natural peanut butter, stir it thoroughly first to avoid streaks of oil. That extra mixing step might feel small, but it makes a difference when you swirl. I’ve found the version with powdered sugar blends more easily and tastes a little brighter, especially when the chocolate base leans dark.
Compared to something like Chocolate Turtle Brownies, which rely on layered richness, these have a simpler finish that focuses on two bold flavors working together without distraction.
How to swirl peanut butter without sinking it
The batter sets up fast in the oven, which helps the peanut butter hold its shape. I’ve found it helps to slightly warm the peanut butter before swirling—it loosens up without turning oily. A butter knife or chopstick gives you better control than a spoon.
Try dragging just under the surface instead of going deep. That way you keep the marbled effect up top where it shows.
This trick came from my own trial after seeing too many swirls sink to the bottom. Once I started dragging gently across the surface, the look and texture both improved.
You’ll find this swirl method works well for other peanut butter bars too, like the No-Bake Peanut Butter Bars recipe, which uses a similar technique for layering without baking.
Serving and storage without losing the chew
These brownies slice cleanly once cooled, but chilling them first makes the job even easier. I always refrigerate them for 30 minutes before cutting.
Use a sharp knife and wipe it between slices to keep the edges neat. This helps especially if you’re packing these in lunchboxes or lining them up on a dessert tray.
Once cut, store the brownies in an airtight container. At room temperature, they stay soft for 2 to 3 days. If you need to make them ahead, you can refrigerate them for up to a week. The swirl stays intact, and the brownie texture holds up surprisingly well.
These hold their shape better than softer options like Cherry Cheesecake Brownies and won’t smudge during transport.
Ingredient swap: Butter vs. Brown Butter
I’ve made these brownies using both melted butter and brown butter. Each gives a different outcome.
Melted butter keeps the cocoa front and center. Brown butter adds depth and a slightly nutty finish. The difference shows up more after the second day, once the flavors settle.
If you’re planning to serve these same-day, stick to melted butter for a classic profile. If you’re making ahead or want to experiment with a richer chocolate note, brown butter adds that dimension.
This swap makes these lean more into brown butter brownies territory. But I’d save that approach for repeat bakers who already love chocolate and peanut butter desserts and want something slightly more layered in flavor.
Related recipes with chocolate and peanut butter
If this recipe hits the mark for you, try the Chocolate Peanut Butter Brownies for a layered version with candy pieces.
Or explore more peanut butter dessert ideas in the Peanut Butter Recipes section, especially if you’re looking for peanut butter desserts that don’t involve baking.
You might also like how Peanut Butter Bars come together with similar ingredients but in a chilled version.
Final thoughts and friendly reminder
Peanut butter brownies give you a strong flavor payoff without adding extra steps. You won’t need a mixer. Just a whisk, a spatula, and one bowl.
I’ve made this same recipe for casual get-togethers and also used it as a base for Banana Brownies by replacing part of the butter with mashed banana—though the swirl doesn’t hold as well in that version.
If you’ve never swirled peanut butter into brownies before, this is the one to try. It stays visible, holds its texture, and doesn’t bake away.
📌 Save this to your peanut butter desserts board and come back to it next time you’re craving something bold and simple.
Have you tried it? Tell me in the comments how it turned out—or share what kind of swirl you’d try next.
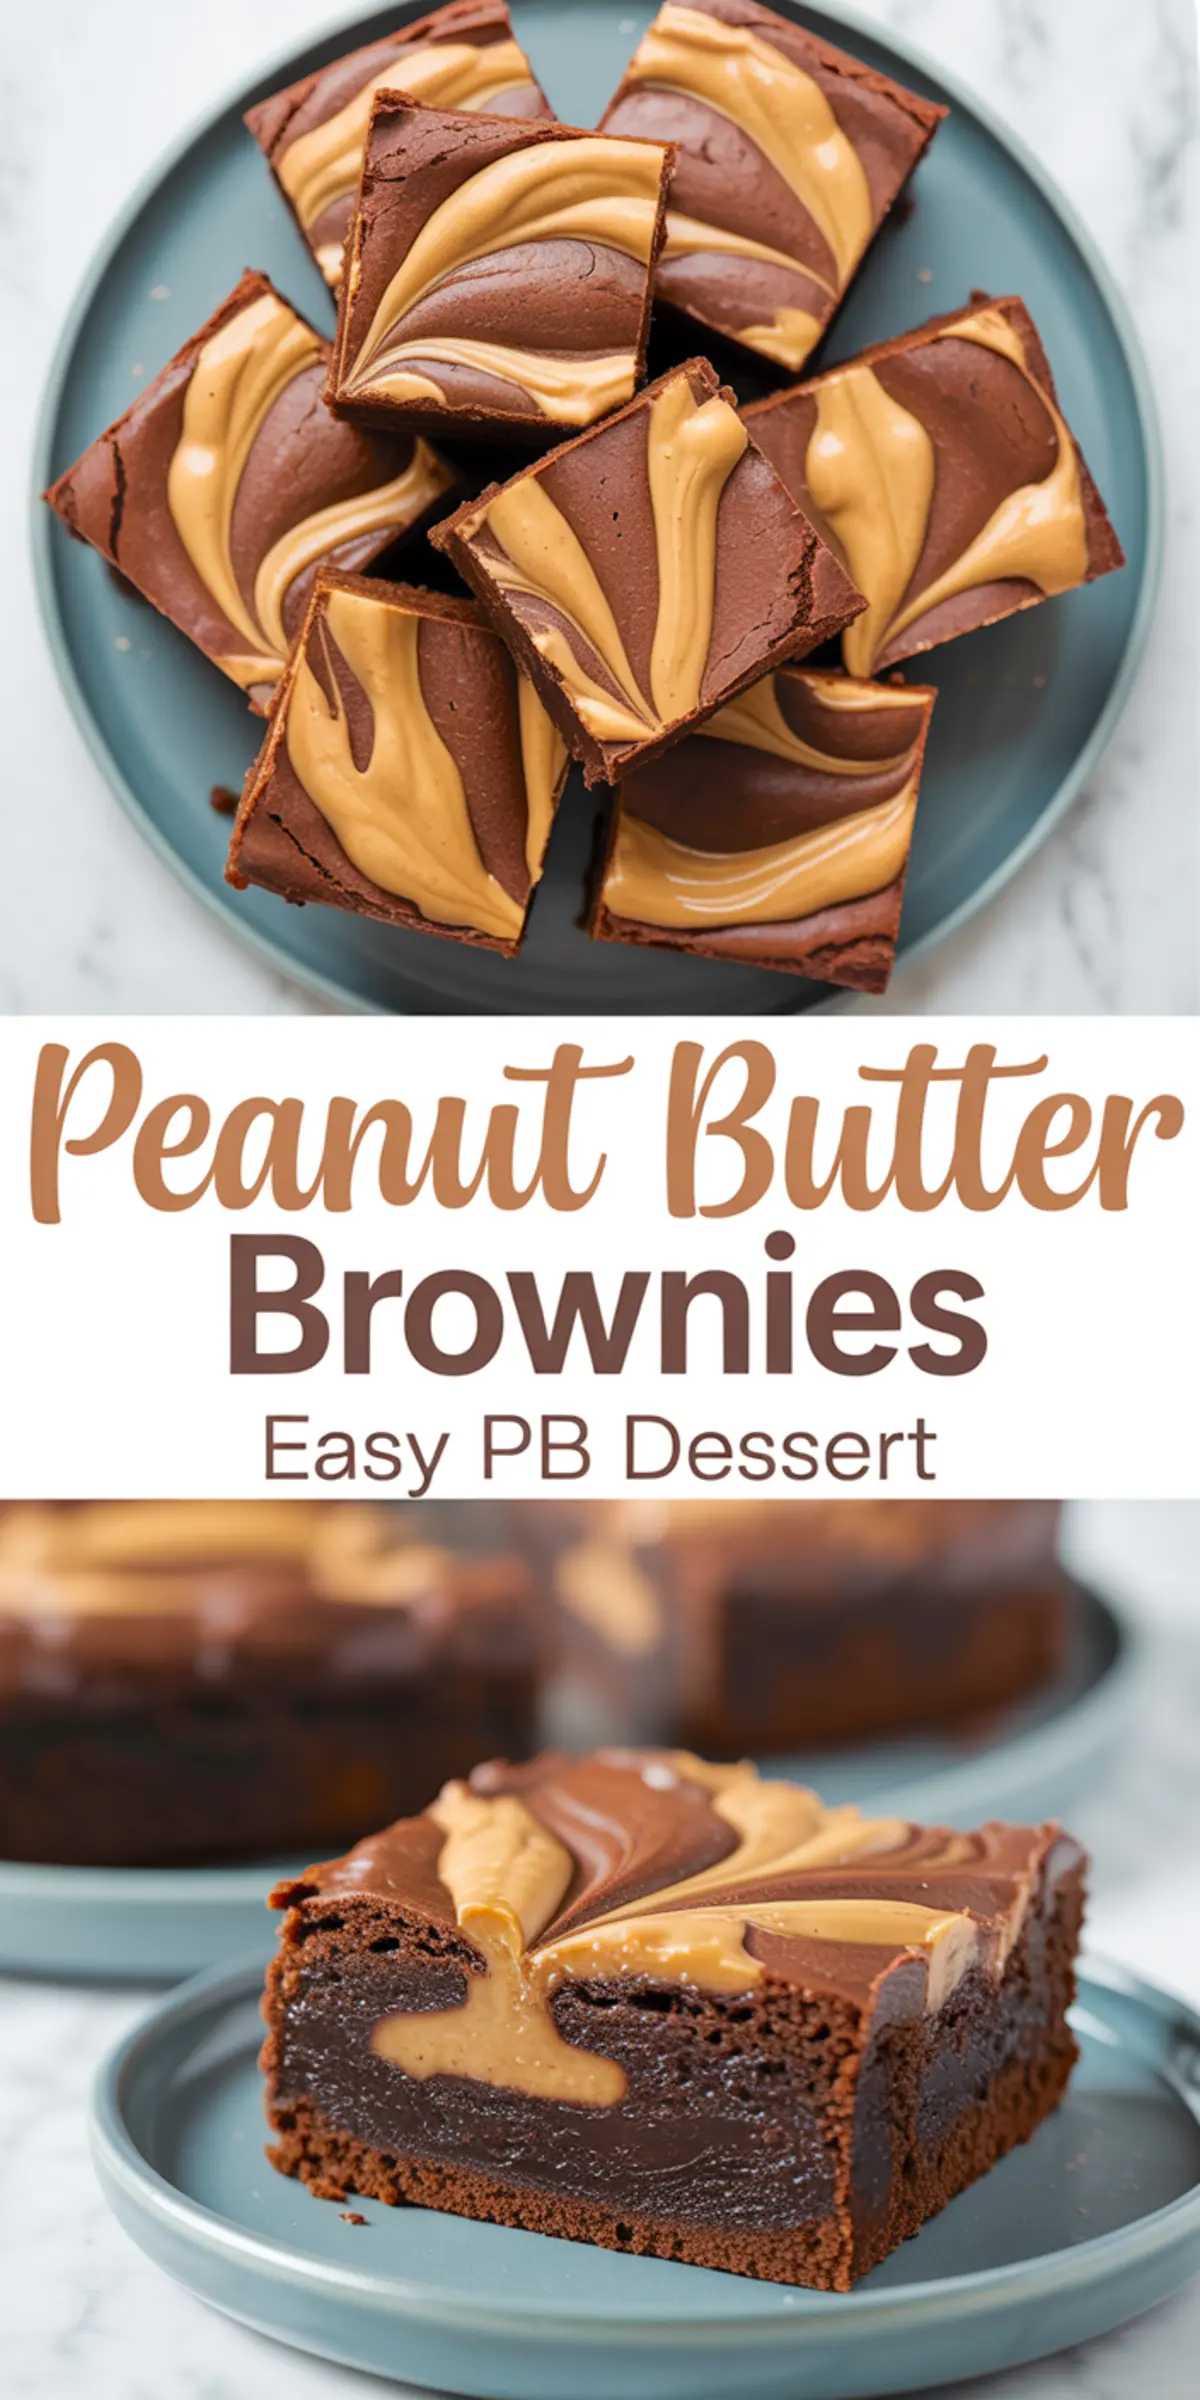
Peanut Butter Brownies Recipe
These brownies combine a rich, fudgy chocolate base with smooth, sweetened peanut butter swirls. The texture stays soft and chewy, with a salty-sweet flavor that stands out. The recipe is simple to prepare using pantry staples and one bowl, but the results look bakery-worthy thanks to the marbled topping.
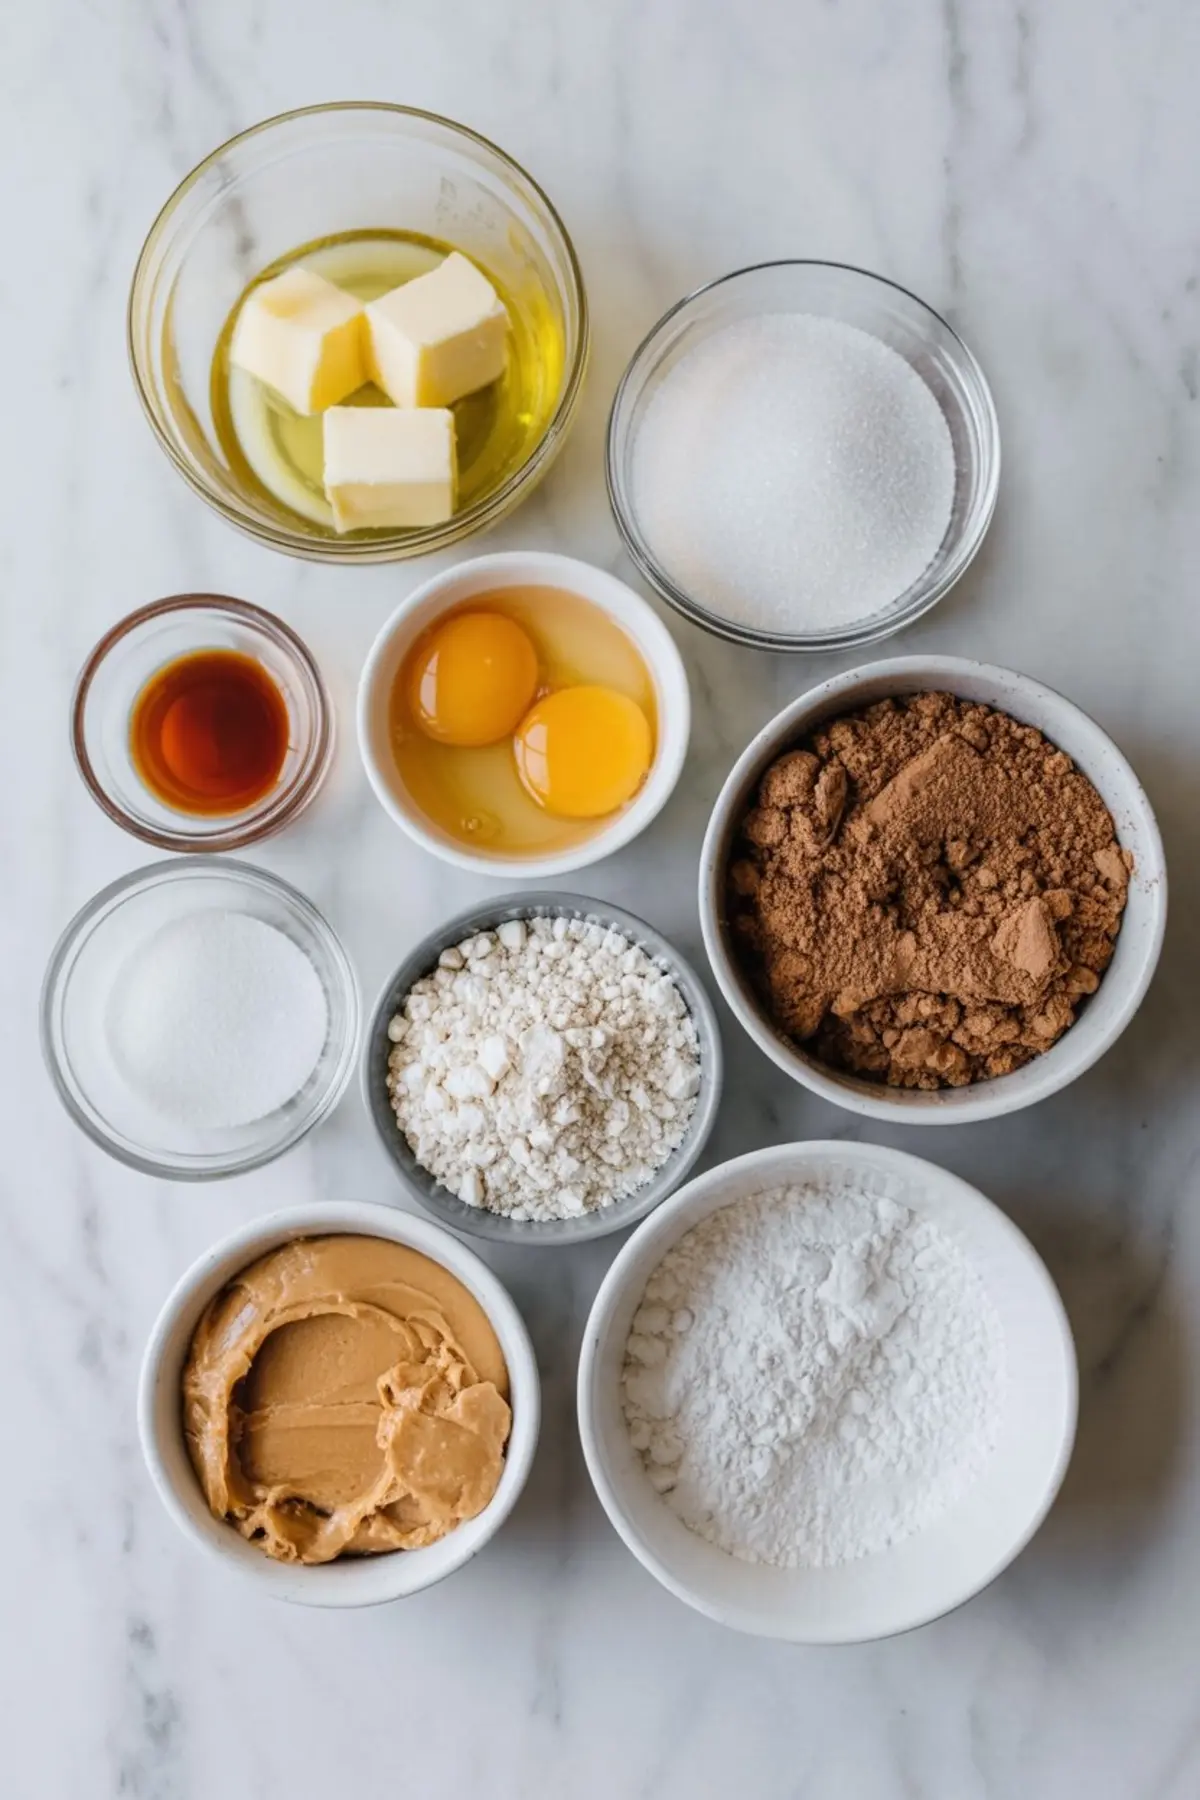
Ingredients
- For the Brownie Base
- 1/2 cup (115g) unsalted butter, melted
- 1 cup (200g) granulated sugar
- 2 large eggs
- 1 tsp vanilla extract
- 1/3 cup (40g) unsweetened cocoa powder
- 1/2 cup (65g) all-purpose flour
- 1/4 tsp salt
- 1/4 tsp baking powder
- For the Peanut Butter Swirl
- 1/3 cup (85g) creamy peanut butter
- 2 tbsp powdered sugar (optional, for sweetness)
Instructions
- PREHEAT AND PREPARE PAN: Preheat oven to 350°F (175°C). Line an 8x8-inch square baking pan with parchment paper, allowing some overhang for easy lifting. Lightly grease the paper if desired for easier removal.
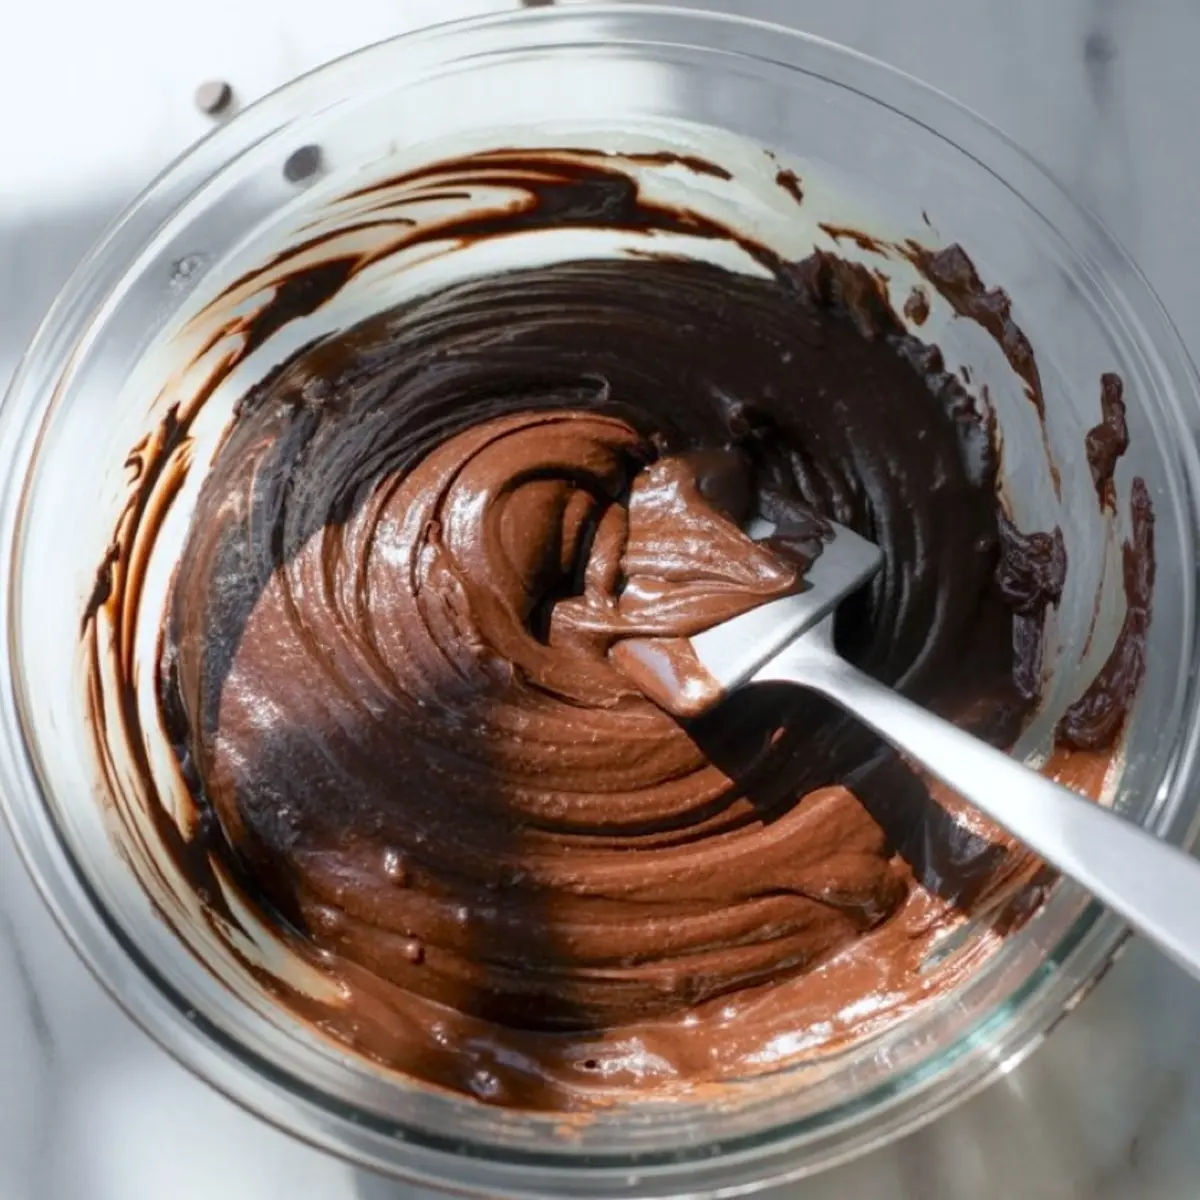
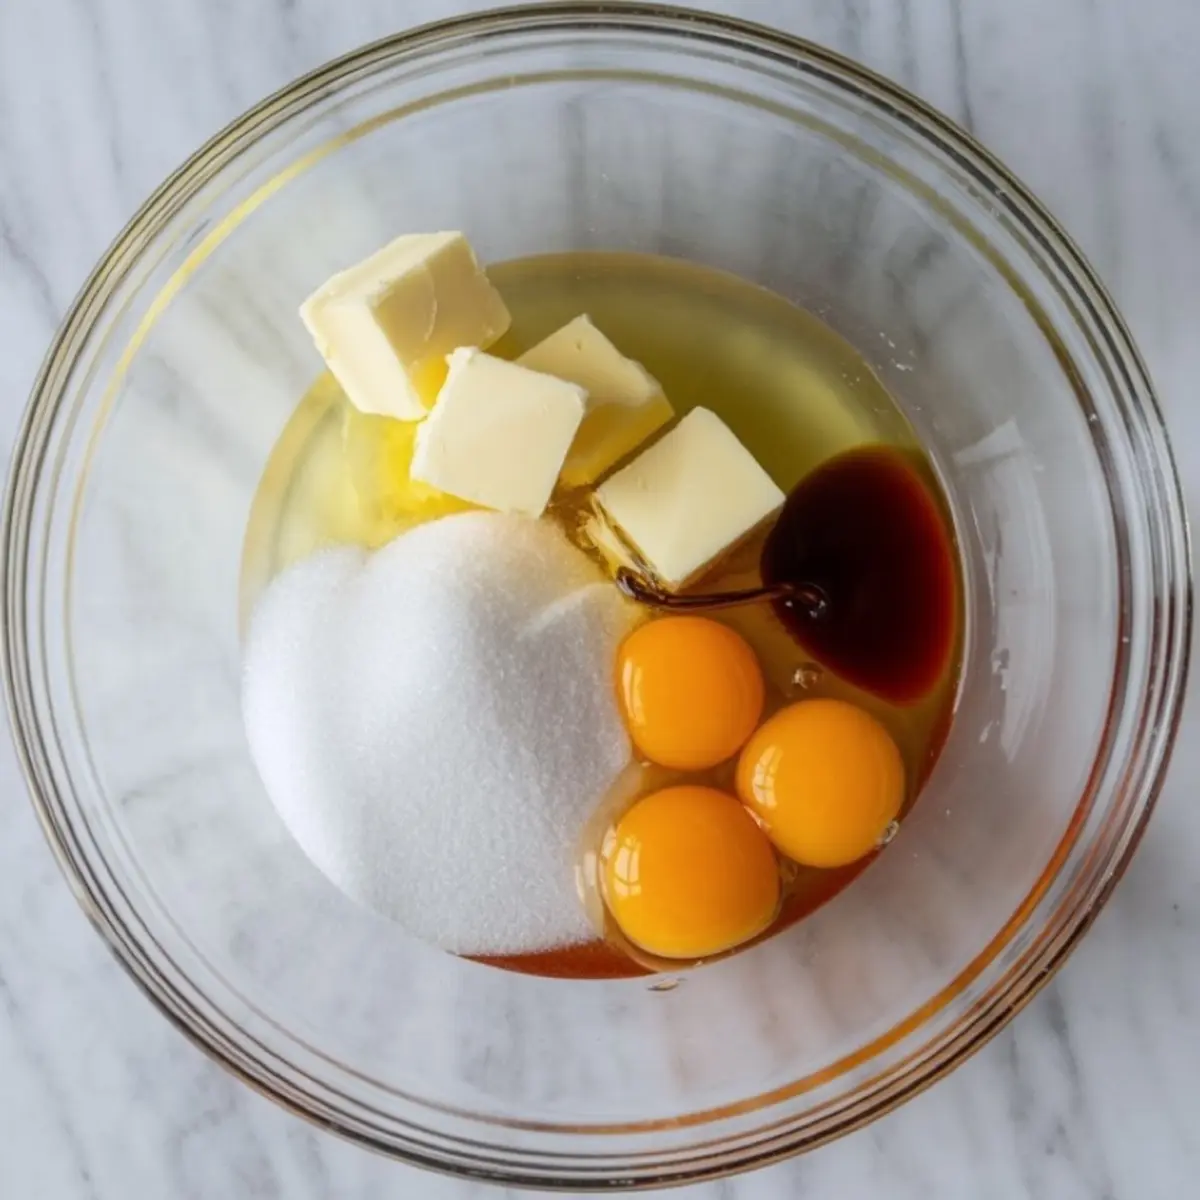
- MIX THE BROWNIE BATTER: In a large bowl, whisk together the melted butter and granulated sugar until smooth and glossy. Add eggs and vanilla extract, and whisk again until fully incorporated and slightly thickened.
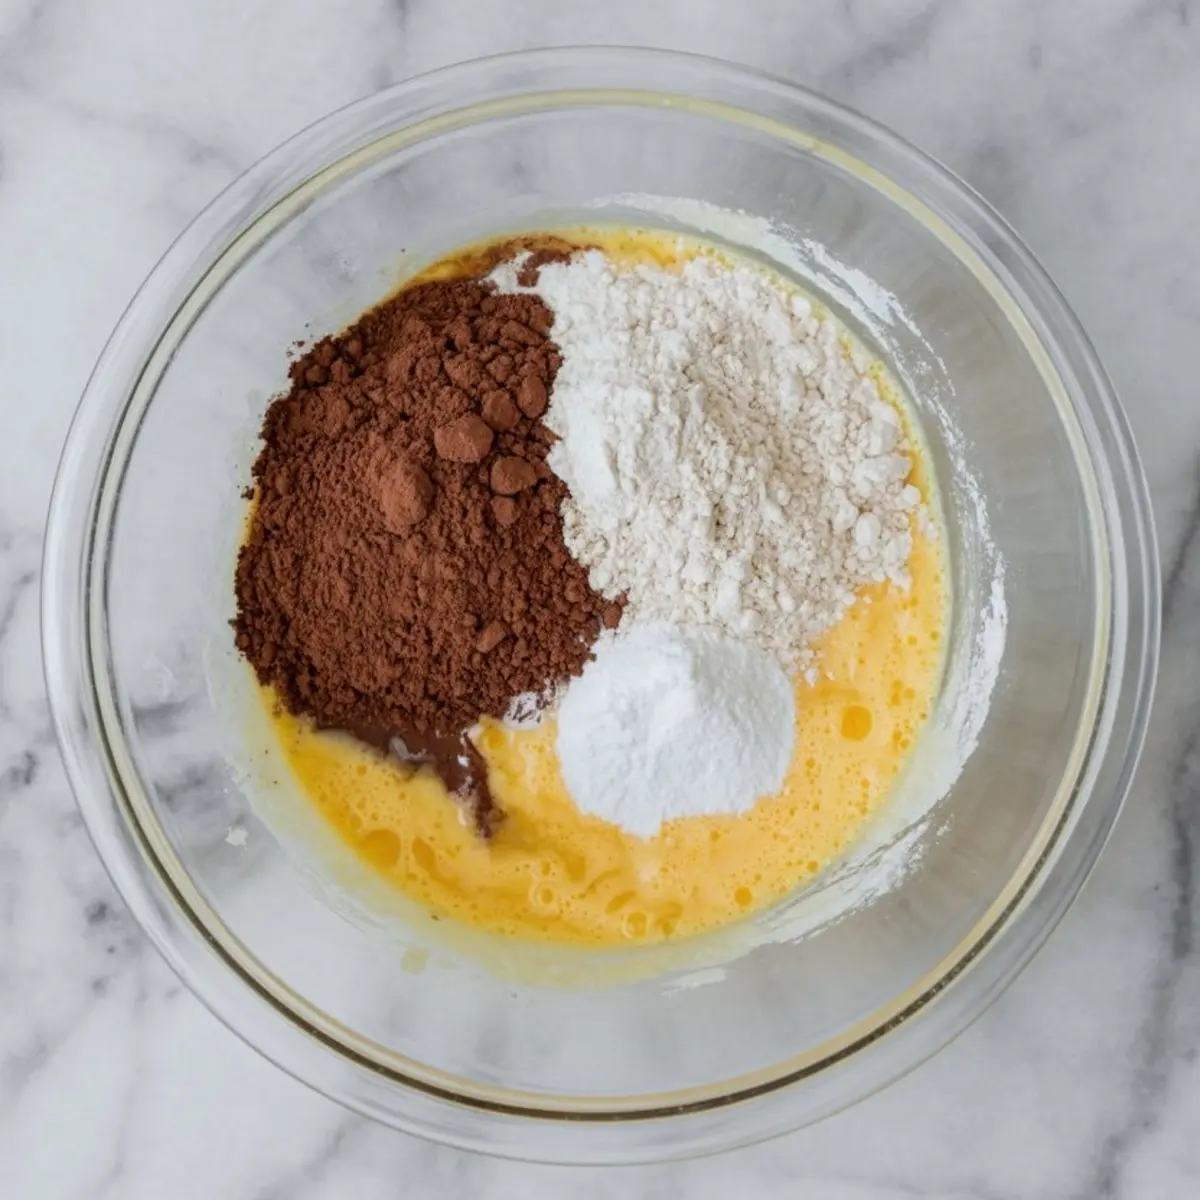
- ADD DRY INGREDIENTS: Sift in the cocoa powder, all-purpose flour, salt, and baking powder. Stir gently with a spatula just until the dry ingredients are fully combined and no streaks remain. Avoid overmixing to keep the texture fudgy.
- FILL PAN AND ADD SWIRL: Pour the brownie batter into the prepared pan and spread it evenly to the edges. In a separate small bowl, stir together the peanut butter and powdered sugar until smooth. Drop spoonfuls of the peanut butter mixture evenly over the top of the brownie batter. Use a knife or skewer to gently swirl the peanut butter into the batter, creating a marbled effect. Do not over-swirl.
- BAKE: Bake in the preheated oven for 25 to 30 minutes, or until a toothpick inserted near the center comes out with a few moist crumbs but no raw batter. The edges should look set, and the center will firm up as it cools.
- COOL AND SLICE: Allow the brownies to cool completely in the pan on a wire rack. Once cool, lift out using the parchment overhang. For cleaner slices, refrigerate for 30 minutes and cut using a sharp knife warmed under hot water.
Notes
For best flavor and texture, use natural peanut butter that’s creamy but not overly oily. Store brownies in an airtight container at room temperature for up to 3 days, or refrigerate for up to a week.
Nutrition Information
Yield
16Serving Size
1Amount Per Serving Calories 63Total Fat 3gSaturated Fat 1gTrans Fat 0gUnsaturated Fat 2gCholesterol 26mgSodium 79mgCarbohydrates 7gFiber 0gSugar 1gProtein 2g