
You want a cheesecake that holds its shape. One that doesn’t melt the moment it hits a plate or collapse under its own weight. This peanut butter cheesecake does more than sit pretty. It cuts clean, holds tall, and satisfies in just one slice.
You’ll learn how to balance creamy peanut butter with tangy cream cheese. You’ll understand what makes a crust hold up under a dense filling. And most of all, you’ll know exactly how long to chill this dessert to let every layer settle into place.
This one’s for anyone who’s searched beyond no bake cheesecake recipes and wanted a peanut butter dessert with structure and strength.
Following a special diet?
Every recipe on this site can be converted to gluten-free, vegan, dairy-free, keto, nut-free or egg-free with adjusted ratios so nothing falls flat.
Try the Recipe Converter →Chocolate Cookie Crust That Sets the Stage
The base starts with crushed chocolate cookies. I’ve tested plenty, and Oreos without the filling give you a more dependable texture.
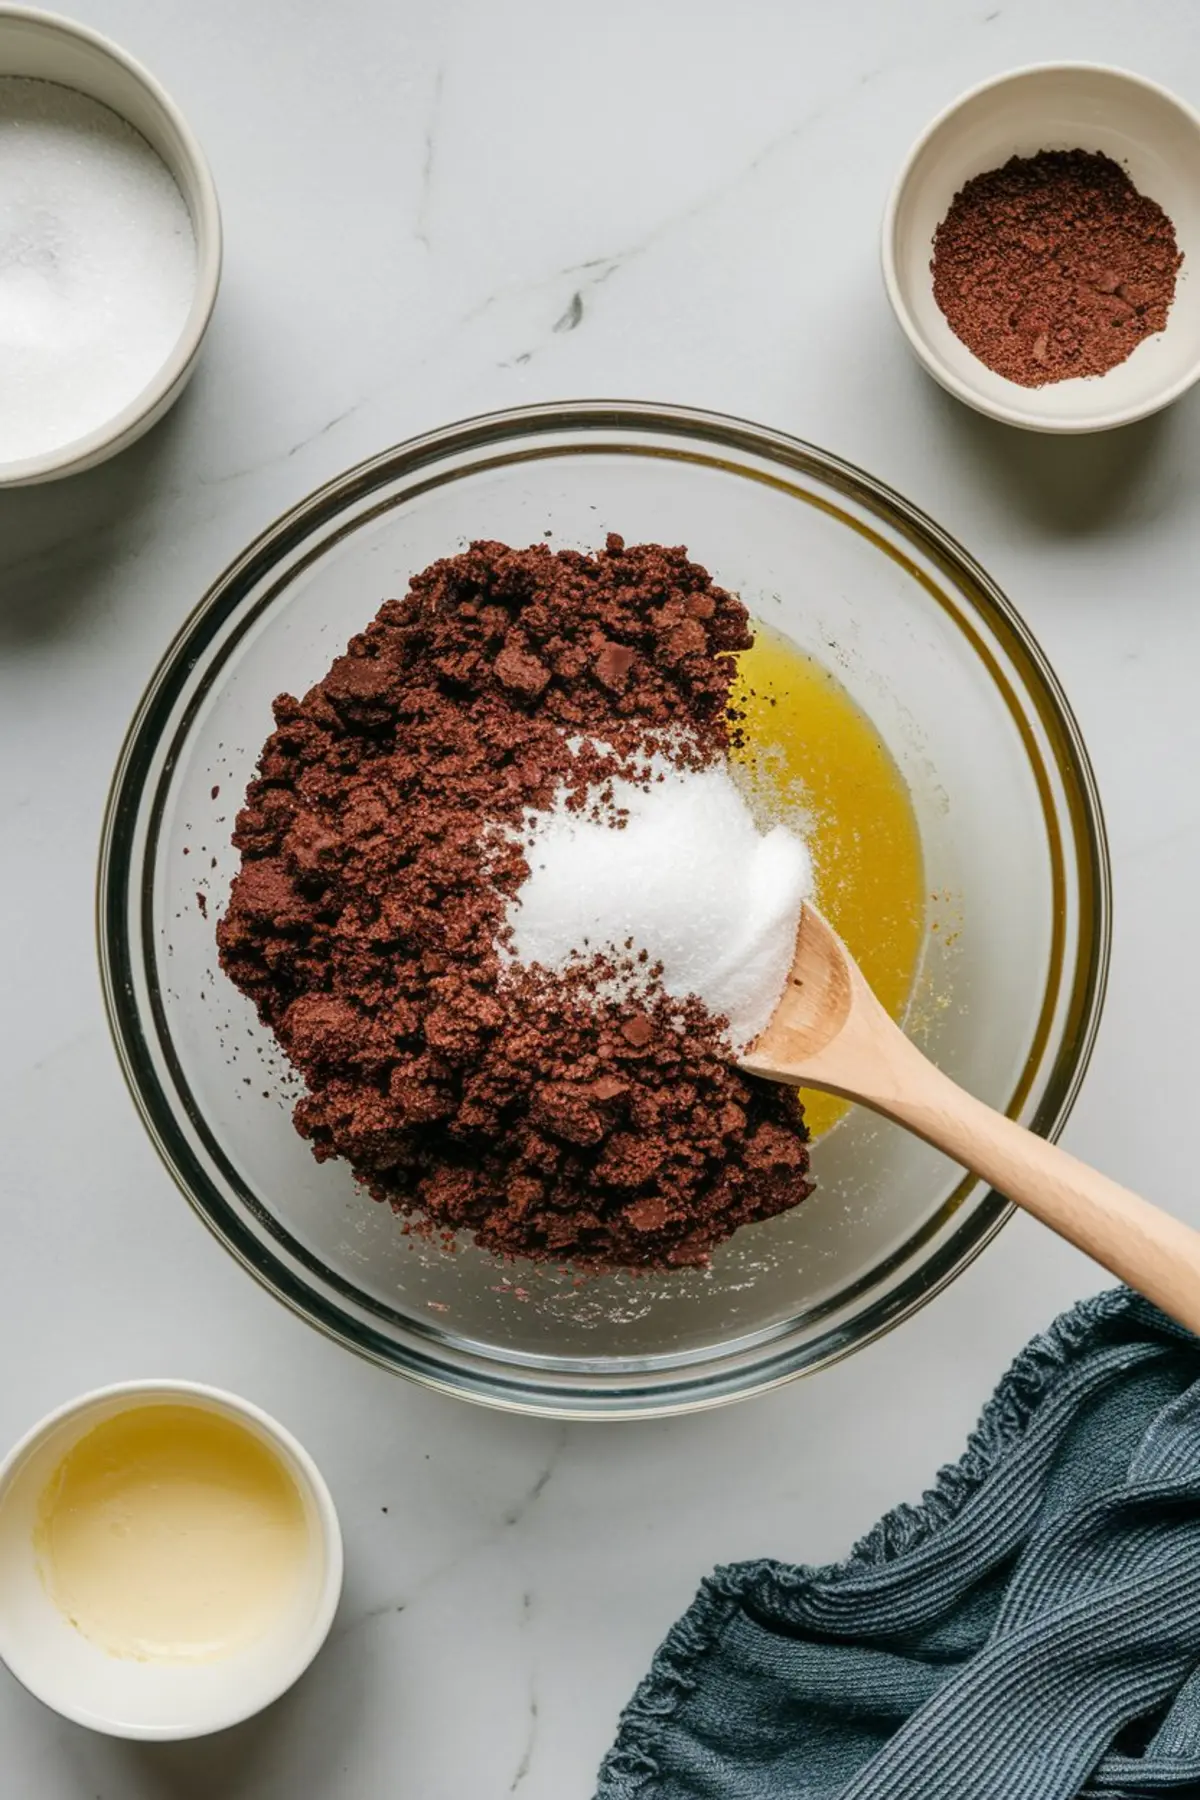
When mixed with butter and sugar, the result feels like damp soil, not too dry, not too greasy. That’s what you want. A crust that firms up in the oven without turning brittle.
Use a glass to press the crust evenly. It matters. Gaps in the base lead to crumbling later. Bake briefly and cool while you prepare the filling.
Peanut Butter and Cream Cheese: Dense, Smooth, and Balanced
I’ve tried natural-style peanut butter here before, and the oil separation made the batter unstable. Stick with a creamy version like Jif or Skippy. It blends into the cream cheese without breaking texture.
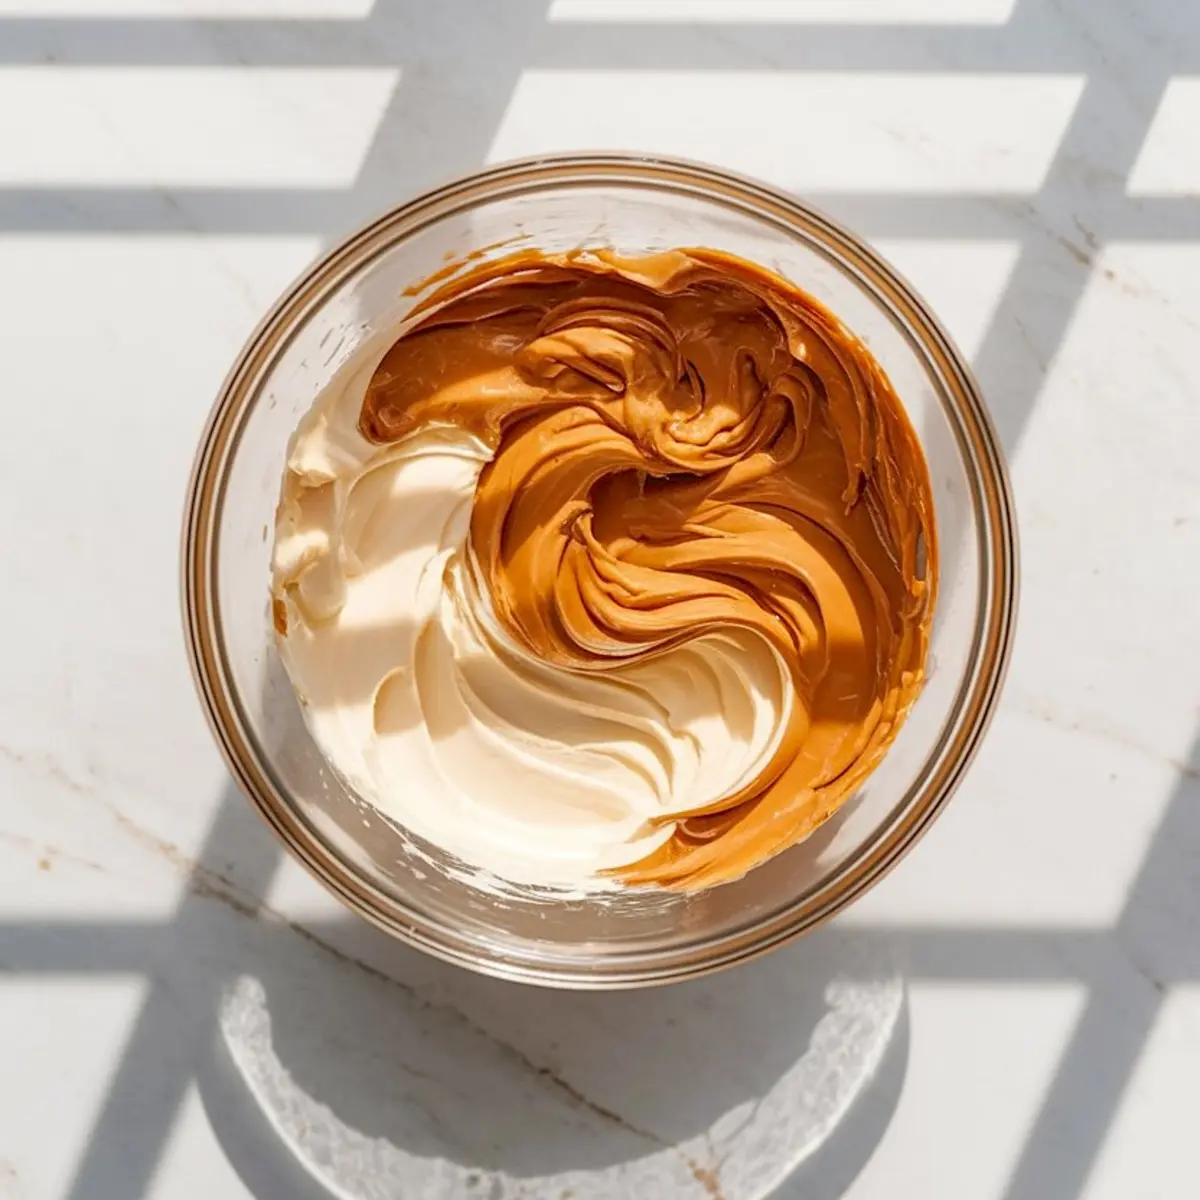
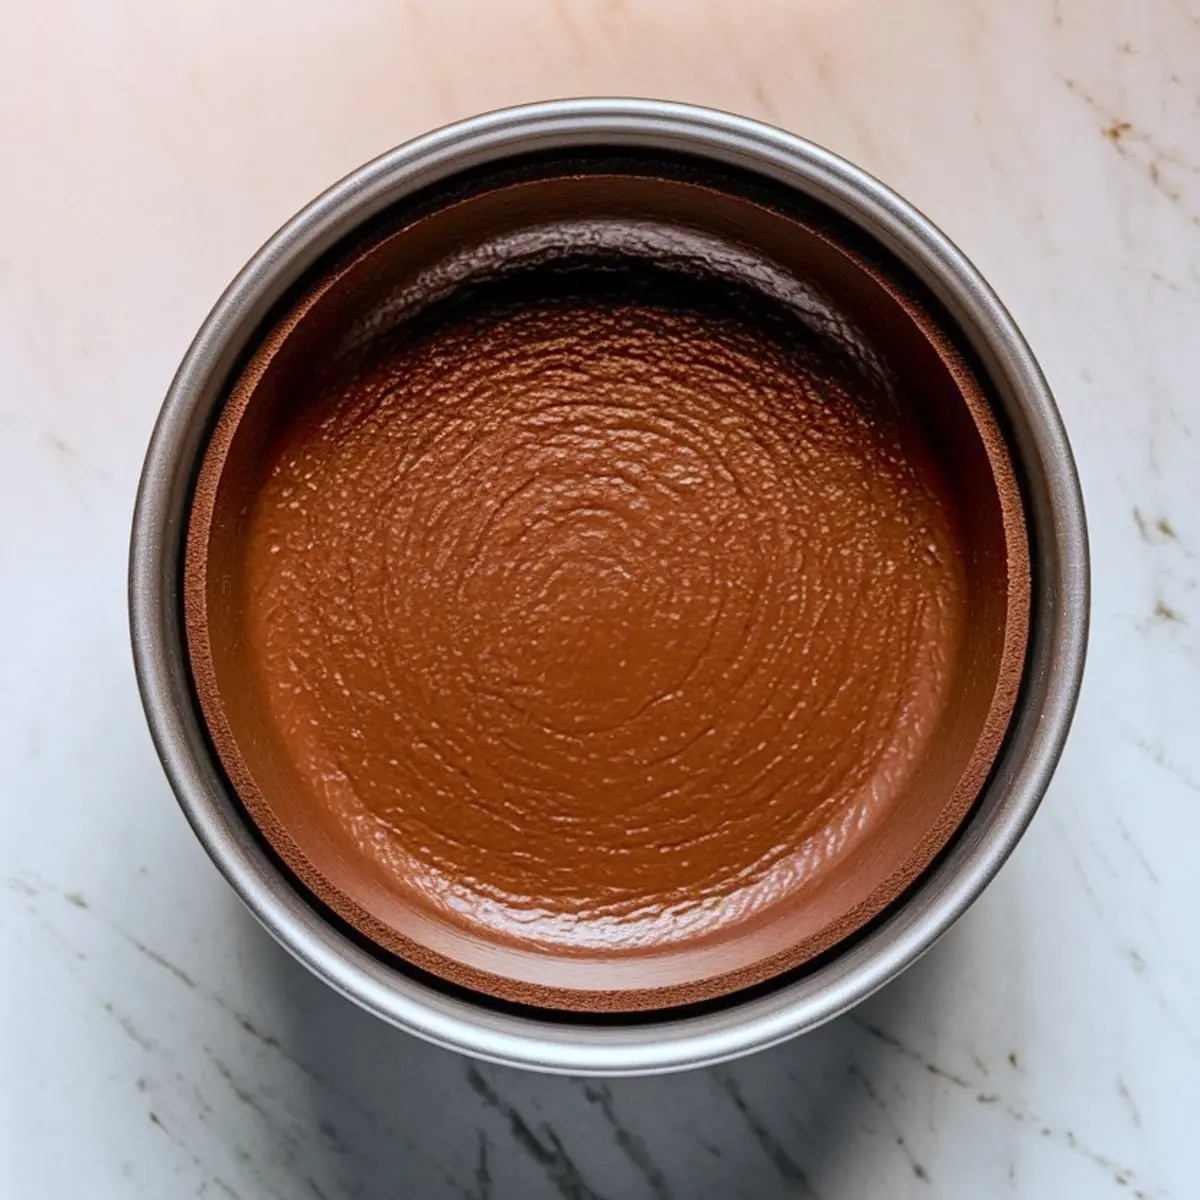
Let the cream cheese fully soften first. If you skip that, lumps remain no matter how much you mix. Add sugar and peanut butter next. The batter should feel thick and scoopable, not runny.
Sour cream adds a gentle lift without overpowering the peanut notes. The eggs go in one at a time—mix slowly to avoid overbeating. You want a smooth pour, not a frothy one.
Bake, Rest, Chill: The Three Steps You Can’t Skip
Once poured over the crust, the cheesecake bakes at a low, steady temperature. Look for set edges and a jiggly center. That’s how you know it’s ready.
I always let mine rest in the oven for one hour with the door cracked. Sudden temperature shifts cause cracks, and that hour makes all the difference.
Chill it uncovered in the fridge for at least four hours, though I always prefer overnight. The next day, the slices cut neater and the texture firms fully.
Decoration Choices: Mini Cups, Whipped Cream, or a Drizzle
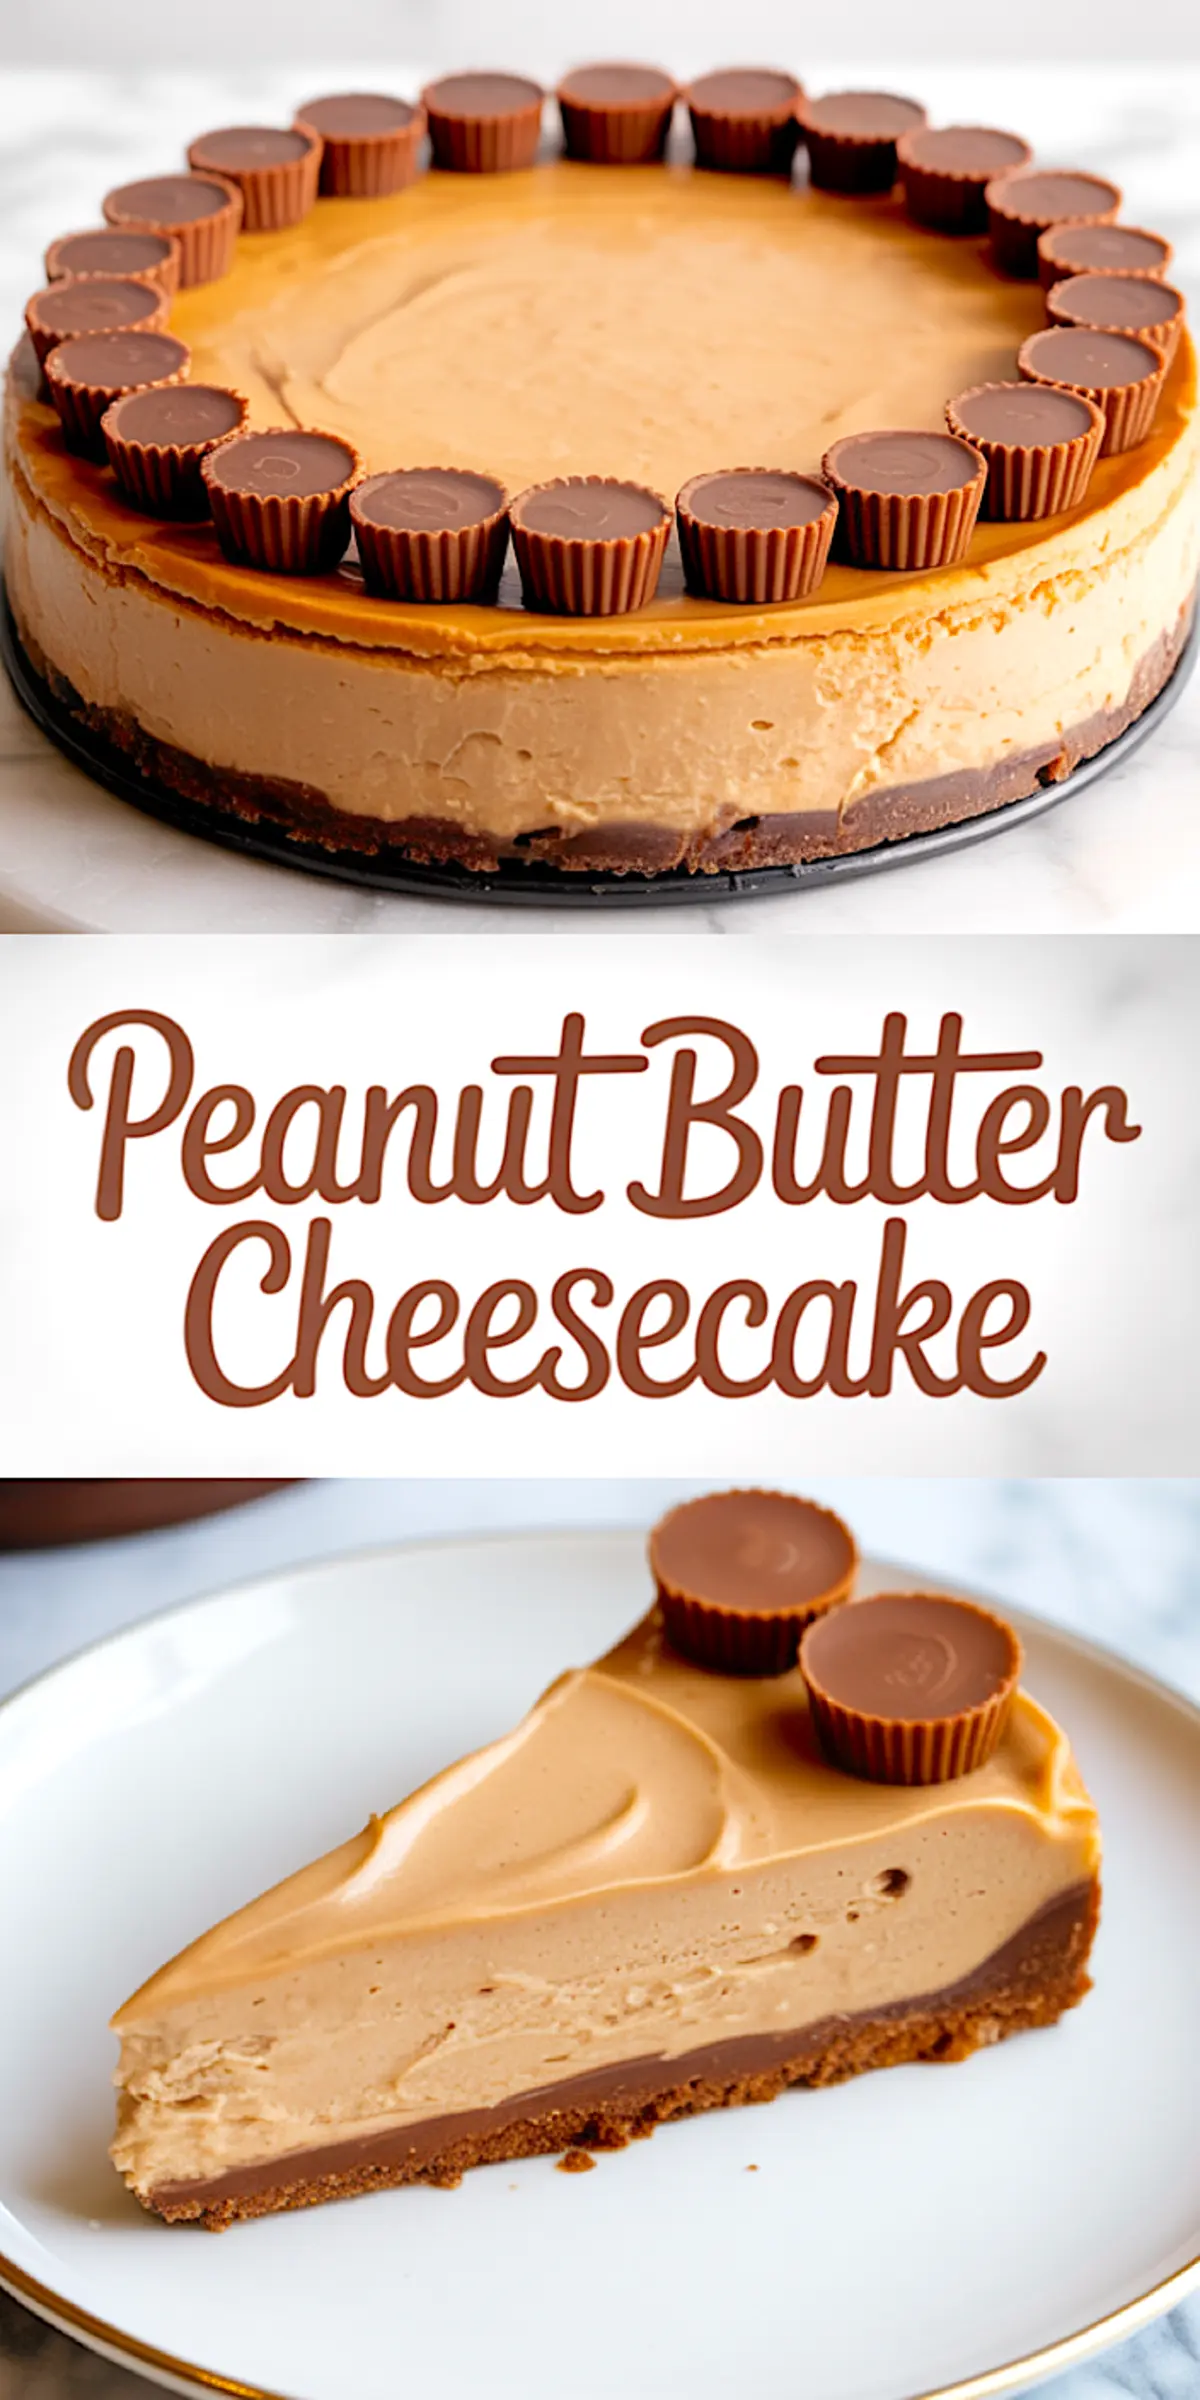
After chilling, you can dress the cheesecake up or keep it minimal. I like placing mini peanut butter cups around the top and adding a touch of whipped cream.
For something more dramatic, a drizzle of melted chocolate across the top always wins compliments. Even a thin swirl of peanut butter adds a glossy finish.
If you’re already making Peanut Butter No Bake Cookies for the week, they pair nicely on the side.
Natural Peanut Butter vs. Processed: What Holds Your Filling Together?
I’ve tested both, and the choice changes everything.
Natural peanut butter, the kind with oil separation makes the batter unstable. Even when stirred thoroughly, it still causes the filling to bake unevenly. You get a grainy texture and sometimes small oily pockets that rise to the surface during baking.
Processed peanut butter, like Jif or Skippy, gives you a smooth, cohesive filling. It blends fully with the cream cheese, holds its structure through baking, and cuts clean after chilling. It also balances the tang of the cream cheese without making the texture feel heavy.
If your goal is a cheesecake that sets properly and tastes consistent from edge to center, use processed peanut butter. It’s the difference between a creamy slice and a slumped one.
How to Serve and Store It for Best Results
Always slice with a warm, sharp knife. Run it under hot water and wipe clean between cuts. That keeps the edges smooth.
You can make this cheesecake two days ahead of time. Keep it covered in the fridge. If topped with whipped cream, wait until serving to add it.
Leftovers last for about five days chilled. I don’t recommend freezing—it changes the filling texture.
Want a lighter option? I sometimes pair a small slice with a tall Peanut Butter Smoothie and call it lunch.
Before You Bake, a Quick Note on Variations
You could swap the mini cups with chopped Nutter Butters or drizzle with melted white chocolate. If you like pecans, this cheesecake also pairs well with a praline topping, similar to what I use in my Reese’s Peanut Butter Cake.
I’ve even tried a peanut butter pudding layer once, but it made the structure too soft. Stick with this version until you’ve mastered it.
Save and Share This Peanut Butter Cheesecake
If this cheesecake hits the mark for you, save it to your board so you can return to it any time. I’d love to hear how yours turns out—drop a comment if you try it or have questions about substitutions or technique.
Want something quicker with oats? My Peanut Butter Overnight Oats are a solid weekday fix.
Peanut Butter Cheesecake Recipe
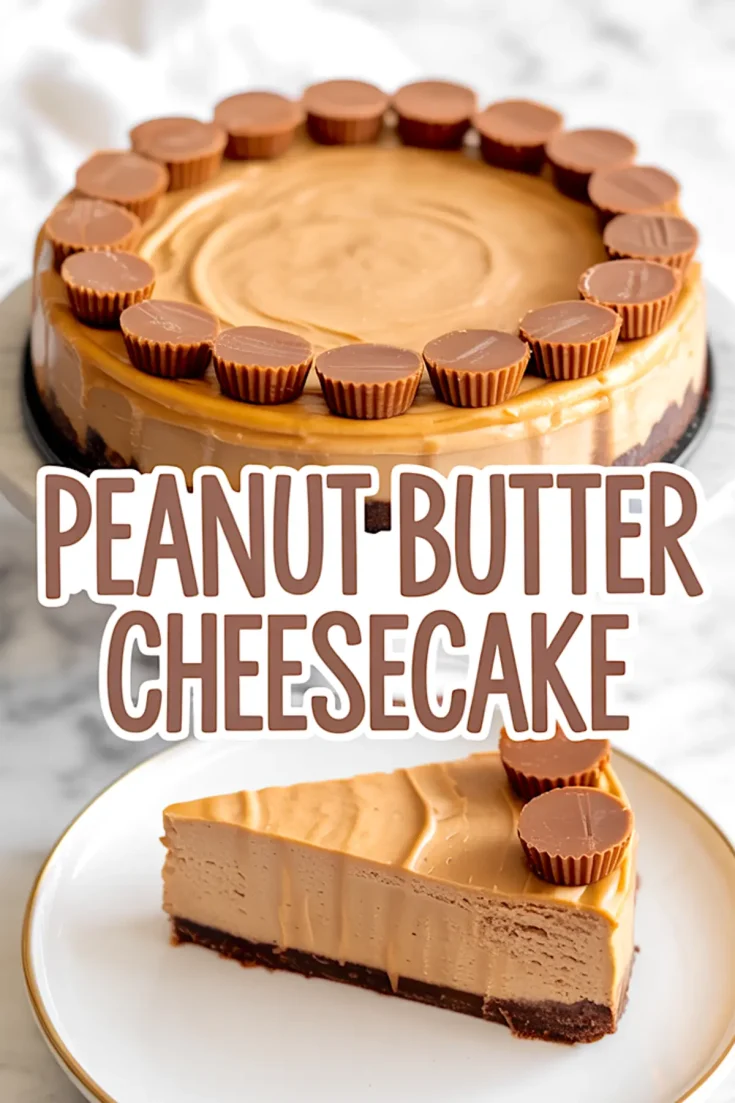
Peanut Butter Cheesecake combines the tangy smoothness of cream cheese with the rich flavor of peanut butter for a bold and satisfying dessert. It features a fudgy chocolate cookie crust, a dense and creamy filling, and a decorative topping of mini peanut butter cups. This recipe creates a show-stopping centerpiece for birthdays, holidays, or whenever you want a rich peanut butter dessert.
Ingredients
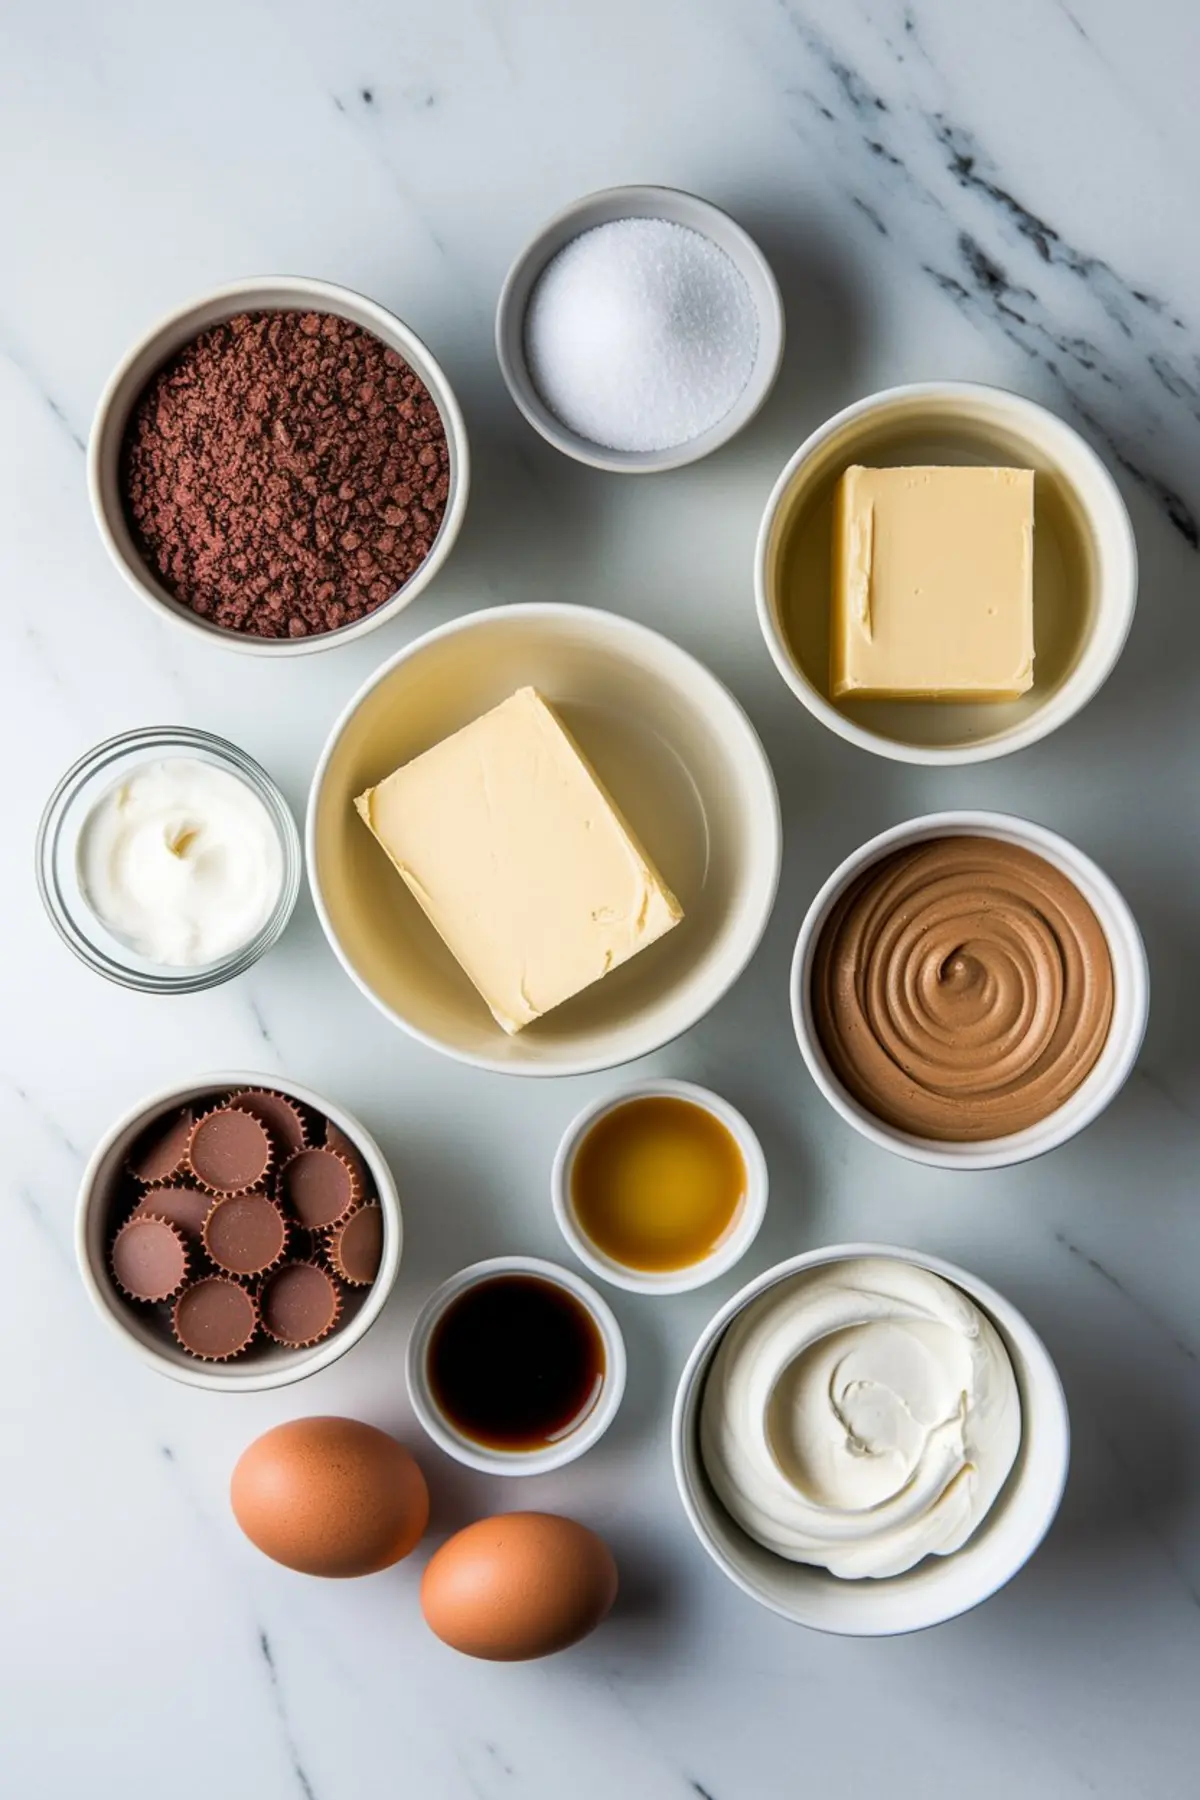
- FOR THE CRUST
- 1 ½ cups chocolate cookie crumbs (Oreos work best, with filling removed)
- ¼ cup granulated sugar
- 6 tablespoons melted butter
- FOR THE CHEESECAKE FILLING
- 24 oz (3 blocks) cream cheese, softened
- 1 cup creamy peanut butter (not natural-style)
- 1 cup granulated sugar
- 1 teaspoon vanilla extract
- ½ cup sour cream
- 3 large eggs, room temperature
- FOR THE TOPPING
- 1 cup heavy cream (optional, for whipped topping)
- Mini peanut butter cups (to decorate)
- Optional: drizzle of melted chocolate or peanut butter for garnish
Instructions
- PREPARE THE CRUST: Preheat the oven to 325°F (163°C). In a medium bowl, combine the chocolate cookie crumbs and granulated sugar. Pour in the melted butter and stir until the mixture is evenly moistened and resembles wet sand. Press the mixture firmly into the bottom of a 9-inch springform pan, using the bottom of a glass to create a flat, even surface. Bake the crust for 10 minutes, then remove it from the oven and allow it to cool while preparing the filling.
- MAKE THE PEANUT BUTTER CHEESECAKE FILLING: In a large mixing bowl, beat the softened cream cheese with an electric mixer on medium speed until smooth and creamy. Add the peanut butter and granulated sugar, and beat again until fully incorporated and fluffy. Mix in the vanilla extract and sour cream until combined. Add the eggs one at a time, beating on low speed just until each egg is incorporated. Avoid overmixing to help prevent cracks. Pour the cheesecake batter over the cooled crust and smooth the top with a spatula.
- BAKE THE CHEESECAKE: Place the cheesecake in the preheated oven and bake for 55 to 65 minutes, or until the edges look set and the center jiggles slightly when the pan is gently shaken. Turn off the oven, crack the oven door open, and allow the cheesecake to cool inside the oven for 1 hour. After cooling, transfer the cheesecake to the refrigerator and chill uncovered for at least 4 hours or overnight until fully set.
- DECORATE: Once the cheesecake is fully chilled and set, decorate the top with mini peanut butter cups arranged around the edge. If desired, whip the heavy cream until soft peaks form and pipe it around the top of the cheesecake. Optionally, drizzle melted chocolate or peanut butter over the top before serving.
Notes
For clean slices, run a sharp knife under hot water and wipe it clean between cuts. Cheesecake can be made up to two days ahead and stored covered in the refrigerator.
Nutrition Information
Yield
12Serving Size
1Amount Per Serving Calories 693Total Fat 51gSaturated Fat 24gTrans Fat 1gUnsaturated Fat 21gCholesterol 151mgSodium 641mgCarbohydrates 40gFiber 2gSugar 31gProtein 22g
Do you bake in a roasting pan like other recipes say?
Hey Darla, nope, no roasting pan needed here. This one bakes directly in a springform pan without a water bath. Just let it cool slowly in the oven after baking to help avoid cracks.