
There’s a reason I keep this recipe in my handwritten binder, marked with three stars and a chocolate smudge. This version of French Silk Pie skips the raw eggs, but not the satisfaction. It’s smooth, rich, and safe to serve without hesitation. If you’ve hesitated to make chocolate mousse pies in the past, this one changes everything.
You’ll get the same silky texture and deep chocolate flavor, minus the egg anxiety. It comes together without gelatin or complicated techniques. Just a few pantry staples, a reliable hand mixer, and some fridge time. You’ll also learn how to keep the filling airy, the crust crisp, and the whipped topping cloud-like.
This pie belongs on your holiday table, but it’s simple enough to whip up on a quiet Tuesday. Once you’ve made it, you’ll understand why I rotate it with my Coconut Cream Pie when guests ask for “something creamy and chocolatey.”
Following a special diet?
Every recipe on this site can be converted to gluten-free, vegan, dairy-free, keto, nut-free or egg-free with adjusted ratios so nothing falls flat.
Try the Recipe Converter →Why This French Silk Pie is Different from the Rest
Most traditional French Silk Pies rely on raw eggs and lengthy whipping for structure. This version simplifies the process without compromising flavor. The key swap is heavy cream for structure and body. It blends seamlessly with the butter and melted chocolate to create a mousse-like texture.
I’ve tried egg-based versions before. While they’re good, I don’t miss the hassle or the safety concerns. This version lets the chocolate take center stage.
Pair it with my Lemon Pie if you’re building a pie bar—it brings balance without being too sweet.
About the Pie Crust – Store-Bought or Homemade?
You’ll need a 9-inch pre-baked pie crust. A flaky, golden one makes a big difference. I’ve used both store-bought and homemade crusts for this pie. If I’m short on time, I don’t hesitate to grab a frozen shell. If you’ve got the time, making your own adds a personal touch and deeper flavor.
The crust must be fully baked and completely cooled before you add the filling. Otherwise, the texture of the mousse will suffer. You can blind bake your crust the night before, let it cool, then wrap it and refrigerate until ready.
For something more fruit-forward, I pair this crust with my Cherry Pie in summer.
Butter, Sugar, and Chocolate – The Foundation of Flavor
The filling starts with soft, room-temperature butter and granulated sugar. This part takes a bit of patience. You’ll need to beat them for at least five minutes—seven is better. The texture should be light and fluffy, almost like frosting.
Once that’s ready, you’ll add melted semi-sweet chocolate that’s been cooled. Cooling the chocolate before mixing is essential. Hot chocolate will melt the butter mixture and collapse the air you worked hard to build.
A touch of vanilla and salt rounds everything out. This is when the smell starts to pull people into the kitchen.
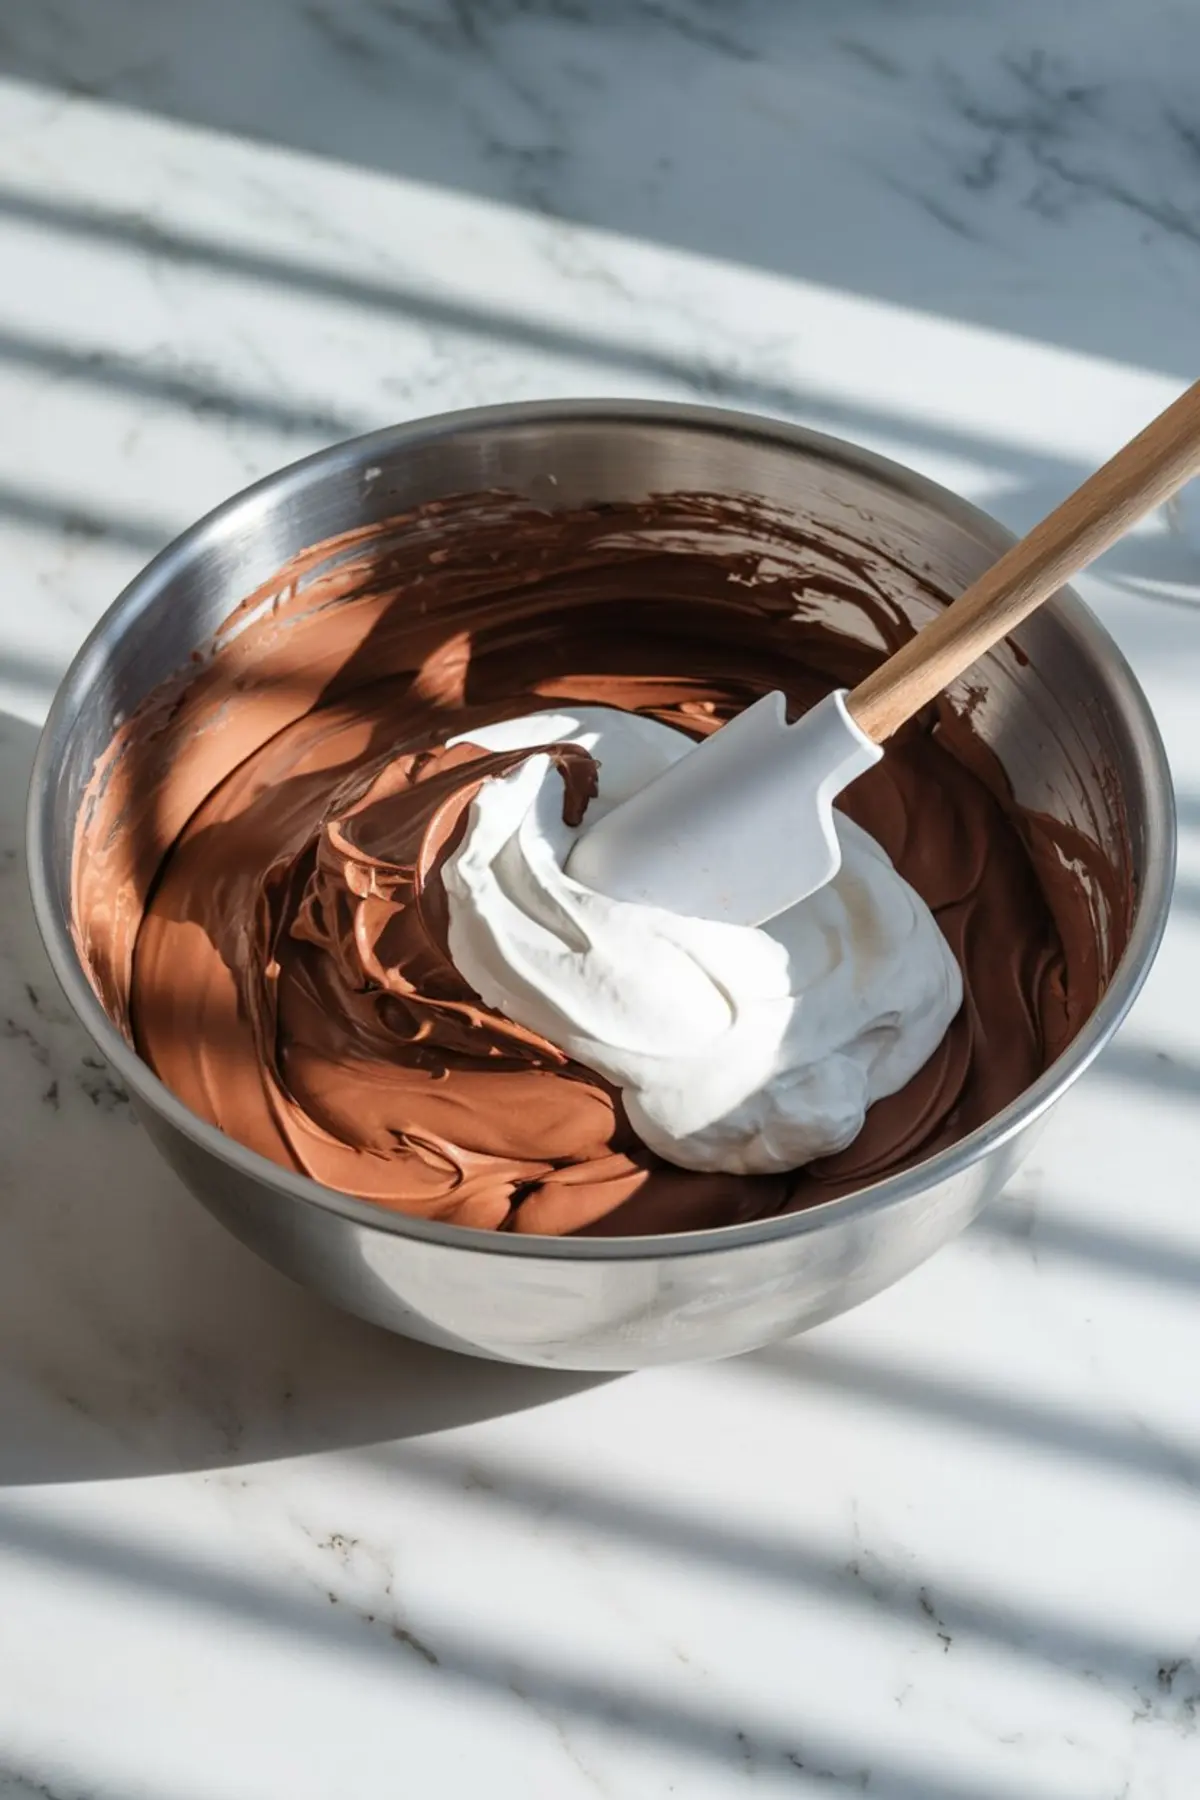
Folding in Whipped Cream Without Deflating the Filling
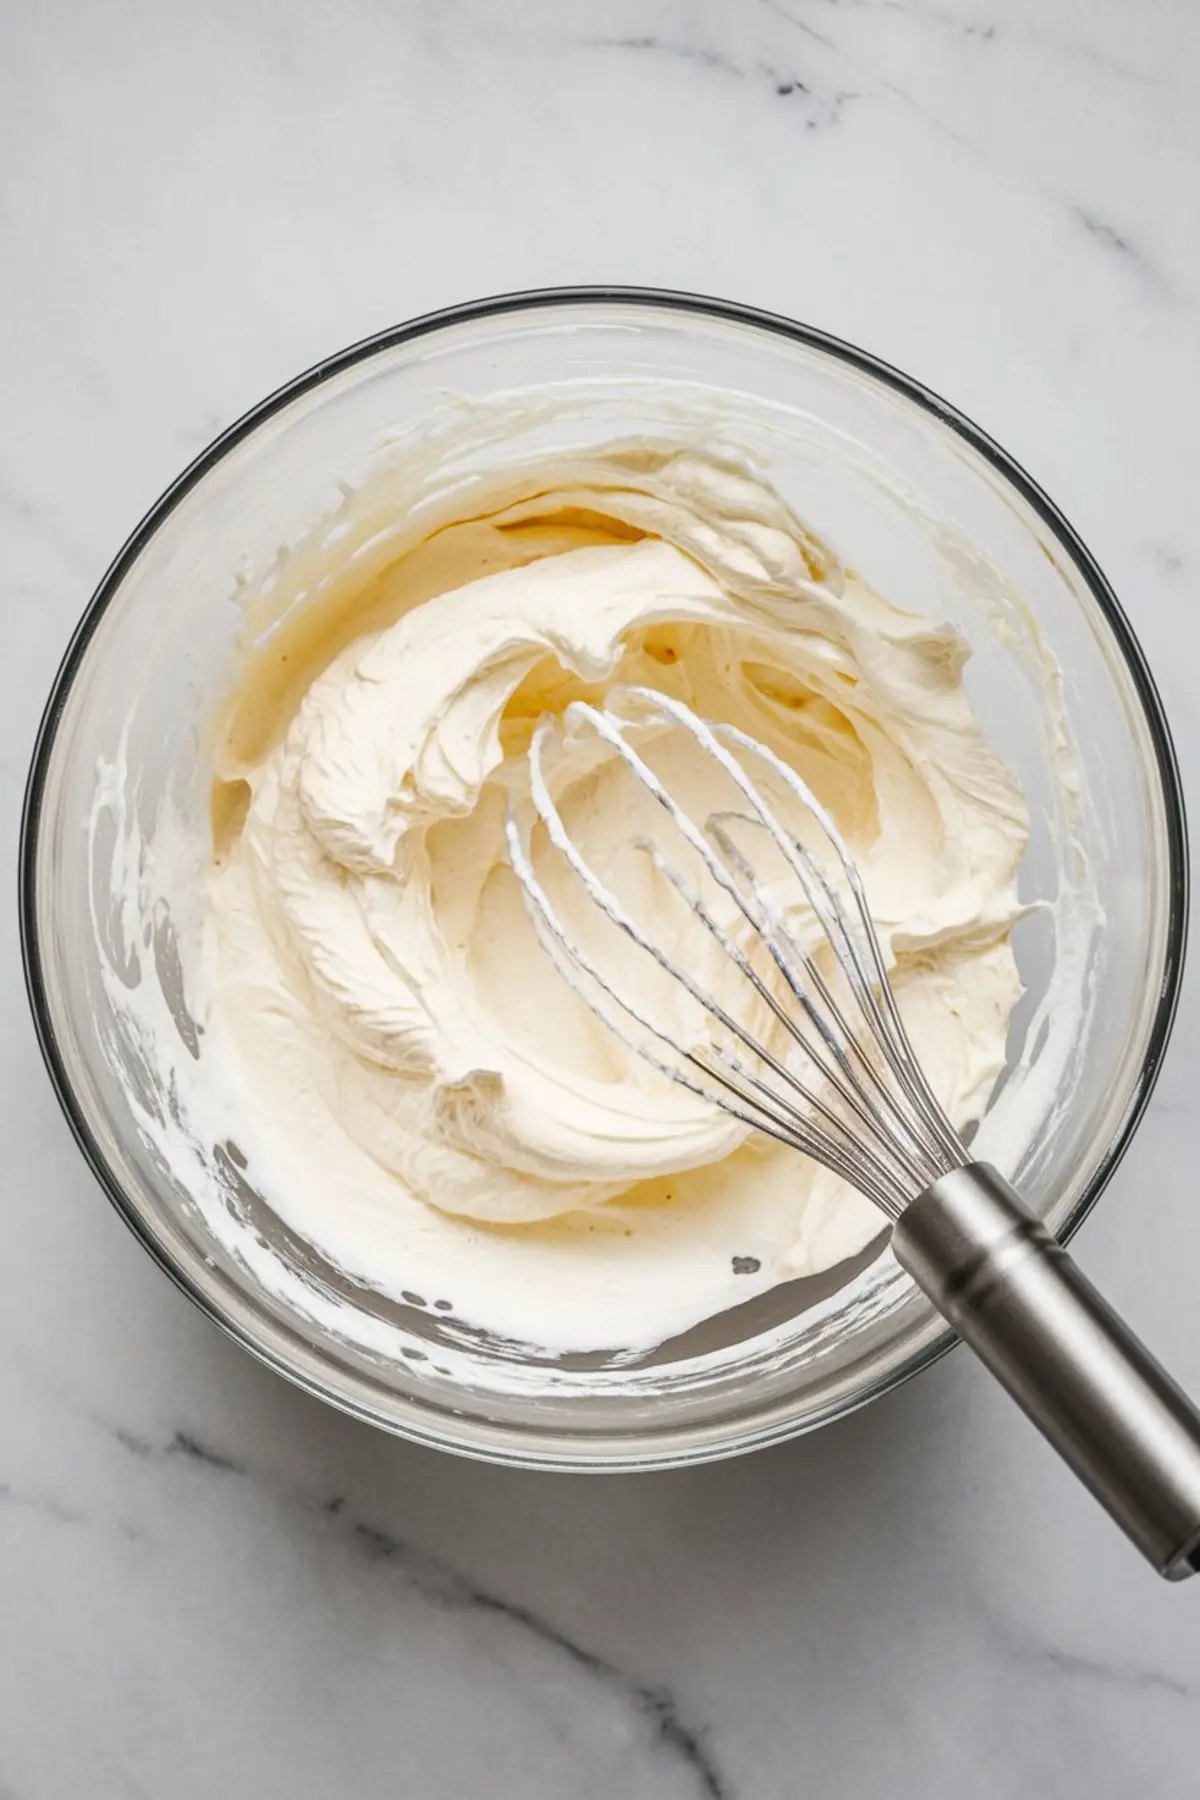
You’ll need to whip cold heavy cream with powdered sugar until it forms stiff peaks. It should hold its shape but still look soft, never grainy.
Fold the whipped cream into the chocolate mixture in batches. Don’t rush this step. Use a spatula and move in gentle, circular motions. This folding creates the airy mousse consistency. It’s what makes this pie so satisfying without feeling too dense.

I’ve tried folding in Cool Whip once as an experiment. It worked, but the texture wasn’t the same. Fresh cream always wins in my kitchen.
For another cream-based dessert with fruit, my Sweet Potato Pie plays a different card but with the same smooth payoff.
Chilling Makes All the Difference
Once filled, the pie needs to chill in the fridge for at least 4 hours. Overnight works too. The texture sets during this time, allowing clean slices and firm edges.
Cover the pie loosely with foil or plastic wrap while chilling to avoid absorbing any fridge smells. Don’t skip this step. If you serve it early, the filling won’t hold.
For best presentation, I always use a hot knife, wiped clean between slices. It gives those sharp, bakery-style cuts that make people think you picked it up from a patisserie.
Whipped Cream Topping and Chocolate Curls – How to Garnish Confidently
Whip another batch of heavy cream with powdered sugar and vanilla until soft peaks form. This layer adds height and balances the richness below.
I use a small offset spatula to spread the cream. For the curls, run a vegetable peeler along a block of chocolate. Chill the chocolate first—it makes better shavings.
Storage Tips and Make-Ahead Advice
French Silk Pie holds well in the fridge for up to three days. I recommend slicing only what you need and keeping the rest covered to prevent drying out.
This pie also freezes well. Wrap it tightly, then thaw overnight in the fridge before serving. I avoid freezing the whipped topping, though. It tends to separate after thawing.
Leftover filling? It makes a fine stand-alone mousse. Spoon it into glasses and chill.
Final Thoughts Before You Bake
This is one of those desserts that makes you feel capable. The steps are simple. The ingredients are easy to find. And the result feels luxurious. You don’t need culinary training to make it. Just trust your timing, beat the butter long enough, and fold with patience.
If you’re new to French Pastries Recipes or want something safe and deeply satisfying, this pie delivers. It reminds me a bit of a French Coconut Pie in how comforting it is, but the chocolate base makes it shine.
I keep a copy of this recipe next to my [Cannoli Pie Recipe] card. It never disappoints.
📌 Save this French Silk Pie for your Pie Recipes or French Desserts boards.
Let me know in the comments how it turned out or if you tried it with a homemade crust. I’d love to hear your take.
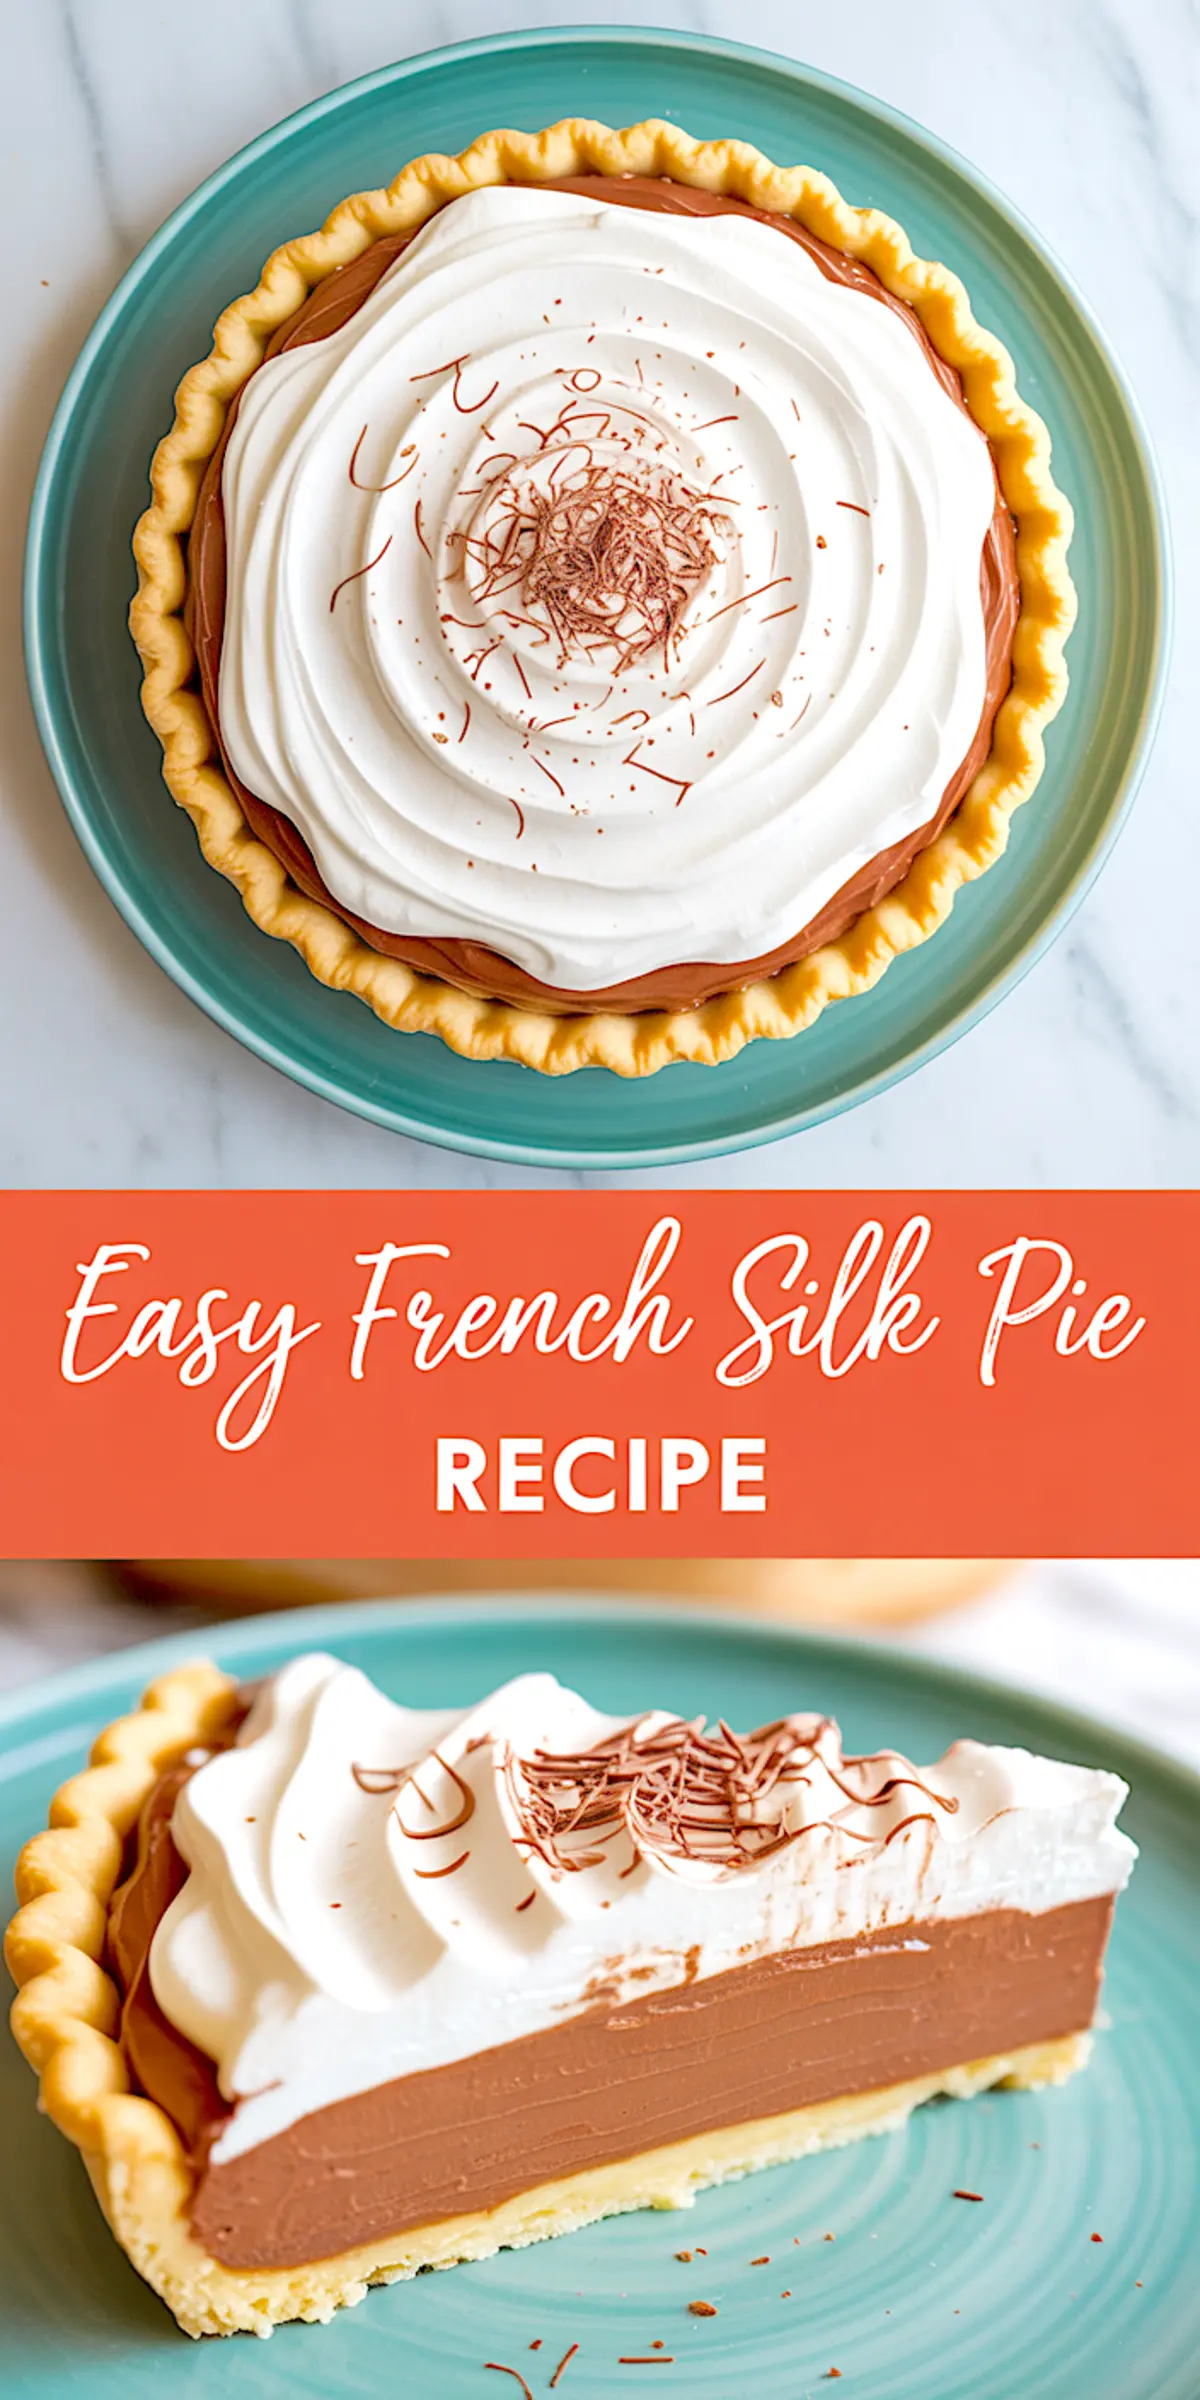
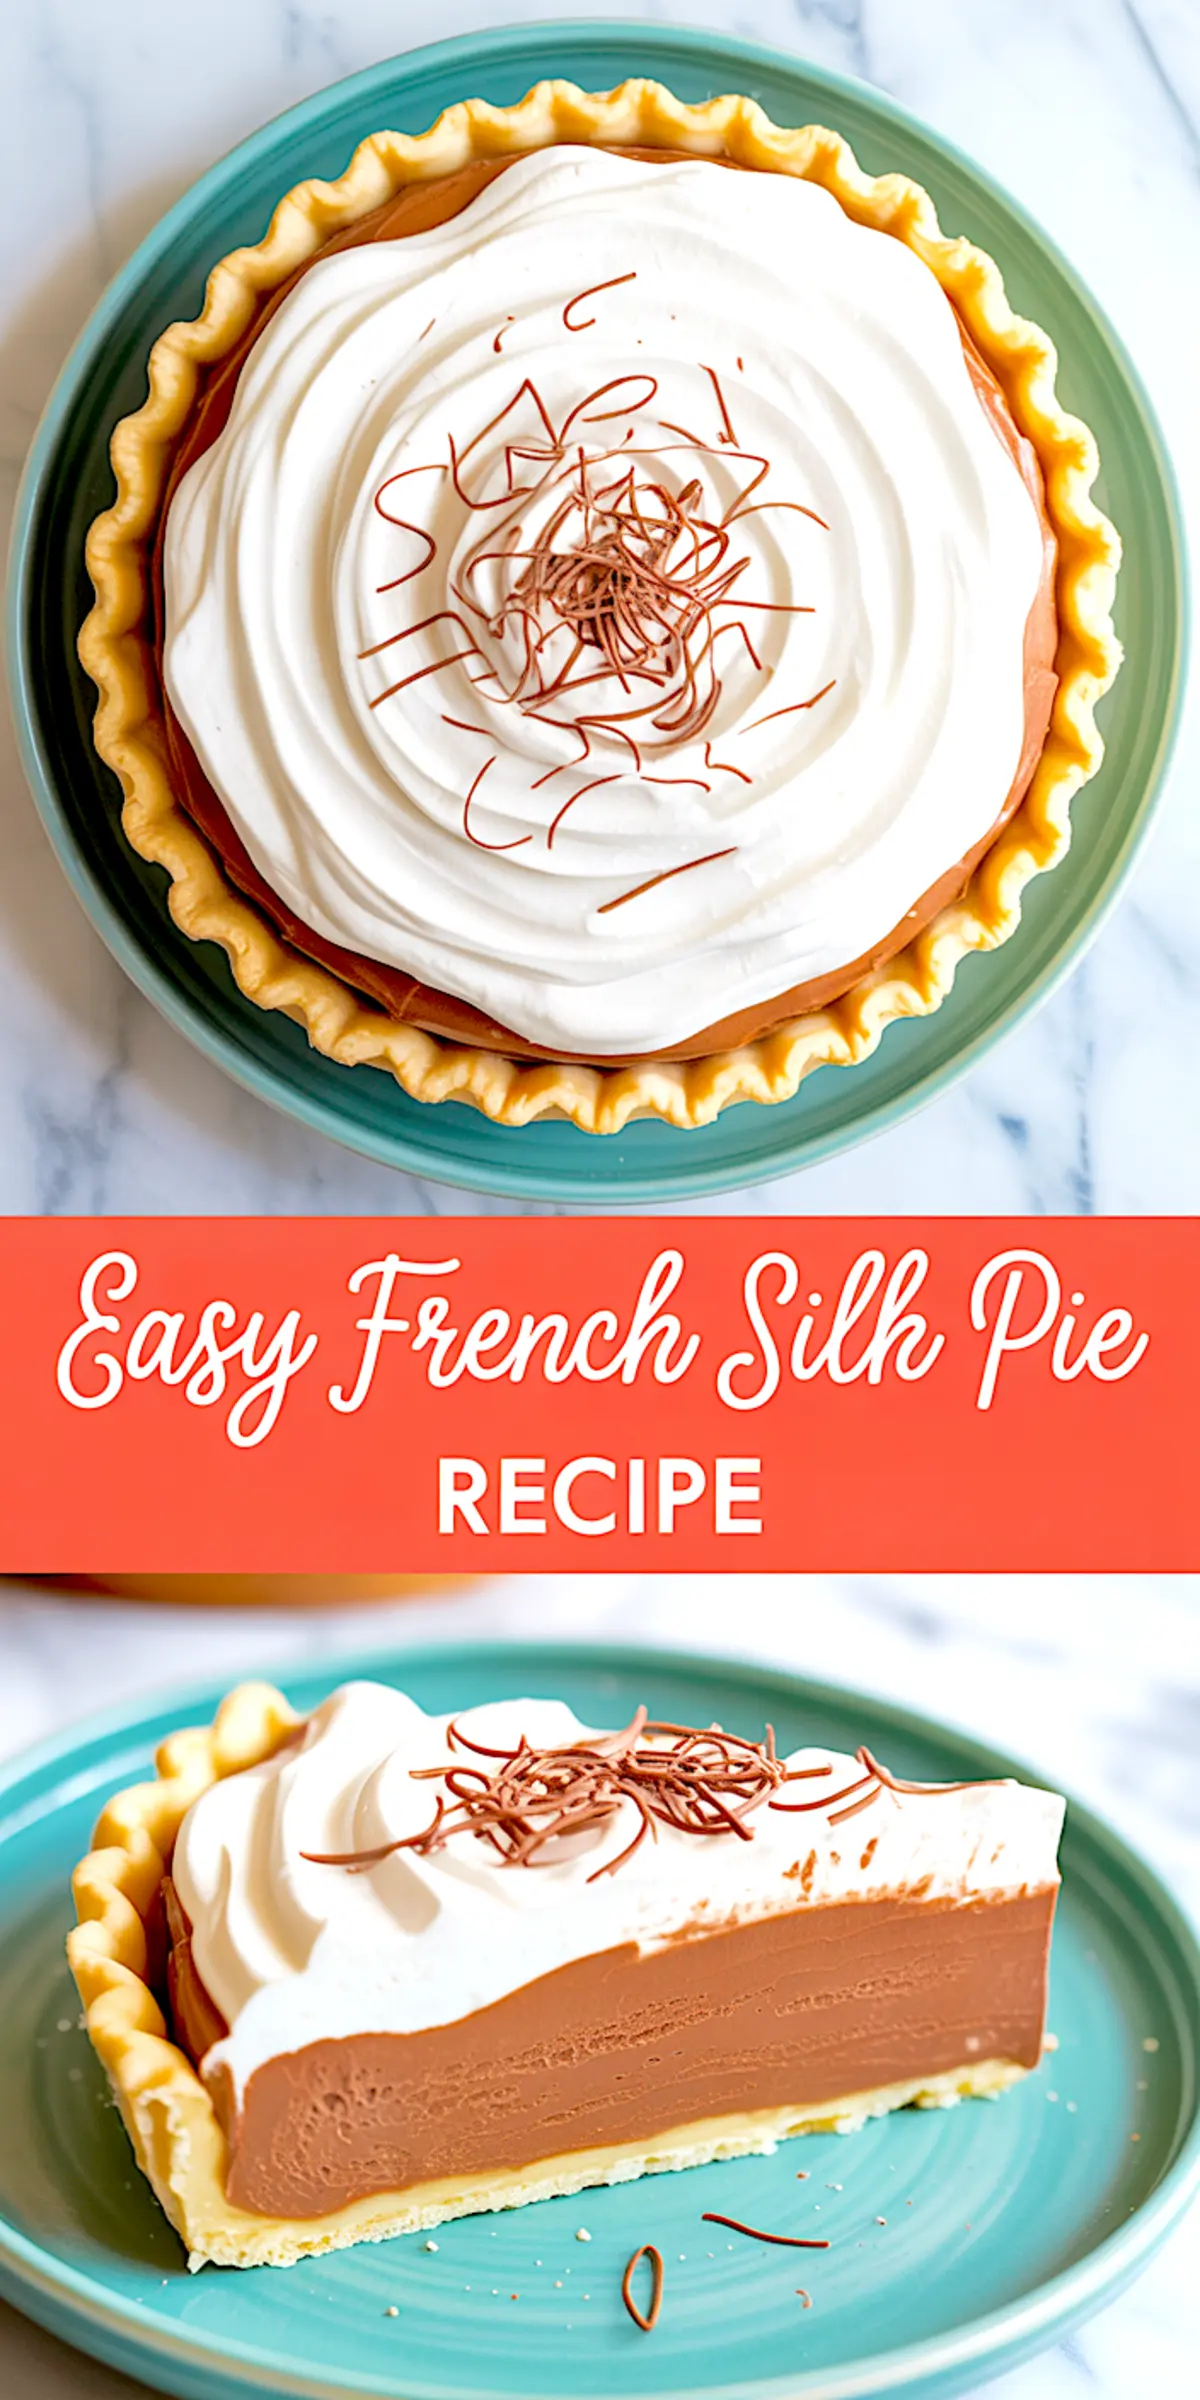
Easy French Silk Pie
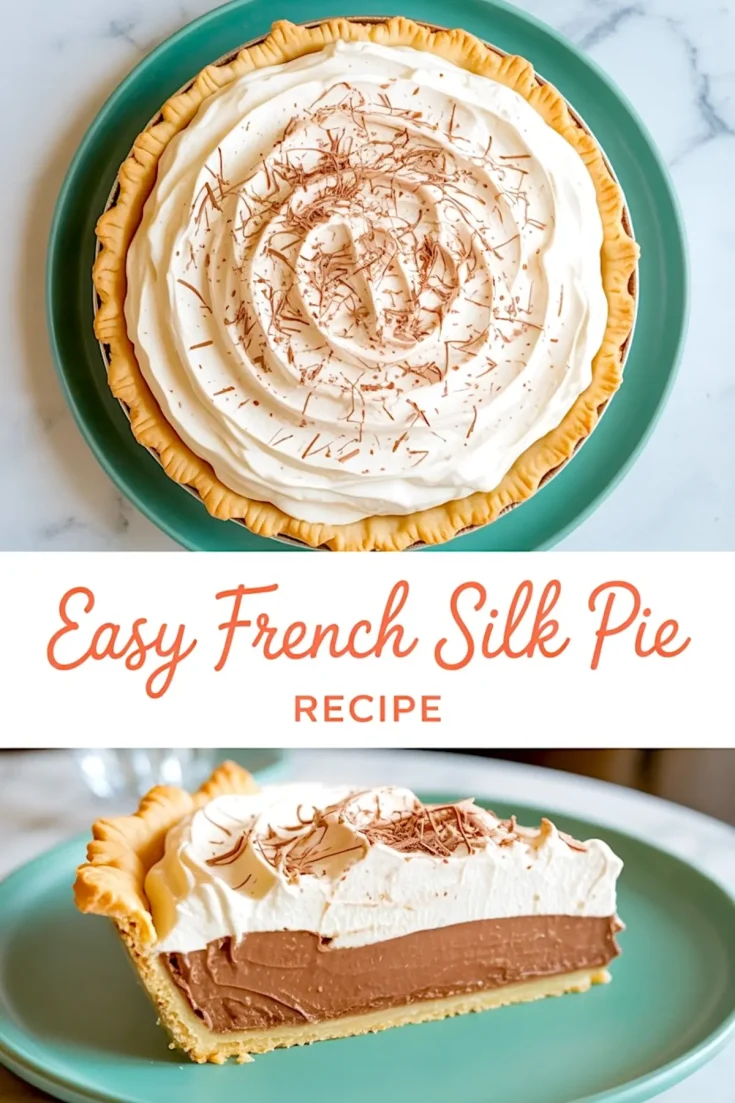
A French Silk Pie has a smooth, mousse-like chocolate filling set inside a pre-baked pie crust and topped with whipped cream and chocolate shavings. This version skips raw eggs for a quicker, safer, and easier preparation while still delivering a rich and silky texture.
Ingredients
- FOR THE PIE CRUST
- 1 pre-baked 9-inch pie crust (homemade or store-bought)
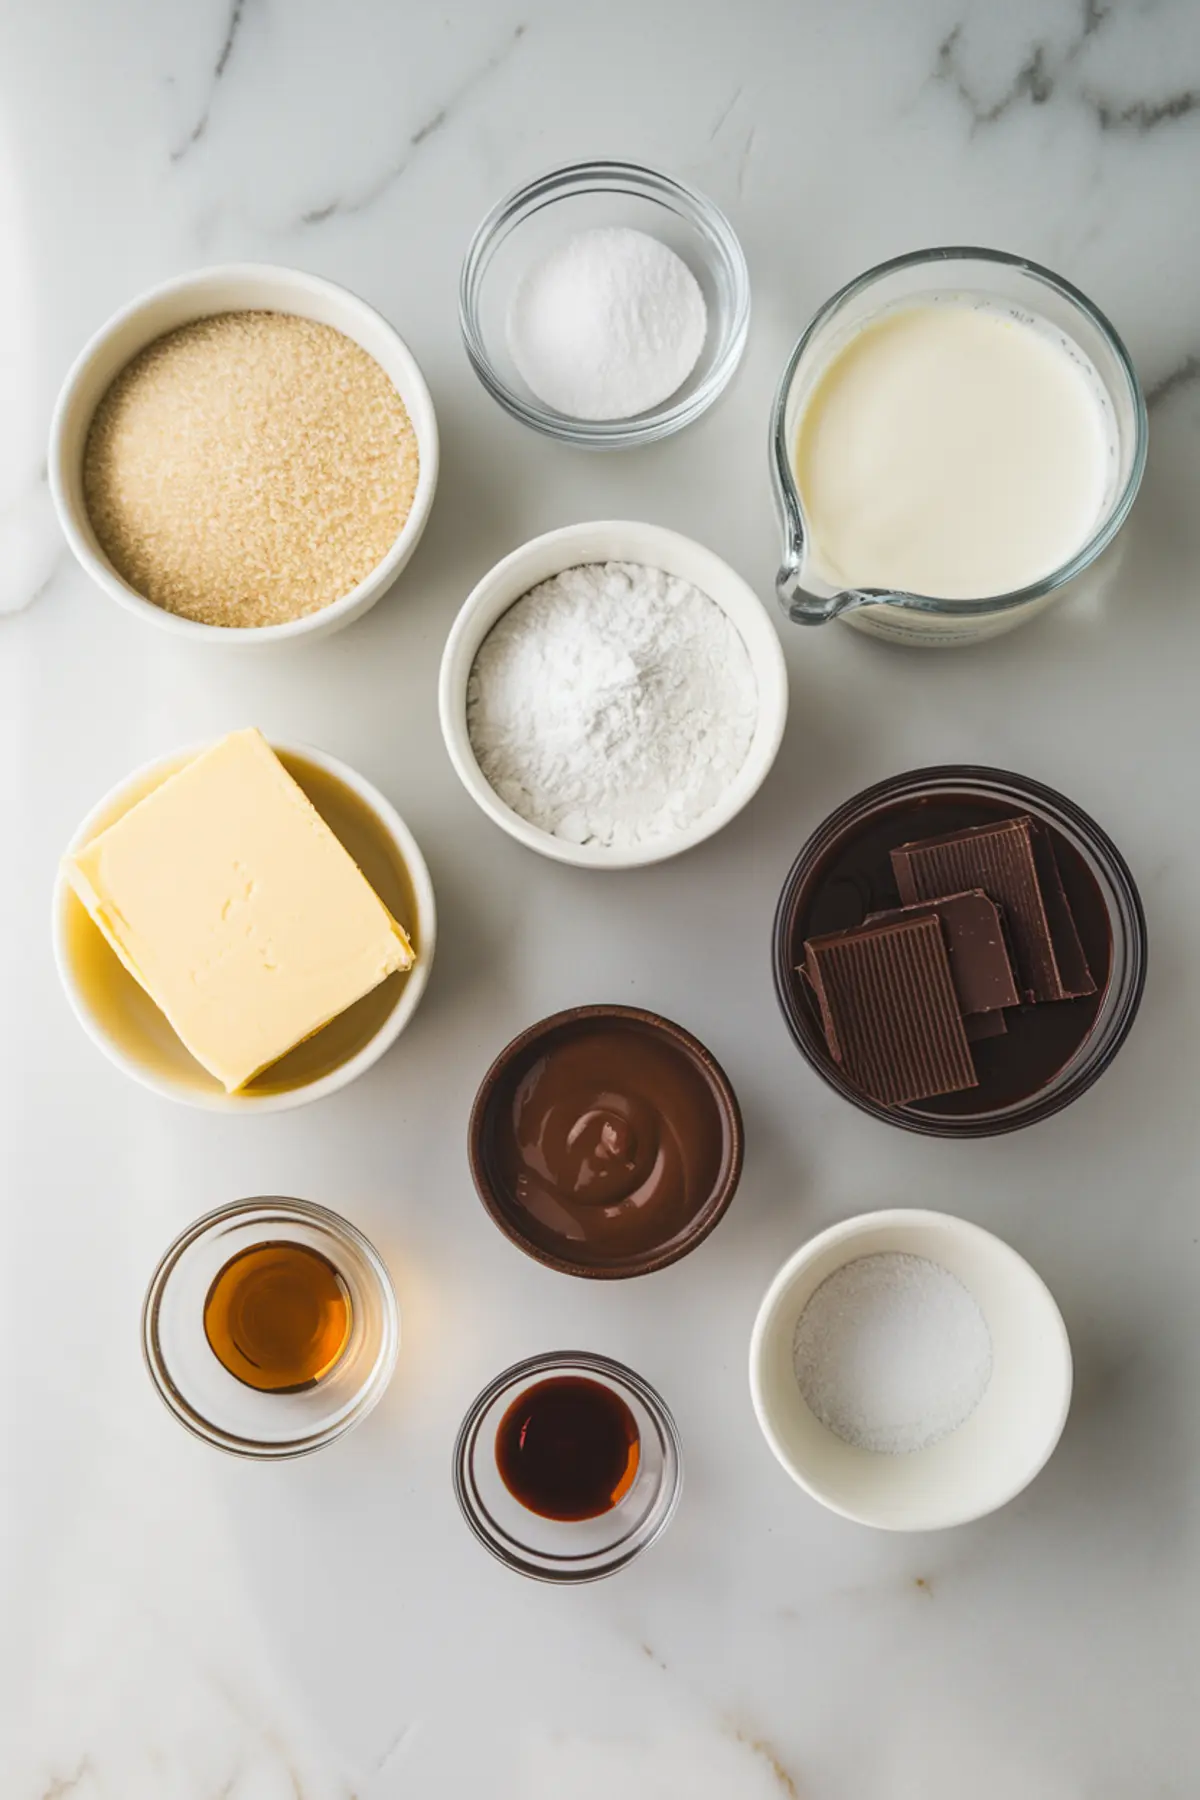
- FOR THE CHOCOLATE FILLING
- 1 cup (2 sticks) unsalted butter, room temperature
- 1 ½ cups granulated sugar
- 4 oz semi-sweet chocolate, melted and cooled
- 1 tsp vanilla extract
- ¼ tsp salt
- 1 cup heavy whipping cream
- 3 tbsp powdered sugar
- FOR THE TOPPING
- 1 ¼ cups heavy whipping cream
- 2 tbsp powdered sugar
- ½ tsp vanilla extract
- Chocolate curls or shavings for garnish
Instructions
- PREPARE THE CRUST: If using a store-bought pie crust, bake it according to the package instructions and let it cool completely before filling. If using homemade, ensure it is pre-baked and fully cooled before proceeding.
- MAKE THE CHOCOLATE FILLING: In a large bowl, beat the softened butter and granulated sugar on high speed for 5 to 7 minutes until light and fluffy. This step ensures the sugar dissolves for a smooth texture. Add the melted and cooled semi-sweet chocolate, vanilla extract, and salt. Beat until fully combined. In a separate bowl, whip 1 cup of heavy whipping cream with 3 tablespoons of powdered sugar until stiff peaks form. Gently fold the whipped cream into the chocolate mixture in batches to maintain an airy consistency. Spoon the filling into the cooled pie crust and smooth the top evenly with a spatula.
- CHILL THE PIE: Refrigerate the filled pie for at least 4 hours or overnight to allow the filling to fully set before topping and serving.
- WHIP THE TOPPING: Just before serving, whip 1 ¼ cups heavy whipping cream with 2 tablespoons powdered sugar and ½ teaspoon vanilla extract until soft peaks form. Spread the whipped cream evenly over the chilled filling.
- GARNISH AND SERVE: Top with chocolate curls or shavings. For neat slices, use a sharp knife warmed under hot water and wiped dry between cuts.
Notes
Use good-quality chocolate for the best flavor. The pie keeps well in the refrigerator for up to 3 days or can be frozen and thawed before serving.
Nutrition Information
Yield
8Serving Size
1Amount Per Serving Calories 680Total Fat 41gSaturated Fat 23gTrans Fat 1gUnsaturated Fat 16gCholesterol 80mgSodium 285mgCarbohydrates 76gFiber 2gSugar 55gProtein 5g