This no-bake Oreo pie does more than satisfy a craving. It solves a problem.
If you’ve ever sliced into a no-bake pie that collapsed into a puddle or felt overly sweet and heavy, this one will shift your expectations. The structure holds up, the flavor balances cream and cocoa, and you don’t need a stove or oven. You’ll walk away with a dessert that stores well, slices clean, and actually tastes better the next day.
You’ll also learn why crushed chocolate wafers beat Oreo crusts in texture, how cream cheese stabilizes the filling, and how I keep the sweetness in check.
Let’s break this down simply.
Following a special diet?
Every recipe on this site can be converted to gluten-free, vegan, dairy-free, keto, nut-free or egg-free with adjusted ratios so nothing falls flat.
Try the Recipe Converter →Chocolate Cookie Crust That Doesn’t Crumble
The base starts with chocolate wafer crumbs and melted butter. It firms up in the fridge and cuts clean without turning to gravel. I’ve tested crusts with full Oreo cookies—filling and all—but they tend to soften too much, especially if left overnight.
Using wafers only gives the pie structure and a clean cocoa finish. Chocolate graham crackers work too, though they’re milder and slightly sweeter. I prefer the deeper cocoa tone from the wafers, especially with the sweet filling on top.
If you like cookie pies with more crunch, you can try Chocolate Covered Oreos as a topping or along the edge once chilled. That extra texture plays well against the smooth filling.
The Filling: Light, Creamy, and Well-Balanced
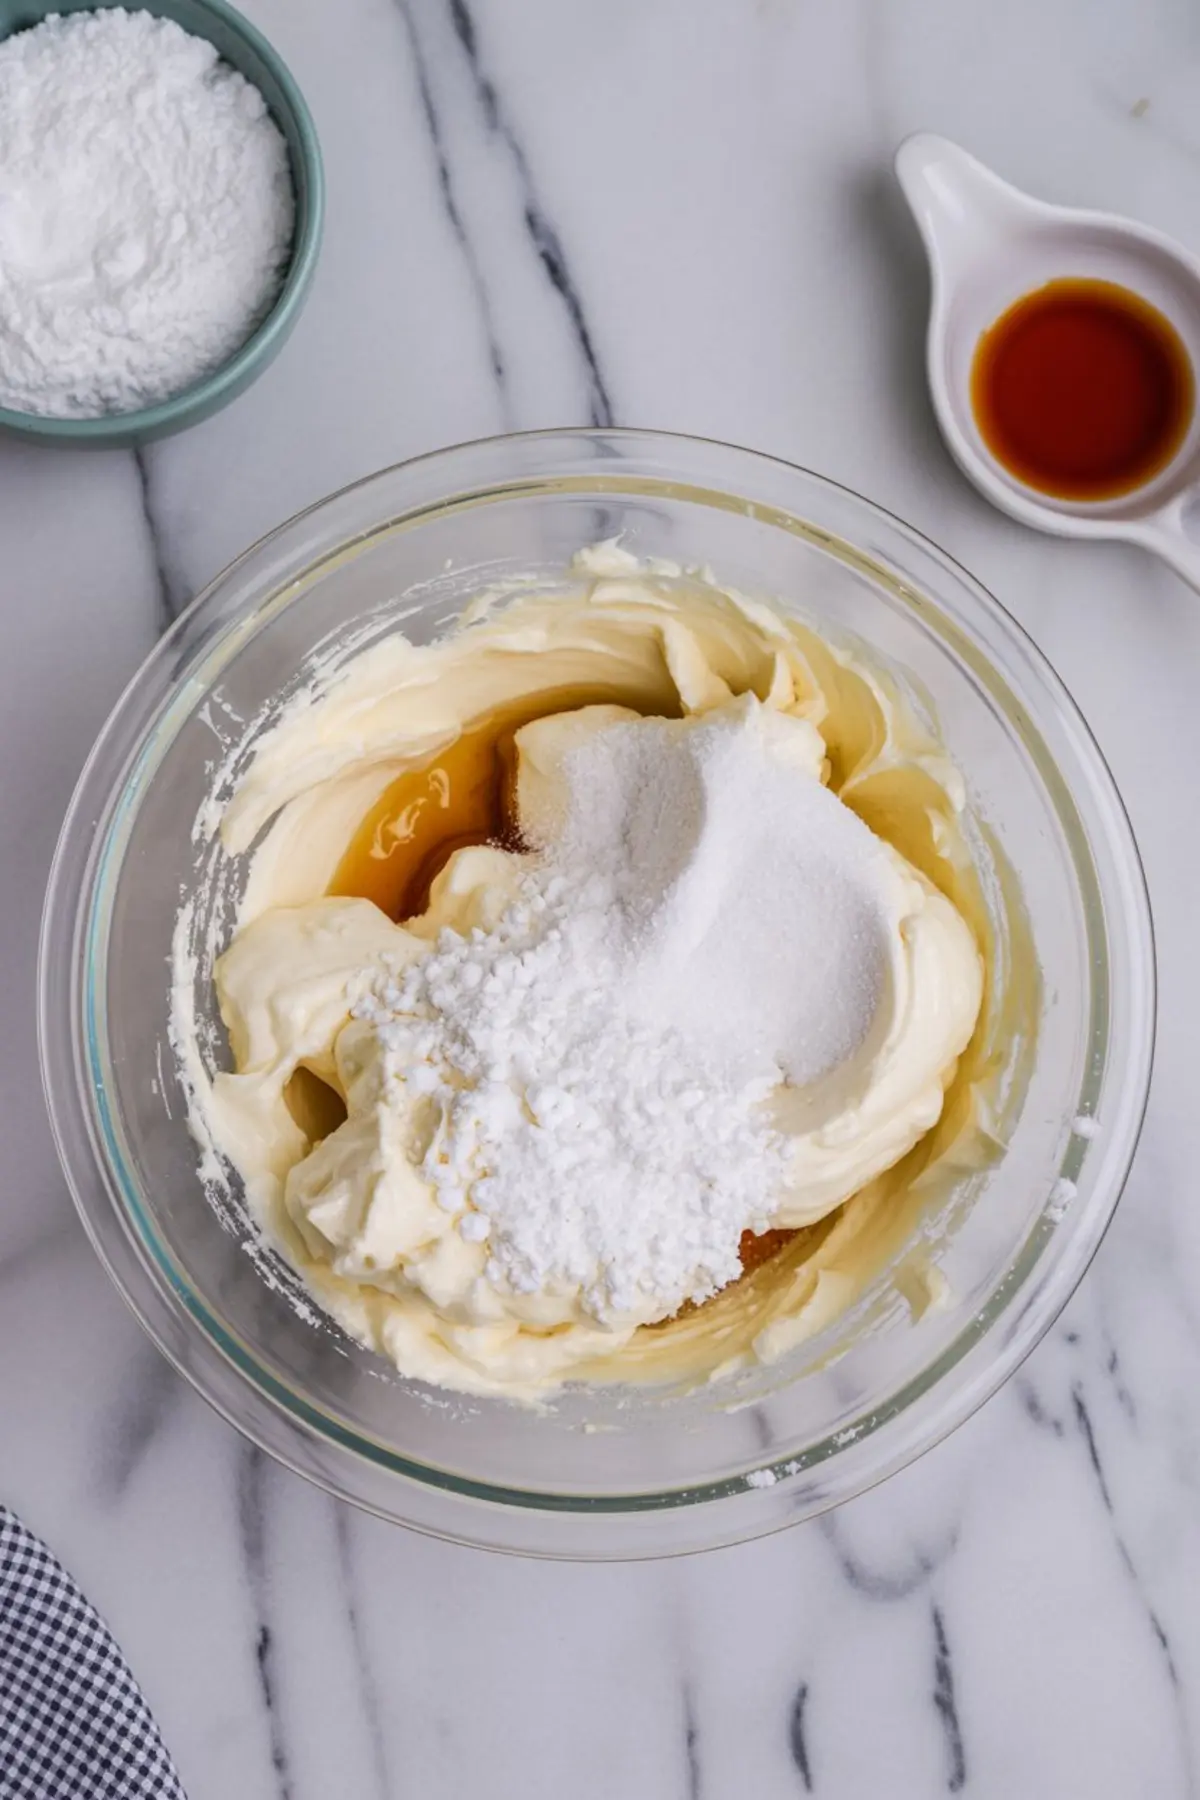
You’ll need softened cream cheese, powdered sugar, vanilla, and whipped topping. The cream cheese brings structure and a faint tang, which balances the sweetness of the crushed Oreos folded in later.
I always let the cream cheese sit out until fully soft—no shortcuts here. Cold cream cheese stays lumpy, even with heavy mixing. Once beaten, it should look smooth and hold peaks slightly.
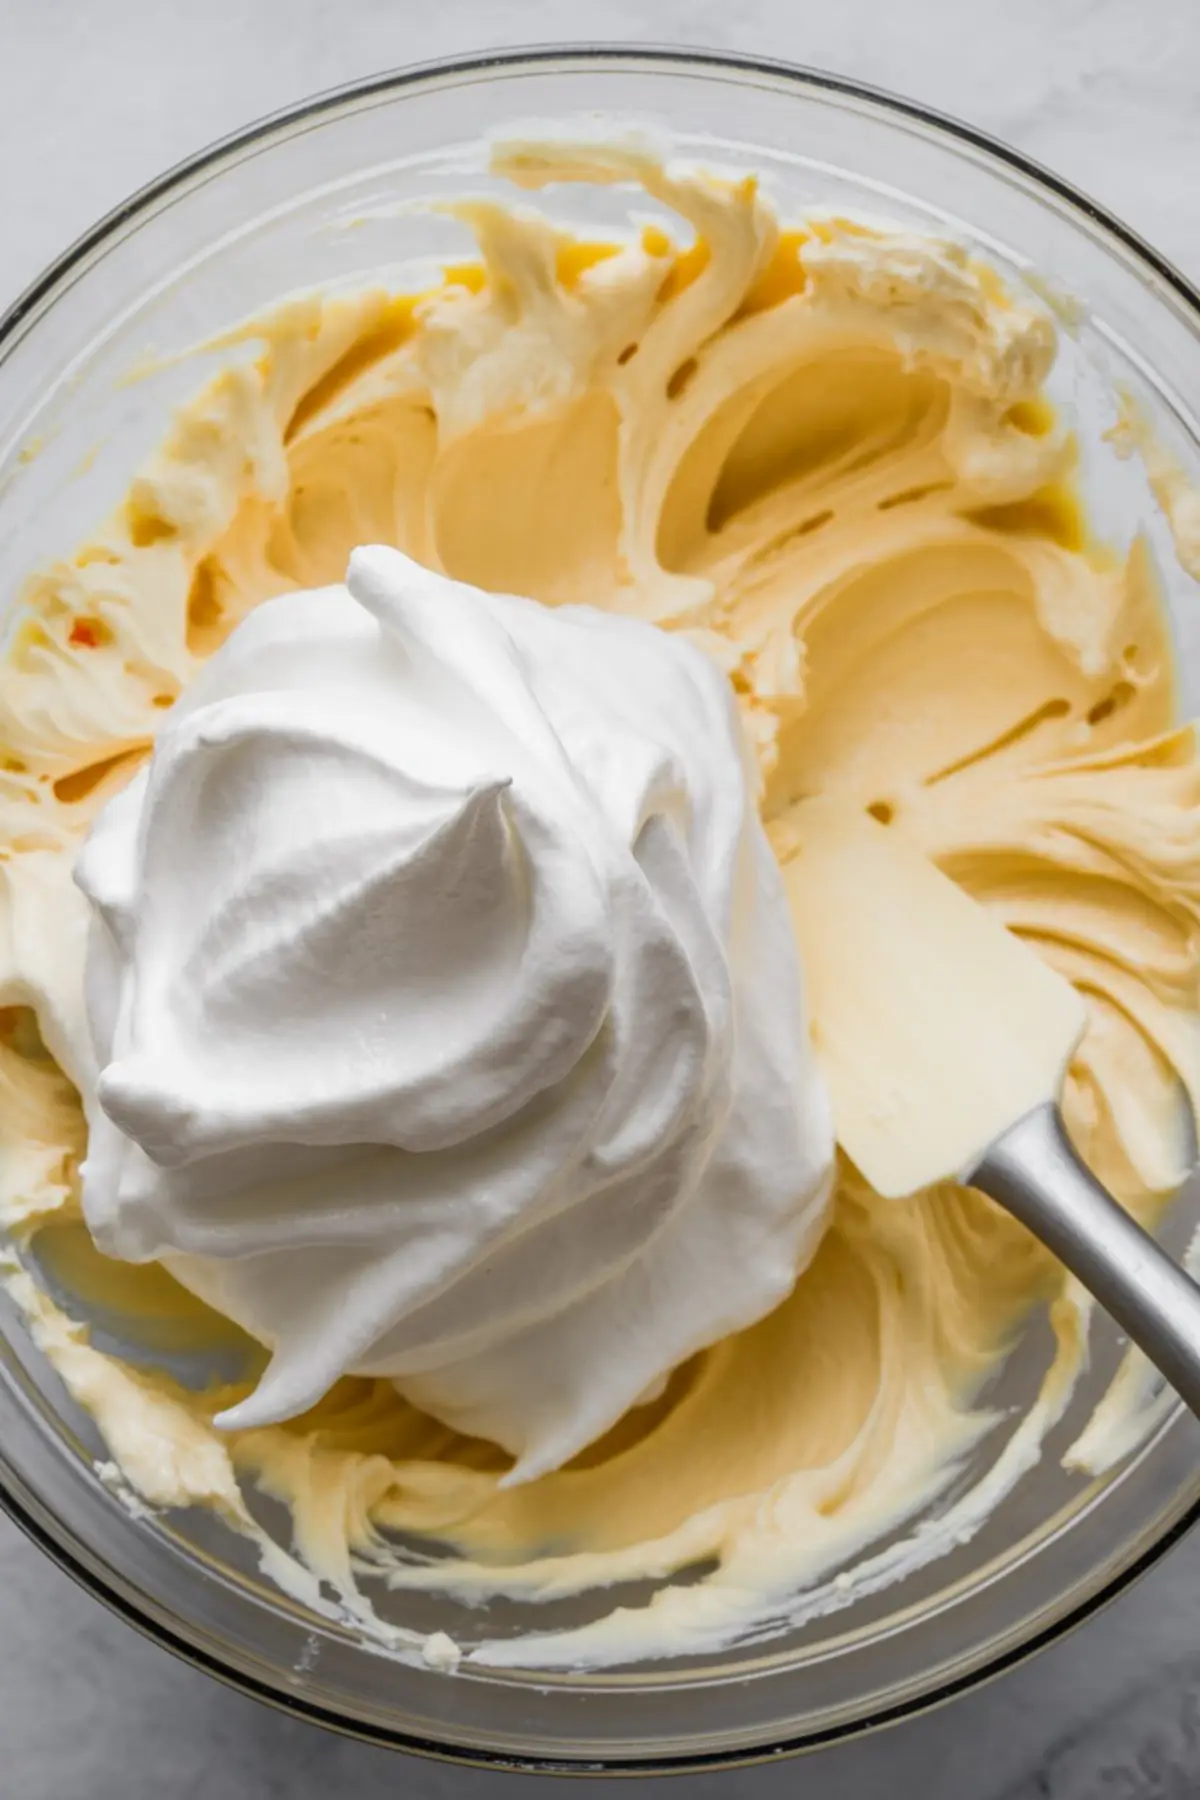
The whipped topping folds in last. It helps create the fluffy texture, but I never over-mix. Stir gently with a spatula, keeping it light so the pie sets properly. This also helps when layering in the Oreos.
Which Whipped Topping Works Best? A Quick Note from Experience
I’ve used both name-brand and store-brand tubs. In my notes, I’ve found that Cool Whip holds better overnight, while some generic versions break down faster and leave moisture rings at the base.
If I need the pie to last a full day in the fridge—especially for events—I always go with Cool Whip. The texture holds, and the filling stays sliceable even on day two.
That choice matters. If you’re making an Oreo Mud Pie, the same tip applies. Stability depends on your whipped base.
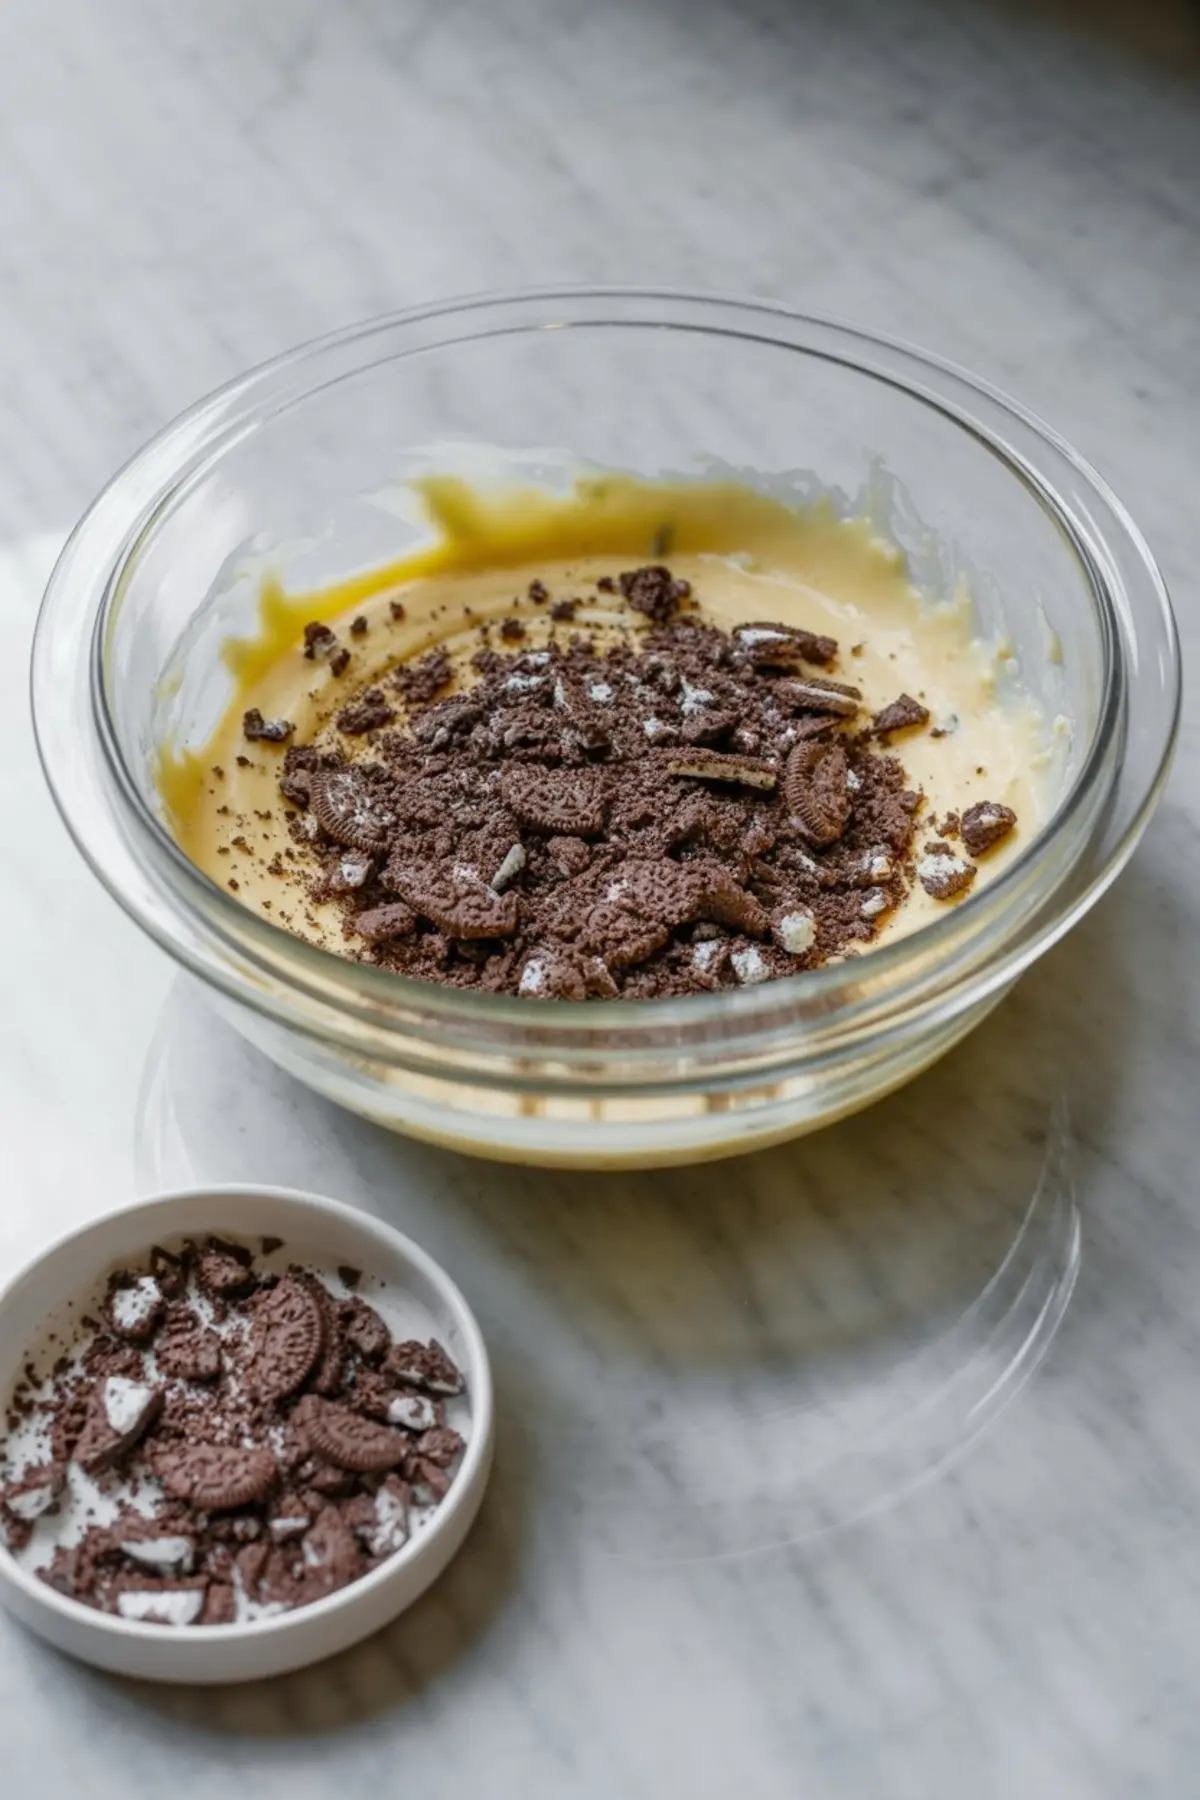
Fold in Oreos for Crunch and Contrast
Crush the cookies by hand, not in a processor. I leave some larger pieces for contrast. This adds texture, and you’ll see that clean cross-section when slicing the pie.
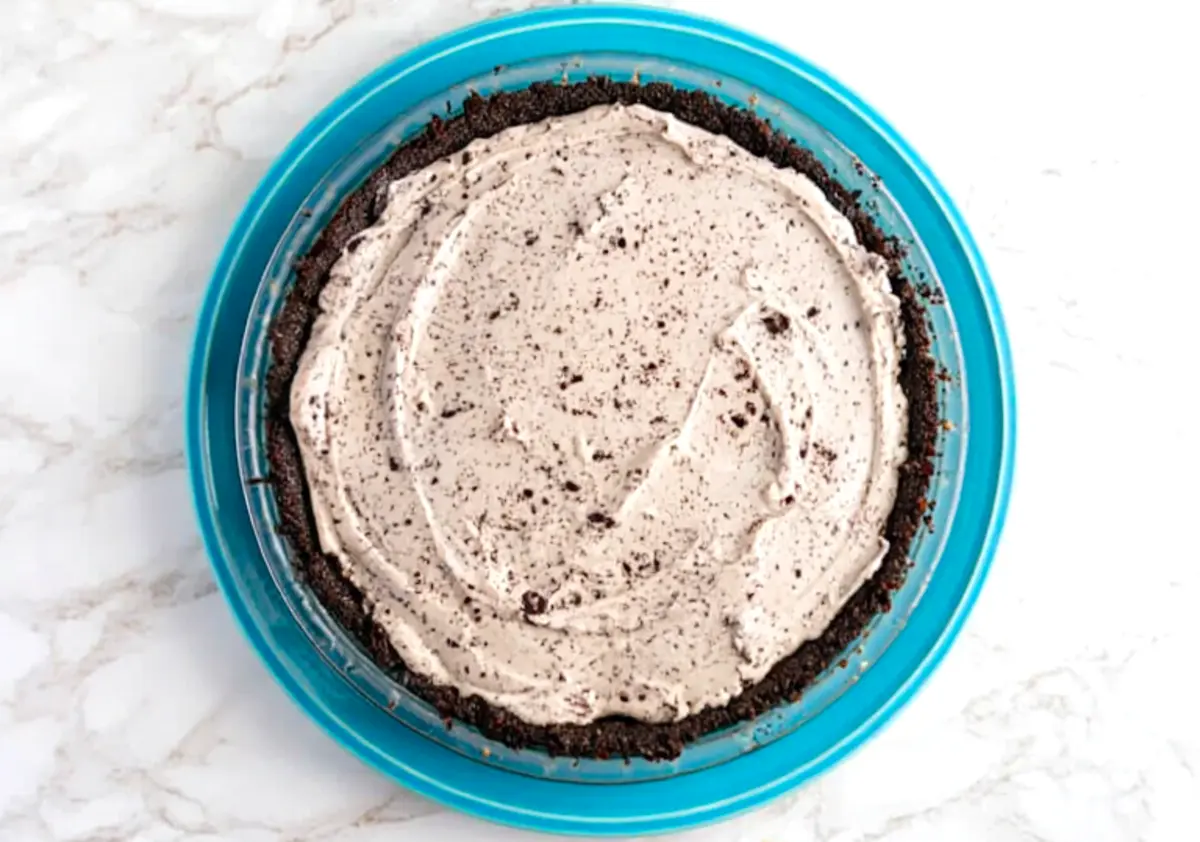
Once folded into the filling, spread everything evenly into the chilled crust. I smooth the top with a spatula and pop it in the fridge. Four hours is the minimum chill time, but overnight makes a clear difference. The structure holds better, and the crust stays crisp.
If you’ve ever made Chocolate Cream Pie, you’ll know that chill time shapes the final texture. This Oreo pie is no different.
Serving Suggestions and Optional Toppings
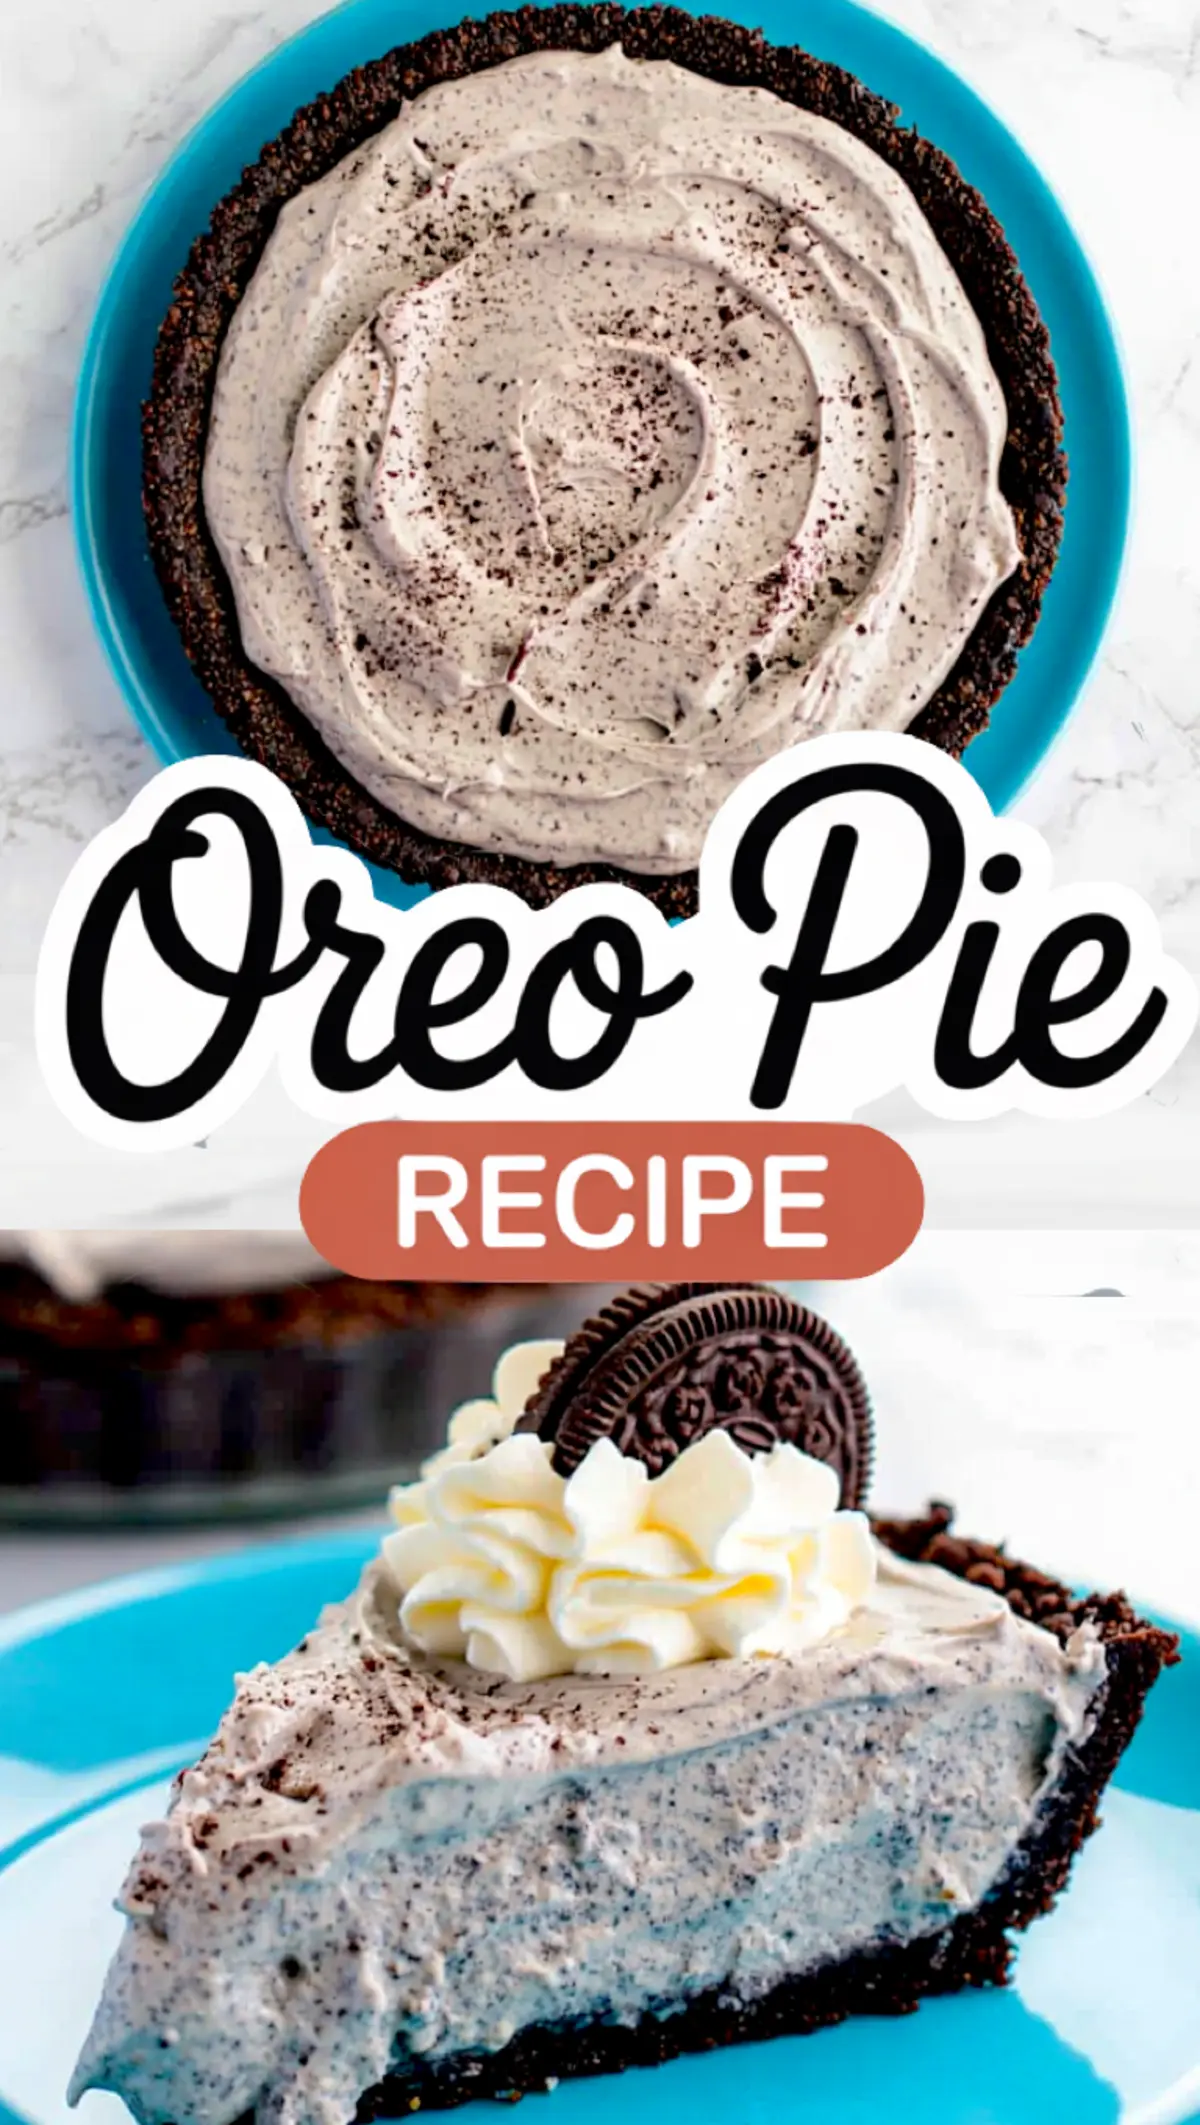
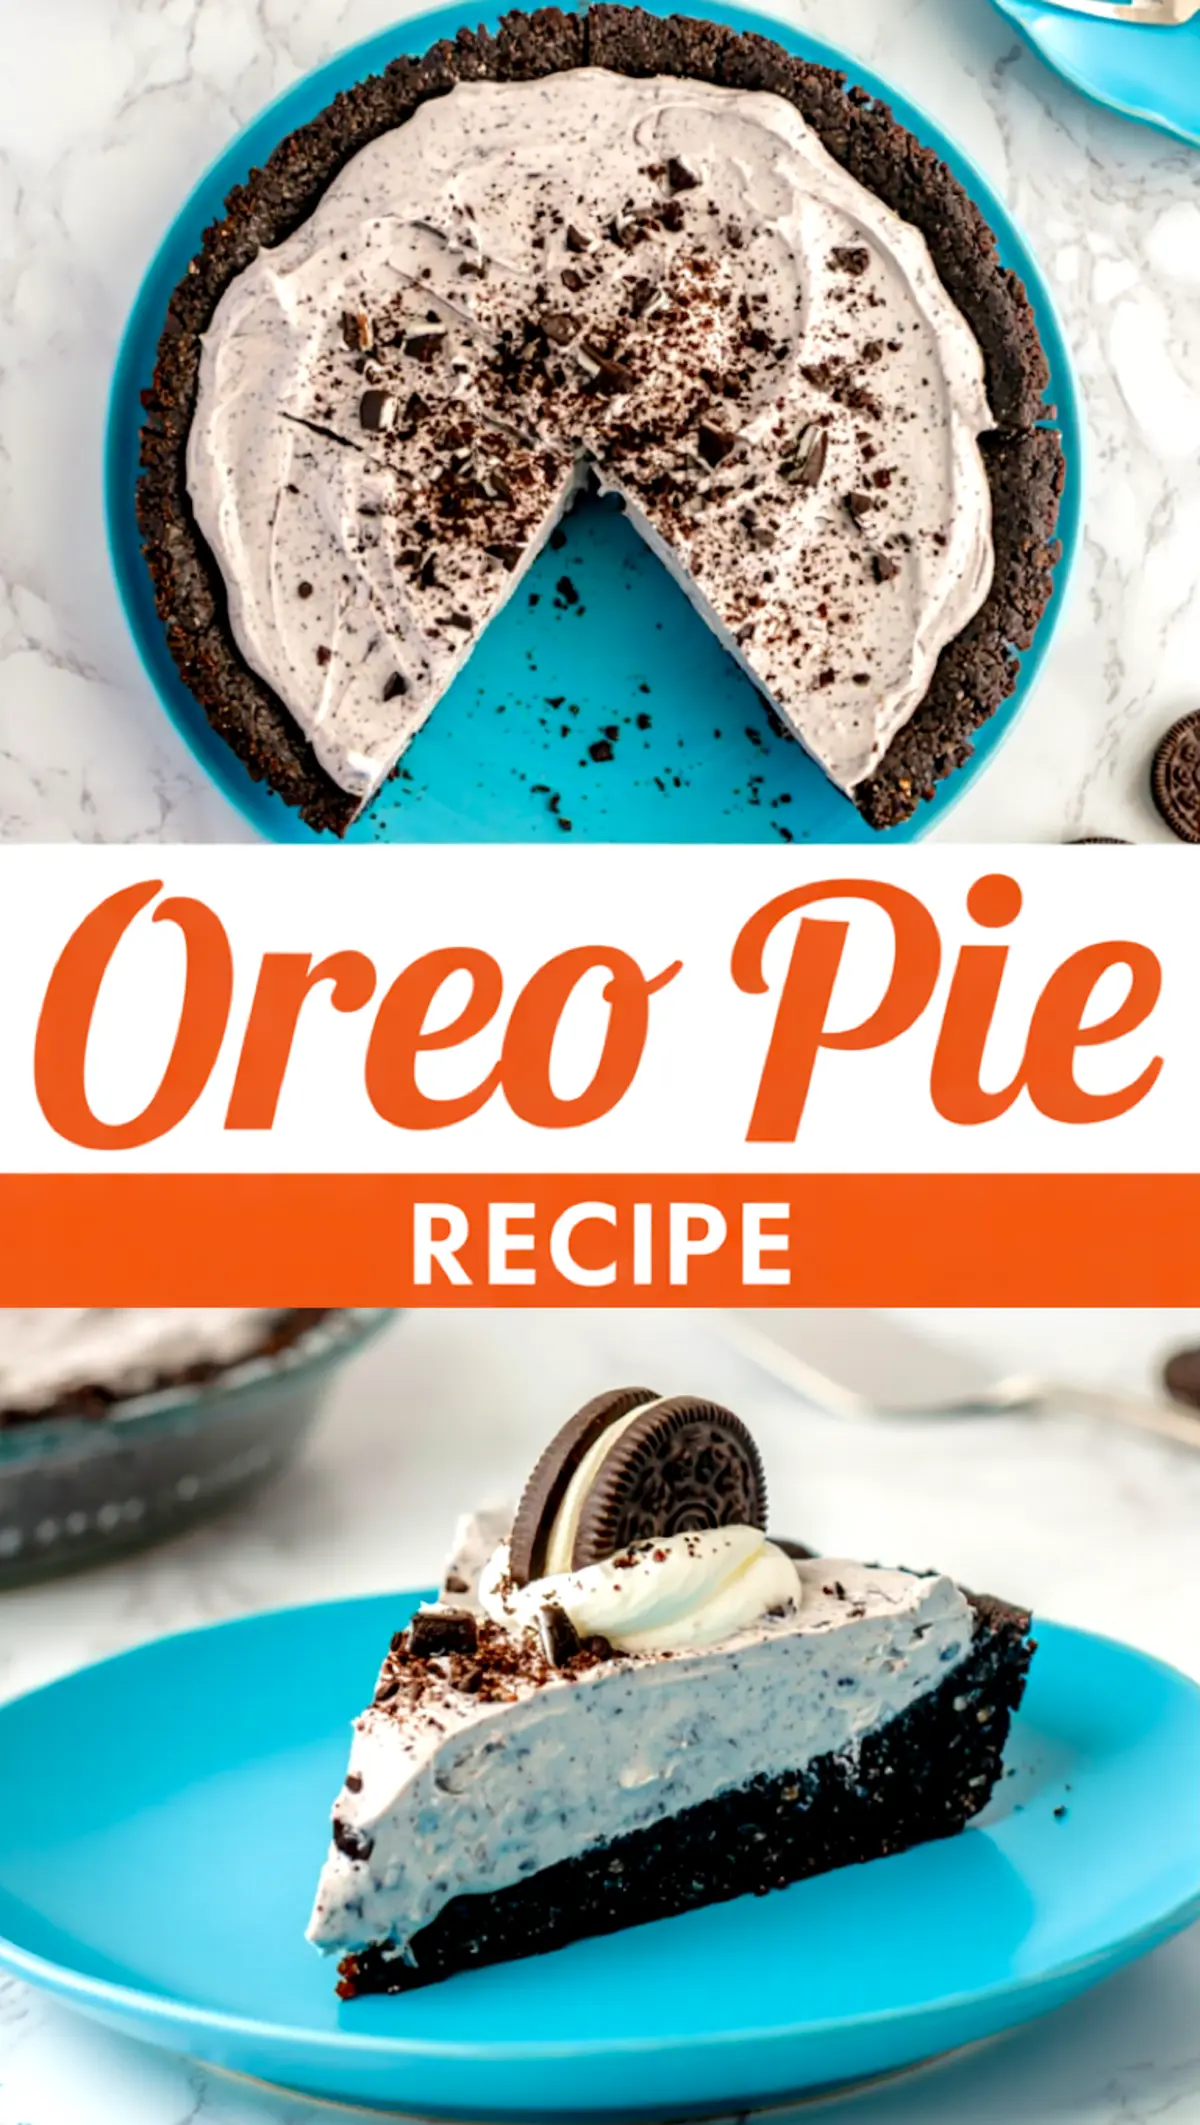
I usually top this pie with crushed Oreos and a few chocolate curls just before serving. Piped whipped topping adds polish if you’re taking it to a gathering.
For small servings, use a warm knife and clean it between slices. This helps show the Oreo chunks inside and keeps the crust from cracking.
If you love Oreo cheesecake recipes or Cookie Pie recipes, you’ll appreciate the contrast in this one. The lightness of the whipped topping makes it less dense than baked pies, while still giving you that cream cheese base you expect from an Oreo dessert.
Storing Your Oreo Cookie Pie
This no-bake Oreo dessert holds well in the fridge for up to three days. Keep it covered with foil or a cake dome to avoid drying out.
If you’re preparing ahead, skip the toppings until just before serving. Whipped cream added early tends to deflate and collect moisture, especially if you’re storing beside anything with fruit or citrus.
Want to try a version with a deeper caramel note? Swap in the base from my Butterscotch Pie and fold chopped peanut butter cups into the filling for an Oreo peanut butter pie twist.
Related Recipes You May Also Like
Try these next for more no-bake or Oreo-based options:
These also fall under Oreo dessert recipes, especially if you’re experimenting with Oreo pudding dessert ideas or searching for an Oreo cheesecake alternative.
Final Thoughts and Save-for-Later Tips
You won’t need to adjust oven racks or monitor baking time with this Oreo pie. The fridge does the work. The balance between cream cheese and whipped topping gives it stability. Chocolate wafer crust keeps the base crisp. And if you let it chill overnight, it slices beautifully every time.
I hope you give this a try. Save it to your dessert board and come back to it the next time you need a no-bake Oreo dessert that actually holds its shape.
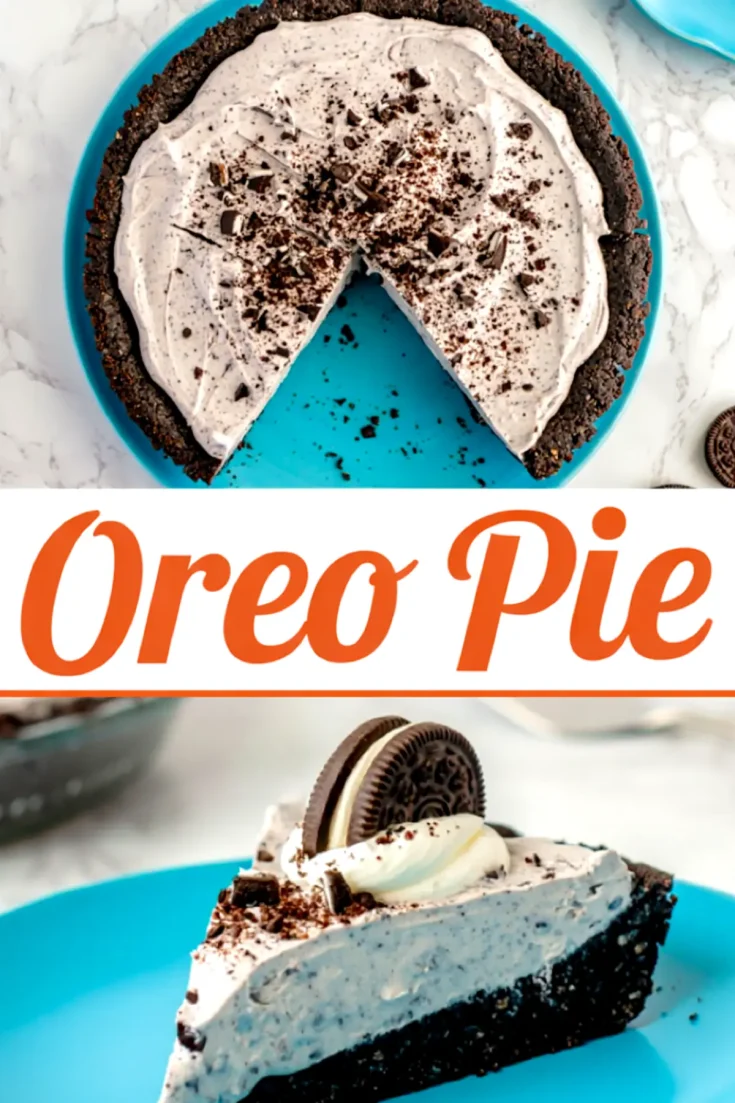
Pin this No-Bake Oreo Pie for your next party or weeknight treat, and share in the comments how it turned out for you.
I’d love to hear what tweaks you made or how it went with a flavored crust.
No-Bake Oreo Pie
No-bake Cookies & Cream Pie combines a crisp chocolate cookie crust with a light and fluffy filling made from cream cheese, whipped topping, and crushed Oreo cookies. The pie sets up firm in the fridge, making it easy to slice and serve. The chocolate wafer base gives a deep, rich cocoa flavor without added sweetness, balancing the creamy filling. Optional toppings like whipped cream and chocolate shavings enhance the presentation and taste.
Ingredients
- FOR THE CHOCOLATE COOKIE CRUST
- 1 ¾ cups chocolate wafer cookies (or chocolate graham crackers), finely crushed
- 5 tablespoons unsalted butter, melted
- Optional: pinch of salt to balance the sweetness
- FOR THE FILLING
- 1 (8 oz) package cream cheese, softened
- 1/3 cup powdered sugar
- 1 teaspoon vanilla extract
- 1 (8 oz) tub whipped topping (like Cool Whip), thawed
- 10 Oreo cookies, roughly crushed
- OPTIONAL TOPPINGS
- Extra crushed Oreos
- Whipped cream or piped whipped topping
- Chocolate shavings or curls
Instructions
- MAKE THE COOKIE CRUST: Place the chocolate wafer cookies in a food processor and pulse until they form fine crumbs. Add the melted butter and optional salt, then pulse again until the mixture is evenly moistened and resembles wet sand.
- FORM THE CRUST: Pour the crumb mixture into a 9-inch pie dish. Use the bottom of a glass or measuring cup to press the mixture evenly and firmly across the bottom and up the sides. Place the dish in the refrigerator to chill for at least 15 minutes while preparing the filling.
- BEAT THE CREAM CHEESE: In a large bowl, beat the softened cream cheese with an electric mixer until smooth and fluffy, about 1–2 minutes.
- ADD SWEETENER AND VANILLA: Add the powdered sugar and vanilla extract to the cream cheese. Beat until well combined and no lumps remain.
- FOLD IN WHIPPED TOPPING: Gently fold in the thawed whipped topping using a spatula. Stir slowly to keep the mixture light and airy.
- ADD CRUSHED COOKIES: Stir in the roughly crushed Oreo cookies just until evenly distributed throughout the filling.
- FILL THE CRUST: Spoon the filling into the chilled crust and spread it evenly with a spatula. Smooth the top for an even finish.
- CHILL THE PIE: Refrigerate the pie for at least 4 hours, or until firm. For best results, chill overnight.
- DECORATE AND SERVE: Just before serving, top the pie with additional crushed Oreos, piped whipped topping, or chocolate shavings if desired. Slice and serve cold.
Notes
Use chocolate wafer cookies or similar dark chocolate biscuits without filling for best crust texture. Store the pie covered in the refrigerator for up to 3 days.
Nutrition Information
Yield
8Serving Size
1Amount Per Serving Calories 371Total Fat 20gSaturated Fat 9gTrans Fat 0gUnsaturated Fat 10gCholesterol 28mgSodium 297mgCarbohydrates 46gFiber 2gSugar 28gProtein 4g