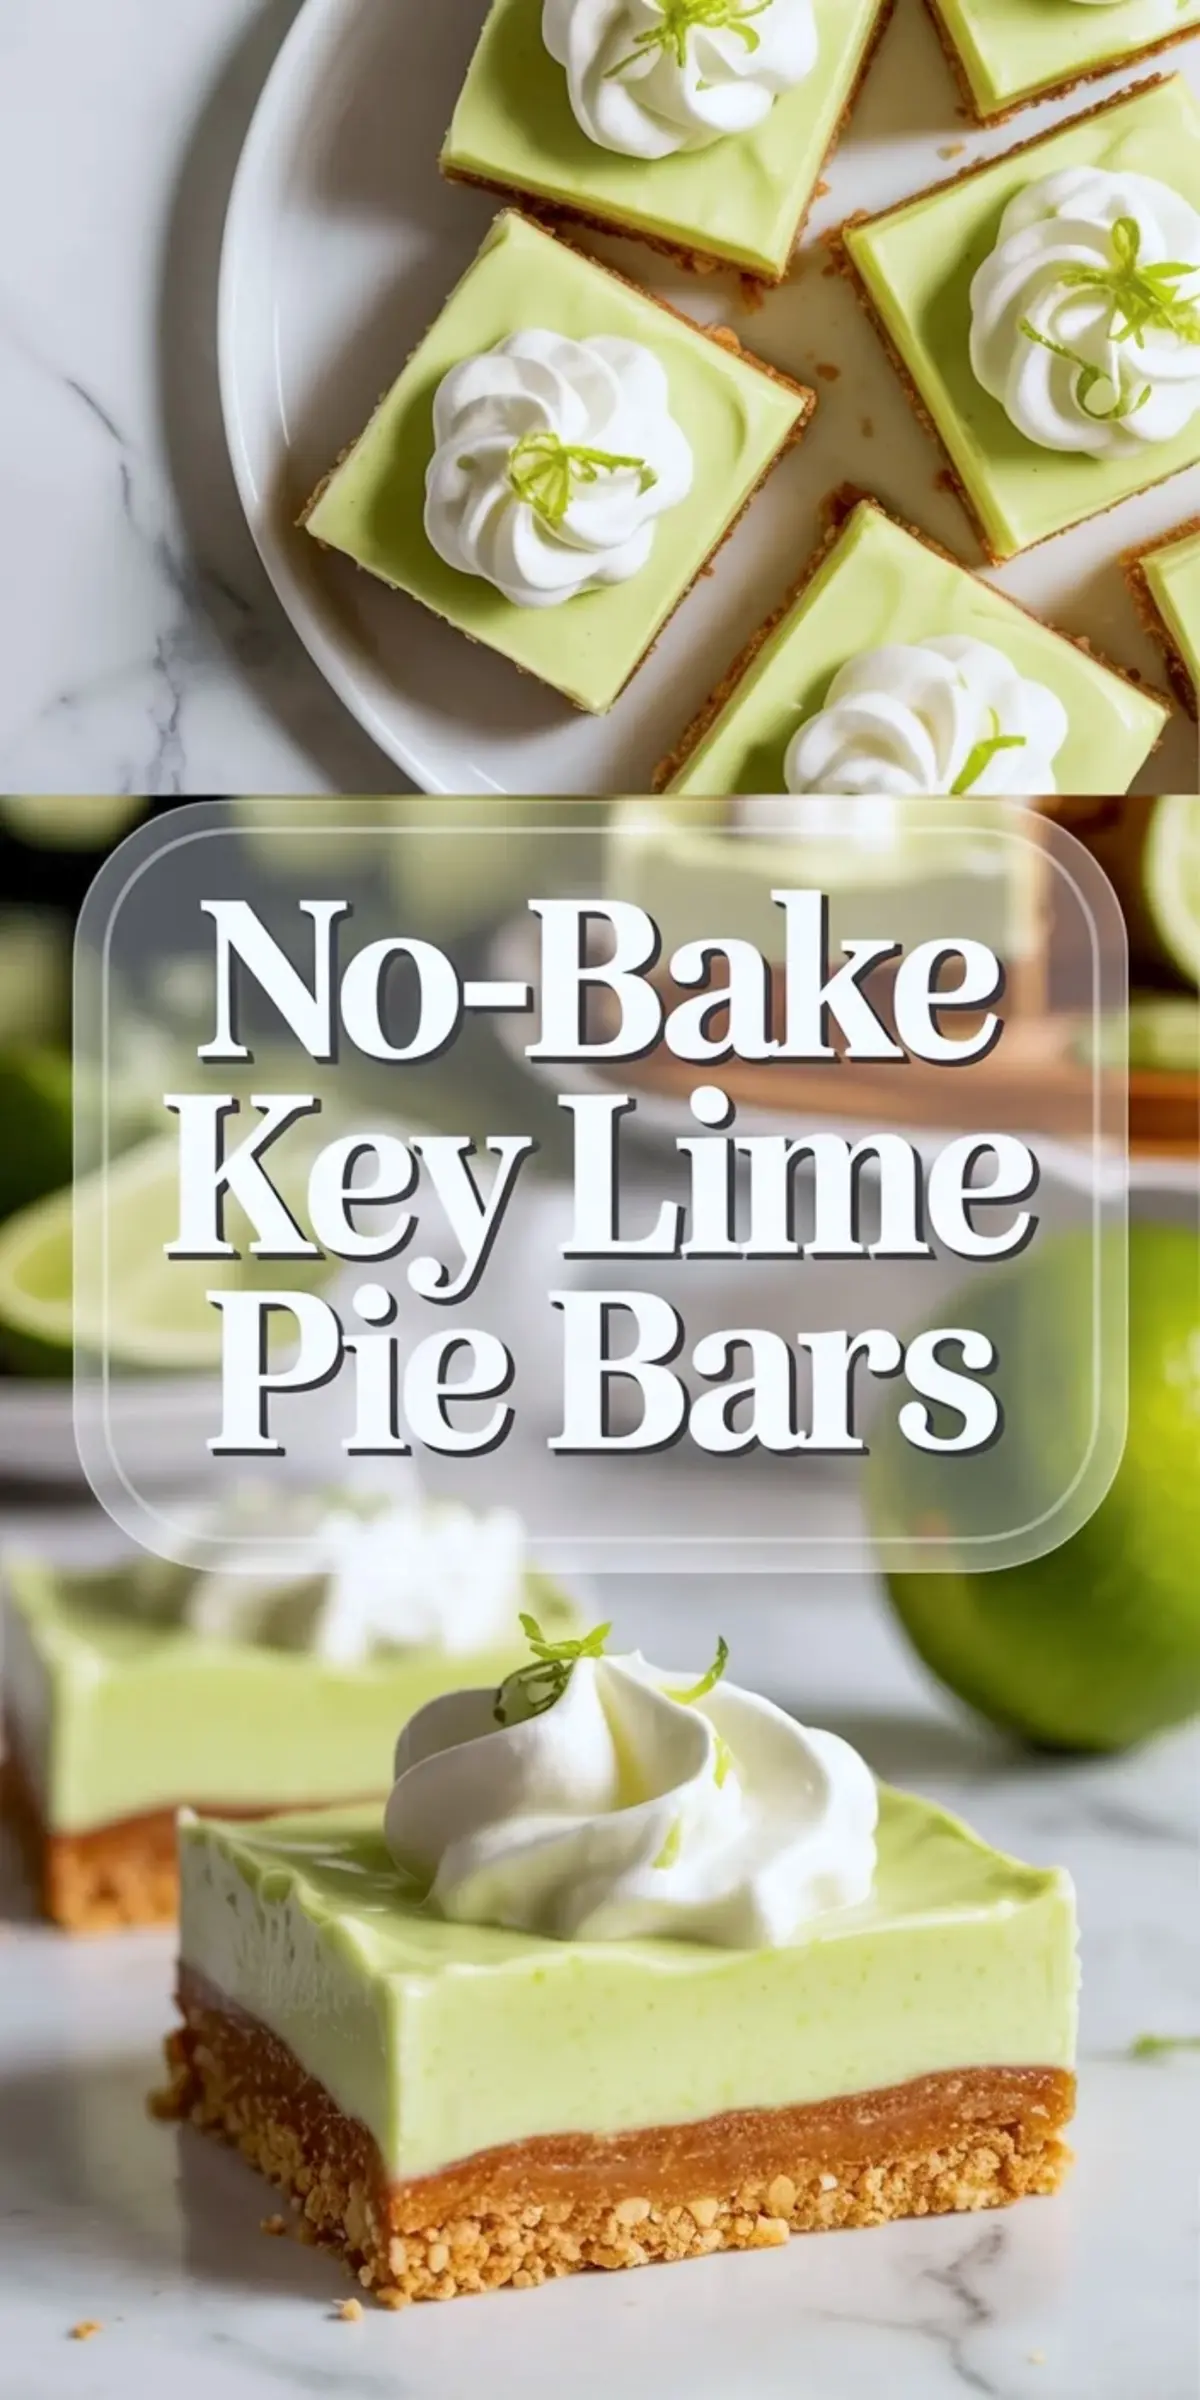
If you want Key Lime Pie Bars that keep the creamy citrus flavor of key lime pie but feel easier to chill, slice, and serve, this version does that job well. These no-bake bars pair a graham cracker crust with a smooth lime filling, so you get the same tart, creamy pull as a classic pie in a format that is simpler for summer desserts, parties, and make-ahead baking.
The biggest advantage of a Key Lime Pie Bars Recipe like this is control. You can make the pan ahead, chill it fully, and cut clean squares when you need them. That makes these bars more practical than a full pie when you want a dessert to share, and it also gives you more of that rich filling in every bite.
Following a special diet?
Every recipe on this site can be converted to gluten-free, vegan, dairy-free, keto, nut-free or egg-free with adjusted ratios so nothing falls flat.
Try the Recipe Converter →Why These Key Lime Pie Bars Work So Well
The balance comes from the contrast between the bright filling and the graham cracker crust. Key lime has enough acidity to keep the bars from feeling heavy, while the crust brings the buttery crunch that makes the whole dessert feel closer to a proper key lime pie instead of a soft no-bake slice. That contrast is what gives the bars their structure and keeps each piece satisfying without being dense.
Texture matters just as much as flavor here. The filling should be creamy and cool, not loose, and the crust should stay firm enough to lift a slice cleanly. When both parts are right, you get a dessert that lands somewhere between Creamy Key Lime Pie and easy pie bar recipes, with cleaner portions and less serving mess.
The Ingredients That Matter Most
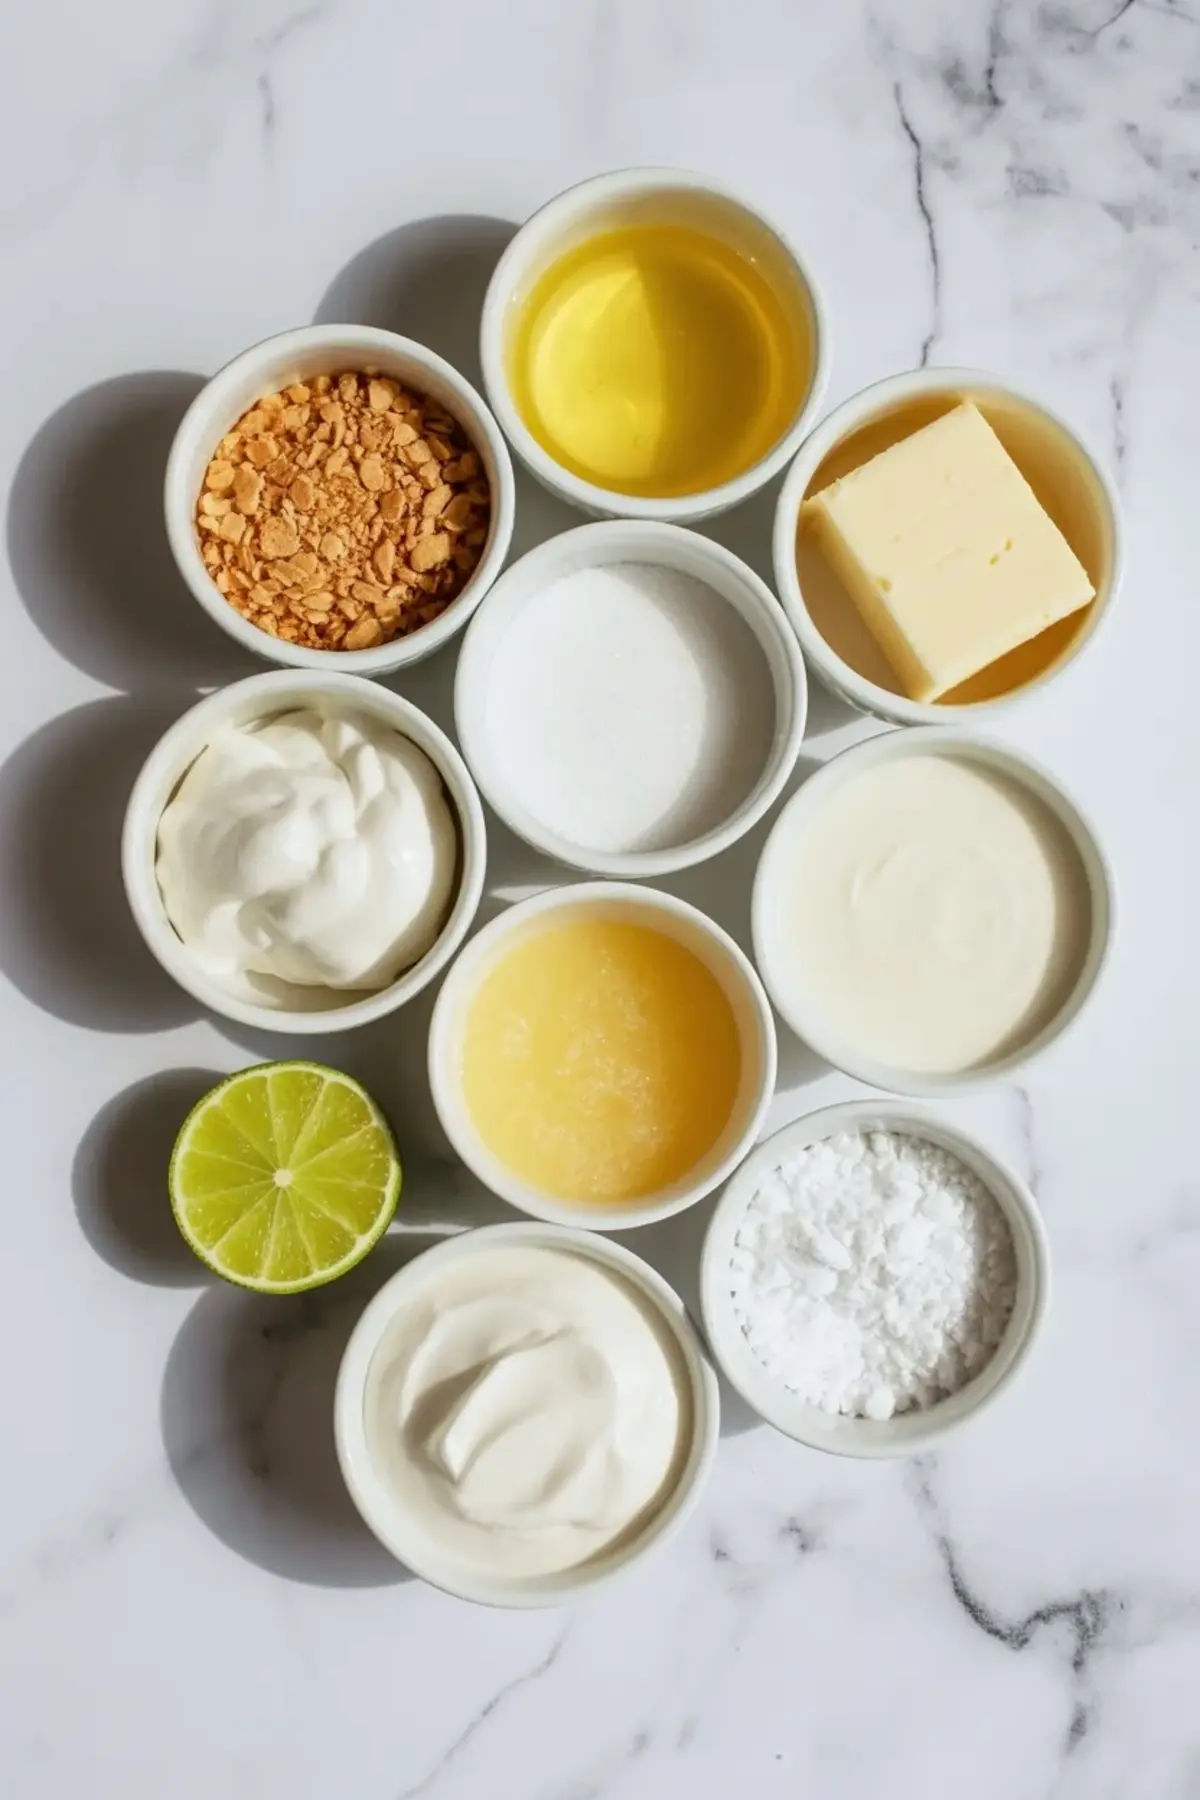
A good Key Lime Bars Recipe does not need a long ingredient list, but the main pieces have to pull their weight. Graham crackers create the base. Butter helps the crust hold together. The filling leans on cream cheese and other creamy ingredients, with fresh key lime juice for the sharp citrus note that gives the bars their identity.
Fresh juice matters more here than it does in many heavier desserts. It gives the filling that cleaner citrus edge people expect from Key Lime Pie Bars and stops the sweet ingredients from flattening the flavor. If you like other bright citrus desserts, lemon lime icebox pie is a useful nearby option with the same cold, sharp direction.
What The Graham Cracker Crust Does
The Graham Cracker Crust is not just there for flavor. It gives the bars a firm bottom layer, keeps the filling from feeling too soft, and adds the familiar pie note that makes the recipe read as key lime pie bars instead of a random lime dessert. The crust should press firmly into the pan and chill into a base that cuts without crumbling apart.
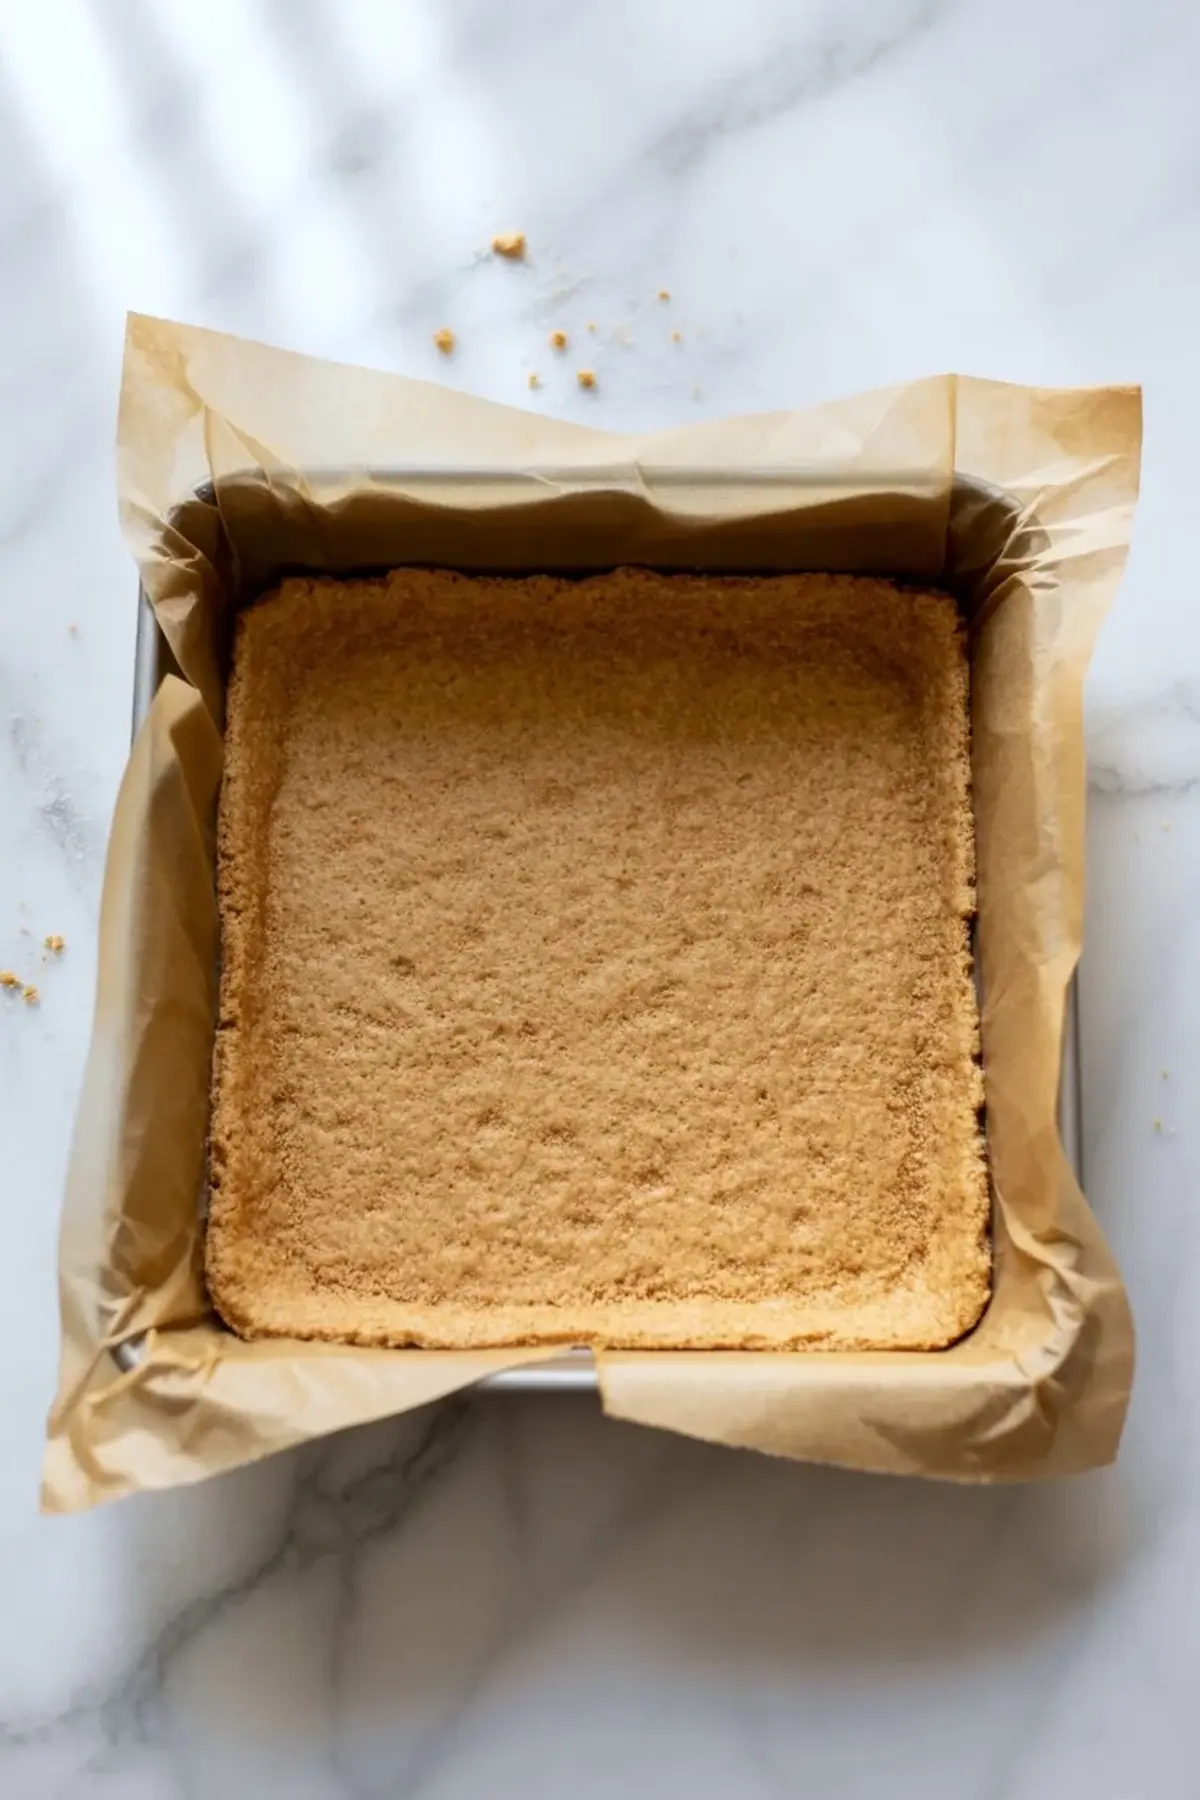
If the crust is too loose, the slices fall apart. If it is packed too hard, the bars can feel dense underneath. The best crust holds together cleanly while still giving a little when you bite through it.
How To Build The Filling
The filling should be smooth, thick, and clearly lime forward before it chills. This is where a lot of Key Lime Bars Easy style recipes go wrong: they focus on convenience and forget to keep the citrus strong enough. The goal is a filling that tastes creamy first, then brightens with a sharp lime finish rather than tasting generically sweet.
Mix until fully smooth before spreading it over the crust. A lumpy filling will not settle as evenly, and the final slices will not look as clean. This is also the point where you can judge the balance and add a touch more lime if the mixture needs a brighter edge.
How To Tell The Bars Are Ready
The bars are ready once the filling is fully chilled and slices without slumping at the edge. You want a clean line between crust and filling, not a soft center that drifts when cut. A sharp knife wiped between cuts usually gives the neatest result.
If the center still looks loose, give the pan more time in the fridge. These are not bars to rush. A proper chill is what gives them the clean square shape people want from a good Key Lime Pie Bars Recipe.
Small Fixes That Help
If the bars taste too sweet, the balance likely needs more lime. If the crust breaks too easily, it may need firmer pressing or a little more butter. If the filling feels too soft after chilling, it usually needed more time to set or a better ratio in the creamy base. These are small adjustments, but they make a big difference in how finished the bars feel.
For readers who like similar citrus formats, Greek yogurt lemon bars offer another tangy bar dessert, while key lime pie is the obvious next step if you want the full pie version.
Storage And Serving
Keep the bars cold until serving. They hold best in the refrigerator, where the filling stays firm and the crust keeps its shape. If you need to stack them, use parchment between layers so the tops stay neat and the edges do not smear.
Serve them cold for the cleanest texture, or let them sit for a minute if you want a slightly softer bite. They work well for summer desserts, dessert trays, and any gathering where you want something bright, creamy, and easy to portion.
Save This Recipe
Save these no-bake key lime pie bars for the next time you want an easy citrus dessert with a creamy filling and a graham cracker crust. If you make them, save the recipe to Pinterest and share any chilling or slicing questions in the comments.
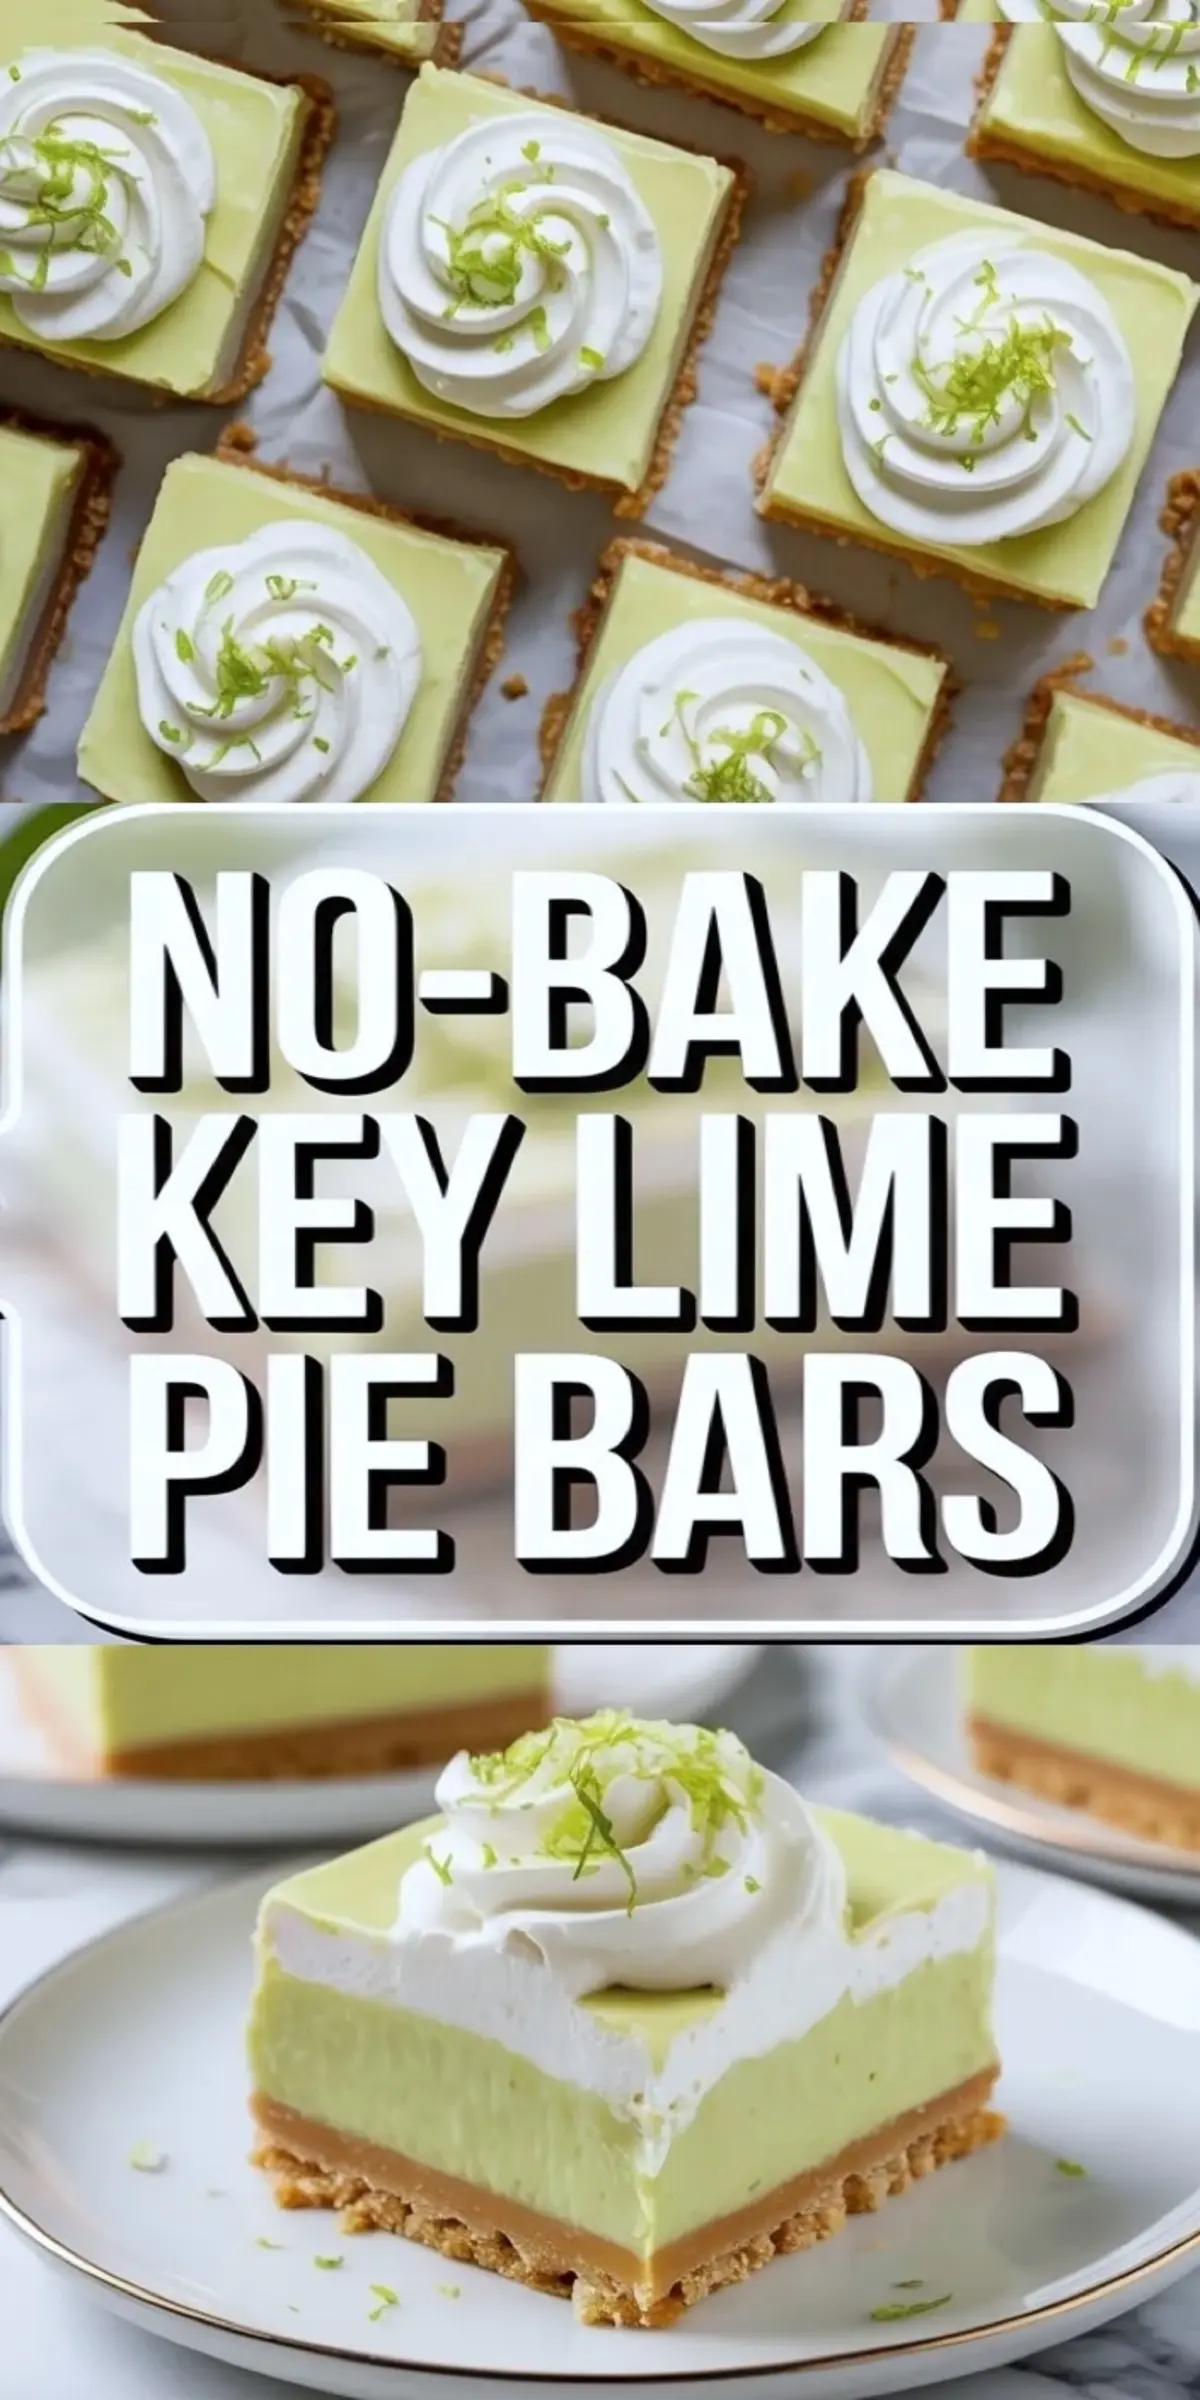
No-Bake Key Lime Pie Bars Recipe
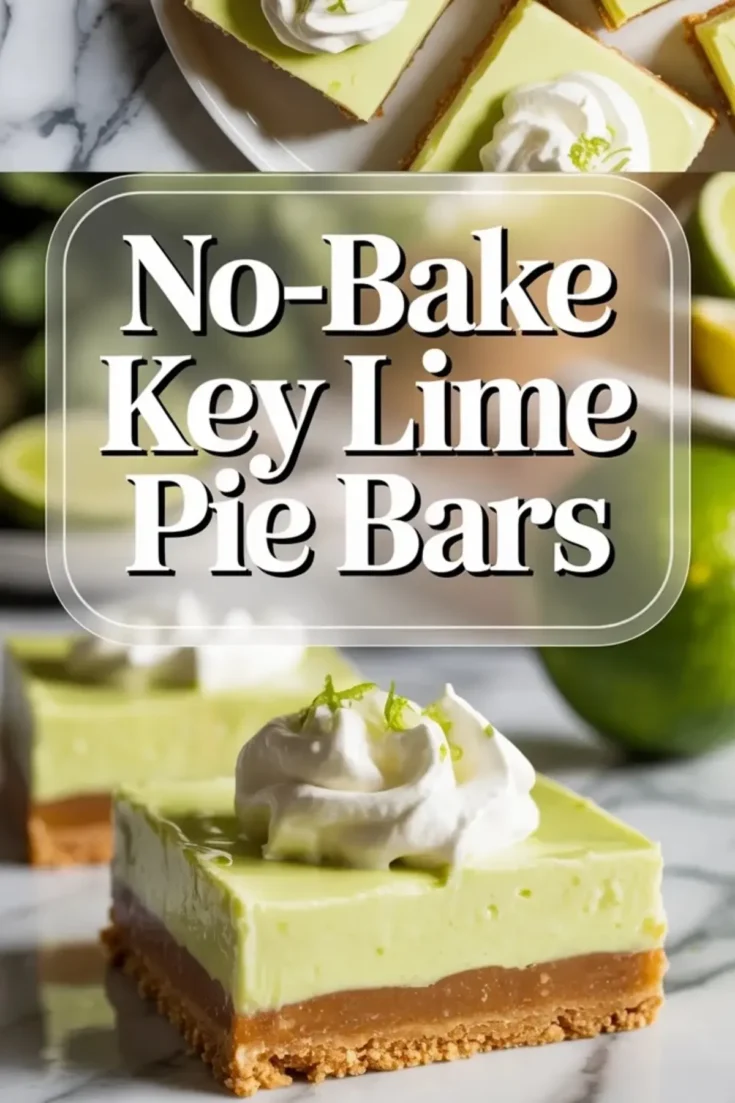
This Key Lime Pie Bars Recipe gives you creamy no-bake squares with a buttery Graham Cracker Crust and a bright citrus filling that chills into clean slices. If you are looking for Key Lime Pie Bars with strong lime flavor, a smooth center, and an easy make-ahead format, this Key Lime Bars Recipe is a reliable one to keep on hand. The texture lands between Creamy Key Lime Pie and cheesecake style bars, while the no-bake method keeps these Key Lime Bars Easy enough for summer desserts, parties, and dessert trays. For anyone searching for a No-Bake Key Lime Pie Bars Recipe with clear lime flavor and a firm graham base, these Key Lime Pie Bars are an easy chilled dessert that still feels finished.
Ingredients
- For the crust
- 2 cups graham cracker crumbs
- 1/2 cup melted butter
- 1/4 cup granulated sugar
- FOR THE KEY LIME FILLING
- 1 can (14 oz) sweetened condensed milk
- 1/2 cup fresh key lime juice or regular lime juice
- 1 tablespoon lime zest
- 8 oz cream cheese, softened
- 1 teaspoon vanilla extract
- 1–2 drops green food coloring
- FOR THE TOPPING
- 1 cup heavy whipping cream
- 2 tablespoons powdered sugar
- Extra lime zest for garnish
Instructions
PREPARE THE CRUST: Combine graham cracker crumbs, melted butter, and sugar in a bowl and mix until the texture resembles damp sand; press the mixture firmly into a lined square pan, making sure the surface is compact and even, then place the pan in the refrigerator to chill while preparing the filling.
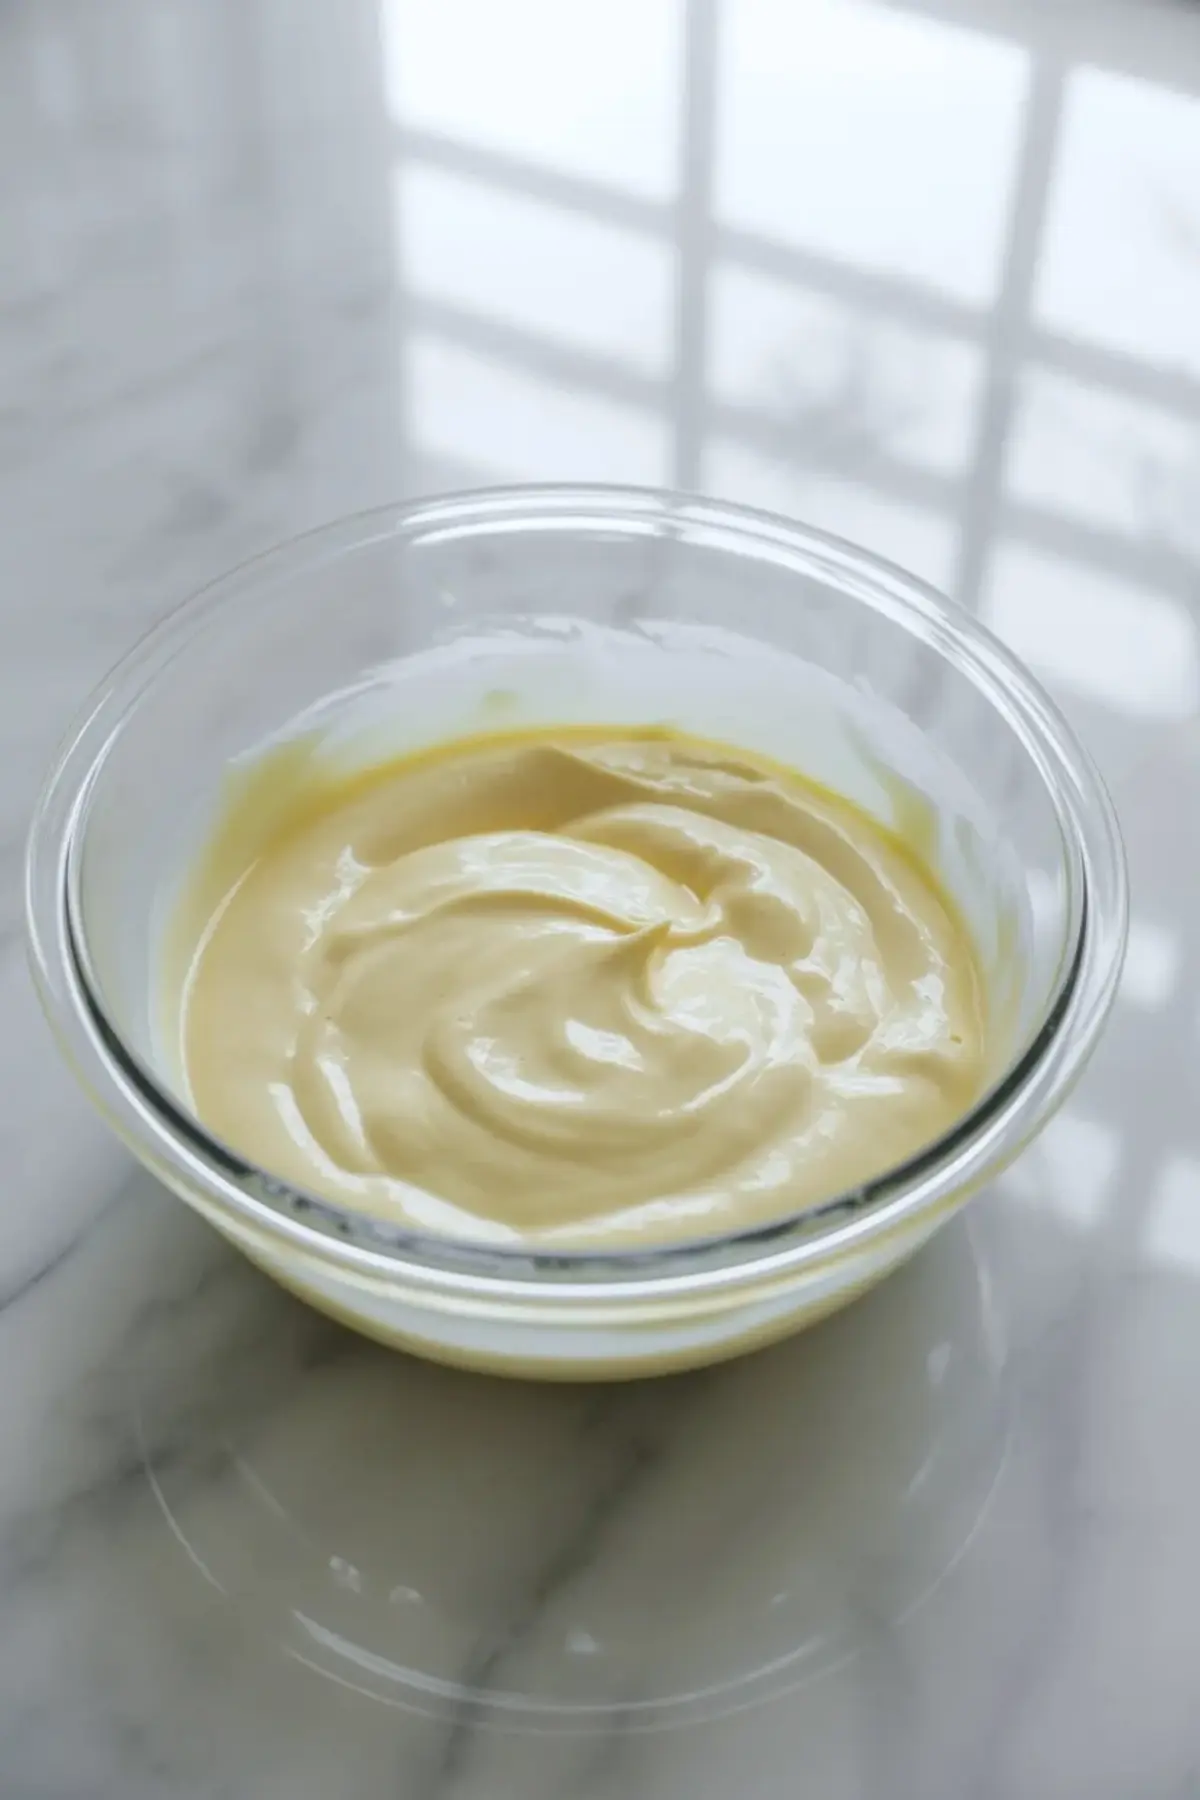
MAKE THE CREAMY BASE: Beat the softened cream cheese in a mixing bowl until completely smooth and free of lumps; add the sweetened condensed milk and continue mixing until the mixture becomes silky and uniform.
ADD LIME FLAVOR AND COLOR: Pour in the lime juice, lime zest, and vanilla extract; add 1–2 drops of green food coloring and mix gently until the color is evenly distributed, adjusting slightly if a deeper shade is desired.
ASSEMBLE THE BARS: Remove the chilled crust from the refrigerator and pour the filling over it; use a spatula to spread the mixture evenly and smooth the top for a clean finish.
CHILL UNTIL SET: Place the pan in the refrigerator and chill for at least 4 hours or overnight until the filling is firm and fully set.
WHIP THE TOPPING: In a clean bowl, whip the heavy cream with powdered sugar until soft peaks form, keeping the texture light and airy.
SLICE AND DECORATE: Cut the chilled dessert into neat squares; add a swirl or spoonful of whipped cream on each bar and finish with a sprinkle of lime zest for a fresh appearance.
Notes
Start with one drop of food coloring and increase gradually to control the final shade.
Chilling overnight improves structure and makes slicing easier.
Use fresh lime juice for a brighter flavor and balanced acidity.
Nutrition Information
Yield
12Serving Size
1Amount Per Serving Calories 432Total Fat 27gSaturated Fat 15gUnsaturated Fat 12gCholesterol 66mgSodium 322mgCarbohydrates 44gFiber 1gSugar 21gProtein 5g