
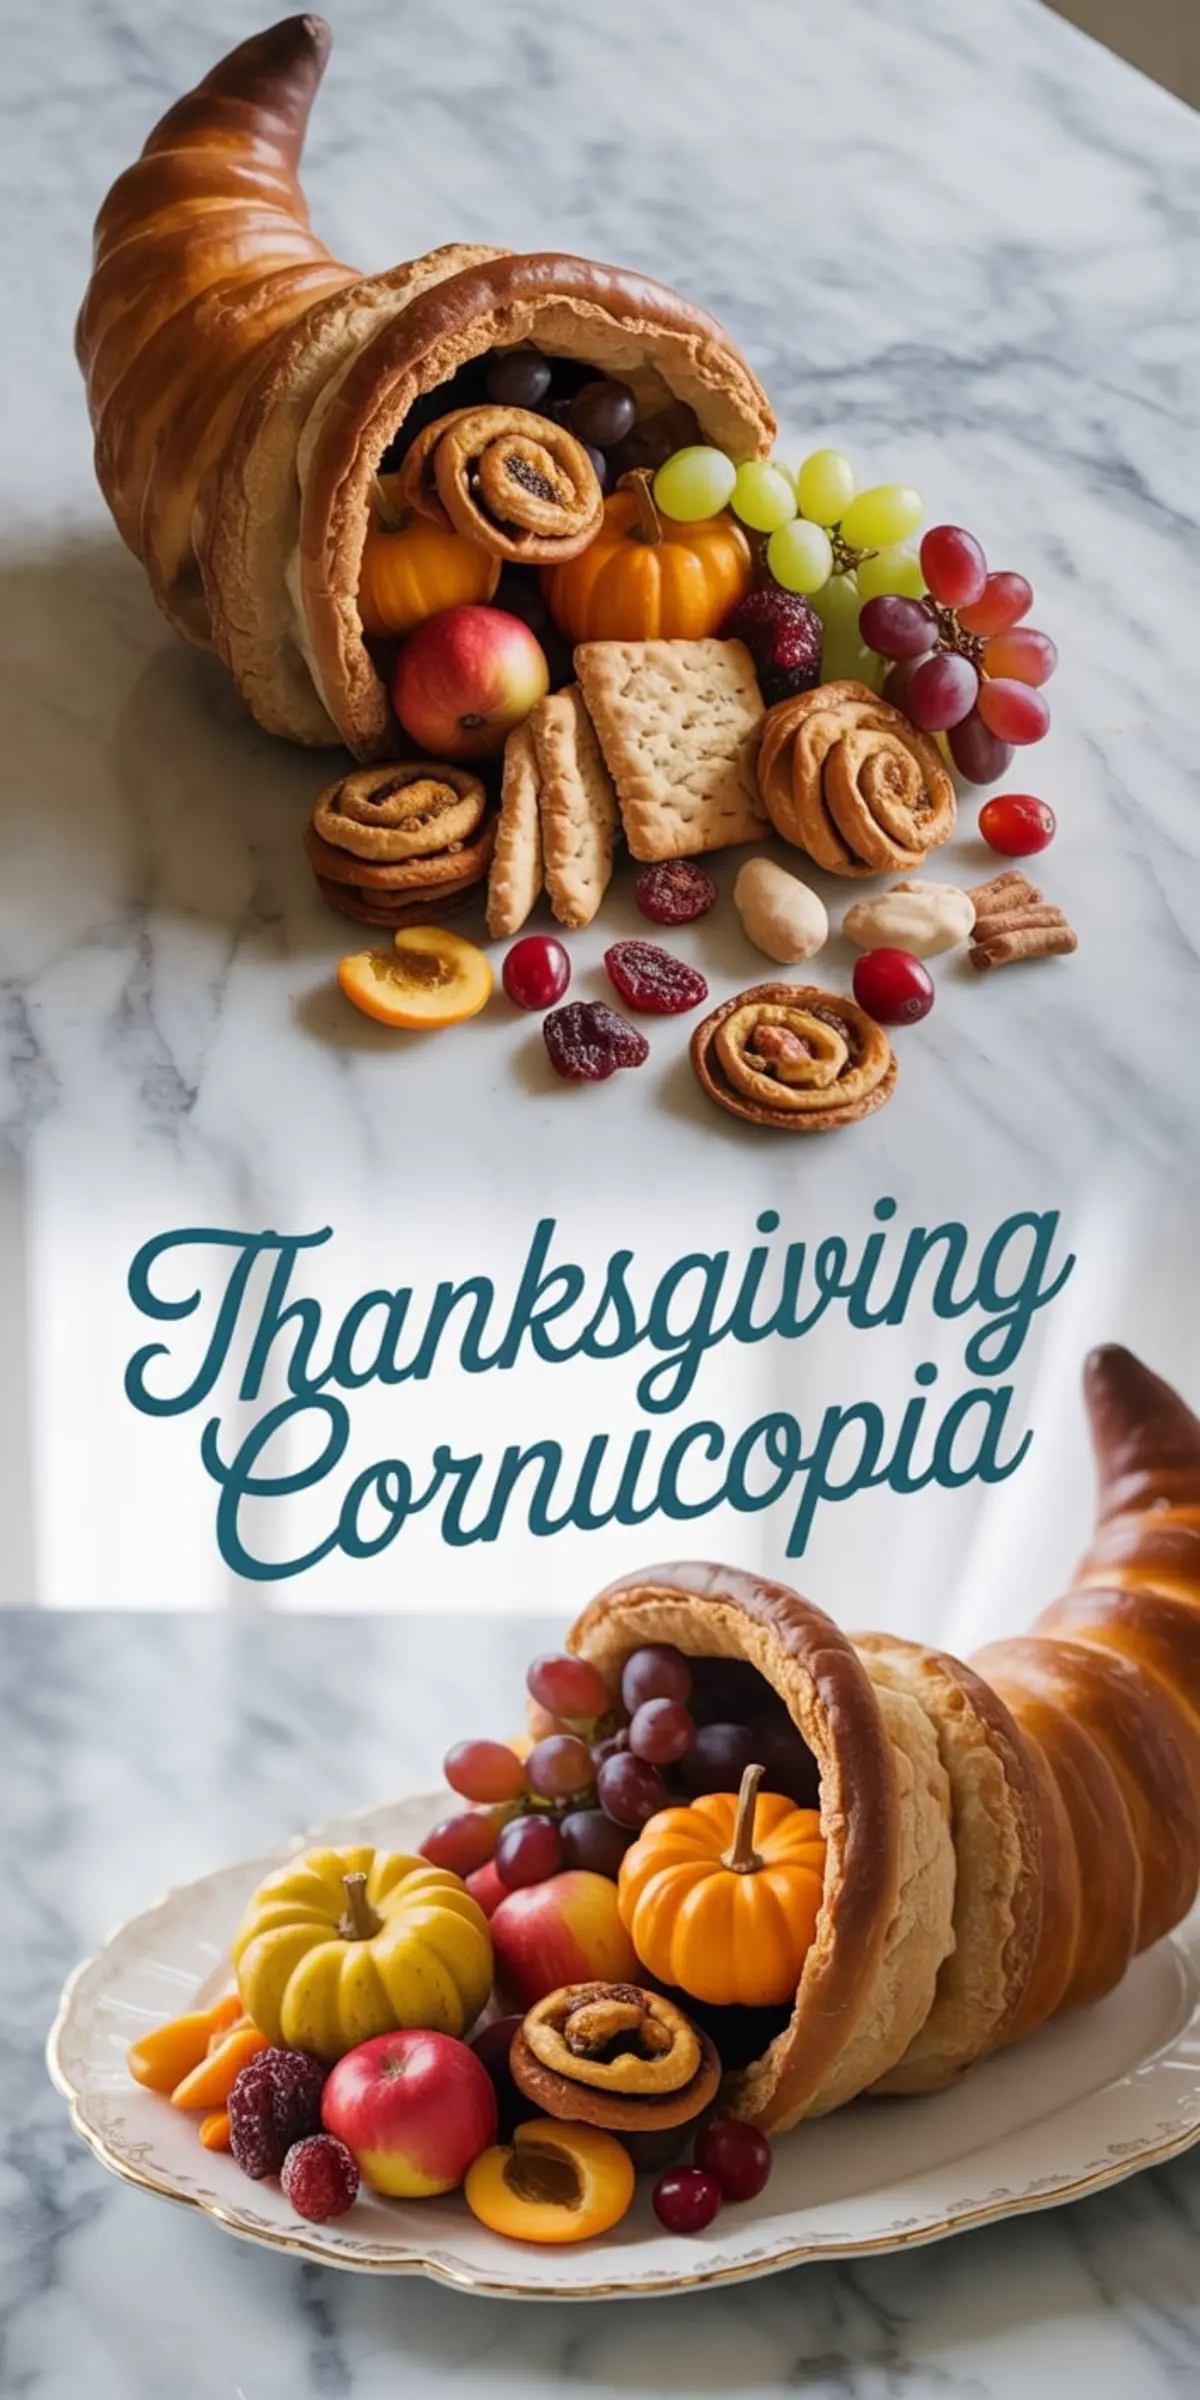
A Thanksgiving cornucopia is more than just decoration. It’s a showpiece, a conversation starter, and a fully edible appetizer display that brings beauty and flavor to your holiday table.
You’re not just baking bread. You’re shaping the centerpiece of the season. With this cornucopia decor, you’ll learn how to build the bread cone, bake it properly, and fill it with snacks that look festive and taste good. You’ll walk away with a recipe that’s impressive but practical, and most importantly, doable.even if you’ve never tried something like this before.
This project blends holiday tradition with handson creativity. You’ll shape the horn, bake the shell, and fill it up like a grazing board. It pulls together charcuterie inspiration, centerpiece styling, and practical tips in one recipe. And it holds up, both literally and visually, on your table for hours.
Following a special diet?
Every recipe on this site can be converted to gluten-free, vegan, dairy-free, keto, nut-free or egg-free with adjusted ratios so nothing falls flat.
Try the Recipe Converter →How to Build the Cornucopia Base
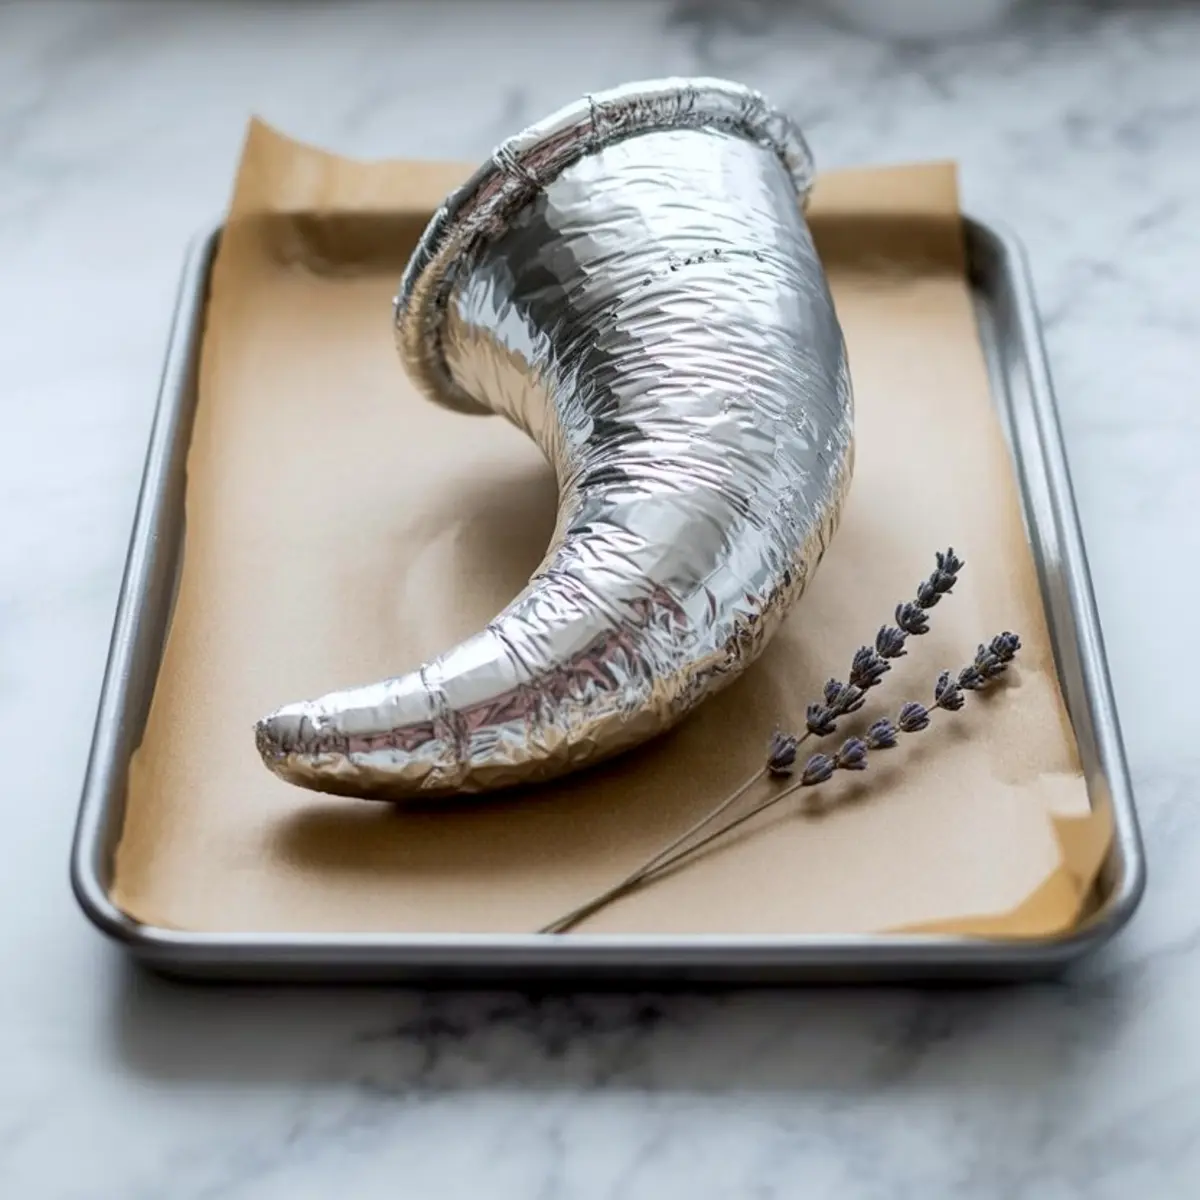
The shape of the cornucopia starts with foil. I’ve tried storebought forms and reusable molds, but the homemade foil method gives the best flexibility and size control. Make it long and slightly curved, like a horn spilling over. Use heavyduty foil and curve the tip gently.
Once shaped, coat it well with cooking spray. This part is crucial. Otherwise, the dough sticks and tears when you try to remove it. I always layer the foil twice and press the edges down firmly. After baking, this extra care makes the mold slide out clean.
Dough Choices: Homemade vs Canned
You’ve got two dough options here.one from scratch, one from the fridge. I’ve tested both.
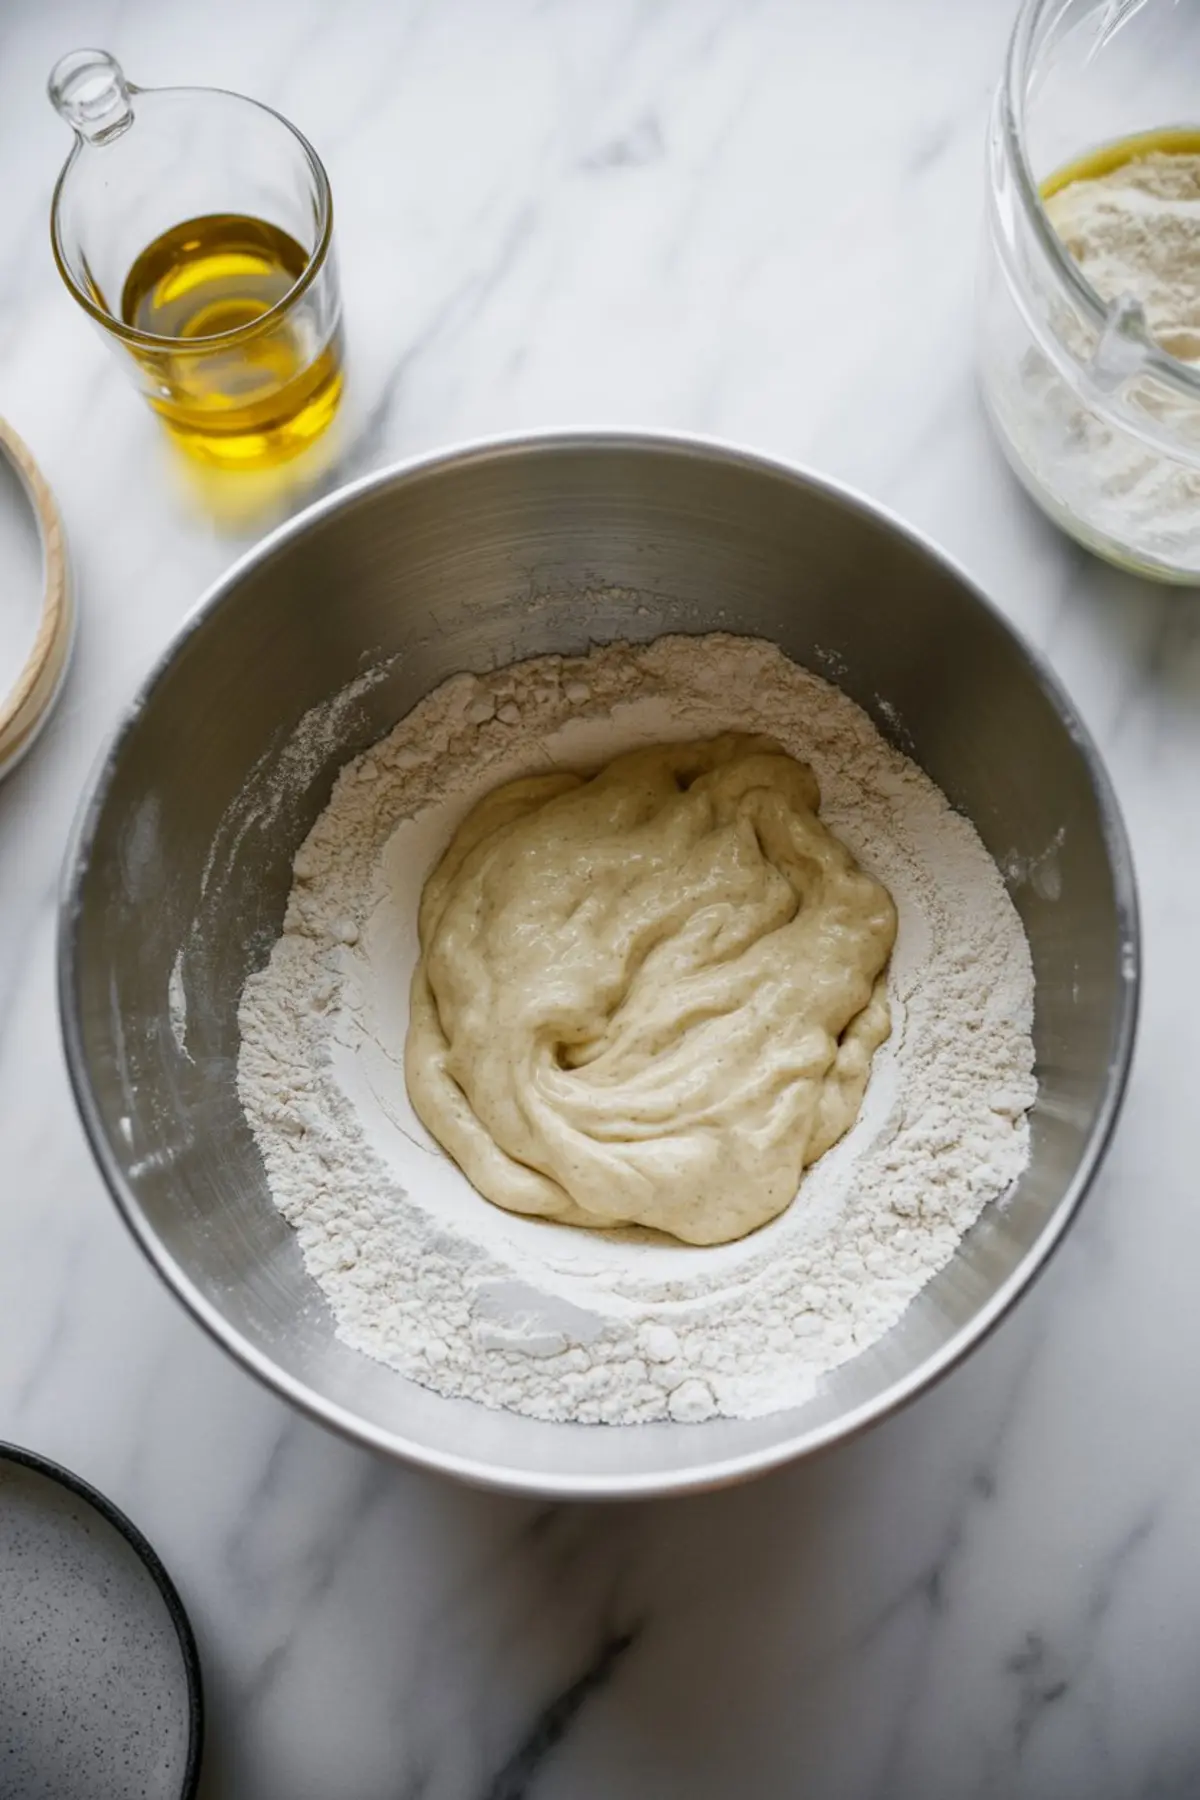
Homemade dough gives better flavor and a more structured shell. It holds its shape slightly better after baking and has a richer crust. I use warm water, instant yeast, olive oil, and flour to mix a smooth, elastic dough that rises while I prep the foil mold.
Canned dough.French bread or crescent roll.saves time. It’s easier if you’re baking with kids or prepping several dishes at once. The structure softens more quickly after baking, so I recommend serving soon after assembling.
In my notes, I’ve found that homemade dough is worth the extra step if your cornucopia will sit out for several hours. But both options work.
How to Wrap and Shape the Horn
Start wrapping at the narrow tip. Let the dough ropes overlap slightly as they move down the cone. The overlap adds strength and gives it a natural, spiraled look.
I usually braid a separate piece of dough and wrap it around the base. That’s not necessary, but it makes the opening look finished and neat. Before baking, brush the whole surface with egg wash. This step gives it that deep golden brown finish.
How to Bake and Cool the Cornucopia Shell
Bake at 375°F until the crust is deeply golden and firm. I usually check it at 25 minutes, but sometimes it needs a few more. Use your eyes here.the color tells you more than the timer.
Once baked, let the whole structure cool on the baking sheet. The foil holds heat longer than expected. Don’t rush the unmolding. After it cools completely, gently wiggle the foil out. A slow twist works better than pulling straight.
If you skipped the cooking spray, the foil might resist. But if you prepped well, the removal feels easy. This part always feels satisfying.like a little baking magic.
Filling the Cornucopia Centerpiece
Once cooled, the cornucopia shell holds up well. I leave it uncovered on the counter until serving time. Moisture is the enemy here. Keep it in a dry spot and don’t refrigerate.
For filling, think of it as a small charcuterie board that spills forward. Start with grapes, berries, and cubes of cheese. Then layer in folded salami, dried fruit, nuts, and crackers. For a sweet harvest, mini cinnamon rolls and maple cookies look beautiful tucked into the curve.
I’ve also filled it with childfriendly snacks like apple slices, cheese cubes, pretzels, and fruit leather. You’ll find inspiration in our Thanksgiving Oreo Turkeys or these Turkey Cupcakes if you’re creating a whole kidfriendly spread.
This recipe also pairs well with the Thanksgiving Charcuterie Board if you’re planning a grazing table. The horn becomes the anchor piece.
How to Serve and Store the Bread Cornucopia
Serve your cornucopia as a selfserve centerpiece. I place a tray underneath to catch crumbs and keep the display easy to move. Once filled, the shell stays crisp for a couple of hours.
To store it after baking, just leave it out in a dry place. Avoid wrapping it tightly or refrigerating. Both create humidity, which softens the crust.
If you’re prepping in advance, bake the shell up to two days ahead. Fill just before guests arrive.
Looking to add another edible craft to your holiday table? Try these Chocolate Covered Strawberry Turkeys or the playful Pilgrim Hat Cookies. They make sweet additions alongside your cornucopia centerpiece.
Save This and Share Your Table
This Thanksgiving cornucopia adds color, texture, and warmth to your holiday spread. It’s part bread, part centerpiece, and part grazing board.
Pin this idea to your holiday board so you don’t forget it next year.
And if you try it this season, I’d love to hear how it turned out for you. Share your fillings, your tips, or ask a question below. Let’s make this a shared tradition.
Thanksgiving Cornucopia Recipe

A Thanksgiving cornucopia makes a stunning centerpiece that doubles as a snack board. I like shaping the cornucopia decor from bread or pastry, then filling it with meats, cheeses, fruit, and nuts for a festive display. Some people keep it simple as cornucopia art or holiday decor, while others use charcuterie recipes to turn it into a full Thanksgiving appetizer spread. Among charcuterie inspiration ideas, the Thanksgiving cornucopia stands out for being creative, edible, and eye-catching on any holiday table. It’s a mix of tradition and fun that brings both beauty and flavor to Thanksgiving gatherings.
Ingredients
- FOR THE HOMEMADE BREAD DOUGH
- 4 cups all-purpose flour (plus extra for dusting)
- 1 tablespoon sugar
- 2 ¼ teaspoons instant yeast (1 packet)
- 1 ½ teaspoons salt
- 1 ½ cups warm water (110°F)
- 2 tablespoons olive oil
- 1 egg (for egg wash)
- FOR THE SHORTCUT VERSION
- 2 cans refrigerated French bread dough or crescent roll dough
- 1 egg (for egg wash)
Instructions
- MAKE THE FOIL MOLD: Tear off a 3–4 foot sheet of heavy-duty aluminum foil and crumple it into a long cone shape, about 12–14 inches in length, curving the tip slightly to mimic a cornucopia. Place it on a parchment-lined baking sheet and cover it with an additional layer of foil. Lightly spray the entire surface with nonstick cooking spray to help with removal after baking.
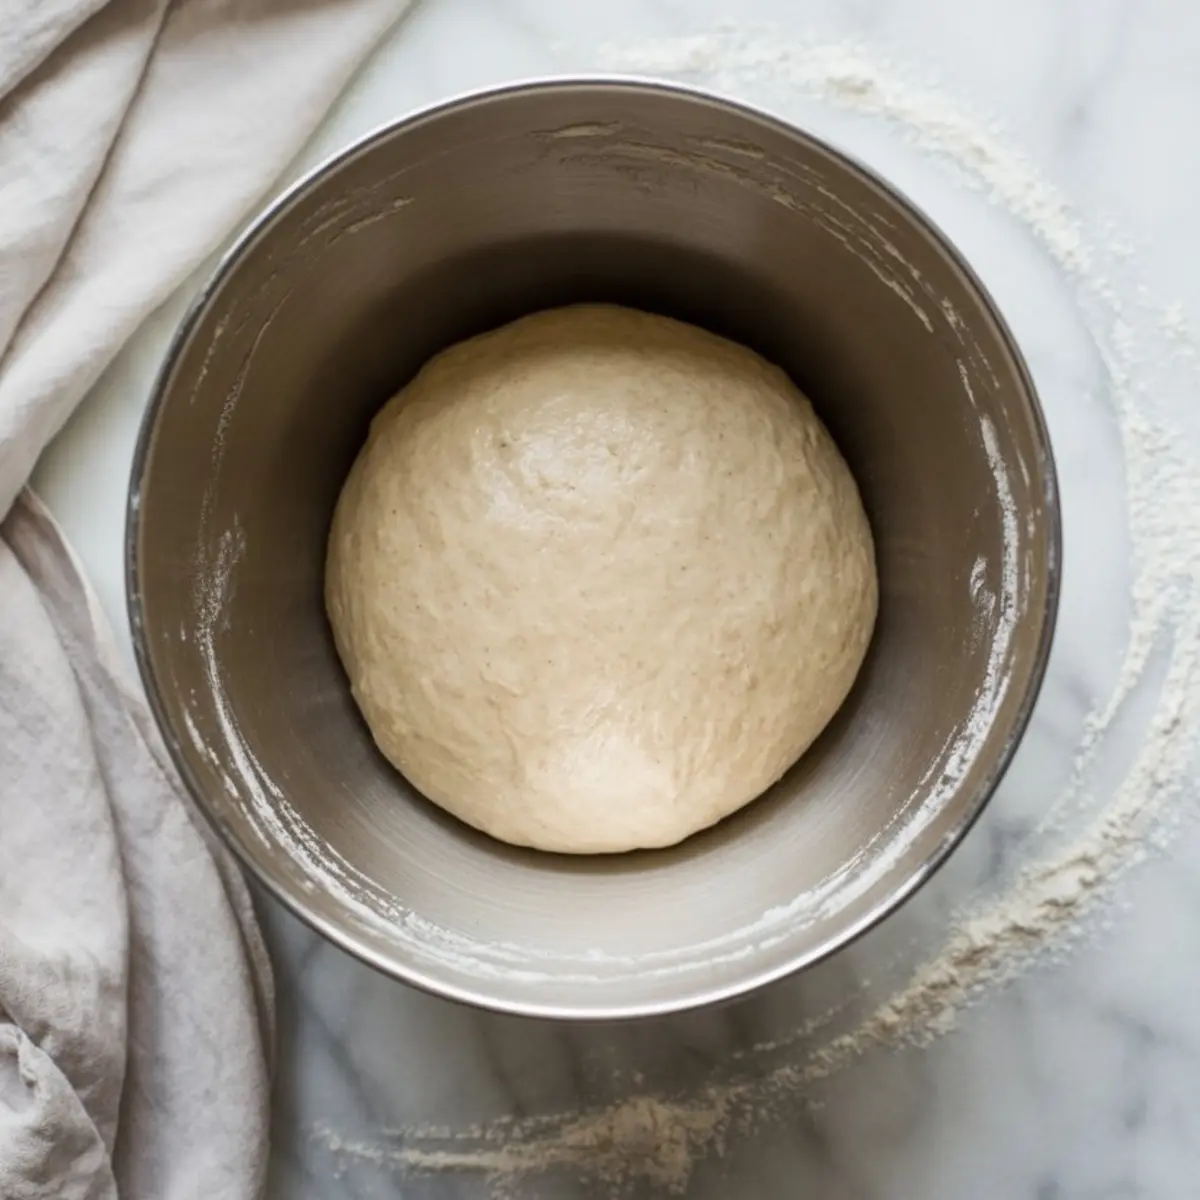
- PREPARE THE DOUGH: If using homemade dough, stir warm water, sugar, and yeast in a large mixing bowl and let sit for about 5 minutes until foamy. Add olive oil, salt, and flour, mixing to form a dough. Knead on a lightly floured surface for 8–10 minutes until smooth and elastic. Place in a greased bowl, cover, and let rise in a warm place for 1 hour, or until doubled in size. If using canned dough, open and unroll as directed on the packaging.
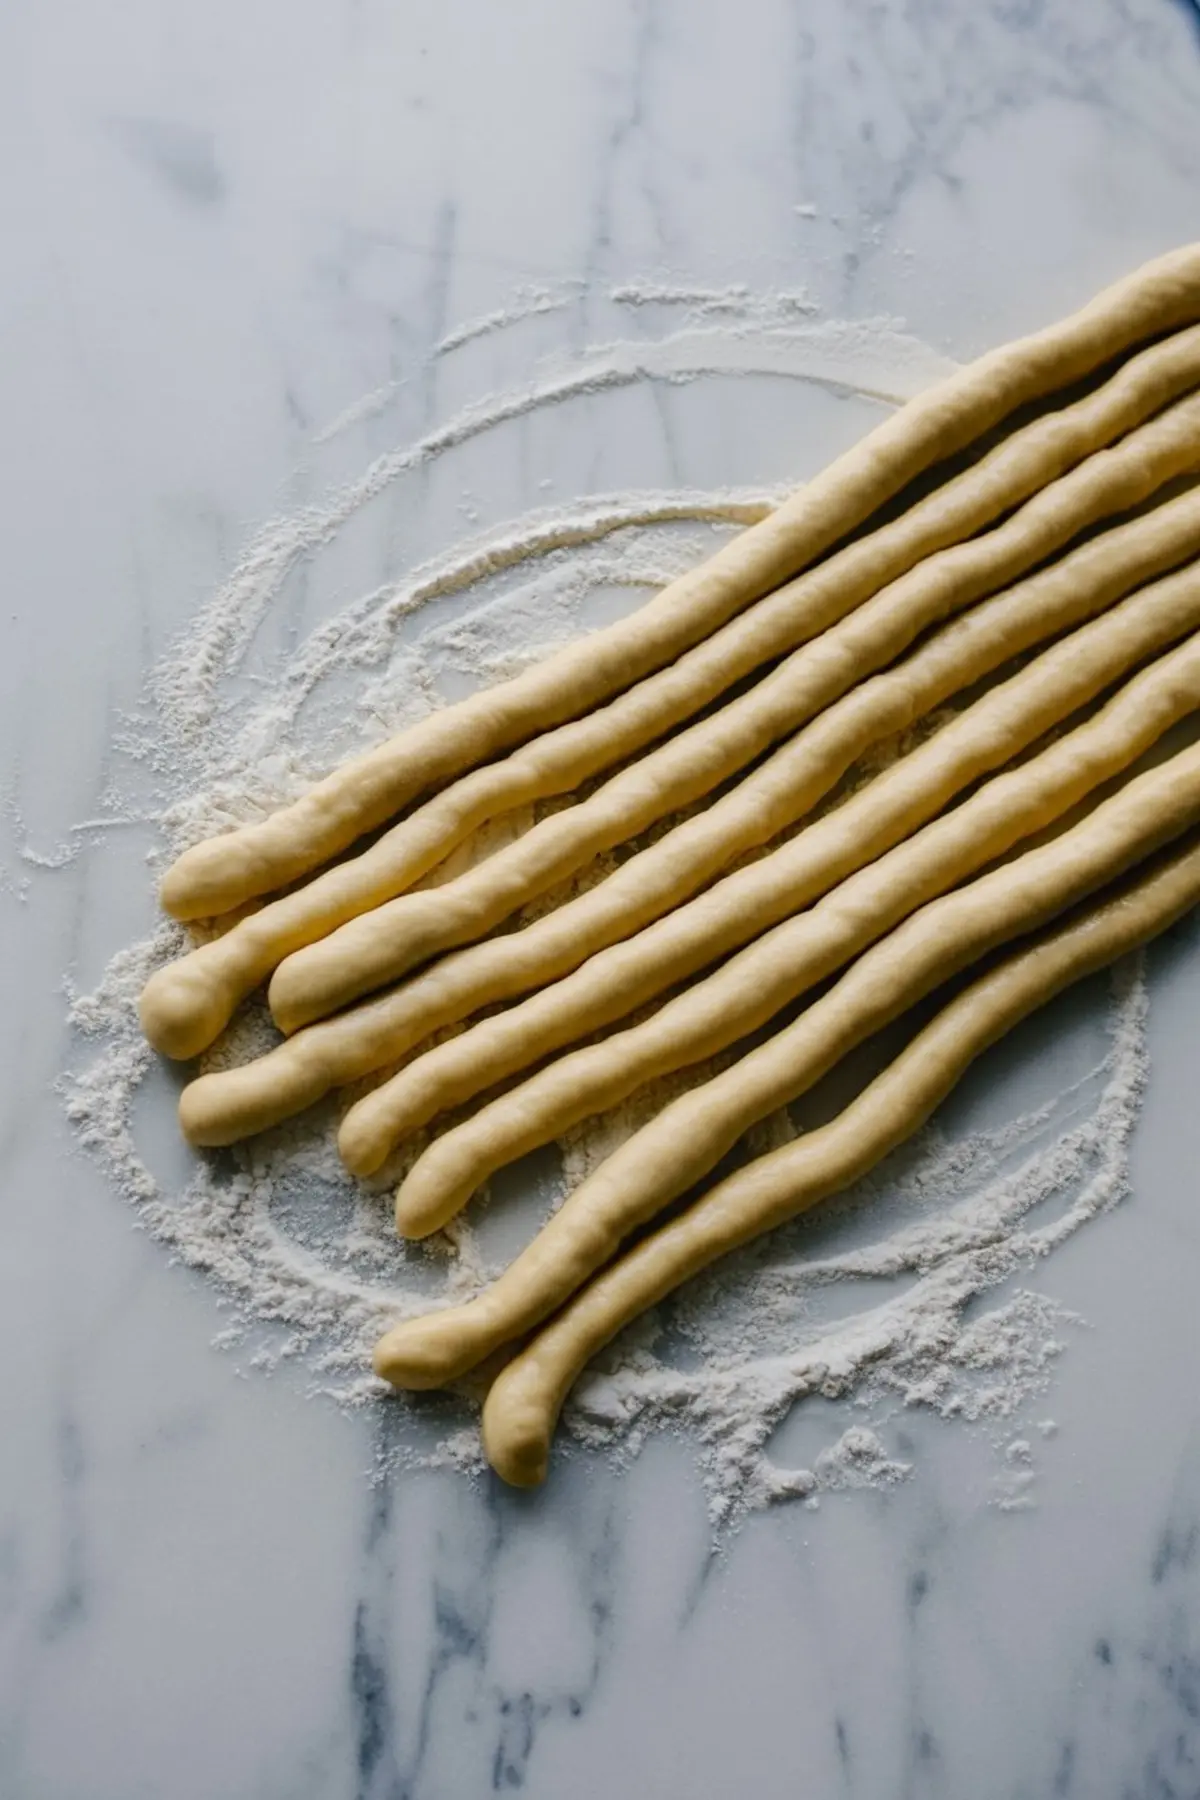
- SHAPE AND WRAP THE CONE: Roll the dough into long ropes about 1 to 1½ inches thick. Starting at the narrow tip of the foil cone, begin wrapping the dough around the foil, overlapping slightly with each loop as you work down to the base. Optionally, braid extra dough and wrap it around the opening for a decorative finish. Whisk the egg and brush it over the entire surface to create a glossy golden crust.
- BAKE THE CORNUCOPIA: Bake in a preheated 375°F (190°C) oven for 25–30 minutes, or until the bread is deep golden brown. Remove from the oven and let it cool completely on the baking sheet before attempting to remove the foil mold. Once cooled, gently slide and wiggle the foil out of the bread. If sprayed well, it should release without tearing.
- STORE AND SERVE: Keep the finished cornucopia uncovered in a cool, dry place until ready to use. It holds its shape for several days. When ready to serve, fill it with a mix of snacks and treats for a beautiful edible centerpiece.
Notes
Filling Suggestions
Sweet Fall Harvest:
Mini cinnamon rolls, dried apricots and cranberries, grapes, mini apples, maple cookies, glazed pecans
Savory Grazing Board:
Cubed cheese, salami, crackers, olives, cherry tomatoes, roasted nuts
Kid-Friendly:
Mini muffins, fruit strips, pretzels, cheese cubes, apple slices, graham crackers
The cornucopia can be baked up to two days in advance. Do not refrigerate, as moisture can soften the crust. Choose fillings based on serving time and keep perishable items chilled until just before use.
Nutrition Information
Yield
10Serving Size
1Amount Per Serving Calories 725Total Fat 26gSaturated Fat 8gTrans Fat 0gUnsaturated Fat 15gCholesterol 39mgSodium 824mgCarbohydrates 108gFiber 4gSugar 4gProtein 14g