
This sour cream scones recipe creates tender, buttery pastries with a soft crumb and lightly golden edges. These scones with sour cream use cold butter and full fat dairy to give you moist centers and bakery style lift, making them ideal for breakfast or coffee breaks. If you want sour cream scones easy and reliable, this scone recipe with sour cream delivers consistent cream scones recipe results at home.

I bake these sour cream scones when I want something classic yet slightly richer than traditional versions. The sour cream changes the texture in a quiet but important way. It gives you softness without losing structure, and that balance matters.
This recipe uses a simple ratio of 2 cups flour to 1 cup full fat sour cream and 1 large egg. That balance controls moisture and structure at the same time. I learned that too much liquid creates spread, and too little gives you dry crumbs.
Cold butter forms steam pockets as it melts in the oven. Those pockets create lift and small flaky layers. I use the same butter method in my Rhubarb Scones Recipe, and the texture speaks for itself.
What You Need
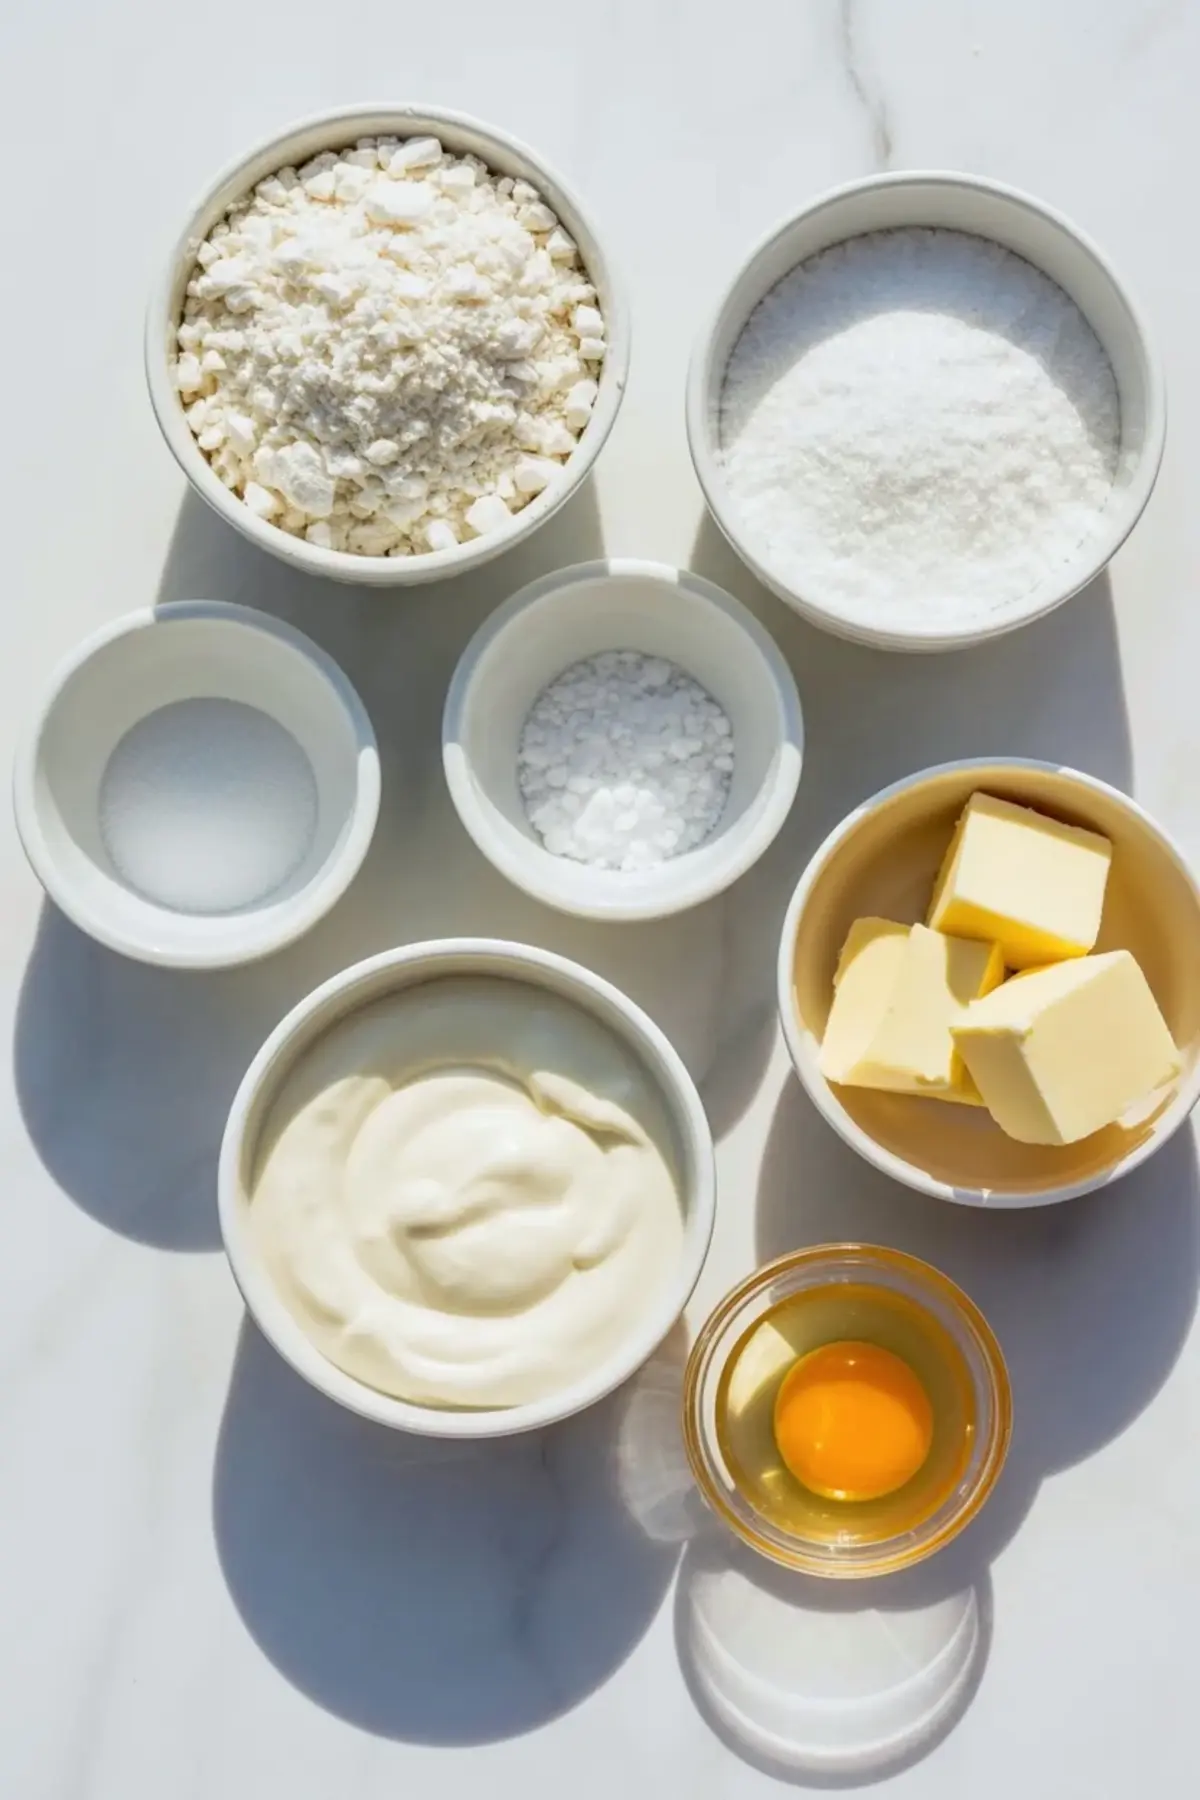
All purpose flour provides structure without heaviness. Granulated sugar adds gentle sweetness and helps browning. Baking powder creates lift, and salt sharpens flavor so the scones taste balanced.
Cold unsalted butter creates flake and richness. Full fat sour cream adds moisture and slight tang, which makes these scones made with sour cream softer than many cream scones recipe versions. I use large eggs for stability and vanilla extract for warmth. The coarse sugar topping gives crunch on top, which I love.
Key Ingredient Spotlight: Sour Cream
Sour cream does more than add flavor. It adds fat and acidity, which tenderize gluten and keep the crumb soft. That softness stays even the next day, which I notice every time I test batches.
Thick, full fat sour cream works best. It should hold its shape on a spoon. If you need an alternative, plain full fat Greek yogurt works in equal measure, though the texture feels slightly firmer.
How To Make It
You start by whisking flour, sugar, baking powder, and salt until evenly combined. The mixture should look light and airy. I pause here sometimes and double check the baking powder freshness. Fresh leavening changes everything.
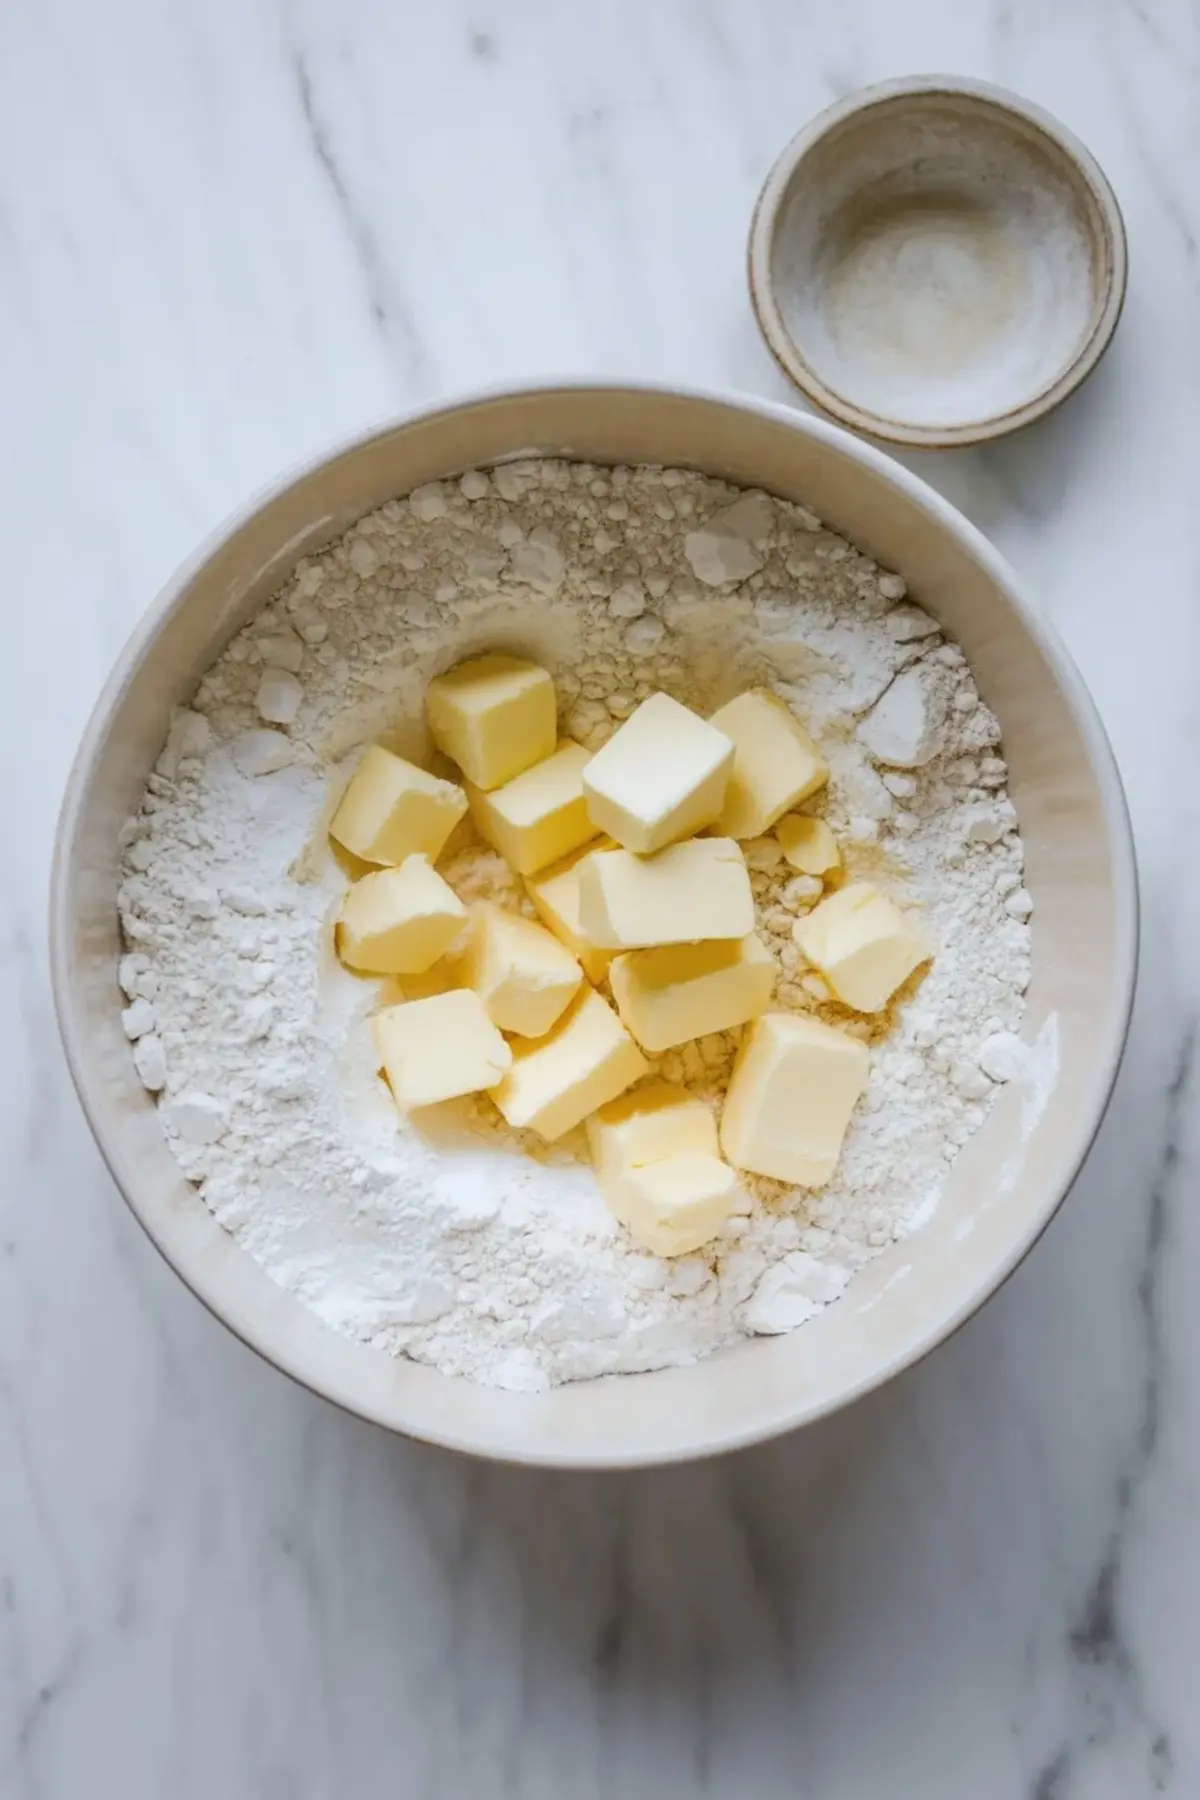
You cut cold butter into the flour until small visible pieces remain. The texture should resemble coarse crumbs. In my Pumpkin Scones With Cinnamon Glaze, I use the same crumb stage to build flake.
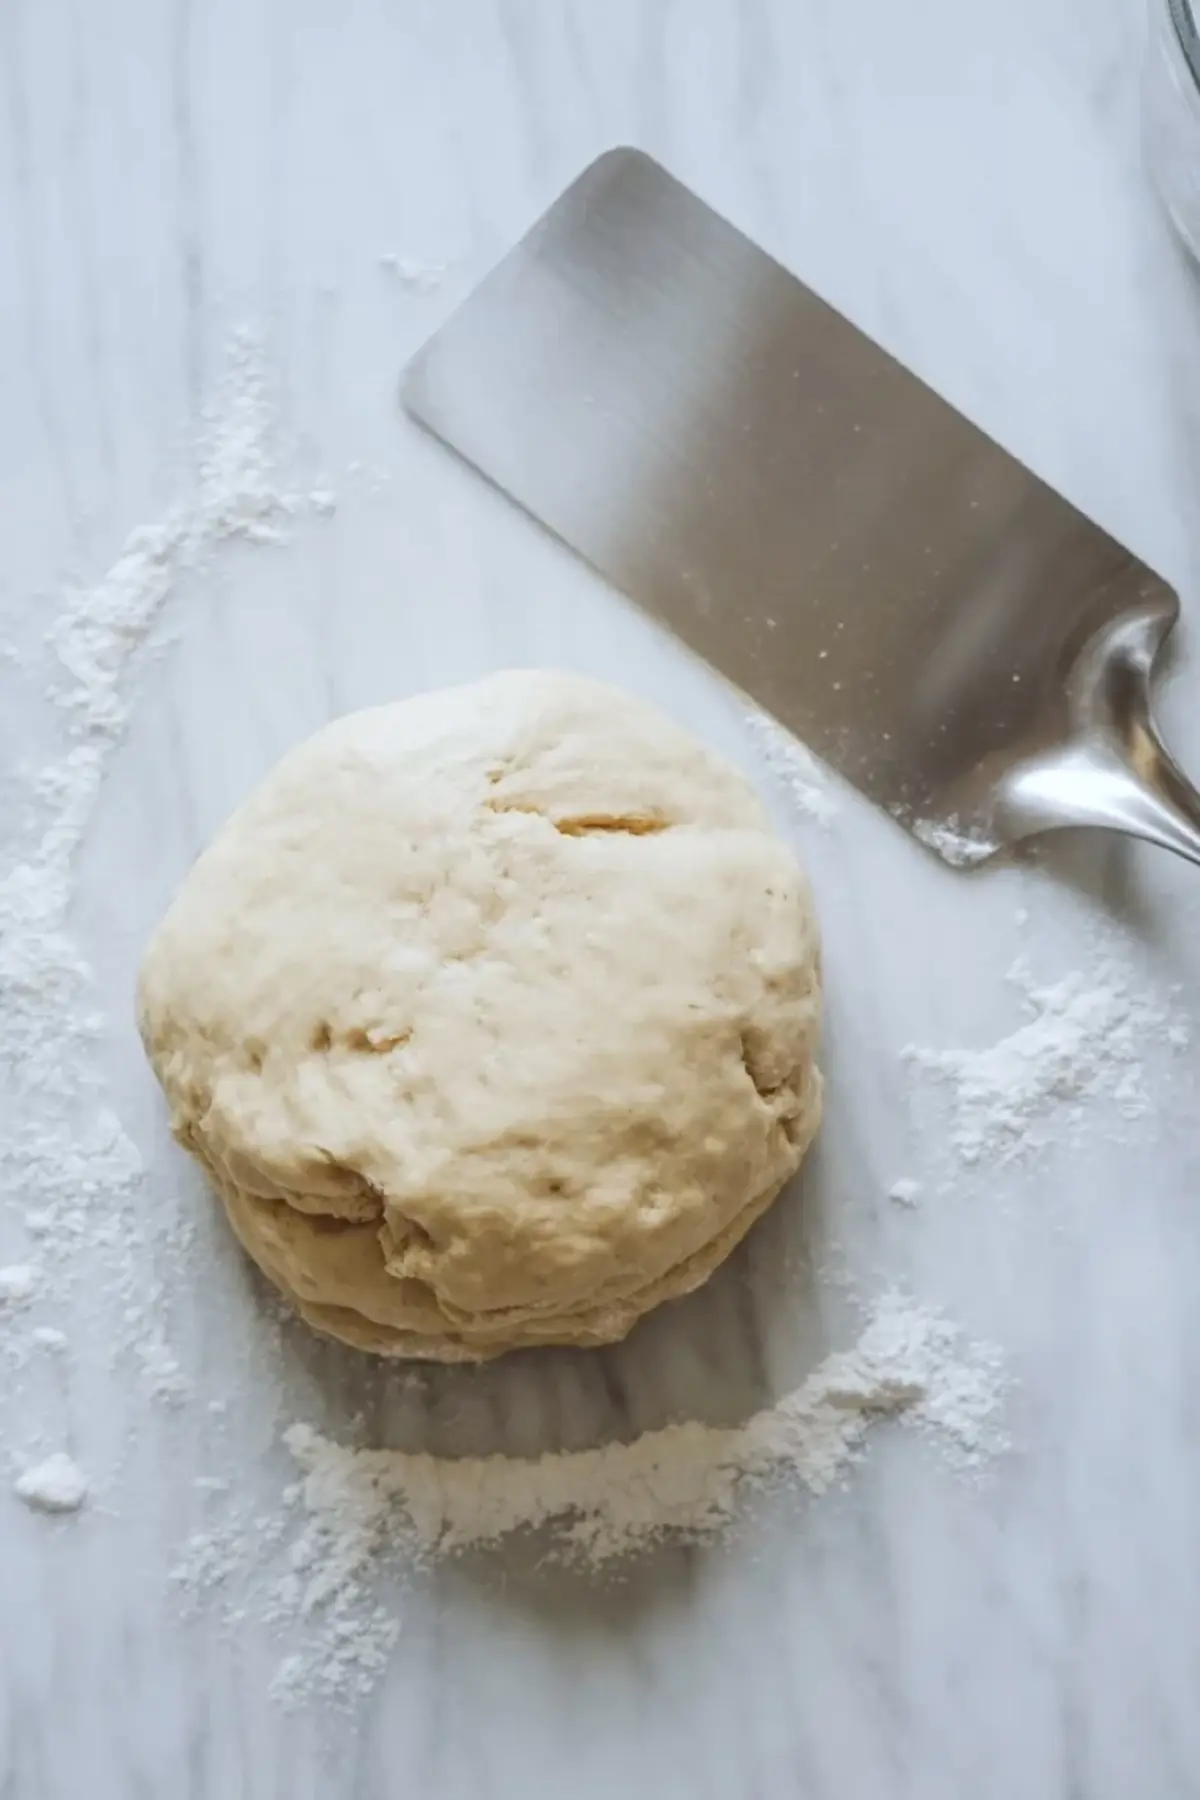
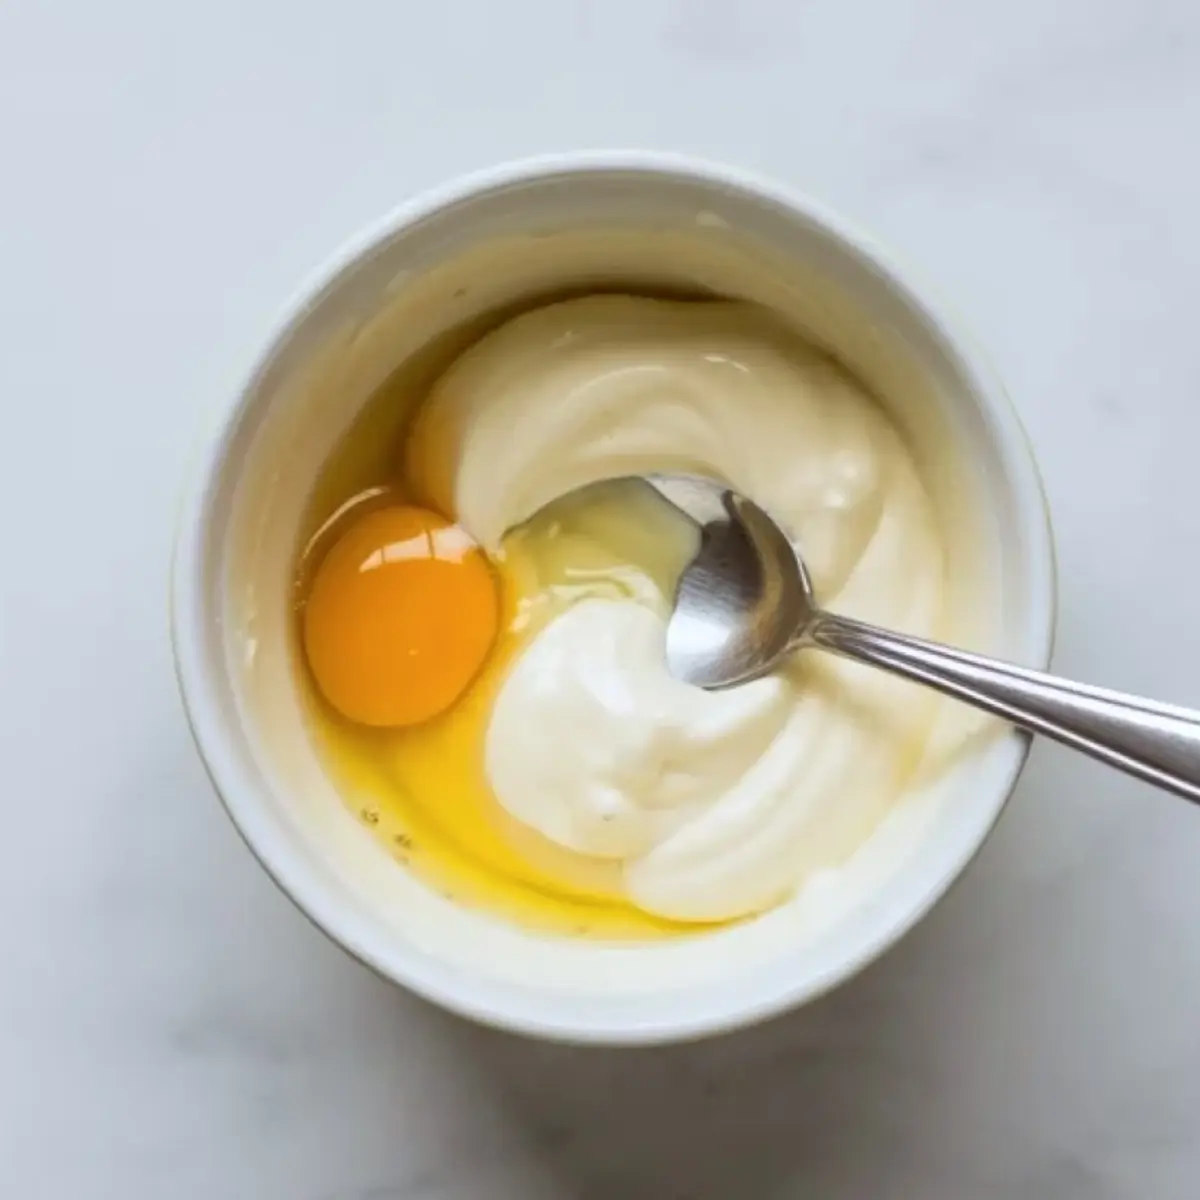
You whisk sour cream, egg, and vanilla until smooth, then fold that mixture gently into the dry ingredients. The dough should look slightly shaggy. Press it into a 1 inch thick disc without kneading. That gentle handling keeps the crumb tender.
How To Tell It’s Done
The tops should turn golden brown with lightly crisp edges. The centers should feel set when pressed gently. If the bottoms brown too fast, your oven runs hot.
Underbaked scones look pale and feel doughy inside. Overbaked ones taste dry and crumbly. I trust color and a light tap test more than strict timing.
Troubleshooting
Dense texture usually comes from overmixing. Stir just until combined. Flat scones often mean warm butter, so keep it cold from start to oven.
Dry scones can result from excess flour. Measure carefully. I use the same careful measuring approach in my Cornbread Muffins with Sour Cream Center, and accuracy pays off.
Ways To Change It
Add 1/2 cup dried fruit for sweetness. Mix in citrus zest for brightness. Stir in mini chocolate chips for a richer version.
Reduce sugar slightly if you plan to serve with jam. I often pair them with fruit spreads similar to those I serve with Old Fashioned Sour Cream Raisin Pie. The balance feels just right.
Storage
Store scones at room temperature for up to 2 days in an airtight container. Refrigerate for up to 4 days if needed. Freeze baked scones tightly wrapped for up to 2 months.
Reheat in a 300°F oven for 5 to 8 minutes. The edges regain crispness, and the center softens again.
Practical Tips
Use very cold butter straight from the fridge. Line your pan with parchment for even browning. Cut clean triangles with a sharp knife.
Space the scones slightly apart so heat circulates. Brush milk lightly, not heavily. Small details shape the final texture.
How To Serve It
Serve warm with butter and honey. Pair with fresh berries and whipped cream. Add a spoon of jam for a simple breakfast plate.
I often serve them with coffee in the afternoon. The crumb feels soft and rich, and that texture makes people pause.
Save This Recipe
Save this sour cream scones recipe to your breakfast or baking board so you can bake it anytime. Share in the comments how your sour cream scones turned out or ask any question. I love hearing how you make it your own.
Sour Cream Scones Recipe

This tender Sour Cream Scones Recipe creates soft, buttery pastries with a delicate crumb and rich flavor. Using simple ingredients, these classic Scones With Sour Cream bake up moist inside with lightly golden edges.
If you are searching for reliable Sour Cream Scones Easy, this method delivers consistent results every time. These Scones Made With Sour Cream have a softer texture than traditional versions, making them ideal for breakfast or afternoon coffee.
Follow this simple Scone Recipe With Sour Cream to master bakery style Cream Scones Recipe results at home. Keep this dependable Sour Cream Scones variation in your baking rotation for tender, flavorful scones with minimal effort.
Ingredients
- FOR THE SCONES
- 2 cups (250g) all-purpose flour
- 1/3 cup (65g) granulated sugar
- 1 tablespoon baking powder
- 1/2 teaspoon salt
- 1/2 cup (113g) cold unsalted butter, cubed
- 1 cup (240g) full-fat sour cream
- 1 large egg
- 1 teaspoon vanilla extract
- FOR THE TOPPING
- 1 tablespoon milk (for brushing)
- 2 tablespoons coarse sugar
Instructions
PREPARE THE OVEN: Preheat the oven to 400°F (200°C) and line a baking sheet with parchment paper to prevent sticking and promote even browning.
MIX THE DRY INGREDIENTS: Whisk together the flour, sugar, baking powder, and salt in a large bowl until evenly combined and free of lumps.
CUT IN THE BUTTER: Add the cold cubed butter to the flour mixture and work it in using a pastry cutter or your fingertips until the mixture resembles coarse crumbs with small visible pieces of butter remaining for flaky layers.
MIX THE WET INGREDIENTS: Whisk the sour cream, egg, and vanilla extract in a separate bowl until smooth and fully blended.
COMBINE THE DOUGH: Pour the wet mixture into the dry ingredients and gently stir with a spatula just until the dough comes together; keep the texture slightly shaggy and avoid overmixing to maintain tenderness.
SHAPE THE DOUGH: Turn the dough onto a lightly floured surface and gently press it into a round disc about 1 inch thick without kneading, using light pressure to preserve the butter pieces.
CUT THE SCONES: Use a sharp knife to cut the disc into 8 equal triangles and place them slightly apart on the prepared baking sheet to allow proper airflow.
BRUSH AND BAKE: Brush the tops lightly with milk, sprinkle with coarse sugar if using, and bake for 16–20 minutes until the tops are golden brown and the centers are set.
COOL AND SERVE: Allow the scones to cool on the baking sheet for several minutes before transferring to a rack, then serve warm or at room temperature.
Notes
Use very cold butter to create steam pockets that form flaky layers.
Handle the dough as little as possible to prevent dense scones.
Scones taste best the day they are baked but can be stored in an airtight container at room temperature for up to 2 days. Reheat briefly in the oven for best texture.