A strong sourdough bagels recipe should give you three things at once: a chewy crust, a soft but structured center, and enough sourdough flavor to feel worth the longer rise. This version gets there with a firm dough, an overnight fermentation, and the classic boil before baking that gives bagels their glossy finish and proper bite.
They are more deliberate than a quick yeast bagel, but not harder in the ways that matter. Once the dough is mixed, most of the time is passive, and the payoff is a homemade bagel that tastes fuller and more developed than a same-day shortcut version. If you want seriously chewy sourdough bagels, the method matters.
Following a special diet?
Every recipe on this site can be converted to gluten-free, vegan, dairy-free, keto, nut-free or egg-free with adjusted ratios so nothing falls flat.
Try the Recipe Converter →Why the Dough Has to Be Firmer Than Bread Dough
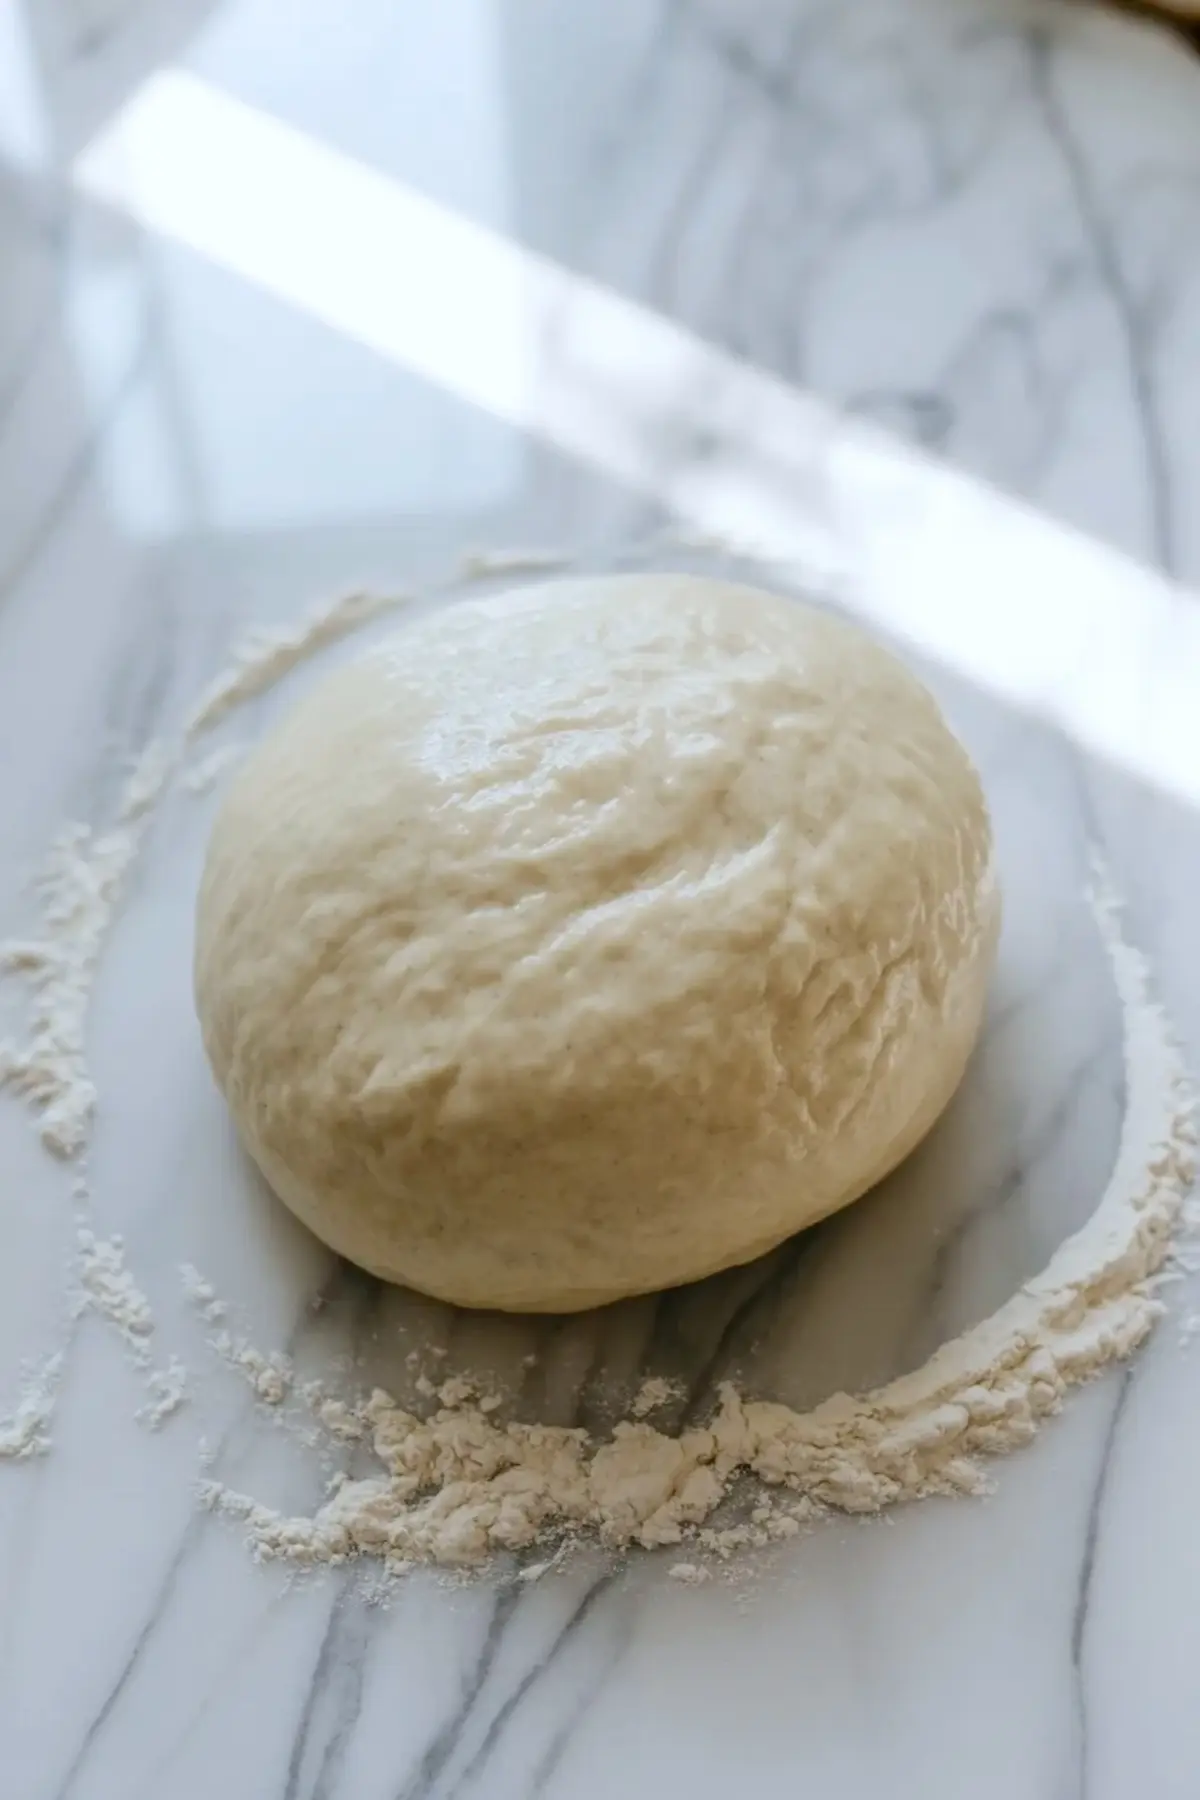
Bagel dough should feel tighter than sandwich bread dough right from the start. That firmness helps the shaped bagels hold a clean round, keeps them from spreading too much during the rest, and creates the denser chew people expect from a real bagel. If the dough is too soft, the final texture drifts toward bread roll instead of bagel.
This is one of the biggest differences between sourdough bagels and other sourdough breads. You are not chasing an open airy crumb here. You want strength, elasticity, and a dough that slowly pushes back when pressed.
The Ingredients That Matter Most
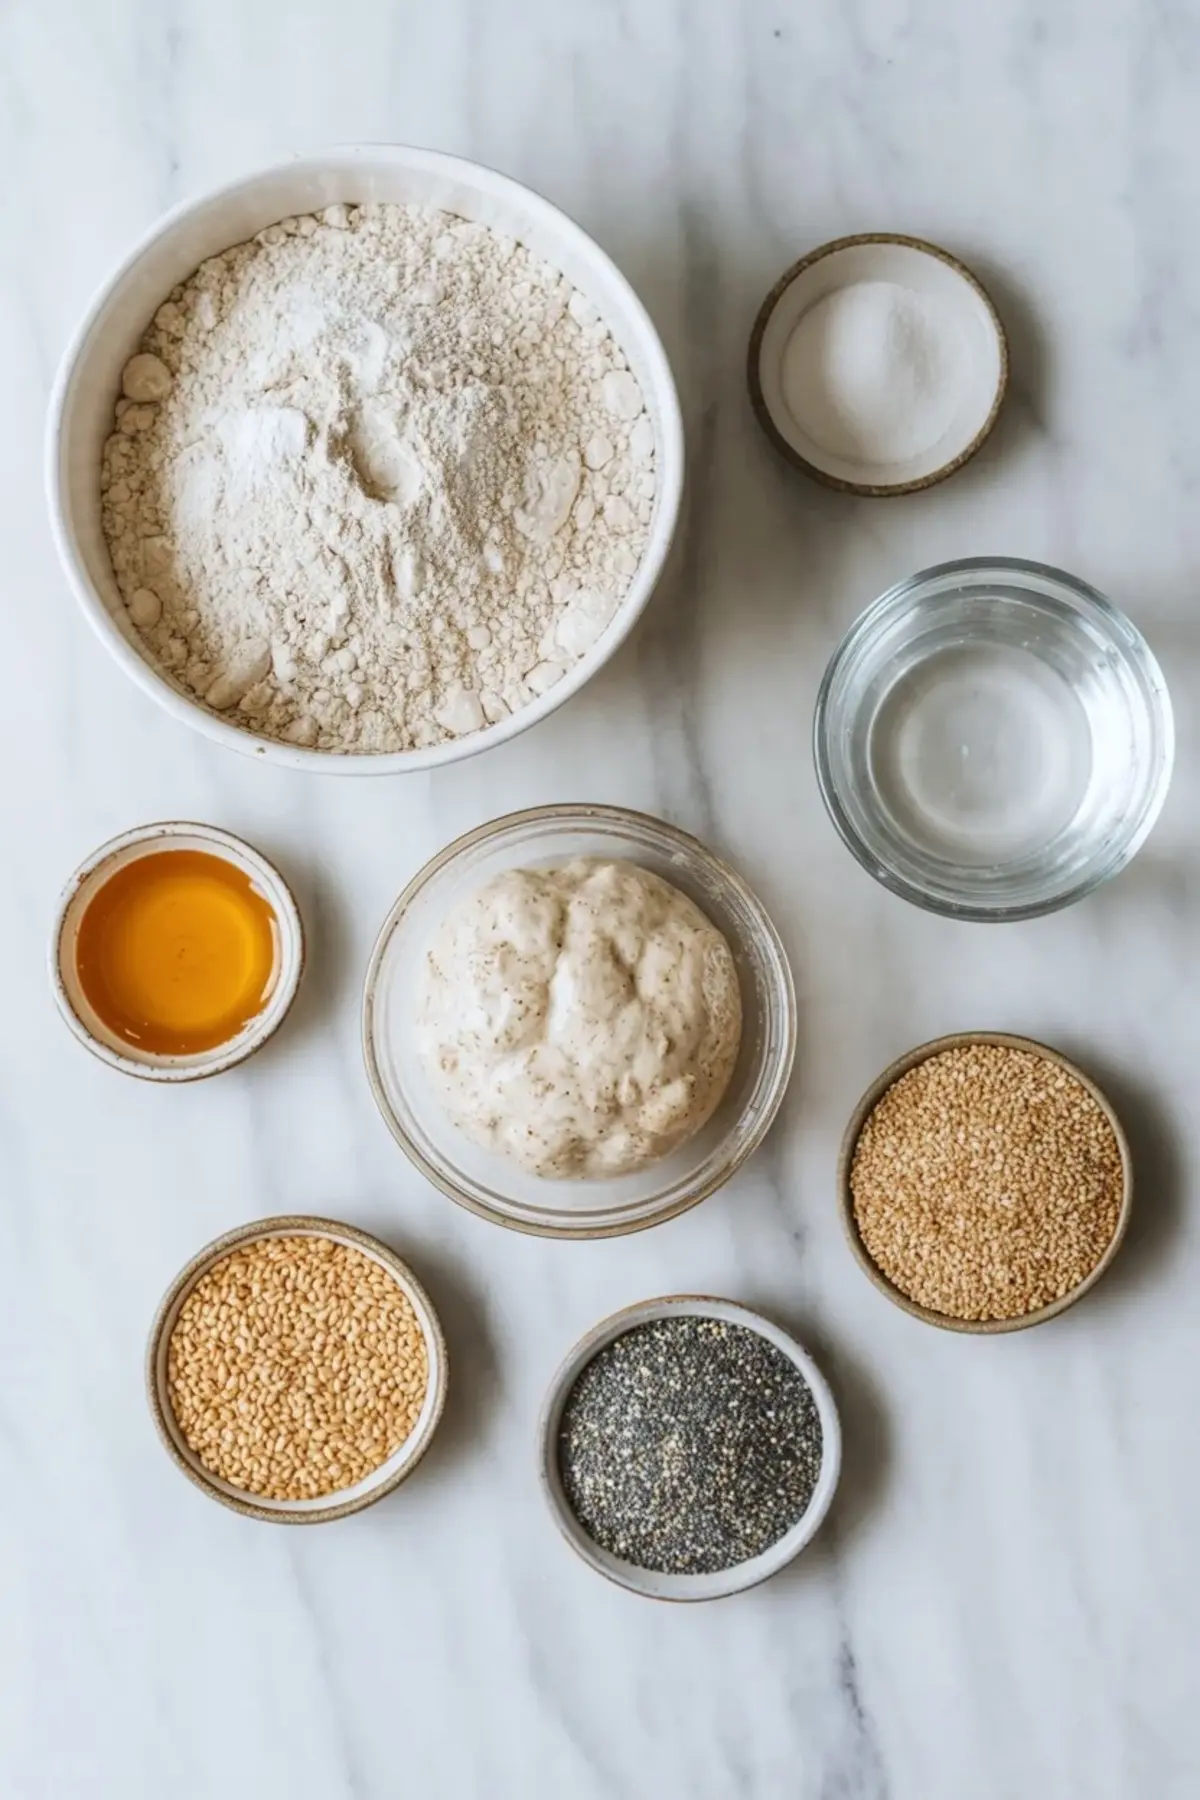
Bread flour is important because it brings the strength needed for that chewy bite. Active sourdough starter gives the dough lift and flavor, while honey or maple syrup helps round the flavor and encourages better browning later on. Salt does more than season the dough. It also keeps the flavor from tasting flat in such a simple recipe.
The toppings come at the end, but they still deserve a little planning. Sesame seeds, poppy seeds, everything seasoning, and shredded cheese all work well as long as they go on while the surface is still damp after boiling. If you like another homemade bagel direction, pumpkin bagels recipe is a good seasonal variation with a softer autumn flavor profile.
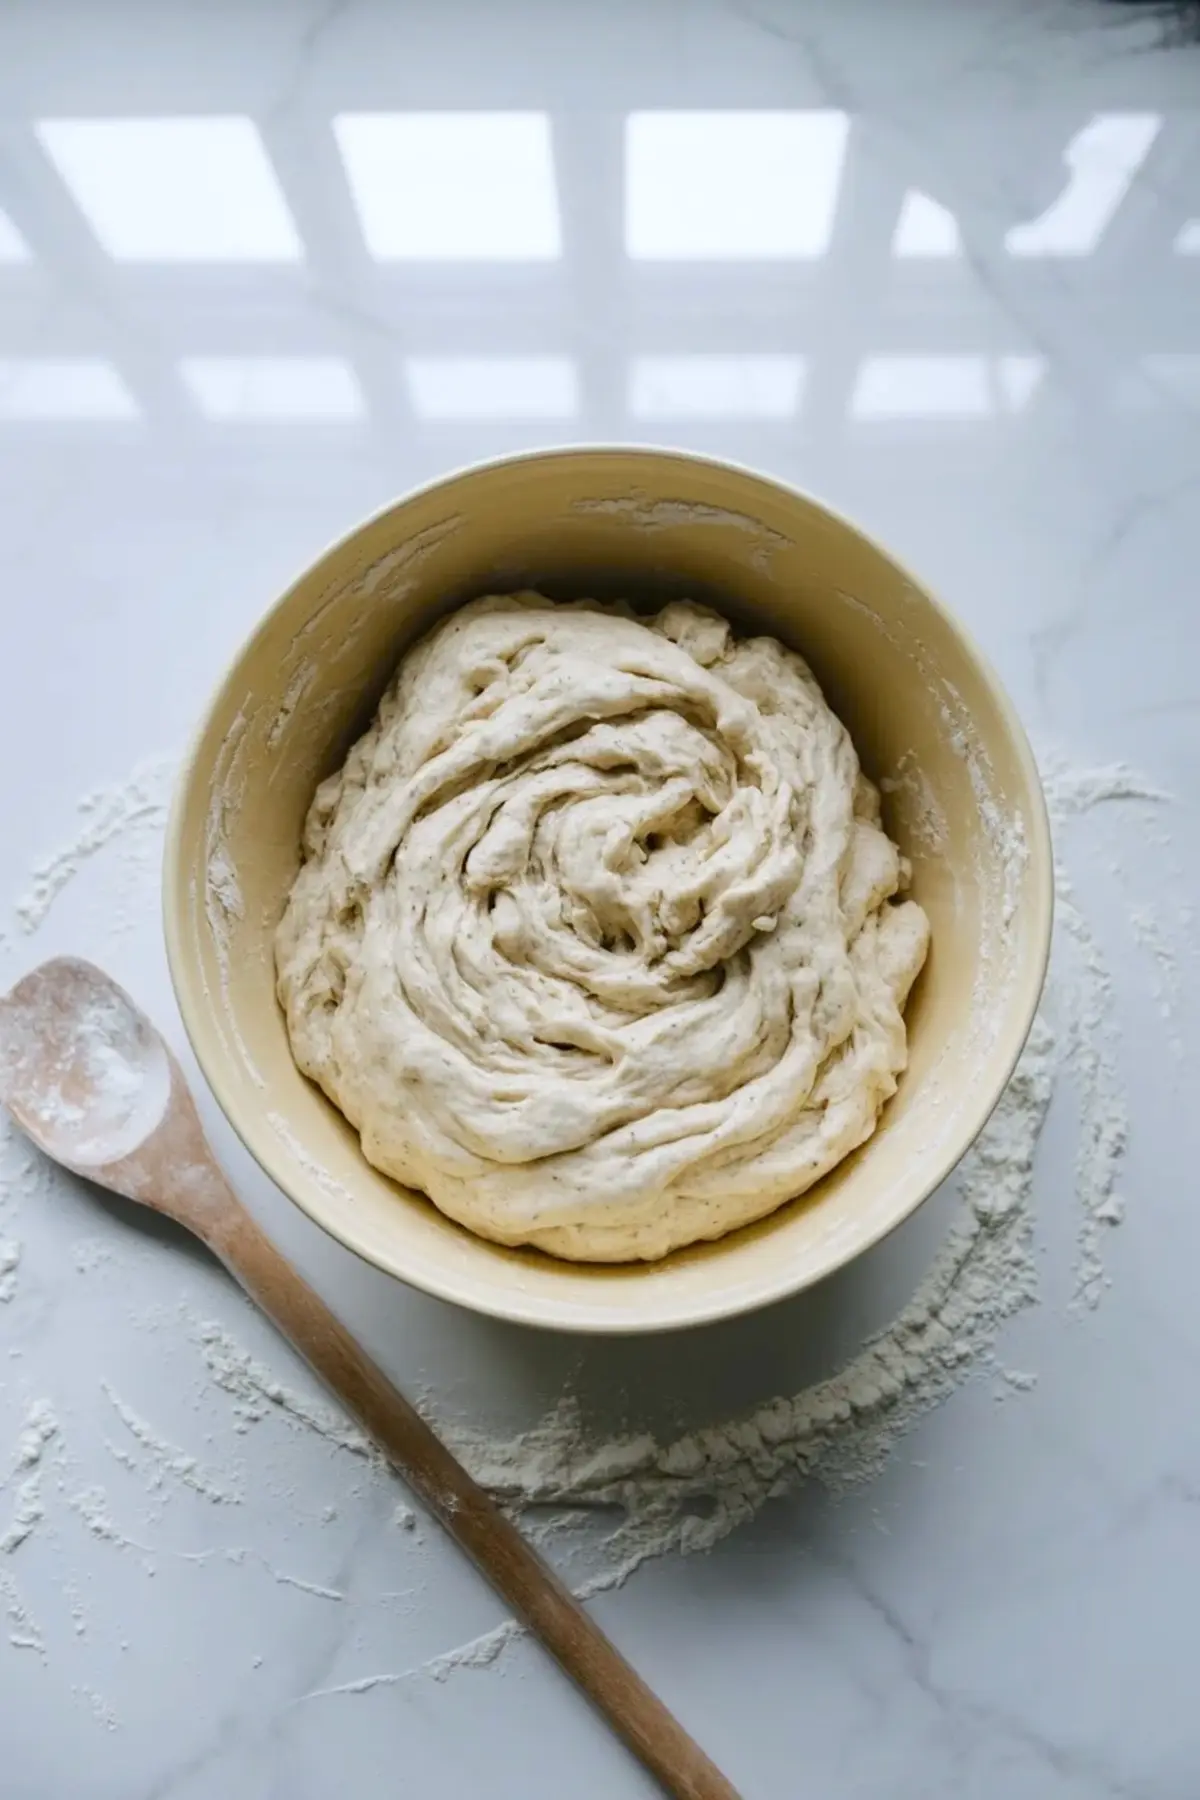
Mixing and Kneading Until the Dough Feels Right
At first the dough can look rough and a little stubborn, which is normal. Once kneaded properly, it should become smoother, stronger, and easier to handle without turning slack. That development stage is what sets up the bagels for a clean shape and better chew later on.
You do not need the dough to feel silky like brioche. You want it smooth, elastic, and firm enough that it holds its shape on the counter. If it tears immediately when stretched, keep kneading. If it bounces back slowly, you are close.
Why the Overnight Rise Helps So Much
The overnight rise gives the sourdough time to build flavor without making the process feel busy. The dough will puff and relax a little, but it may not fully double the way a high-hydration sandwich loaf would. That is normal for bagel dough and not a sign that anything failed.
This slower fermentation is what makes the finished bagels taste deeper and more rounded instead of plain. It also makes the dough easier to shape the next day because the gluten has had time to settle into a stronger structure.
Shaping the Rings Without Fighting the Dough
Divide the dough evenly so the bagels bake at the same pace, then shape each piece into a tight ball before opening the center. Stretch the hole a little wider than you think you need because the dough will tighten back up during the rest and the boil.
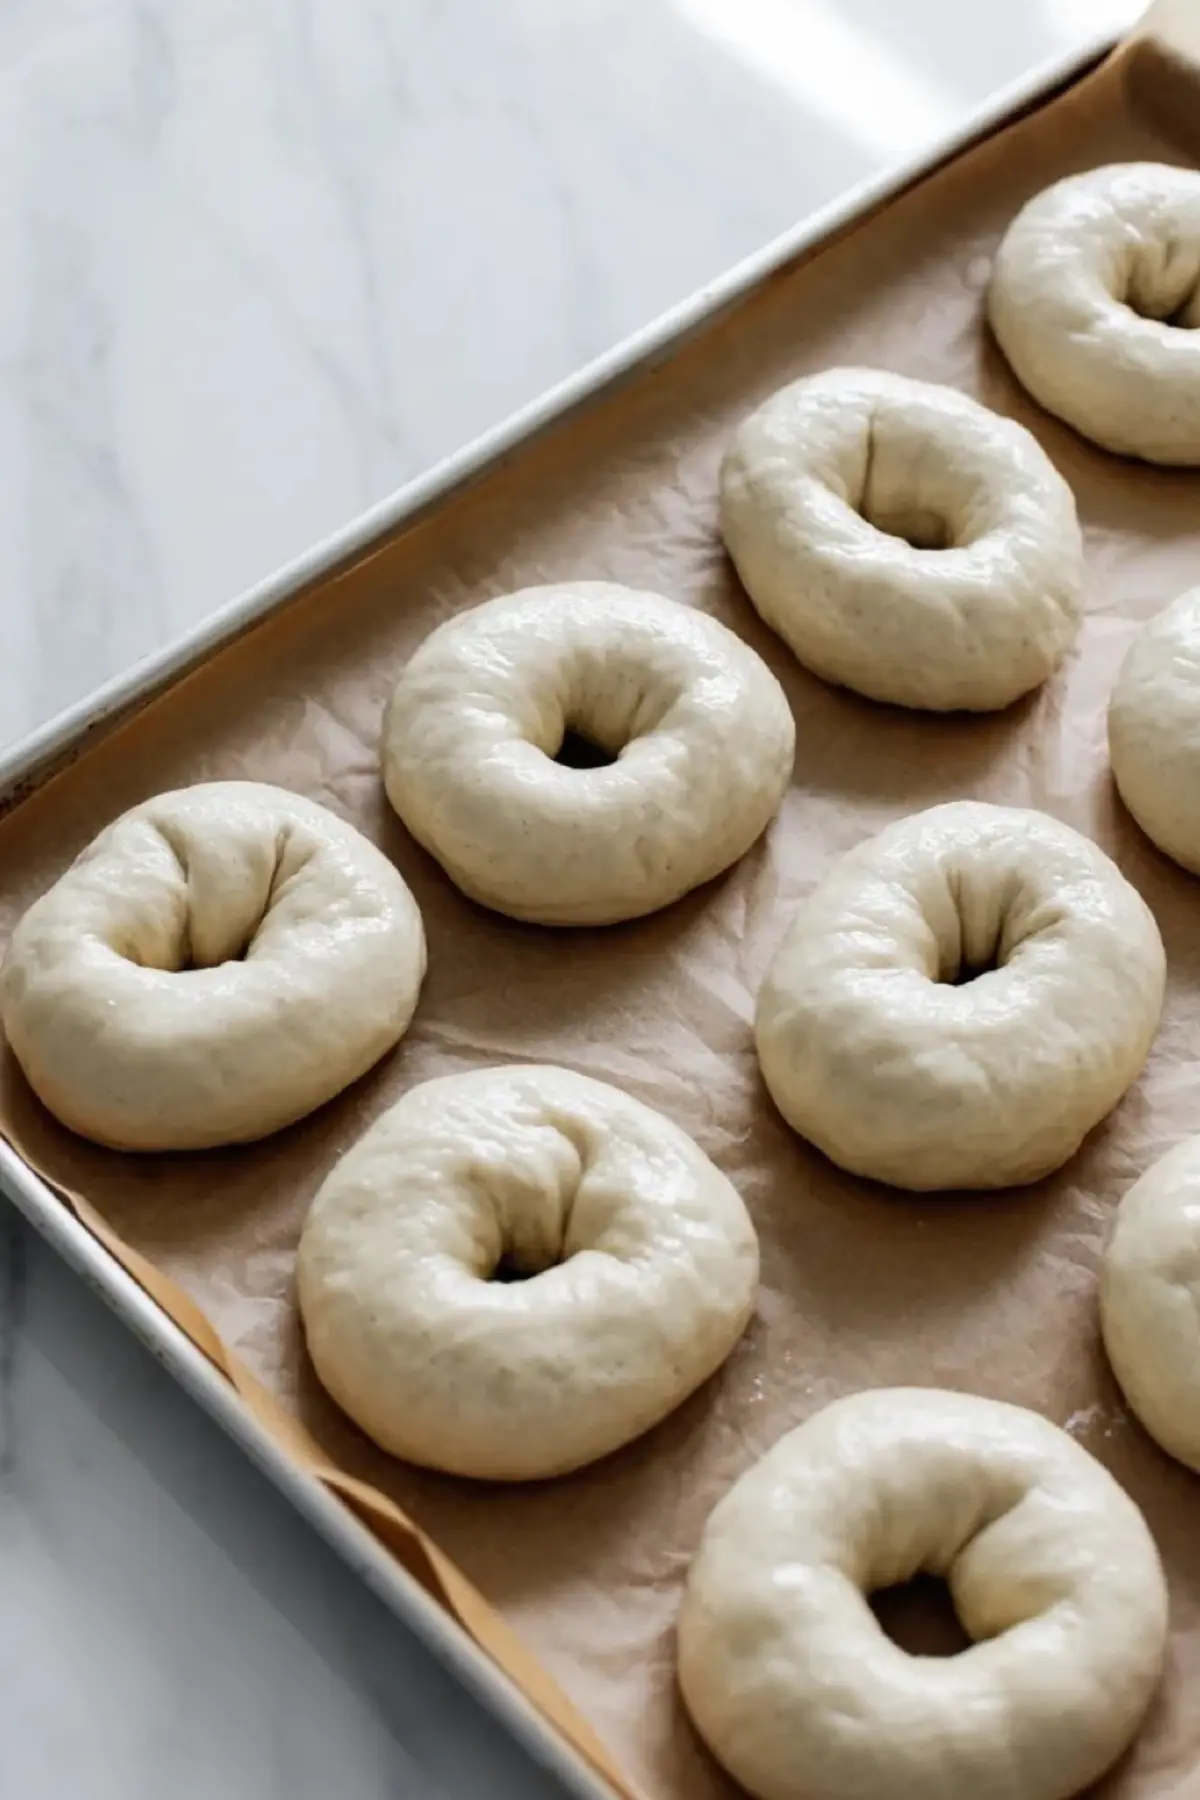
That short rest after shaping matters too. It lets the dough puff slightly so the bagels feel lighter after baking, but it is not a full second rise. Think of it as a settling period rather than a dramatic proof.
The Boil and Bake Are What Create the Real Bagel Texture
Boiling is what gives sourdough bagels their shiny crust and chewy outside. A quick simmer on each side sets the surface before the bagels hit the oven, which is why the baked crust comes out firmer and more bagel-like than unboiled bread dough ever could.

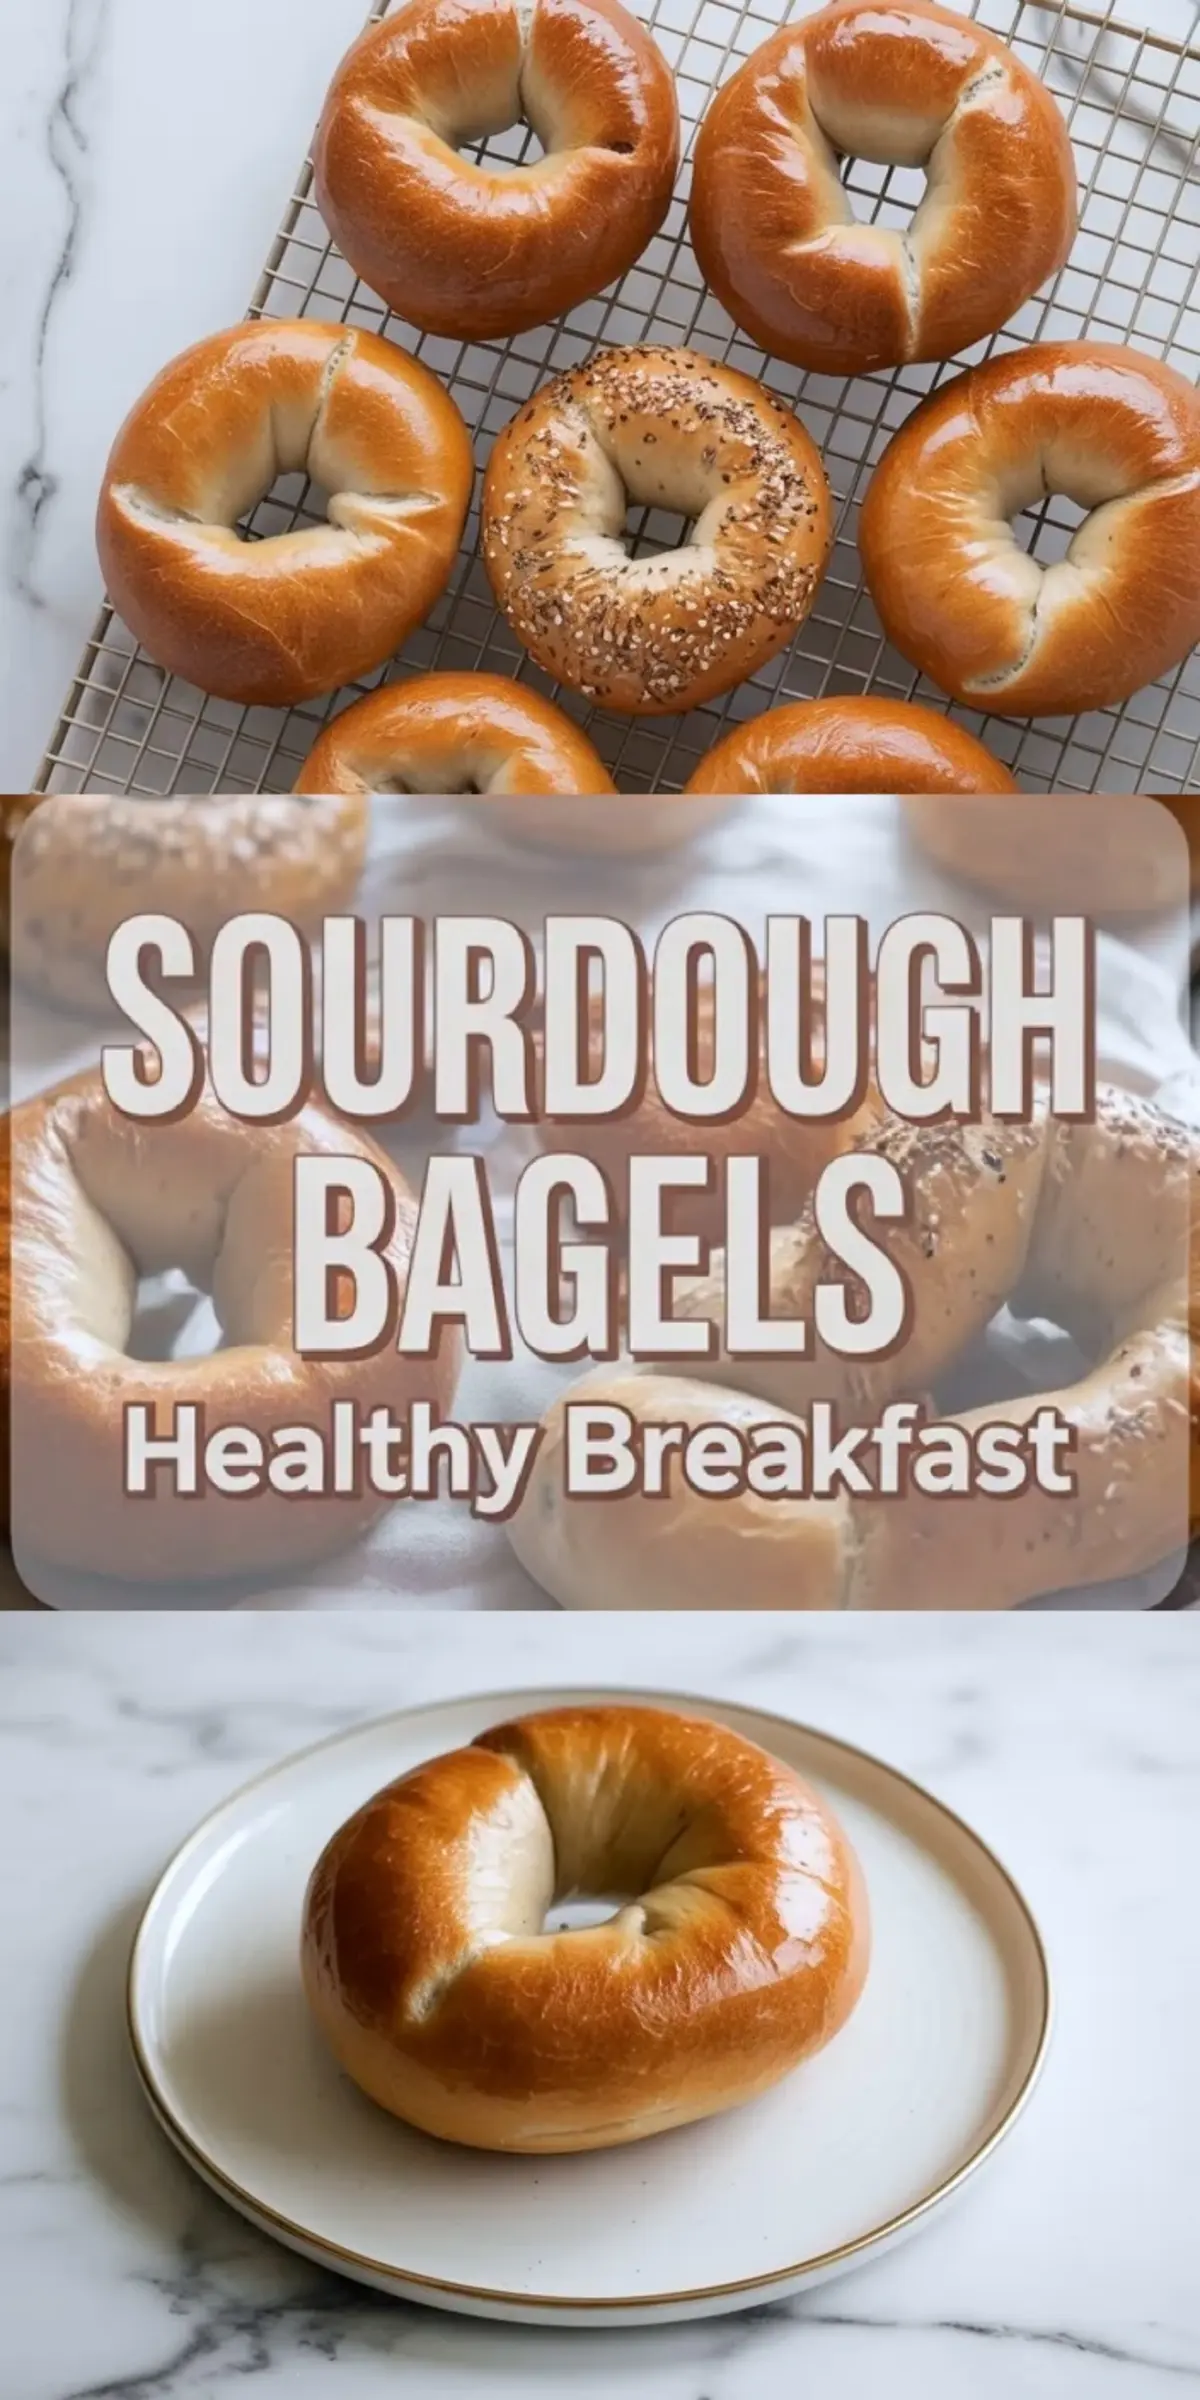
Once baked, the bagels should be deeply golden with a thin glossy shell and a center that stays pleasantly chewy rather than tough. If you want something good to spread on a toasted bagel, pumpkin cream cheese recipe works well when you want a sweeter seasonal topping.
Serving and Storage Tips That Actually Help
These bagels are best once they have cooled enough to slice cleanly, but they also toast well over the next few days. Slice before freezing if you want easier breakfasts later. That way they can go straight from freezer to toaster without any extra thawing step.
Save this sourdough bagels recipe for the next time you want a homemade breakfast bread that feels chewy, glossy, and genuinely worth the longer rise. It is a good foundational bagel recipe, and once you know how the dough should feel, it becomes much easier to repeat.
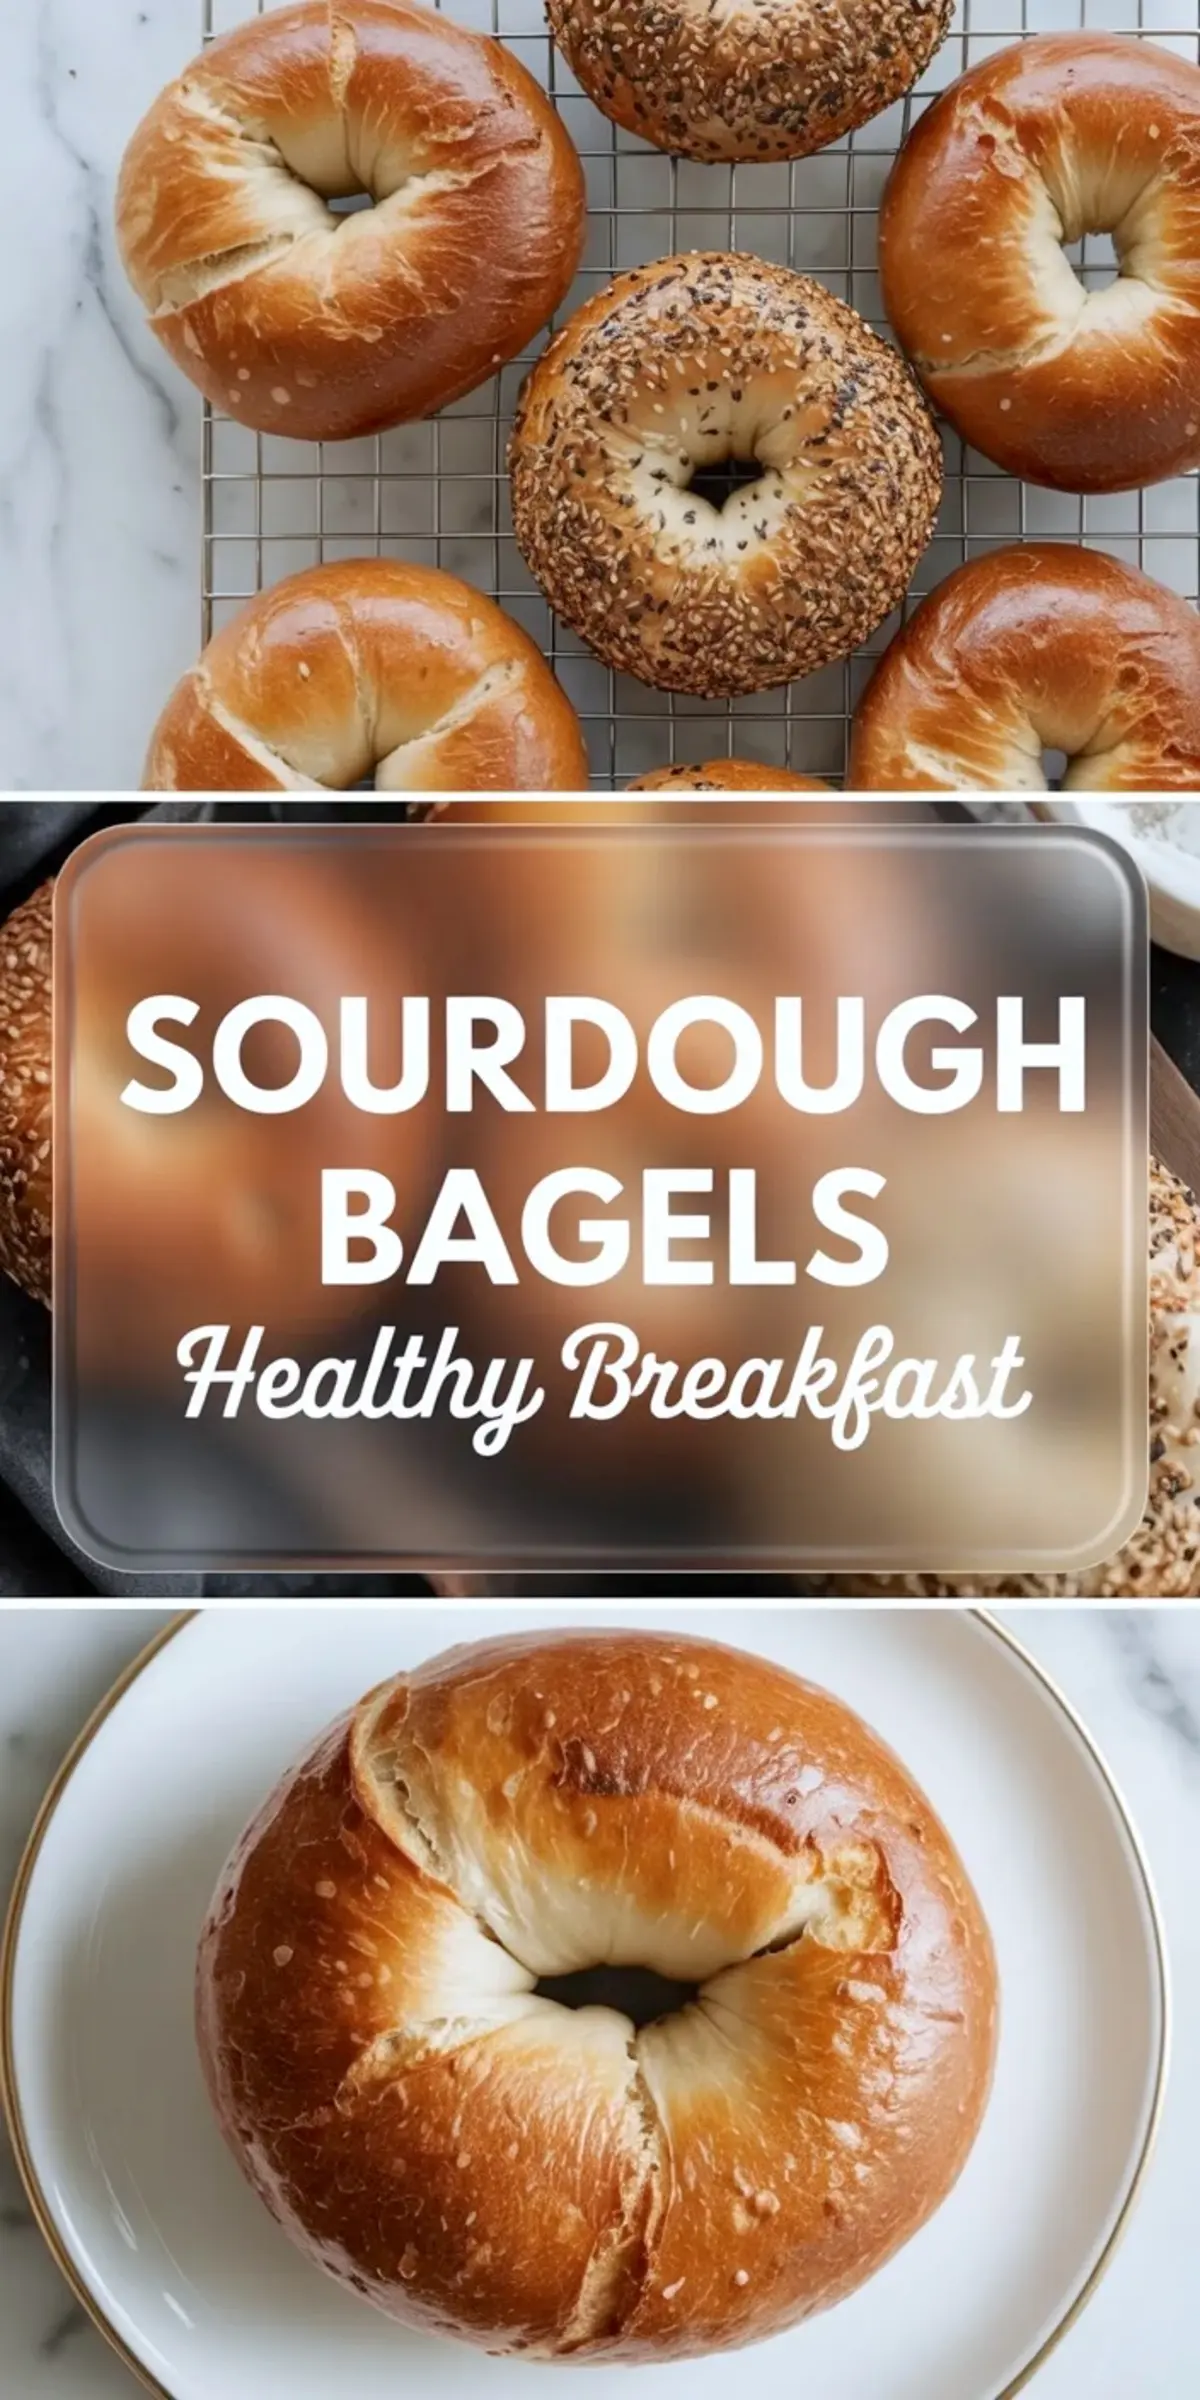
Homemade Sourdough Bagels

This sourdough bagels recipe makes chewy homemade bagels with a glossy crust, tender interior, and deep flavor from active sourdough starter. The dough is firmer than standard bread dough, which helps the bagels hold their shape through shaping, boiling, and baking while still staying soft inside. An overnight rise builds flavor without making the method feel complicated, and the boiling step gives the bagels their classic chew and browned finish. If you want homemade sourdough bagels that feel bakery style but still practical for a home kitchen, this recipe keeps the ingredient list simple and the texture balanced from first mix to final bake.
Ingredients
- FOR THE BAGEL DOUGH
- 500g bread flour
- 250g water
- 100g active sourdough starter
- 25g honey or maple syrup
- 10g salt
- FOR BOILING
- 2 liters water
- 1 tablespoon honey
- FOR OPTIONAL TOPPINGS
- Sesame seeds
- Everything bagel seasoning
- Poppy seeds
- Shredded cheese
- Sea salt
Instructions
MIX THE DOUGH: In a large mixing bowl, combine the active sourdough starter, water, and honey or maple syrup. Stir until mostly combined. Add the bread flour and salt, then mix until a shaggy dough forms. The dough will feel firmer than standard bread dough, which helps create the chewy bagel texture.
KNEAD THE DOUGH: Transfer the dough to a clean work surface and knead for 8–10 minutes until smooth and elastic. If using a stand mixer, knead with the dough hook attachment for about 6 minutes on medium speed. The dough should slowly bounce back when pressed gently with a finger.
FIRST RISE: Place the dough into a lightly greased bowl and cover with plastic wrap or a clean kitchen towel. Let the dough rise at room temperature for 8–12 hours or overnight until puffed and slightly expanded. Sourdough bagel dough may not fully double in size during fermentation.
SHAPE THE BAGELS: Transfer the dough to a lightly floured surface and divide it into 8 equal pieces. Roll each piece into a smooth ball. Press your thumb through the center of each ball and gently stretch the opening to form a bagel shape. Arrange the shaped bagels on a parchment-lined baking sheet.
REST THE BAGELS: Cover the shaped bagels lightly and let them rest for 30–45 minutes at room temperature. This short resting period helps the bagels puff slightly before boiling and baking.
BOIL THE BAGELS: Fill a large pot with water and bring it to a gentle boil. Stir in the honey. Boil each bagel for about 30 seconds per side, then transfer them back to the prepared baking sheet. Boiling creates the signature chewy crust and glossy exterior.
ADD THE TOPPINGS: Sprinkle sesame seeds, everything bagel seasoning, poppy seeds, shredded cheese, or sea salt over the bagels while the surface is still damp from boiling so the toppings stick properly.
BAKE THE BAGELS: Preheat the oven to 425°F (220°C). Bake the bagels for 22–25 minutes or until deeply golden brown and shiny. Let the bagels cool for at least 15 minutes before slicing and serving.
Notes
Store cooled bagels in an airtight container at room temperature for up to 3 days.
Freeze sliced bagels for up to 2 months and toast directly from frozen.
For cinnamon raisin bagels, add cinnamon and raisins during the mixing step.
Nutrition Information
Yield
8Serving Size
1Amount Per Serving Calories 274Total Fat 1gSaturated Fat 0gUnsaturated Fat 1gSodium 560mgCarbohydrates 56gFiber 2gSugar 4gProtein 9g