You’re about to make a treat that looks like a Christmas tree, tastes like a cake ball, and disappears like candy.
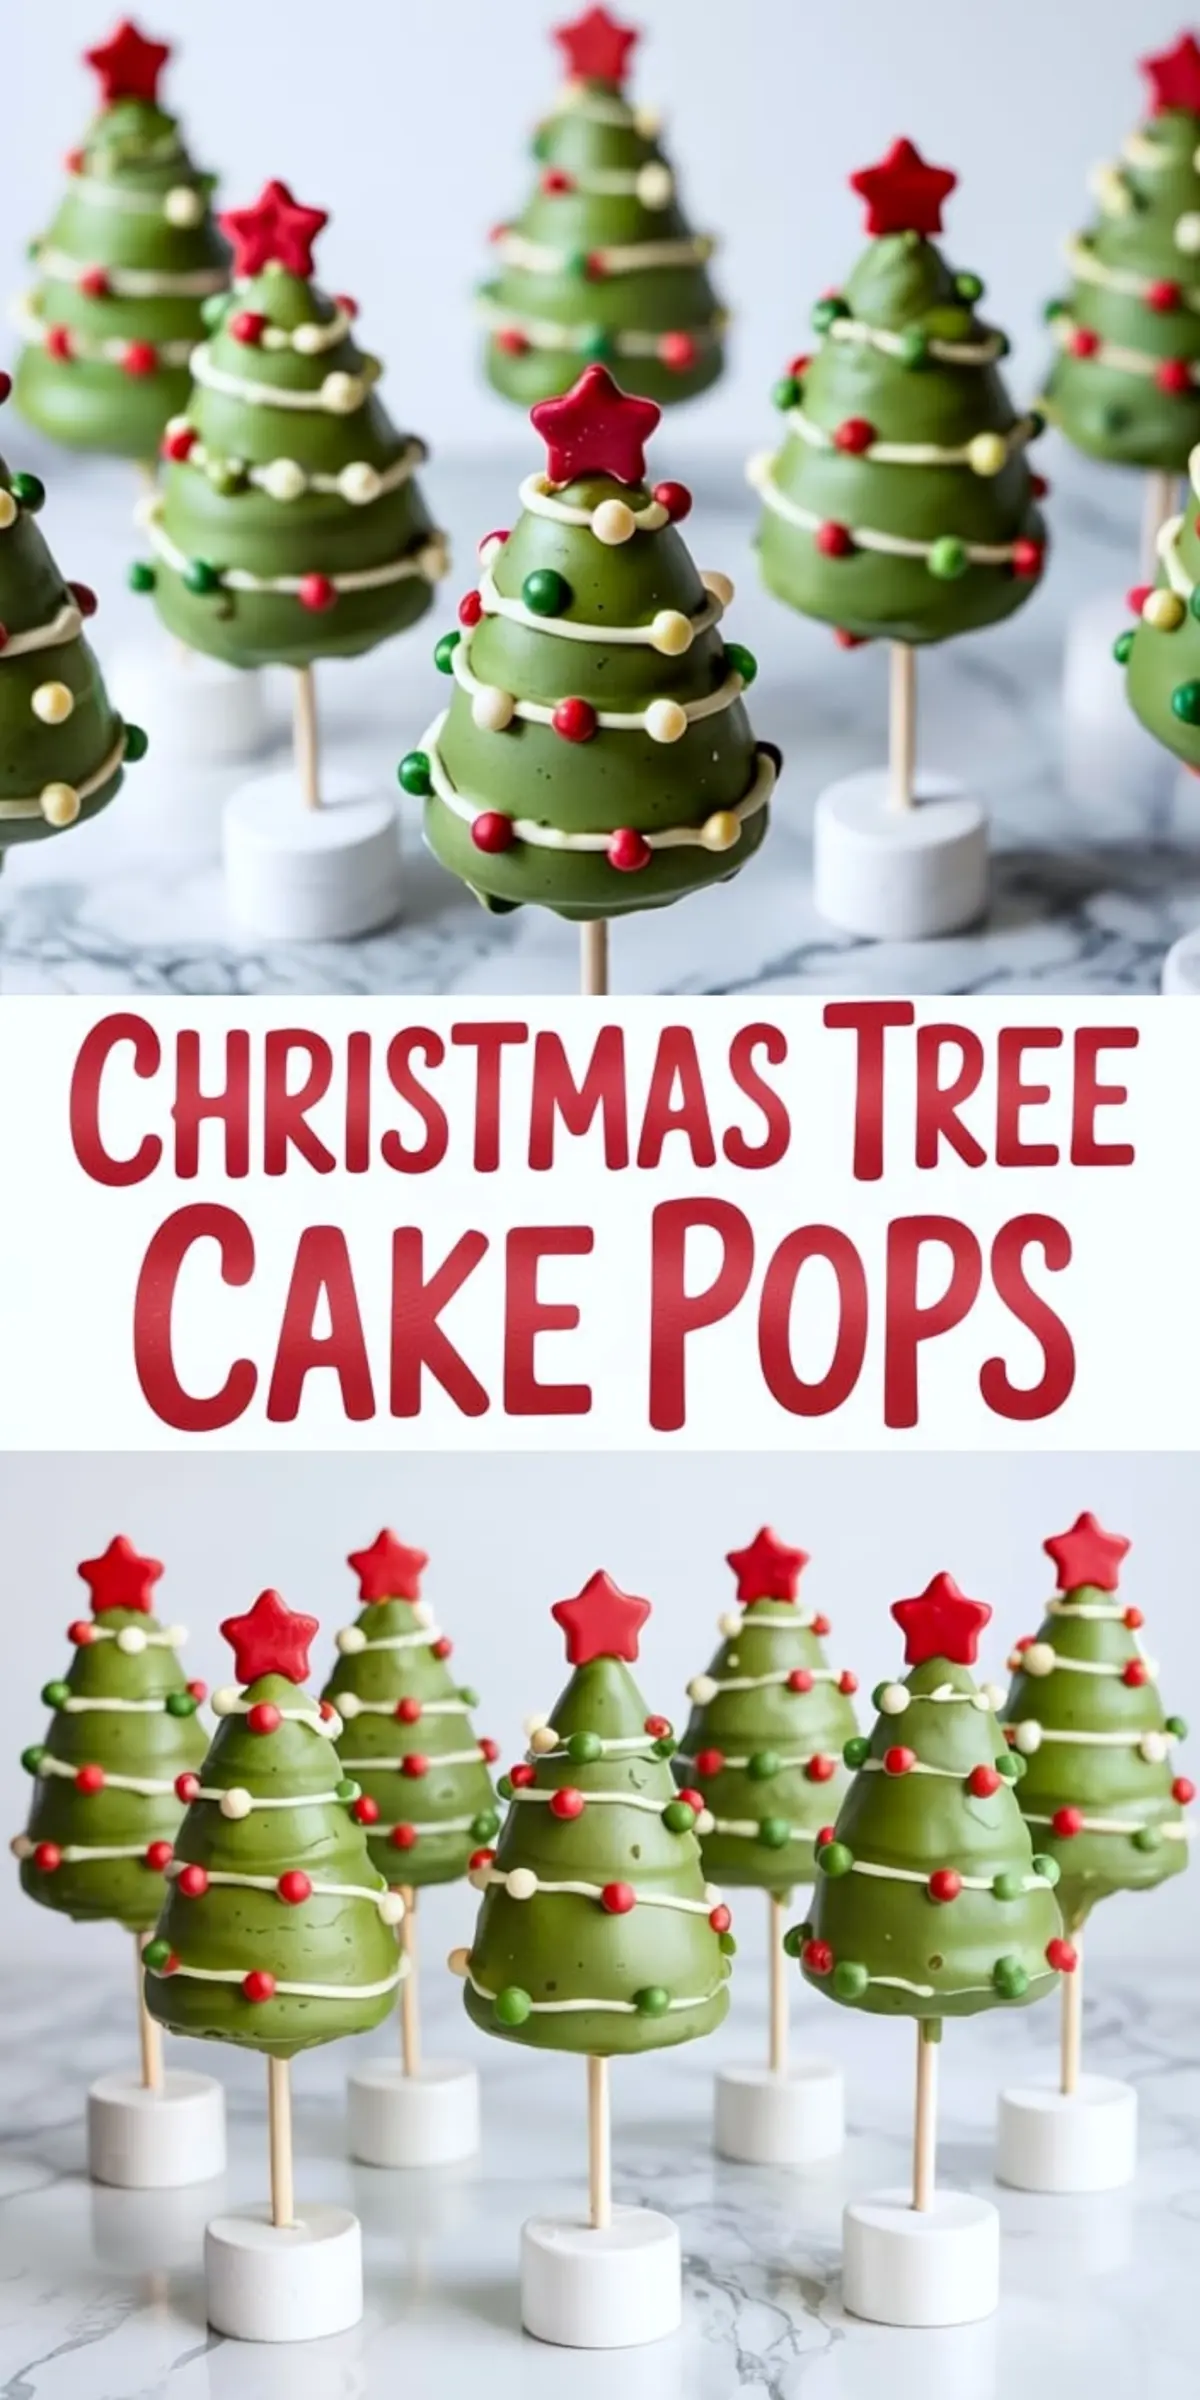
These Christmas Tree Cake Pops bring together everything festive. Green candy coating, golden sprinkles, and soft, sweet centers that feel like truffles wrapped in nostalgia.
This recipe uses simple tools, pantry staples, and a touch of imagination. You’ll shape crumbled cake and frosting into mini cones, coat them in melted chocolate, and decorate with tinsel-like drizzle and sprinkle ornaments. The process is straightforward, the result is whimsical, and the flavor is everything a holiday bite should be: sweet, soft, and celebratory.
If you’ve tried making Christmas cake pops before, this version adds a playful tree shape that kids adore and adults always reach for. They hold their form, travel well, and fit perfectly on any Christmas candy recipes tray.
Some bakers start with homemade cake. I’ll be honest. I reach for Little Debbie Christmas Tree Cakes when time runs short. They’re reliable, soft, and already festive. But whether you start from scratch or take the shortcut, you’ll end up with the same thing: a tray full of holiday joy.
Following a special diet?
Every recipe on this site can be converted to gluten-free, vegan, dairy-free, keto, nut-free or egg-free with adjusted ratios so nothing falls flat.
Try the Recipe Converter →The Best Ingredients for Christmas Cake Pops That Look Like Mini Trees
Use a box of vanilla or chocolate cake as your base. Once baked and cooled, the cake crumbles easily and binds well with frosting.
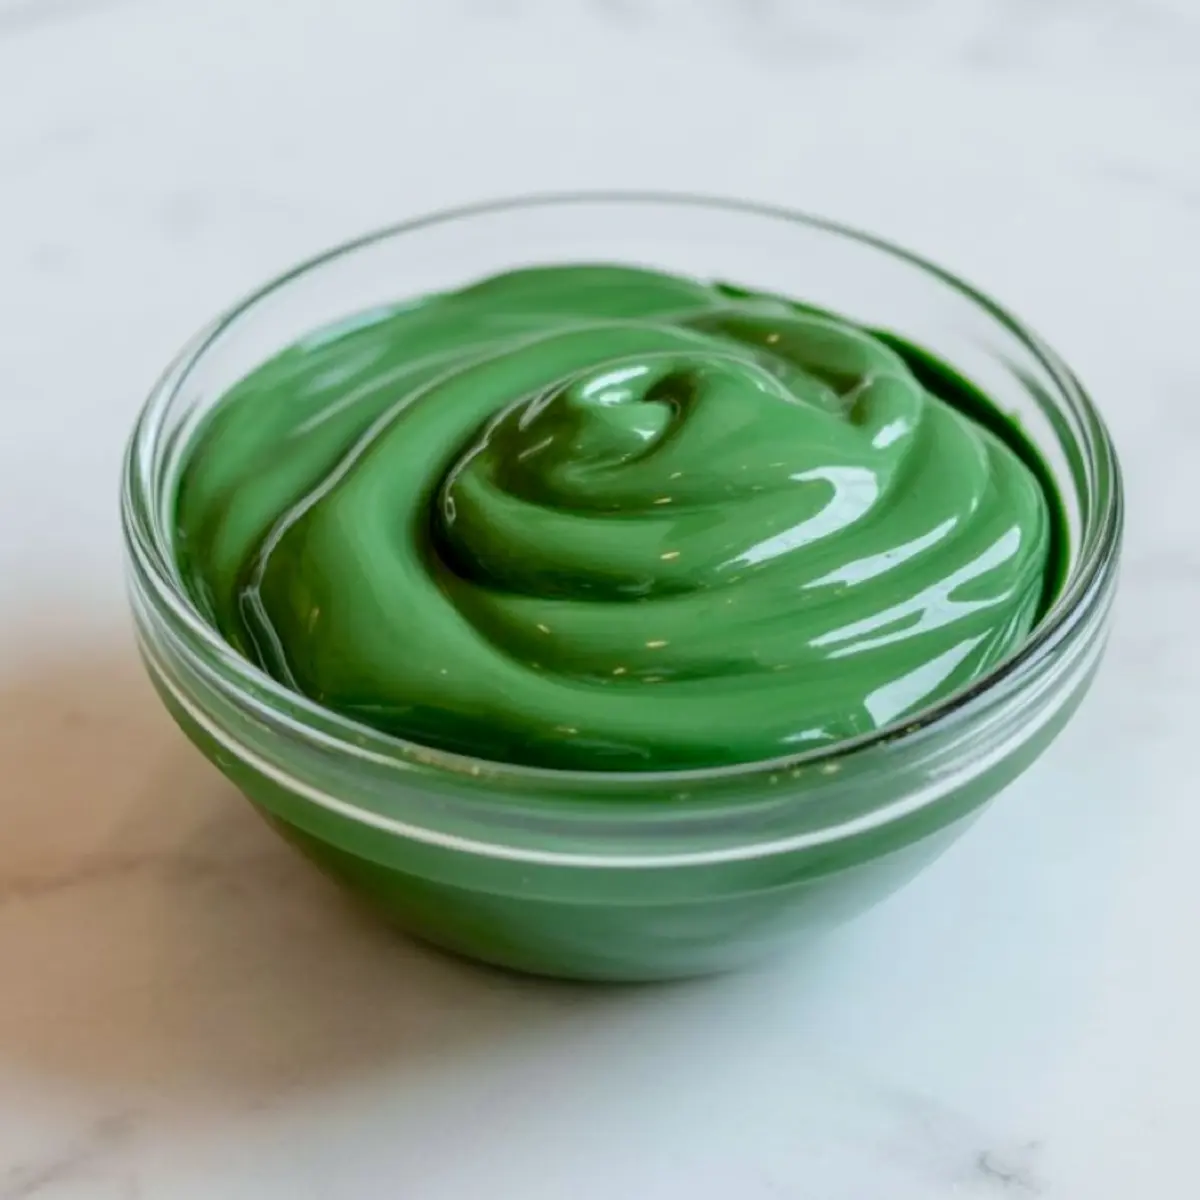
I’ve used both vanilla and cream cheese frosting, and they each have their place. Vanilla keeps the color light and the flavor soft. Cream cheese adds a little tang, which works especially well with chocolate cake. In my notes, I’ve found that cream cheese frosting holds its shape better when you want sharp tree tips. That’s the one I stick with for clean results.
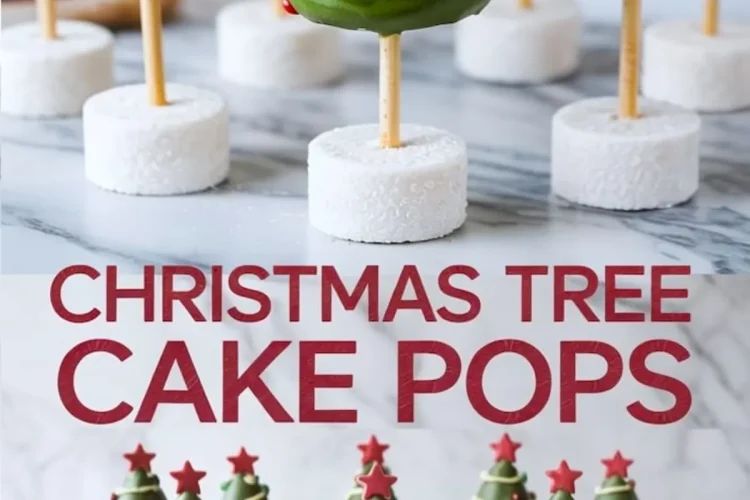
You’ll also need green candy melts, sprinkles in holiday colors, and a bit of white chocolate to create the tinsel effect. Add coconut oil to the melts if you notice the coating thickening too much it makes dipping smoother. I keep marshmallows on hand to stand the pops upright while they set.
If you’re after more festive decorating ideas, these Gingerbread Crinkle Cookies are a wonderful match for these cake pops on your cookie tray.
How to Shape the Christmas Tree Cake Pops
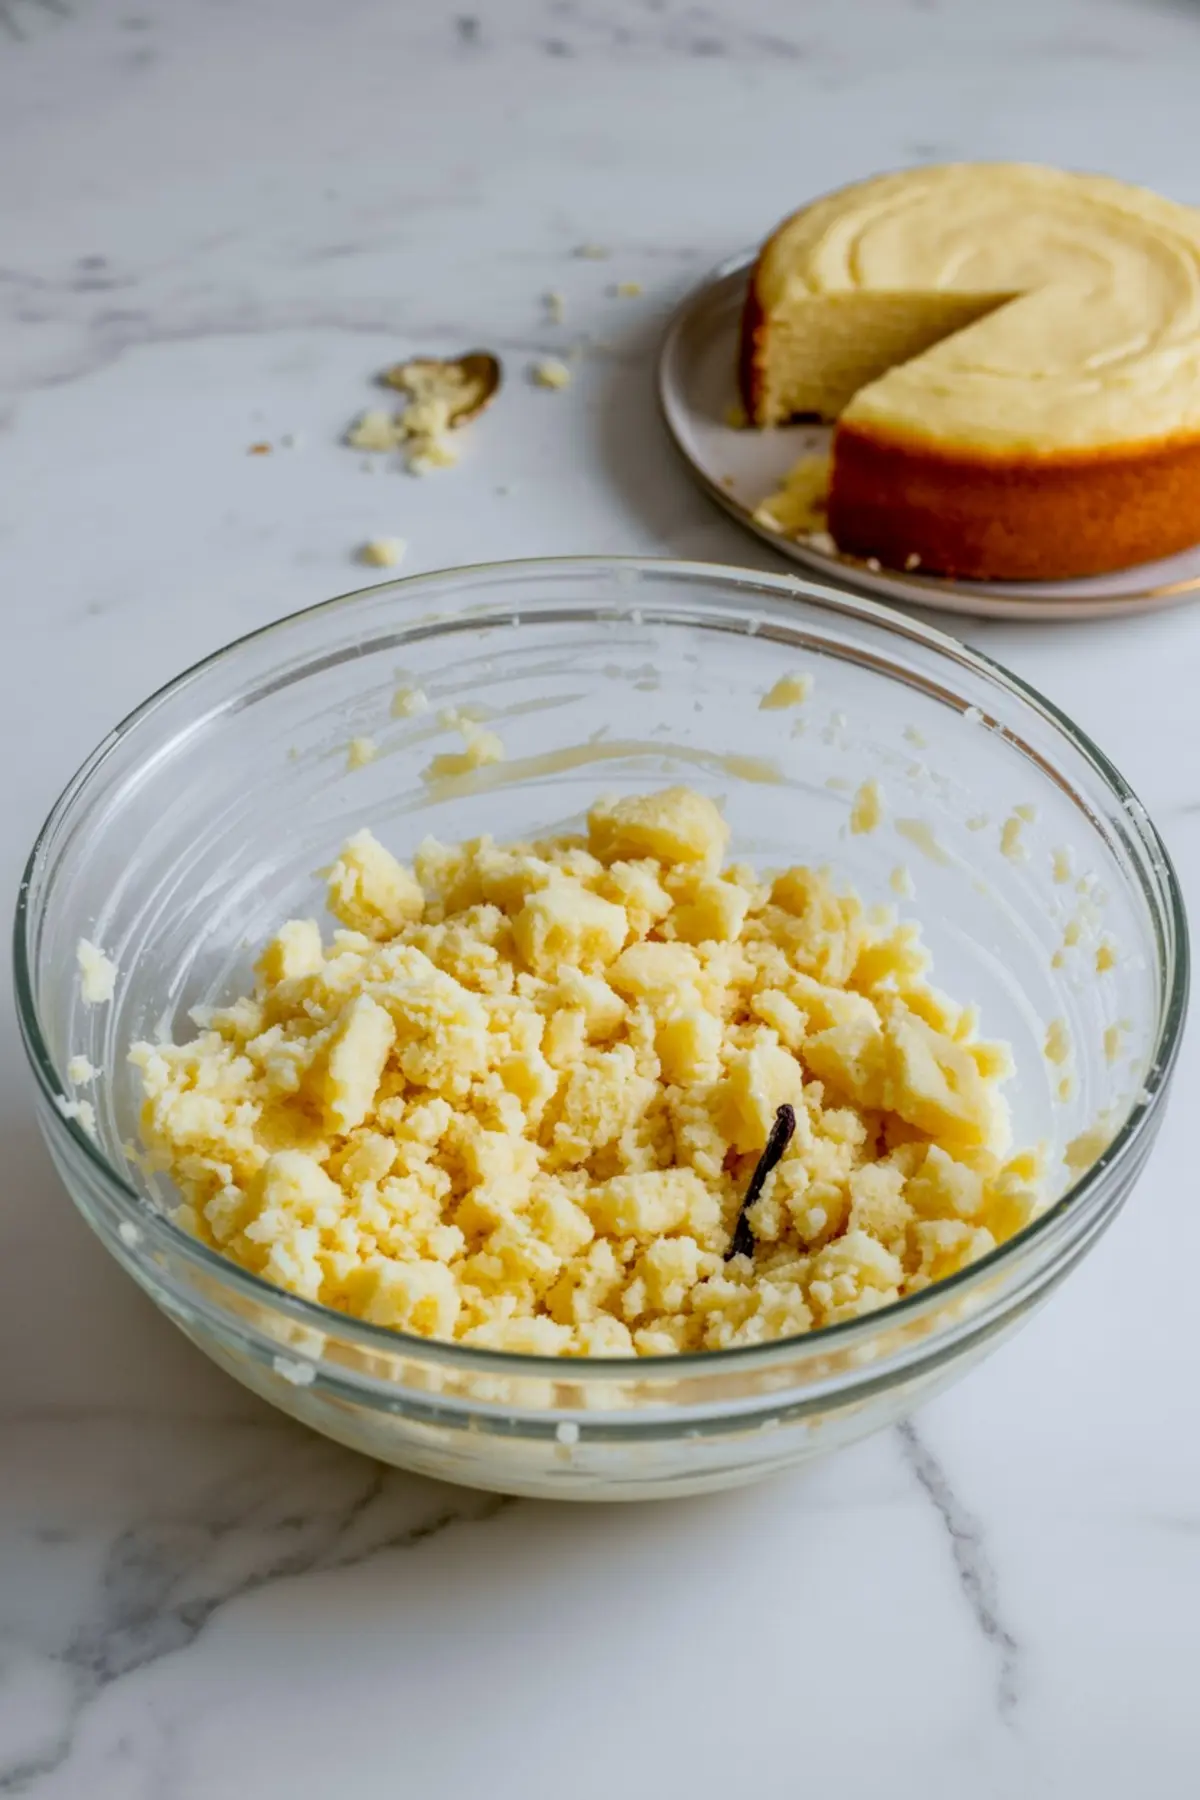
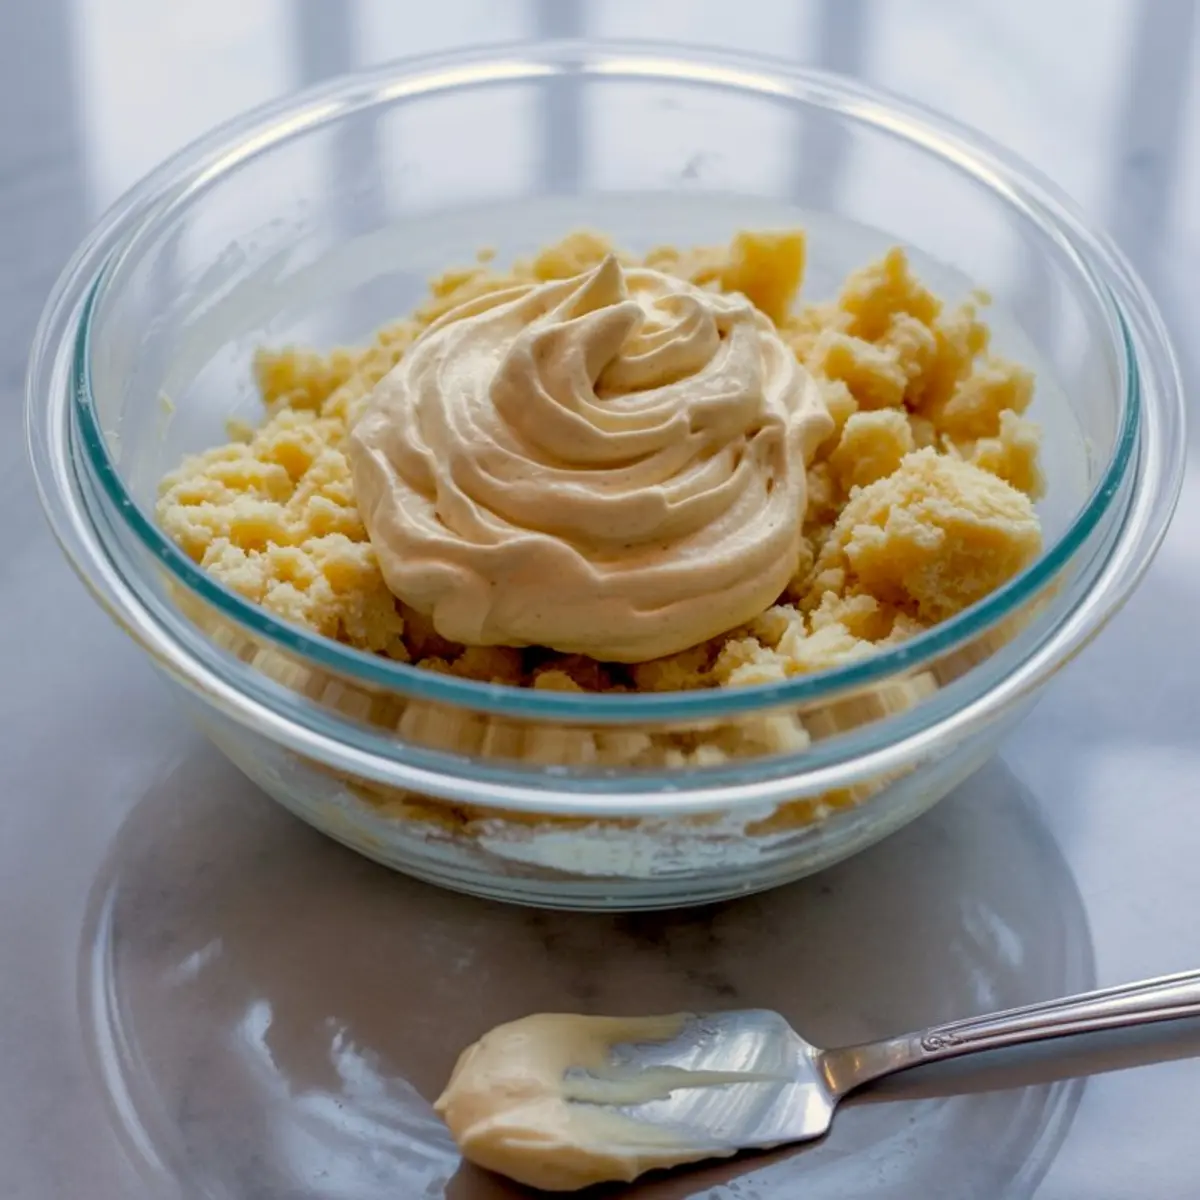
Once your cake is cool, crumble it into fine, soft crumbs. Add frosting slowly, mixing with your hands until the texture feels like dough. You want something that molds easily but doesn’t stick to your fingers.
Scoop out a portion and shape it into a tree cone. It doesn’t need to be perfect. In fact, a slightly uneven shape makes it look more handmade, which I happen to love. Place the cones on parchment and freeze them. Chilling helps the cones hold their form before dipping.
This step is where most people rush, but I recommend patience. The colder the cones, the smoother the coating.
Need another festive treat for your table? Add these Stained Glass Cookies for color and crunch beside the cake pops.
Dipping and Decorating the Cake Pops Like a Pro
Melt the green candy coating and thin it with a spoonful of coconut oil if needed. Dip the end of each cake pop stick into the melt, then insert into the base of a chilled cone. This little step keeps the stick secure once dipped. Let them chill again before fully coating.
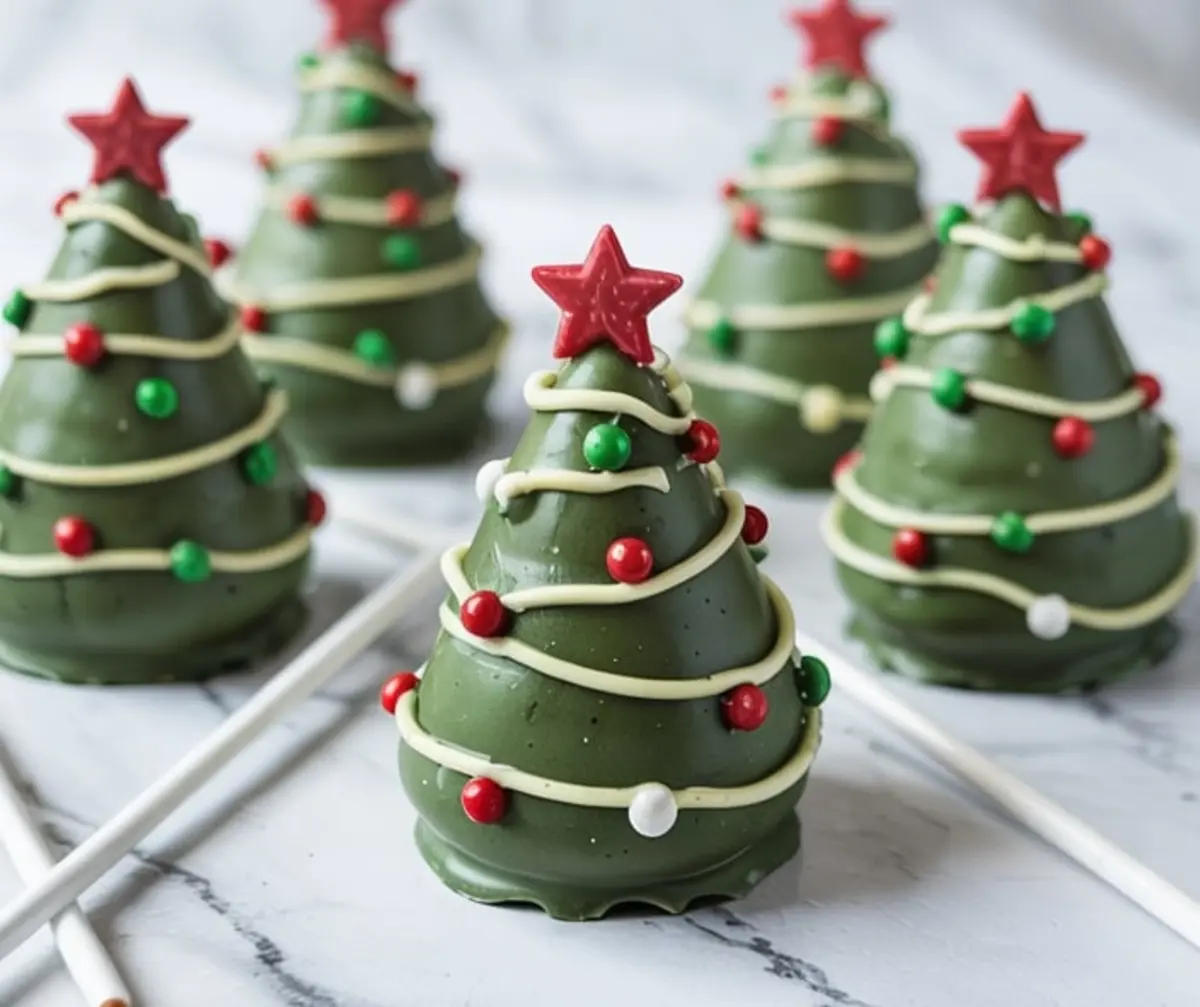
When dipping, use a tall glass so you can submerge the entire cone. Turn gently to coat, tap the stick against the edge, and place upright to dry. Before the coating sets, add your holiday sprinkles. Once dry, drizzle white chocolate across the cones to mimic Christmas tree tinsel, then top each with a red star.
If you’ve ever made snowman cake pops, this method will feel familiar. The shape and finish are different, but the skills translate beautifully.
How to Store and Serve Your Christmas Tree Cake Pops
Once fully set, these Christmas cake balls hold their shape well. I like to store them in a cool room or refrigerate them loosely covered.
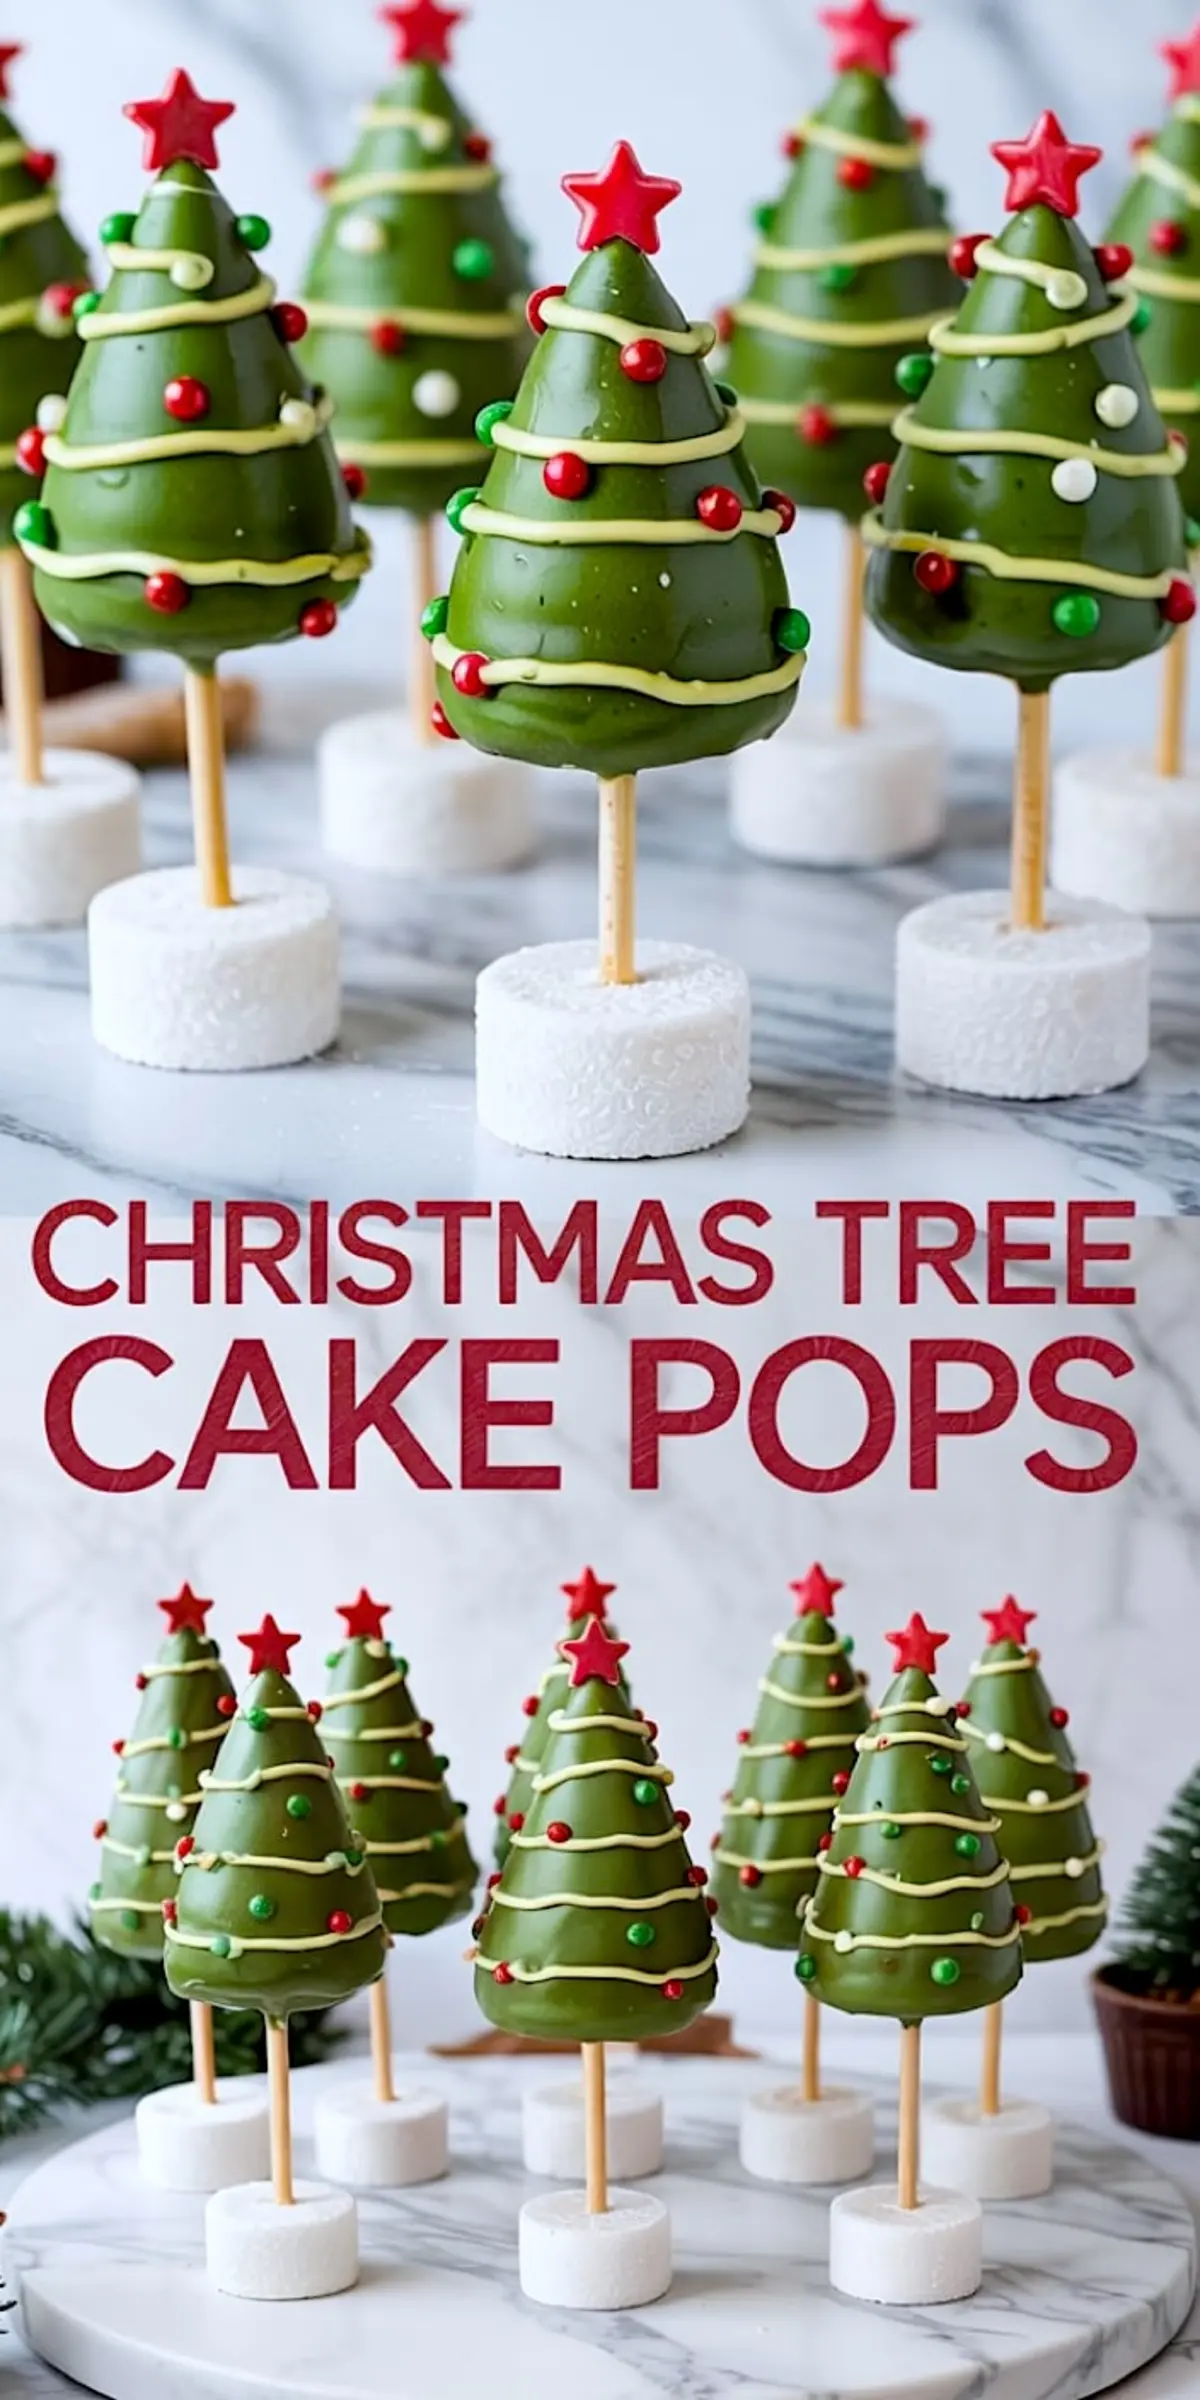
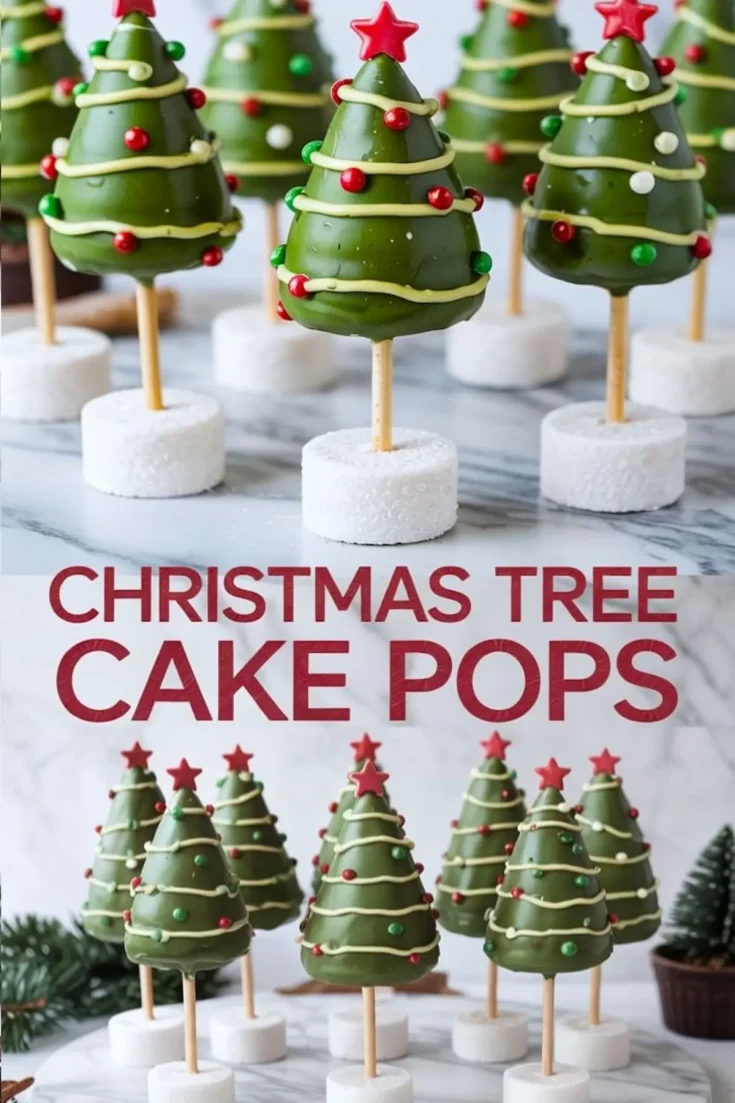
For gifting, wrap them in cellophane and tie with twine or red ribbon. For a party tray, stand them in marshmallows or place on a wooden board with evergreen sprigs tucked in between. They look like a forest—playful and sweet.
This is one of those Christmas baking recipes that brings people over to the dessert table just to admire your work. But they won’t stay long. One bite, and they’re gone.
If you’re planning a baking day, pair them with the Classic Yule Log. The two look stunning side by side.
A Practical Note from My Kitchen
I’ve tested both vanilla and chocolate cake bases for these Christmas tree cake pops. Vanilla is easier to tint and decorate. Chocolate hides inside better and feels richer. I recommend vanilla if you want the decorations to shine, especially under white tinsel and red stars. If you’re gifting to adults or serving with coffee, chocolate gives the better bite.
Stick with what works for your gathering, but now you know how each one behaves.
Related Christmas Cake Pops and Recipes You’ll Love
Looking to expand your tray with more holiday-themed sweets?
Try pairing these cake pops with:
They all share that balance of playfulness and flavor—and they hold up well on a holiday table.
Let’s Keep This Conversation Going
I’d love to hear how these turned out in your kitchen. Did you shape them by hand or use a cookie scoop? What sprinkles did you choose?
Leave a comment below with your tips, or let me know if you added a twist to the base cake.
And don’t forget to save this recipe to your Pinterest board so it’s waiting for you next season. These mini trees tend to become a tradition once you’ve made them once. At least, that’s what happened to me.
Christmas Tree Cake Pops Recipe
Christmas tree cake pops start with crumbled Christmas tree cake mixed with frosting, rolled into balls, and dipped in melted chocolate. I press each one onto cake pop sticks, then decorate with sprinkles so they actually look like mini trees. The texture is soft inside, like a mash-up of Christmas cake balls and candy truffles. If you’ve made Christmas cake pops before, you’ll love how easy these come together. I keep them chilled until serving so they hold their shape. You can use homemade cake, but I usually grab Little Debbie Christmas tree cake pops when I need a shortcut. These fit right into your Christmas baking recipes or even your Christmas candy recipes tray. Kids devour them fast.
Ingredients
- For the cake pops:
- 1 box vanilla or chocolate cake mix (plus ingredients to prepare)
- 1/2 cup frosting (vanilla or cream cheese works best)
- Lollipop sticks or wooden skewers
- For the decoration:
- 2 cups green candy melts
- 1 tbsp coconut oil or shortening (to thin candy melts, if needed)
- Red star sprinkles or fondant stars for the tree tops
- Assorted round sprinkles (red, white, green, gold) for ornaments
- White chocolate or vanilla candy melts (for the tinsel)
- Marshmallows or white candy disks (to serve as a base)
Instructions
- BAKE THE CAKE: Prepare the cake according to the instructions on the box and allow it to cool completely. This ensures the cake is firm enough to crumble and shape.
- CRUMBLE AND MIX: Crumble the cooled cake into a large bowl using your hands or a fork. Add frosting gradually, mixing until the texture resembles moldable dough. The mixture should be soft and cohesive but not overly sticky.
- SHAPE INTO TREES: Scoop about 2 tablespoons of the cake mixture and shape it into a cone with a pointed top to resemble a tree. Place the shaped cones on a parchment-lined tray and freeze for 20–30 minutes until firm.
- INSERT STICKS: Melt a small amount of green candy melts. Dip the end of each stick into the melted coating, then insert it halfway into the base of a chilled cake cone. This helps the stick stay in place. Chill again for 10 minutes to set.
- DIP THE CAKE POPS: Fully melt the remaining green candy melts, adding coconut oil if needed to thin. Dip each cake pop into the coating, rotating to cover completely. Tap gently to remove excess, then stand the pops upright in a styrofoam block, marshmallow, or candy disk.
- DECORATE THE TREES: Before the coating sets, add round sprinkles to mimic ornaments. Once dry, melt the white chocolate and drizzle over the trees as tinsel. Place a red star sprinkle or fondant star on the top of each tree to finish.
- SET AND SERVE: Let the decorated cake pops stand at room temperature until the coating is completely set. Store in a cool, dry place or package for gifting once fully dry.
Notes
If your cake cones are too soft to shape cleanly, add a little more cake or reduce the frosting. For easier dipping, keep the cake pops chilled until right before coating. Using a tall glass for dipping can help evenly coat the tree shape.