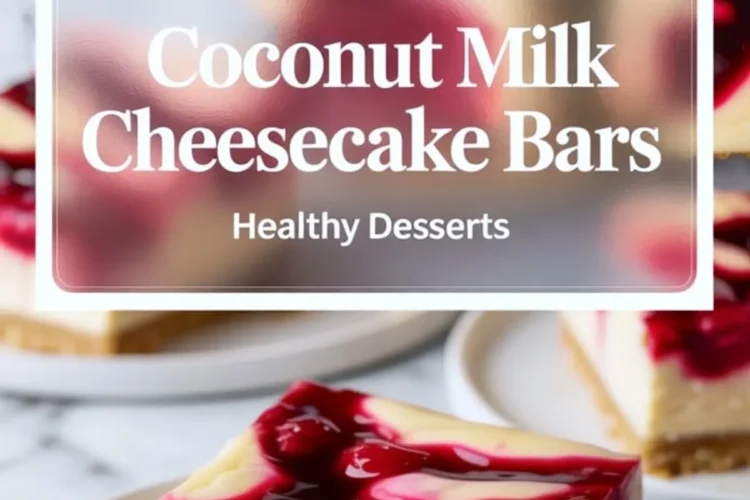
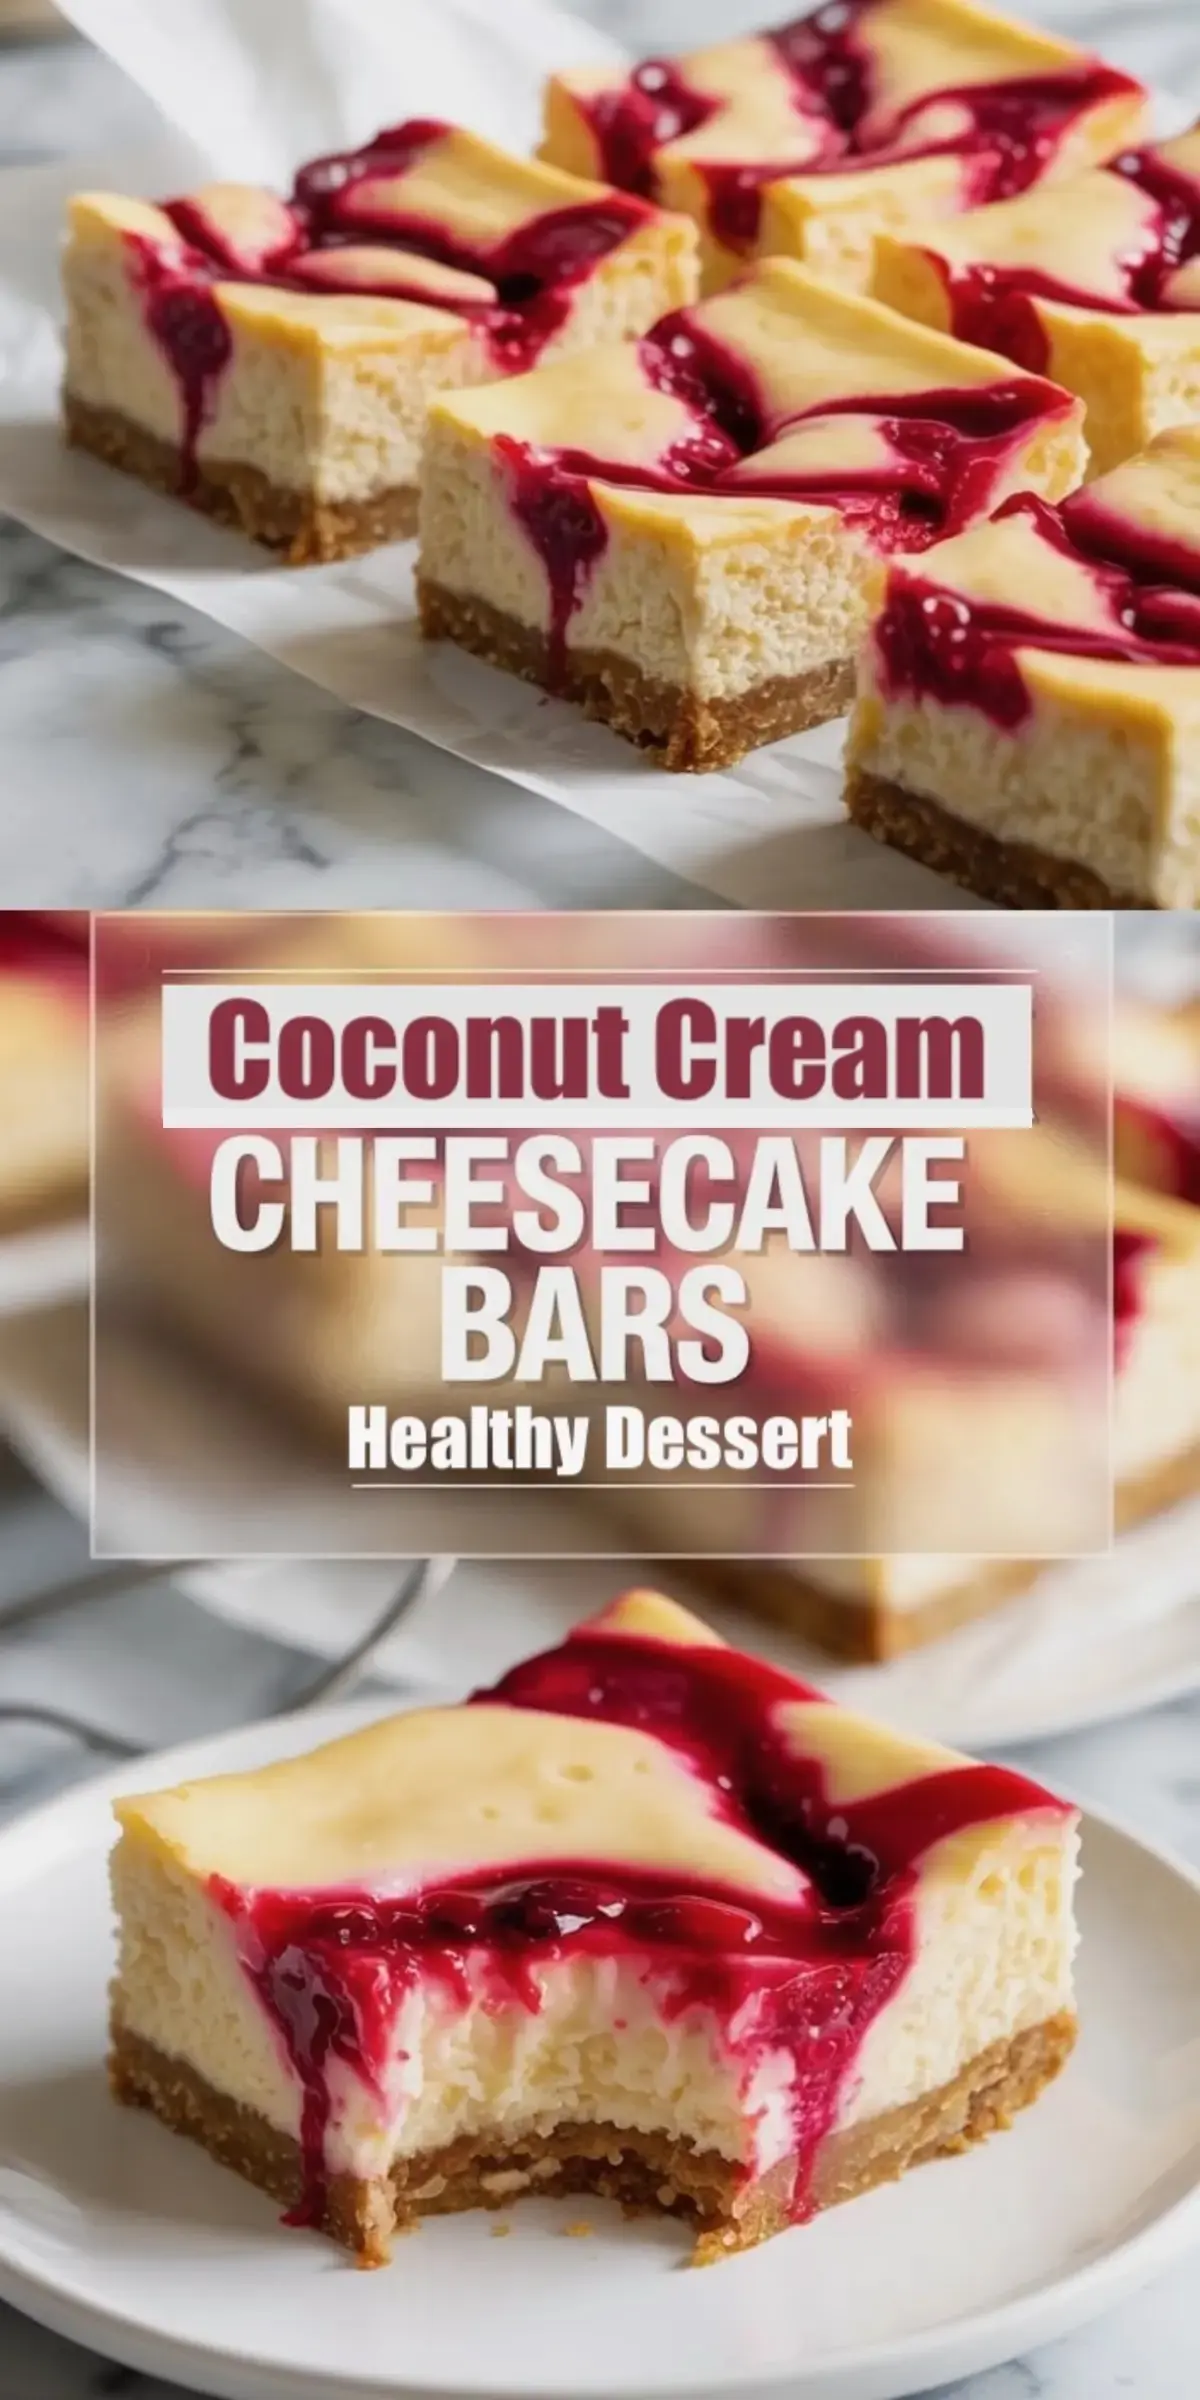
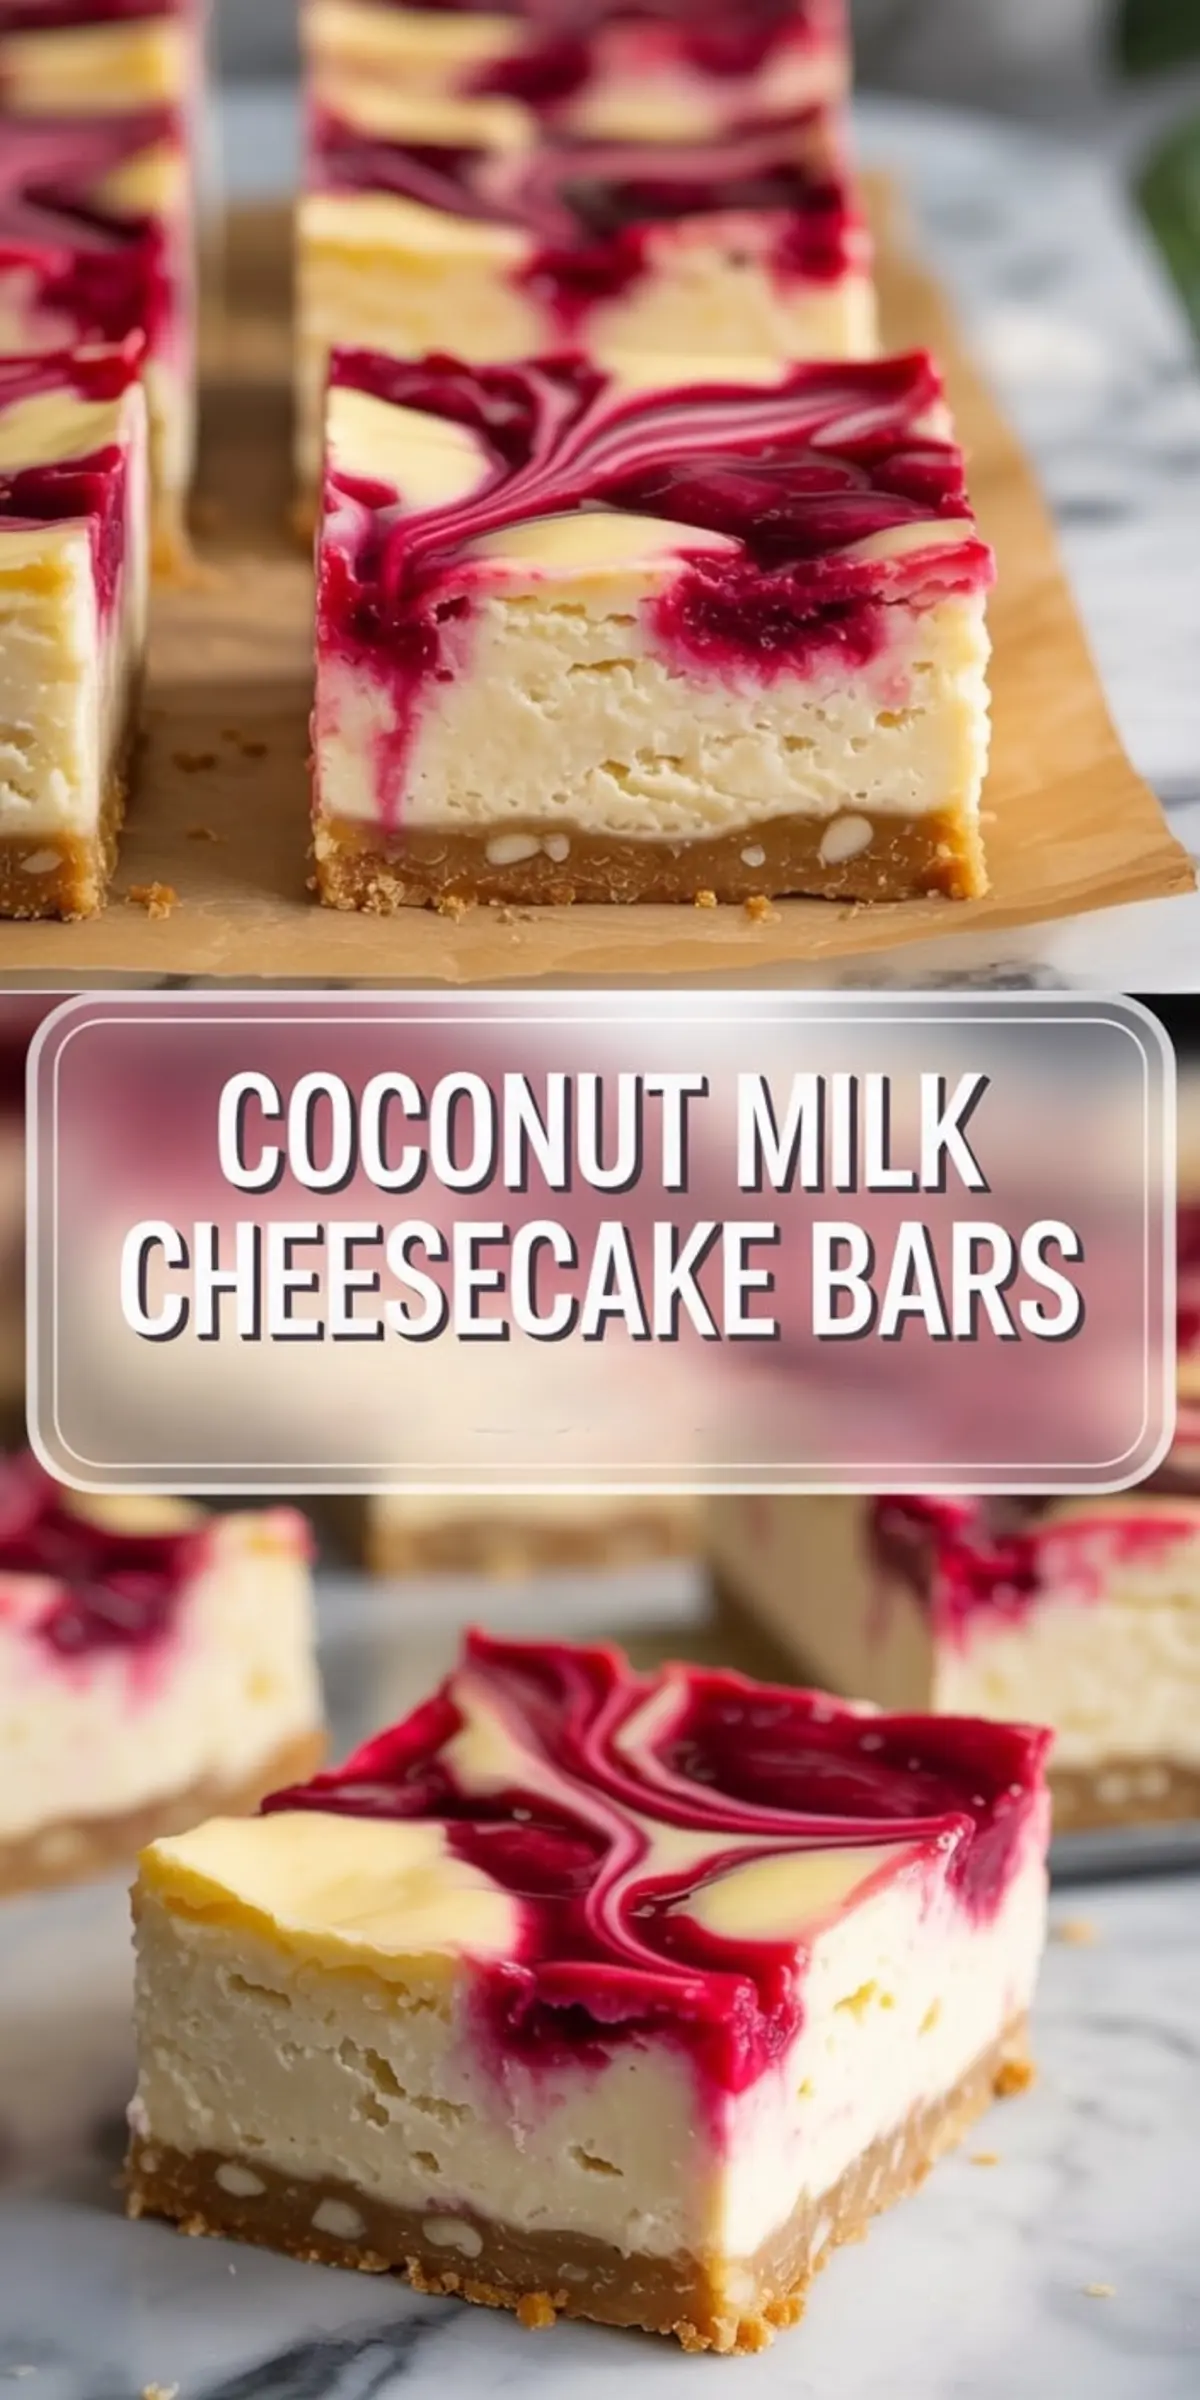
Creamy, lightly tangy, and swirled with berries, these Coconut Cheesecake Bars use coconut milk and light cream cheese for a softer, more refreshing spin on classic cheesecake. This version skips the heavy dairy and swaps in maple syrup, coconut cream, and a nutty crust for a simple coconut dessert that still delivers that dense, satisfying texture. You’ll find them under Coconut Cream Cheesecake Bars, Hawaiian Cheesecake Bars, or even Easy Coconut Cheesecake Bars, but they all lead back here.
Following a special diet?
Every recipe on this site can be converted to gluten-free, vegan, dairy-free, keto, nut-free or egg-free with adjusted ratios so nothing falls flat.
Try the Recipe Converter →These bars balance a few key ratios: a thinner layer of creamy filling, a touch of acidity, and a cooler baking temp. Each piece slices clean, yet melts gently on the tongue.
The filling avoids excess sugar and uses a lower-fat base, but still sets firmly. Coconut milk holds the moisture without overwhelming the structure. I use a 1:3 ratio of coconut milk to cream cheese to keep the filling from softening too much during baking.
Baking at 325°F gives the custard-style center time to gently firm up without puffing or cracking. A low and slow method suits this coconut dessert best. I’ve tried hotter ovens. The edges overbake before the center can catch up. The middle matters most.
Why I Chose These Ingredients

Graham crackers and coconut oil build the base. They provide warmth and crispness without needing butter. If you’re going gluten-free, almond flour works well here. It gives a softer bite and more richness, especially with a touch of salt.
For the filling, I use light cream cheese for a silkier texture and mellow tang. If you want to skip dairy, plant-based cream cheese will hold. The full-fat canned coconut milk brings both flavor and fat. Anything lower than full-fat won’t work.
I sweeten with maple syrup. It pairs more naturally with coconut than plain sugar does. Honey works too, but the taste runs deeper and slightly floral. Lemon juice cuts through the richness and brightens the finish.
If you’ve made my Coconut Cloud Cake, you’ll recognize the same balance of airy texture and depth of flavor. These bars follow a similar philosophy.
Spotlight on Coconut Milk
I use canned, full-fat coconut milk, not the kind in cartons. That creamy top layer gives the batter its tropical base and helps it bake into a smooth custard. Shake the can before opening, but don’t skip the thick part at the top.
If your kitchen runs cold, you might find separation in the can. Scoop what you can, warm it gently, and whisk it smooth before adding. A runny coconut milk weakens the filling. If it’s too watery, the bars don’t hold.
You’ll find a similar tip in my Coconut Rice Pudding. That recipe also leans on coconut milk’s rich consistency.
How to Layer and Swirl
The crust should feel like damp sand. Press it flat and firm, then bake for just under ten minutes. That sets the base so it holds the filling later. The edges may darken first. That’s fine. Just don’t overbake.
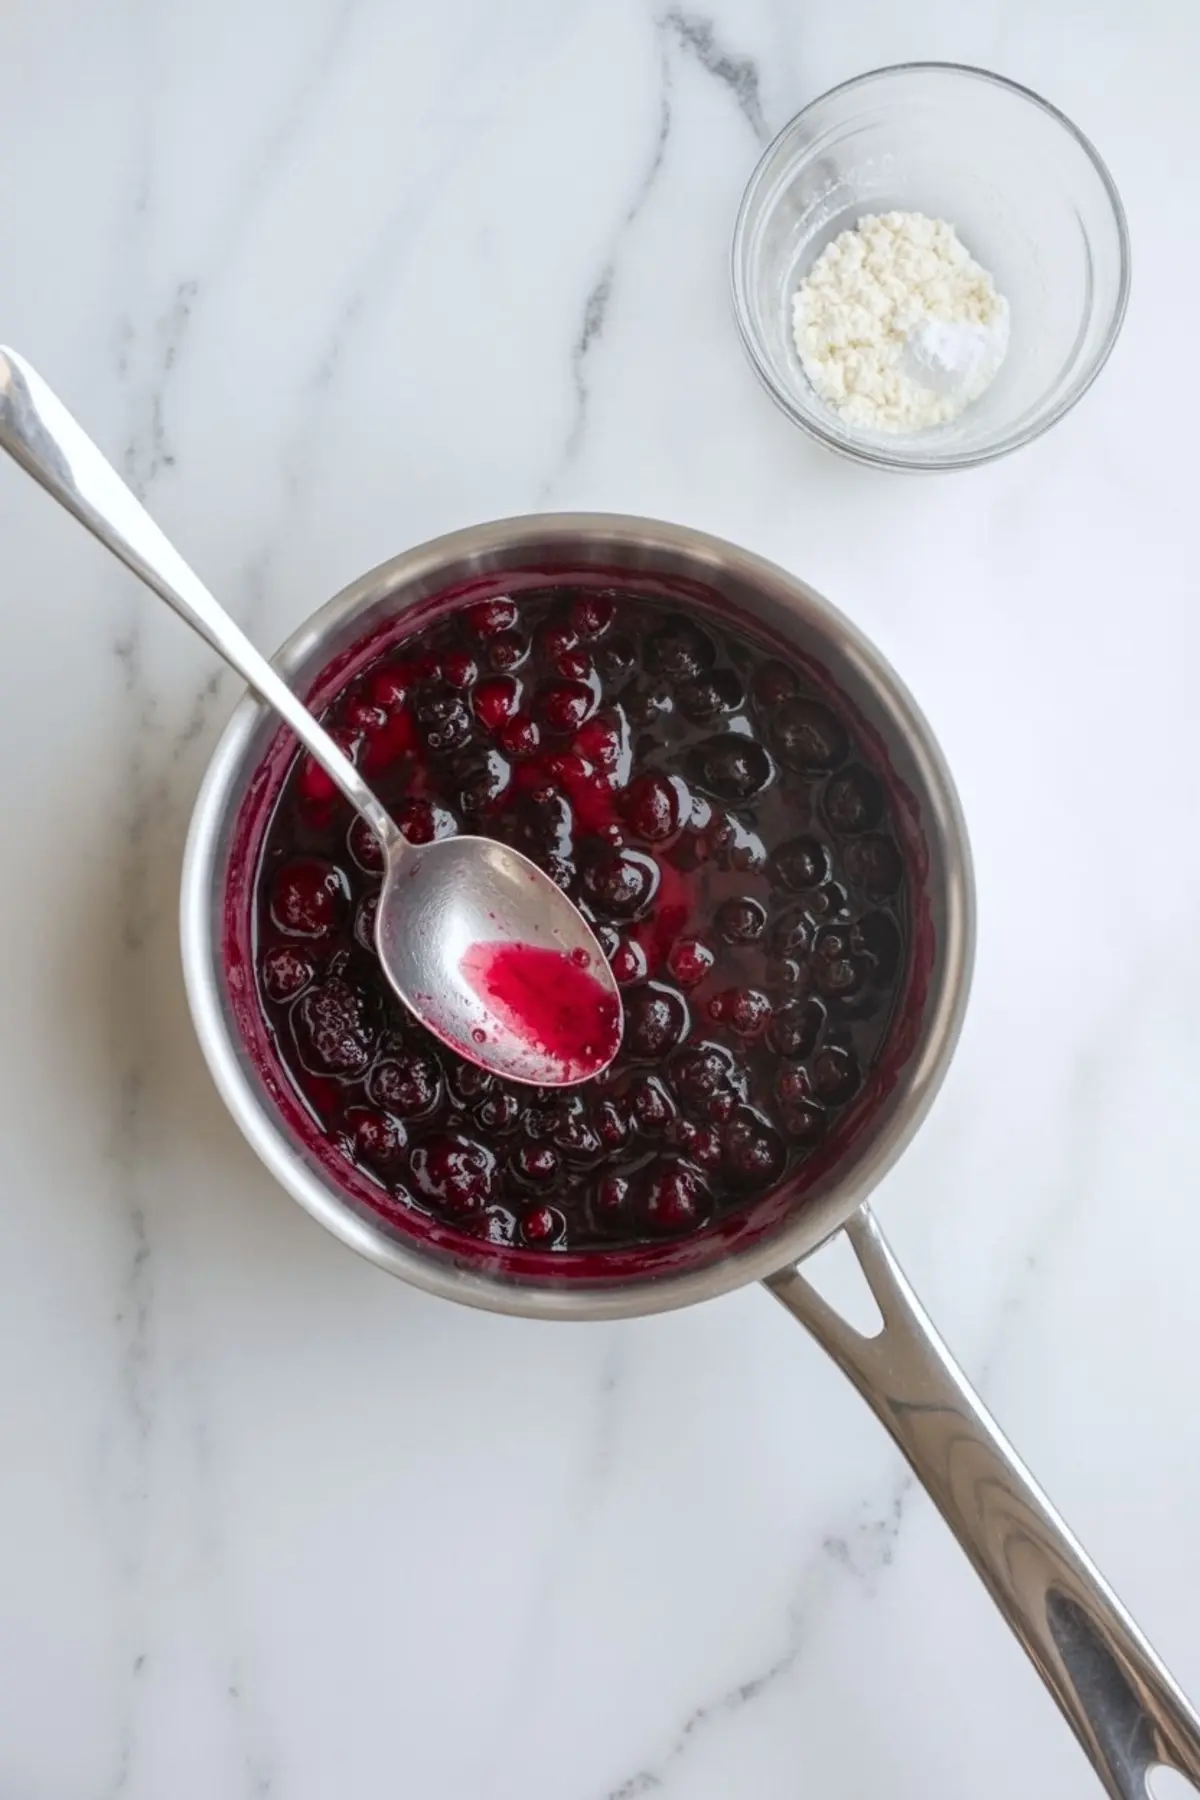
The berry swirl sits on top. Drop it by spoon, then gently pull a skewer or butter knife through in small figure-eights. The less you swirl, the more contrast you’ll see.
In my Chocolate Coconut Fudge I use a similar technique for layered contrast. Swirling here gives color and slight tartness.
How to Know When It’s Ready
The center should look slightly jiggly, but not loose. The edges will firm first. A toothpick won’t help much here. Tap the pan gently. If the sides stay put and the middle trembles lightly, it’s done.
If you bake too long, the texture turns rubbery. Too short, and the slices won’t hold. Thirty-two minutes tends to be the sweet spot in my oven.
Common Problems and Fixes
Cracks on top? That’s usually from overmixing or too much air. Mix on low speed. Don’t rush.
Filling too soft? Check your coconut milk. Thin, watery milk doesn’t support structure.
Swirl sinking? Wait until the batter sits, then spoon on. If the batter’s too thin, chill it briefly before swirling.
Crumbly crust? Add an extra half tablespoon of coconut oil if it doesn’t press together.
Simple Ways to Switch It Up
Use lime juice instead of lemon for a sharper finish. Add ¼ cup shredded coconut to the crust for more chew. Omit the berry swirl and top with mango puree before baking for a warmer, Hawaiian Cheesecake Bars effect.
You could also follow my method from these Brown Butter Coconut Blondies and add browned coconut flakes on top for a toasted layer.
How to Store and Slice
These keep well in the fridge, covered, for up to four days. Slice them cold for clean edges.
You can freeze them too. Once chilled, wrap slices individually and freeze up to a month. Thaw in the fridge overnight. The texture stays creamy.
I don’t recommend microwaving. The coconut milk breaks down and the texture softens unevenly.
Tips That Helped Me Most
Use a glass baking dish if you have one. It helps the crust set evenly. Let the cheesecake cool on the counter before chilling. That avoids condensation.
Chill overnight. It makes a huge difference in how neatly it cuts. I also suggest using a hot knife to slice. Run the knife under warm water, wipe clean, and repeat between cuts.
If you like easy prep and minimal cleanup, these Coconut Cream Chia Seed Pudding cups are another favorite.
Save This Recipe for Later
You can pin this Coconut Milk Cheesecake Bars recipe to your tropical desserts board to keep it handy.
I’d love to hear how yours turn out. Leave a comment with your twist or any questions!
Coconut Milk Cheesecake Bars Recipe
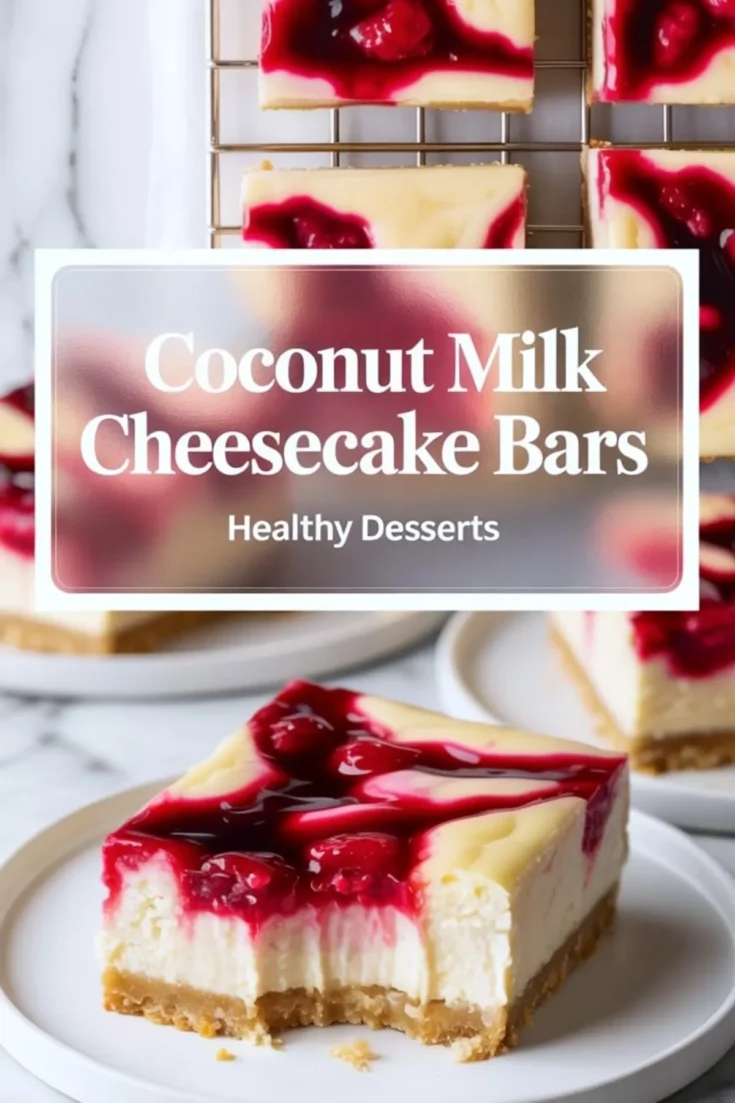
These Coconut Cream Cheesecake Bars are the perfect fusion of creamy richness and tropical flavor. Made with a smooth coconut cheesecake filling on a buttery crust, they’re ideal for spring, summer, or any time you crave tropical desserts. Whether you’re searching for easy coconut cheesecake bars or a crowd-pleasing coconut dessert, this recipe delivers. Add them to your list of favorite coconut cheesecake recipes, and don’t miss the creamy texture and tropical twist of these Hawaiian cheesecake bars. A simple yet indulgent coconut recipe that’s always a hit.
Ingredients
- FOR THE CRUST
- 1 ½ cups graham cracker crumbs (or almond flour for gluten-free)
- 3 tablespoons coconut oil, melted
- 2 tablespoons maple syrup or honey
- Pinch of salt
- FOR THE CHEESECAKE FILLING
- 2 (8 oz) packages light cream cheese, softened (or dairy-free cream cheese)
- ½ cup full-fat canned coconut milk (shake well before using)
- ⅓ cup maple syrup or honey
- 1 teaspoon vanilla extract
- 1 tablespoon lemon juice
- 2 large eggs
- FOR THE BERRY SWIRL
- ½ cup mixed berries (fresh or frozen)
- 1 tablespoon maple syrup
- 1 teaspoon cornstarch
- 1 tablespoon water
Instructions
- MAKE THE BERRY SWIRL: In a small saucepan over medium heat, combine the mixed berries, maple syrup, and cornstarch mixed with water. Cook for 3 to 5 minutes, stirring frequently, until the mixture thickens and the berries soften. Lightly mash the berries, then remove from heat and set aside to cool.
- PREPARE THE CRUST: Preheat the oven to 325°F (160°C). Line an 8x8-inch baking pan with parchment paper, allowing a slight overhang for easy removal. In a medium bowl, mix the graham cracker crumbs, melted coconut oil, maple syrup, and salt until the texture resembles wet sand. Press the mixture evenly into the bottom of the prepared pan. Bake for 8 to 10 minutes, then remove from the oven and let cool slightly.
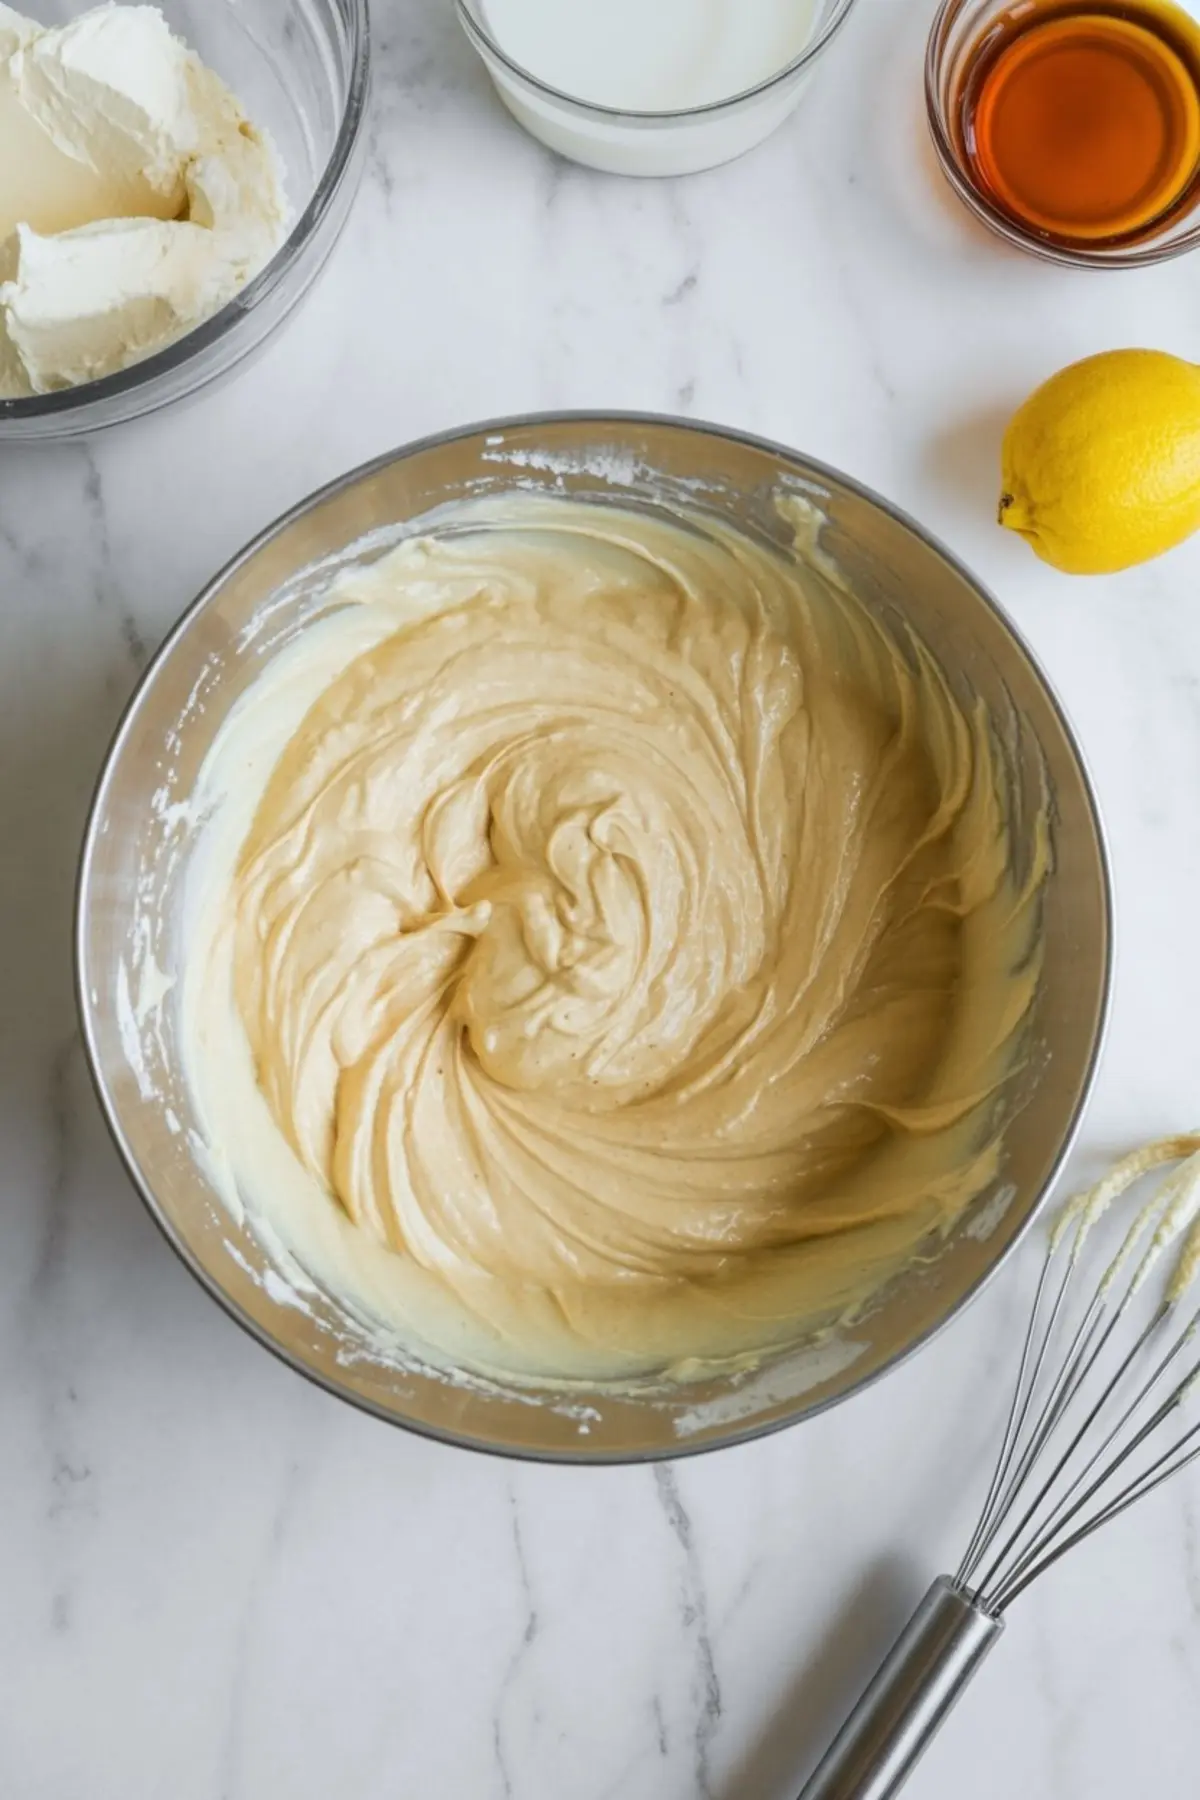
- MAKE THE CHEESECAKE FILLING: In a large mixing bowl, beat the cream cheese until completely smooth and creamy. Add the coconut milk, maple syrup, vanilla extract, and lemon juice, and mix until fully combined. Add the eggs one at a time, mixing on low speed after each addition just until incorporated. Avoid overmixing to prevent cracking during baking.
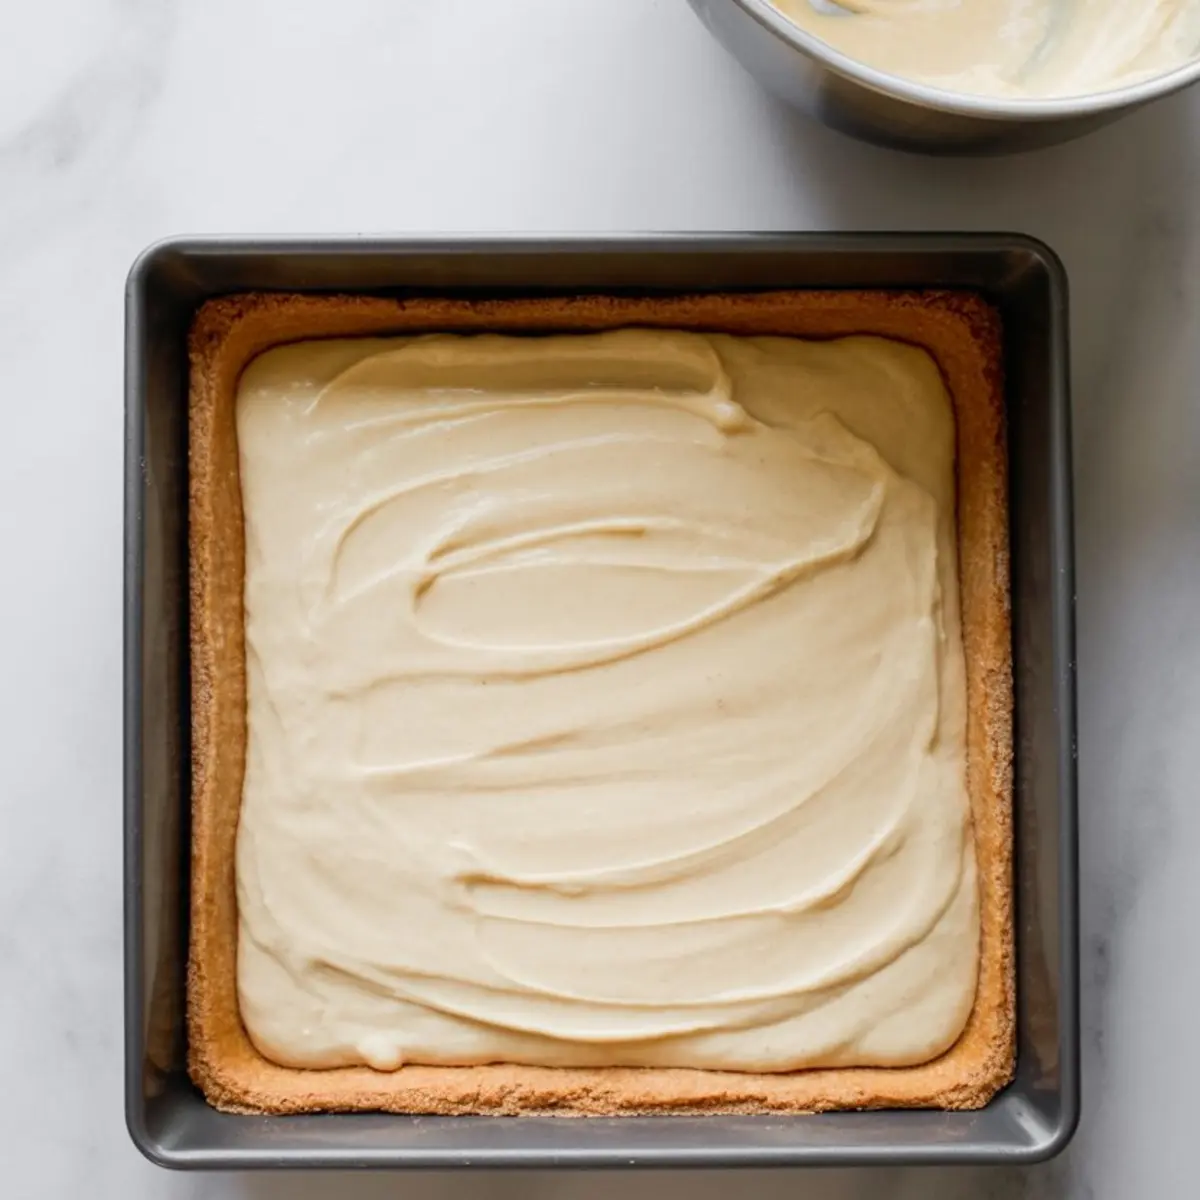
- ASSEMBLE AND SWIRL: Pour the cheesecake filling over the pre-baked crust and smooth the top with a spatula. Drop spoonfuls of the cooled berry swirl over the surface, then use a toothpick or knife to gently swirl it into a marbled pattern without overmixing.
- BAKE AND CHILL: Bake at 325°F (160°C) for 30 to 35 minutes, or until the center is just set but still slightly jiggly. Remove from the oven and allow the bars to cool completely at room temperature. Once cooled, refrigerate for at least 3 hours, preferably overnight, before slicing into bars.
Notes
To make this recipe gluten-free, use almond flour instead of graham crackers. For a fully dairy-free version, be sure to use dairy-free cream cheese. Swirl is optional but adds color and flavor contrast. Store bars covered in the refrigerator for up to 4 days.
Nutrition Information
Yield
12Serving Size
1Amount Per Serving Calories 116Total Fat 7gSaturated Fat 5gUnsaturated Fat 2gCholesterol 33mgSodium 35mgCarbohydrates 11gFiber 1gSugar 8gProtein 2g