
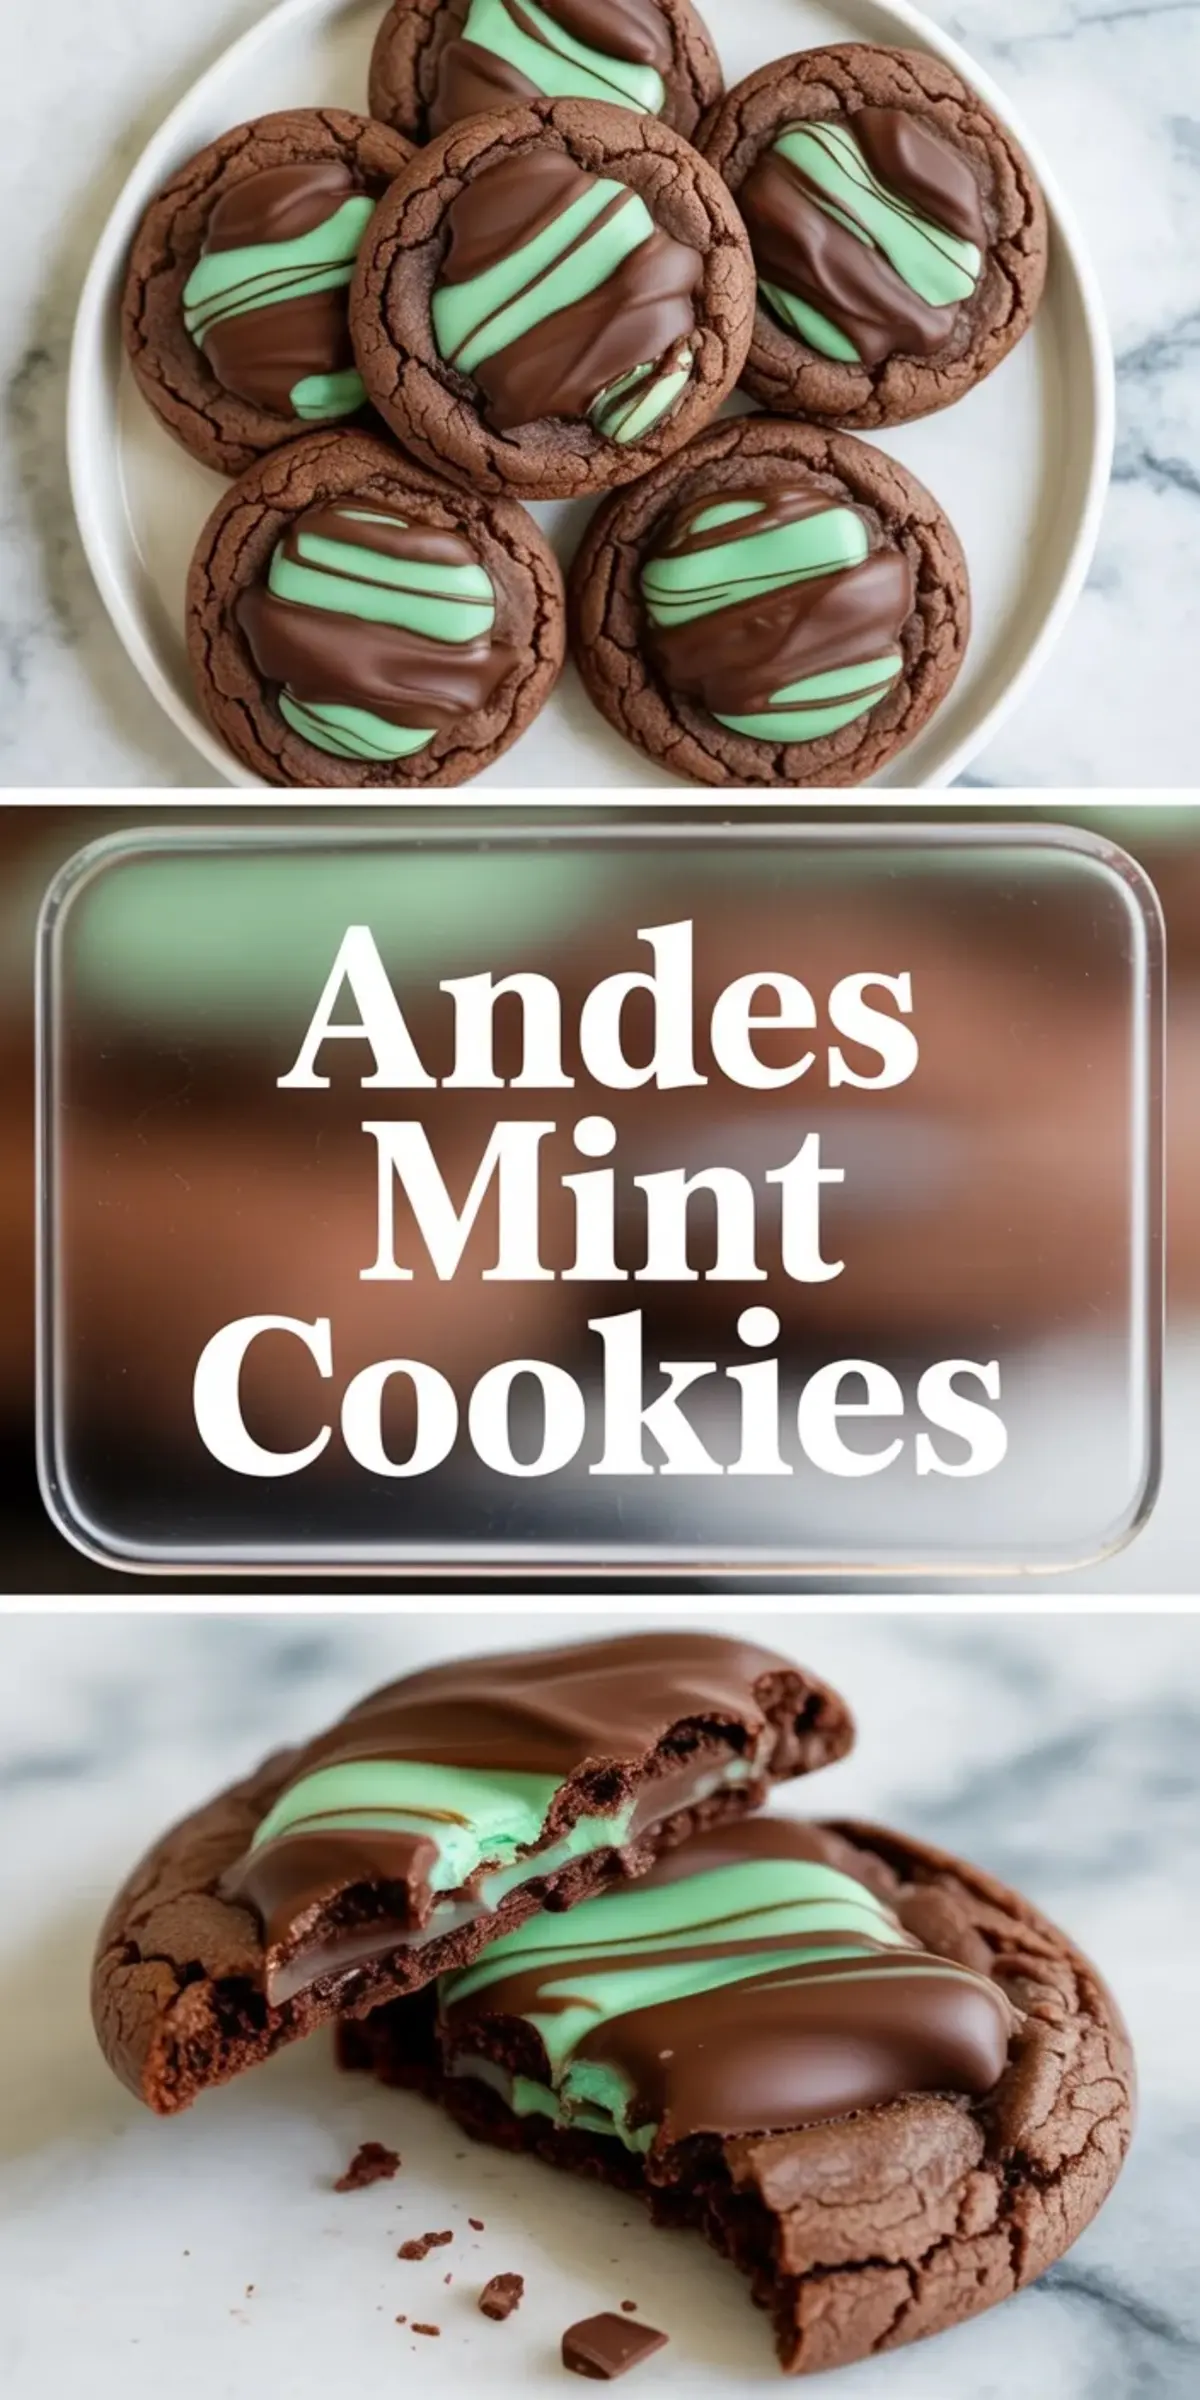
Andes mint cookies need two things to work: a soft chocolate cookie base that stays thick instead of drying out, and a mint topping that melts just enough to look smooth without turning messy. When either side is off, the cookies can feel flat or overly sweet. This version keeps the cookie rich and chewy with cocoa, butter, and chocolate chips, then finishes each one with a softened Andes mint that spreads into a glossy layer right after baking.
That simple finishing step is what gives these cookies their signature look. You get the familiar chocolate and mint contrast from the candy itself, but the base underneath still tastes like a proper homemade chocolate cookie instead of just a vehicle for the topping. If you want Andes mint cookies that feel festive without becoming fussy, this recipe lands in a very easy sweet spot.
Following a special diet?
Every recipe on this site can be converted to gluten-free, vegan, dairy-free, keto, nut-free or egg-free with adjusted ratios so nothing falls flat.
Try the Recipe Converter →Why the Texture Works So Well Here
The dough is built to stay soft in the center while the edges set just enough to hold the melted candy on top. Brown sugar helps with moisture, cocoa keeps the flavor deep, and the added chocolate chips give the cookies more body so they do not taste one note once the mint topping goes on. The result is a cookie that feels richer than a plain chocolate base but still balanced enough for the mint to stand out.
The Andes candies do the rest of the work after the cookies come out of the oven. Instead of baking the candies into the dough, placing them on the hot cookies keeps the green mint layer and chocolate layer more visible. For another chocolate cookie with a strong center and bakery style finish, chocolate stuffed crinkle cookies are a useful comparison.
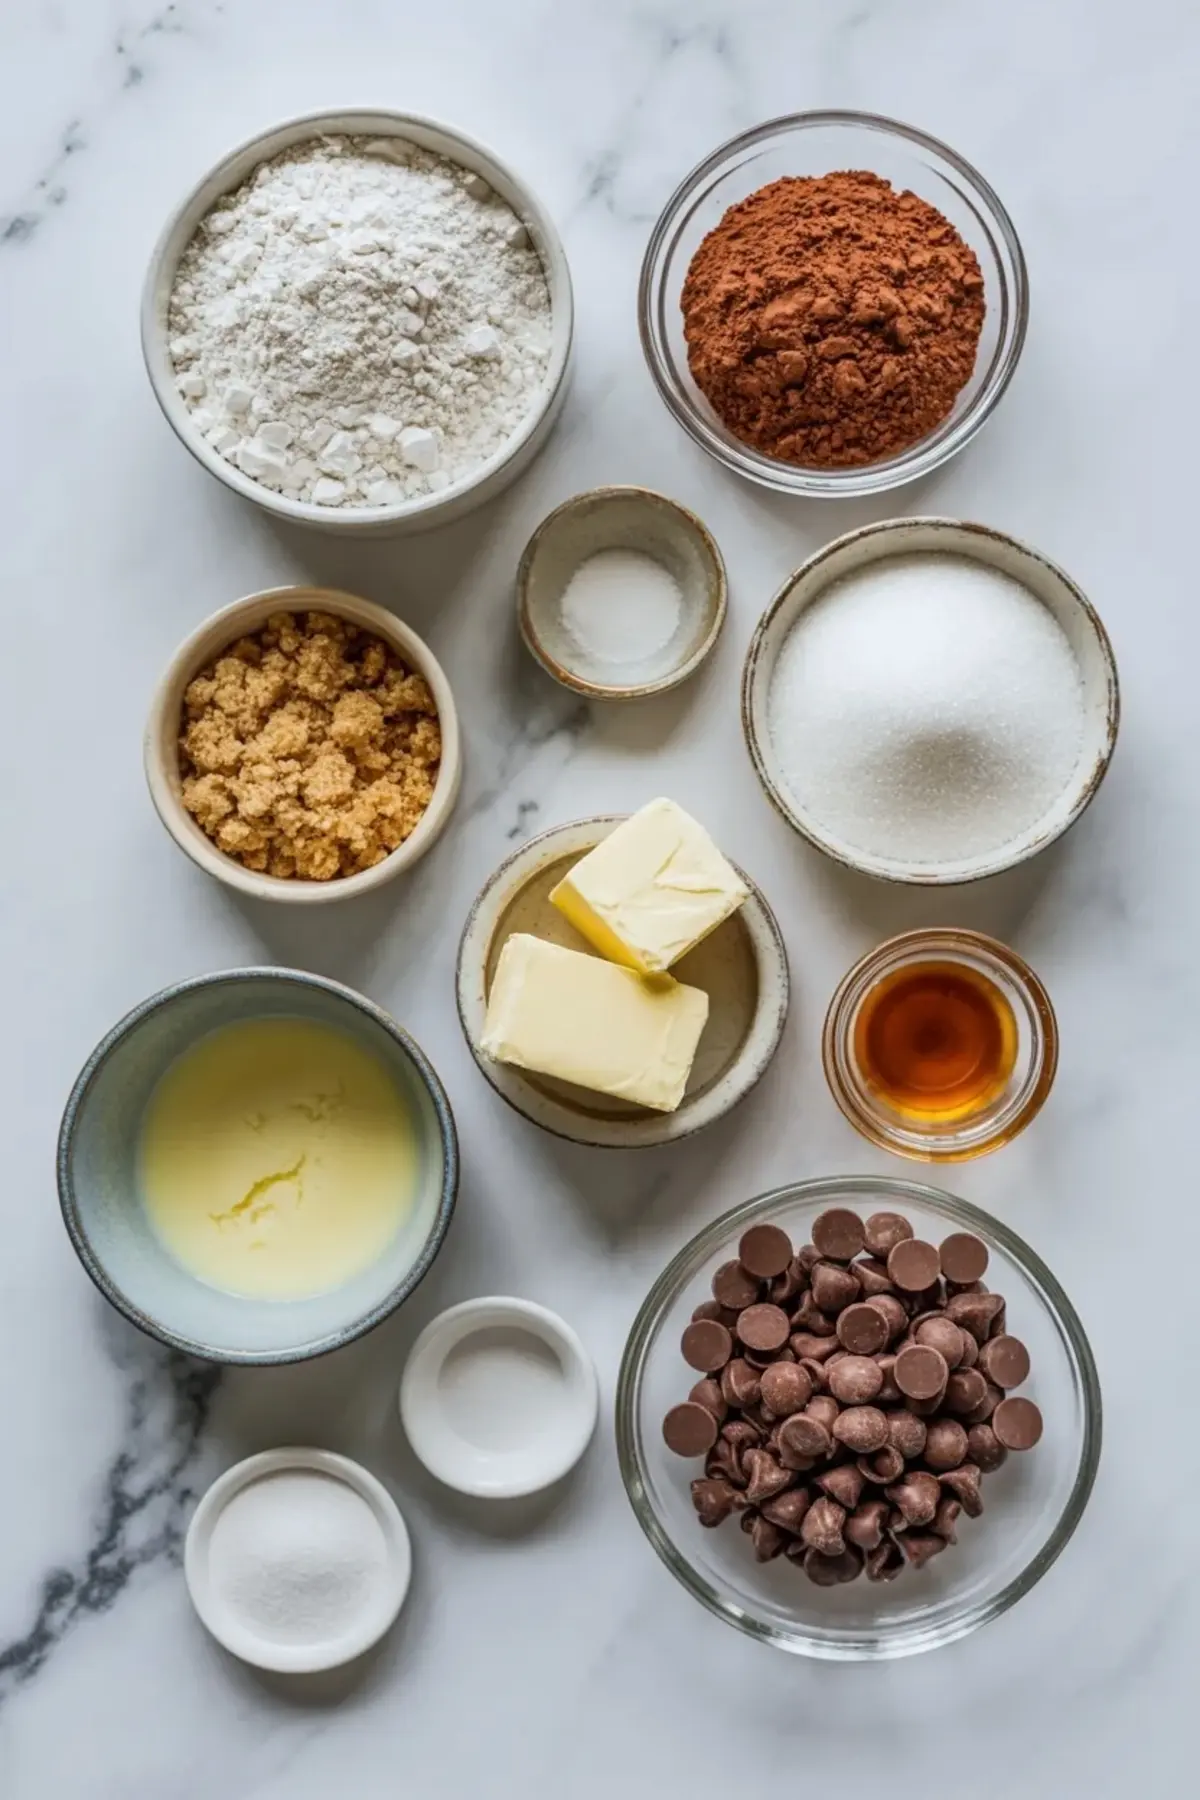
Ingredients That Matter Most
Cocoa powder gives the dough its dark chocolate base, but the butter and sugar ratio is what keeps the cookies soft instead of cakey. Brown sugar is especially important because it adds chew and helps the cookies stay tender after cooling. The chocolate chips folded into the dough make each cookie feel fuller and more dessert like, even before the Andes topping goes on.
The candies themselves need to be added while the cookies are still hot so they soften enough to spread. That timing matters more than force. If you wait too long, the topping will not move smoothly. If you press too hard too soon, it can drag crumbs into the candy. If you like mint chocolate bakes for holiday trays, mint chocolate chip snowball cookies are another good seasonal option.
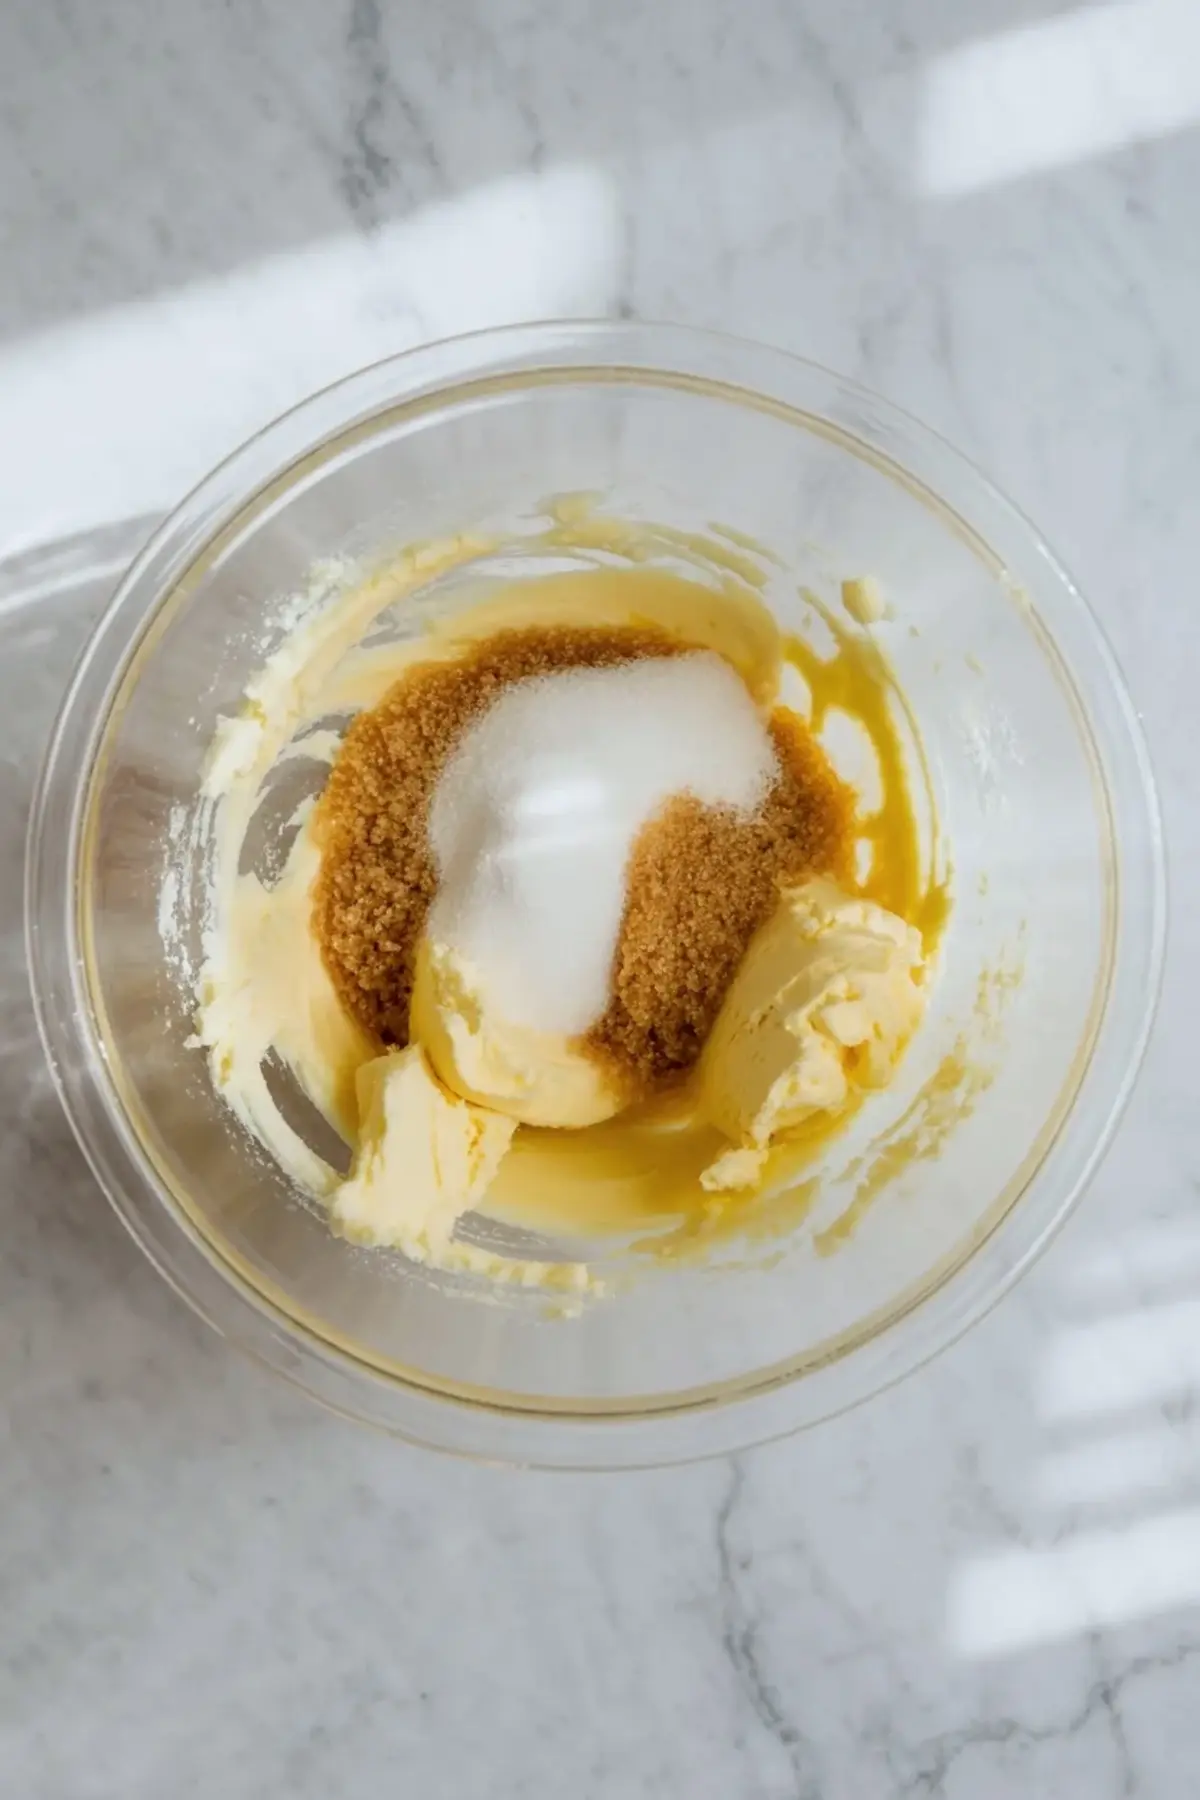
Creaming the Butter and Sugars Properly
This step shapes the whole texture of the dough. Creaming the butter with both sugars until the mixture looks lighter and smoother helps the cookies bake with a softer center and a more even spread. If the butter is too cold, the mixture stays clumpy. If it is too warm, the dough can loosen too much before the dry ingredients go in.
Once the eggs and vanilla are added, the dough should look creamy and cohesive before the flour and cocoa mixture is mixed in. That smoother starting base makes it easier to keep the finished cookies thick and uniform, especially after chilling.
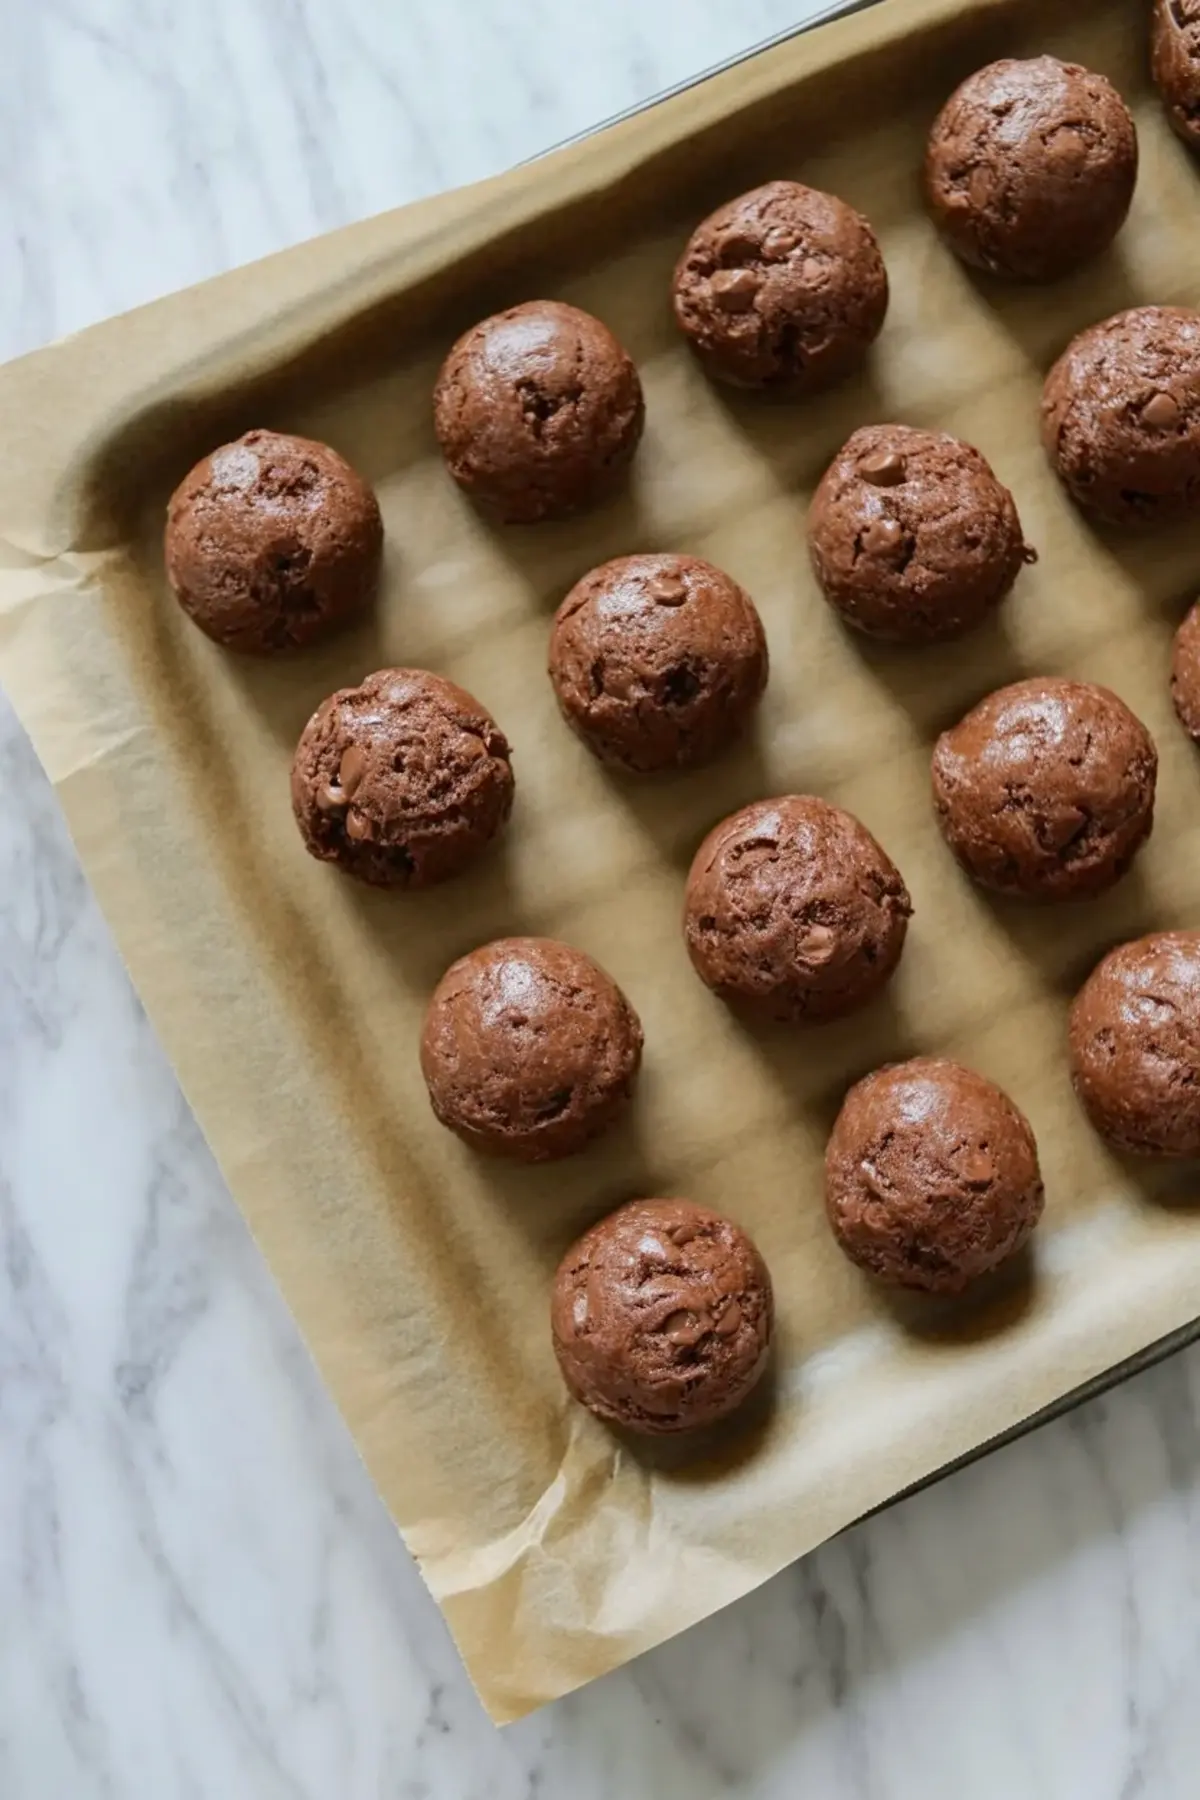
Chilling and Scooping for Thick Cookies
A short chill gives the dough time to firm up, which helps the cookies stay rounded and soft instead of spreading thin in the oven. It also makes scooping easier and keeps the chocolate chips suspended through the dough rather than sinking into softer spots. When you portion the cookies, aim for evenly sized scoops so the Andes candies soften at the same pace on every batch.
Spacing matters too because these cookies need enough room for a little natural spread. Pulling them when the edges are set but the centers still look slightly soft is the safest way to keep them chewy once cooled.
Getting the Andes Topping Smooth Without Making a Mess
As soon as the cookies come out of the oven, place one Andes mint on top of each one and give it a minute or two to soften. Then use the back of a spoon or a small offset spatula to spread the candy gently over the surface. Light pressure works better than aggressive spreading because it keeps the mint and chocolate swirls more visible.
That soft swirled finish is a big part of what makes Andes mint cookies look special on a tray. For another party friendly chocolate mint style dessert, peppermint chocolate chip cookie bars make a good related bake when you want the same flavor profile in bar form.
Serving and Storing Andes Mint Cookies
These cookies are at their best once the topping has set but the centers still feel soft. They hold well at room temperature for a few days in an airtight container, and the mint layer stays neat once fully cooled. If you are stacking them for a cookie tray, wait until the tops are set so the candy stays smooth and polished.

Save this Andes mint cookies recipe for Christmas baking, cookie swaps, or any time you want a simple chocolate cookie with a more recognizable candy shop finish. The combination of chewy chocolate dough and melted mint topping makes them easy to remember and easy to repeat.
Andes Mint Cookies

These Andes mint cookies are soft chocolate cookies topped with melted Andes candies that spread into a glossy mint chocolate layer over each warm cookie. The dough bakes thick and tender with cocoa and chocolate chips, while the candy topping adds that classic cool mint contrast without needing frosting or extra filling. If you want an Andes mint cookies recipe that feels easy enough for everyday baking but festive enough for cookie trays, this version keeps the method simple and the flavor bold. They are especially good for Christmas baking, party platters, or anytime you want chewy chocolate cookies with a smooth mint candy finish that looks bakery styled straight from the pan.
Ingredients
- FOR THE CHOCOLATE COOKIE DOUGH
- 1 cup unsalted butter, softened
- 1 cup brown sugar
- ½ cup granulated sugar
- 2 large eggs
- 1 teaspoon vanilla extract
- 2 cups all-purpose flour
- ⅔ cup unsweetened cocoa powder
- 1 teaspoon baking soda
- ½ teaspoon salt
- 1 cup semi-sweet chocolate chips
- FOR THE MINT CHOCOLATE TOPPING
- 18 Andes mint candies, unwrapped
Instructions
CREAM THE BUTTER AND SUGARS: In a large mixing bowl, beat the softened butter, brown sugar, and granulated sugar together until light and fluffy. Add the eggs one at a time, mixing well after each addition, then stir in the vanilla extract until fully combined.
MIX THE DRY INGREDIENTS: In a separate bowl, whisk together the flour, cocoa powder, baking soda, and salt. Slowly add the dry ingredients into the wet ingredients and mix until a thick dough forms. Fold in the semi-sweet chocolate chips evenly throughout the dough.
CHILL THE DOUGH: Cover the bowl tightly and refrigerate the cookie dough for 30 minutes. Chilling helps the cookies stay thick and soft while baking.
PREPARE THE COOKIES: Preheat the oven to 350°F. Line baking sheets with parchment paper. Scoop about 2 tablespoons of dough per cookie and roll into balls. Place the dough balls evenly spaced on the prepared baking sheets.
BAKE THE COOKIES: Bake the cookies for 9 to 10 minutes, until the edges are set but the centers still look slightly soft. Remove the baking sheets from the oven.
ADD THE ANDES MINT TOPPING: Immediately place one Andes mint candy on top of each hot cookie. Let the candies sit for about 2 minutes until soft and glossy. Using the back of a spoon or a small offset spatula, gently spread the melted candy across the tops of the cookies. Spread lightly to keep the green mint layer and chocolate layer visible in soft swirls.
COOL AND SET: Let the cookies cool on the baking sheet for 5 minutes before transferring them to a wire rack. As the cookies cool, the melted mint topping will set into a smooth and silky chocolate mint layer.
Notes
For thicker cookies, keep the dough chilled between batches.
Do not over-spread the melted Andes mints or the swirled color effect will blend together completely.
Store cookies in an airtight container at room temperature for up to 4 days.