
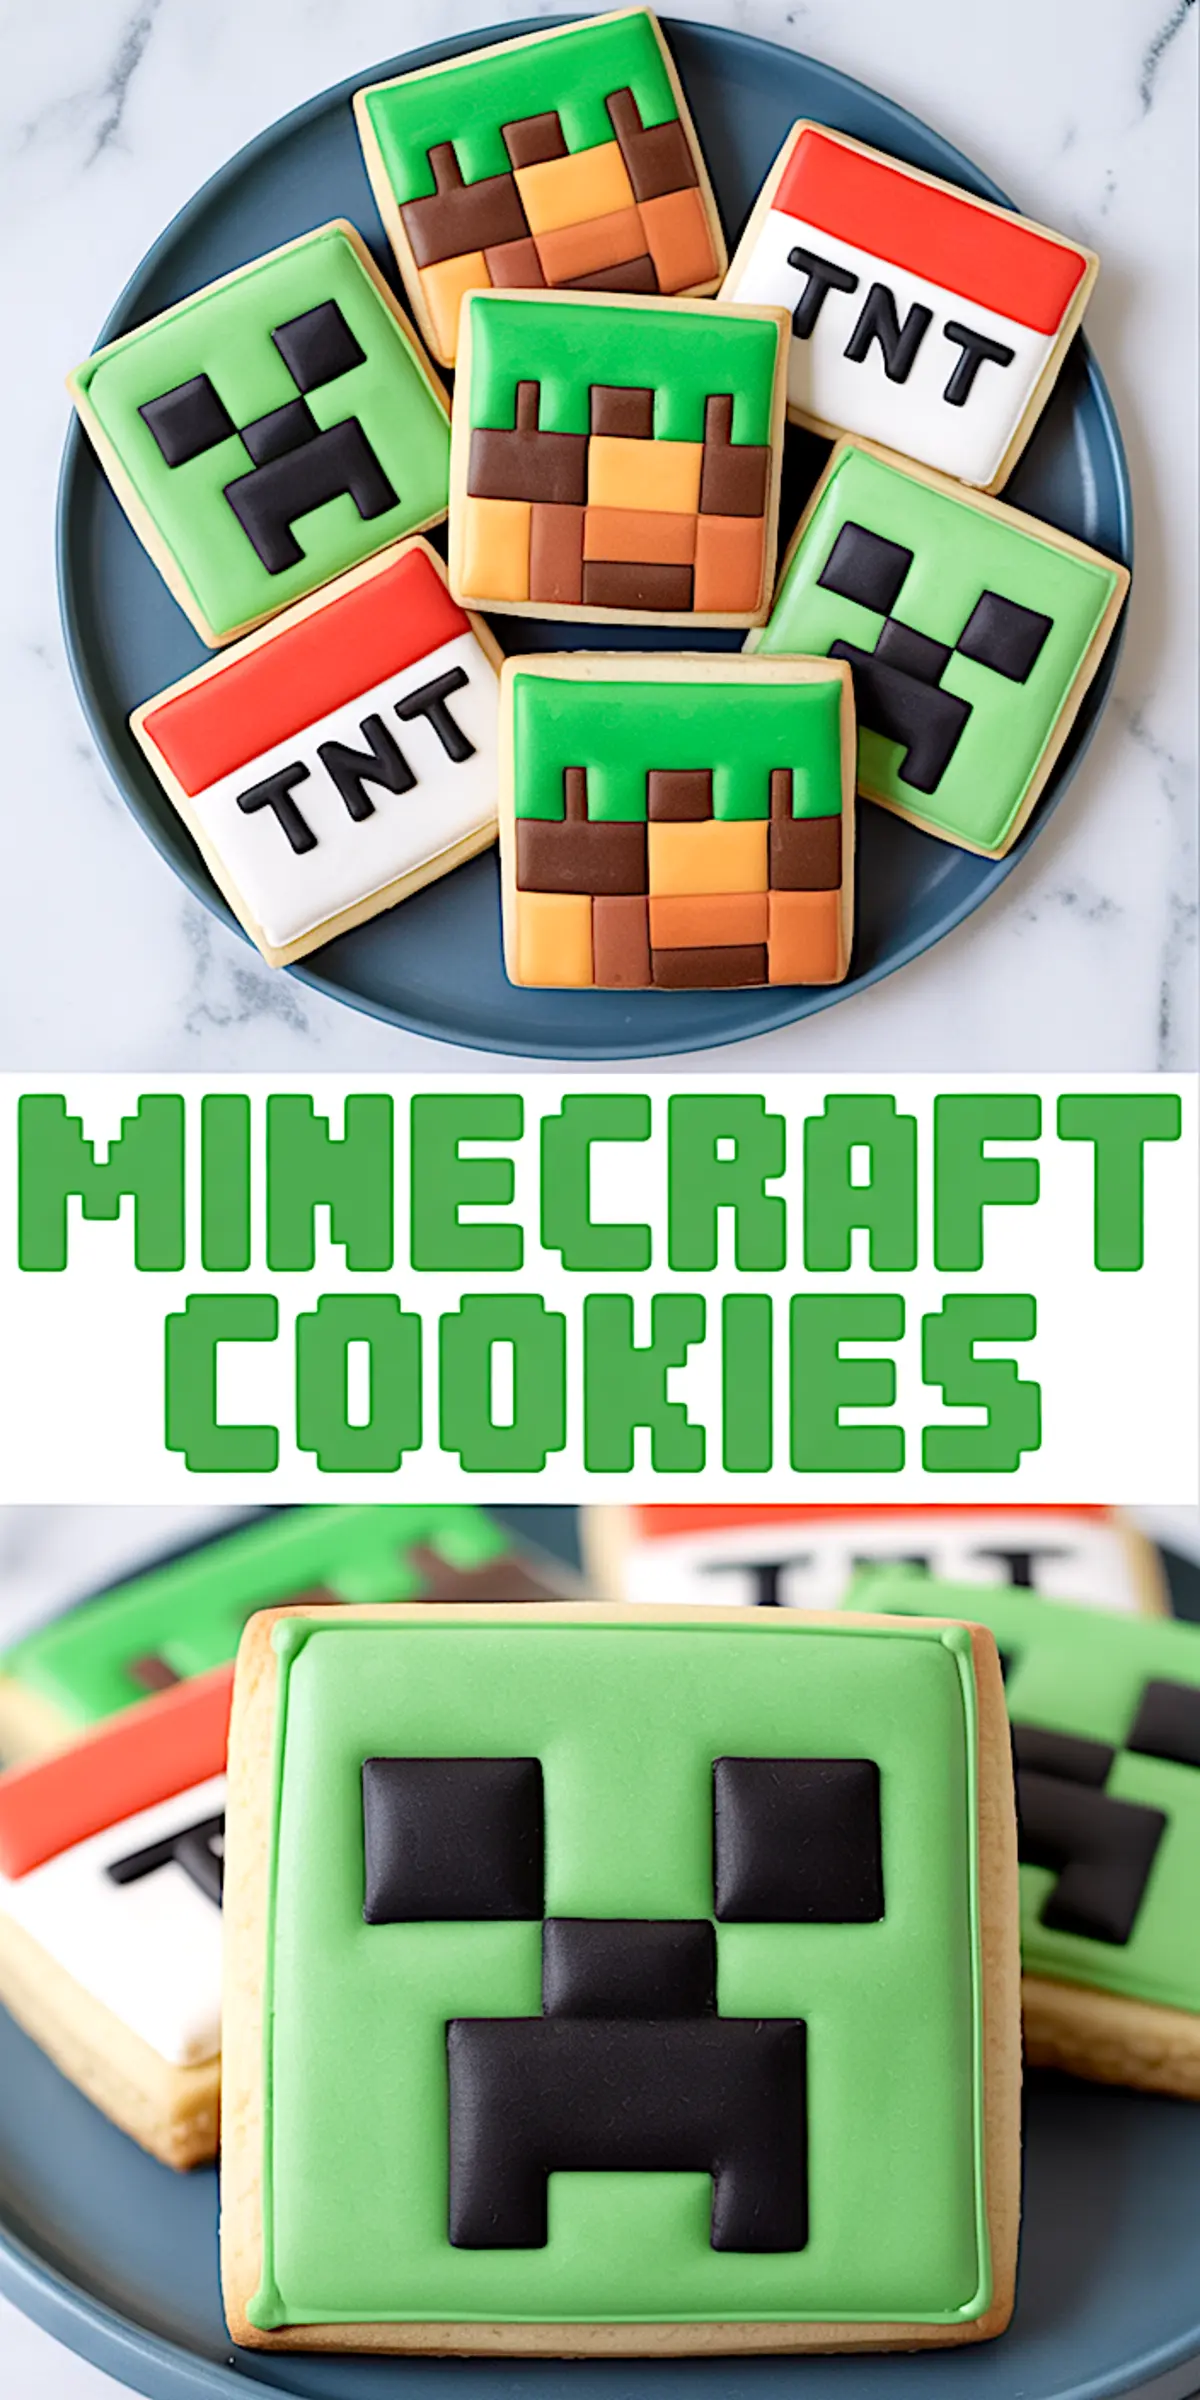
If you’ve ever searched for a dessert that gets kids excited before they even take a bite, Minecraft Cookies check every box. These decorated sugar cookies bring the pixelated charm of the game to the table and turn your baking session into a creative project.
You’ll learn how to make buttery, no-spread sugar cookies that hold their shape. You’ll also learn how to cut and attach fondant pieces that recreate blocks from the game with accuracy. This guide covers every step, from mixing the dough to shaping Creeper faces and TNT blocks. I’ll also show you how to store them, serve them, and choose ingredients that give you the best result.
Minecraft Party Food You’ll Love
Planning a full dessert table? Pair these cookies with our Minecraft Cupcakes Ideas or the Minecraft Theme Cake for a full spread.
Each one follows a different method and skill level, so you can match them to the time you have and the look you want.
Why These Minecraft Cookies Work for a Birthday Party
Most cookies get devoured and forgotten. These stay on the table longer, get photographed, and bring kids back for seconds. That’s because each cookie becomes a little build of its own.

I’ve made them for classroom treats, themed birthdays, and even game nights. They’re a hit every time. If you’re worried about the decorating process, don’t be. I’ve broken it down into easy steps that anyone can follow—even if you’ve never touched fondant before.
Making the Sugar Cookie Base

You start with a dough that’s firm enough to hold sharp edges, but soft enough to bite through. Butter and sugar give the base a mellow richness, while a hint of almond extract makes the flavor stand out from ordinary sugar cookies.
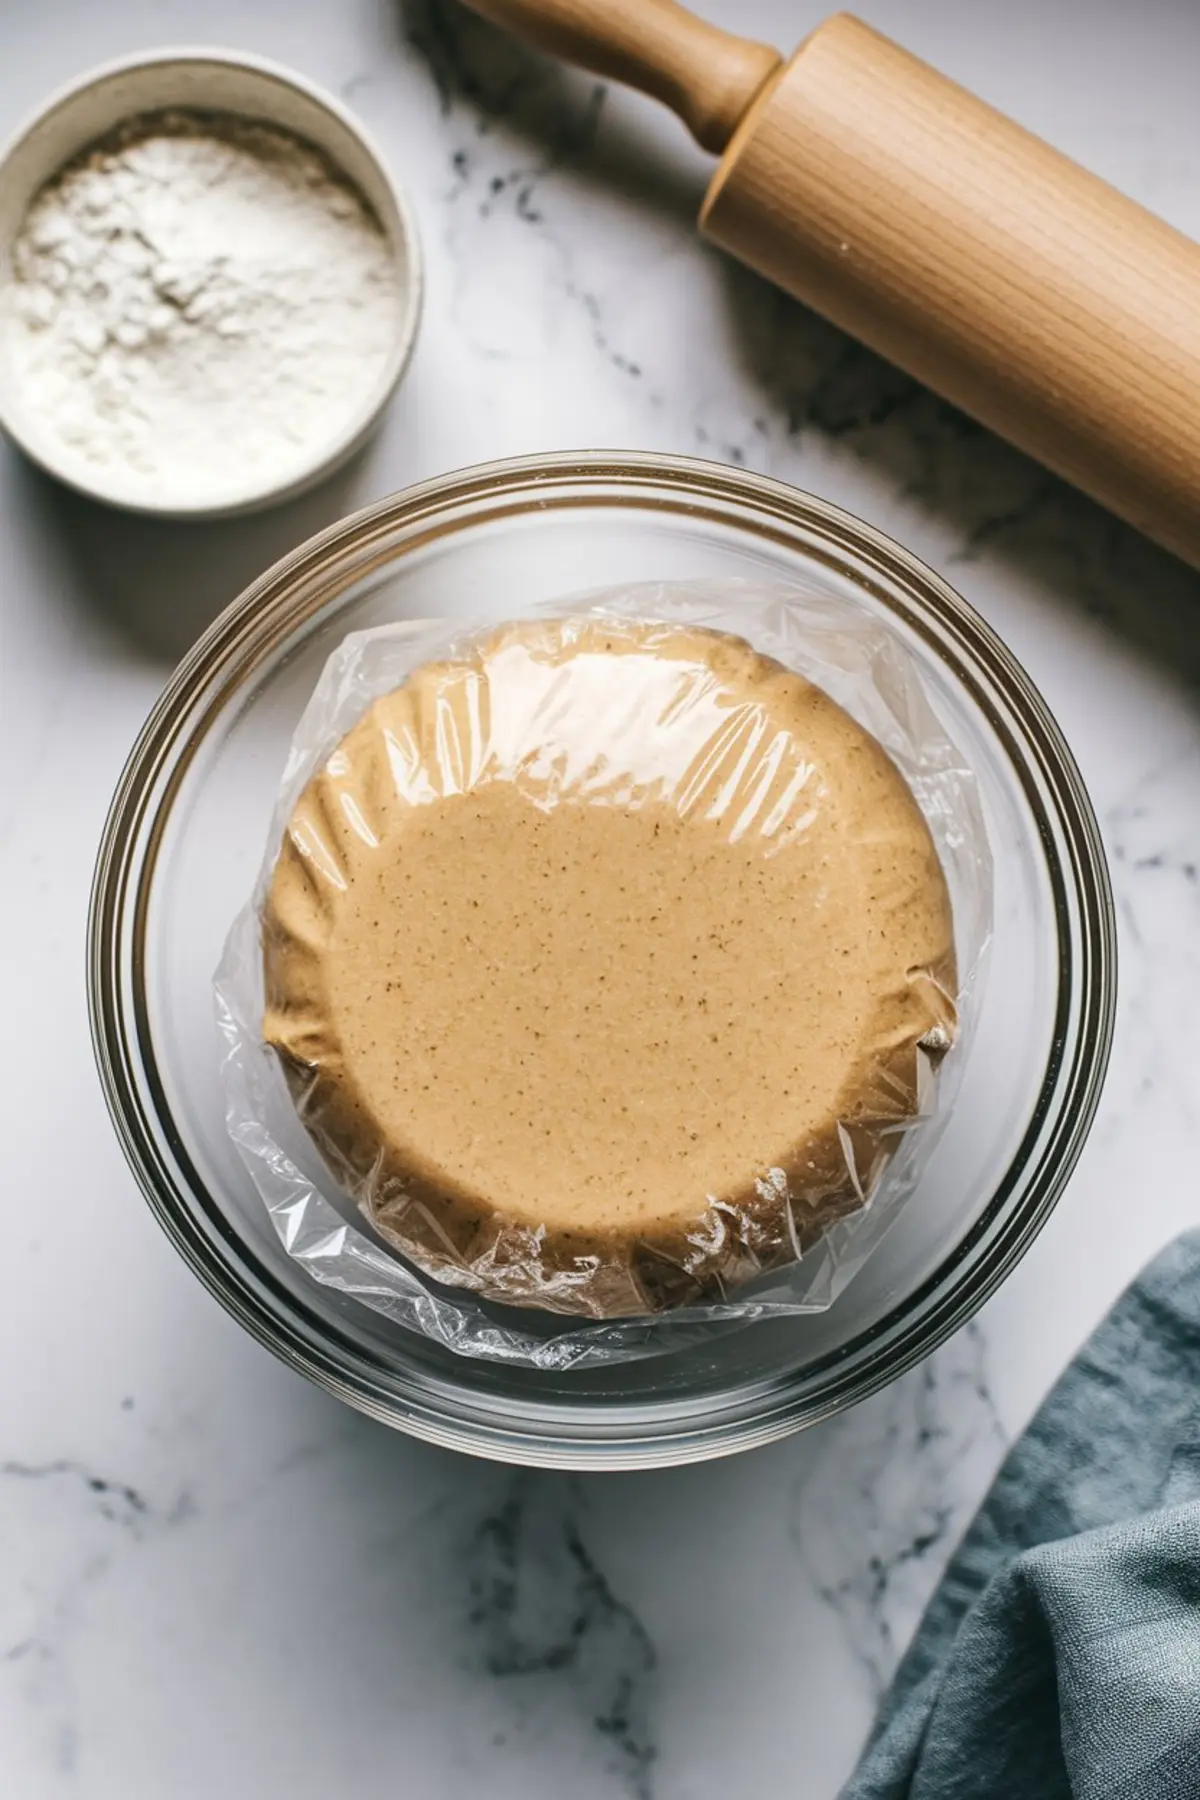
The dough needs chilling. That’s not a suggestion. It’s what keeps the cookies from spreading in the oven. If the dough is too soft, you’ll lose the sharp square shape—and that matters when you’re building block designs.
Pre-Colored Fondant vs. DIY Coloring
I’ve tried both methods. If you’re short on time or working with kids, pre-colored fondant saves a lot of hassle. The colors are even, bold, and consistent—especially with shades like green, red, or black that take effort to mix by hand.
Coloring fondant yourself gives more control. You can soften the green for grass blocks or darken the red for TNT. But it takes time and stains your hands, tools, and counter. Some gel colors also make the fondant sticky if you add too much.
If you only need small amounts of color or want softer shades, mixing your own works fine. But if you’re doing a full set of cookies with detailed blocks, pre-colored fondant is cleaner and quicker. That’s what I use for party batches.
Rolling, Cutting, and Baking

Roll the dough to a quarter inch. Not thinner. Not thicker. Use a square cutter. Re-roll scraps only once or twice—too much and the dough gets tough. Once baked, the cookies should have golden bottoms and pale tops. That’s how you know they’re cooked but not dry.
Cool them fully before decorating. Any heat left in the cookie will melt your fondant.
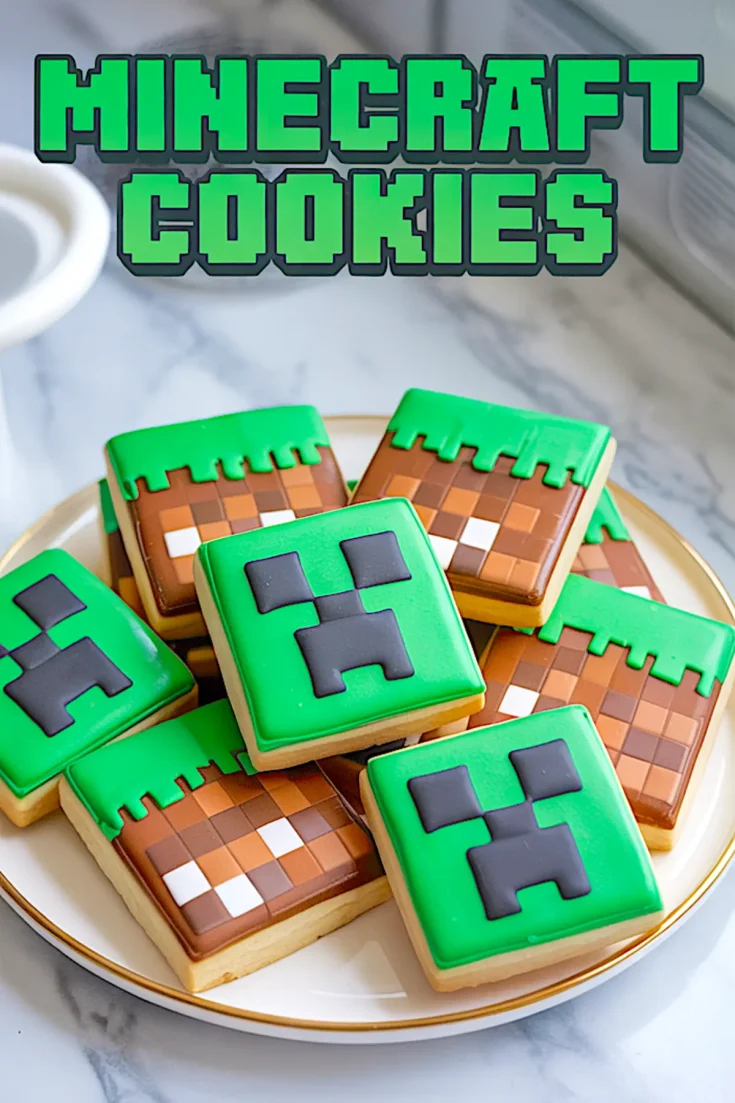
Shaping the Fondant Decorations
Each design uses one base fondant square, cut to match the cookie. From there, you build details like eyes, TNT letters, and dirt block textures using small fondant bits. Think of it like edible Lego.
Use cornstarch to prevent sticking. If the fondant feels too soft, let it sit uncovered for five minutes. Don’t rush this step. Stretchy fondant won’t cut cleanly.
Applying Fondant and Building Pixel Blocks
Attach the base fondant square first using edible glue or water. Press lightly to stick without damaging the cookie. Then, add details—eyes, letters, grass, dirt patterns, using small cutouts.
I always prep extra fondant pieces before assembling. It speeds things up and avoids smudging from handling too long.
Tips for Decorating With Kids
If kids are helping, cut the shapes in advance. Let them assemble the faces and designs instead. This keeps things tidy and lets them enjoy the fun part.
Use simple designs like Creeper faces or grass blocks for younger kids. Save the more detailed TNT or dirt blocks for older ones (or for yourself).
Serving and Storing Minecraft Cookies
These cookies are best stored in a single layer, or with parchment between layers. Fondant sticks easily, so avoid stacking them directly. Keep them in an airtight container at room temperature.
They hold their design for days, which makes them ideal for make-ahead party prep.
If you’re serving outside, keep them shaded. Fondant softens in direct heat.
Pin These Minecraft Cookies for Your Next Party
If this helped you plan or bake your party treats, save it on Pinterest so you can find it again later.
And if you try these Minecraft Cookies yourself, let me know in the comments how they turned out. I love seeing how others decorate theirs and I always answer questions.
Minecraft Cookies Recipe
These Minecraft Cookies combine a buttery sugar cookie base with playful fondant decorations that look like pixelated elements from the game. The step-by-step process breaks down how to shape, bake, and decorate cookies inspired by Creepers, TNT blocks, and grass blocks using colored fondant. The decorating process is structured and repeatable, perfect for themed parties or baking with kids.
Ingredients
- FOR THE SUGAR COOKIES:
- 1 cup (226g) unsalted butter, softened
- 1 cup (200g) granulated sugar
- 1 large egg
- 1 ½ teaspoons pure vanilla extract
- ½ teaspoon almond extract (optional)
- 3 cups (360g) all-purpose flour
- ½ teaspoon baking powder
- ½ teaspoon salt
- FOR THE FONDANT DECORATIONS:
- Green fondant (for Creepers and grass blocks)
- Brown fondant (for dirt blocks)
- Black fondant (for Creeper faces and TNT letters)
- White fondant (for TNT block details)
- Red fondant (for TNT top)
- Rolling pin
- Small offset spatula or knife
- Cornstarch or powdered sugar for dusting
- Edible glue or small bowl of water
- Square cookie cutter (2.5–3 inch)
Instructions
- MAKE THE COOKIE DOUGH: In a large bowl, beat the softened butter and granulated sugar together for 2–3 minutes until the mixture is light and fluffy. Add the egg, vanilla extract, and optional almond extract, then mix until fully combined.
- COMBINE DRY INGREDIENTS: In a separate bowl, whisk together the flour, baking powder, and salt. Gradually add the dry mixture to the wet ingredients, mixing until a soft dough forms.
- CHILL THE DOUGH: Divide the dough into two equal portions. Flatten each into a disc, wrap in plastic wrap, and refrigerate for at least 1 hour until firm.
- ROLL AND CUT COOKIES: On a floured surface, roll one disc of dough at a time to about ¼ inch thickness. Use a square cookie cutter to cut out shapes, gathering and re-rolling scraps as needed.
- BAKE THE COOKIES: Preheat the oven to 350°F (175°C). Arrange cookies on a parchment-lined baking sheet and bake for 8–10 minutes, or until edges are just turning golden. Let cookies cool completely on a wire rack.
- ROLL OUT THE FONDANT: Dust your surface lightly with cornstarch or powdered sugar. Roll each fondant color to about ⅛ inch thickness, keeping colors separate to prevent staining.
- CUT BASE FONDANT SQUARES: Use the same square cookie cutter to cut green, brown, red, and white fondant pieces to match the top of each cookie. Allow the fondant to sit uncovered for 5 minutes if it's too soft.
- CREATE PIXEL DESIGNS: Use a knife or fondant cutter to cut small squares and shapes. For Creeper faces, use black fondant to form two small square eyes, a thin nose, and a large mouth shape. For dirt blocks, arrange small brown, tan, and white squares with green grass details. For TNT blocks, assemble red and white rectangles and black “TNT” letters.
- APPLY FONDANT TO COOKIES: Brush the tops of the cooled cookies lightly with edible glue or water. Carefully press a base fondant square on each cookie, smoothing gently to adhere.
- ADD PIXEL DETAILS: Attach small fondant shapes onto the base fondant layer using a damp brush to act as glue. Gently press each piece into place to create the final Minecraft-inspired design.
- LET FONDANT SET: Allow the decorated cookies to sit uncovered for 2–3 hours at room temperature so the fondant can firm up and hold its shape.
Notes
Use gel food coloring to tint white fondant if pre-colored fondant is not available. If decorating with kids, pre-cut the fondant shapes to simplify the process. Store cookies in a single layer or with parchment between layers to avoid damaging the fondant designs.
Nutrition Information
Yield
24Serving Size
1Amount Per Serving Calories 120Total Fat 1gSaturated Fat 0gTrans Fat 0gUnsaturated Fat 1gCholesterol 9mgSodium 67mgCarbohydrates 25gFiber 0gSugar 12gProtein 2g