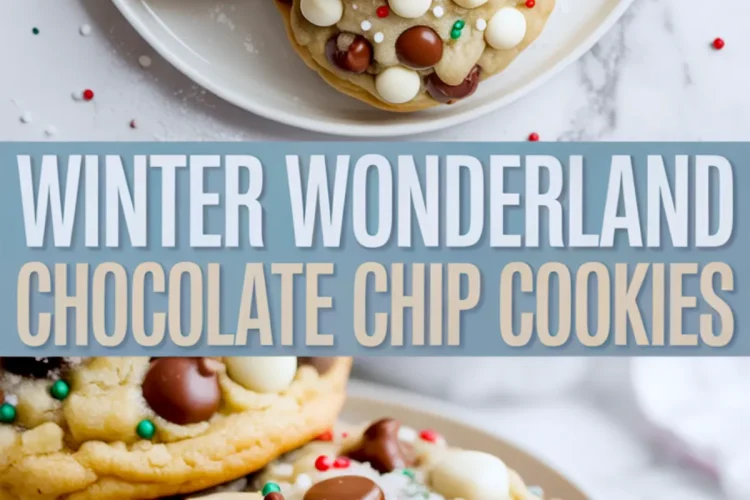
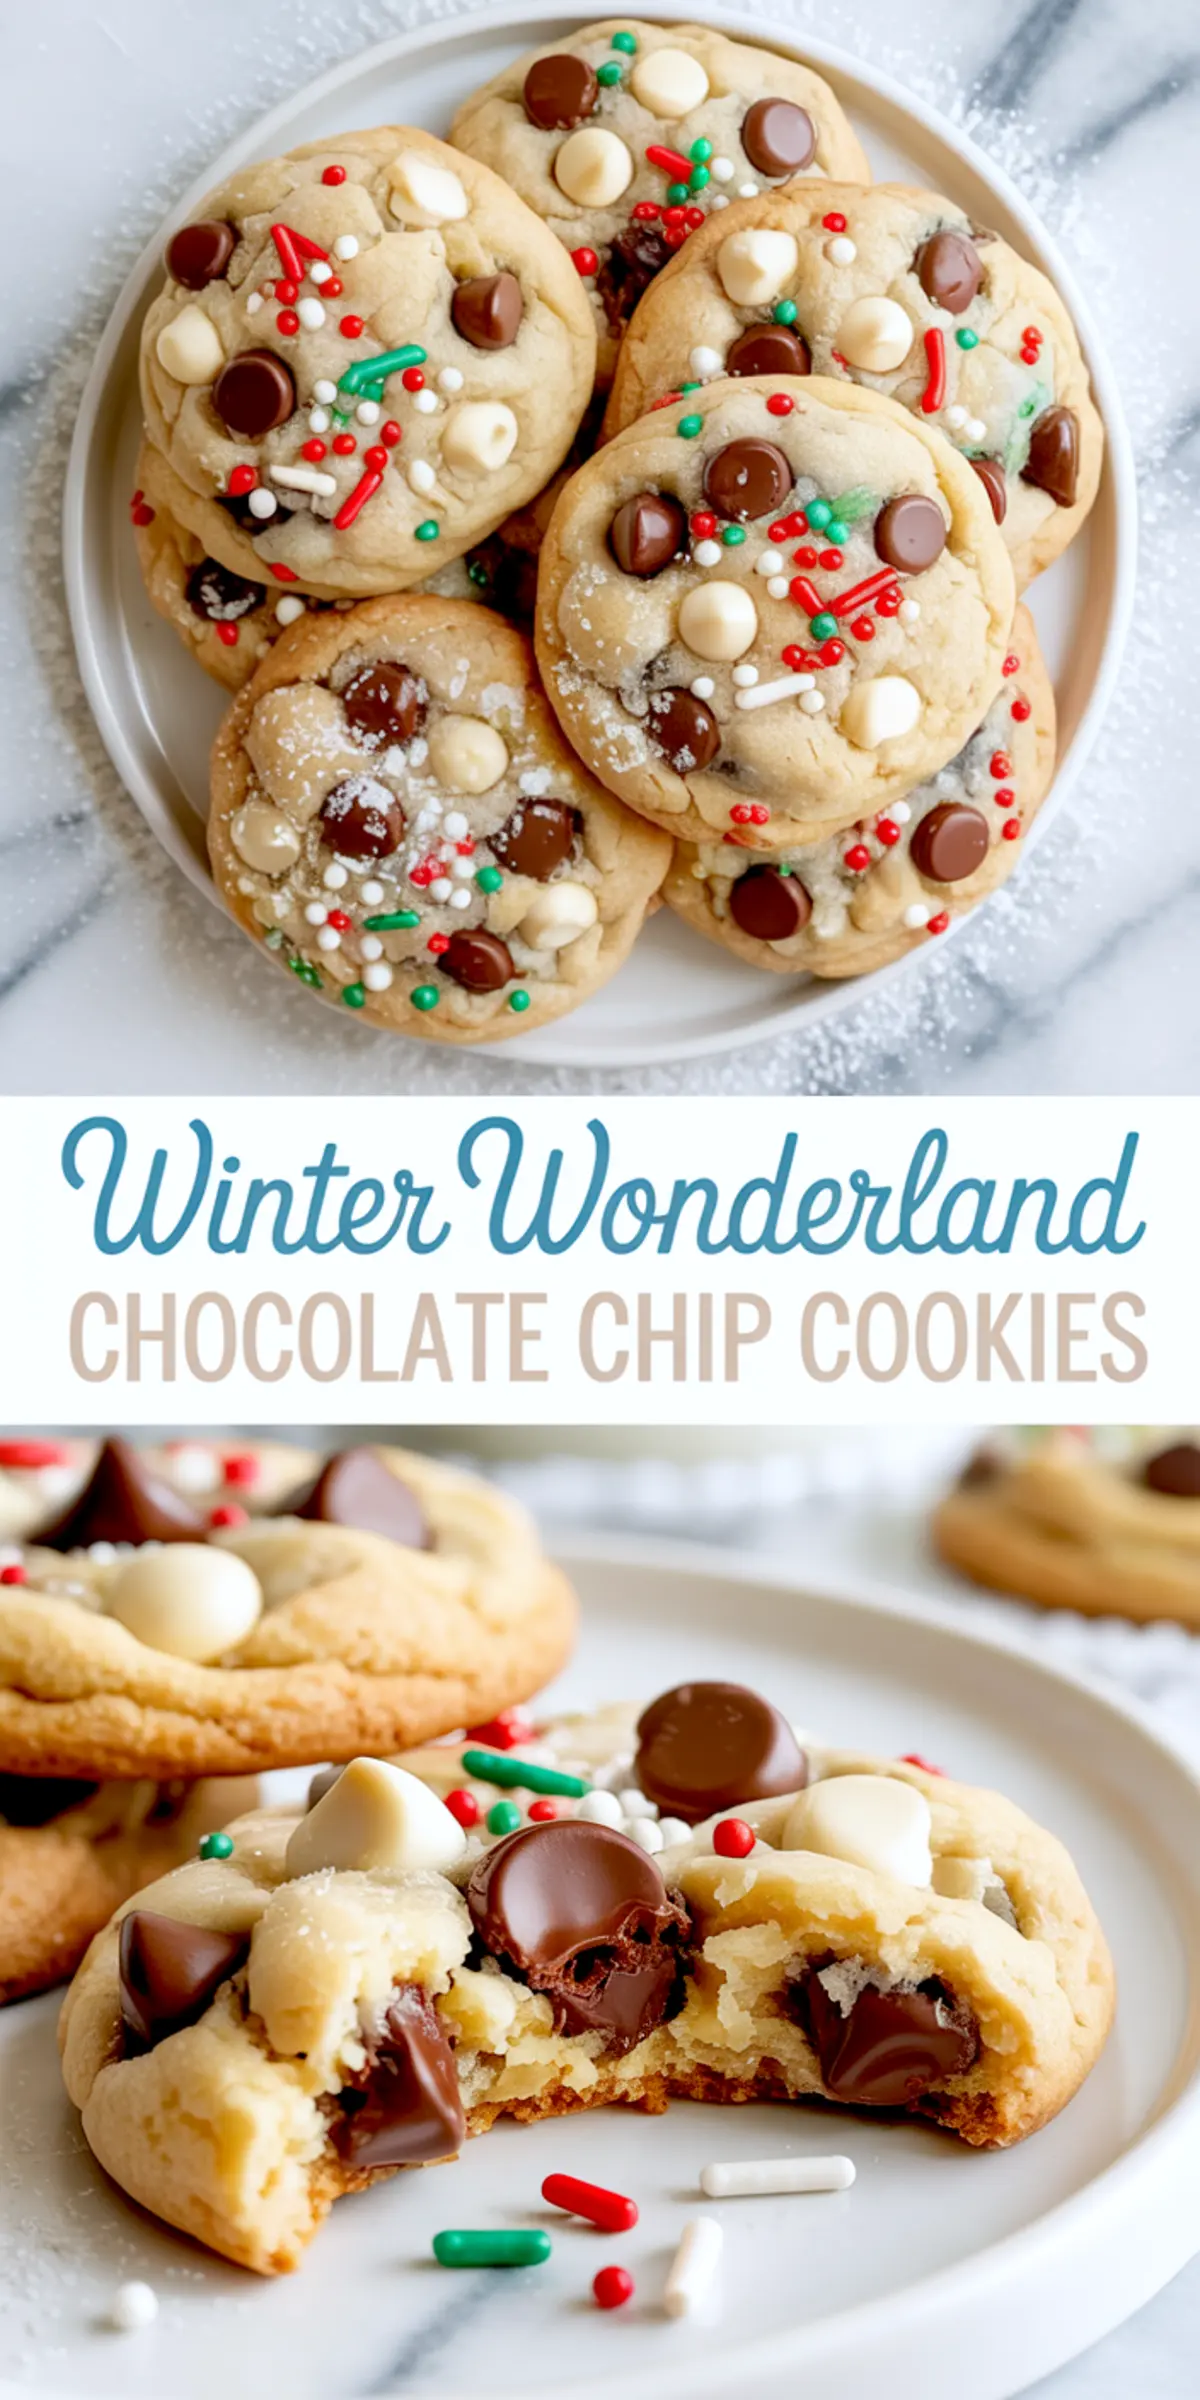
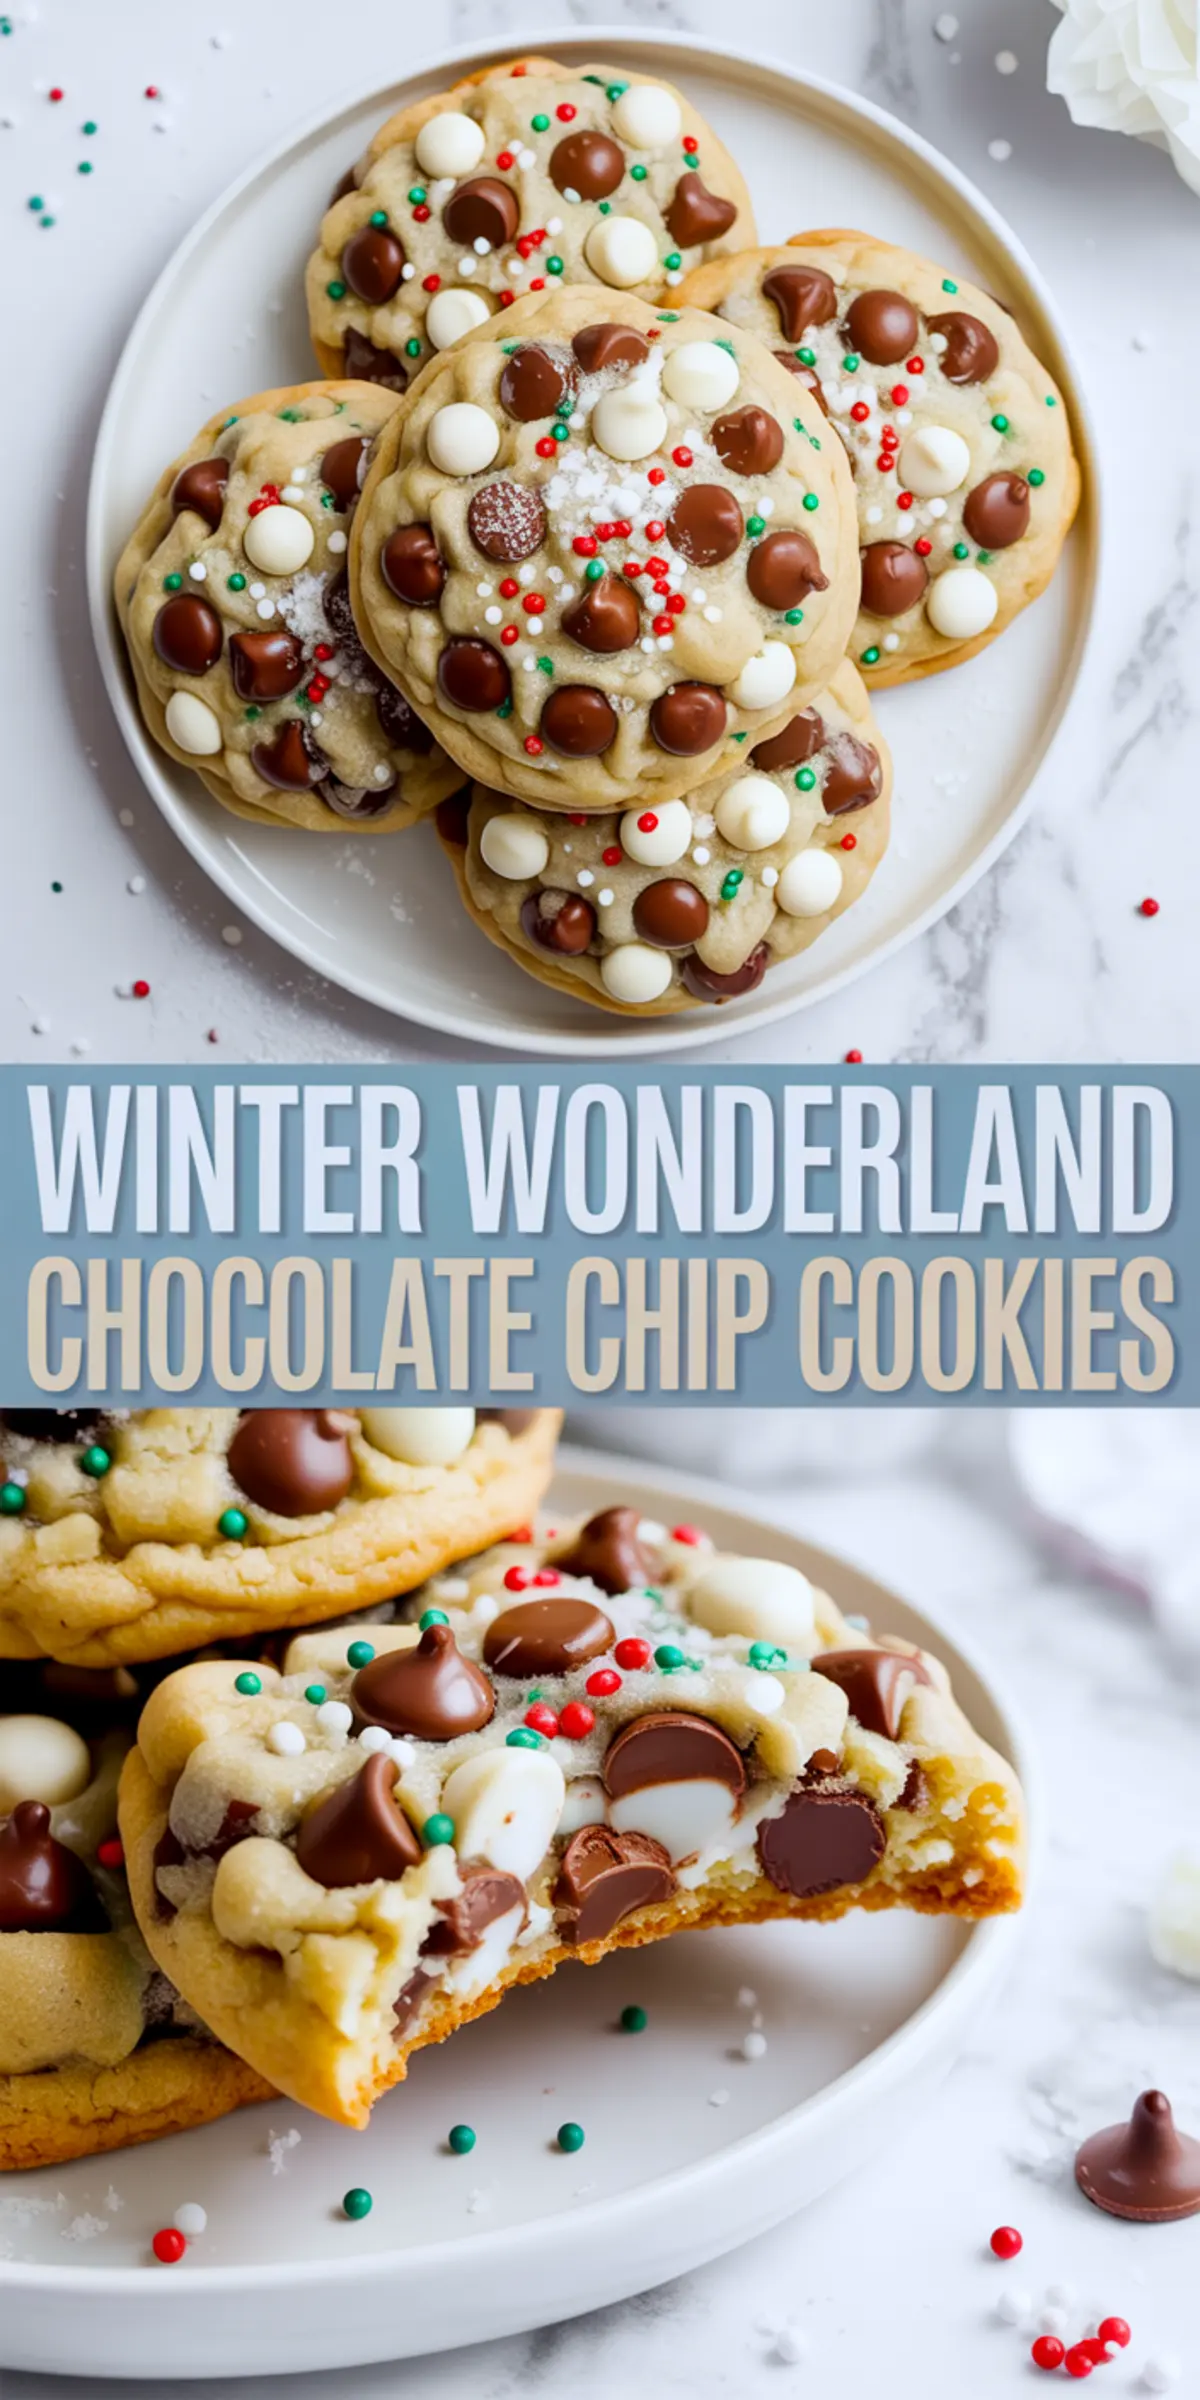
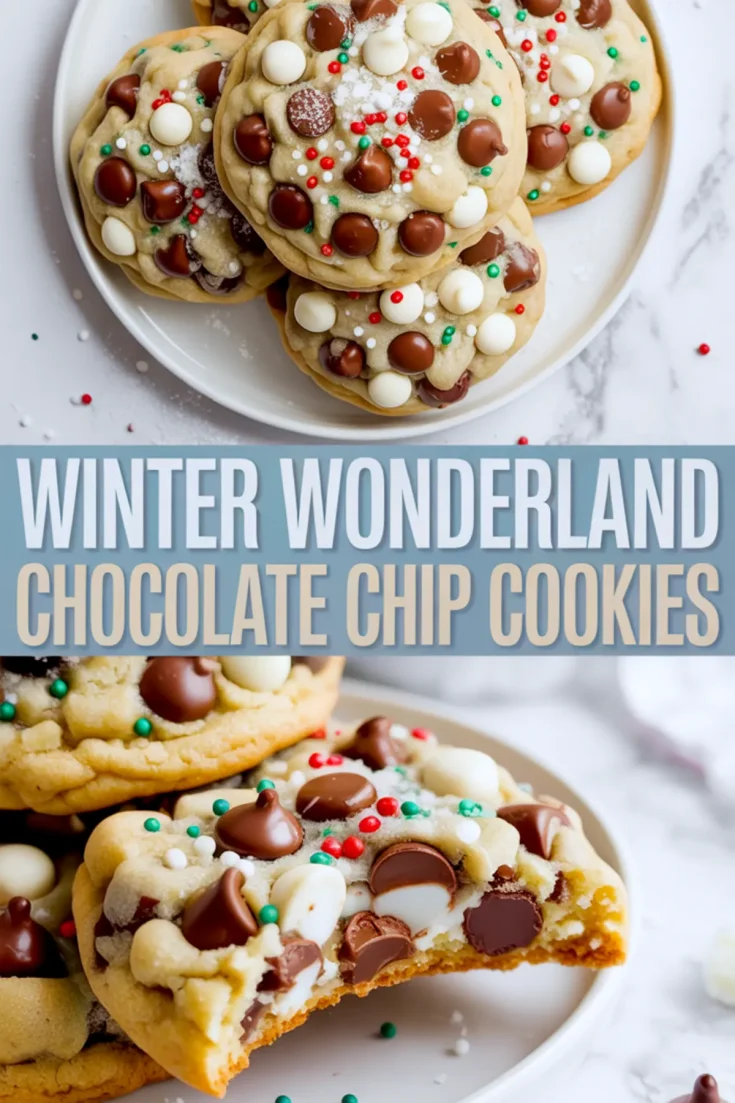
These Winter Wonderland Chocolate Chip Cookies bring together everything I look for when the oven warms up in December. The base is tried-and-true: soft centers, crisp edges, and melty chocolate in every bite. But this version dresses up the classic for the season with white chocolate chips, snowy powdered sugar, and festive sprinkles that practically sparkle. You’ll walk away with a cookie recipe that satisfies the nostalgia of Christmas chocolate chip cookies while still offering something new for your holiday baking trays.
You’ll learn how to make these cookies hold their shape, stay soft for days, and add subtle details to make them stand out in any Christmas cookie exchange or tray of Christmas sweets. These bake clean and predictable, which makes them a strong choice if you’re baking with kids or prepping in batches for Xmas cookies.
Following a special diet?
Every recipe on this site can be converted to gluten-free, vegan, dairy-free, keto, nut-free or egg-free with adjusted ratios so nothing falls flat.
Try the Recipe Converter →Softness, Sweetness, and Structure
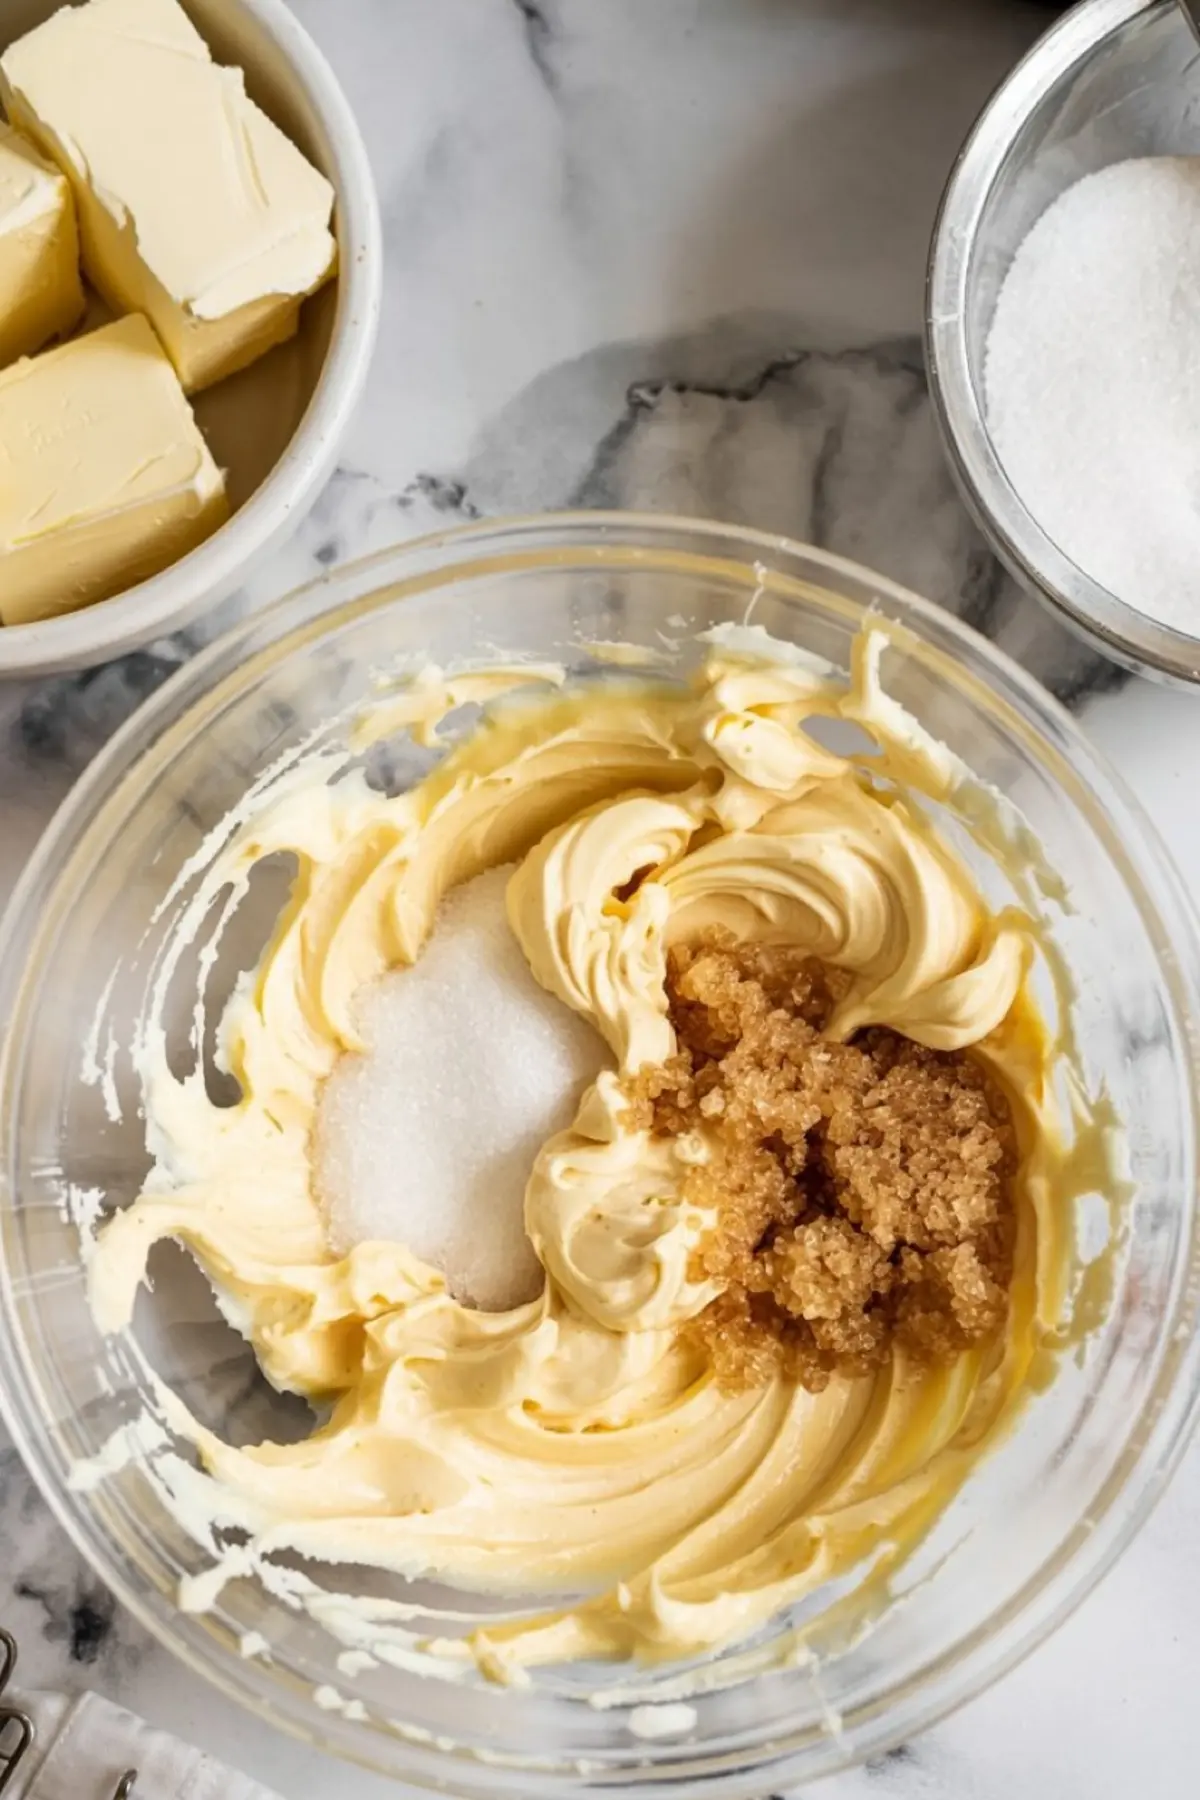
The softened butter lays the foundation for both flavor and texture. I use unsalted butter to control the salt balance later, and I always cream it fully with the sugars until the mixture looks almost fluffy. This step isn’t just about combining—it gives your cookies lift and shape.
Granulated sugar gives the edges their gentle crisp. Brown sugar brings in moisture and adds that hint of chew that makes a cookie feel rich rather than crumbly. I’ve tested this ratio again and again. More brown sugar weighs the dough down. Less makes it flat. This 2:1 ratio leans on structure without giving up softness.
Two eggs help bind the dough, and the vanilla adds depth you might not notice outright but would miss if it were gone. I’ve used both imitation and pure vanilla. Use what you have, but if you’re making these for a gift box or cookie exchange, real vanilla brings a difference in aroma once baked.
Why the Flour Ratio Can’t Be Eyeballed
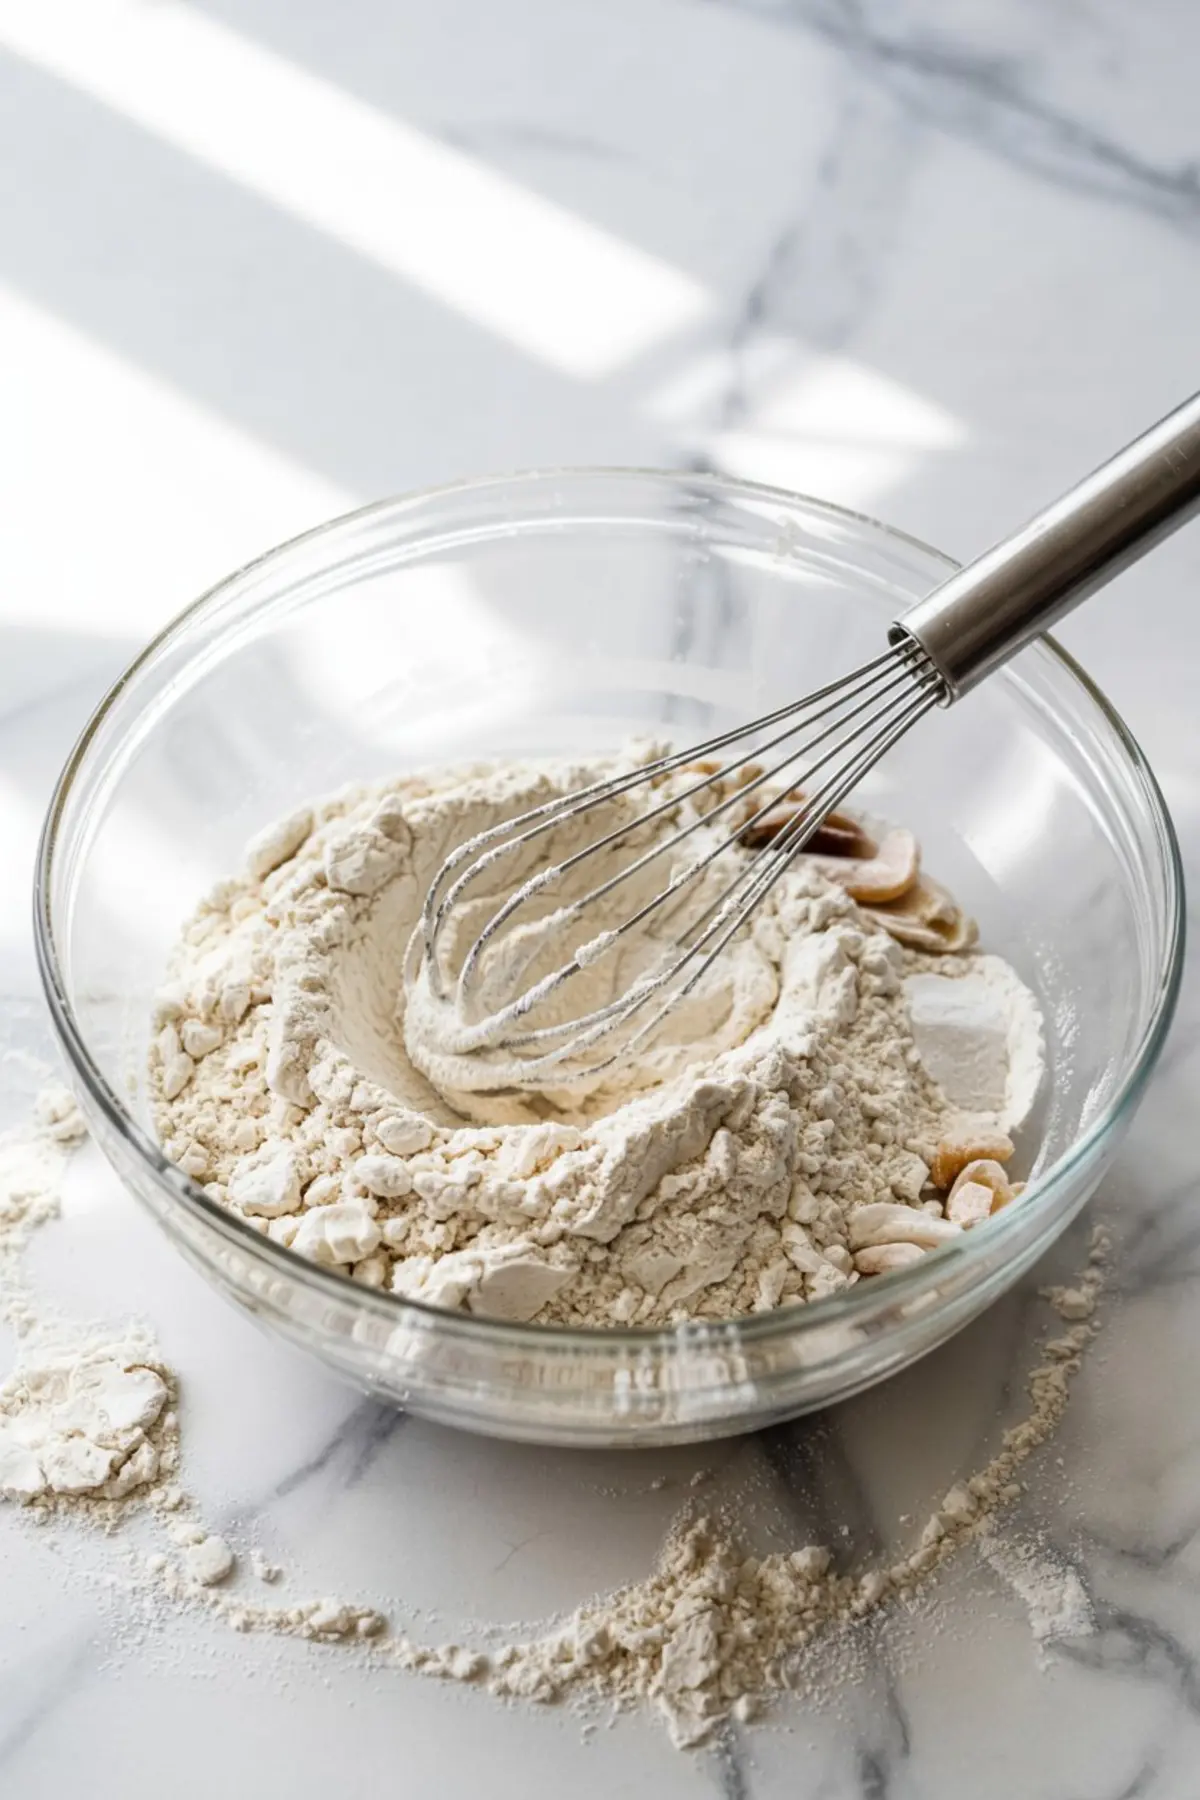
All-purpose flour in this cookie needs to be measured with accuracy. Three cups (375g) balances the wet ingredients and keeps the dough from spreading too far. If you’ve ever ended up with greasy puddles instead of cookies, check your flour weight. I’ve found grams over cups make the biggest difference when troubleshooting.
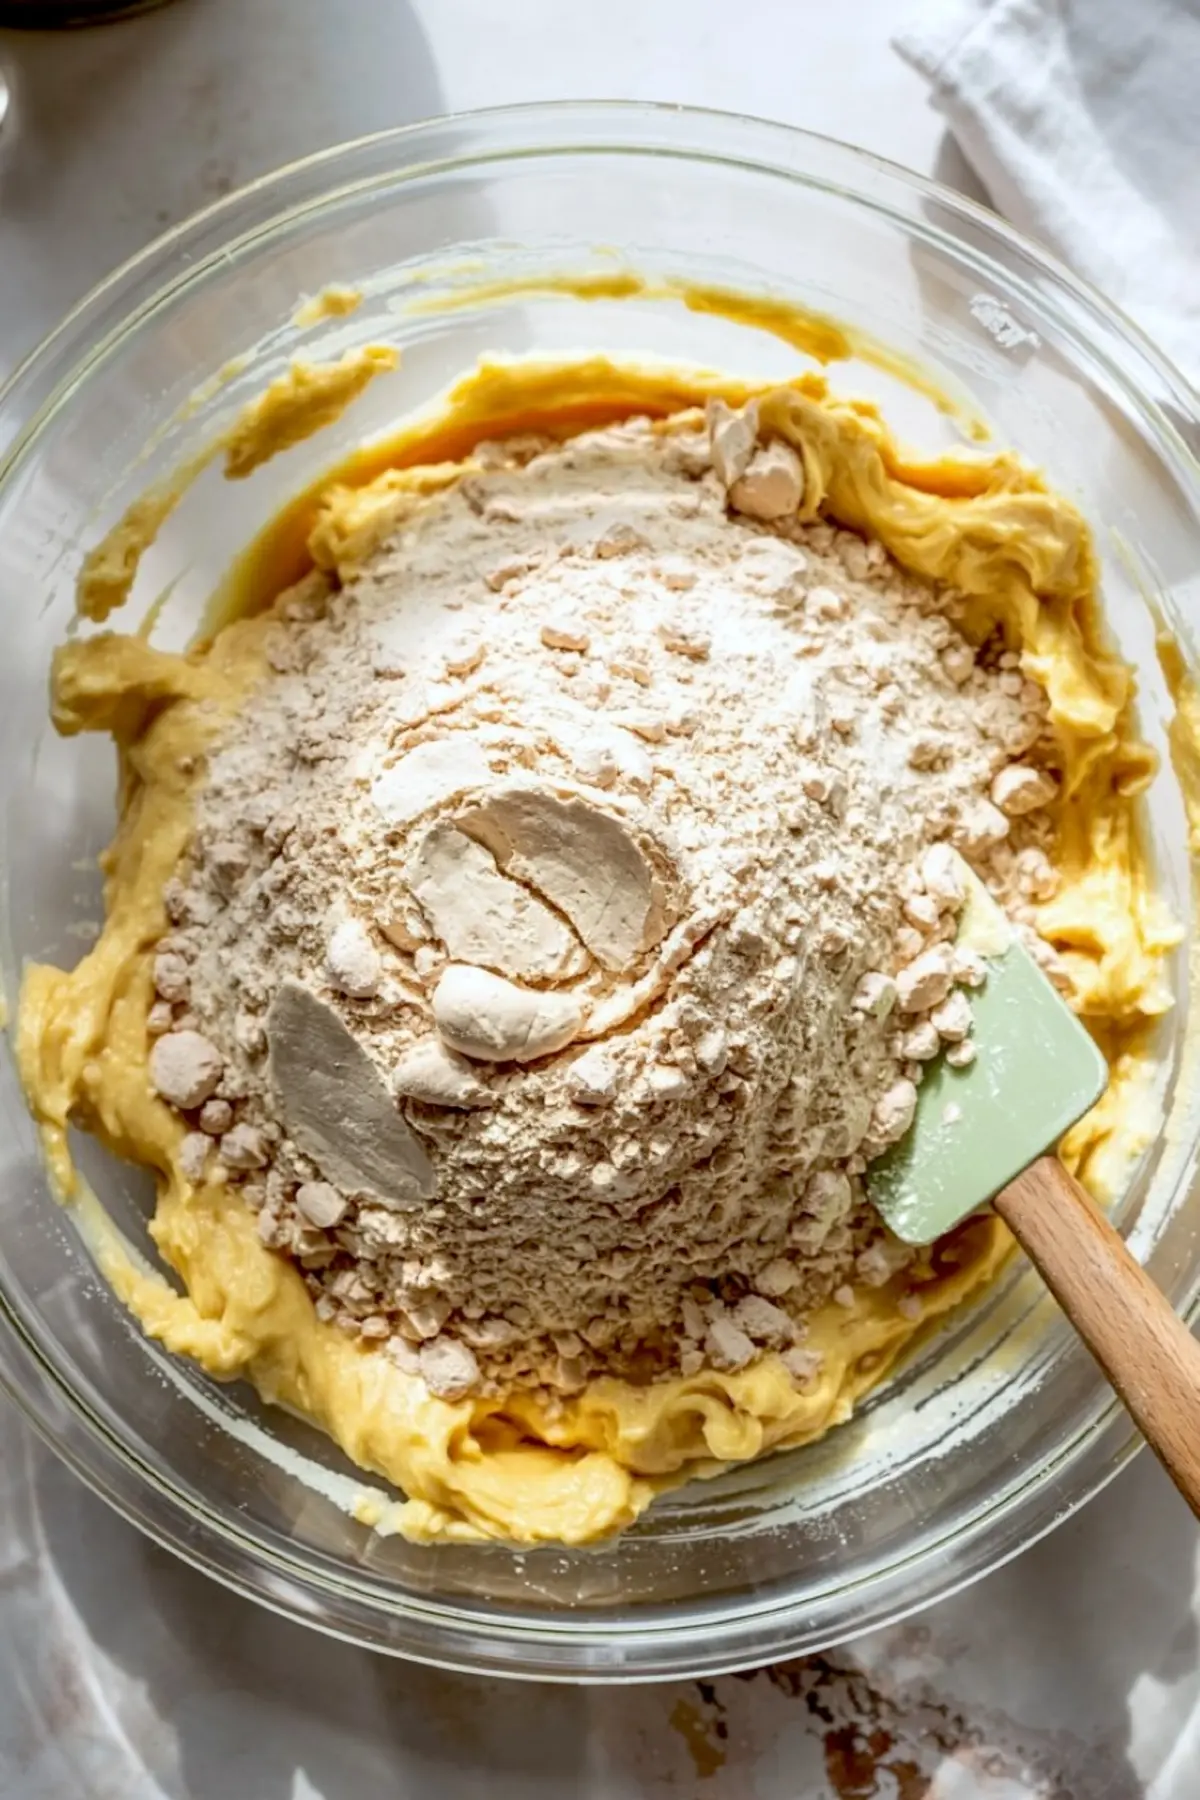
Baking soda adds lift, but only if your butter is soft and your sugars are creamed properly. Salt balances the sweetness. I never skip it. Even with white chocolate and sprinkles ahead, you still need that baseline.
Semi-Sweet vs. White Chocolate Here’s What to Expect
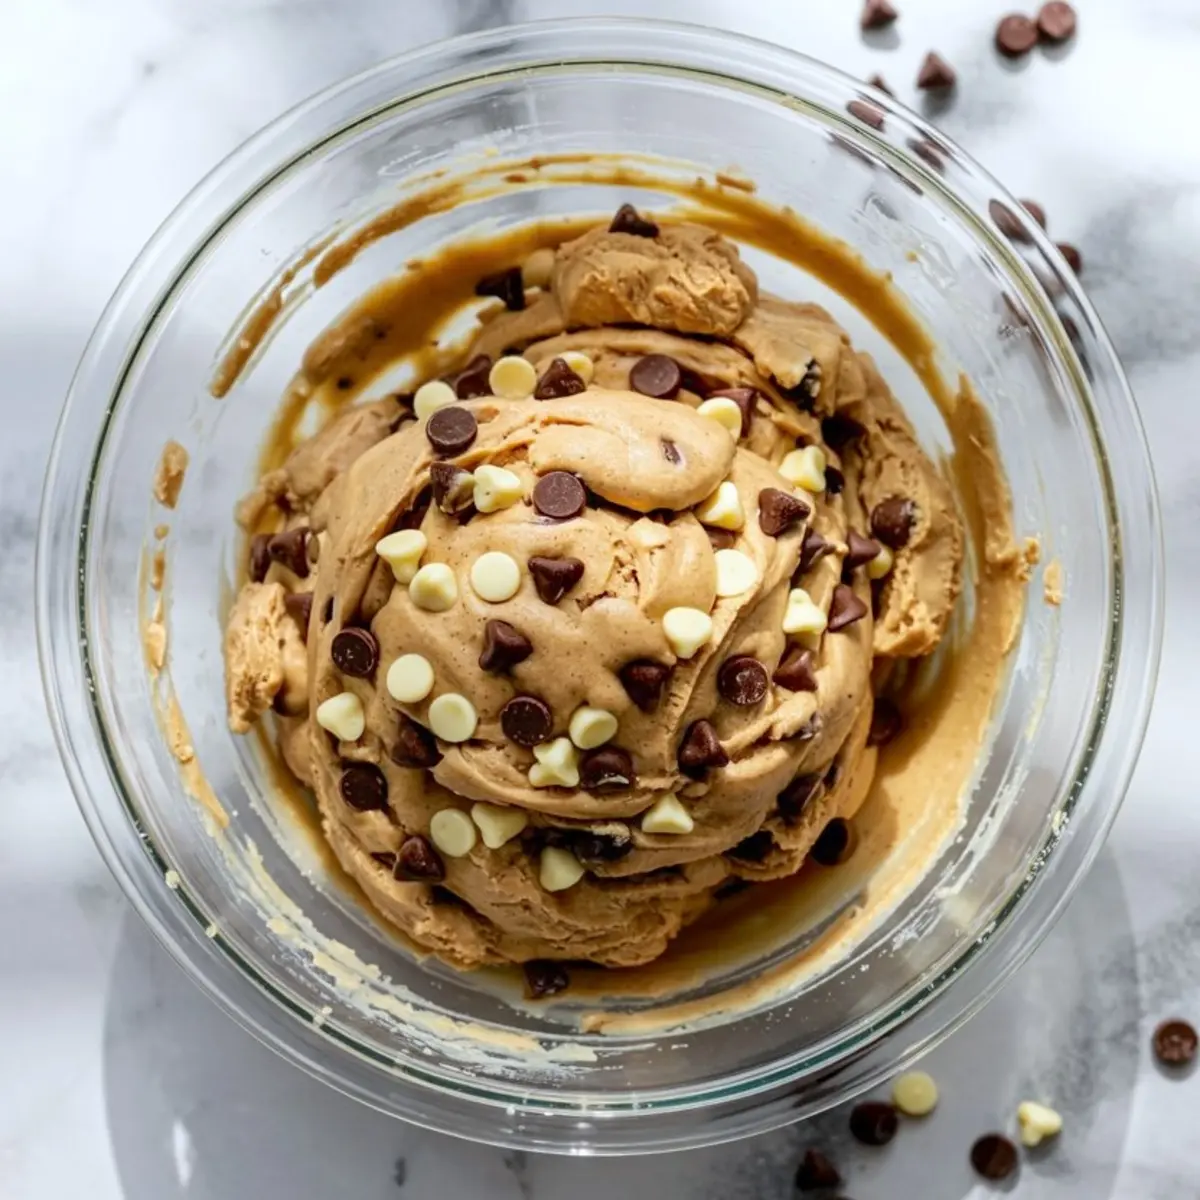
I use a full cup of each because the combination of semi-sweet and white chocolate keeps the cookie from becoming one-note. Semi-sweet holds shape and bitterness, while white chocolate melts smoother and brings contrast.
Between the two, if you had to choose one, I’d go with semi-sweet. It holds better during baking and doesn’t turn overly sweet. But if the goal is festive and crowd-pleasing, both together create a better visual and flavor balance. I’ve made these with dark chocolate chips too—they work but change the overall sweetness.
This is the combination I’ve stuck with for five seasons now.
Shaping and Topping the Dough for a Holiday Finish
Scoop the dough into balls and press a few chocolate chips and sprinkles right into the top before baking. This one small step makes them look styled rather than rustic. It also helps you control the balance of toppings on each cookie. Don’t skip this—it’s the difference between a festive cookie and an ordinary one.
The sprinkles bring the ‘winter wonderland’ effect, but I like to add a pinch of sanding sugar or edible glitter when I really want them to shine. If you’re assembling a box with something like these white chocolate cranberry cookies, the sparkle helps them stand out among deeper-toned cookies.
To Chill or Not to Chill? The Answer Depends on Time
Chilling the dough helps reduce spreading and gives a thicker finish. If you have the time, 30 minutes in the fridge helps immensely. But I’ve made these many times without chilling. Just reduce bake time by a minute or two and pull them as soon as the edges are set.
If you’re pairing them with other cookies like these peppermint chocolate chip cookies, the visual contrast works better when these cookies stay puffy.
Baking and Cooling Don’t Wait Too Long
Bake at 350°F until the edges are firm but the centers still look soft. That’s your sign to take them out. Leave them on the tray for 5 minutes, then move to a rack.
Once cooled, I dust them with powdered sugar to finish. Just enough to catch light and hint at snowfall. I do this right before serving or packing if I’m adding them to a cookie box alongside something like melting snowman cookies.
Storage, Serving, and Holiday Gifting Advice
These cookies keep their texture best in an airtight tin at room temperature for 3 to 4 days. If you want to make them ahead, freeze the dough balls instead of the baked cookies. That way, you can bake fresh when needed. I’ve also frozen them fully baked and defrosted overnight in a sealed container, and they held up well.
For gifting, layer them between sheets of parchment and keep them snug. They travel better than some of the more delicate Christmas sweets. If you’re including something crispy like these Christmas rice krispie treats, use separate compartments so the textures don’t mix.
A Quick Note Before You Go
I come back to this recipe every December. It always makes the tray. It’s festive without being fussy, and the mix of textures and color keeps it from blending in with the usual holiday baking spread. You can double the batch without issue and freeze what you don’t need.
Save this recipe to your Christmas cookie board, and if you try it, let me know how it turns out in the comments. Share your twist or tell me what you added. I always love seeing how a good recipe travels from one kitchen to another.
Winter Wonderland Chocolate Chip Cookies
Winter wonderland chocolate chip cookies bake soft and chewy with crisp edges and melty chips, dressed up for the holidays with festive sprinkles or white chocolate drizzle. I use this as my go-to Christmas chocolate chip cookies recipe when I want something classic with a seasonal twist. These cookies work great for a Christmas cookie exchange or as part of a gift box. They hold up well, freeze beautifully, and stay soft for days. Add it to your list of Christmas treats or Christmas sweets that feel nostalgic but still stand out. I always save a few for Santa—or let’s be honest, the freezer. A must-bake if you’re diving into holiday baking or prepping for a tray of Xmas cookies.
Ingredients
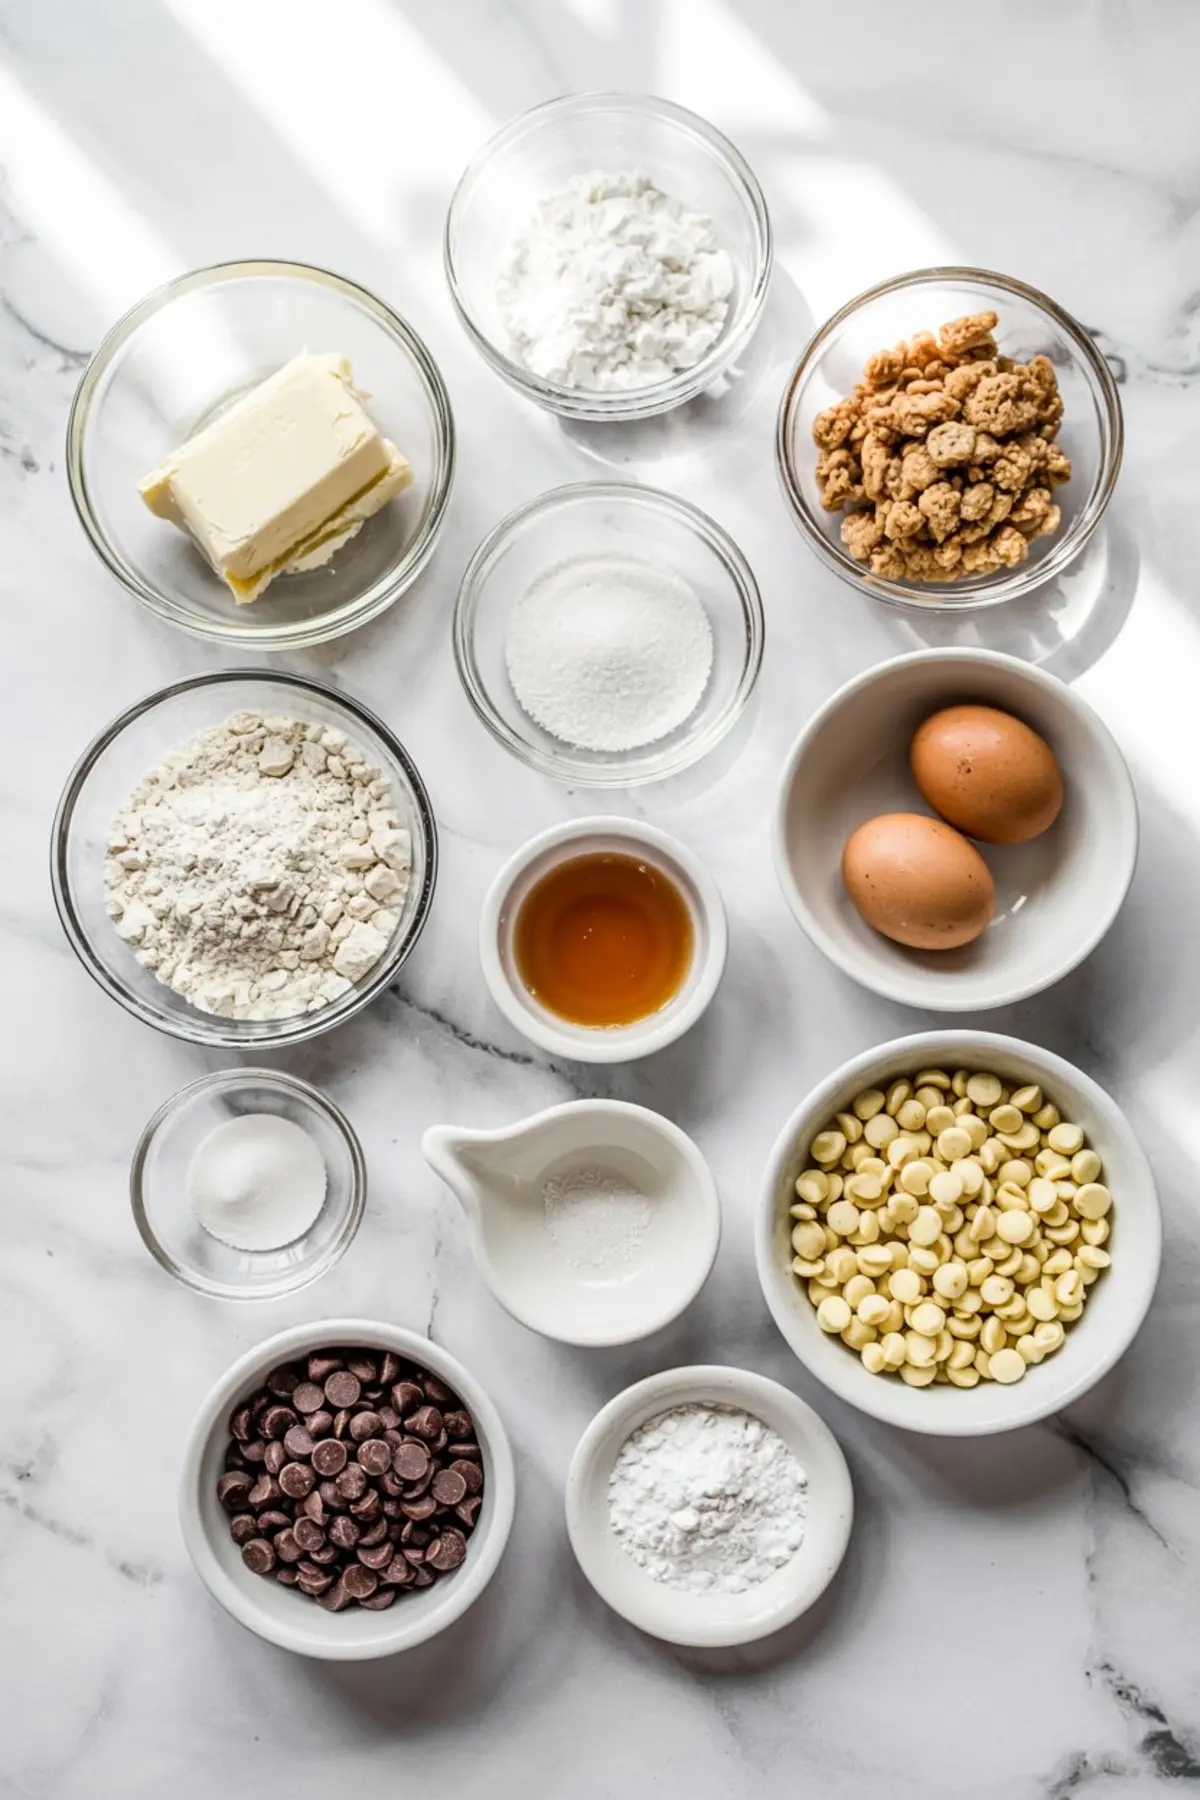
- FOR THE COOKIE DOUGH:
- 1 cup (226g) unsalted butter, softened
- 1 cup (200g) granulated sugar
- ½ cup (110g) light brown sugar, packed
- 2 large eggs
- 2 teaspoons vanilla extract
- 3 cups (375g) all-purpose flour
- 1 teaspoon baking soda
- ½ teaspoon salt
- FOR THE MIX-INS & TOPPINGS:
- 1 cup semi-sweet chocolate chips
- 1 cup white chocolate chips
- ¼ cup red, green, and white sprinkles
- Optional: 2 tablespoons sparkling or sanding sugar
- Optional: Powdered sugar, for dusting
Instructions
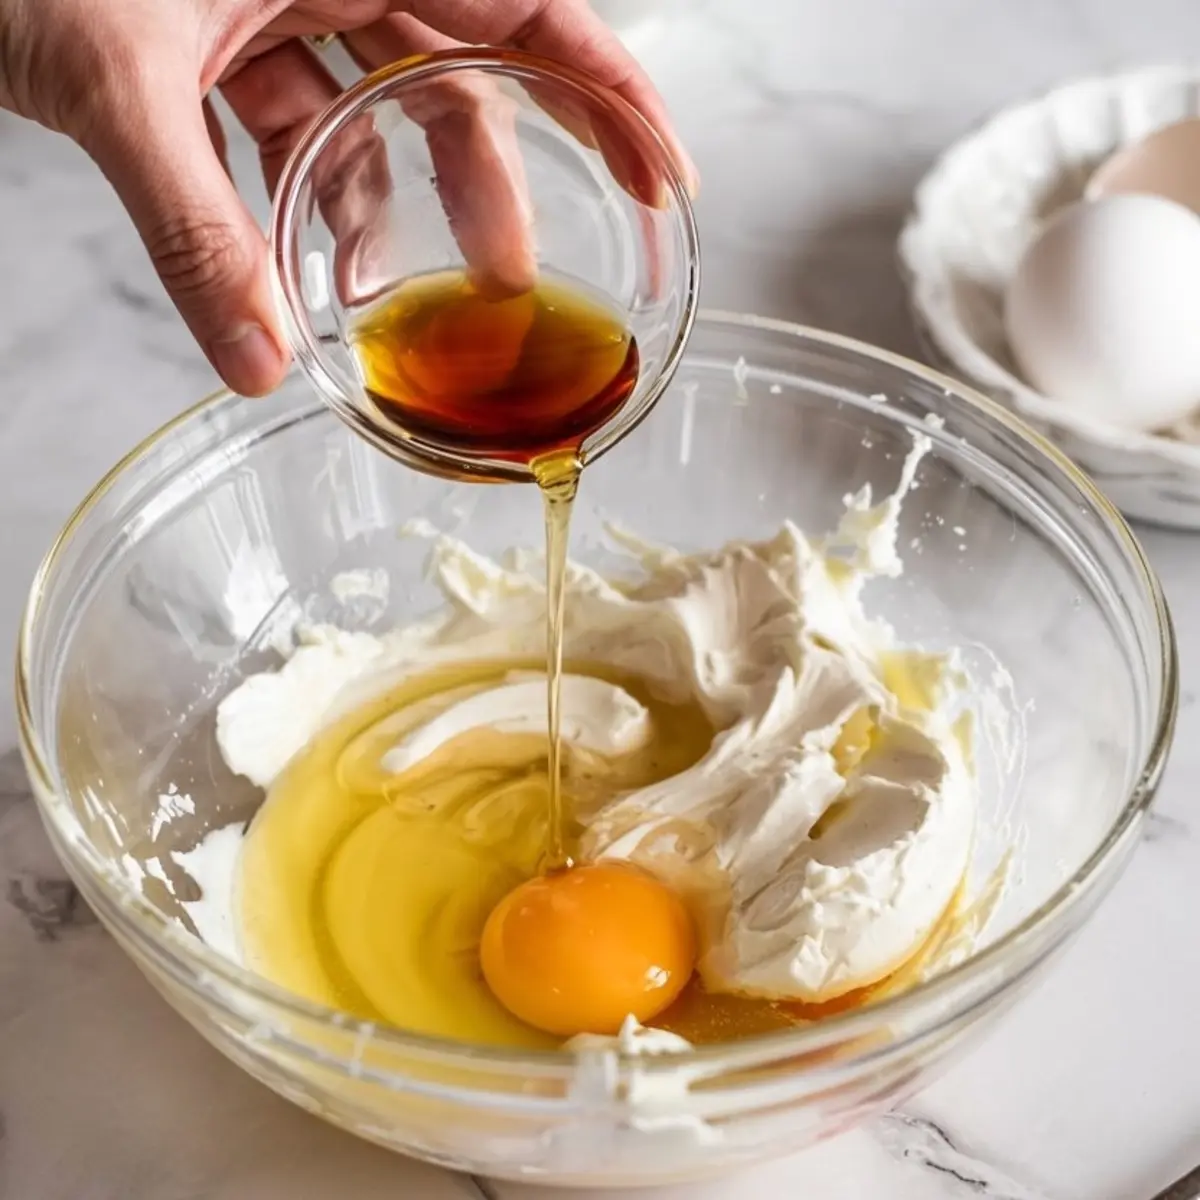
- CREAM BUTTER AND SUGARS: In a large mixing bowl, cream the softened butter with the granulated sugar and brown sugar until the mixture is light and fluffy, about 2 to 3 minutes using a hand or stand mixer.
- ADD EGGS AND VANILLA: Beat in the eggs one at a time, mixing well after each addition. Stir in the vanilla extract until fully combined.
- COMBINE DRY INGREDIENTS: In a separate bowl, whisk together the flour, baking soda, and salt. Gradually add the dry mixture to the wet ingredients, mixing on low speed just until no dry streaks remain.
- FOLD IN THE CHIPS: Using a spatula or wooden spoon, gently fold in the semi-sweet and white chocolate chips, reserving a small handful of each to press on top of the cookies before baking.
- SCOOP AND DECORATE: Scoop the dough into balls about 2 tablespoons each and place them a few inches apart on a parchment-lined baking sheet. Press a few reserved chocolate chips and sprinkles into the tops of each dough ball for a festive look.
- CHILL (OPTIONAL BUT RECOMMENDED): For thicker cookies, chill the shaped dough balls in the refrigerator for 30 minutes before baking.
- BAKE: Preheat the oven to 350°F (175°C). Bake the cookies for 10 to 12 minutes, or until the edges are set but the centers still look slightly underbaked.
- COOL AND FINISH: Let the cookies cool on the baking sheet for 5 minutes before transferring them to a wire rack. Once fully cooled, dust lightly with powdered sugar for a snowy finish, if desired.
Notes
Chilling the dough helps prevent spreading and creates a thicker, bakery-style cookie. If omitting chill time, reduce bake time by 1 to 2 minutes and watch closely for doneness. Store leftovers in an airtight container at room temperature for up to 4 days.
Nutrition Information
Yield
24Serving Size
1Amount Per Serving Calories 216Total Fat 8gSaturated Fat 3gTrans Fat 0gUnsaturated Fat 4gCholesterol 18mgSodium 118mgCarbohydrates 35gFiber 1gSugar 20gProtein 3g