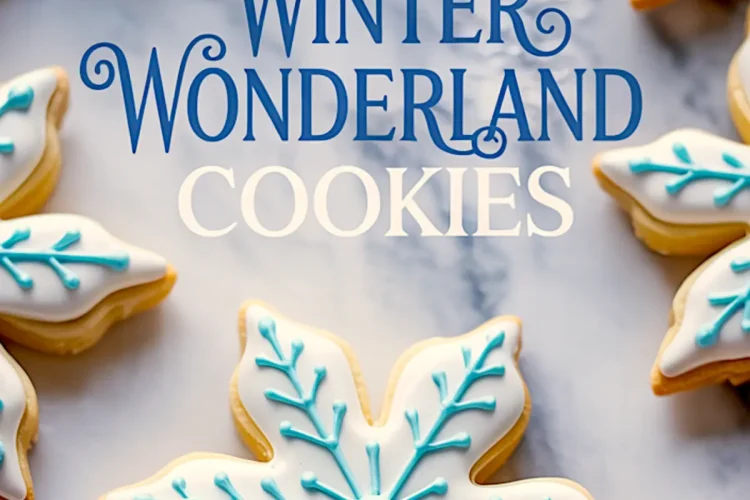
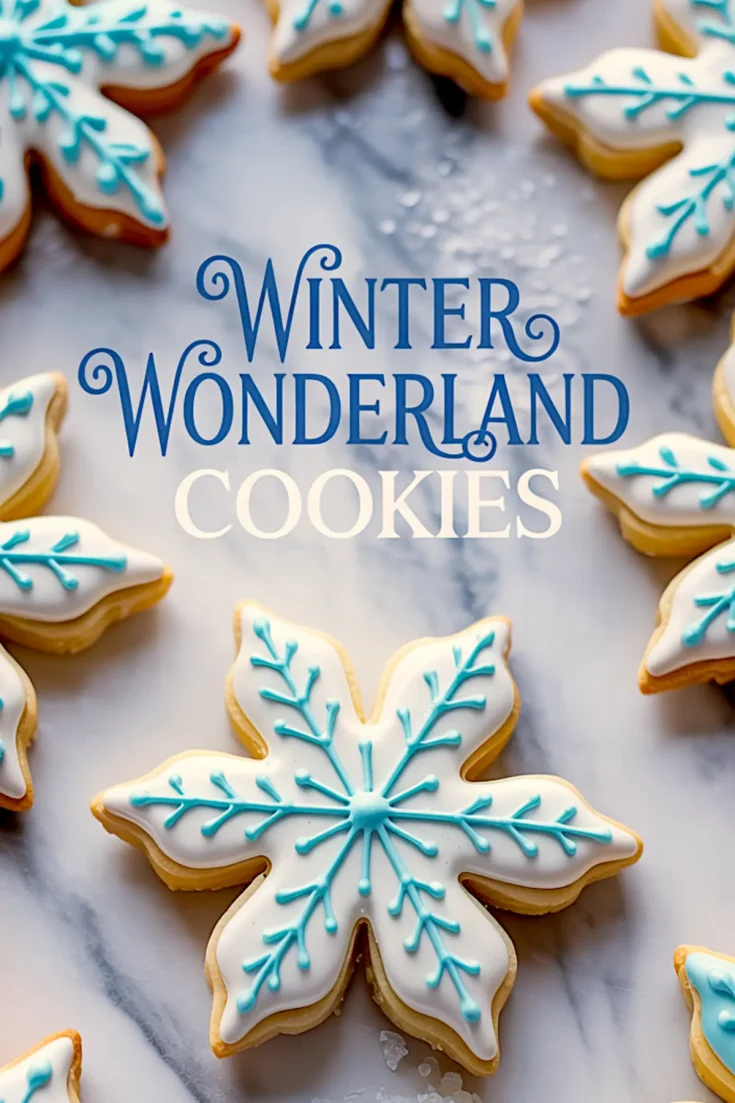
Winter wonderland sugar cookies bring the season to life in the sweetest way. These soft sugar cookies are baked just until set, then decorated in icy shades of blue, silver, and white. You’ll learn how to create cookies that feel as though they were dusted by fresh snow.
Winter theme sugar cookies are more than decoration on a tray. They set the tone for holiday treats, winter wonderland birthdays, and cozy gatherings where presentation matters as much as taste. You can count on this recipe for winter themed cookies decorated with shimmer and detail that stand out.
I’ve worked with sugar cookies for years, and this method gives you control. The dough stays soft, the shapes hold, and the royal icing dries smooth. With the right details, these snow cookies become the highlight of your dessert table.

Following a special diet?
Every recipe on this site can be converted to gluten-free, vegan, dairy-free, keto, nut-free or egg-free with adjusted ratios so nothing falls flat.
Try the Recipe Converter →Choosing Ingredients That Shape the Cookie
Butter anchors the recipe. I use unsalted butter softened to room temperature because it gives the dough structure without salt overpowering the flavor. Granulated sugar sweetens but also helps the dough cream into a fluffy base.
A single egg binds the ingredients, while vanilla extract deepens the flavor. Almond extract is optional, but I always add it. It creates a delicate background note that makes these cookies stand out from plain sugar cookies.

All-purpose flour builds the body. Baking powder keeps the texture light, while a small amount of salt balances the sweetness. Every ingredient has a role, and together they form a dough that bakes into tender cookies ready for decoration.
For comparison, I’ve tried vanilla-only batches and ones with almond extract included. Vanilla alone creates a softer, more straightforward cookie. Adding almond extract brings out the wintry character that pairs beautifully with icing. I always note the difference in my recipe book and lean toward almond when I want the cookies to feel festive.
Royal Icing That Brings the Winter Wonderland Look
Sugar cookie icing defines winter wonderland cookies. Powdered sugar and meringue powder form the base. When beaten with water, the mixture becomes glossy and stiff. From there you can thin it slightly to flood the surface or keep it thick to outline details.
Color matters. I like to divide the icing into bowls and tint them with pale blue, silver, and white. Small amounts of food coloring transform the cookies into snowflakes and snow scenes. Decorating becomes easier once you practice controlling consistency. Thick icing outlines. Thinner icing floods.
If you’d like a shortcut, you can read how I decorate Winter Wonderland Chocolate Cupcakes. The same technique of layering shades applies here with sugar cookies.
Rolling and Shaping Winter Cookies

The dough needs chilling. I always divide it in half, flatten each portion into disks, and refrigerate before rolling. This step prevents spreading and helps the cookies keep their snowflake or snowman shapes.
Roll on a lightly floured surface and cut with winter themed cutters. Snowflake, mitten, and snowman shapes work best for winter wonderland party treats. The key is rolling evenly so the cookies bake at the same pace.

After cutting, I place trays in the freezer for about 5 minutes. This extra chill keeps edges sharp in the oven. When baked at 350°F, the cookies stay soft in the center with just the right firmness around the edges.
Decorating possibilities are endless. You can see a playful version in Grinch Cookies Decorated where bold green icing takes over. For these winter wonderland sugar cookies, subtle icy tones are the focus.
Decorating With Sparkle and Shine
Outlining each cookie comes first. Then I flood the centers with thinner icing, using a toothpick to spread it smoothly. Patience is key here. Let each layer dry before adding details like snowflake lines or dots of shimmer.
Sanding sugar or edible glitter gives the surface a frosted look. I often set a tray near a window where winter light catches the shimmer. That sparkle is what makes these cookies so memorable on a holiday table.
For more decorating ideas, you might enjoy how I finish Winter Vanilla Layer Cake with Buttercream Frosting. The same snowy palette transfers beautifully from cake to cookies.
Storage and Serving Ideas That Work
Freshly iced cookies need time to dry. I usually leave them uncovered overnight before stacking. This keeps the design intact and avoids smudges. Once set, you can store them in an airtight container at room temperature for a week.
For longer storage, freeze undecorated cookies. They hold texture and flavor well. Decorate after thawing for best results.
Serving ideas stretch beyond cookie trays. These winter themed cookies decorated in icy shades look striking next to Melting Snowman Cookies. Pair them for a playful winter wonderland birthday spread.
Related Cookie Inspirations
Holiday baking often calls for variety. A few recipes that complement these sugar cookies include Gingerbread Crinkle Cookies. Their spiced center contrasts nicely with the delicate almond flavor here. Together they form a balanced cookie tray with depth and color.
Closing Notes and Community Invitation

Winter wonderland sugar cookies carry the season’s beauty in every frosted detail. They fit holiday trays, gift boxes, and party tables with equal ease. The process is simple, yet the outcome feels special.
I would love for you to try these snow cookies, then share how yours turned out. Did you lean more on shimmer or on detailed piping? Tell me in the comments. And don’t forget to save this recipe to your Pinterest board for later, so you can return to it when planning winter wonderland party treats.
Winter Wonderland Sugar Cookies
Winter wonderland cookies are soft sugar cookies decorated with snowy details like royal icing, shimmer, and cool tones. I bake the dough until just set so the cookies stay tender, then decorate each one with a winter theme. These winter wonderland sugar cookies are perfect for party trays, gifts, or winter wonderland birthday setups. If you’re planning winter themed cookies decorated in pale blues and whites, this batch fits right in. I keep them in my collection of winter cookies for December baking days, snow cookies for themed events, and holiday treats that feel special but still simple to make. Save these for your next winter theme sugar cookies session or party treat box.
Ingredients
- For the Sugar Cookies:
- 1 cup (226g) unsalted butter, softened
- 1 cup (200g) granulated sugar
- 1 large egg
- 1 ½ teaspoons pure vanilla extract
- ½ teaspoon almond extract (optional, but highly recommended)
- 3 cups (375g) all-purpose flour
- ½ teaspoon baking powder
- ¼ teaspoon salt
- FOR THE ROYAL ICING:
- 4 cups (480g) powdered sugar, sifted
- 3 tablespoons meringue powder
- 5–6 tablespoons water (plus more for thinning)
- Food coloring in winter shades (blue, white, silver, etc.)
Instructions
- MAKE THE COOKIE DOUGH: In a large mixing bowl, cream the butter and sugar together using a hand or stand mixer until light and fluffy, about 2–3 minutes. Beat in the egg, vanilla extract, and almond extract until fully combined. In a separate bowl, whisk together the flour, baking powder, and salt. Gradually add the dry ingredients to the wet ingredients, mixing just until a dough forms. Divide the dough in half, flatten each portion into a disk, wrap in plastic wrap, and refrigerate for at least 1 hour.
- ROLL AND CUT THE COOKIES: Preheat oven to 350°F (175°C) and line baking sheets with parchment paper. On a lightly floured surface, roll out the chilled dough to about ¼-inch thickness. Cut out shapes using snowflake, snowman, or other winter-themed cookie cutters. Transfer the cookies to the prepared baking sheets and place the trays in the freezer for 5–10 minutes to help the cookies hold their shape. Bake for 8–10 minutes or until the edges are just beginning to turn golden. Allow the cookies to cool completely on wire racks.
- MAKE THE ROYAL ICING: In the bowl of a stand mixer fitted with the paddle attachment, combine the sifted powdered sugar and meringue powder. Add 5 tablespoons of water and beat on medium speed for 7–10 minutes until the icing holds stiff peaks. Adjust the consistency as needed by adding water a teaspoon at a time for flooding or keeping it thick for outlining. Divide the icing into separate bowls and tint with food coloring of your choice.
- DECORATE: Fill piping bags fitted with fine tips (such as #2) and outline each cookie. Flood the centers with thinner icing and use a toothpick to spread it evenly. Allow the base layer to dry for several hours before adding additional decorative details. Add sanding sugar, nonpareils, or edible glitter if desired for extra sparkle.
Notes
For best results, let decorated cookies dry uncovered overnight before stacking or packaging. Cookies can be stored at room temperature in an airtight container for up to 1 week or frozen undecorated for up to 2 months.
Nutrition Information
Yield
24Serving Size
1Amount Per Serving Calories 74Total Fat 1gSaturated Fat 0gTrans Fat 0gUnsaturated Fat 0gCholesterol 9mgSodium 42mgCarbohydrates 14gFiber 0gSugar 2gProtein 2g