Apple sorbet is a chilled fruit dessert made by cooking apples, blending them smooth, then freezing the mixture into a light, spoonable texture. This version uses just a few ingredients and focuses on fresh flavor instead of added bulk.
You’ll learn how to make a classic apple sorbet that holds its shape and flavor even after freezing. You’ll also see which apples give the best texture and how to adjust sugar based on the batch you’re working with. I’ll explain what makes this recipe so adaptable, whether you’re using an ice cream maker or planning ahead for a freezer batch.
This dessert has its own quiet confidence. It doesn’t need cream or eggs. Just ripe fruit, sugar, a splash of lemon juice, and a bit of patience. I come back to it every year when apples crowd the market tables. It’s my go-to when I want something chilled, clean, and easy to build ahead of a dinner or fall gathering.
Following a special diet?
Every recipe on this site can be converted to gluten-free, vegan, dairy-free, keto, nut-free or egg-free with adjusted ratios so nothing falls flat.
Try the Recipe Converter →Best Apples for Apple Sorbet Recipes and Flavor Control
You want apples with a balance of sweetness and acidity. I’ve had the best results using a mix of Honeycrisp and Fuji. Their natural juiciness helps create a smoother sorbet without needing too much added water.
If you’re learning how to make apple pie sorbet with spices or deeper notes, Granny Smith adds structure but needs more sugar. For this version, sweet apples help reduce granulated sugar by up to a third. That matters when you’re looking for fruit sorbet options that taste bright and fresh instead of flat or overly sweet.
This apple sorbet dessert holds up well as a healthy cold dessert. If you’re exploring apple recipes healthy enough to serve after dinner but satisfying enough to feel complete, this recipe belongs in your rotation. It also fits right alongside other fruit sorbet dishes for those browsing cool alternatives.
For more light and bright sorbet options, you might also want to look at this pineapple sorbet recipe, especially if you enjoy tropical flavors.
Cook the Apples Low and Covered for Full Flavor

Peeling, coring, and chopping the apples takes a few quiet minutes. Cook them in a saucepan with just water and sugar. Keep the lid on. That helps the apples break down evenly without drying out or sticking.
Once the apples soften, you’ll blend them with lemon juice and a pinch of salt. A little cinnamon brings in a soft fall note, but you can leave it out if you’re looking for a pure fruit base. This base becomes your frozen canvas.
I’ve tried adding a touch of vanilla in the past, but I’ve found it dulls the apple notes instead of rounding them out. Apple doesn’t need much help when it’s ripe and in season.
You might enjoy alternating this with a smooth vanilla sorbet recipe if you’re planning a small dessert flight.
Ice Cream Maker vs. Freezer-Only Method: What’s the Difference?
If you own an ice cream maker, you’ll get a smoother apple sorbet texture with less crystal formation. The machine adds air while freezing, which helps the purée hold its shape.
That said, I’ve tested freezer-only batches by pouring the cooled apple purée into a shallow pan, stirring it every 30 minutes for 2 hours, then letting it freeze solid. The flavor stays the same. The texture becomes more like a granita—coarser and icy, but still spoonable.
I’ve found that if you’re short on time or don’t want to monitor the freeze process, the machine version is easier to scoop and serve. For texture, the ice cream maker wins.
For a more playful spin, try pairing this with the berry lemonade sorbet. The apple base is subtle and clean, which makes it a good backdrop for sharper flavors.
Chill the Base Before Freezing for Best Results

After blending, the apple mixture must cool completely before it hits the machine. That step matters more than it sounds. If you churn the mixture while it’s still warm, it won’t set properly and may separate. Refrigerating it for at least three hours—overnight if possible—makes a clear difference.
This technique works across most sorbet recipes. Cold base equals better churn.
Once you’ve run it through your machine, you’ll transfer the soft-serve texture into a container and freeze again for a couple of hours. This final stage sets the scoop.
For a similar make-ahead fruit treat that fits the early fall mood, take a look at this homemade apple cider recipe. It offers the same apples but takes a cozier route.
How to Serve and Store This Apple Sorbet Dessert
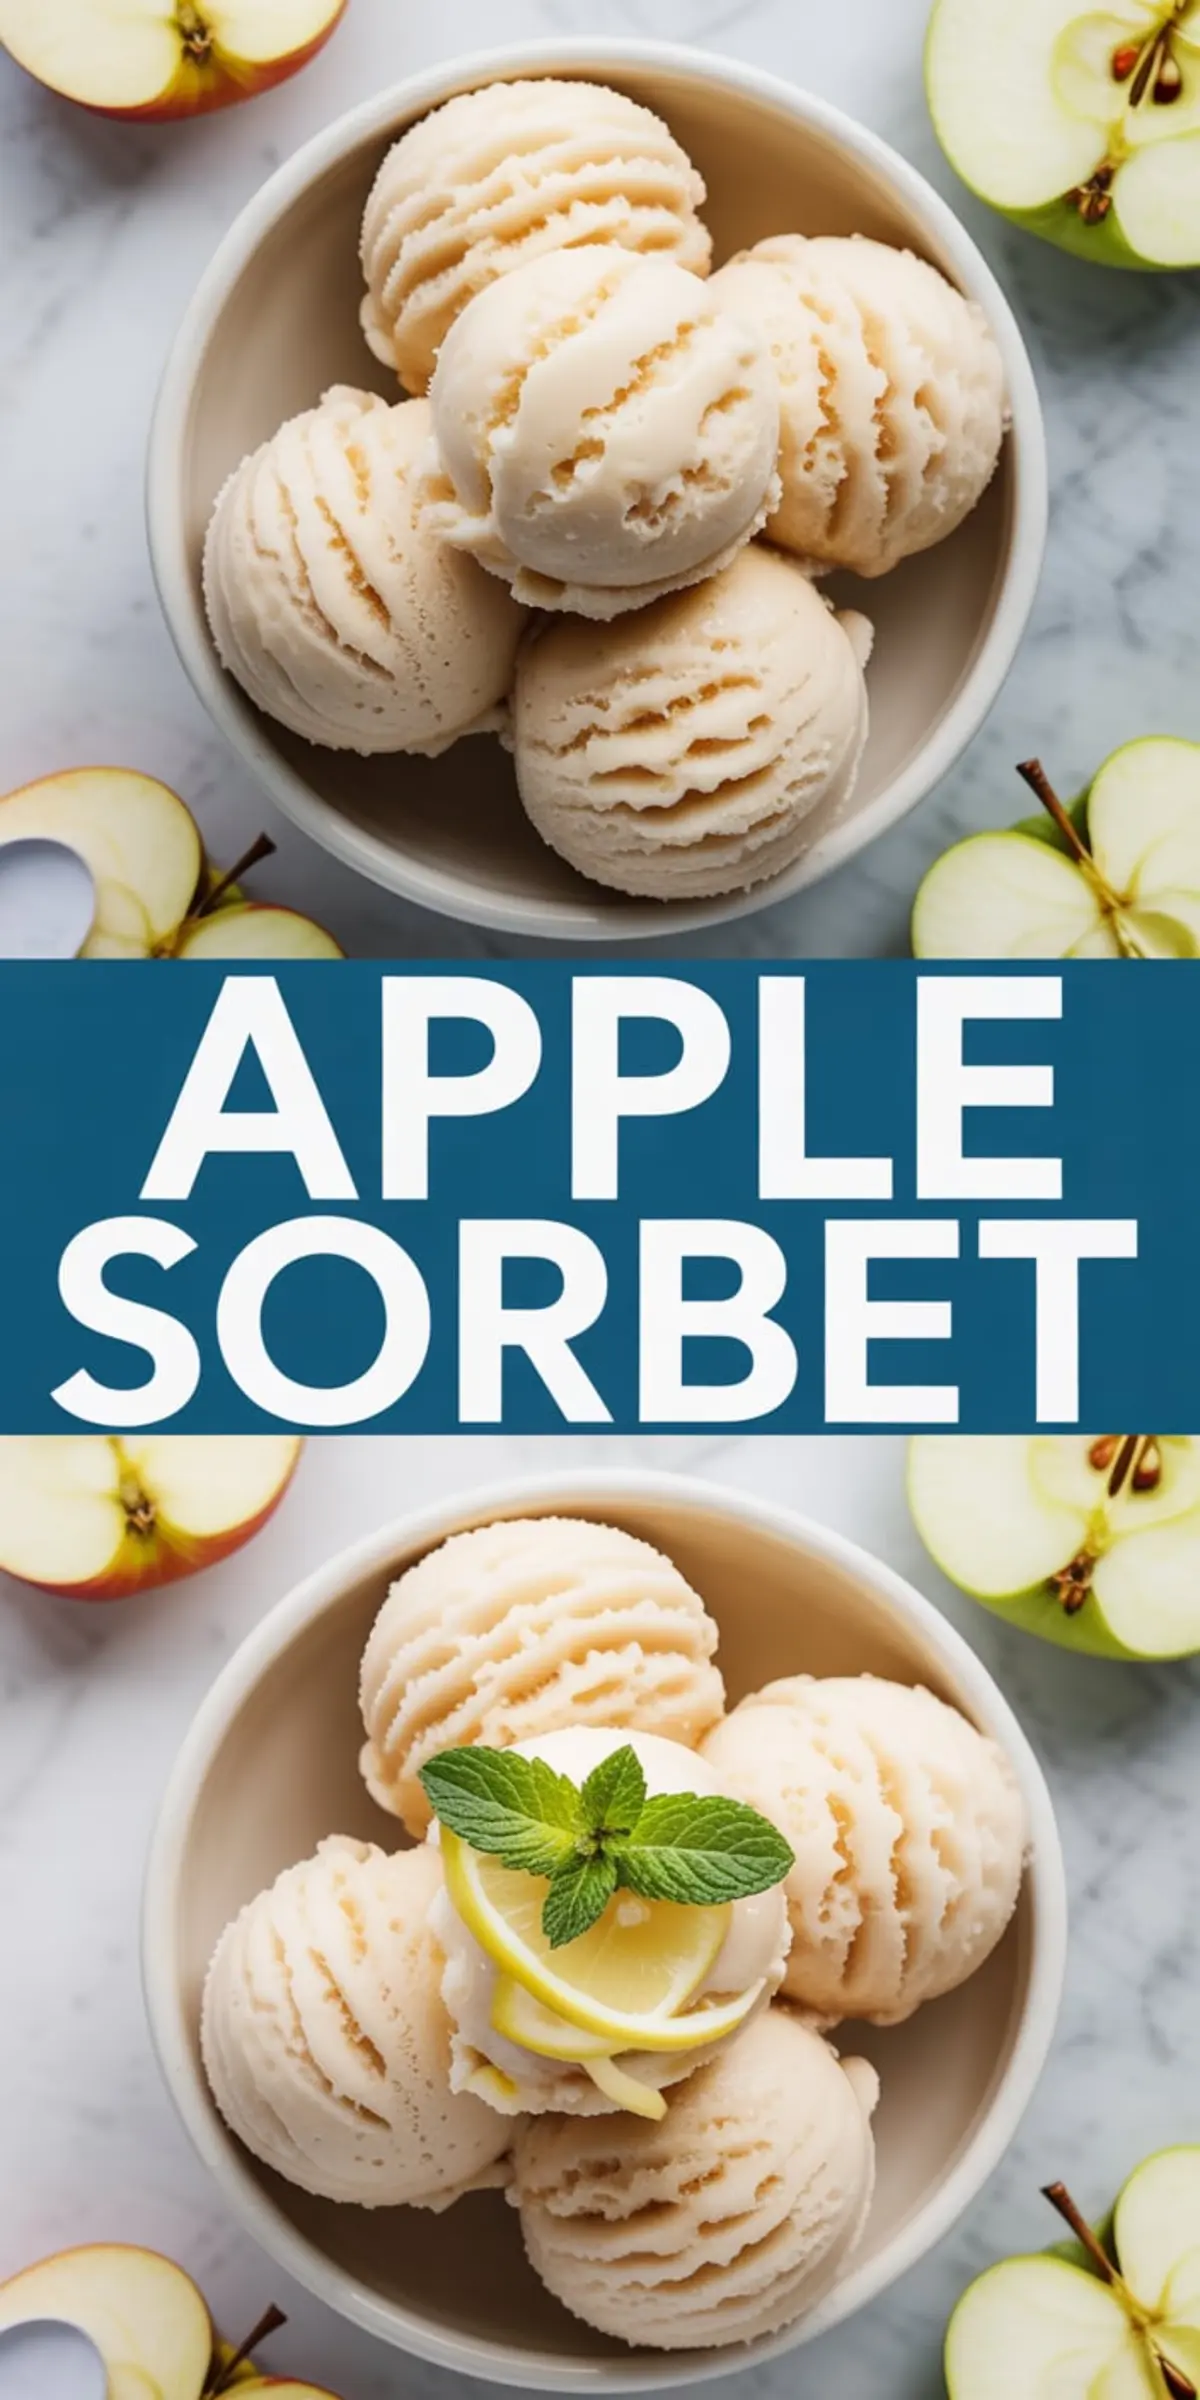
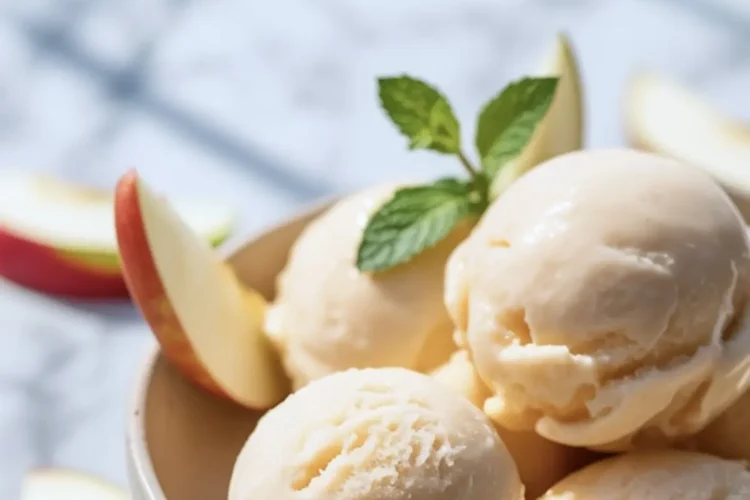
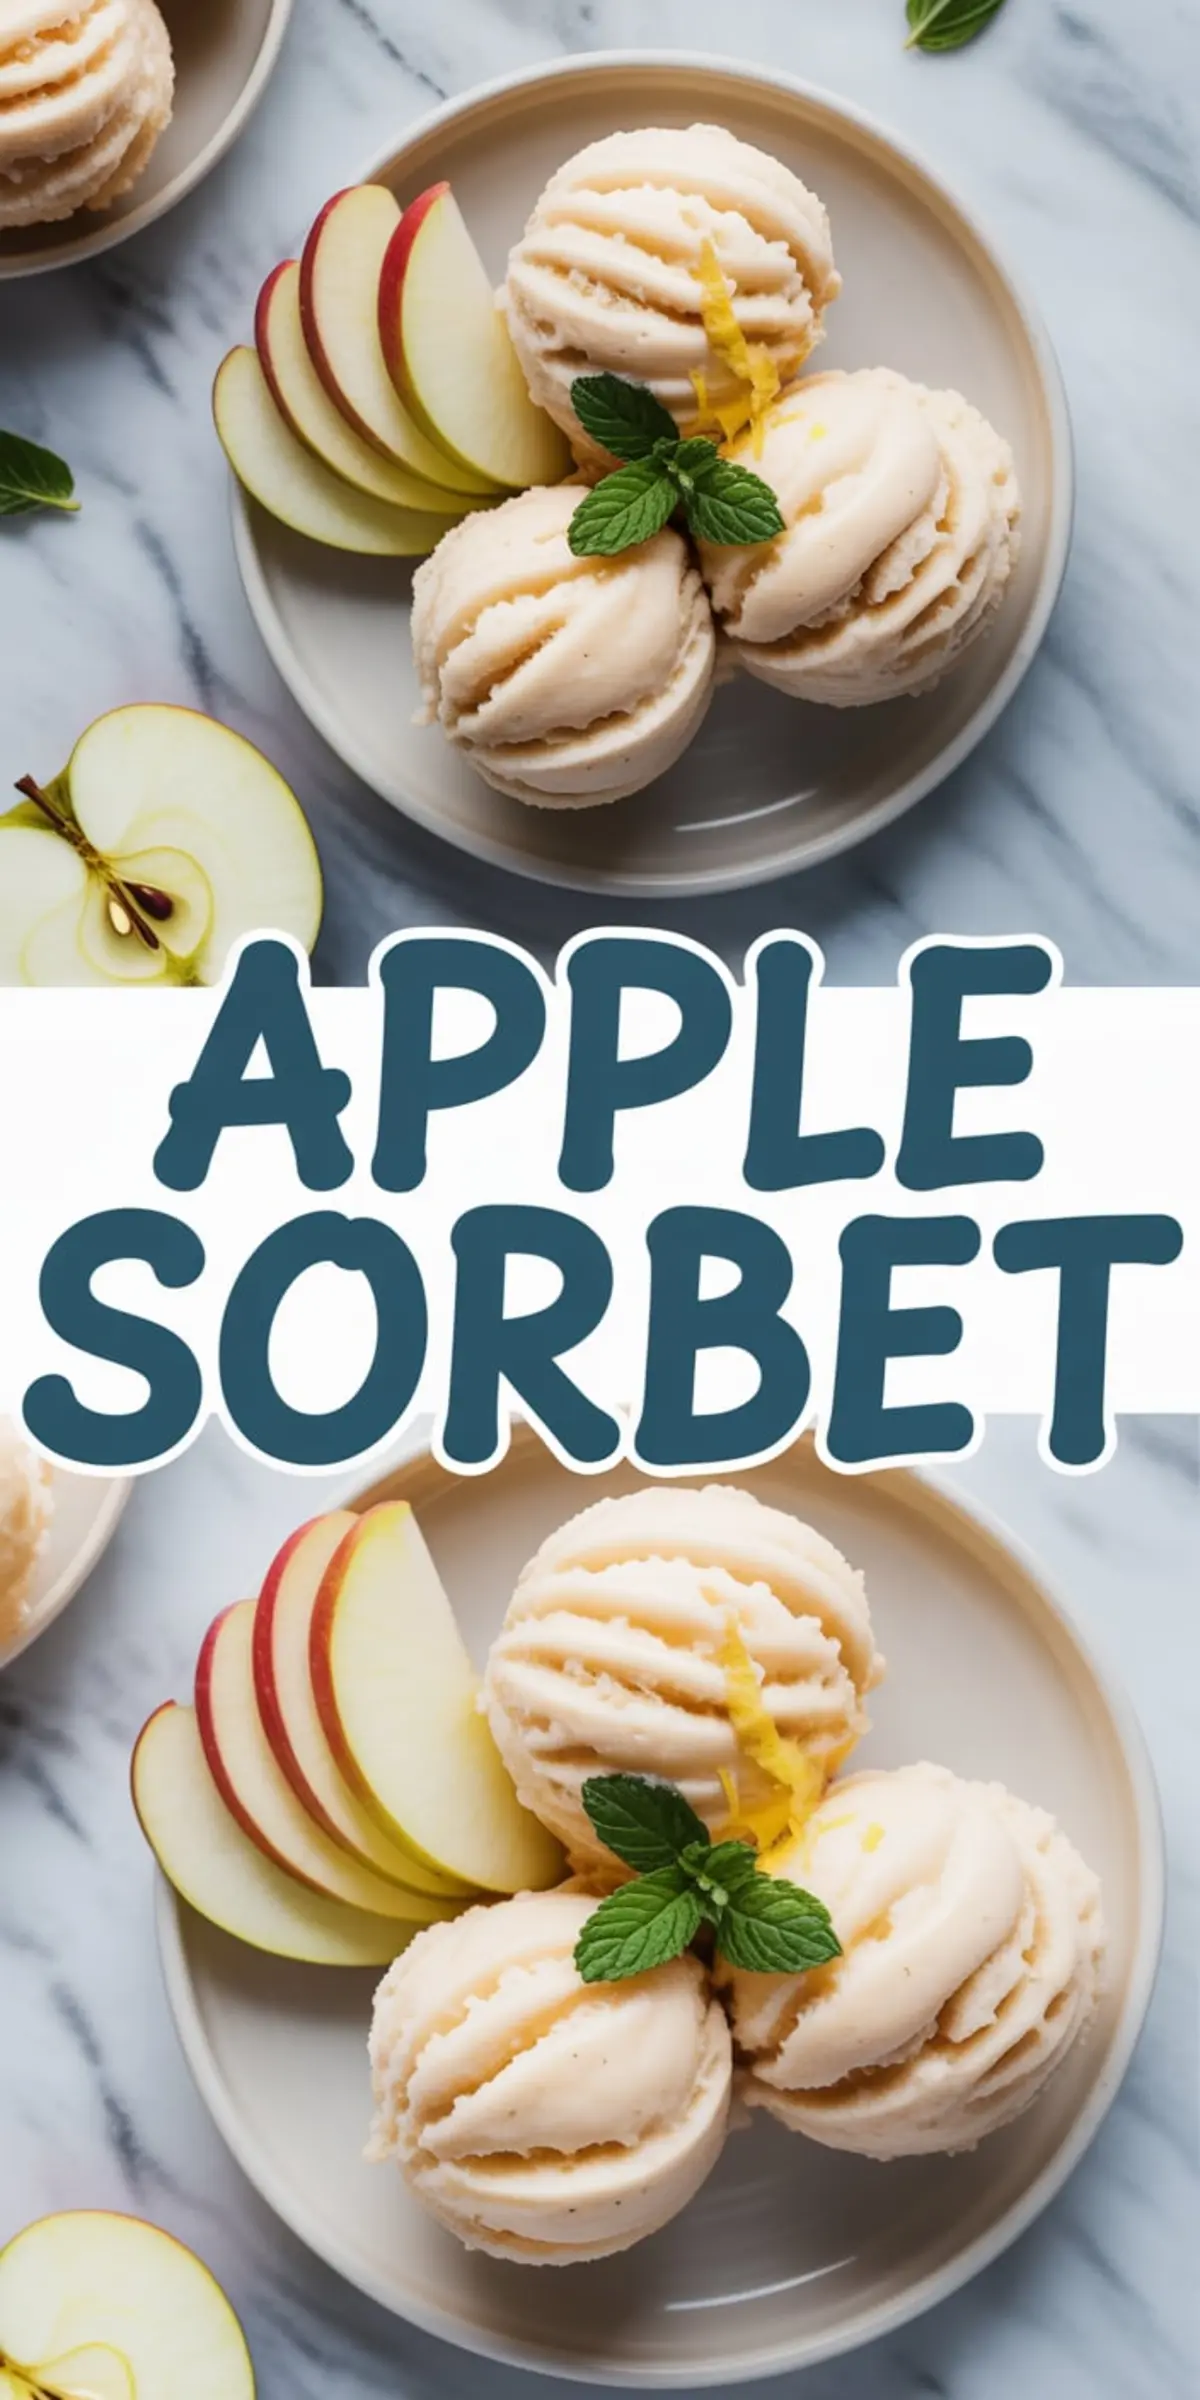
I like to scoop the apple sorbet into small bowls and top with very thin apple slices or a sprig of mint. If I’m serving it at a dinner, I freeze the bowls beforehand so the scoops hold longer.
You can also sandwich a firm scoop between two gingersnap cookies for a twist on sorbet ice cream sandwiches. They won’t last long, but the textures work beautifully.
Store the sorbet in an airtight container with plastic wrap pressed to the surface to prevent frost. It keeps well for about a week. After that, the texture may begin to shift.
I’ve kept apple sherbet variations in the freezer for ten days, and they still scoop well if softened on the counter for 5–10 minutes first.
A Quick Note from My Own Kitchen
Over the years, I’ve played with many variations of fruit sorbet, from mango to mixed berry. But I always circle back to apple.
There’s something steady about it. It doesn’t shout. It doesn’t melt away the moment you blink. I’ve made it on cold weekends, with the windows open, when I wanted something light after baking all day. I’ve made it for early September dinners with barely a whisper of cinnamon.
This version came from those days. Simple, steady, and made from what I already had on the counter. That’s what makes a recipe worth keeping.
Save This Apple Sorbet for Later and Join the Conversation
This recipe belongs in your personal fall dessert list. It’s flexible, freezer-friendly, and built from ingredients you likely already have.
📌 Pin this apple sorbet recipe so you can come back to it the next time apples fill the market stalls.
And if you try it, I’d love to hear how it turned out. Did you add cinnamon or leave it out? Did you use Honeycrisp or mix in something tart? Leave a comment and share your version. I always read through every note.
Let’s build this into something we all keep.
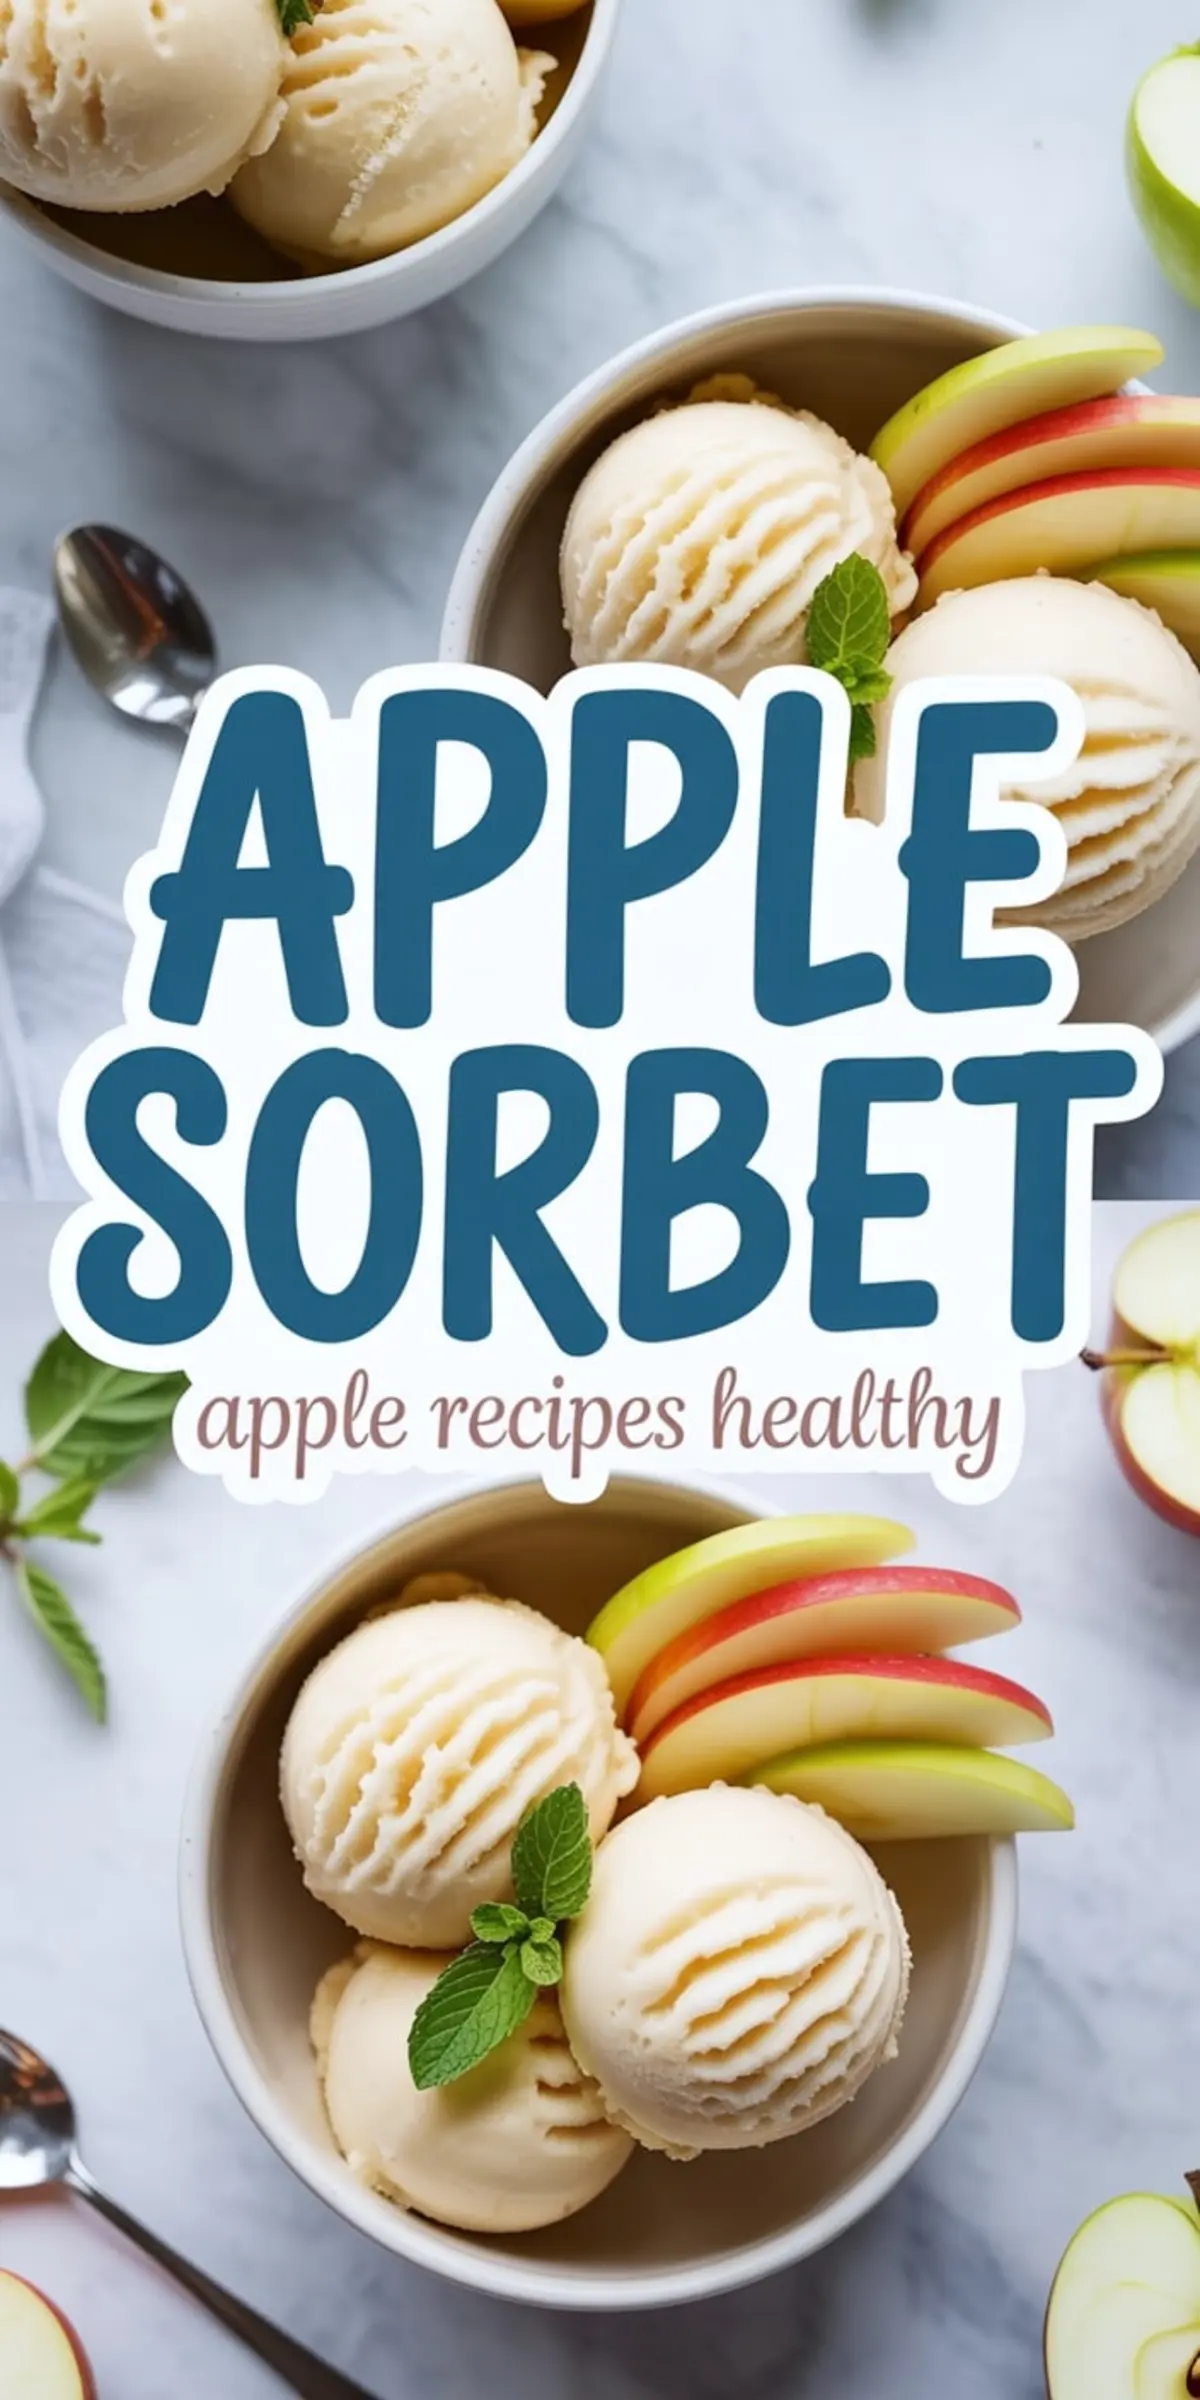
Apple Sorbet Recipe
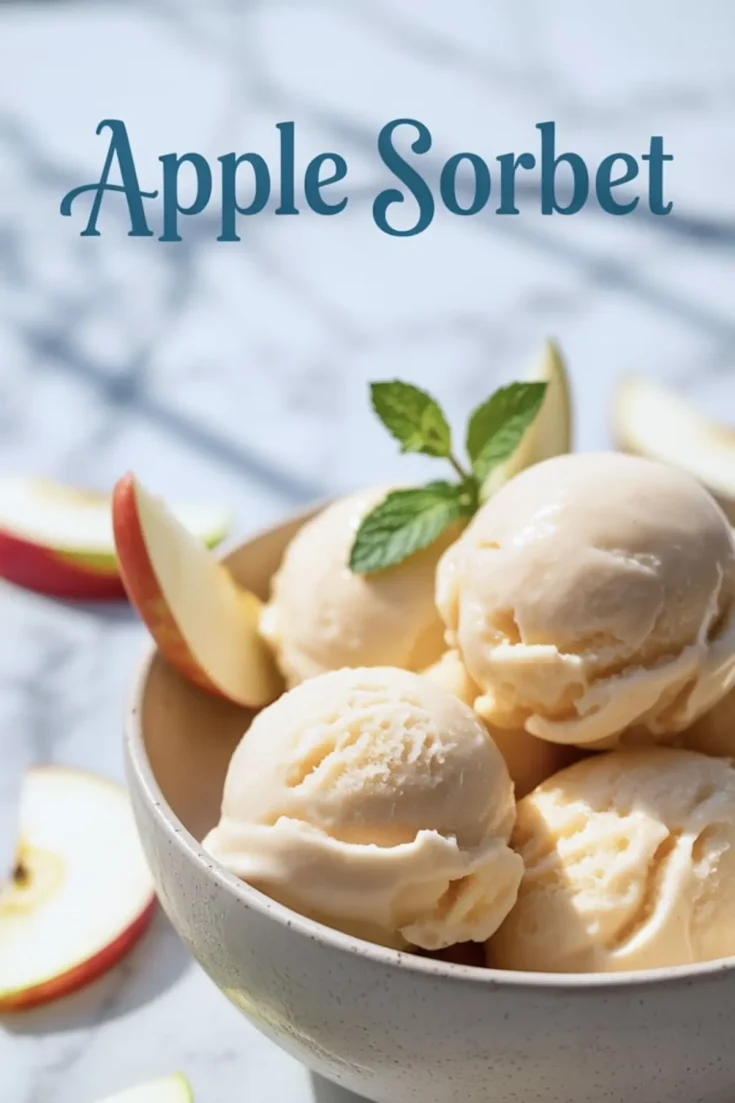
Apple sorbet is a light, refreshing cold dessert made with fresh apples blended into a smooth, frozen treat. I like preparing apple sorbet recipe versions that highlight seasonal fruit, and this apple sorbet recipe easy keeps things simple with just a few ingredients. Some call it apple sorbet dessert, others apple sherbet, but each version offers the same crisp apple flavor in frozen form. I’ve tested sorbet recipes with other fruits, tried sorbet ice cream styles, and even played with how to make apple pie sorbet for a spiced twist, but classic apple sorbet remains my favorite. Among fruit sorbet and ice cream maker recipes, this one is healthy, refreshing, and the best way to enjoy apples in a new way.
Ingredients
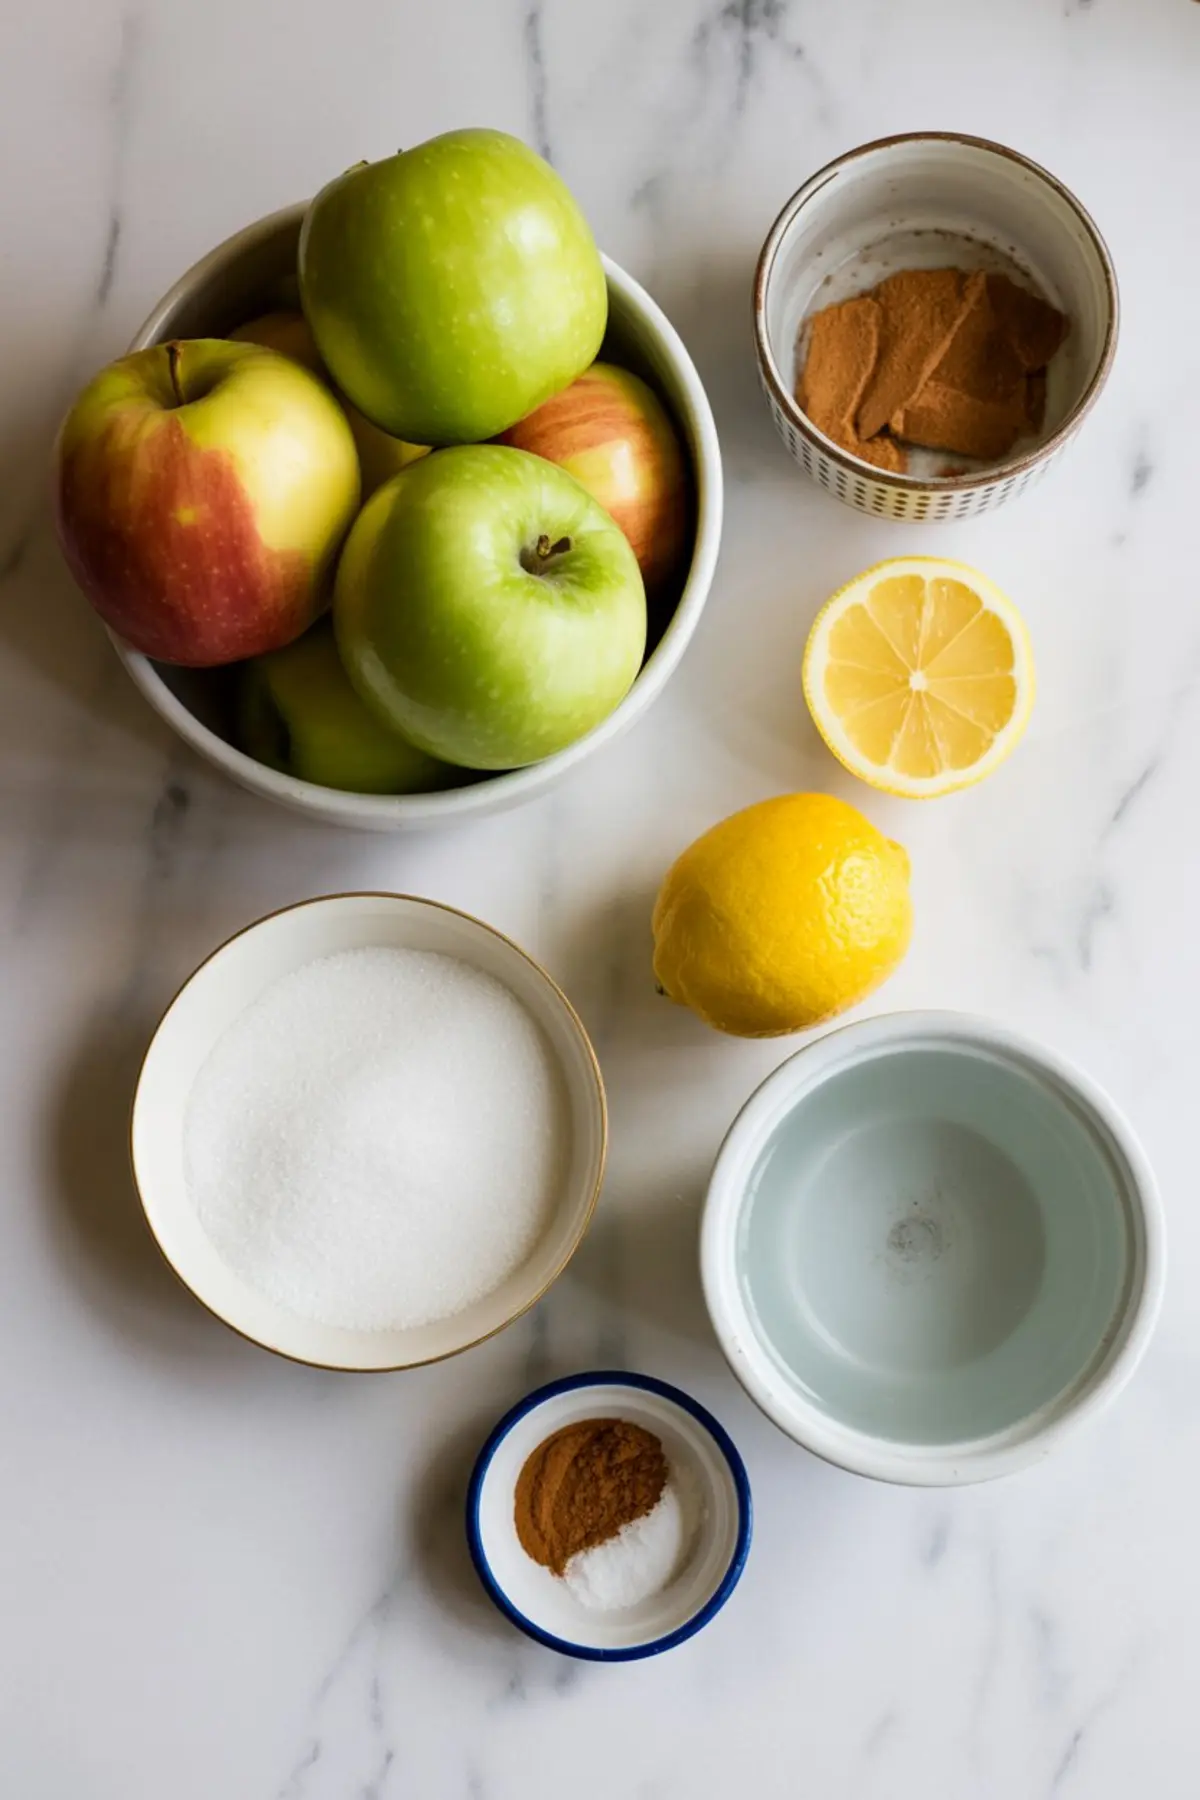
- 5 medium apples (Honeycrisp, Fuji, or a mix of sweet and tart apples work best)
- 1/2 cup water
- 2 tablespoons lemon juice (freshly squeezed)
- 1/3 to 1/2 cup granulated sugar (adjust based on your apples' sweetness)
- 1/2 teaspoon ground cinnamon (optional)
- Pinch of salt
Instructions
- PREPARE THE APPLES: Peel, core, and roughly chop the apples. Place them in a medium saucepan with the water and sugar. Cover and cook over medium heat for 10–15 minutes, or until the apples are tender and beginning to break down.
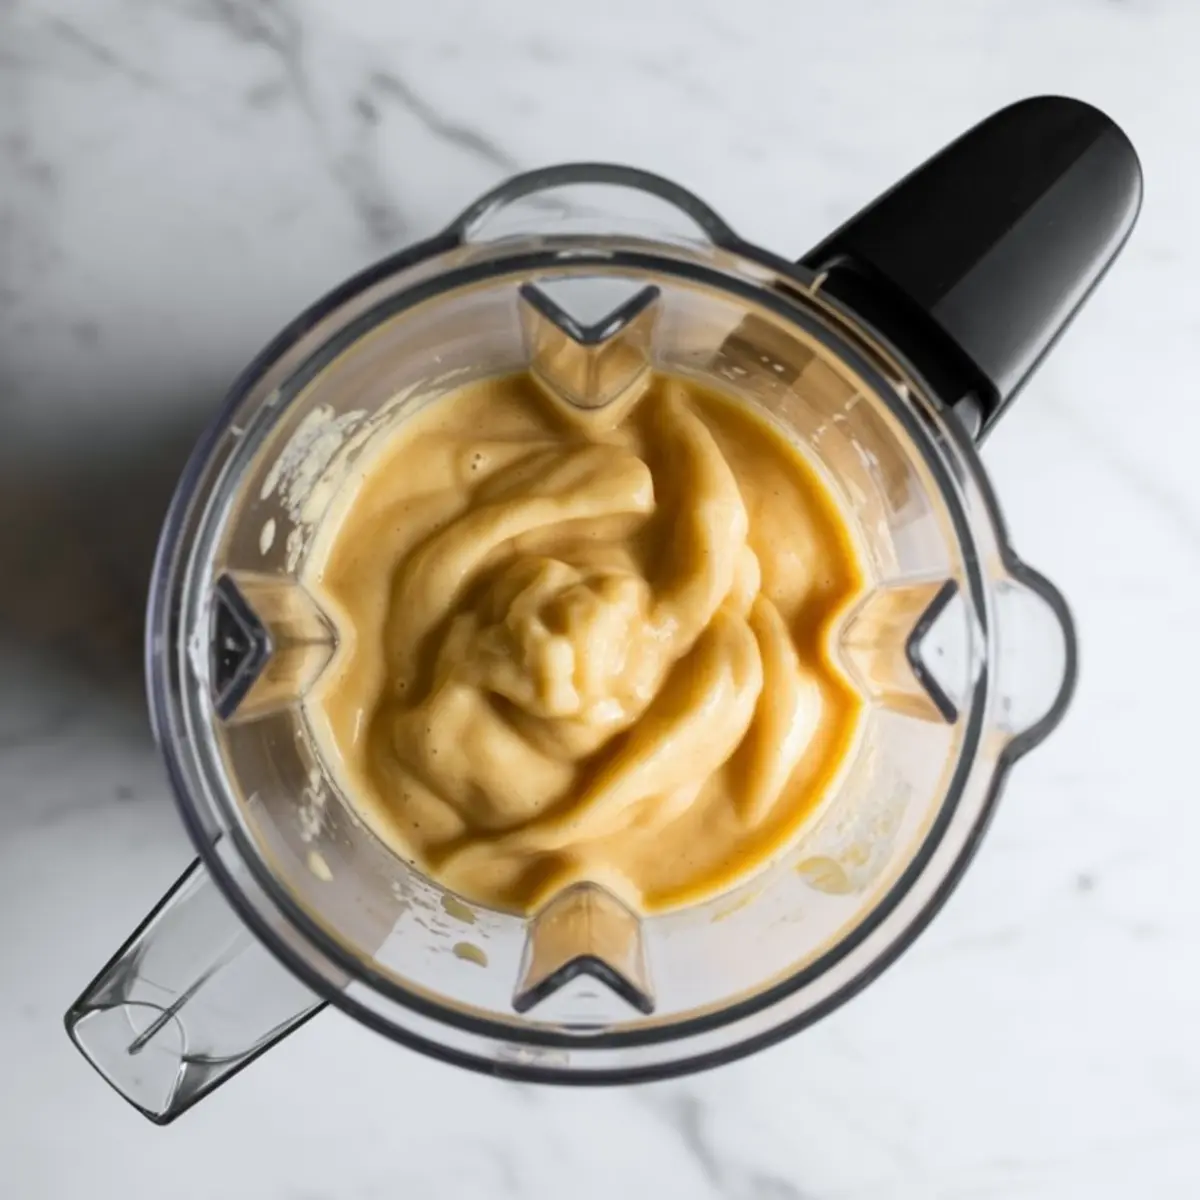
- BLEND UNTIL SMOOTH: Transfer the cooked apples and their liquid to a blender or food processor. Add the lemon juice, salt, and cinnamon if using. Blend until the mixture is completely smooth with no visible chunks remaining.
- CHILL THE MIXTURE: Pour the blended apple purée into a bowl and allow it to cool to room temperature. Cover and refrigerate for at least 3 hours or overnight until fully chilled.
- CHURN THE SORBET: Once chilled, pour the apple mixture into your ice cream maker. Churn according to the manufacturer’s instructions, typically 20–25 minutes, until it reaches a soft-serve consistency.
- FREEZE UNTIL FIRM: Transfer the churned sorbet to a freezer-safe container. Cover and freeze for at least 2 hours to firm up before serving.
Notes
For best texture, use apples that are naturally juicy and flavorful. Honeycrisp, Fuji, or a blend of sweet and tart varieties work especially well. Garnish with thin apple slices or mint before serving for added freshness.
Nutrition Information
Yield
8Serving Size
1Amount Per Serving Calories 76Total Fat 0gSaturated Fat 0gTrans Fat 0gUnsaturated Fat 0gCholesterol 0mgSodium 19mgCarbohydrates 20gFiber 3gSugar 16gProtein 0g
What do you suggest if you don’t have an ice cream maker?
You can freeze the blended apple mixture in a shallow container, then stir it every 30 minutes until smooth. It gives a similar texture without an ice cream maker.