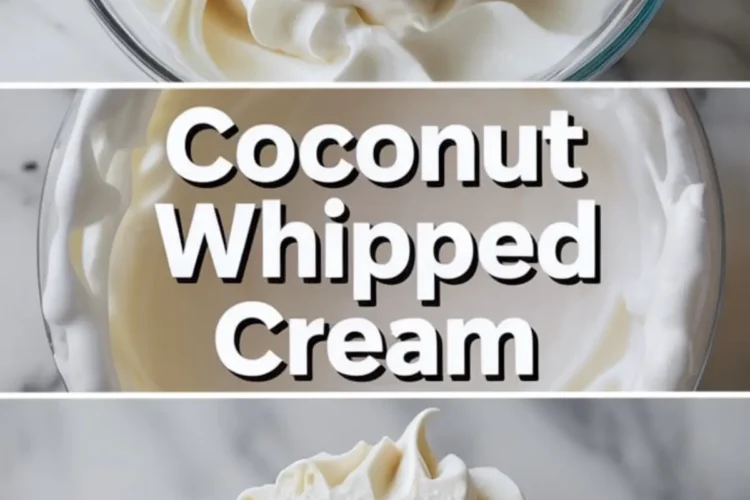
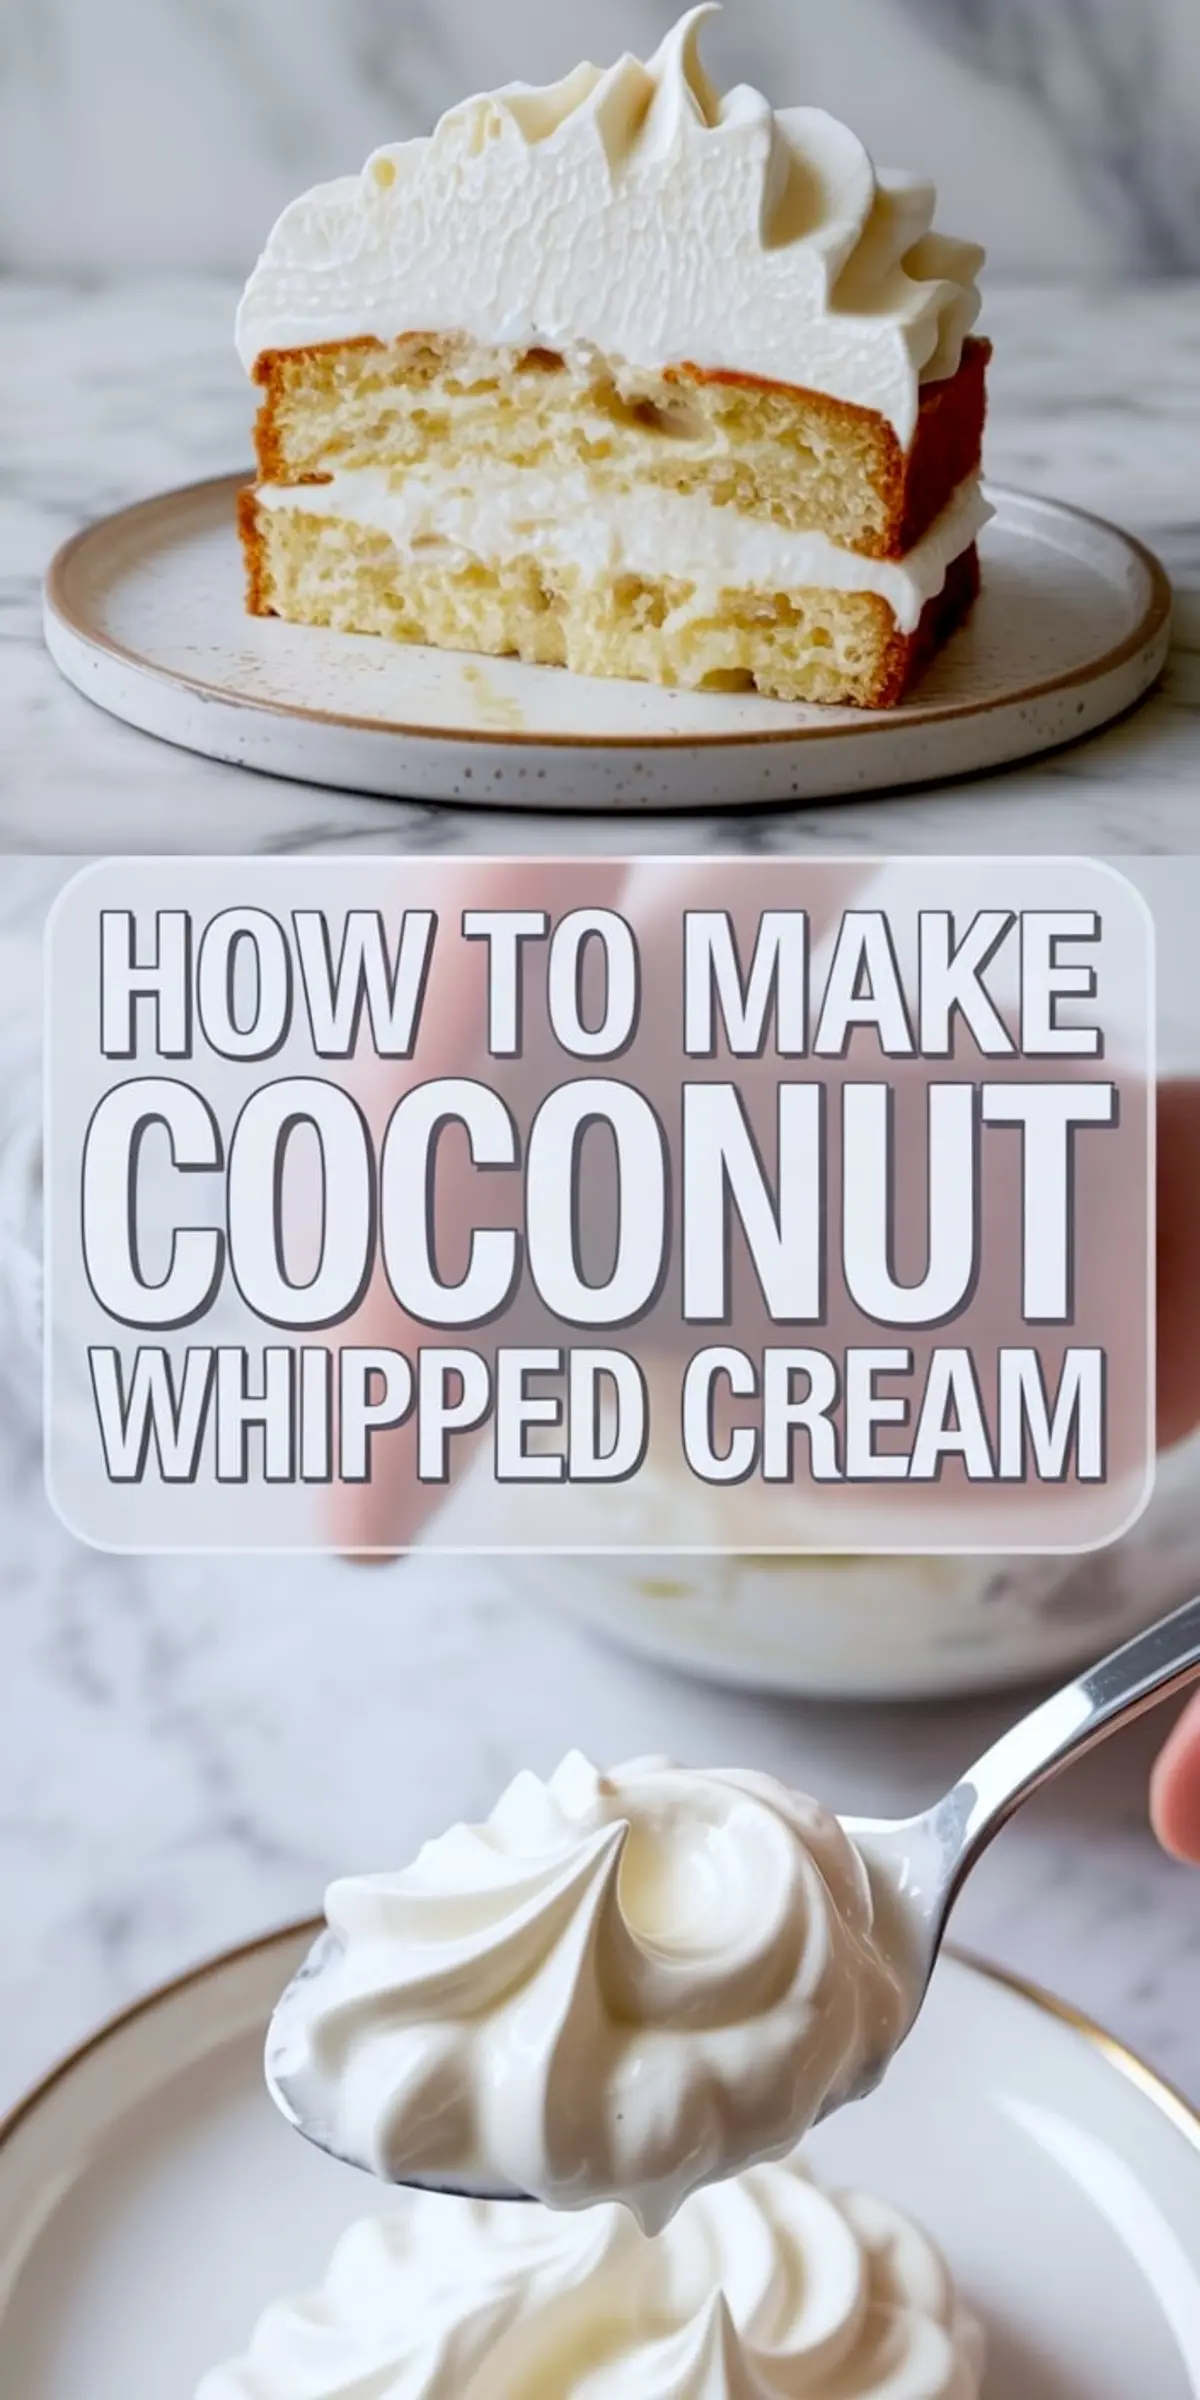
Coconut whipped cream is a light, dairy free topping made from chilled full fat coconut milk that turns into fluffy whipped coconut cream in minutes. This coconut whipped cream recipe shows how to make coconut whipped cream for cakes, fruit, pies, and coconut whipped cream desserts using simple ingredients and clear steps.
You get a smooth coconut cream whipped topping with a clean flavor and soft peaks that hold their shape. I use it as a homemade coconut whipped cream option when I want healthy coconut cream with a rich feel and no dairy.
The method relies on cold fat and fast air. Chilled coconut milk separates into solid cream and liquid, and that solid portion traps air when you whip it.
Temperature matters more than speed. A full 12 hour chill gives you a firm layer that whips in 3 to 5 minutes, and that timing creates soft peaks that feel like classic whipped cream.
I tested shorter chilling times, and the texture stayed loose. Patience here gives you structure, and structure gives you height on cakes.
What You Need
Full fat coconut milk or coconut cream gives body and flavor. I choose cans with high fat content and no added gums because clean coconut fat whips better and tastes fresher.
Powdered sugar sweetens without grain. I prefer powdered over granulated because it dissolves fast and keeps the texture silky, similar to the finish in my classic whipped cream frosting.
Vanilla extract adds warmth and rounds out the coconut note. Cream of tartar supports stability when I plan to pipe rosettes, much like I rely on structure in my Sugar Cookie Icing That Hardens.
Key Technique Spotlight
Separation defines success. You open the chilled can without shaking, scoop the thick coconut solids, and leave the clear liquid behind.
The solids should look firm and opaque. If they look loose or mixed with liquid, the can needed more time in the fridge or a different brand.
I sometimes save the liquid for smoothies. Small kitchen habits like that make the process feel intentional.
How To Make It
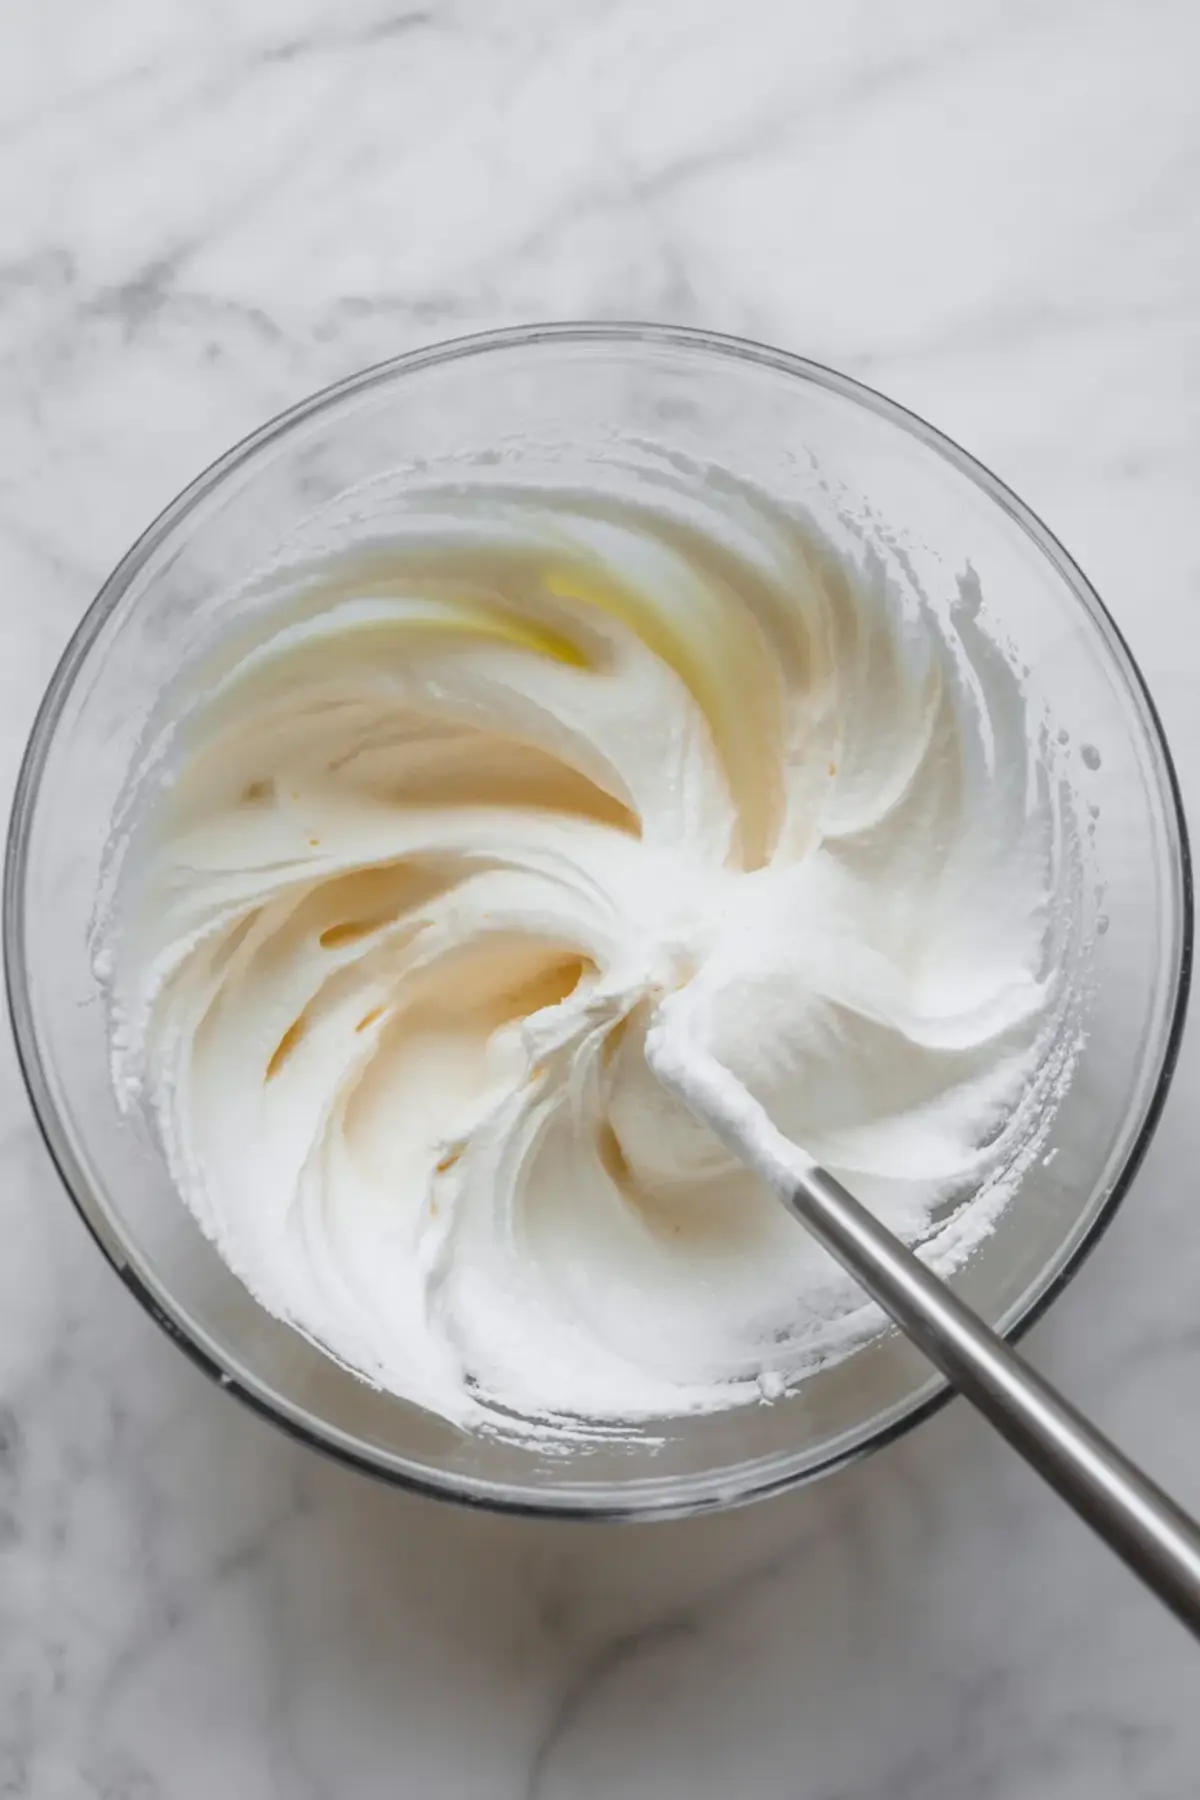
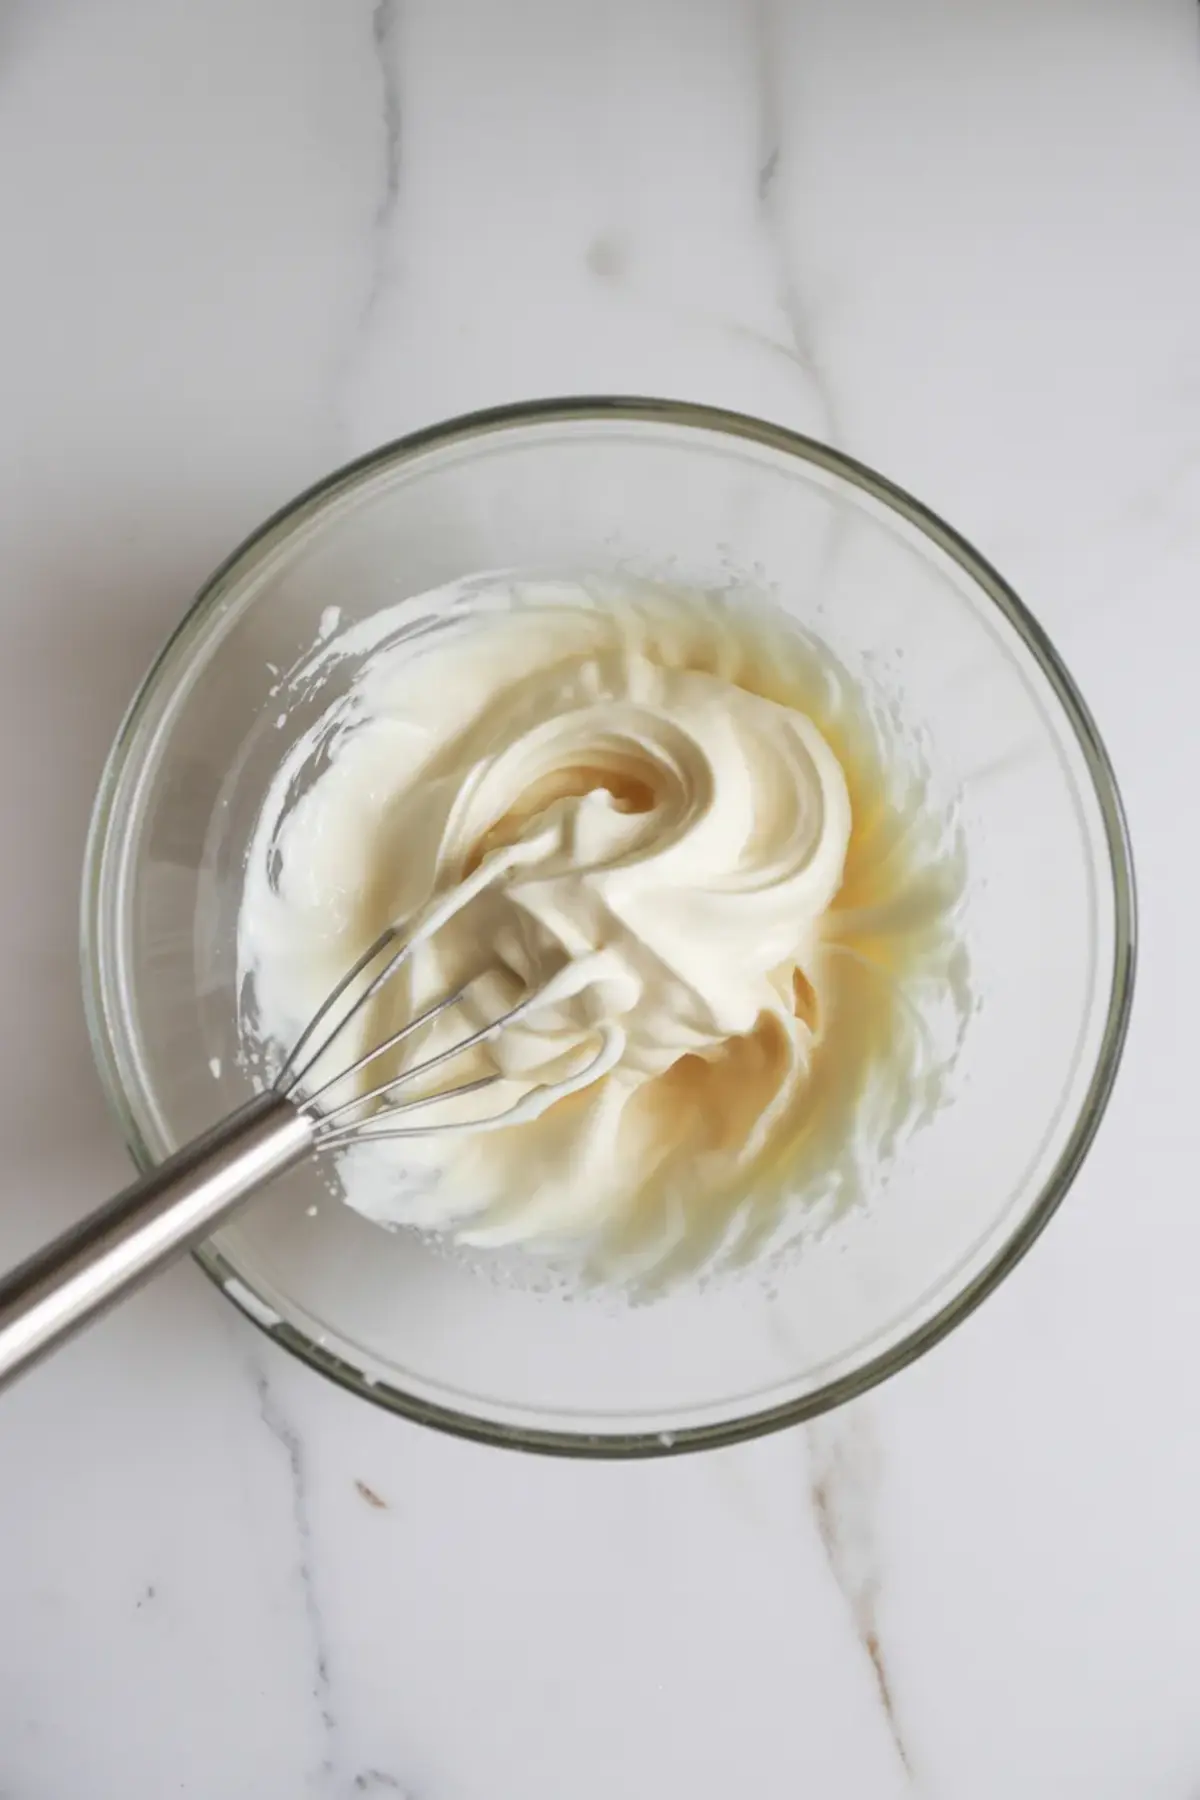
Place the firm coconut cream in a cold bowl and whip on high speed. After about 2 minutes, the texture shifts from dense to airy.
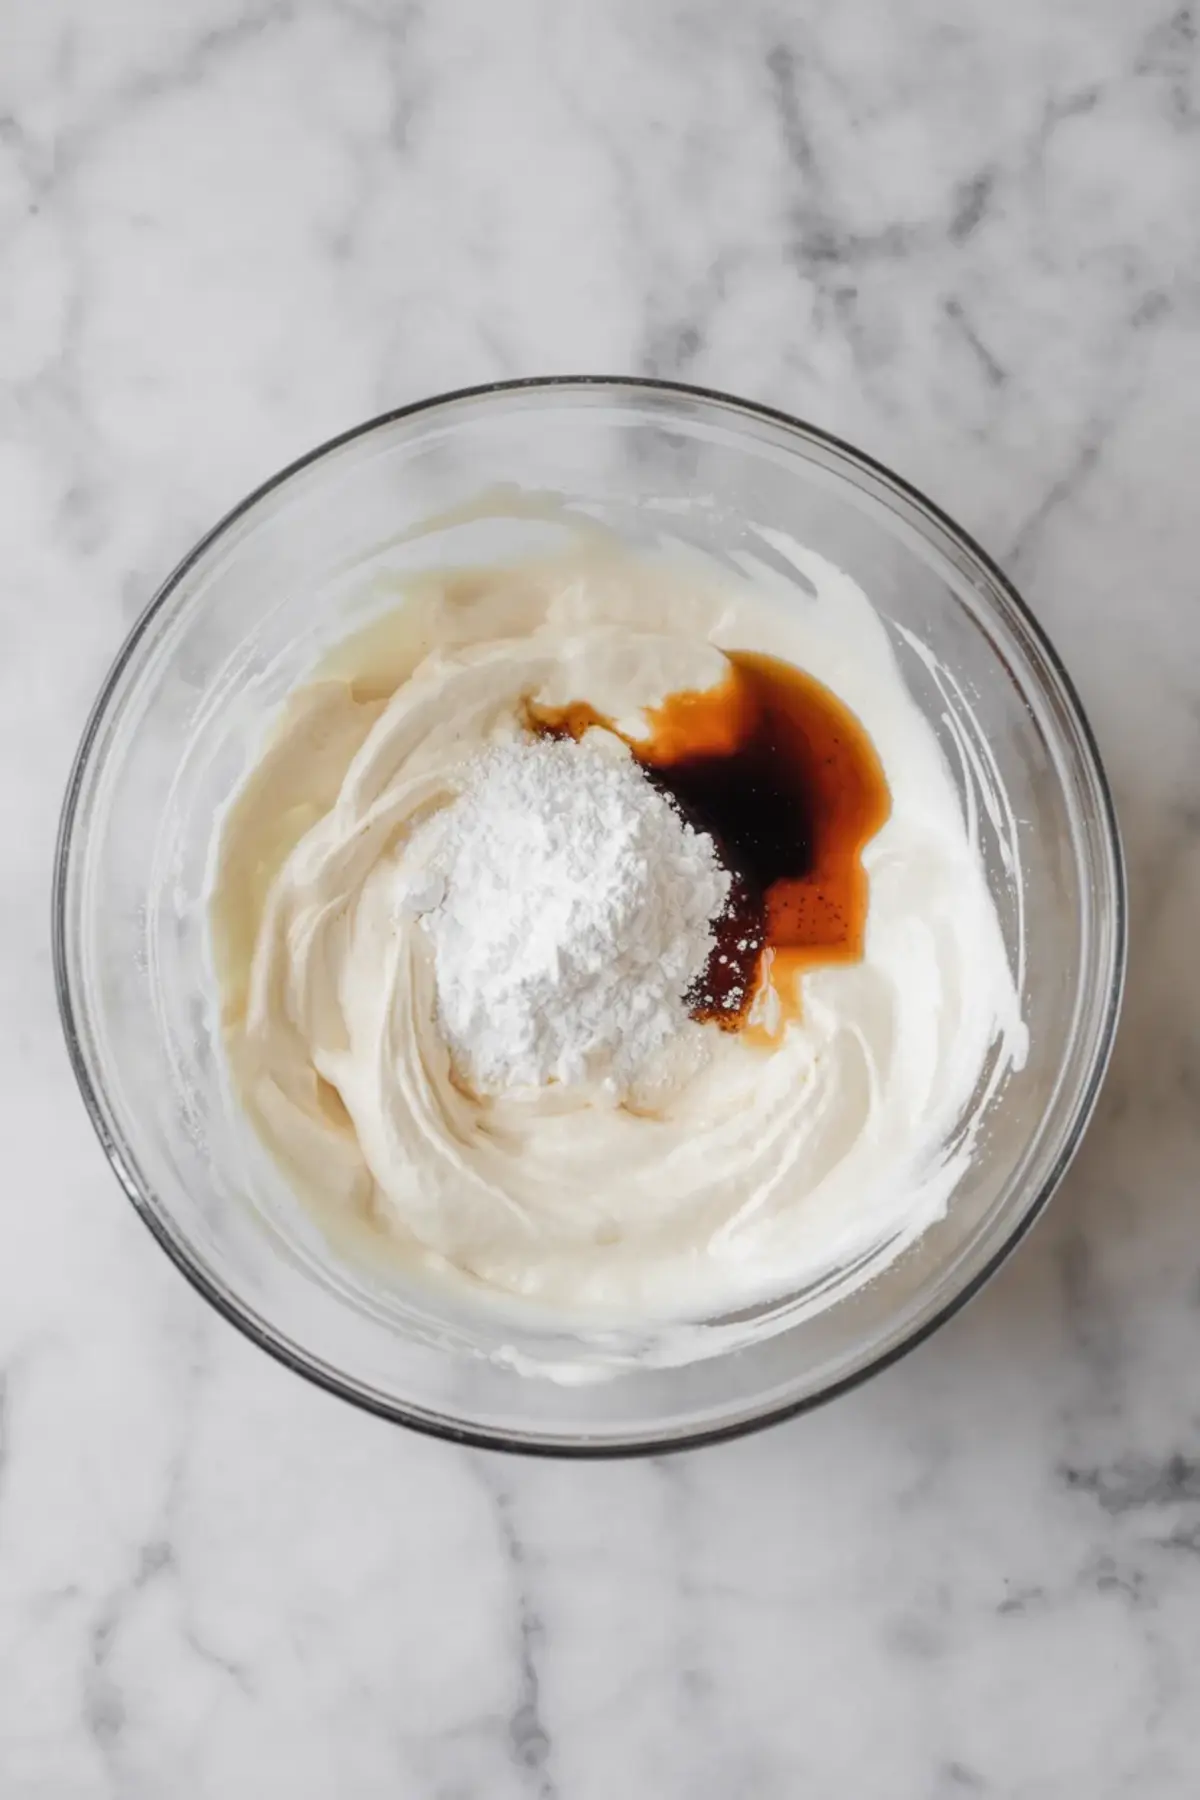
At 3 to 5 minutes, you see soft peaks that hold when you lift the whisk. Add powdered sugar, vanilla, and cream of tartar, then whip 1 to 2 more minutes until smooth and fluffy.
The mixture should look thick yet light. If it feels loose, chill it for 20 minutes and whip again.
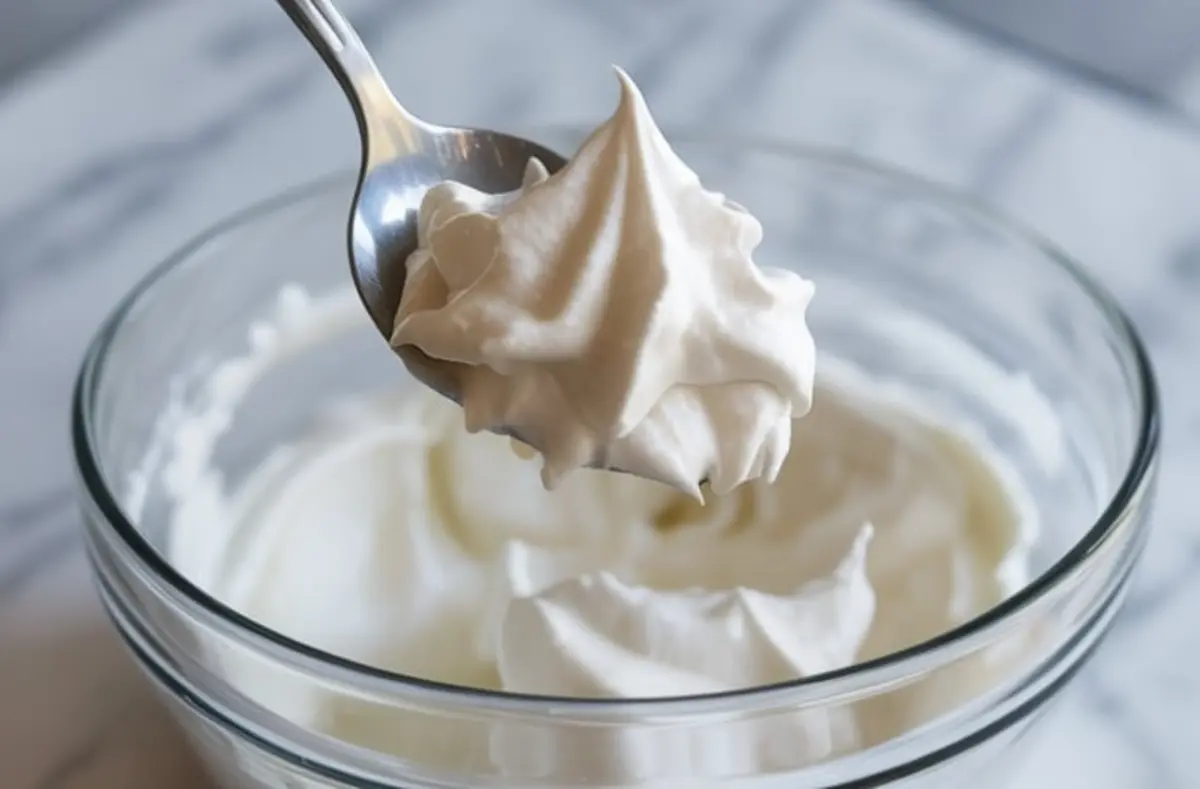
How To Tell It Is Done
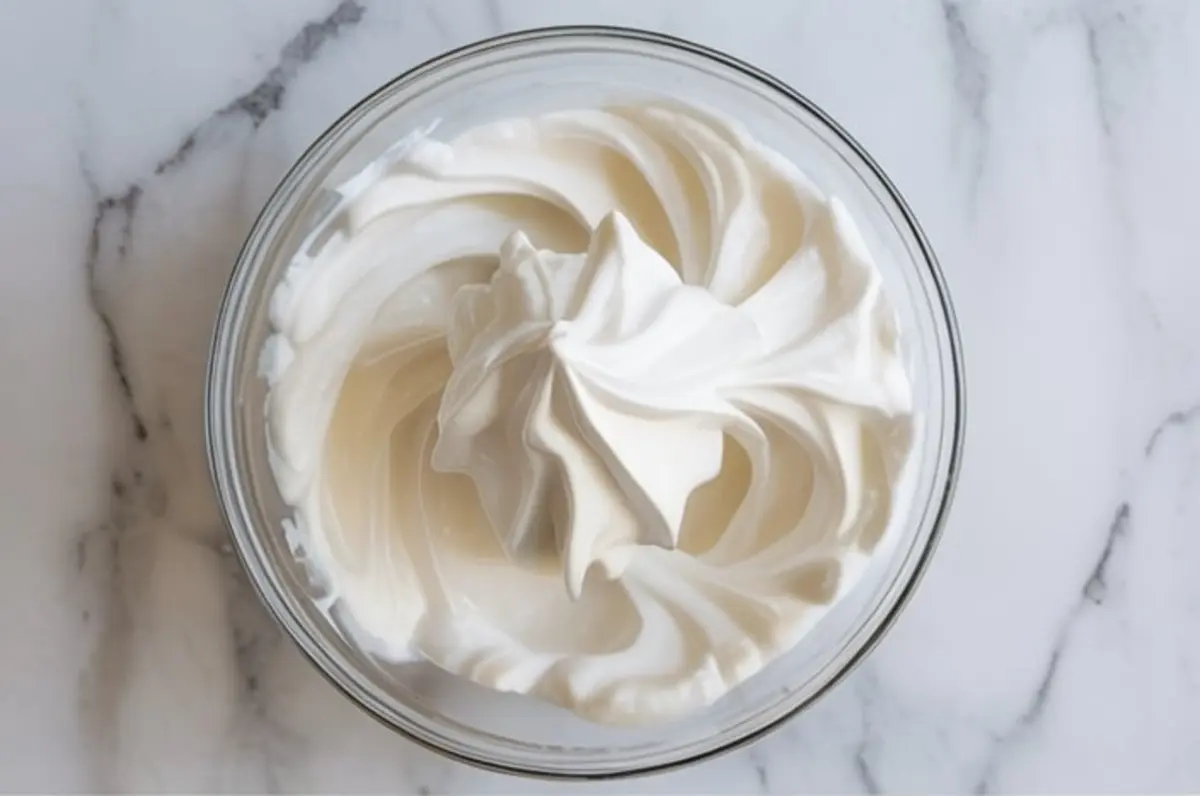
Soft peaks give the best texture for spreading. The cream should hold a gentle curve on the whisk and sit tall on a spoon.
Undermixed cream looks heavy and slightly lumpy. Overmixing can make it grainy as the fat tightens, so I stop once peaks form and the surface looks smooth.
Troubleshooting
If the cream stays flat, the coconut milk likely had low fat. Choose a brand known for firm separation, as I do when I want clean flavor like in my Coconut Buttercream Frosting.
If the texture feels grainy, you whipped too long. Chill briefly, then whisk gently by hand to smooth it.
If it tastes too strong, add a touch more powdered sugar or a splash of vanilla. Balance changes everything.
Ways To Change It
Add 2 tablespoons cocoa powder for a light chocolate version that pairs well with my pudding frosting. Cocoa deepens the flavor and creates a mousse like finish.
Fold in citrus zest for brightness. A teaspoon of orange or lime zest lifts the coconut and works beautifully on fruit tarts.
Stir in a tablespoon of maple syrup for a softer sweetness. That small shift creates a warm note that feels cozy on fall cakes.
Storage and Tips
Store coconut milk whipped cream in an airtight container in the fridge for up to 3 days. The texture firms as it chills.
A quick 30 second whip restores volume before serving. Freezing changes the texture, so I use fresh batches when I need that airy finish.
Chill the mixing bowl for extra lift. Cold tools help the fat hold air.
Taste before serving. Small adjustments in sweetness make a big difference, especially on lightly sweet cakes.
Keep a can of coconut whipping cream in the pantry. I often remember this topping at the last minute, and it saves dessert.
How To Serve It
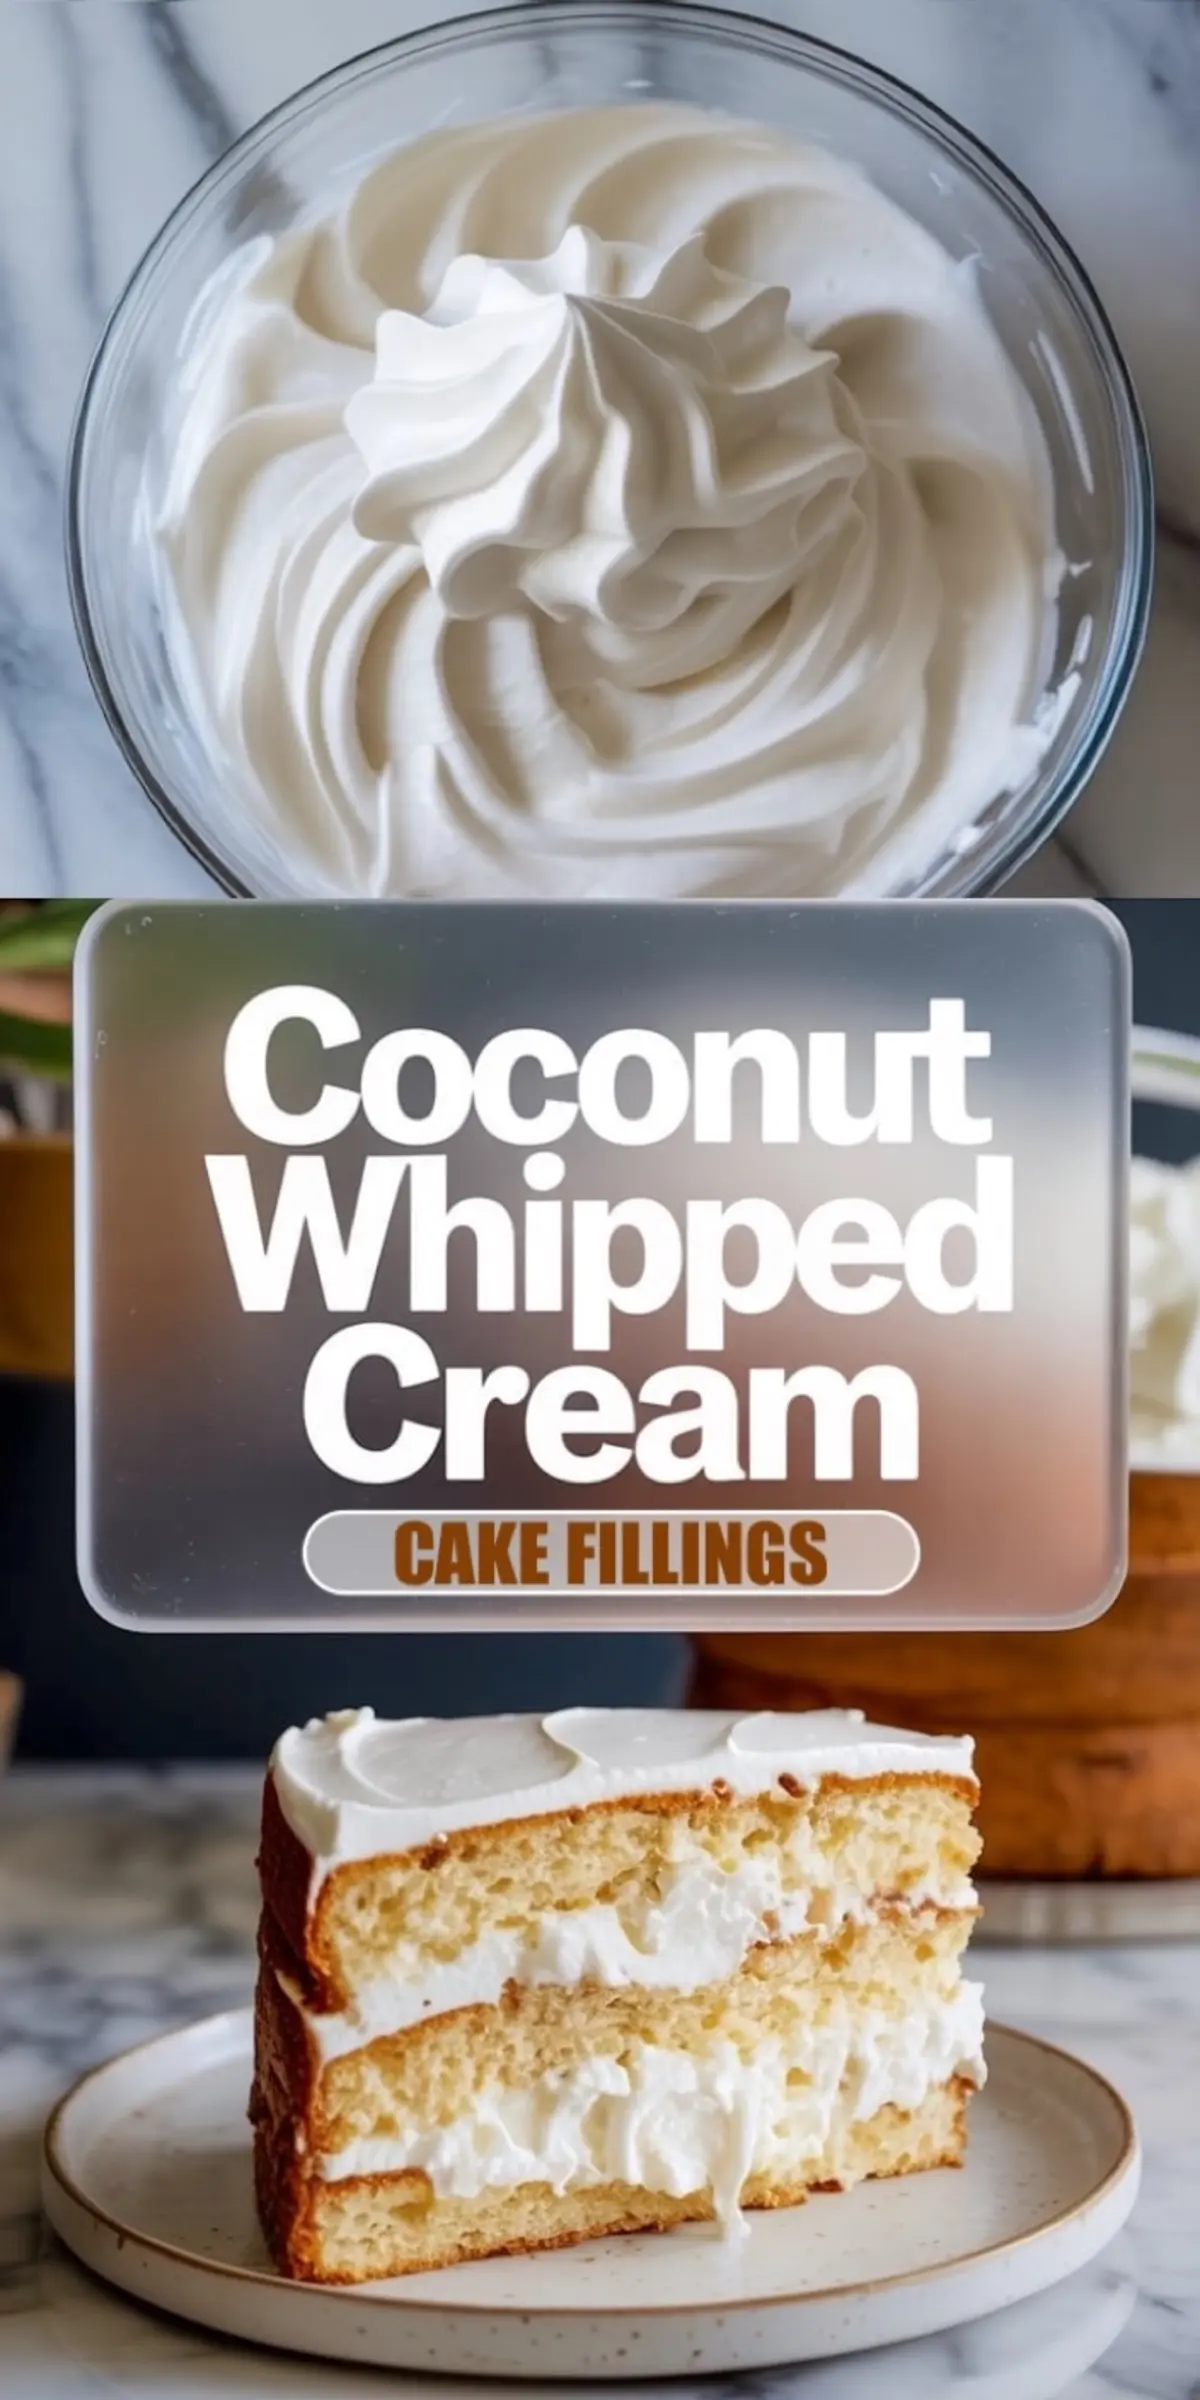
Spoon it over fresh berries for a simple bowl. Spread it between cake layers for a dairy free frosting option.
Pipe it onto cupcakes for a soft swirl. Dollop it over pies, pancakes, or warm brownies when you want a light coconut cream whipped topping.
Save This Recipe
Save this coconut whipped cream recipe to your dessert or frosting board so you always have a quick dairy free topping ready. Tell me in the comments how you used this whipped coconut cream and ask any questions that come up in your kitchen.
Coconut Whipped Cream
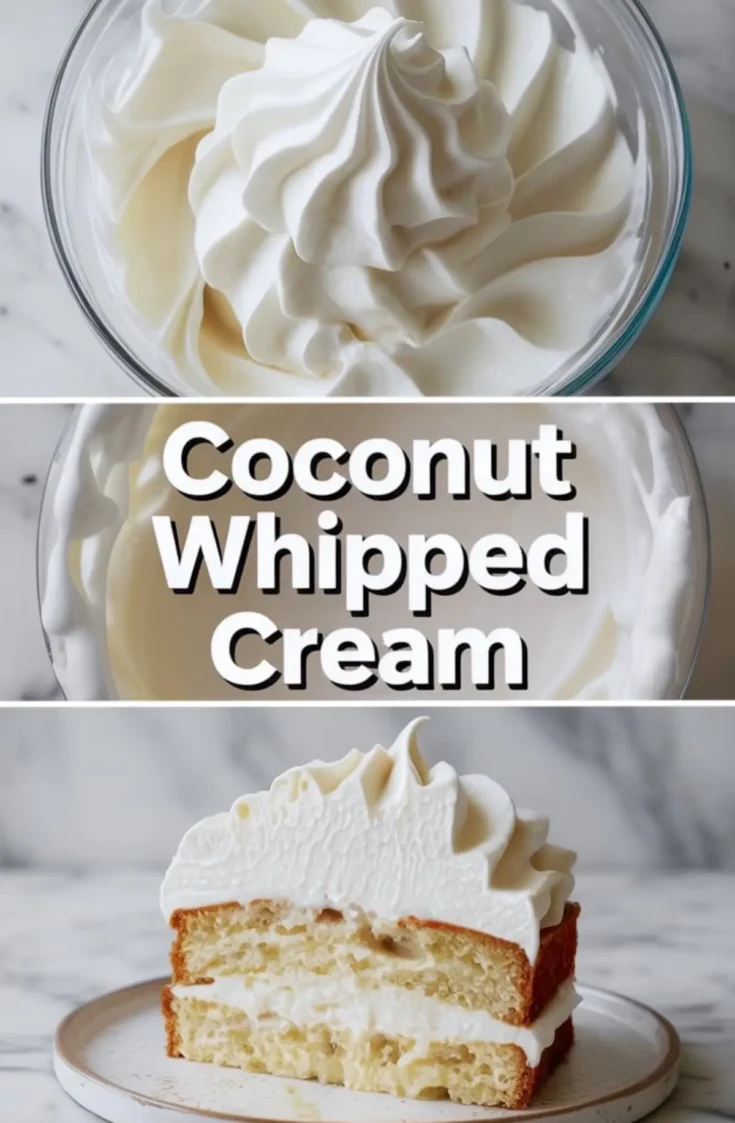
This airy Coconut Whipped Cream is a smooth and creamy alternative to traditional whipped topping. Made with chilled coconut milk, this easy Coconut Whipped Cream Recipe creates a rich yet light texture that pairs beautifully with fruit, cakes, and pies.
Learn How To Make Coconut Whipped Cream with simple steps that transform thick coconut solids into fluffy Whipped Coconut Cream. This naturally dairy free Coconut Milk Whipped Cream works perfectly as a silky Coconut Cream Whipped Topping for cakes and layered desserts.
Use this versatile Homemade Coconut Whipped Cream in your favorite Coconut Whipped Cream Desserts or enjoy it as a spoonable Healthy Coconut Cream option. Keep a can of Coconut Whipping Cream on hand for an easy topping that elevates any sweet treat.
Ingredients
- 1 can (13.5 oz) full-fat coconut milk or coconut cream, chilled overnight
- 2–3 tablespoons powdered sugar, to taste
- 1 teaspoon pure vanilla extract
- ¼ teaspoon cream of tartar, optional for stability when piping
Instructions
- CHILL THE COCONUT MILK: Place the can of full-fat coconut milk or coconut cream in the refrigerator for at least 12 hours, or overnight. This helps the thick cream separate from the liquid.
- SEPARATE THE CREAM: Open the chilled can carefully without shaking. Use a spoon to scoop the solidified coconut cream into a mixing bowl, leaving the clear liquid behind. Reserve the liquid for smoothies or discard.
- WHIP THE CREAM: Using a hand mixer or a stand mixer with a whisk attachment, beat the coconut cream on high speed for 3 to 5 minutes until it becomes light, fluffy, and similar in texture to soft whipped cream.
- ADD FLAVORINGS: Add the powdered sugar and vanilla extract to the whipped cream. If using cream of tartar for extra stability, add it now. Continue whipping for another 1 to 2 minutes until everything is fully combined and peaks form.
- TASTE AND CHILL IF NEEDED: Taste the whipped cream and adjust the sweetness if necessary. If the texture is too soft for your needs, refrigerate the mixture for 20 to 30 minutes to help it firm up before using or piping.
Notes
For best results, use a high-quality brand of coconut milk or coconut cream with a high fat content and no added gums or emulsifiers. Brands like Thai Kitchen, Native Forest (simple version), or Aroy-D typically separate well. Avoid "lite" coconut milk. Store leftover whipped cream in an airtight container in the refrigerator for up to 3 days. Whip again briefly before using if needed.
Nutrition Information
Yield
1Serving Size
1Amount Per Serving Calories 88Total Fat 3gSaturated Fat 3gUnsaturated Fat 0gSodium 6mgCarbohydrates 12gSugar 11gProtein 0g