Some recipes just sit in your kitchen notes year after year. This is one of them. I’ve been making these peanut butter oatmeal bars for a long time now, and they’ve never once let me down.
They’re soft yet hold their shape, with that smooth layer of peanut butter topping that sets beautifully in the fridge. I like to think of them as the kind of snack you reach for on a day when you want something ready without much effort — because, well, they are. And the best part? You don’t even need to turn on the oven.
Following a special diet?
Every recipe on this site can be converted to gluten-free, vegan, dairy-free, keto, nut-free or egg-free with adjusted ratios so nothing falls flat.
Try the Recipe Converter →Picking Ingredients That Do the Work for You
Old-fashioned rolled oats make the best base here. They hold together without losing texture, which is more than I can say for quick oats. I’ve tried those, and the bars turn out a little too soft, almost cake-like.
Creamy peanut butter is the heart of this recipe. Natural peanut butter gives a rich, roasted taste, but processed spreads give a smooth, slightly sweeter bite. Some days I choose one, some days the other — depends on the mood and what’s in the pantry.
If you want another peanut butter snack that uses everyday ingredients, you might enjoy Peanut Butter Overnight Oats. It’s a different format but works off the same flavor comfort.
Building the Base
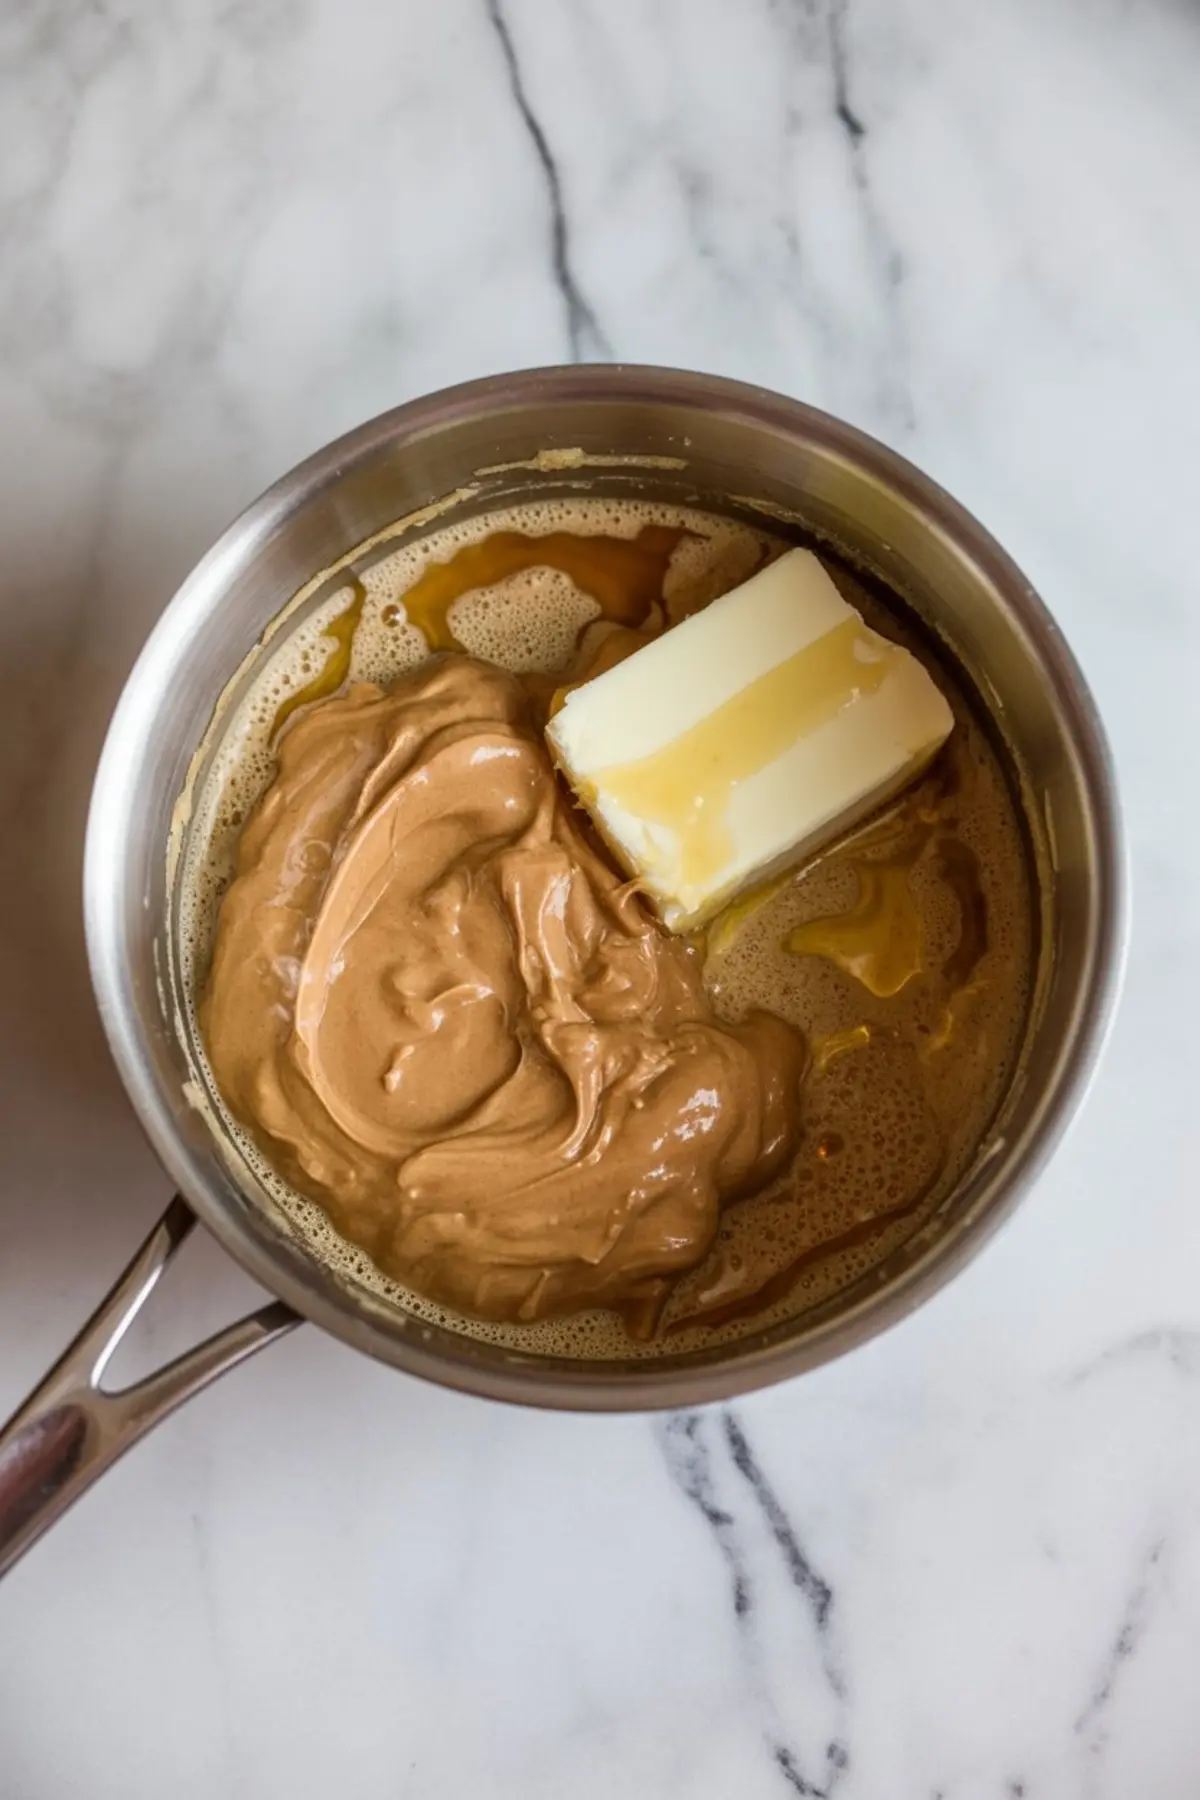
The peanut butter, honey, butter, and salt go into a saucepan over gentle heat until everything melts together into a glossy mixture. I don’t rush this part — a slow stir keeps the flavor clean and smooth.

Once the mixture is ready, vanilla goes in. Then the oats. Stir until each flake is coated, but don’t get too forceful. The oats only need enough mixing to hold, not to be broken down.
For a snack you can pop straight into a lunch box, you might like peanut butter oat balls. Similar ingredients, same comfort factor.
Butter or Coconut Oil – My Side-by-Side Notes
I’ve tested both over the years. Butter firms the bars more when chilled, which makes them easier to slice neatly. It also adds that creamy, slightly savory undertone I like.
Coconut oil keeps them softer and adds the faintest tropical note. Lovely if you’re pairing it with maple syrup instead of honey. I find myself using butter more often — but that’s just my personal rhythm with this recipe.
Topping That Brings It Together
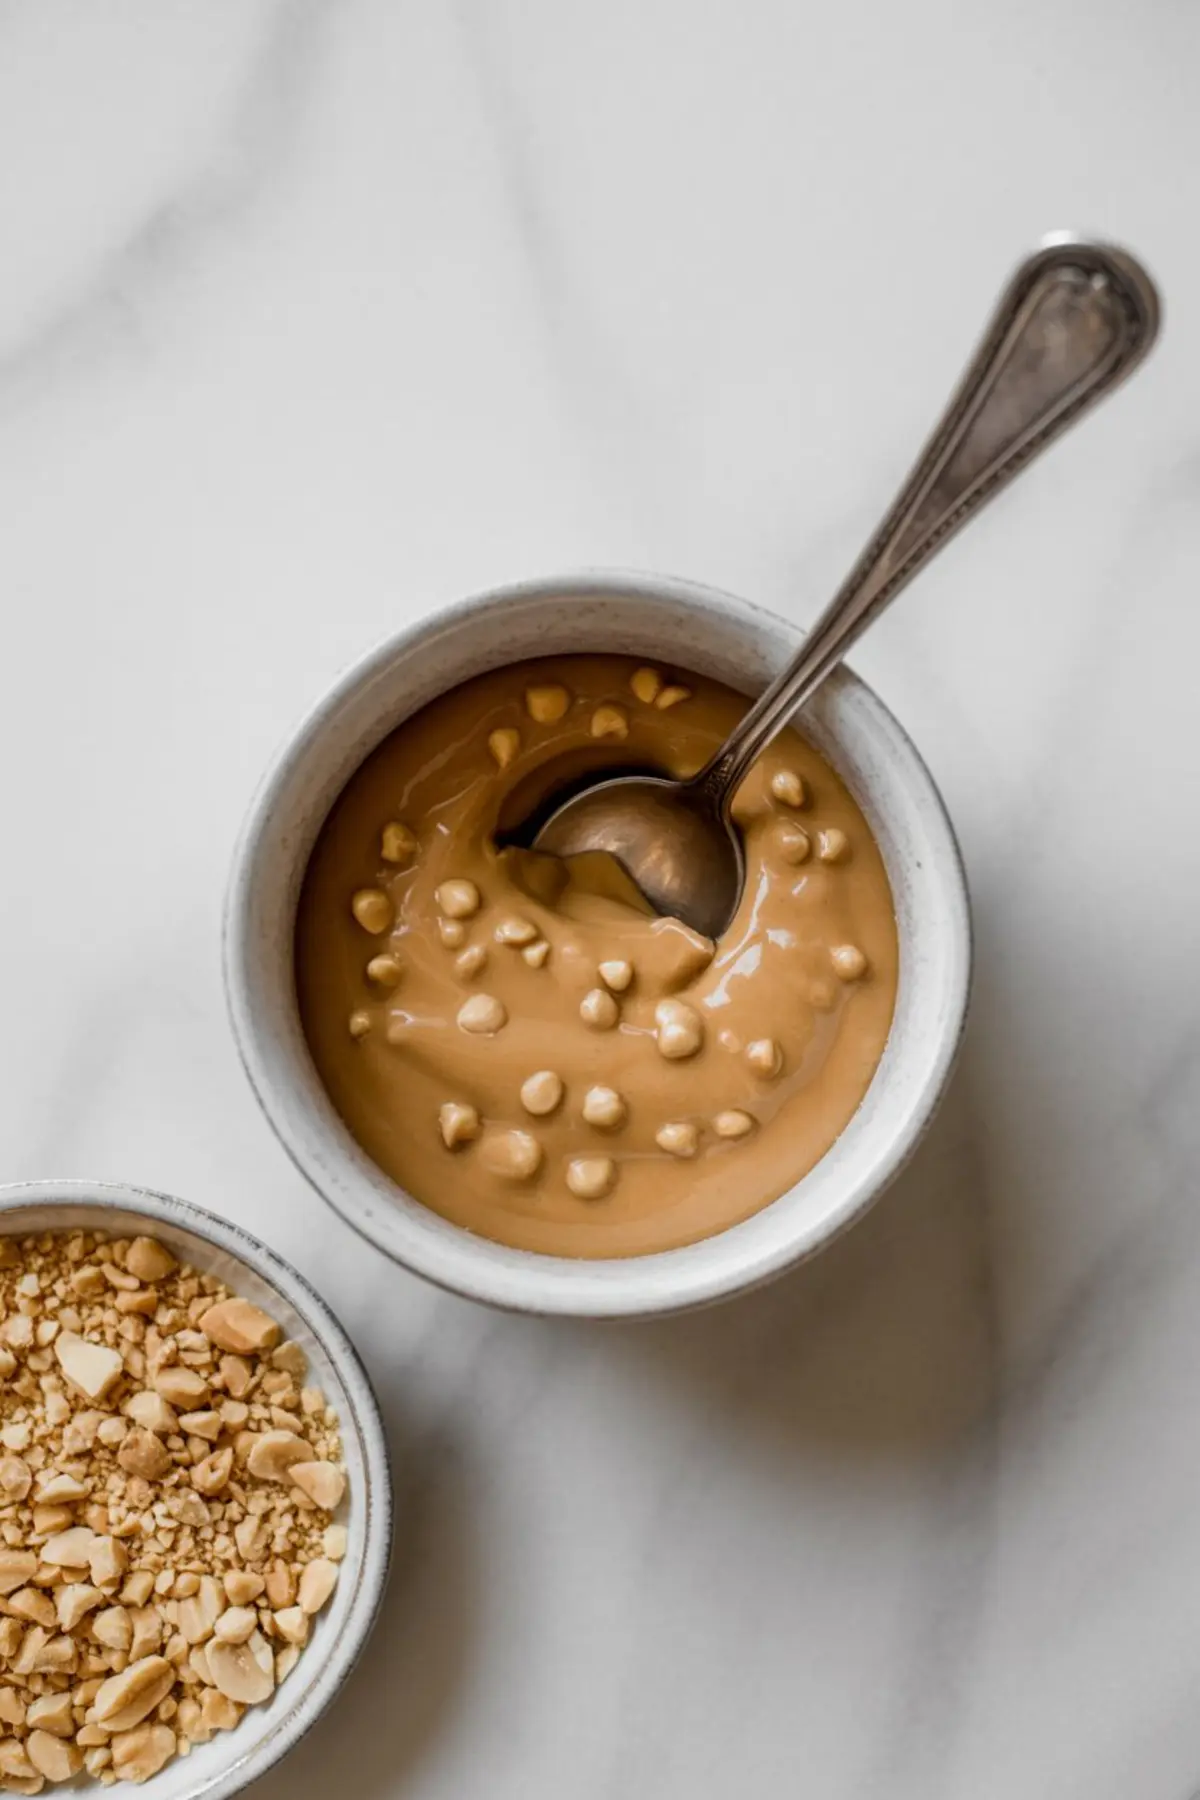
Peanut butter and white chocolate chips melt into a smooth, sweet layer. This is where I remind myself not to overheat — short bursts, stir in between, that’s the key. Grainy topping is not the goal.
A sprinkle of crushed peanuts over the top adds both look and bite. I sometimes skip it if I’m short on time, but honestly, the crunch is worth the extra minute.
If you prefer something more portable, the flavor pairing works beautifully in Peanut Butter Energy Balls. They’re smaller, yes, but just as satisfying.
Letting Them Set
Patience here pays off. Two full hours in the fridge gives you bars that slice cleanly and keep their shape. Anything less, and you’ll get soft edges and a bit of topping slide.
I always use the parchment overhang to lift the whole block out before cutting. It’s such a small step but makes the process feel… smoother, easier. Almost like unwrapping a gift you already know you want.
Serving and Storage Thoughts
These peanut butter oatmeal bars fit into so many moments — mid-afternoon snack, quick breakfast, even tucked into a lunch box. They stay chewy in the fridge for a week if you keep them in an airtight container.
Freezing works well too. Lay them in a single layer first, then stack once firm. That way the topping stays where it should.
Making your own peanut butter for this recipe is worth the time at least once. Here’s my method for homemade peanut butter — it’s fresh, flavorful, and keeps beautifully for weeks.
Why They Stay in My Rotation
No-bake bars like these fit into busy days without feeling like a shortcut. The oats give them substance, the peanut butter adds richness, and the topping makes them feel just a little more special.
They’re also endlessly adaptable. Switch the nut butter, use a different chip in the topping, or mix in dried fruit. The method stays steady — and that’s the beauty of it.
Closing Notes – Save and Share
These peanut butter oatmeal bars have stayed in my recipe notes because they work, plain and simple. I’ve made them on quiet mornings, in a rush before guests arrive, and even late at night when I just wanted something easy but homemade.
Save this recipe to your Pinterest board so you can pull it out whenever you need it. And if you make it, let me know in the comments how it turned out or what little tweaks you tried. I always enjoy seeing the different ways people make a recipe their own.
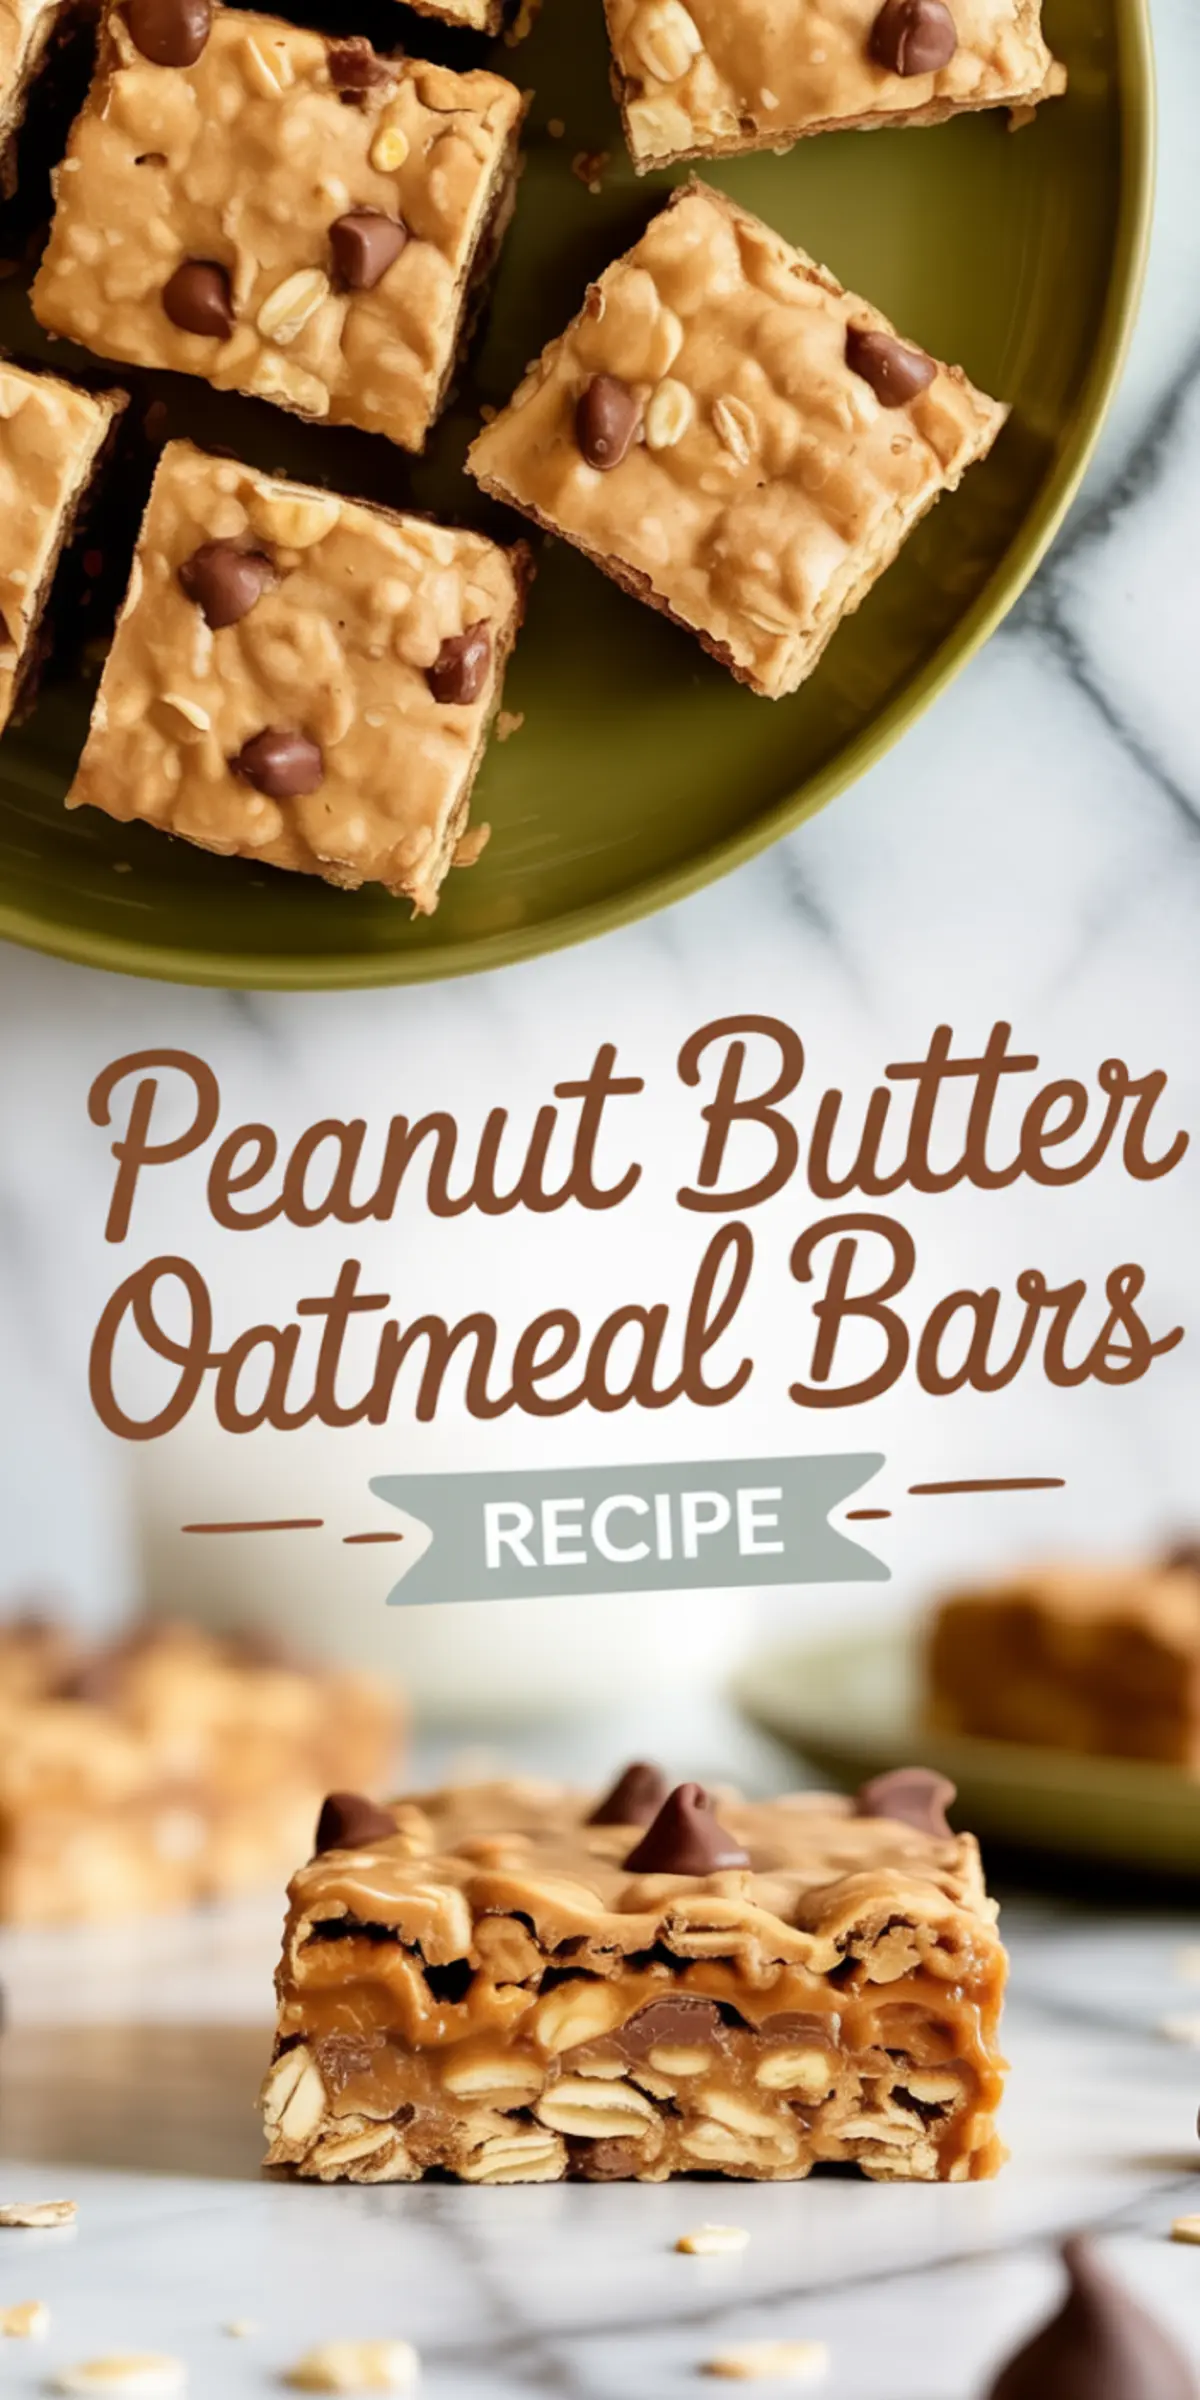
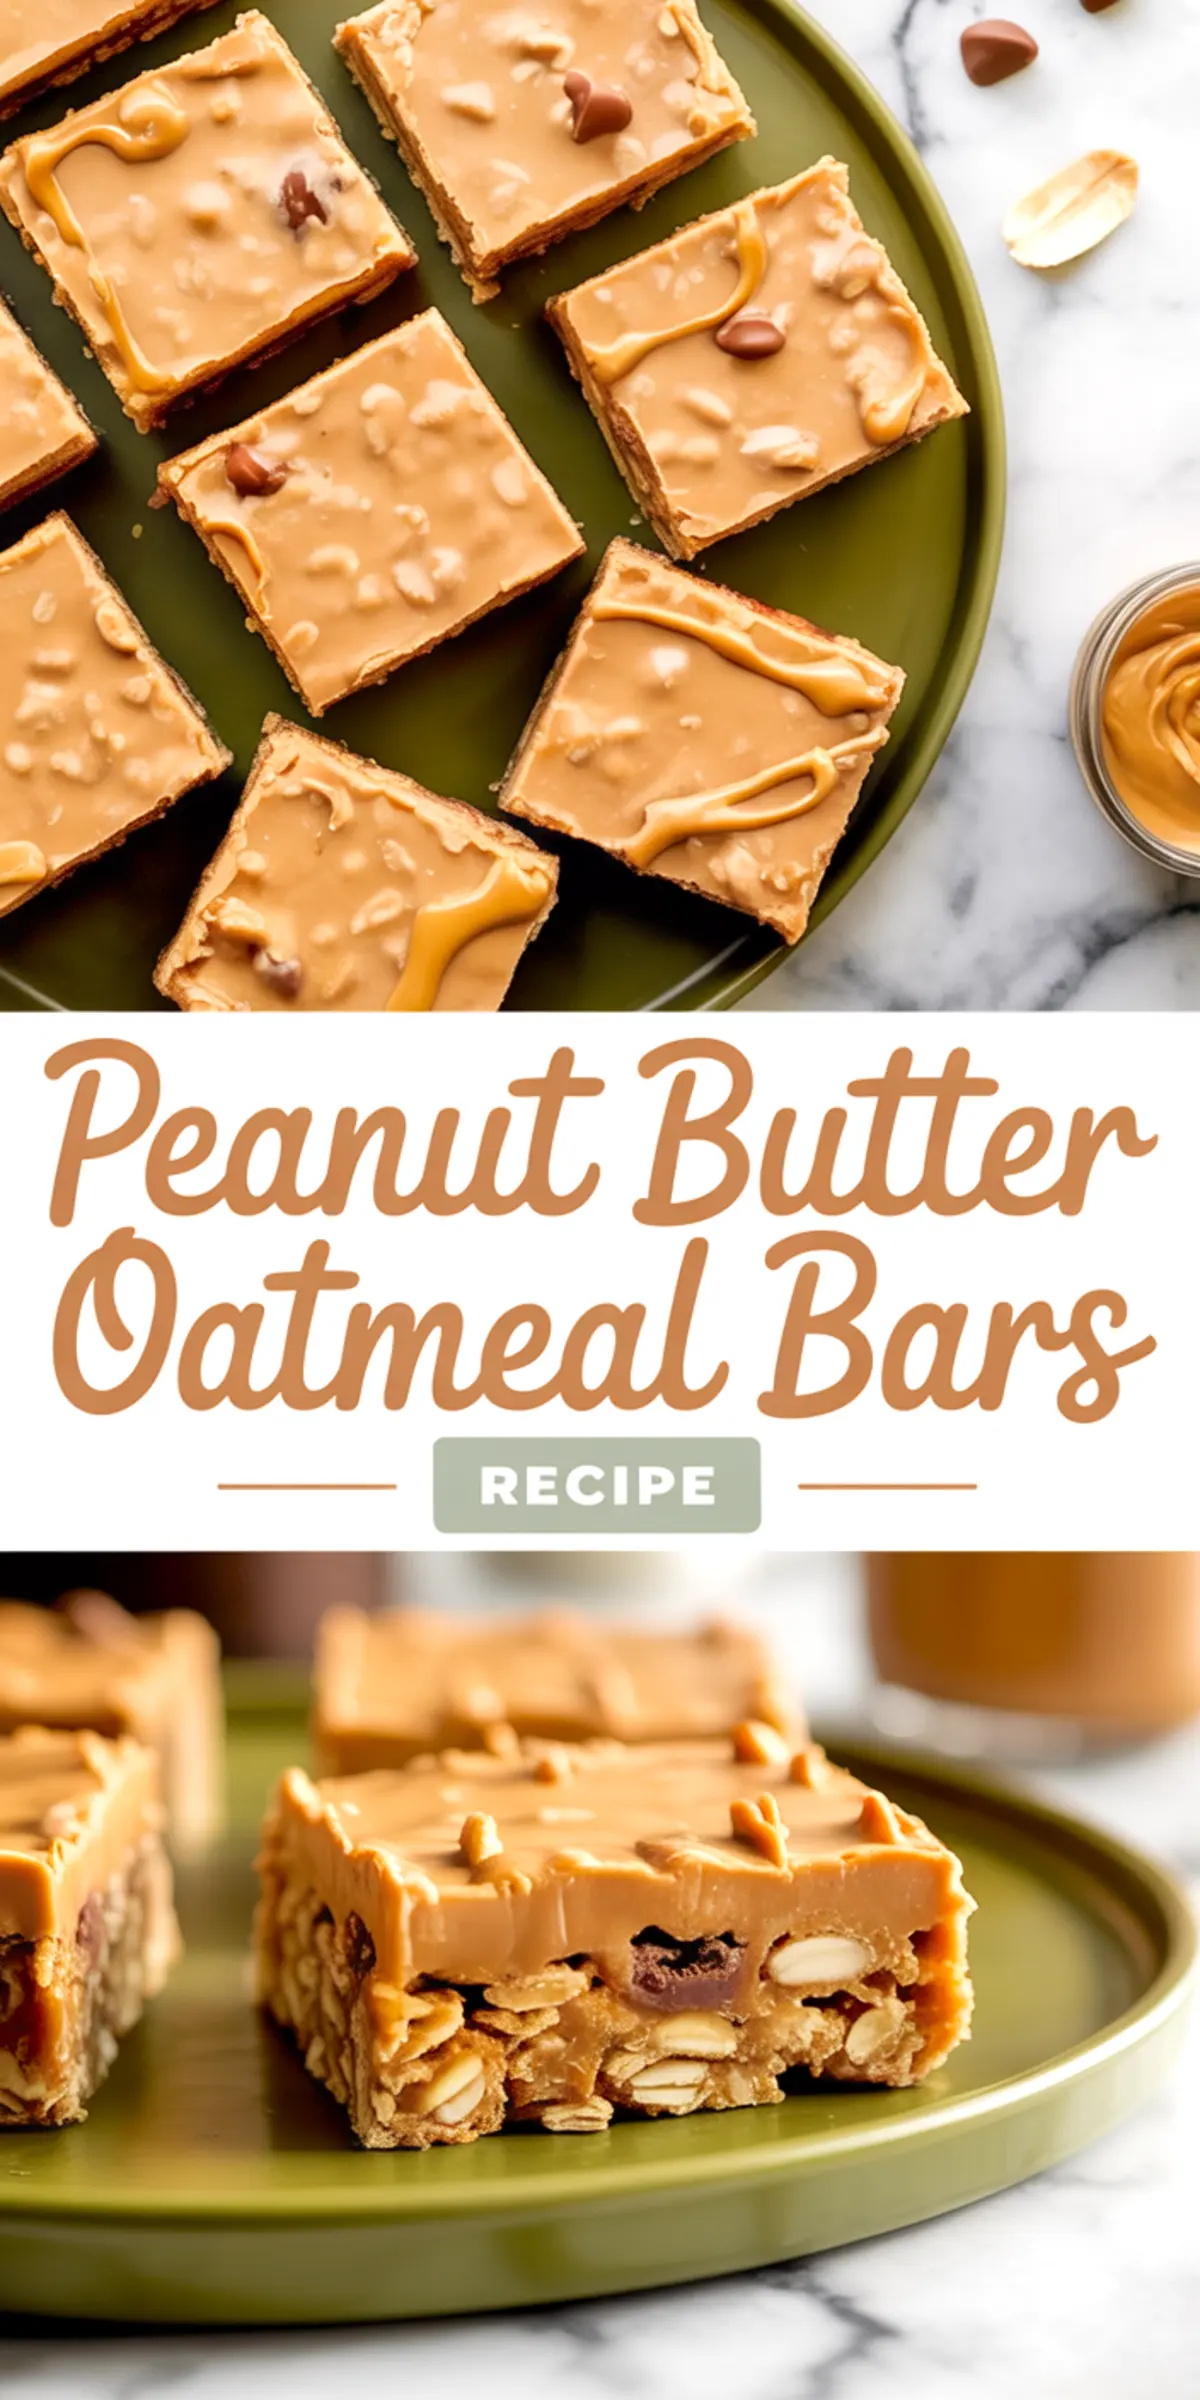
Peanut Butter Oatmeal Bars Recipe

These chewy peanut butter oatmeal bars are soft, satisfying, and simple to make without ever turning on the oven. Made with pantry staples like oats, peanut butter, and honey, they're a quick no-bake treat with a creamy topping and optional chocolate chips for extra sweetness. Perfect for snacking, sharing, or storing in the fridge for busy days.
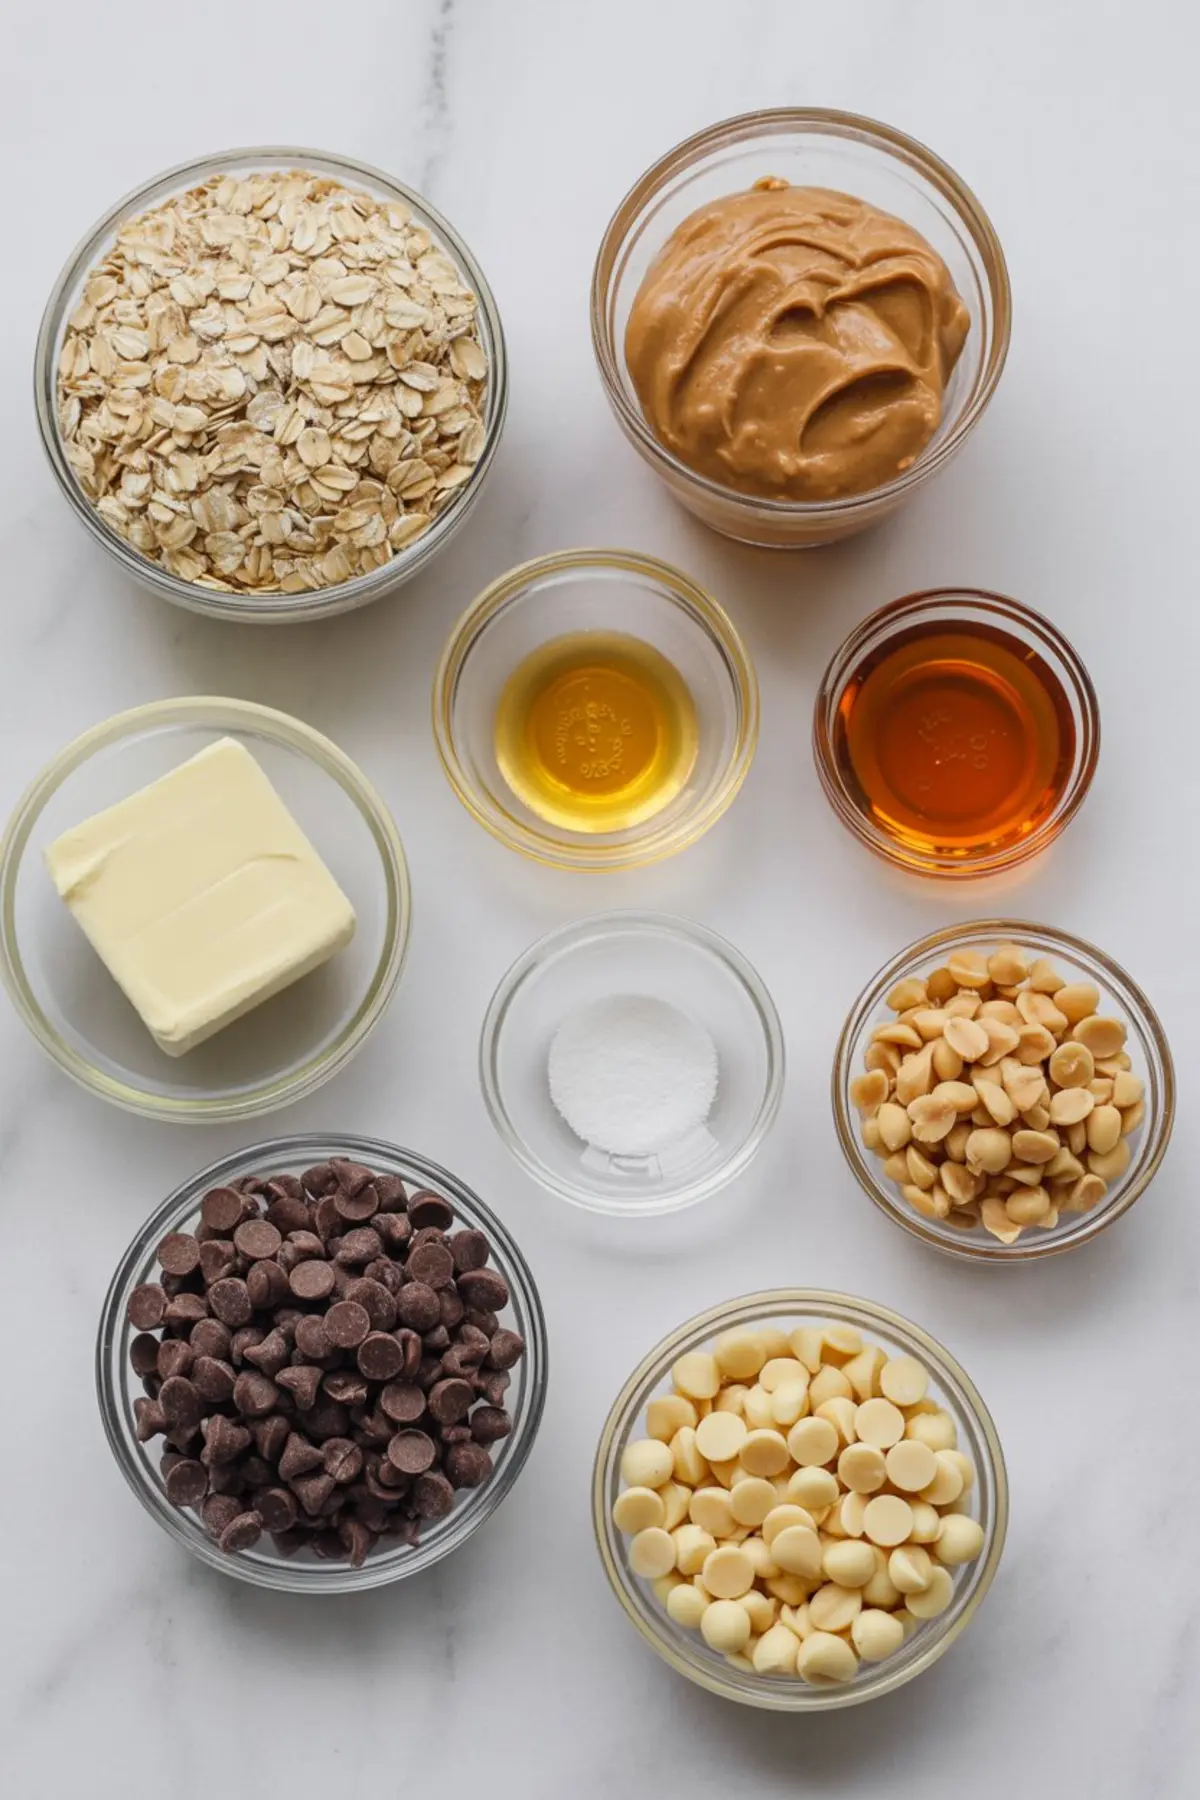
Ingredients
- FOR THE BASE
- 2½ cups old-fashioned rolled oats
- 1 cup creamy peanut butter (natural or processed both work)
- ½ cup honey (or maple syrup for a vegan option)
- ¼ cup unsalted butter (or coconut oil for dairy-free)
- 1 teaspoon vanilla extract
- ½ teaspoon salt
- ½ cup semi-sweet chocolate chips (optional)
- FOR THE PEANUT BUTTER TOPPING
- ¾ cup creamy peanut butter
- 1 cup white chocolate chips (or butterscotch chips)
- ¼ cup crushed peanuts (optional)
Instructions
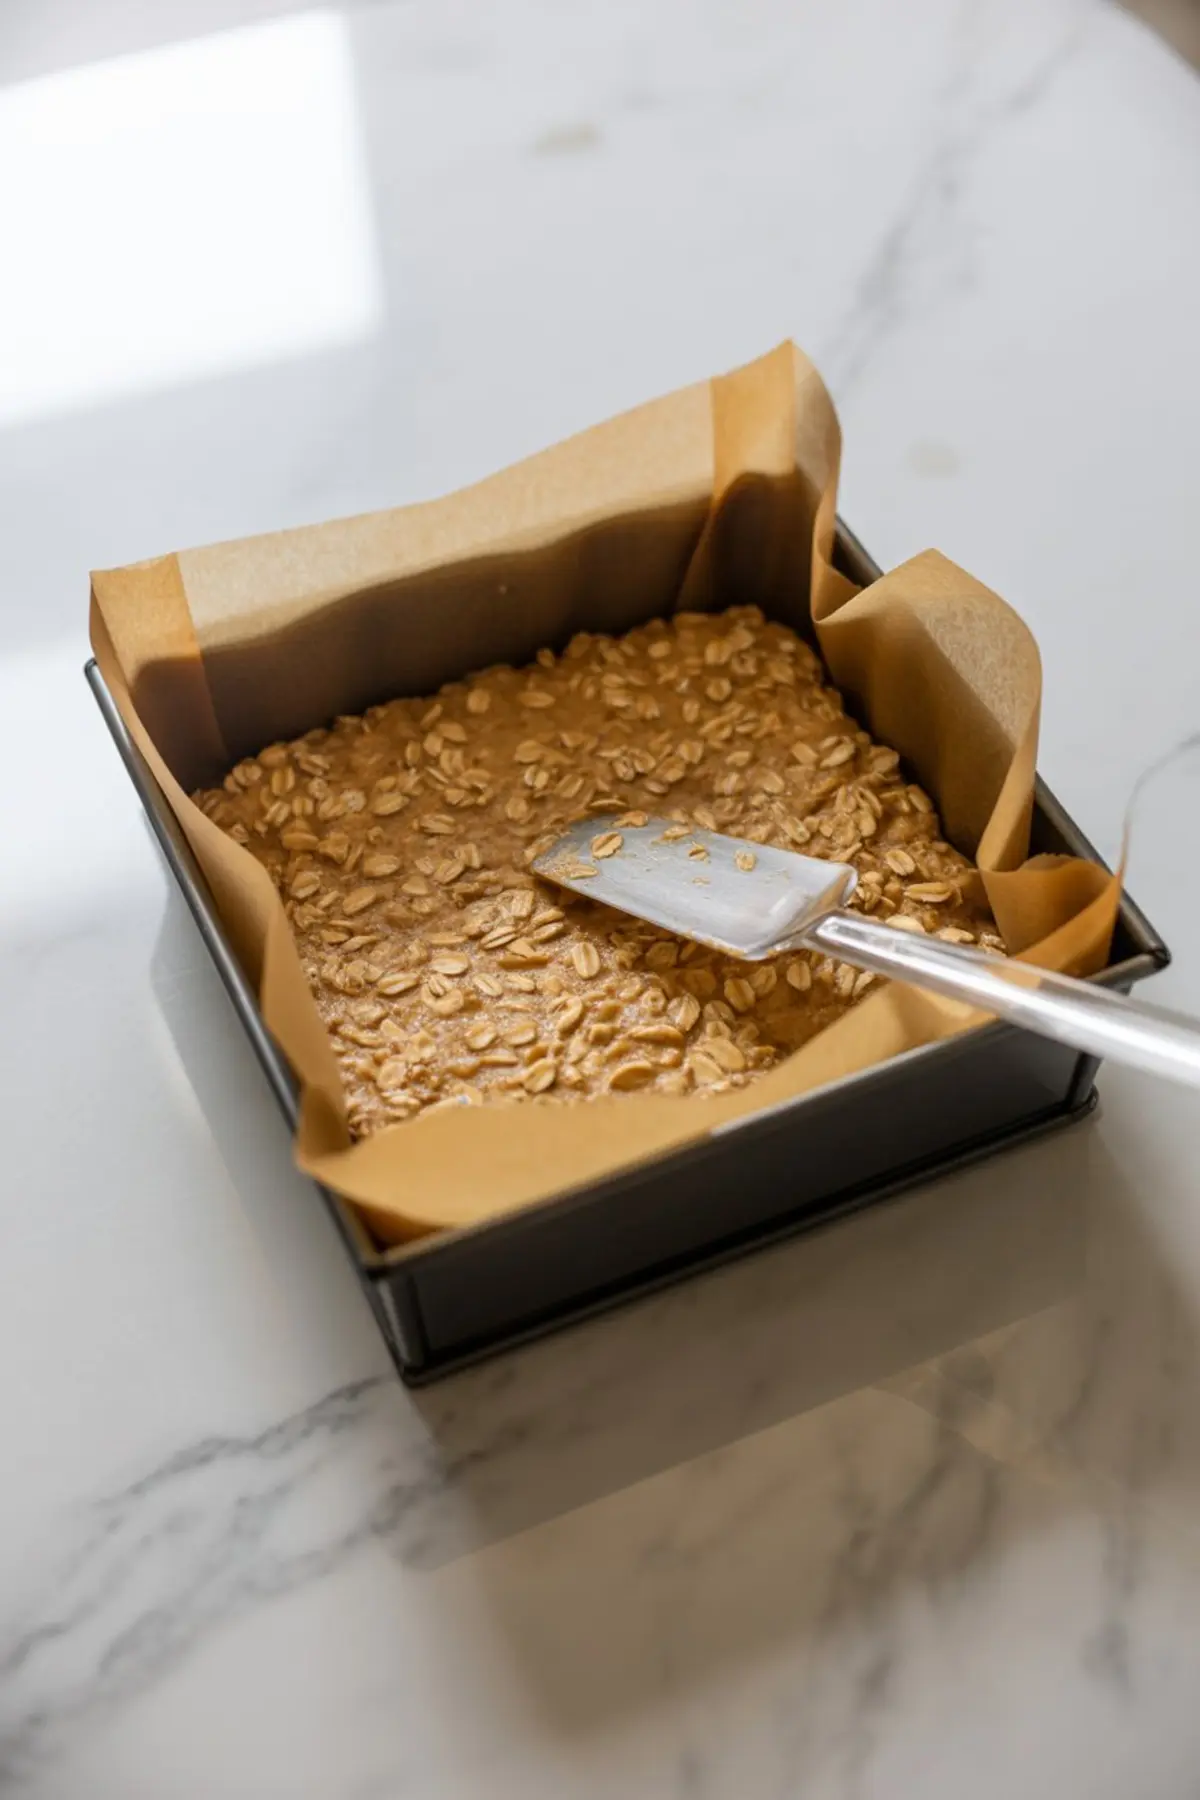
- PREPARE THE PAN: Line an 8x8-inch square pan with parchment paper, leaving some overhang on the sides to help lift the bars out after chilling.
- MAKE THE OAT BASE: In a medium saucepan over medium heat, combine the peanut butter, honey, butter, and salt. Stir continuously until melted and smooth. Remove from heat and stir in the vanilla extract.
- ADD THE OATS: Stir in the oats until evenly coated. Let the mixture cool for 2–3 minutes before folding in chocolate chips if using. Press the mixture firmly into the prepared pan using a spatula or lightly greased hands.
- MAKE THE PEANUT BUTTER TOPPING: In a microwave-safe bowl, combine the peanut butter and white chocolate chips. Microwave in 20-second intervals, stirring each time, until smooth and fully melted.
- ASSEMBLE THE BARS: Pour the topping over the oat base and spread evenly with a spatula. Sprinkle with crushed peanuts if desired.
- CHILL AND SLICE: Refrigerate the bars for at least 2 hours or until the topping is set. Once firm, lift out of the pan using the parchment paper and slice into 16 squares.
Notes
To make these dairy-free, substitute coconut oil for butter and use dairy-free chocolate chips. Use certified gluten-free oats if needed. Store bars in an airtight container in the refrigerator for up to 1 week or freeze for longer storage.
Nutrition Information
Yield
16Serving Size
1Amount Per Serving Calories 380Total Fat 25gSaturated Fat 8gTrans Fat 0gUnsaturated Fat 14gCholesterol 10mgSodium 231mgCarbohydrates 35gFiber 4gSugar 20gProtein 10g