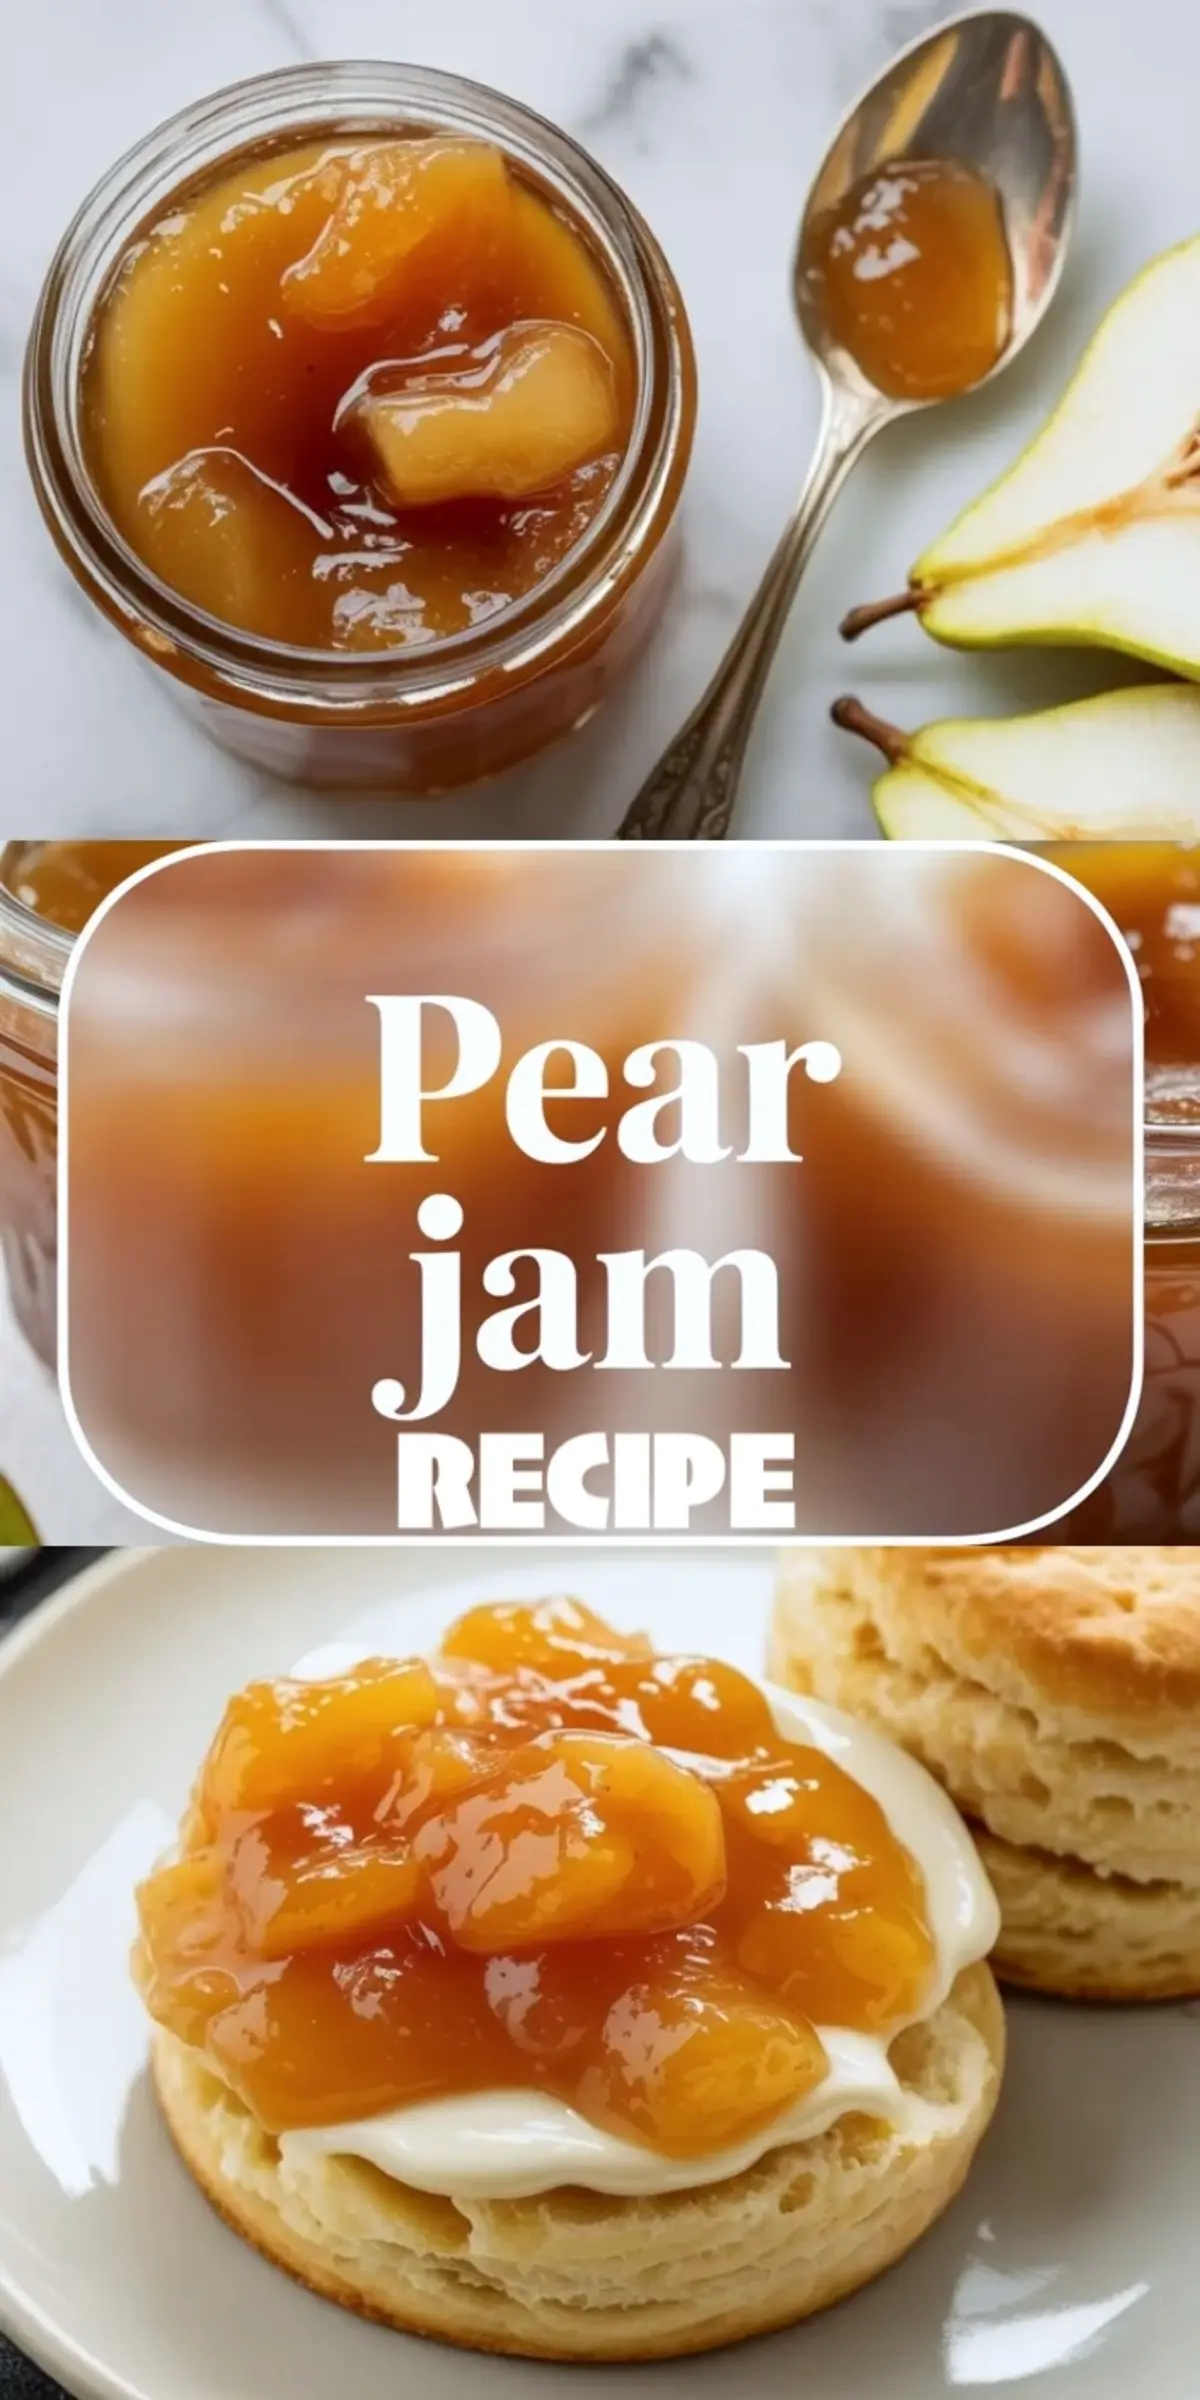
This pear jam recipe is useful in the way the best fruit preserves usually are. It turns ripe pears into something softer, sweeter, and much more flexible than the raw fruit on its own. Once it is in the jar, it stops being just fruit you need to use up and starts becoming something you can reach for across breakfast, baking, and simple desserts.
That is part of what makes pear jam worth making. Pears can be lovely fresh, but they can also be quiet. In jam form, their sweetness feels more focused, their texture becomes smoother, and the whole thing gets easier to use. If you want a preserve that feels homemade, practical, and genuinely pleasant to eat, this one has a lot going for it.
Following a special diet?
Every recipe on this site can be converted to gluten-free, vegan, dairy-free, keto, nut-free or egg-free with adjusted ratios so nothing falls flat.
Try the Recipe Converter →What Pear Jam Tastes Like
Pear jam has a softer fruit profile than many berry preserves. It is sweet, mellow, and a little floral, with less sharpness than plum or citrus jams. That makes it especially easy to pair with breads, pastries, and creamy foods that need fruit flavor without too much acidity pushing back.
That gentler profile is exactly why some people end up liking pear jam more than they expected. It is not loud, but it is very usable. It adds sweetness and fruit character without taking over everything around it.
Why Texture Matters Here
A good pear jam should spread easily and feel glossy, soft, and spoonable. Pears do not naturally shout for attention, so texture does more work in this recipe than people sometimes realize. If the jam feels too stiff, it loses some of its comfort. If it stays too loose, it feels unfinished.
When the consistency is right, the jam becomes much easier to enjoy in everyday ways. It sits properly on toast, folds into yogurt, and works as a filling without immediately running off or disappearing into the pastry.
Ripe Pears Make the Biggest Difference
The fruit quality decides a lot here. Ripe pears bring more natural sweetness, more aroma, and a rounder finish that makes the final jam feel complete. Under-ripe pears can still work, but they usually give you a result that feels firmer and less generous in flavor.

That is why this is one of those recipes where the ingredient itself matters more than a long list of extras. Pear jam does not need much distraction. If the fruit is right, the preserve already has most of what it needs.
Best Ways to Use Pear Jam
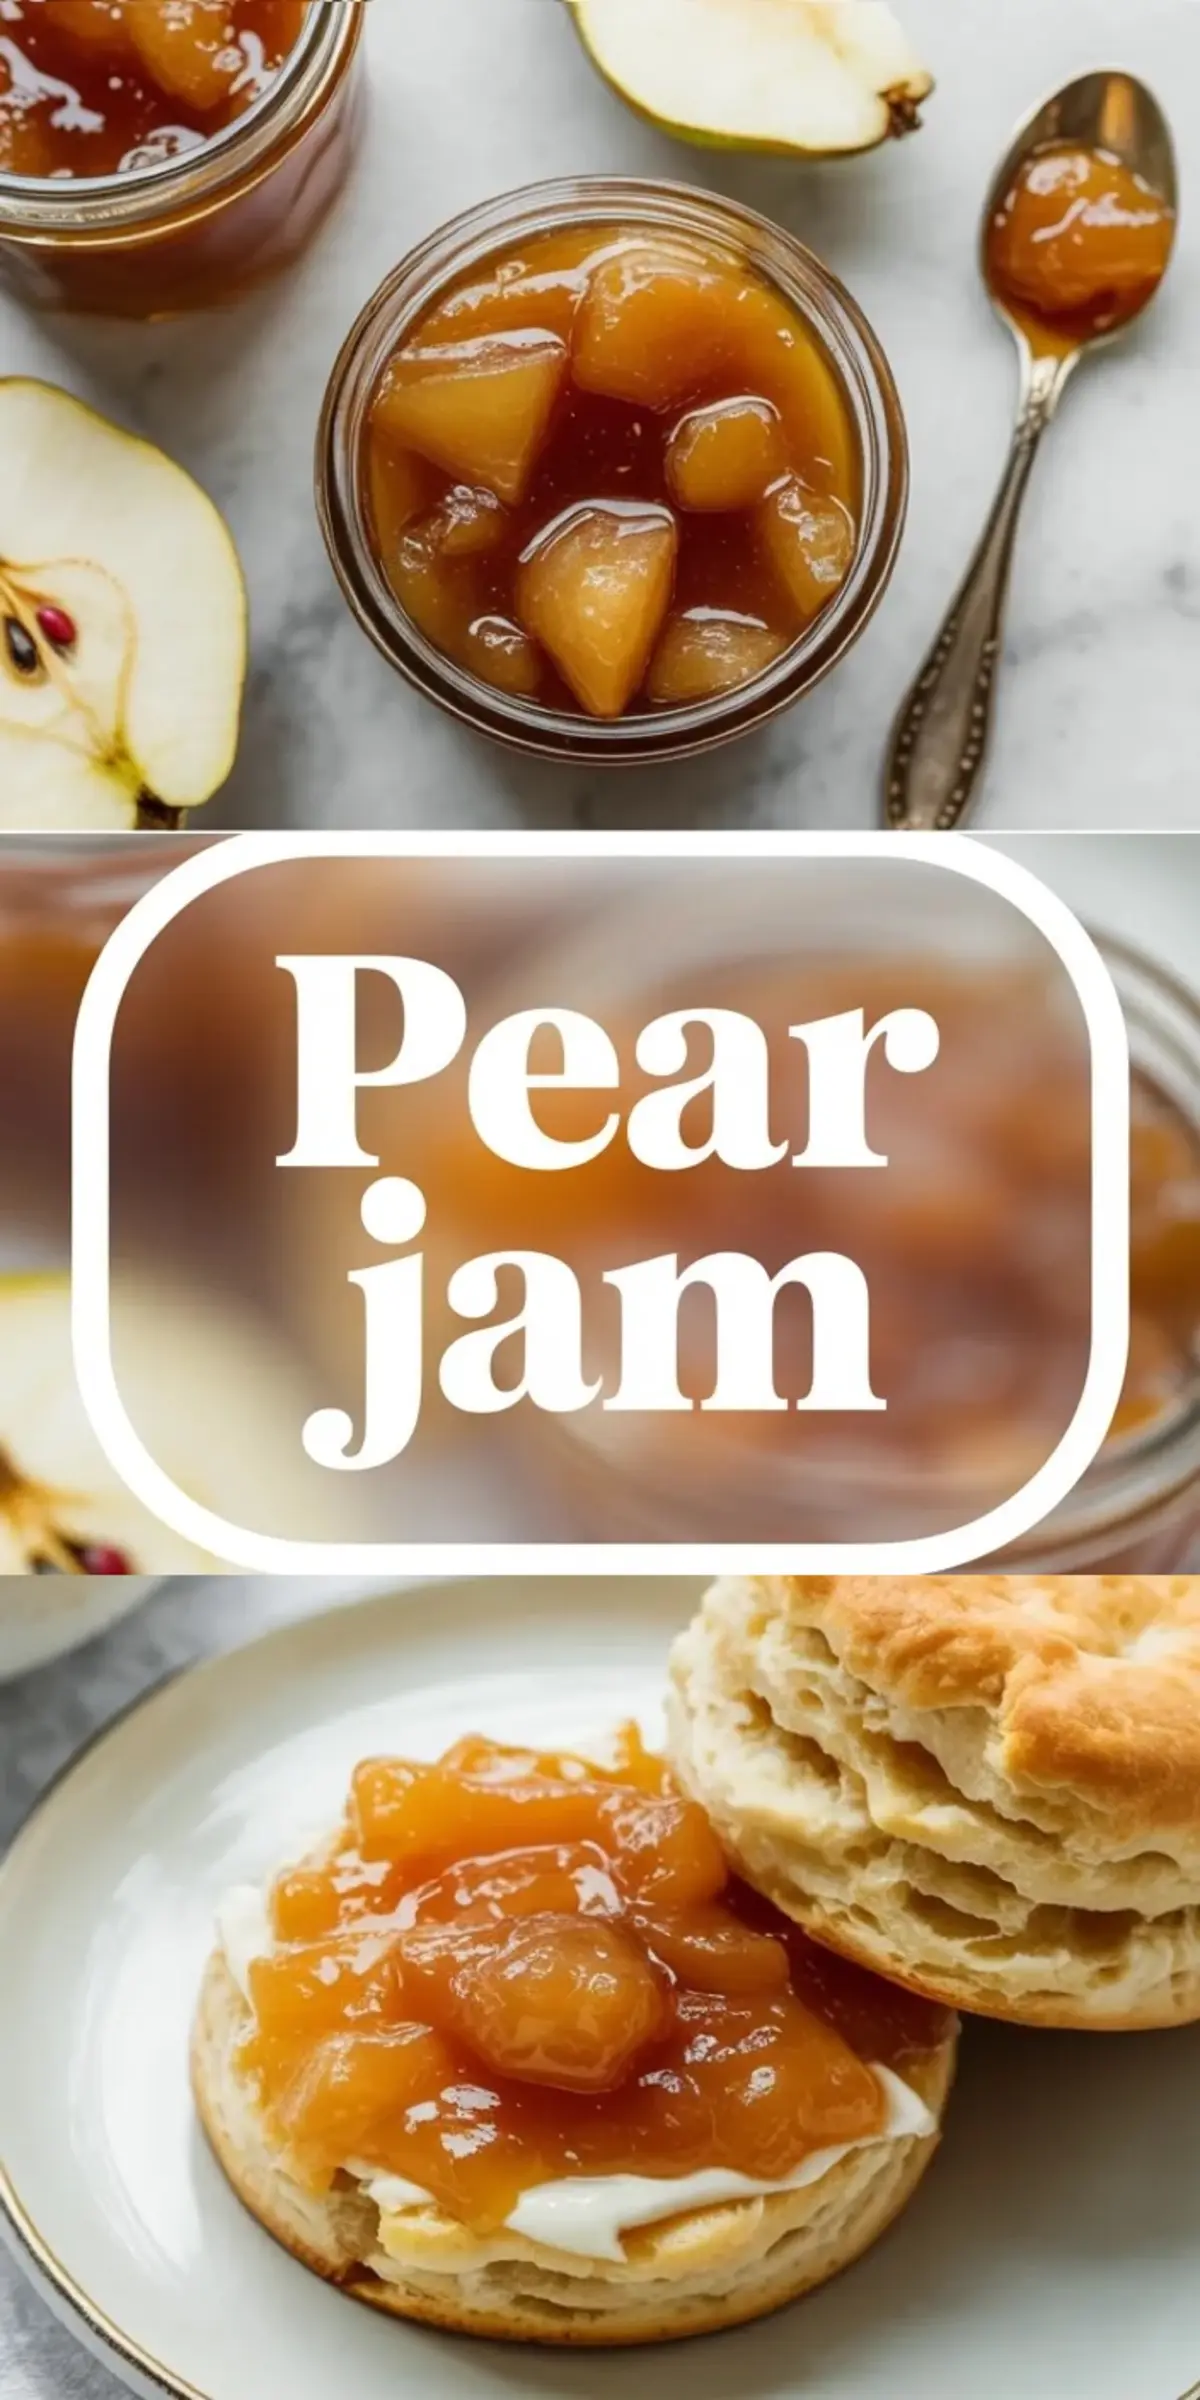
Pear jam belongs on toast and biscuits, obviously, but that is only the starting point. It also works well in yogurt bowls, layered into cakes, spooned into pastries, or served on a board with soft cheeses when you want something fruit-based that feels gentler than a tart berry jam.
If you already keep homemade spreads around, recipes like plum jam recipe or pineapple jam show how different fruit preserves can solve different jobs. Pear jam is the softer, calmer one in that group.
Where It Helps Most in the Kitchen
This is the kind of jar that becomes more valuable after the first use. It can rescue a plain breakfast, help finish an easy dessert, or make leftover pastry feel more intentional. That kind of range is useful, especially when the recipe itself is simple enough to repeat.
It is also a good answer to the problem of pears ripening all at once. Instead of trying to use them fruit by fruit, you turn them into something that lasts longer and gives you more flexibility later.
How to Know the Jam Is Ready
The jam should look glossy and thicker than it started, but it should still feel soft enough to spread. Pear preserves can go from loose to too thick faster than people expect, so the goal is not to cook until it feels stiff in the pan. It will continue settling as it cools.
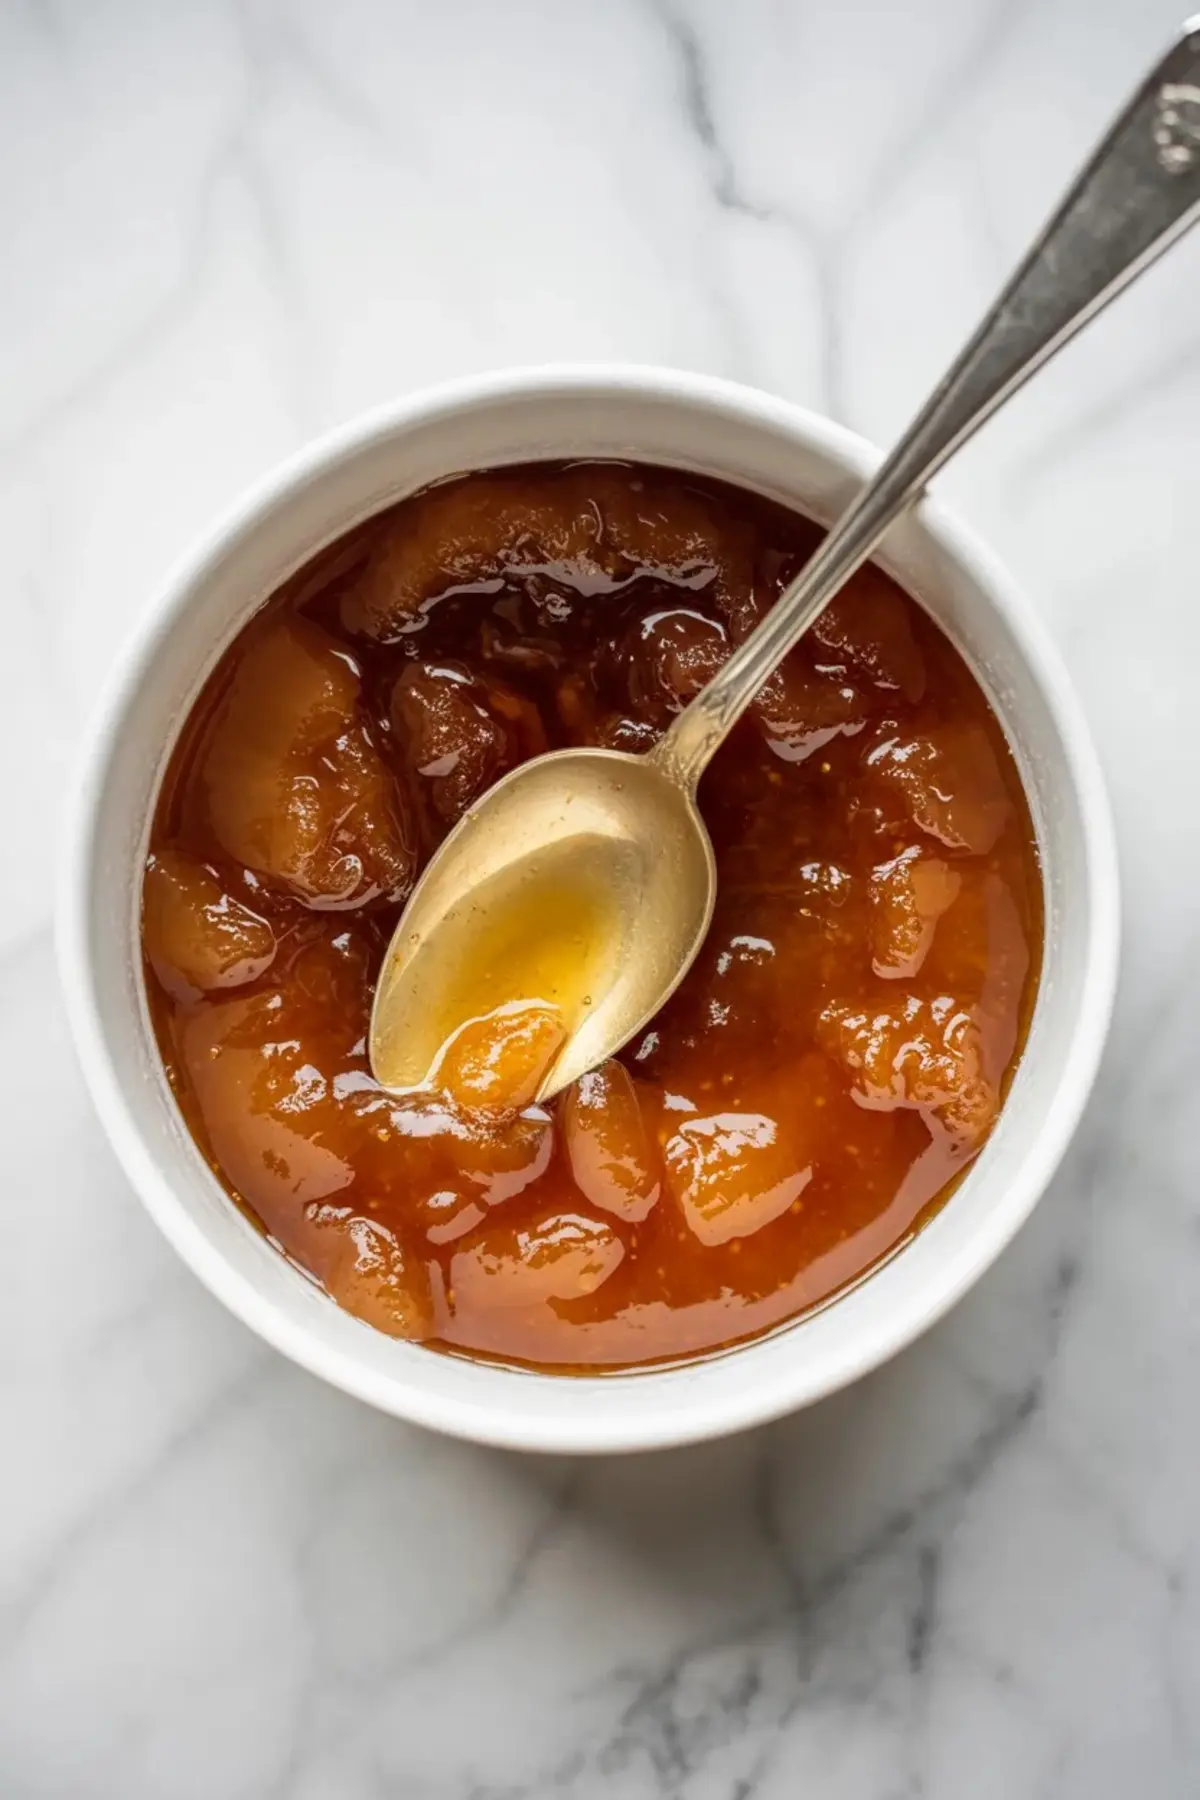
What you want is a texture that mounds lightly on a spoon and spreads without tearing bread or feeling sticky. That middle ground makes the jam far more useful once it is in the jar.
Easy Pairings That Make Sense
Pear jam works especially well with soft breads, buttered toast, flaky pastries, and mild creamy desserts. It can also be a good fit with things like scones or sweet breakfast bakes where a gentler fruit spread feels better than something very tart or very bright.
If you want a bread pairing that feels especially good with soft fruit preserves, sweet condensed milk bread is an easy one to keep in mind. And if you like fruit-forward dessert options, a recipe like peach dump cake gives that same soft-fruit comfort in baked form.
Why It Is Worth Making at Home
Homemade pear jam gives you more control over sweetness, texture, and the actual fruit flavor. Store-bought versions can flatten the pears into something generic, but homemade jam keeps more of the fruit’s natural character intact. That matters when the fruit itself is the main point.
It also lets you make a preserve that feels useful instead of decorative. This is not just a jar to admire for one week in autumn. It is something that can actually improve breakfasts, snacks, and desserts in a steady, practical way.
A Good Recipe to Keep Around
Some fruit preserves are exciting for one moment and then forgotten. Pear jam tends to do better than that because it fits into ordinary meals so easily. It does not need a special occasion. It just needs a slice of bread, a biscuit, or a spoon nearby.
That everyday usefulness is usually what makes a recipe worth repeating. If the jar keeps finding new jobs after you make it, the recipe has done what it should.
Save This Recipe
Save this pear jam recipe for the next time you want a homemade fruit preserve that feels simple, flexible, and easy to enjoy. It is sweet, soft, practical, and much more versatile than it first sounds.
If you try it, leave a comment and say where you used it first. Pear jam has a way of starting at breakfast and ending up in more places than you planned.
Pear Jam Recipe
This pear jam recipe makes a soft, glossy fruit preserve with mellow pear flavor, a smooth spreadable texture, and the kind of gentle sweetness that works far beyond breakfast. It fits naturally into homemade fruit preserves, easy jam recipes, and seasonal pear recipes you can use on toast, biscuits, yogurt, pastries, cakes, and dessert boards without the flavor feeling too sharp or too sugary. If you love pear jam, simple homemade preserves, and fruit spreads that feel practical, versatile, and easy to keep in regular rotation, this one is worth saving and making again when ripe pears are in season.
Ingredients
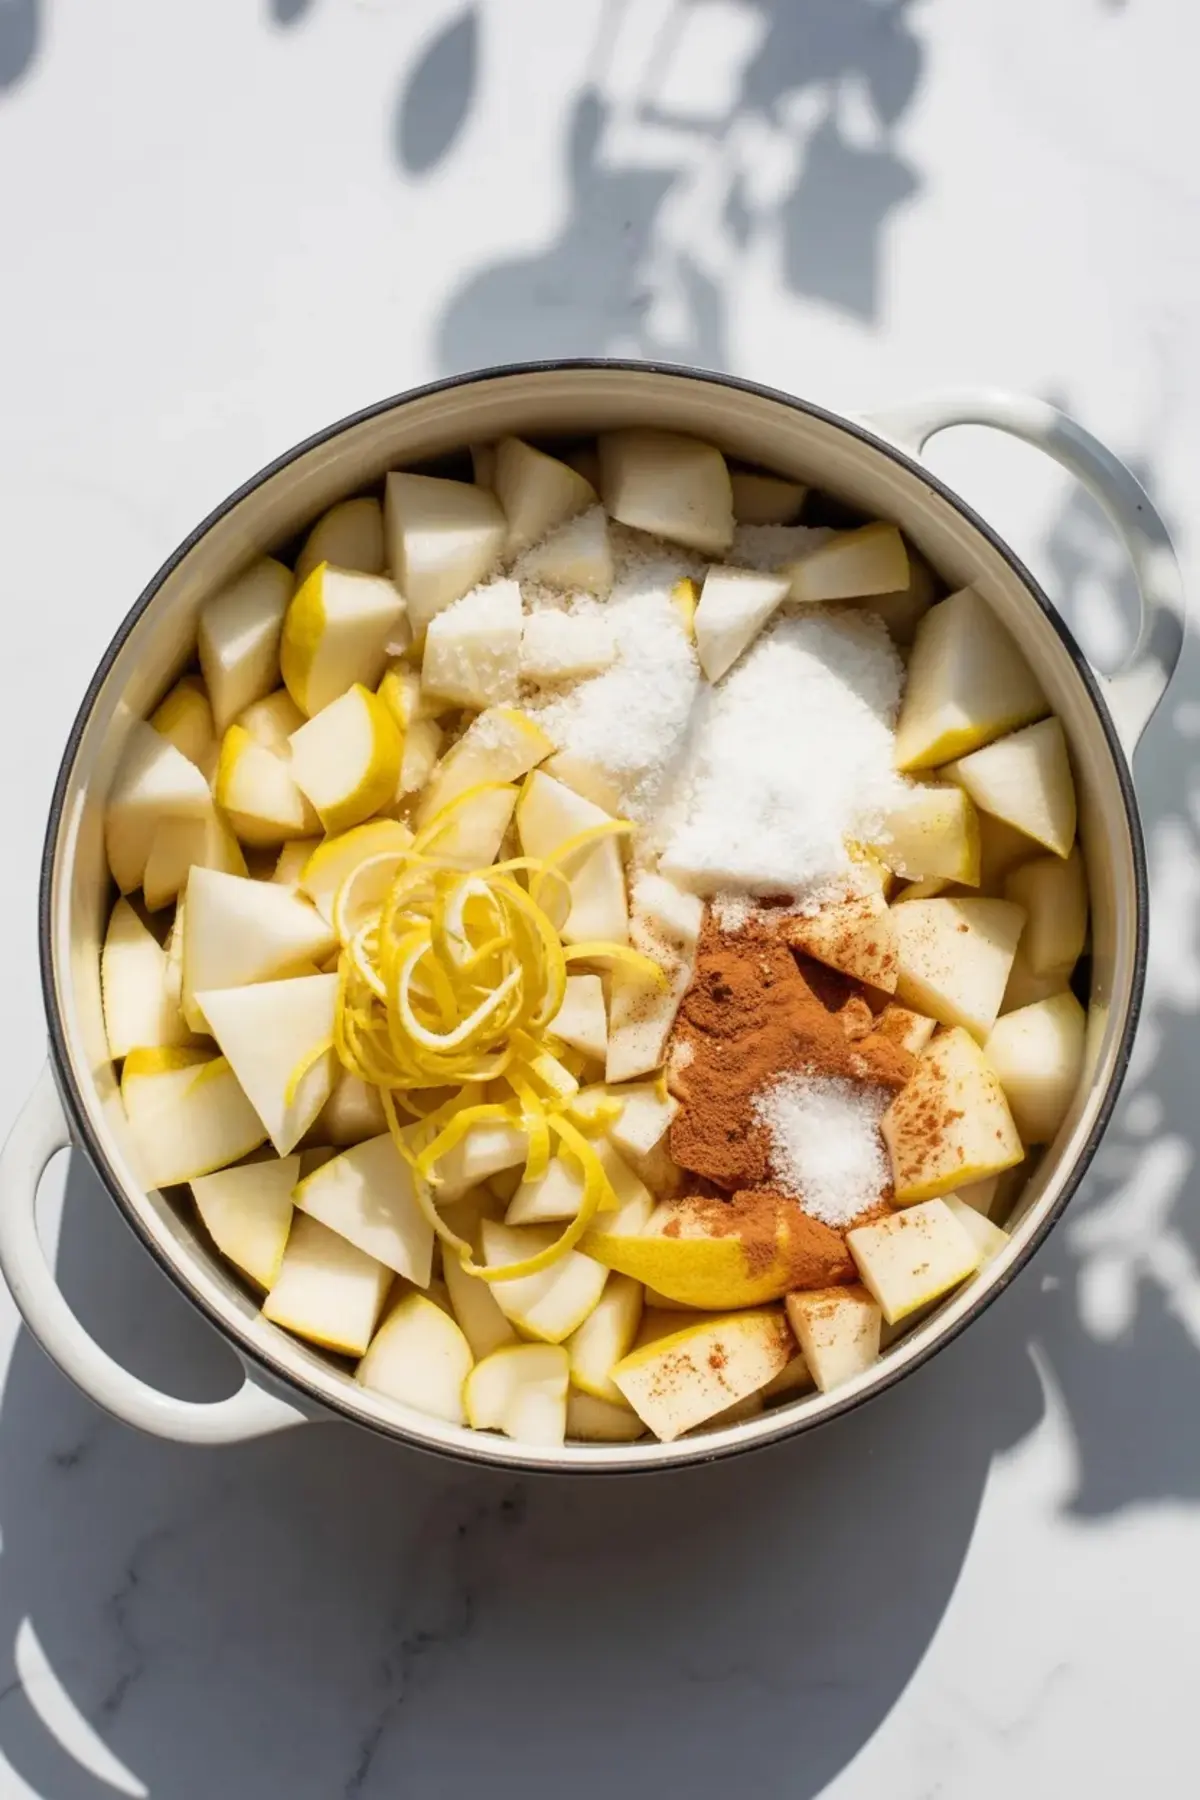
- 4 cups fresh pears, peeled, cored, and diced small
- 2 cups granulated sugar
- 2 tablespoons fresh lemon juice
- 1 teaspoon lemon zest (optional)
- 1/2 teaspoon ground cinnamon (optional)
- 1/4 teaspoon salt
Instructions
PREPARE THE PEARS: Peel the pears, remove the cores, and dice them into small, even pieces. Keep the pieces uniform so they cook evenly. For a smoother texture, lightly mash some of the fruit with a fork while leaving small chunks for structure.
COMBINE THE INGREDIENTS: Place the diced pears, sugar, lemon juice, lemon zest, cinnamon, and salt into a large heavy-bottom pot. Stir until evenly combined. Let the mixture rest for 20 to 30 minutes to allow the sugar to draw out the natural juices from the pears.
COOK THE JAM: Set the pot over medium heat and stir frequently to prevent sticking. As the mixture warms, it will release liquid and begin to bubble. Once it reaches a steady boil, reduce the heat to medium-low and simmer for 25 to 35 minutes. Stir often. The pears will soften and the syrup will gradually thicken. The jam is ready when it coats the back of a spoon and drips slowly. For accuracy, place a small spoonful on a cold plate. If it wrinkles slightly when pushed, it has reached the proper consistency.
BLEND IF DESIRED: Use an immersion blender to pulse the jam briefly for a smoother texture. Leave some small fruit pieces for a balanced consistency.
FILL THE JARS: Spoon the hot jam into clean jars, leaving 1/4 inch of headspace at the top. Wipe the rims clean and seal with lids. For shelf storage, process the jars in a boiling water bath for 10 minutes. For short-term storage, allow the jars to cool completely and refrigerate.
Notes
Use ripe but firm Bartlett or Anjou pears for best flavor and texture.
Jam will continue to thicken slightly as it cools.
Store refrigerated jam for up to 3 weeks. Properly processed and sealed jars can be stored in a cool, dark place for up to 1 year.
Nutrition Information
Yield
1Serving Size
1Amount Per Serving Calories 2576Total Fat 1gSaturated Fat 0gUnsaturated Fat 1gSodium 567mgCarbohydrates 653gFiber 33gSugar 597gProtein 4g