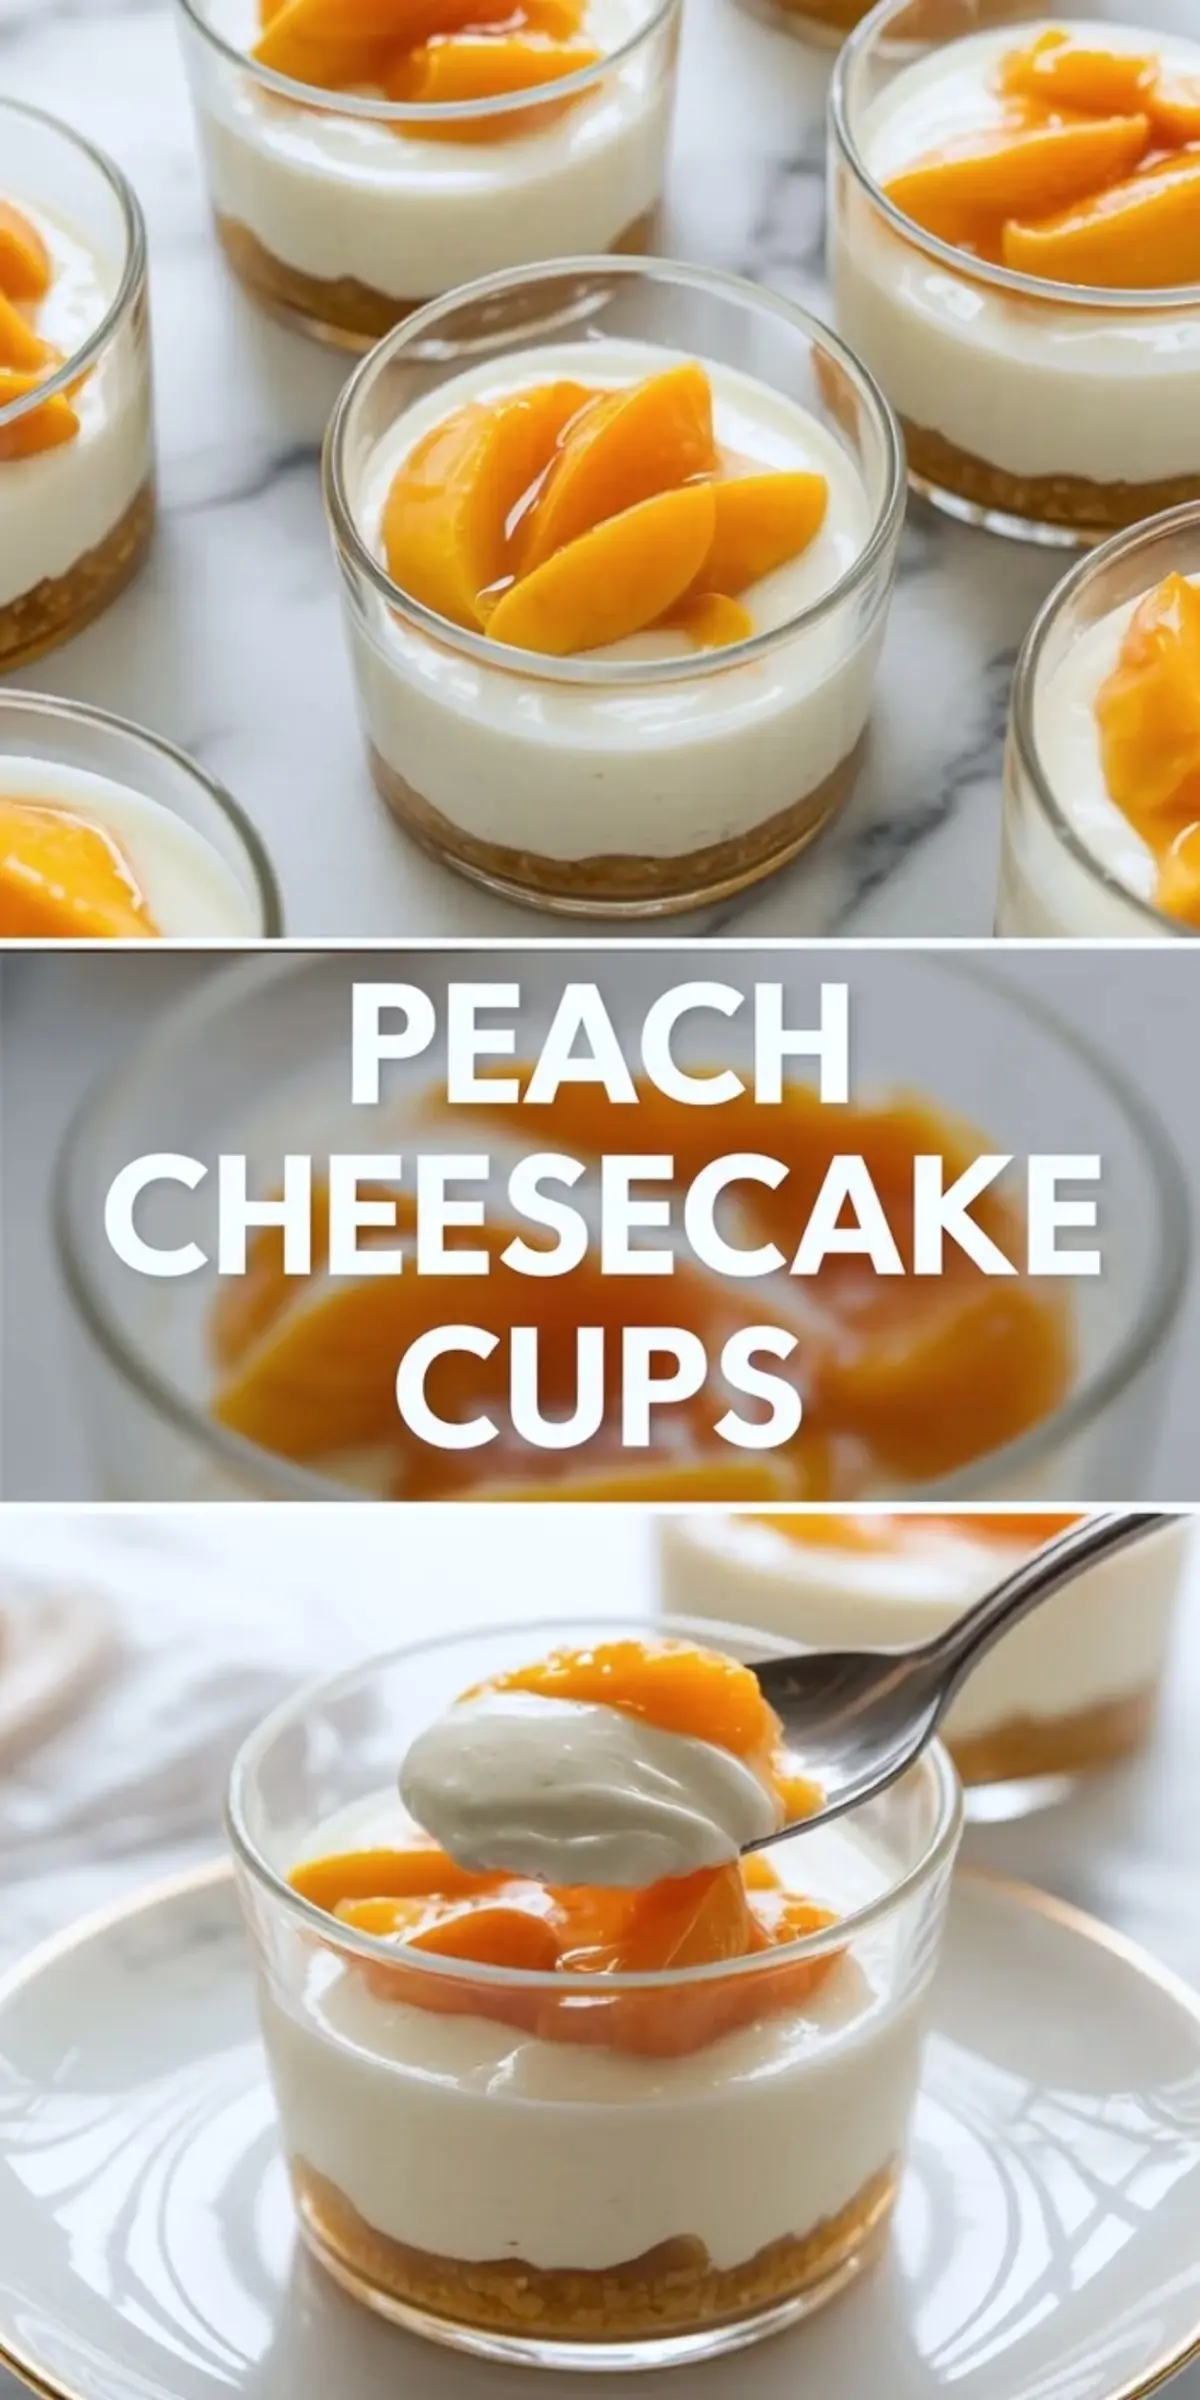
If you want a peach dessert that feels cool, creamy, and easy to serve without committing to a full cheesecake, these peach cheesecake cups are a strong option. Each glass layers a buttery crumb base with a light no bake cheesecake filling and fresh peach slices on top, giving you a chilled summer dessert that looks polished without much fuss.
They are especially useful when you need an individual dessert that can be made ahead and pulled from the fridge when guests arrive. The cups keep their shape well, the peach topping brings freshness, and the crumb base gives every spoonful a little structure. If you already like chilled peach desserts like peach dump cake for the fruit flavor, this gives you a cooler and creamier direction.
Following a special diet?
Every recipe on this site can be converted to gluten-free, vegan, dairy-free, keto, nut-free or egg-free with adjusted ratios so nothing falls flat.
Try the Recipe Converter →Why These Cheesecake Cups Work
The layering is simple, but each part has a clear job. The crushed biscuit base gives the cups a firm buttery bottom that keeps the filling from feeling too soft. The cheesecake layer is lightened with whipped cream, so it tastes rich without becoming dense. Then the peaches add color, moisture, and a bright finish that keeps the dessert feeling fresh.
The other reason they work is portioning. Since the cups are assembled in individual glasses, you do not need to worry about slicing or serving a whole cake neatly. If you like make ahead chilled desserts in small portions, Baileys cheesecake cups and chocolate strawberry cheesecake cups follow the same practical format with a different flavor profile.
The Ingredients That Matter Most
You only need a short list of ingredients, so quality matters. Digestive biscuits or graham crackers make the base. Cream cheese, powdered sugar, vanilla, and whipped cream build the filling. Fresh peaches bring the topping to life, while a little sugar and lemon juice help the fruit taste juicier and brighter once it is sliced.
Fresh ripe peaches are the best fit when they are in season, but canned peaches can work if they are well drained. The goal is to keep the topping glossy and fruity without letting extra liquid seep into the cheesecake layer.
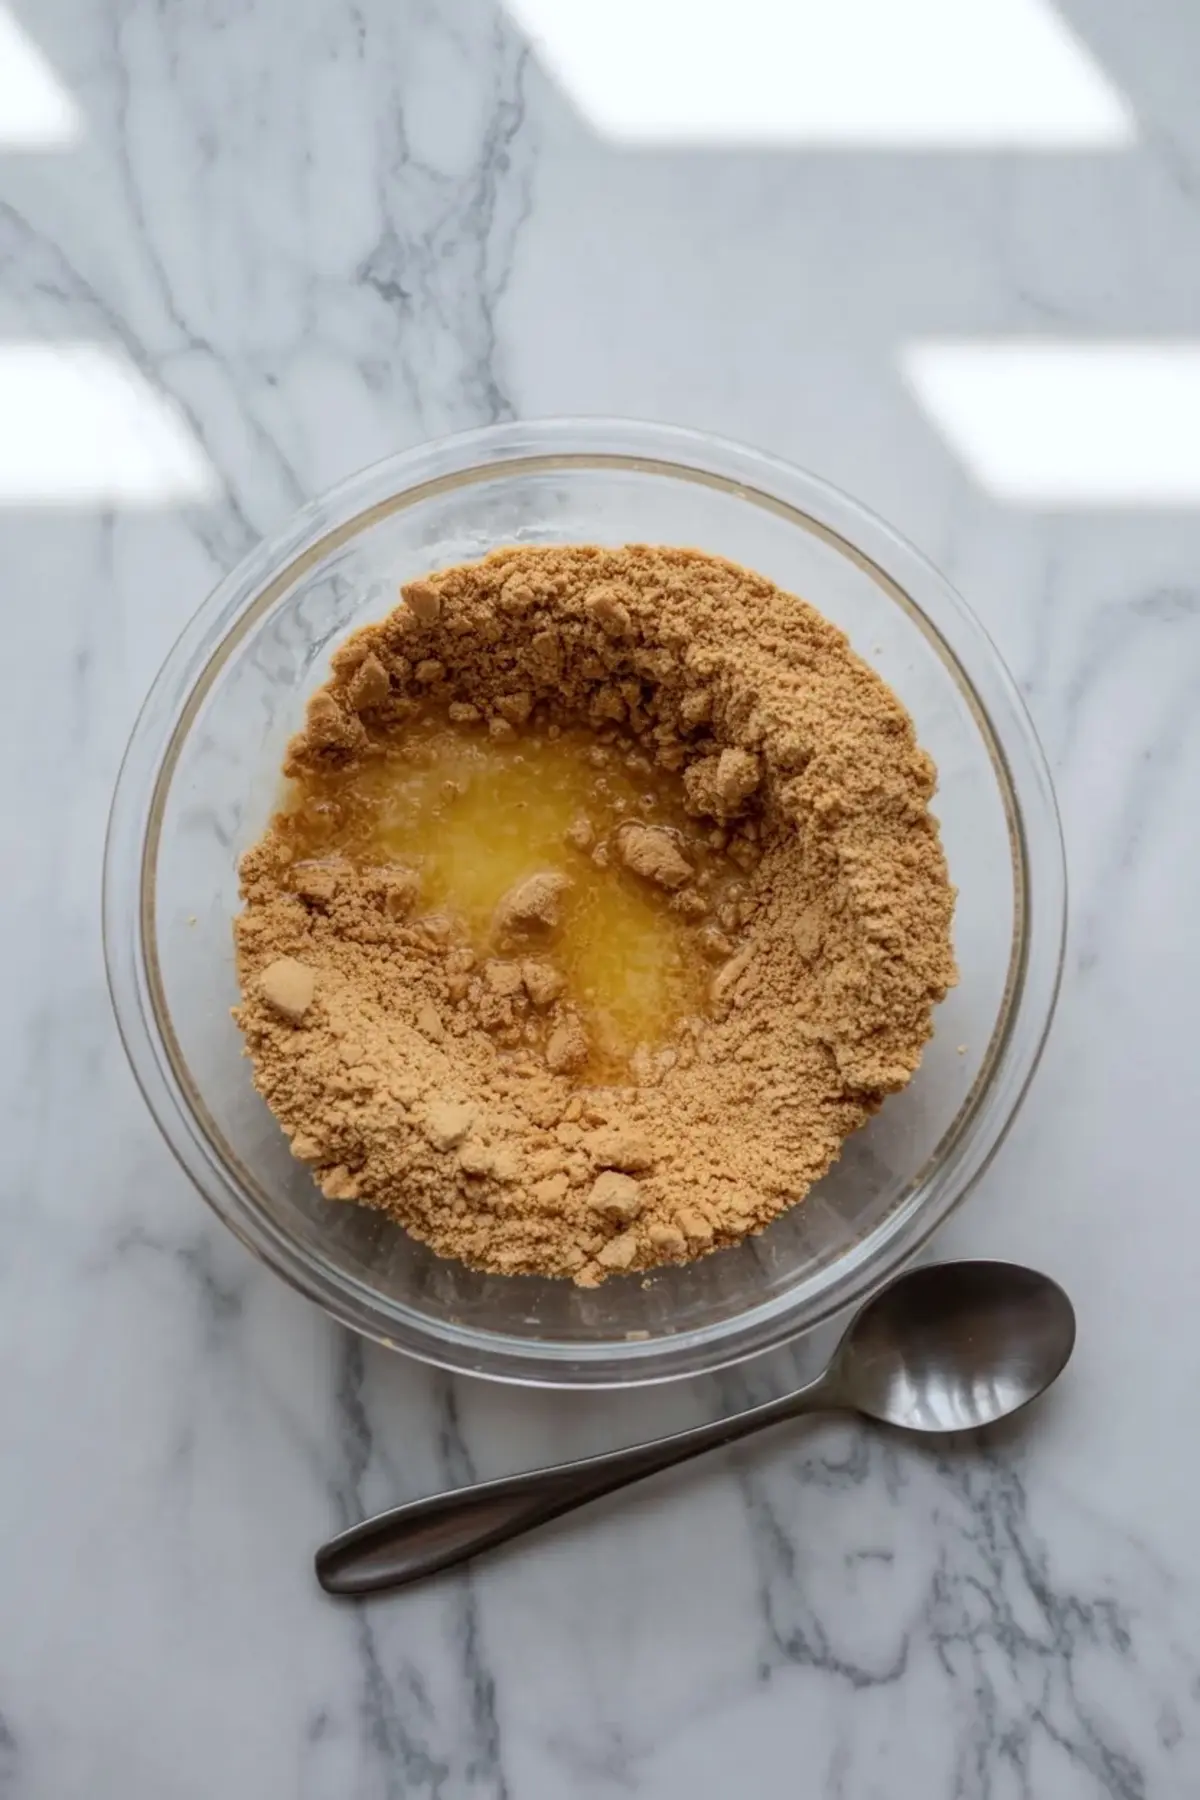
Mixing The Crumb Base
The crumb mixture should look like wet sand and hold together when pressed. That tells you the butter has coated the crumbs well enough to form a base that sets firmly in the glasses. Spoon it in evenly and press gently so each cup has a compact bottom layer without becoming rock hard.
A short chill helps the base set before the filling goes on. That small pause makes assembly cleaner and keeps the layers more distinct later.
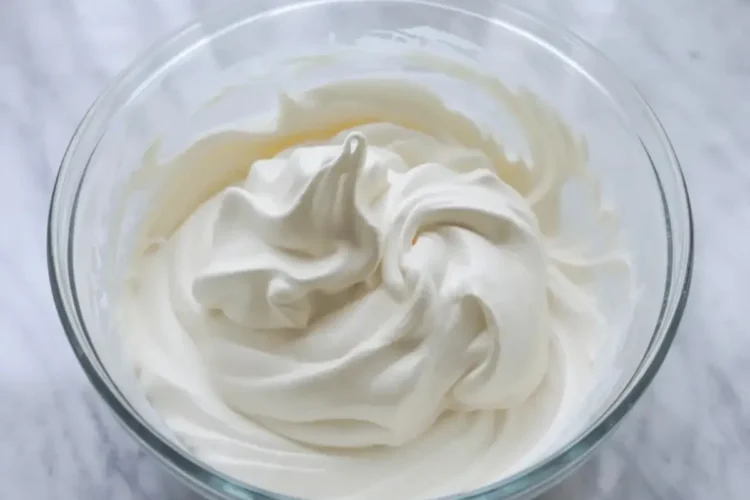
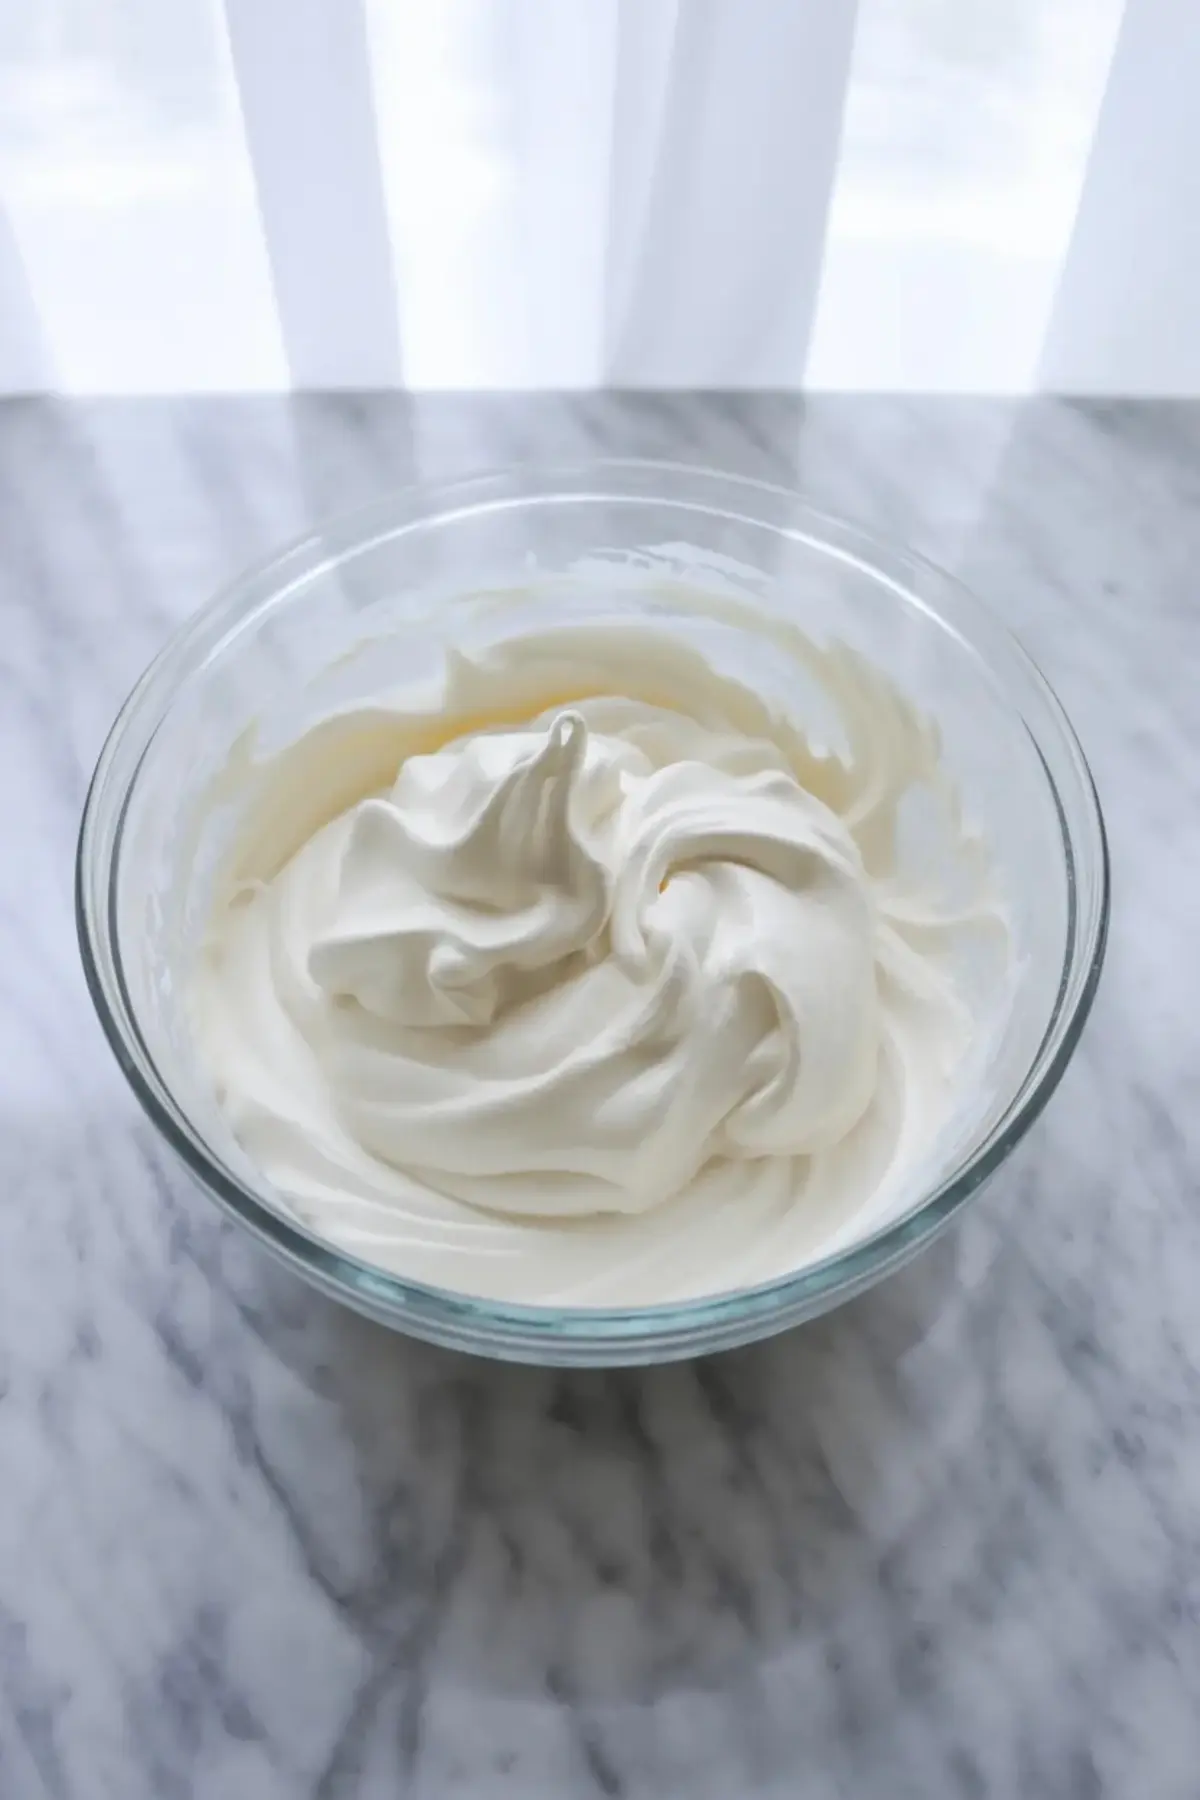
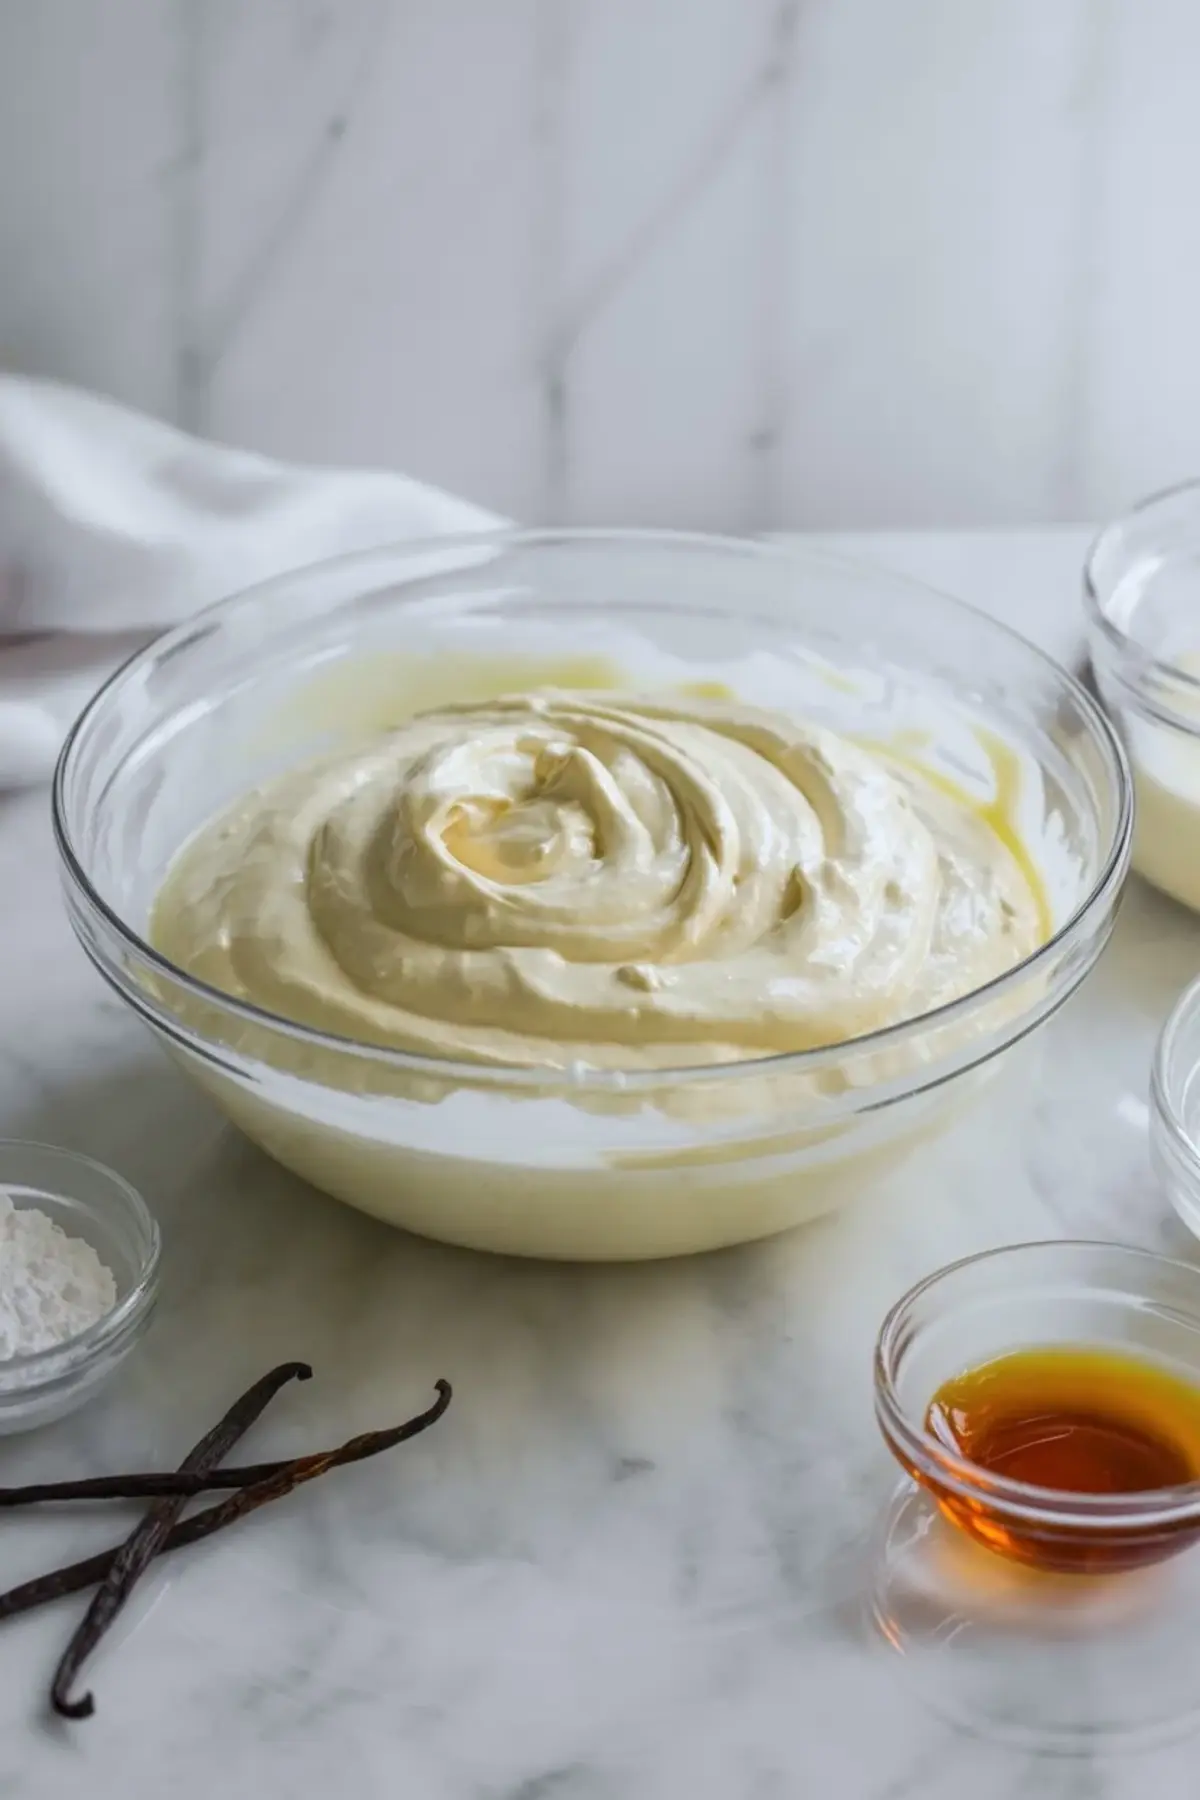
Whipping And Folding The Filling
Start by beating the cream cheese until completely smooth. Once the sugar and vanilla are mixed in, fold the whipped cream gently into the bowl. The finished filling should look thick, silky, and airy enough to spoon neatly into the glasses. That texture is what makes these cups feel lighter than a dense baked cheesecake.
If the filling looks loose, the whipped cream may have been too soft or the cream cheese may have been too warm. A cold short rest in the fridge usually helps before assembling the cups.
Adding The Peaches
The peach topping should look fresh and glossy, not watery. Tossing the slices with a little sugar and lemon juice helps the fruit relax slightly and taste brighter, but you still want the pieces to hold their shape. Arrange them on top just before the final chill so the cups keep a clean layered look.
If you are using canned peaches, drain them well and pat away excess moisture first. That one step keeps the tops from getting slippery or watering down the filling.
How To Tell They Are Ready
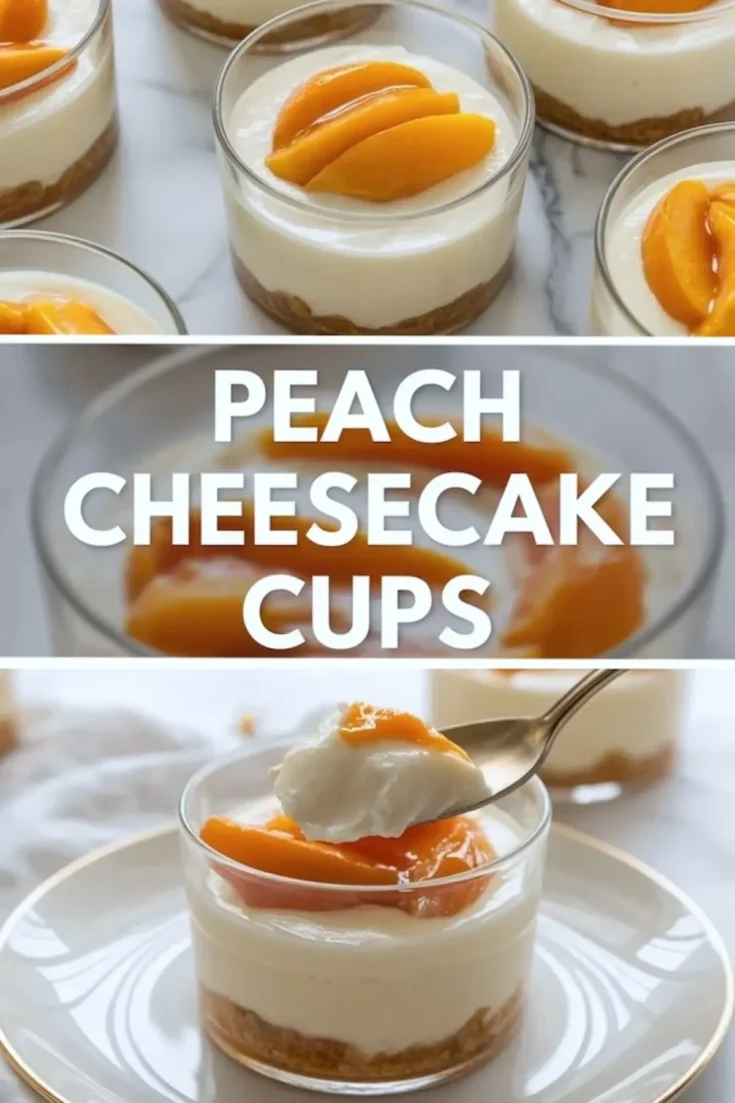
After chilling, the filling should look set enough to hold a spoonful cleanly, while still feeling soft and creamy when you dig in. The crumb layer should stay packed at the bottom, and the peaches should still look glossy and fresh instead of wilted. The cups are ready when the layers stay distinct as you scoop through them.
If the filling sinks into the crumbs or the fruit starts sliding around too much, the cups usually need more chilling time. A little extra time in the fridge improves both texture and presentation.
Small Fixes And Variations
If the crumb base feels too loose, it likely needed a little more butter or firmer pressing. If the filling is lumpy, the cream cheese was probably not soft enough at the start. If you want to change the fruit, nectarines or berries can work, but peaches give the cups their soft floral sweetness and classic summer feel.
For another creamy chilled direction, no bake creamsicle cheesecake gives a citrus version, while pistachio cheesecake leans nuttier and richer.
Storage And Serving
Keep the cups refrigerated until serving time. They are best within a day or two, while the peaches still look fresh and the crumb base keeps its texture. Cover the glasses lightly so they do not pick up fridge odors.
Serve them cold in the glasses they were assembled in. That is part of what makes them useful for showers, brunches, and summer desserts on a tray. The individual format does most of the presentation work for you.
Save This Recipe
Save these peach cheesecake cups for the next time you want a make ahead peach dessert that feels lighter and easier to serve than a full cheesecake. If you make them, save the recipe to Pinterest and share any topping or chilling questions in the comments.
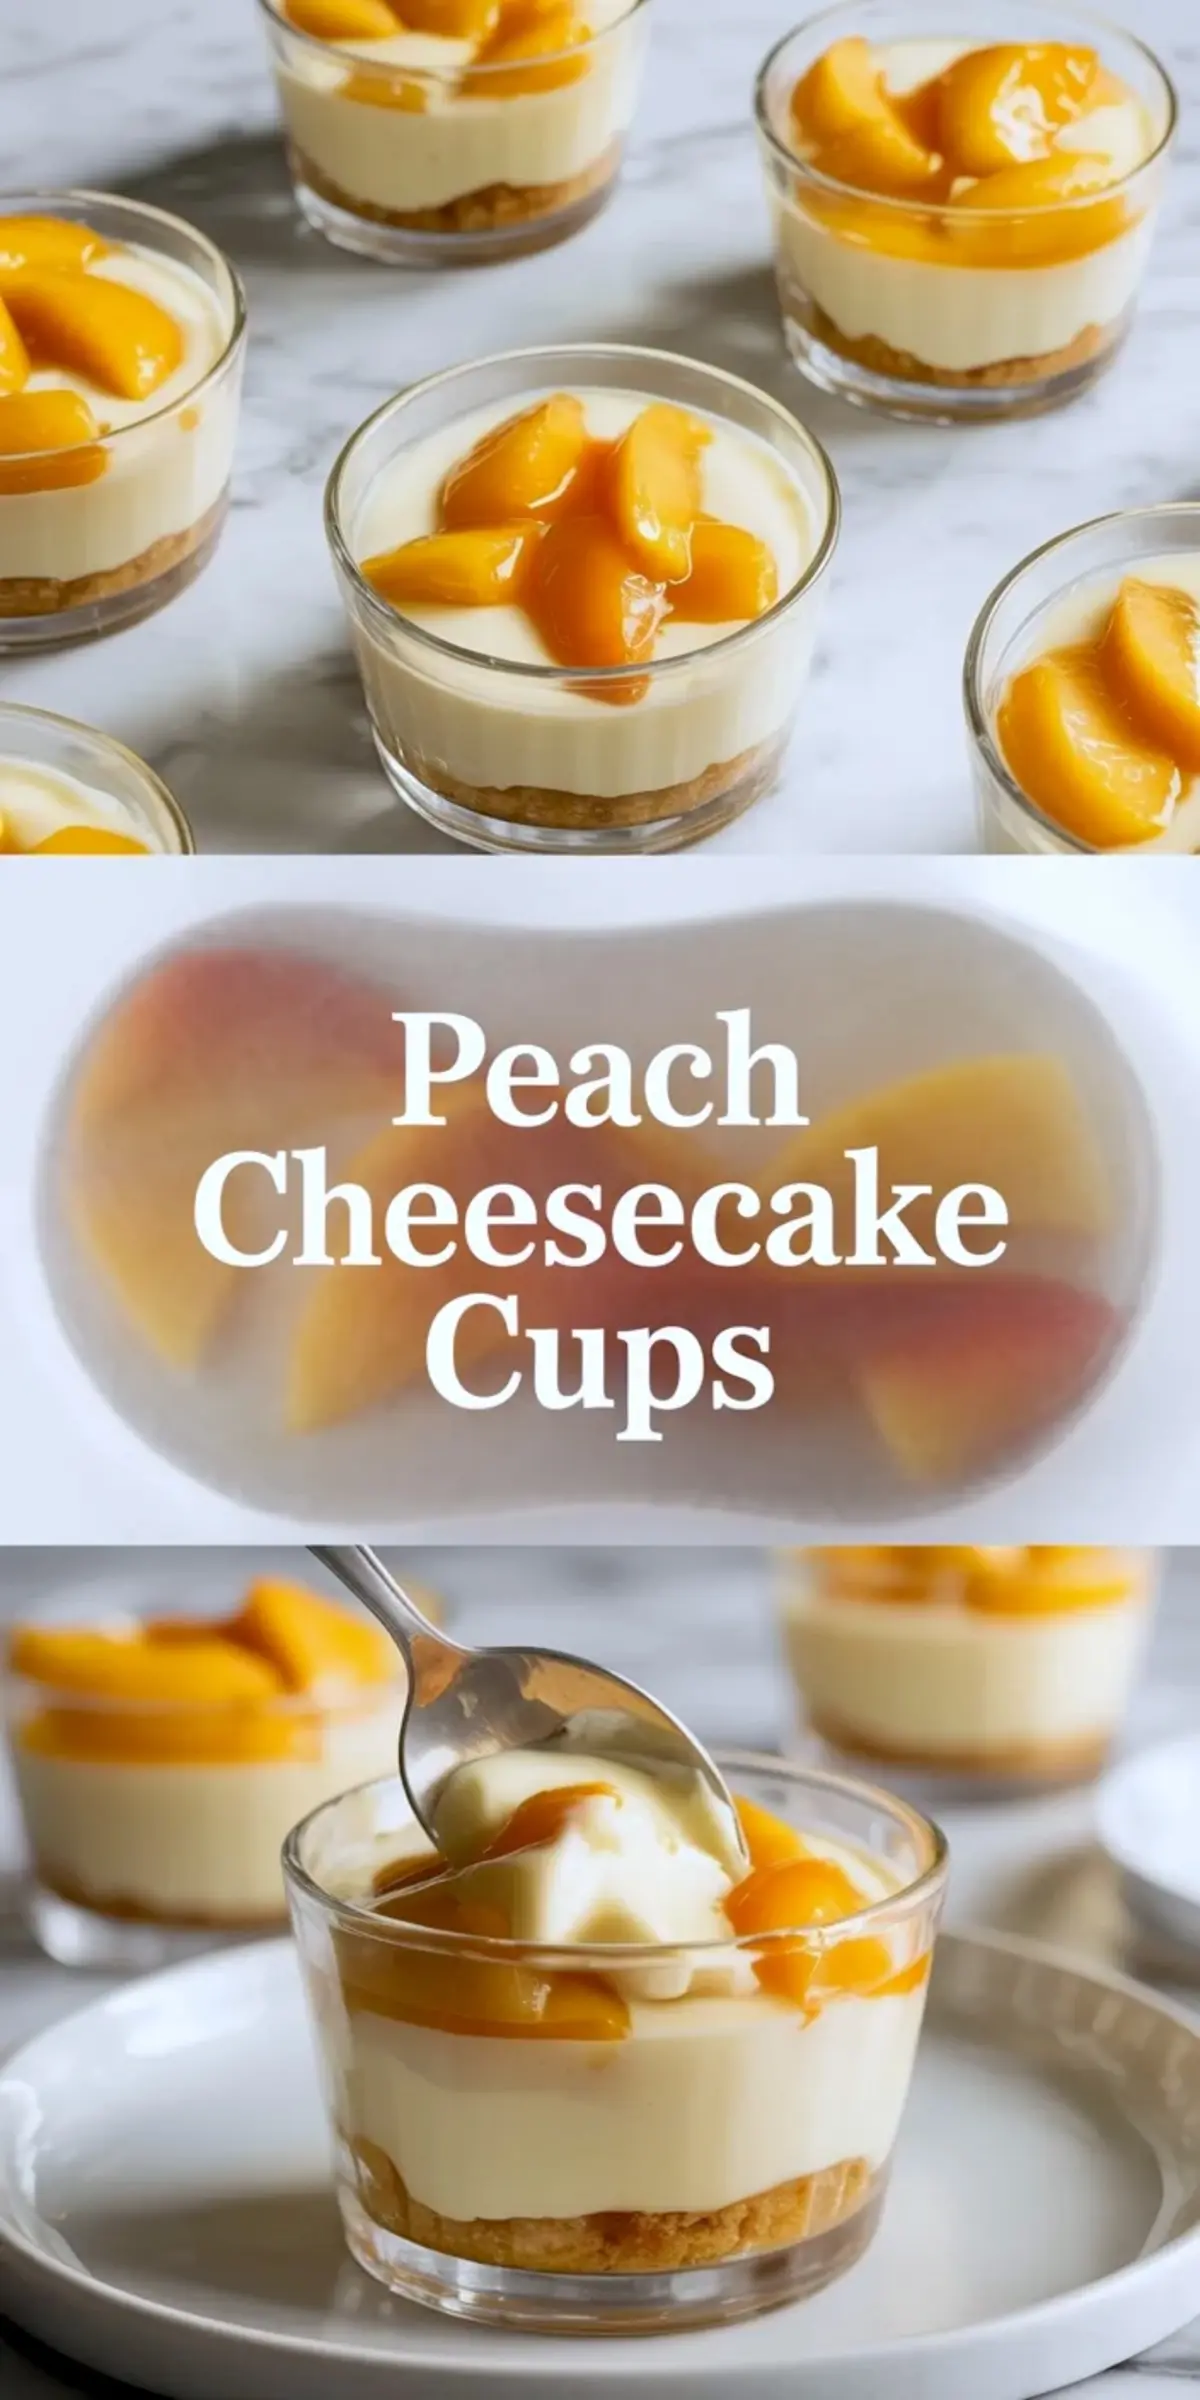
Peach Cheesecake Cups
These peach cheesecake cups layer a buttery biscuit crumb base with a light no bake cheesecake filling and a fresh peach topping that keeps every spoonful bright and cool. The cups are easy to portion, easy to chill ahead, and much simpler to serve than a full cheesecake when you want an individual summer dessert. Fresh peaches add a juicy finish, while the cream cheese and whipped cream filling keeps the texture smooth, airy, and rich without feeling too heavy. Because the layers are built in glasses, the cups hold their shape well and look polished with very little last minute work. They are especially useful when you want something that can be made ahead, kept cold, and set straight onto a dessert table without extra plating.
Ingredients
- FOR THE CRUST
- 1 ½ cups crushed digestive biscuits or graham crackers
- 5 tablespoons melted butter
- FOR THE CHEESECAKE FILLING
- 1 ½ cups cream cheese, softened
- ½ cup powdered sugar
- 1 teaspoon vanilla extract
- 1 cup heavy whipping cream
- FOR THE PEACH TOPPING
- 2–3 fresh peaches, sliced, or canned peach slices
- 2 tablespoons sugar, optional
- 1 teaspoon lemon juice
Instructions
STEP 1: PREPARE THE CRUST: Combine crushed biscuits and melted butter in a bowl and mix until the texture resembles wet sand and holds together when pressed. Divide the mixture evenly among serving glasses and press gently with the back of a spoon to form a compact base, then refrigerate for 10 to 15 minutes to set.
STEP 2: MAKE THE CHEESECAKE FILLING: Beat the softened cream cheese in a mixing bowl until smooth and free of lumps. Add powdered sugar and vanilla extract and continue mixing until fully combined and creamy.
STEP 3: WHIP AND FOLD: In a separate bowl, whip the heavy cream until soft peaks form and the texture is light and airy. Gently fold the whipped cream into the cream cheese mixture using slow, sweeping motions to maintain a smooth and fluffy consistency.
STEP 4: ASSEMBLE THE LAYERS: Remove the chilled crusts from the refrigerator and spoon the cheesecake filling evenly over each base. Smooth the tops with a spoon or spatula to create an even layer.
STEP 5: PREPARE THE PEACHES: Slice fresh peaches and toss with sugar and lemon juice, then let them sit for a few minutes to release natural juices and soften slightly. If using canned peaches, drain well and slice if needed.
STEP 6: ADD THE TOPPING: Arrange the peach slices over the cheesecake layer, either in a neat pattern or a more relaxed style, ensuring even distribution in each cup.
STEP 7: CHILL AND SET: Place the assembled cups in the refrigerator for at least 1 to 2 hours to allow the layers to firm up and develop a cohesive texture before serving.
Notes
Use ripe but firm peaches for the best texture and flavor balance.
Chill time can be extended for a firmer consistency.
Graham crackers can replace digestive biscuits with similar results.
Nutrition Information
Yield
6Serving Size
1Amount Per Serving Calories 362Total Fat 27gSaturated Fat 17gUnsaturated Fat 10gCholesterol 78mgSodium 110mgCarbohydrates 29gFiber 0gSugar 28gProtein 2g