
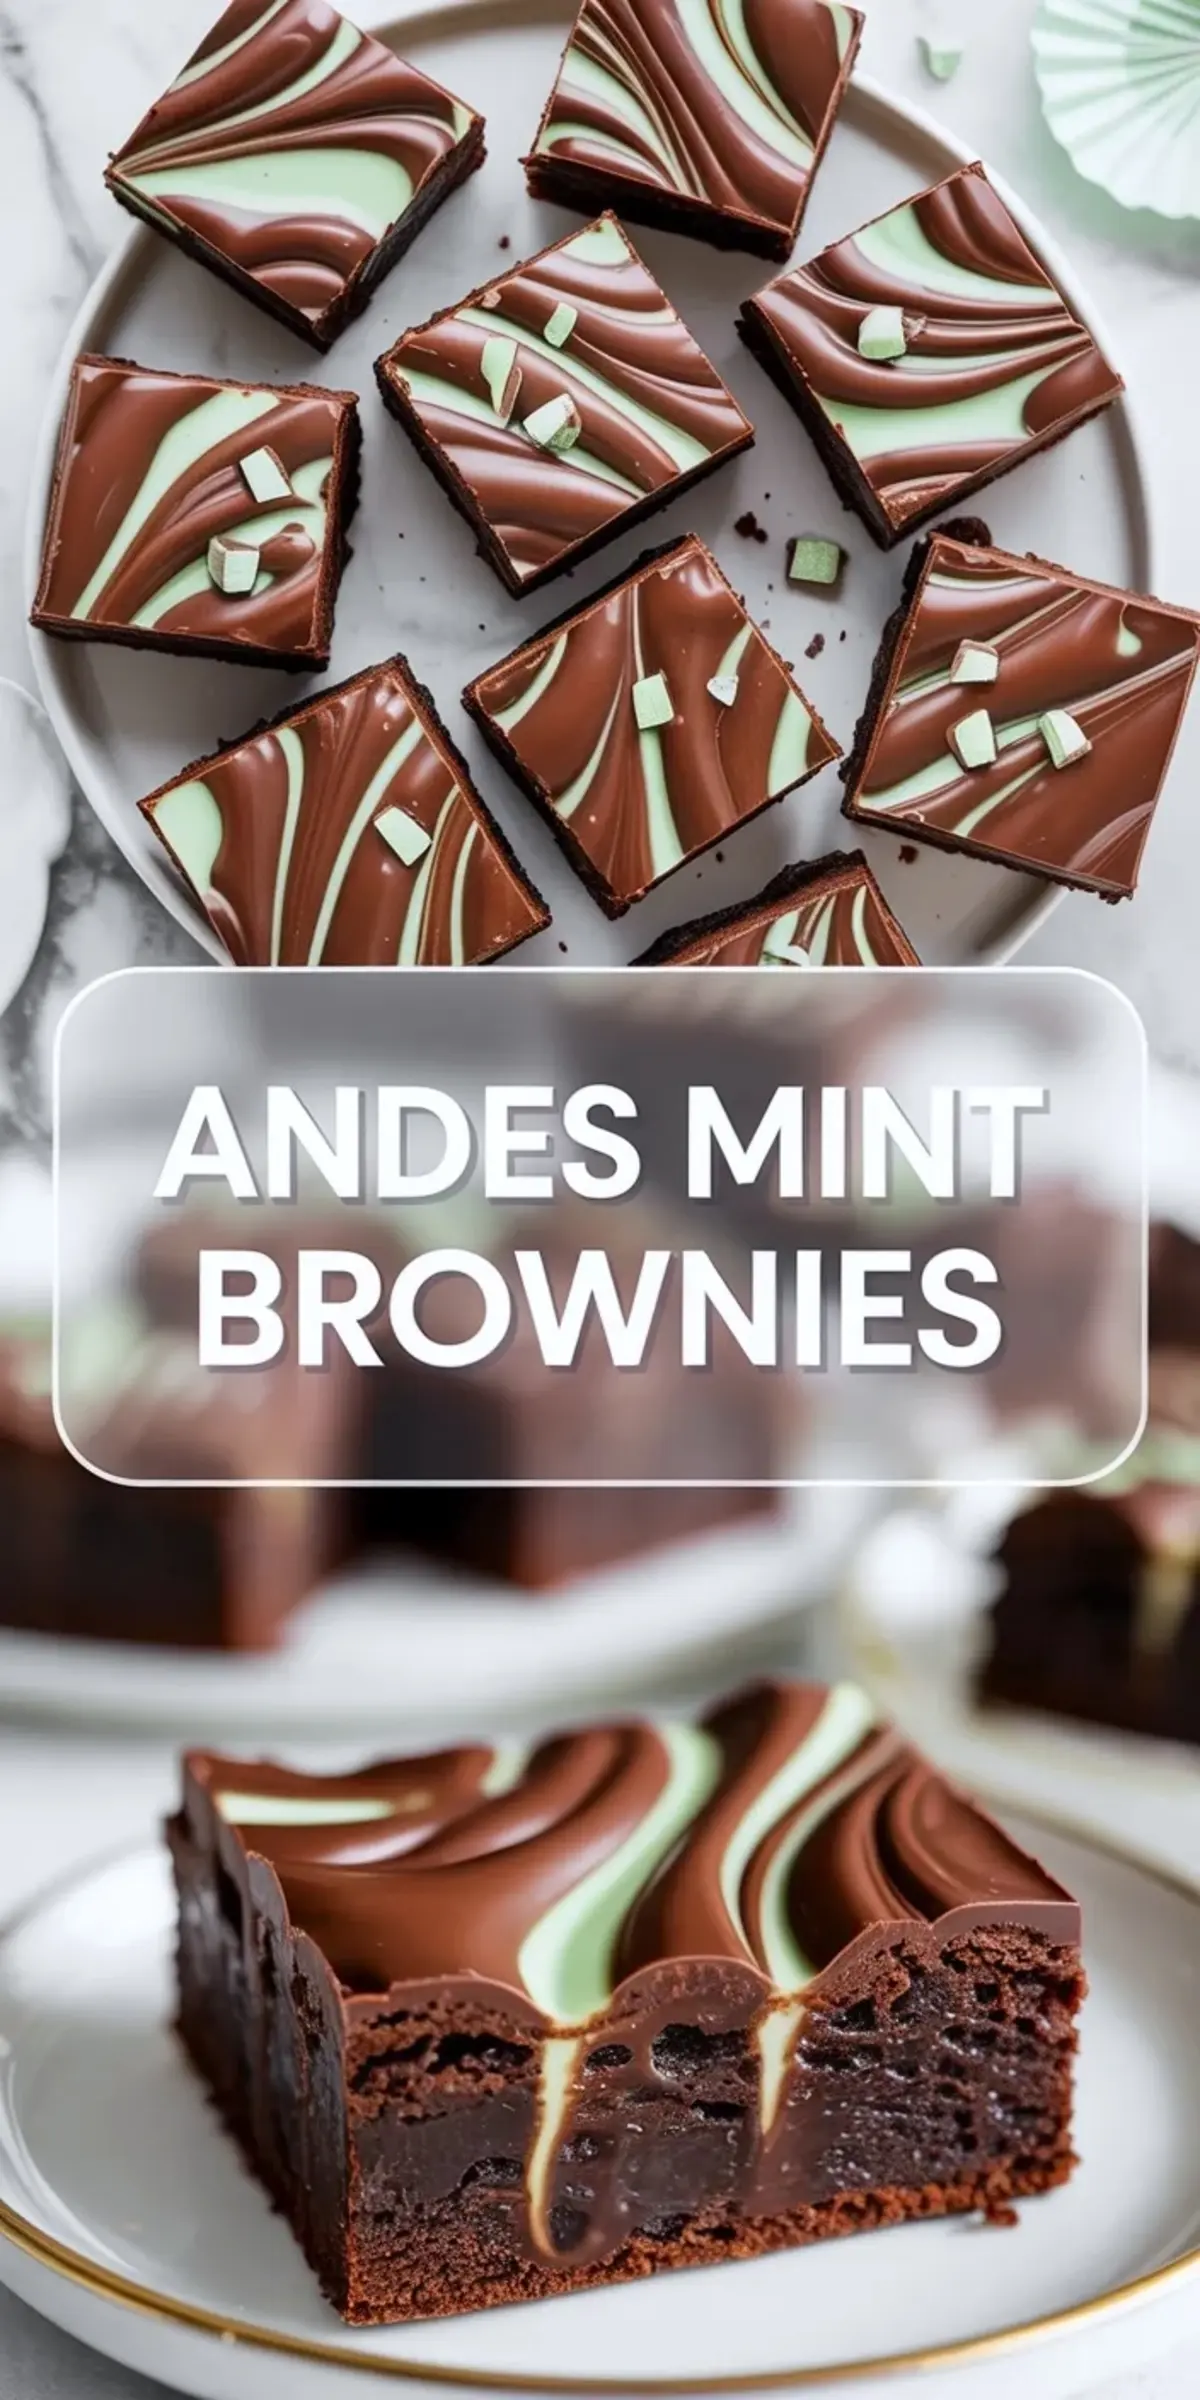
A good Andes mint brownies recipe has to do more than add mint flavor to an ordinary pan of brownies. The brownie layer needs enough cocoa depth to stand up to the candy, the mint layer needs to taste cool without turning harsh, and the chocolate topping has to finish cleanly so the bars still slice like brownies instead of turning into a messy candy slab. This version gets that balance right with a fudgy base, a smooth mint middle, and a glossy top layer that firms up neatly after chilling.
The finished bars feel a little more polished than everyday brownies, but the method is still straightforward. You bake the base first, layer the mint filling over the cooled brownies, then seal everything in with melted chocolate and chopped Andes candies. If you want Andes brownies that feel festive enough for holidays but easy enough for regular baking, this is the kind of tray that disappears fast.
Following a special diet?
Every recipe on this site can be converted to gluten-free, vegan, dairy-free, keto, nut-free or egg-free with adjusted ratios so nothing falls flat.
Try the Recipe Converter →Why the Layers Work So Well Together
The brownie base is rich enough to hold its own, which matters because a weak cocoa layer would get buried under the mint and topping. Here, the chocolate stays deep and slightly chewy, so every bite still reads as brownie first instead of candy first. That balance is what keeps the bars from feeling too sweet or one note.
The mint layer changes the texture as much as the flavor. It adds a cool creamy middle that breaks up the dense brownie base and gives the top chocolate layer something smooth to sit on. If you like other brownies that lean rich and fudgy, marshmallow brownies are another good pan dessert to keep in rotation.
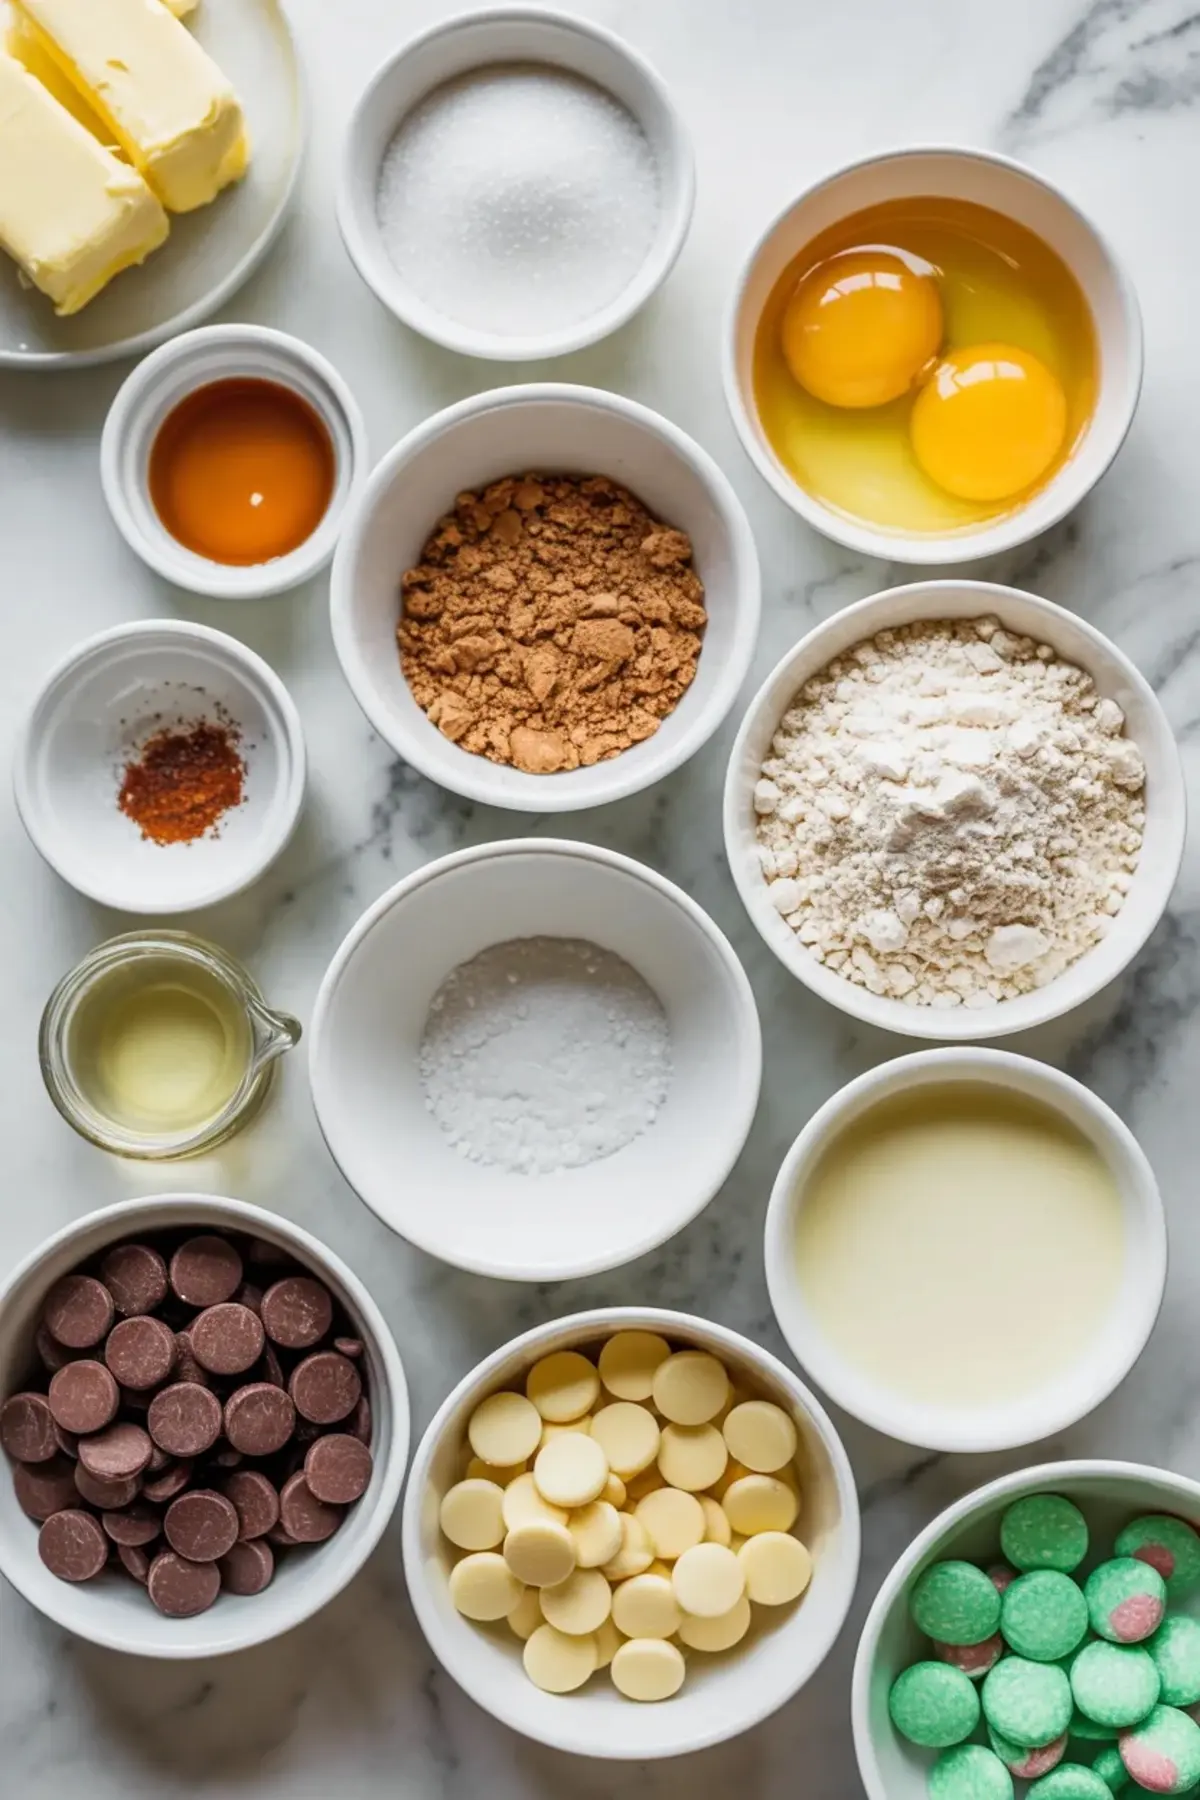
Ingredients That Matter Most
Andes candies are the obvious star, but they work best when the rest of the recipe stays sturdy. Cocoa powder builds the brownie flavor, flour keeps the base from collapsing, and a generous amount of butter helps the crumb stay soft instead of cakey. The white chocolate and cream in the mint layer keep that middle section smooth, while the peppermint extract sharpens the mint just enough to make it noticeable.
The top layer matters too. Milk chocolate gives a softer sweeter finish than dark chocolate, which fits the candy bar feel of these bars better. Chopped Andes candies on top are not just decoration either. They reinforce the mint flavor and make the finished squares look intentional. For another dessert that leans into that same cool chocolate mint profile, mint chocolate chip cake makes a useful comparison.
Mixing a Fudgy Brownie Base
The brownie batter should look thick and glossy before it ever reaches the pan. Melted butter, sugar, eggs, and cocoa need to come together smoothly first, then the flour gets folded in just until no dry streaks remain. That gentle finish is what helps the brownies stay dense and chewy instead of puffing up like cake.
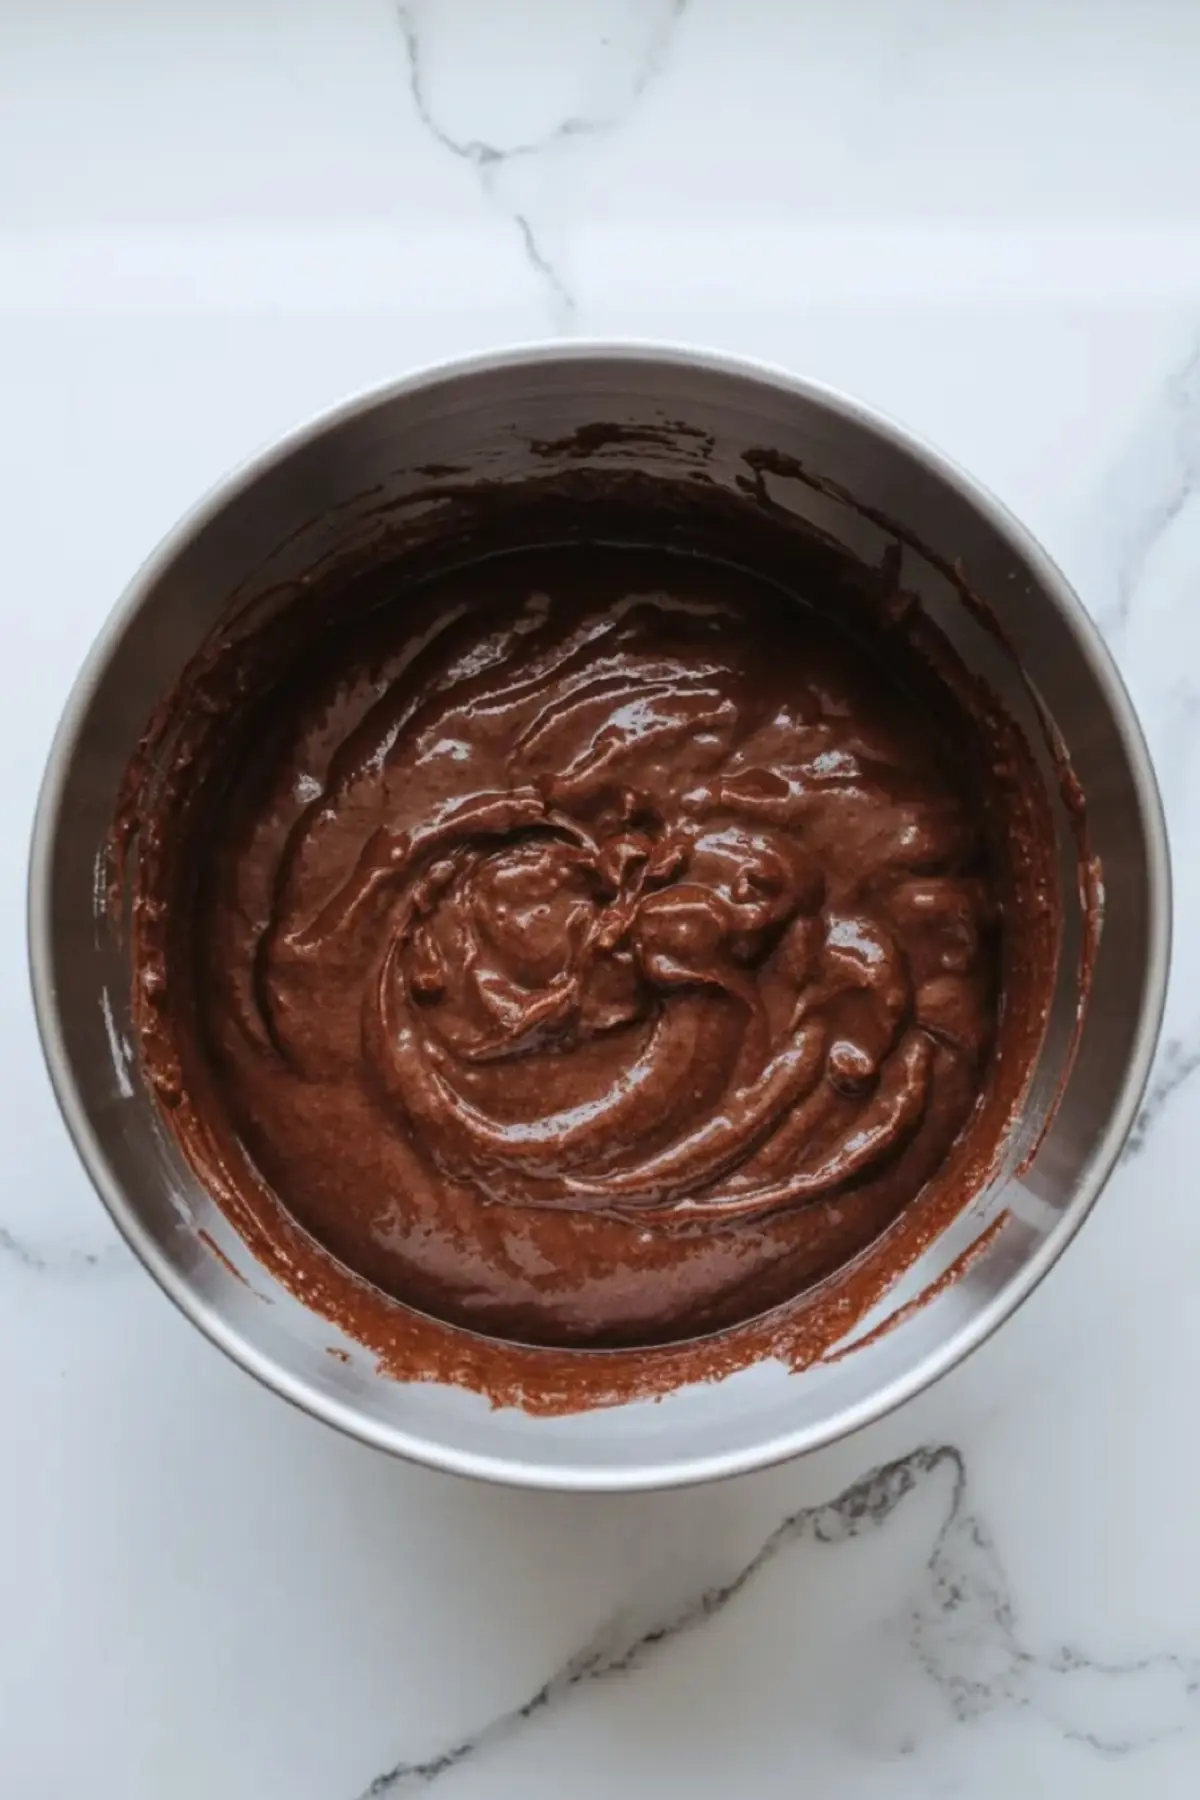
Once the chocolate chips and chopped Andes candies are folded in, the batter will feel substantial. That is a good sign. It means the brownies have enough body to support the extra layers on top without turning flimsy after chilling. Try not to overwork the mixture at this stage because too much mixing can toughen the final texture.
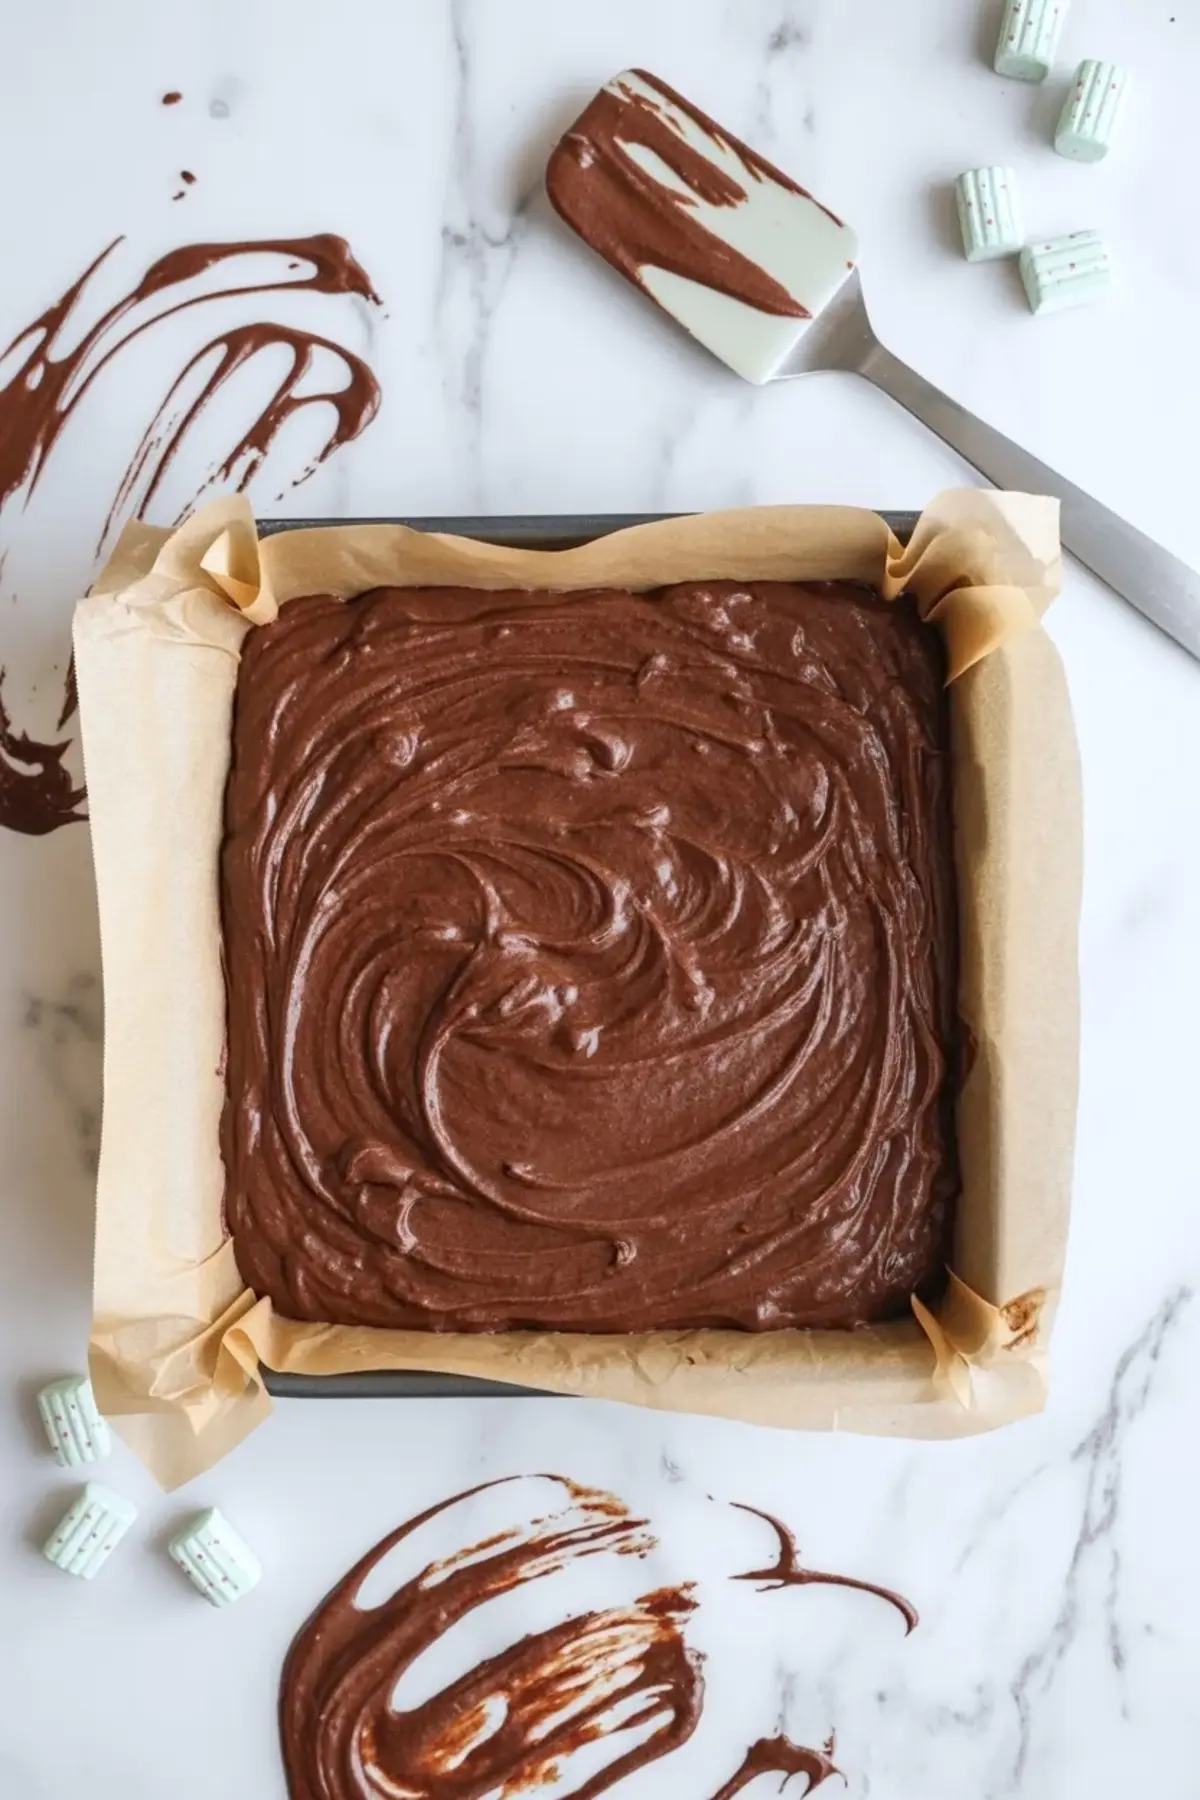
Baking the Base Before Any Topping Goes On
Spreading the batter evenly in the lined pan makes a bigger difference than it seems. If one corner is much thicker than the rest, the center and edges will set at different rates, and that can make the later mint and chocolate layers look uneven once sliced. A small offset spatula or the back of a spoon is enough to level it out before baking.
Bake only until the center is set with a few moist crumbs still clinging to a tester. The brownies continue to firm as they cool, so pulling them too late leaves you with a drier base that loses the fudgy bite these Andes mint brownies need. Let the pan cool completely before layering anything on top or the mint layer will soften too much.
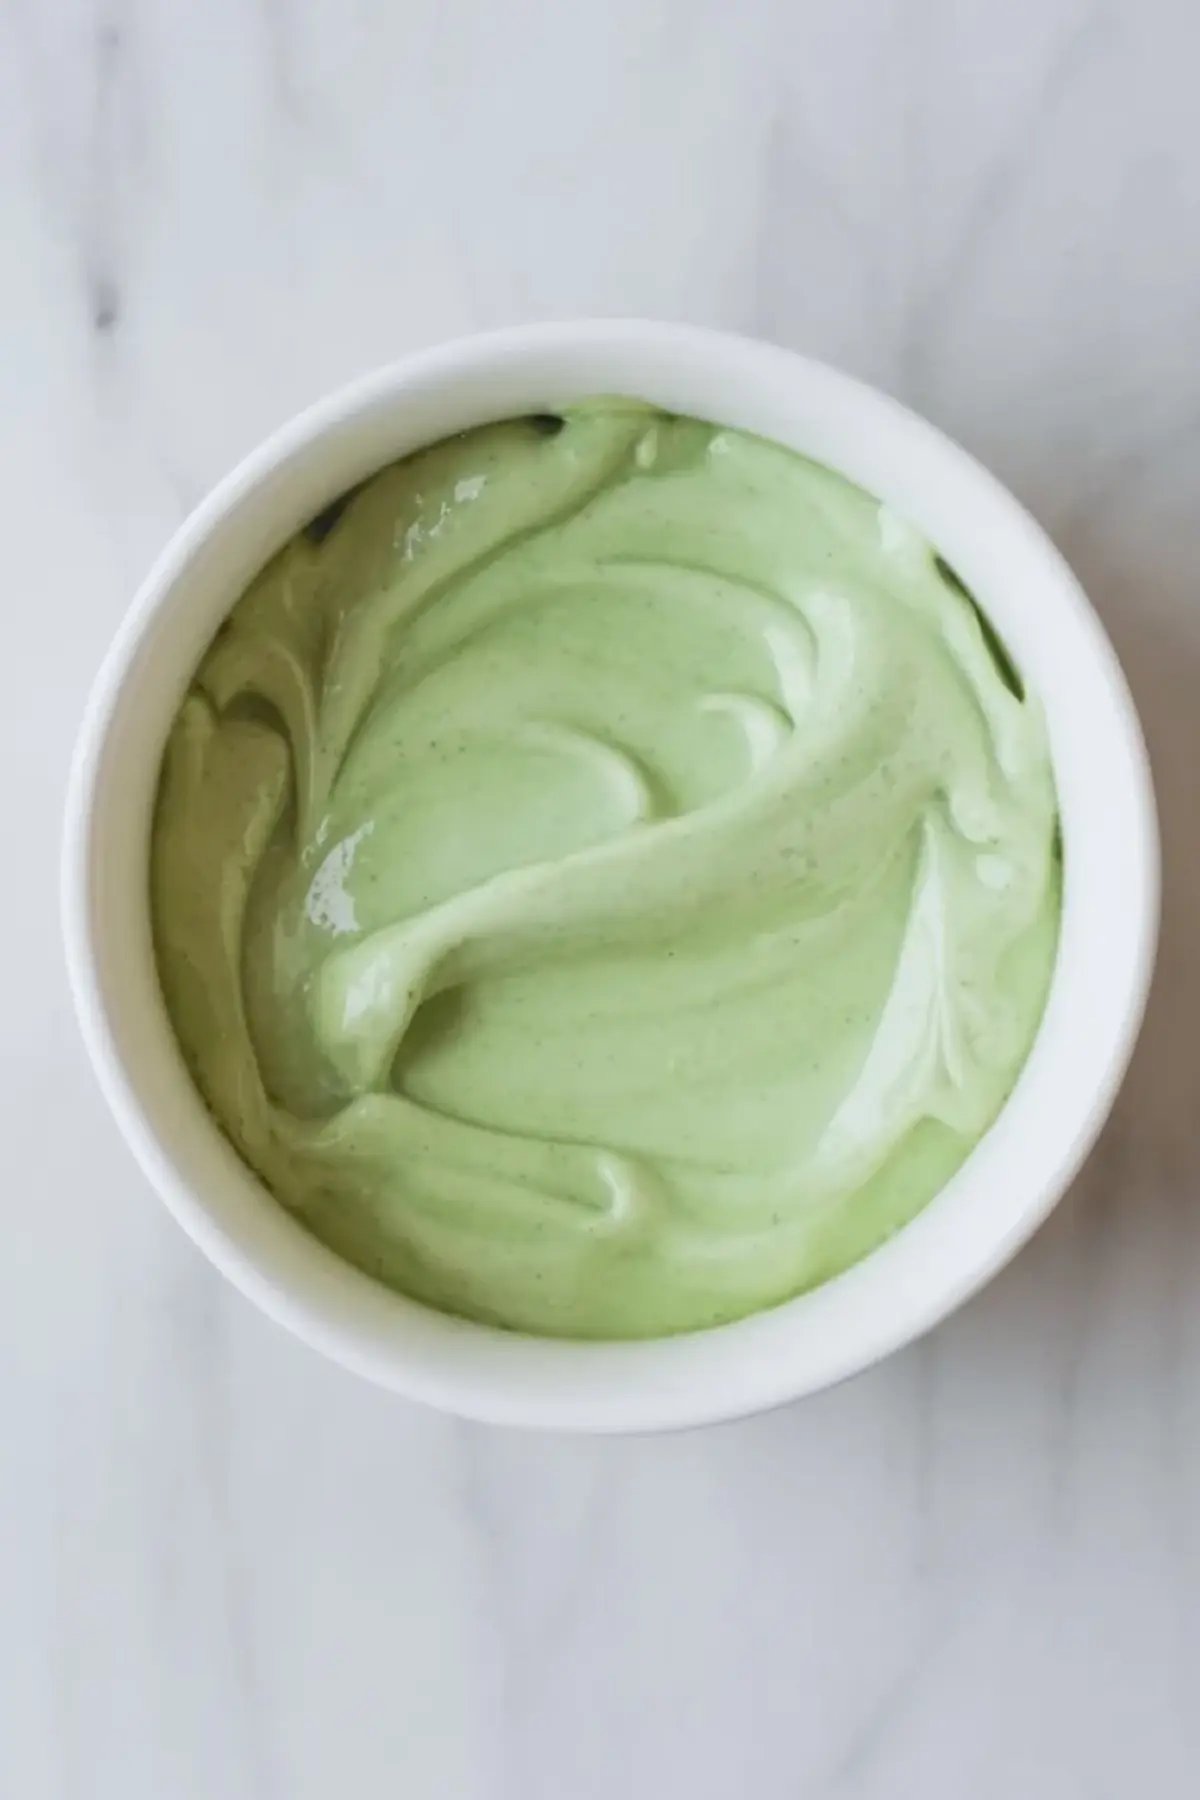
Getting the Mint Layer and Chocolate Top Clean
The mint layer should be smooth and spreadable, not stiff or overly loose. Warming the white chocolate and cream in short bursts helps it stay silky, and a restrained amount of peppermint extract keeps the filling cool tasting without drifting into toothpaste territory. If you want the classic green look, just a small touch of color is enough.
Once the mint layer has had a short chill, the chocolate topping goes on more cleanly. Spread it gently so you do not drag the mint layer around underneath, then finish with chopped Andes candies while the top is still soft enough to hold them. Fans of easy mint desserts may also want to save grasshopper pie for another chocolate mint option with a very different texture.
How to Slice, Serve, and Store Them
These bars cut best after a full chill because the layers firm up and hold their edges better. A clean knife and a quick wipe between slices help keep the mint and chocolate layers looking sharp instead of smudged. If you are serving them for a party tray, slightly smaller squares usually work better because the bars are rich and the mint flavor carries well even in modest portions.
Store the brownies in the refrigerator so the top stays glossy and the layers keep their shape. They are excellent for make ahead baking because the flavor settles in nicely after a few hours of chilling. Save this Andes mint brownies recipe for holidays, bake sales, or any time you want mint brownies with Andes mints that look polished and still eat like a real homemade brownie.
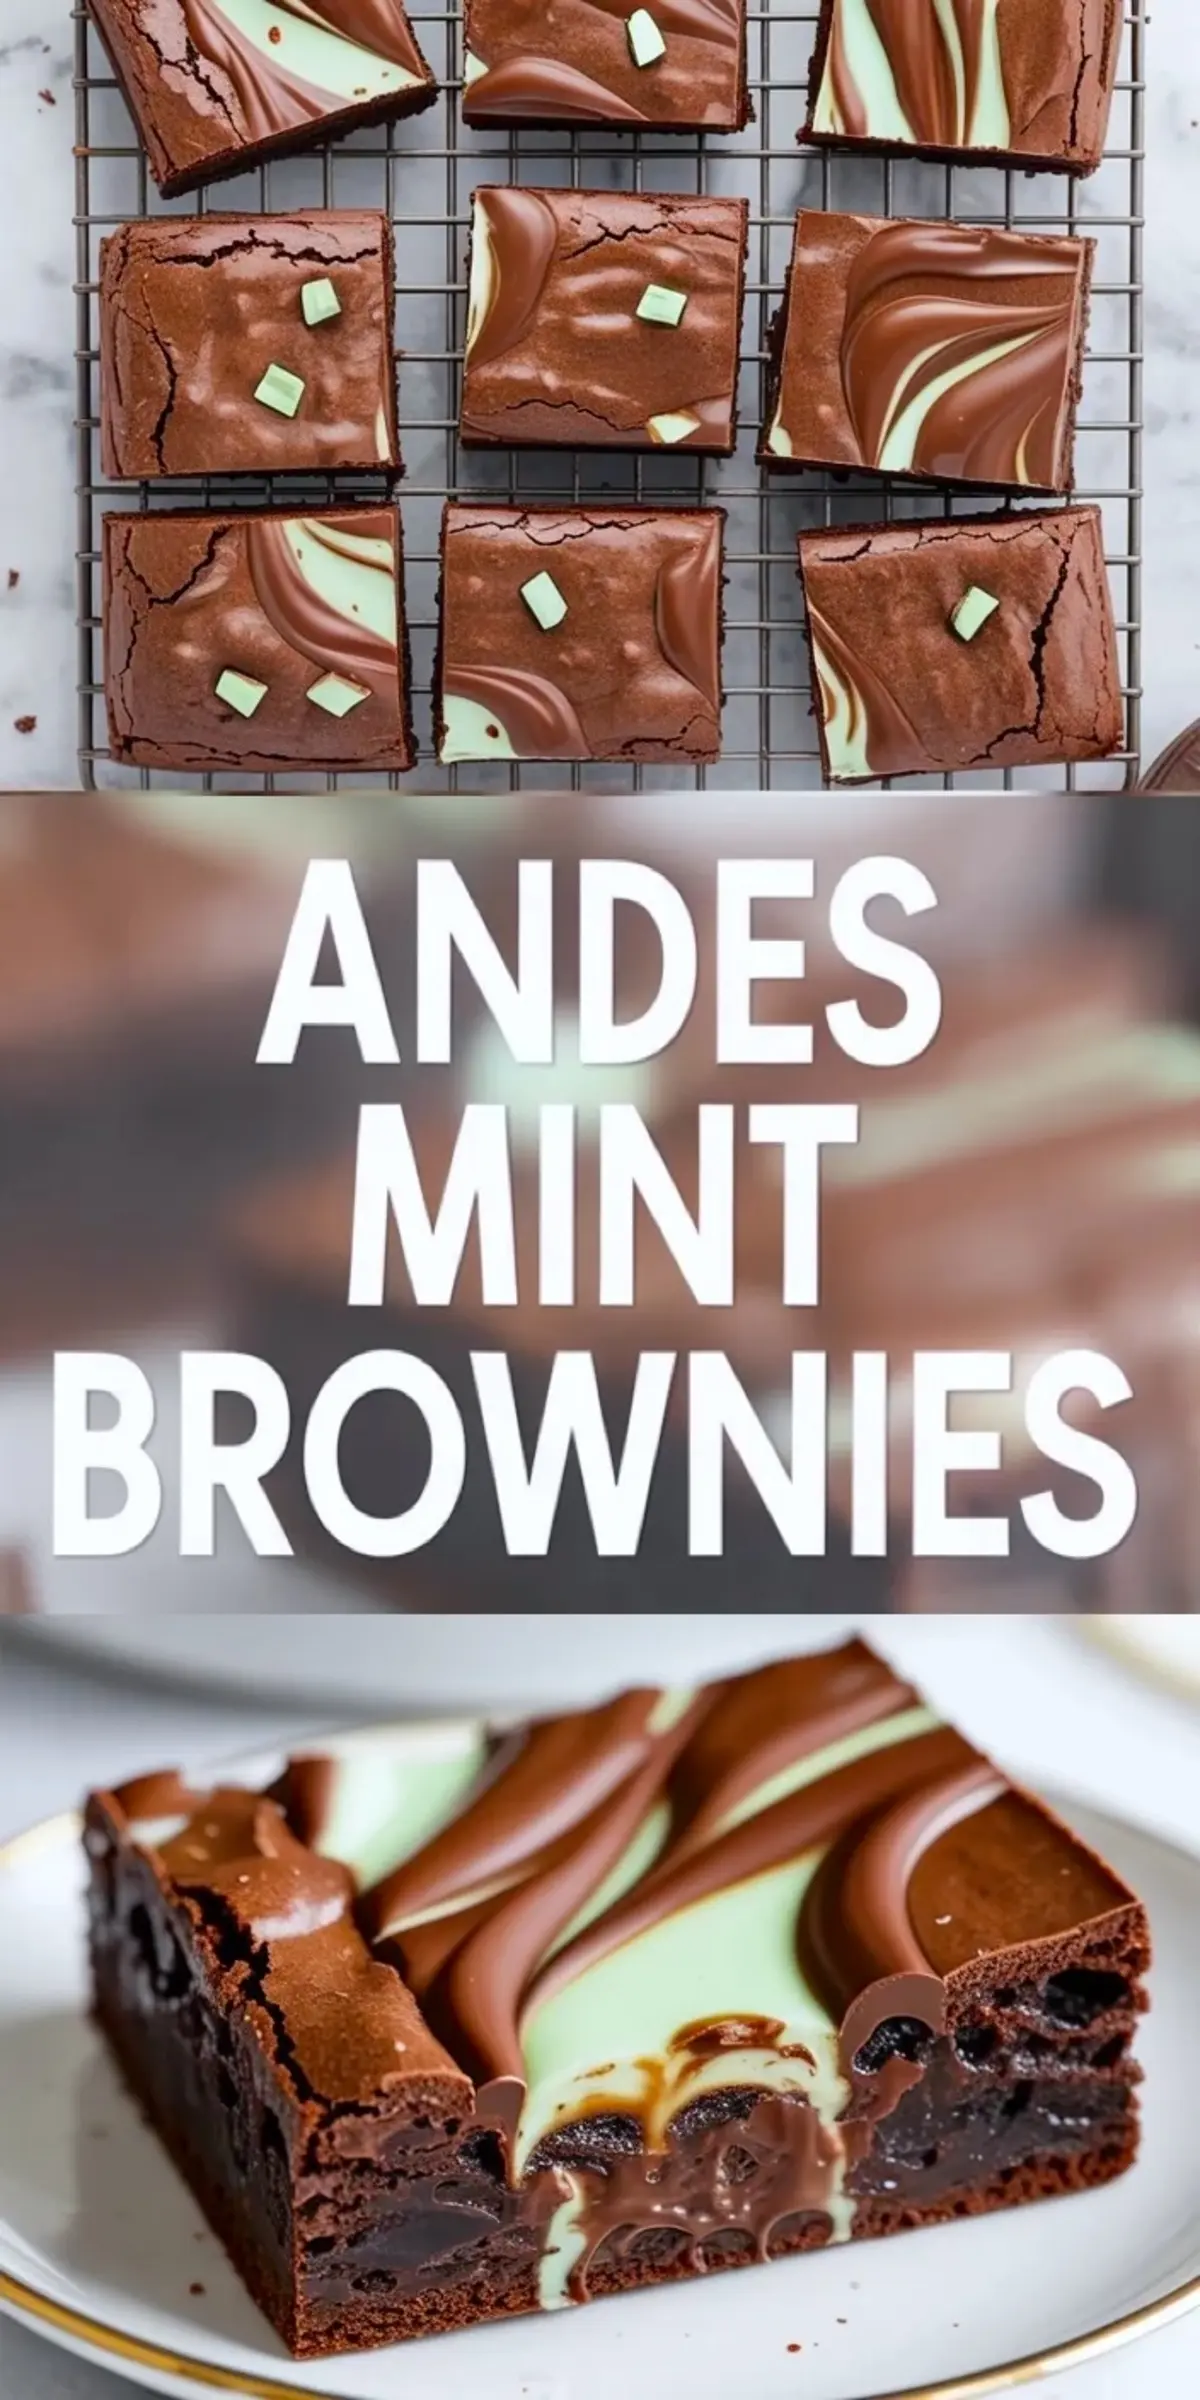
Andes Mint Brownies

This Andes mint brownies recipe makes rich layered brownies with a fudgy chocolate base, smooth mint filling, and glossy chocolate topping finished with chopped Andes candies for extra flavor and crunch. The brownie layer stays dense and soft, the mint filling adds a cool creamy contrast, and the top chocolate layer helps each square slice neatly for sharing without falling apart. If you want mint brownies with Andes mints that feel festive, easy to make, and full of clear chocolate mint flavor, this recipe gives you a dependable dessert for holidays, parties, bake sales, and make ahead trays. Each bite lands somewhere between a classic brownie and a mint candy bar, but with a softer homemade texture.
Ingredients
- FOR THE BROWNIES
- 1 cup unsalted butter, melted
- 2 cups granulated sugar
- 4 large eggs
- 1 tablespoon vanilla extract
- 1 cup unsweetened cocoa powder
- 1 cup all-purpose flour
- 1 teaspoon salt
- 1 cup semi-sweet chocolate chips
- 1 cup chopped Andes mint candies
- FOR THE MINT LAYER
- 1 cup white chocolate chips
- 2 tablespoons heavy cream
- ½ teaspoon peppermint extract
- Green food coloring, optional
- FOR THE CHOCOLATE TOPPING
- 1½ cups milk chocolate chips
- 2 tablespoons heavy cream
- Optional garnish:
- Extra chopped Andes candies
- Chocolate drizzle
- Mint drizzle
Instructions
PREPARE THE PAN: Preheat the oven to 350°F. Line a 9x13-inch baking pan with parchment paper, leaving extra parchment hanging over the sides for easy removal. Lightly grease the parchment paper to help the brownies release cleanly after chilling.
MAKE THE BROWNIE BATTER: In a large mixing bowl, whisk together the melted butter and granulated sugar until smooth. Add the eggs and vanilla extract, then whisk again until fully combined. Add the cocoa powder, flour, and salt. Stir gently with a rubber spatula until no dry streaks remain. Avoid overmixing to keep the brownies soft and fudgy. Fold in the semi-sweet chocolate chips and chopped Andes mint candies. The batter will be thick and rich.
BAKE THE BROWNIES: Spread the brownie batter evenly into the prepared baking pan. Bake for 28 to 32 minutes, or until the center is just set and a toothpick inserted into the middle comes out with a few moist crumbs attached. Avoid overbaking because the brownies continue to set as they cool. Let the brownies cool completely before adding the mint layer.
MAKE THE MINT LAYER: In a microwave-safe bowl, combine the white chocolate chips and heavy cream. Microwave in 20-second intervals, stirring after each interval until the mixture is smooth. Stir in the peppermint extract. Add a small drop of green food coloring if desired for a classic mint appearance. Spread the mint mixture evenly over the cooled brownies. Refrigerate the pan for about 15 minutes so the layer can firm slightly.
ADD THE CHOCOLATE TOPPING: In another microwave-safe bowl, combine the milk chocolate chips and heavy cream. Microwave in short intervals, stirring frequently until smooth and glossy. Pour the chocolate topping over the mint layer and spread evenly with an offset spatula or spoon. For a swirled finish, drizzle a small amount of leftover mint mixture over the chocolate layer and use a toothpick to gently swirl the layers together. Sprinkle chopped Andes mint candies over the top before the chocolate sets.
CHILL AND SLICE: Refrigerate the brownies for at least 30 minutes before slicing. For cleaner brownie squares, wipe the knife clean between each cut. Serve chilled or let the brownies sit at room temperature for a few minutes before serving.
Notes
Store the brownies in an airtight container in the refrigerator for up to 5 days.
For extra clean slices, chill the brownies longer before cutting.
A small amount of peppermint extract goes a long way, so avoid adding extra or the mint flavor can become overpowering.