
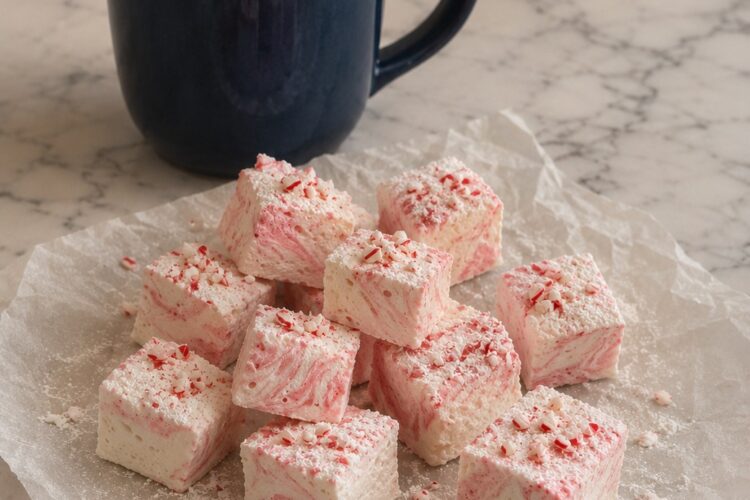
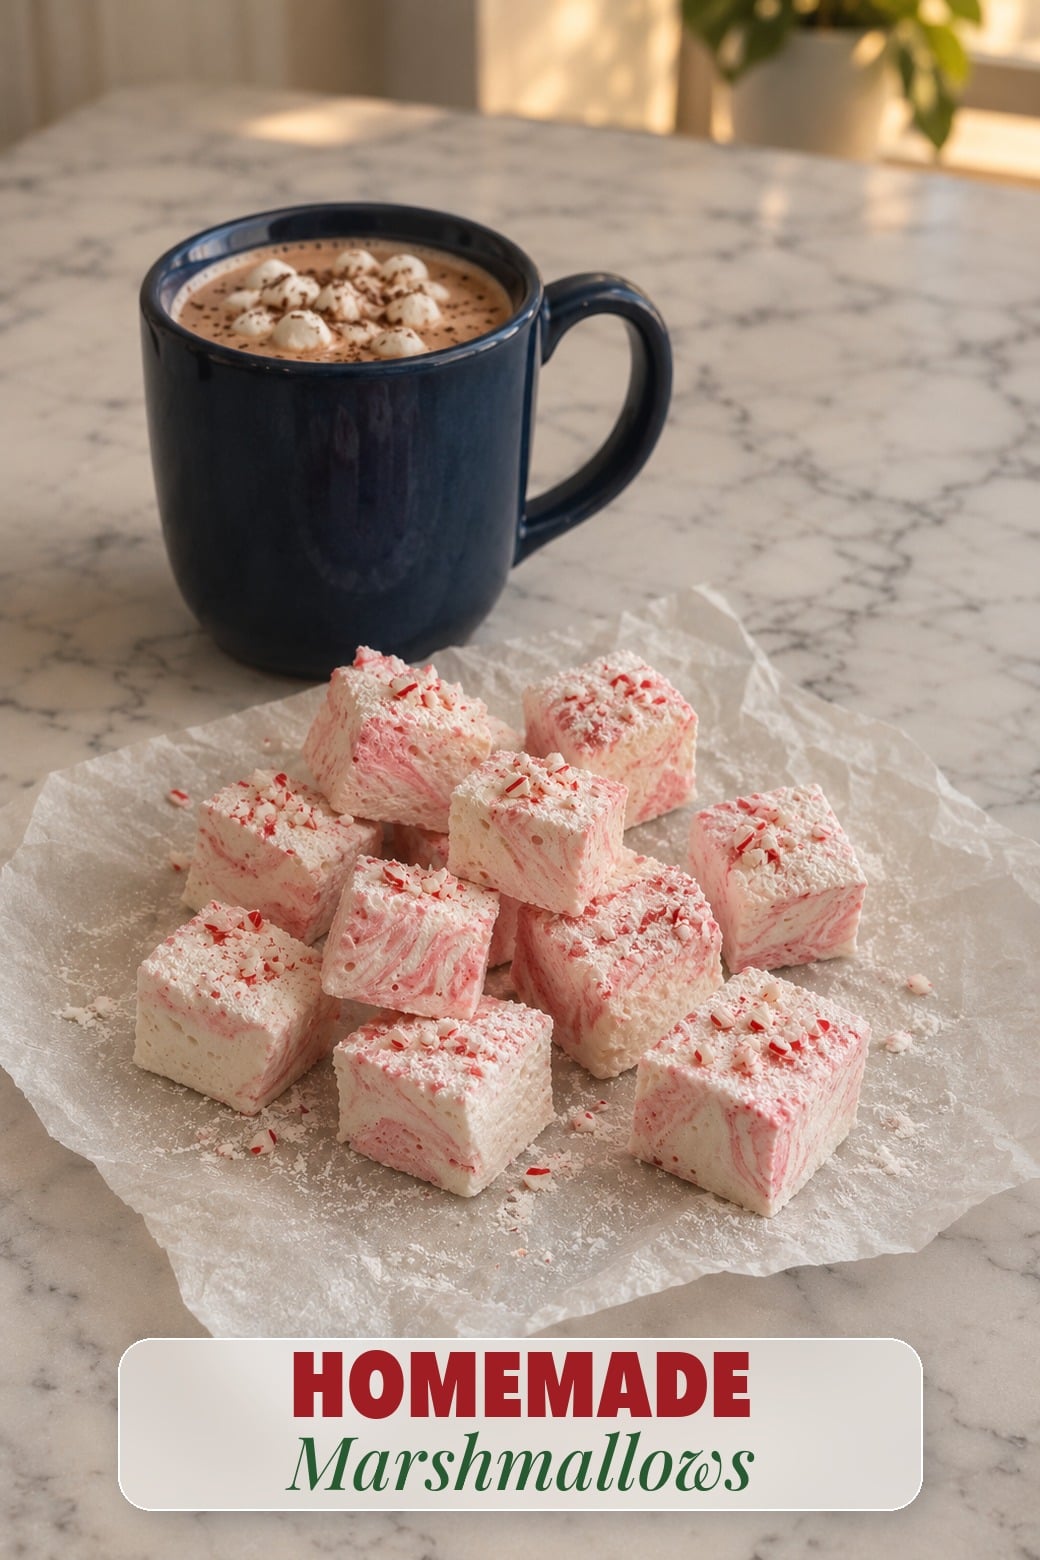
A clip top jar of pink swirled squares, a red ribbon and a little bag of cocoa mix: that is the whole gift, and homemade marshmallows are the part people talk about. The hands on work is about 55 minutes, the slab sets for 6 hours, and one 9 inch pan gives 36 squares an inch and a half across. The trick is the thermometer and the clock: syrup taken to exactly 240°F, then whipped a full 12 to 15 minutes until the bowl only feels warm.
They keep 2 weeks at room temperature, so a batch made the first weekend of December covers teacher gifts, neighbors and every cocoa night until Christmas. There are no egg whites and no oven, only gelatin, sugar syrup and a stand mixer doing the hard part. Set one on a mug of homemade hot chocolate and the pink swirl floats on top while it softens.
Gelatin, Sugar Syrup and a 9 Inch Pan
Three envelopes of unflavored gelatin, 21 grams, set 2 cups of sugar and 2/3 cup of corn syrup into a slab that is springy but still cuts clean. The corn syrup keeps the sugar from crystallizing, so the squares stay smooth instead of sandy. Golden syrup works in its place.
A 9 inch square pan gives tall, cube shaped marshmallows about 1 1/4 inches high. A 9×13 pan works with the same batch, but the squares come out flat, closer to the store kind. Spoonable marshmallow fluff is a different recipe with no gelatin; for that, see my homemade marshmallow cream.
Bringing the Syrup to 240°F
Bloom the gelatin first: 1/2 cup of cold water in the mixer bowl, gelatin sprinkled evenly over the top, 10 minutes until it looks like a firm sponge. Then stir the sugar, corn syrup, water and salt over medium heat only until the sugar dissolves. After that, hands off. No stirring at all.
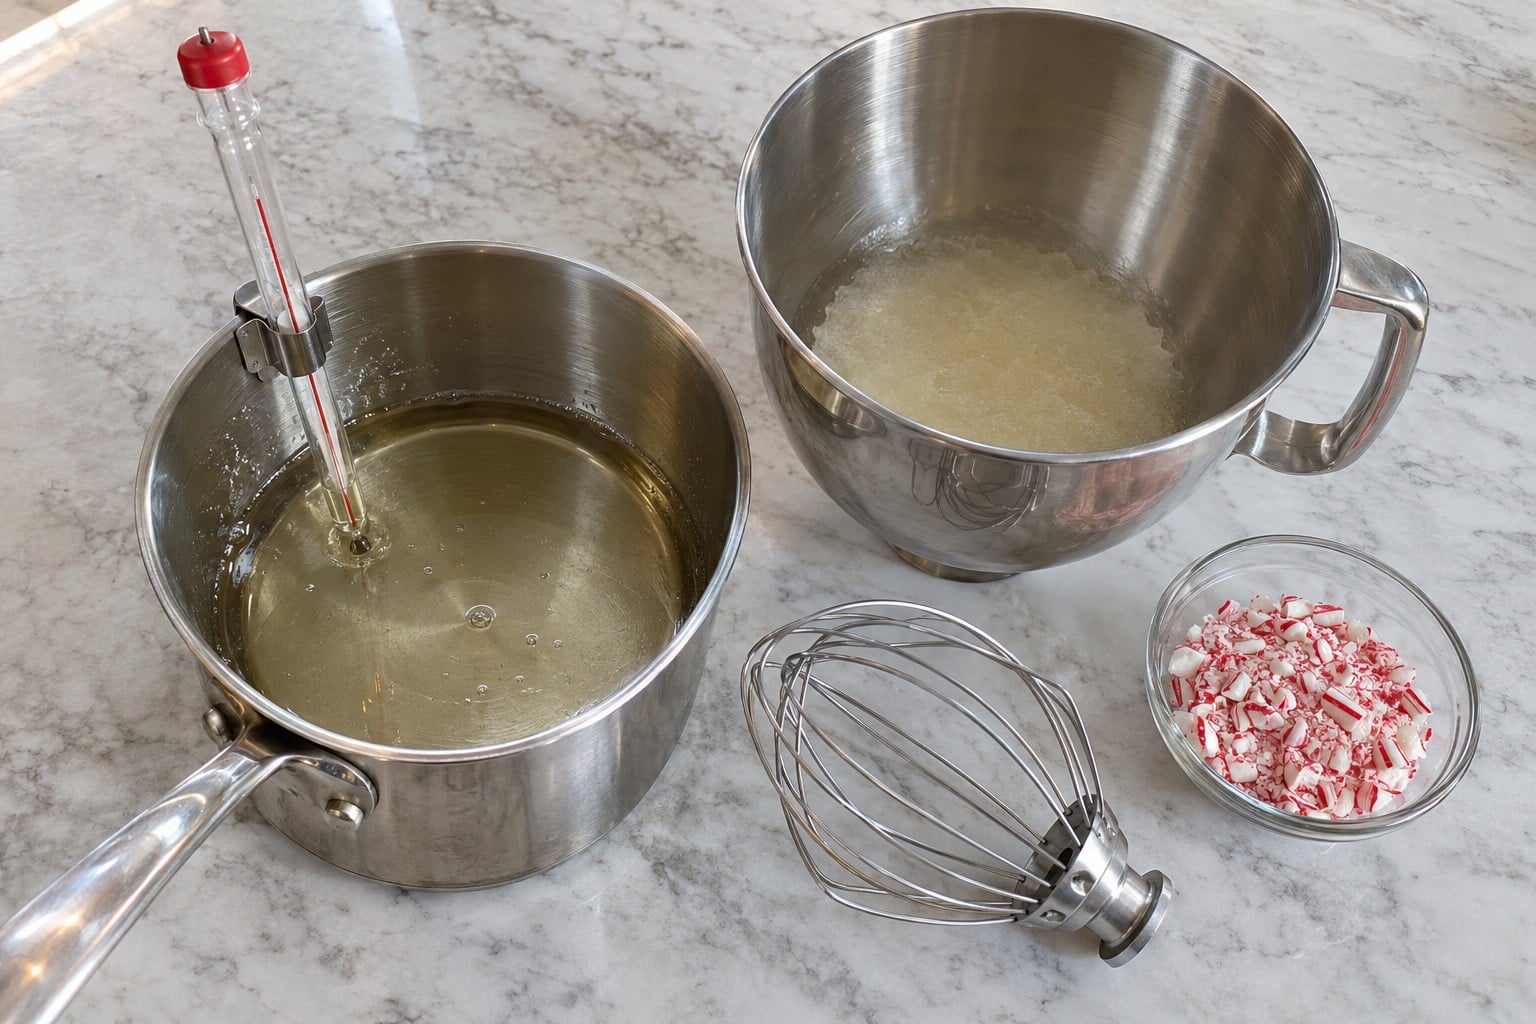
Clip on the thermometer and boil to 240°F, the soft ball stage. It takes 8 to 10 minutes on my stove. At 235°F the marshmallows stay wet and sticky; past 250°F they turn chewy and rubbery. If you have made my English toffee you know this pan, just stop 60 degrees sooner.
Twelve to Fifteen Minutes on High
With the whisk on low, pour the syrup in a thin stream down the side of the bowl, not onto the whisk, which flings hot sugar threads onto the walls. Then turn it to high and leave it.
In the first 3 minutes it looks like thin soapy foam. By 8 minutes it is white and tripled. Keep going until it is thick, glossy and pulls into heavy ribbons, and the outside of the bowl feels about body temperature, around 100°F. Add the peppermint and vanilla in the last minute. Stopping early is the most common reason a batch sets dense with a syrupy layer on the bottom.
Layering the Pink Swirl
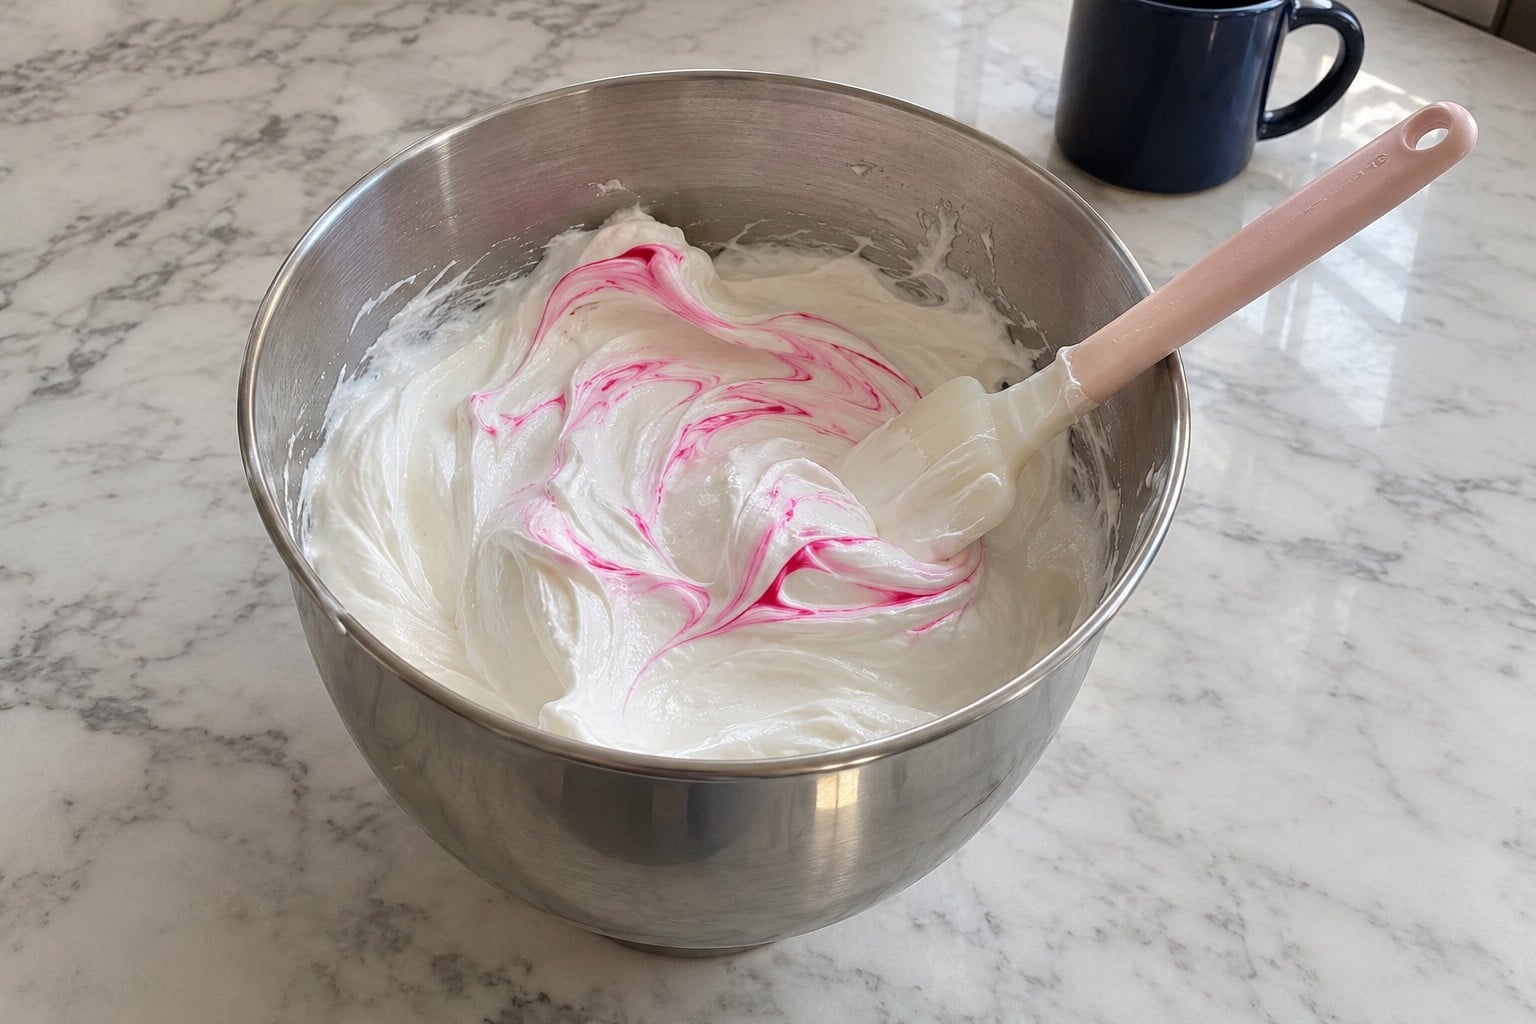
Work fast here; the mixture starts setting within 5 minutes. Scrape half into the oiled pan with an oiled spatula, dot it with half the gel color, add the rest and dot again. Drag a skewer through in figure eights, down to the bottom, about 6 strokes. More than that and the pink turns into one flat salmon color.
Six Hours Uncovered, Never the Fridge
Dust the top with coating and leave the pan uncovered on the counter for at least 6 hours, or overnight. Covered, the steam has nowhere to go and the top stays tacky. The fridge is worse: cold marshmallows pull water from the air as they warm up and start to weep.
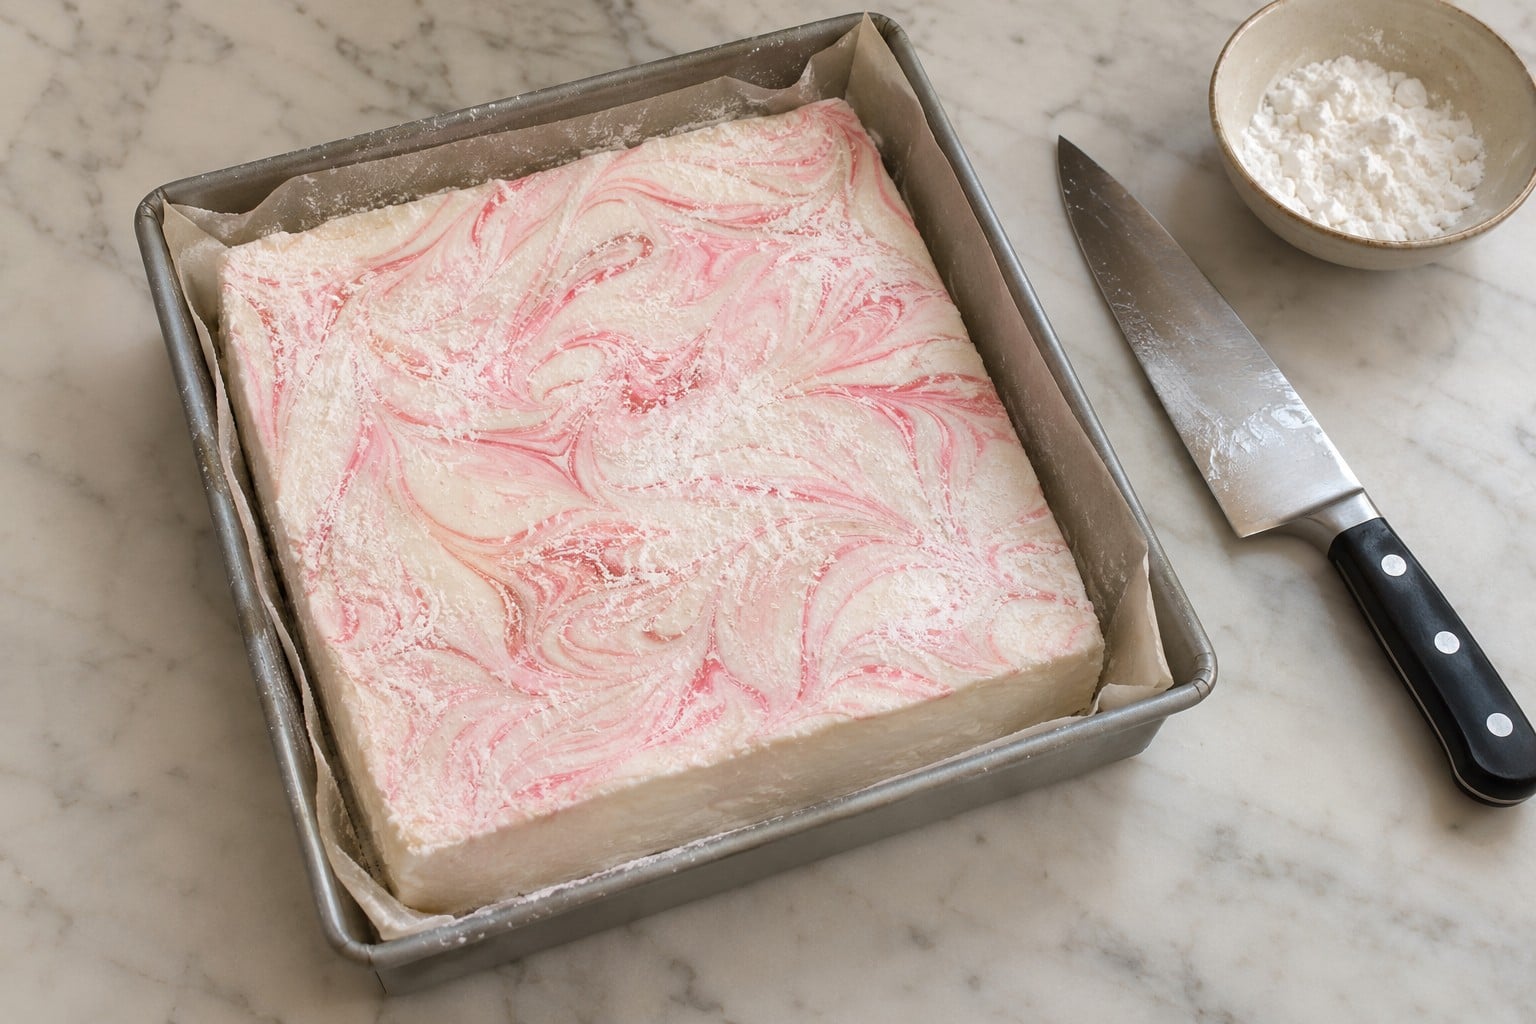
Cutting 36 Squares With an Oiled Knife
Turn the slab out onto a board dusted with the powdered sugar and cornstarch mix and peel the parchment off. Cut 6 strips, then 6 the other way. An oiled chef knife pressed straight down works better than sawing; wipe and re-oil it every few cuts. Kitchen scissors, oiled, are good for the edges.
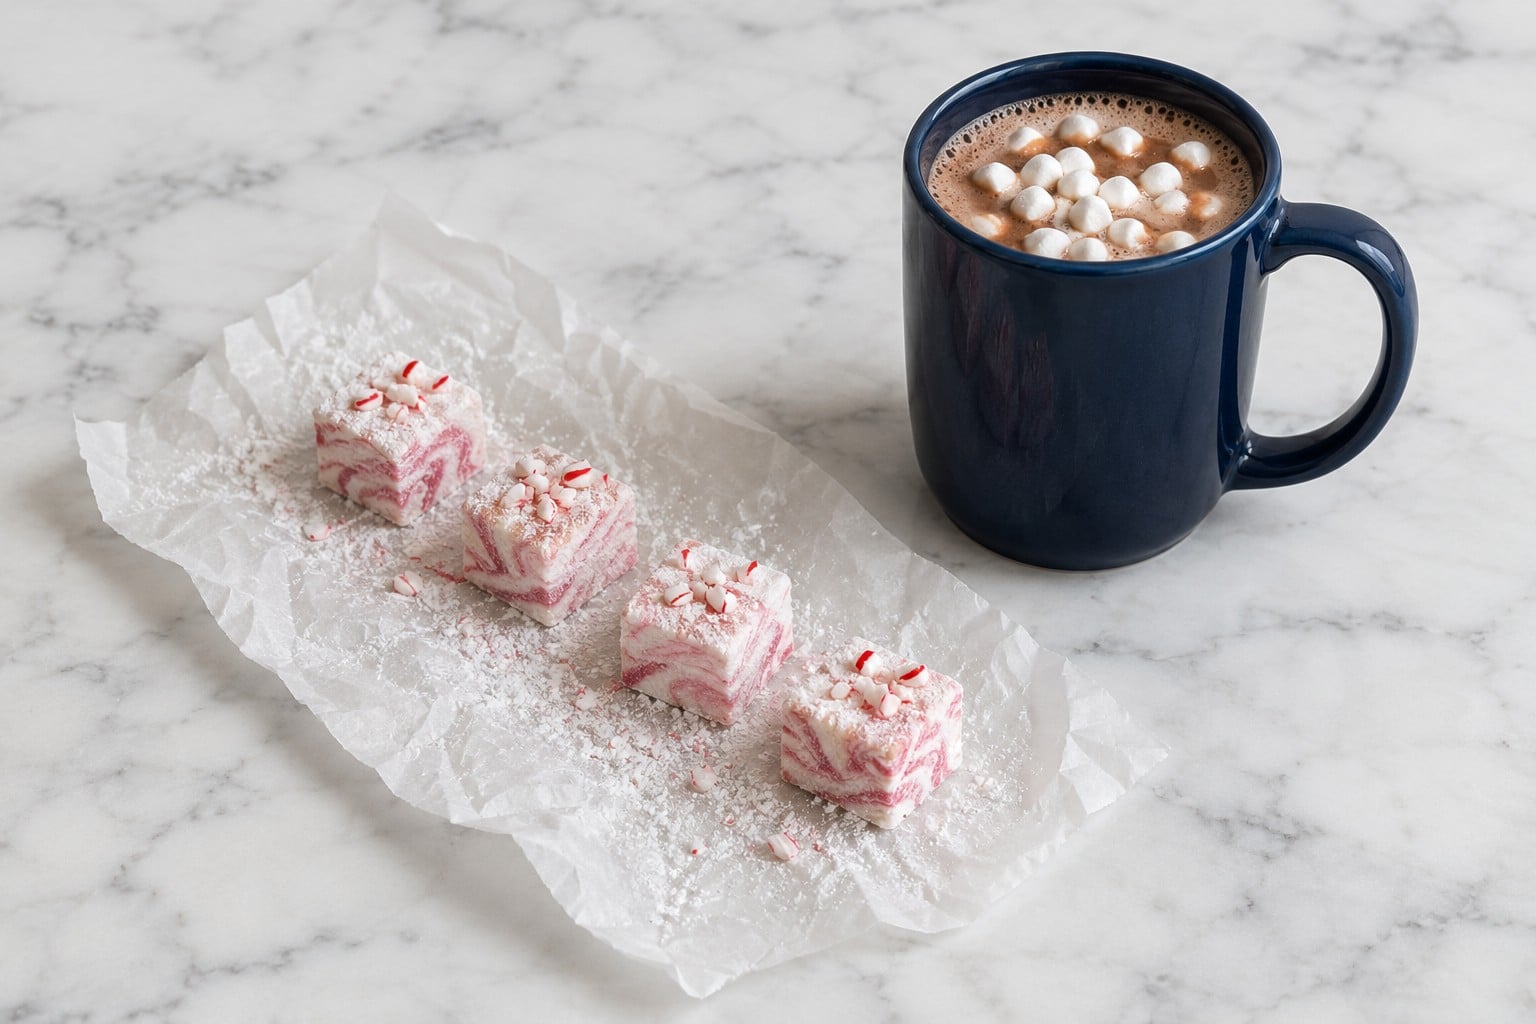
Toss every cut face in the coating. Every one. Then leave the squares on a rack for an hour so the coating dries on before anything goes into a jar.
When Homemade Marshmallows Weep or Go Wrong
Wet, Sticky Surfaces
They were packed too soon, stored in the fridge or made on a very humid day. Toss them again in fresh coating, let them sit an hour on a rack and store them in a tin at room temperature.
Dense, With a Syrup Layer Underneath
The whipping stopped while the mixture was still hot, or the syrup was poured onto the whisk instead of down the side. Next time give it the full 12 minutes, at least.
Grainy or Crunchy Bits
Sugar crystals on the pan walls fell back in. Brush the inside of the pan with a wet pastry brush once the syrup boils, and do not stir after the sugar has dissolved.
A Muddy Swirl
Too many strokes. Six is plenty.
Packing Hot Cocoa Gift Jars
A quart jar holds about 12 squares, so one pan fills three jars. Press crushed candy cane on top the day you hand them over; after about 2 days the bits soften and turn sticky, so for jars that travel, tuck the candy cane in a small bag of its own beside the cocoa mix.
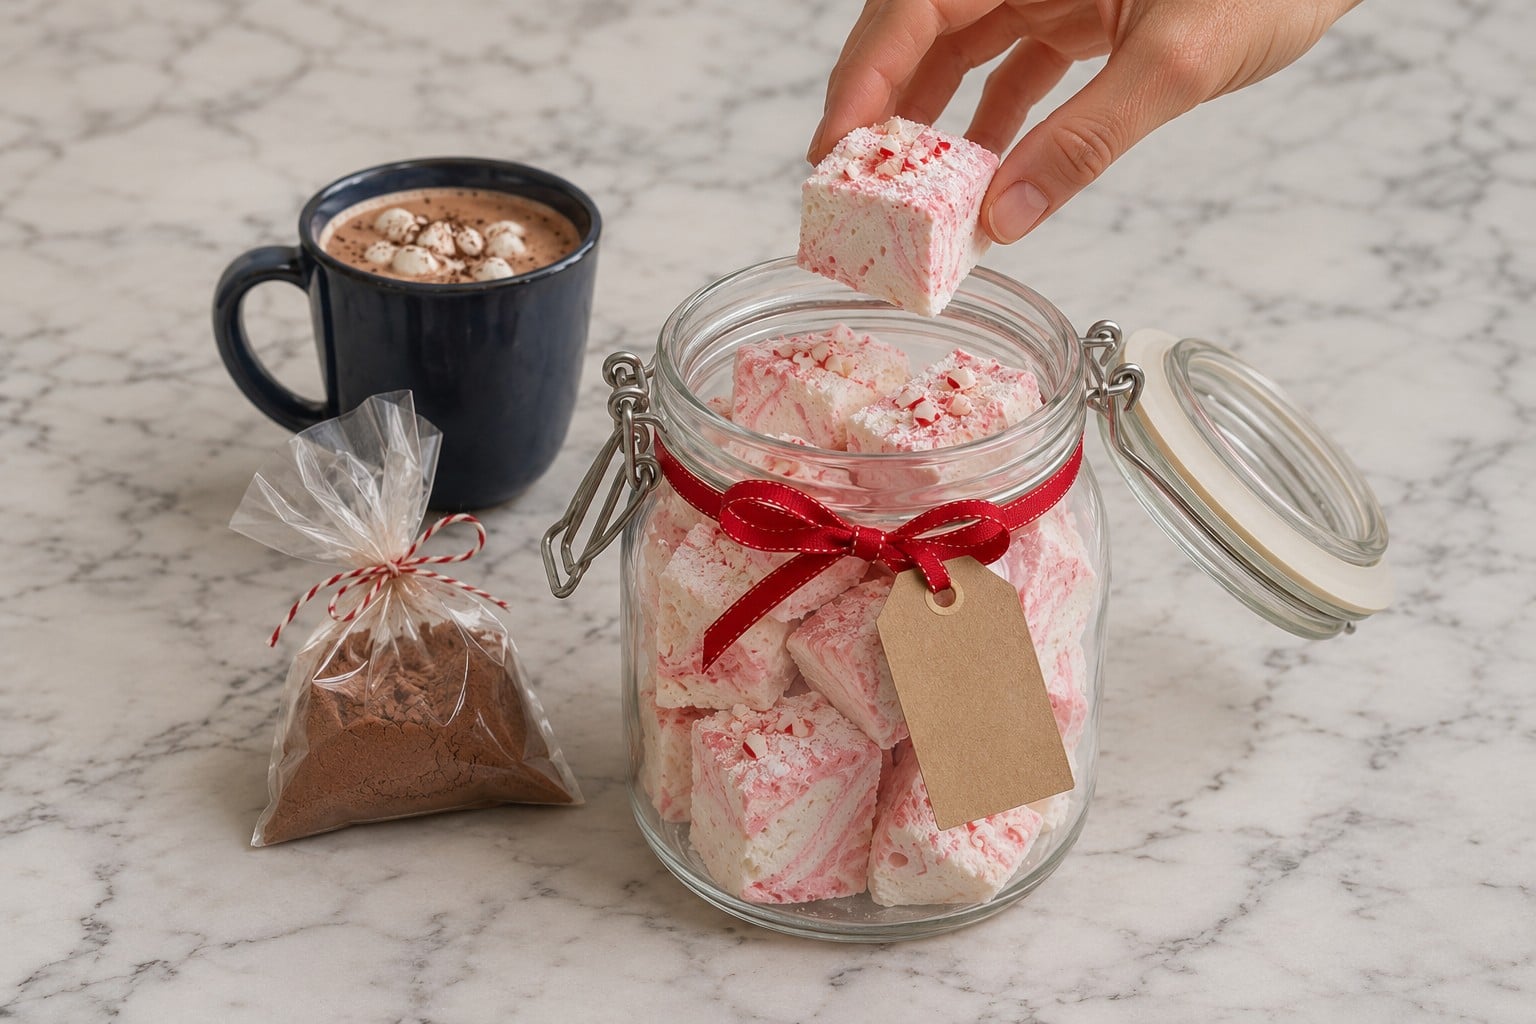
Tie the ribbon last. A tag that says keep out of the fridge saves a batch.
Filling Out the Gift Box
Pair the jar with a bag of cocoa mix or a card with my gingerbread spiced Christmas hot chocolate. For a fuller gift box, add a slab of peppermint chocolate bark and a few shards of peanut brittle.
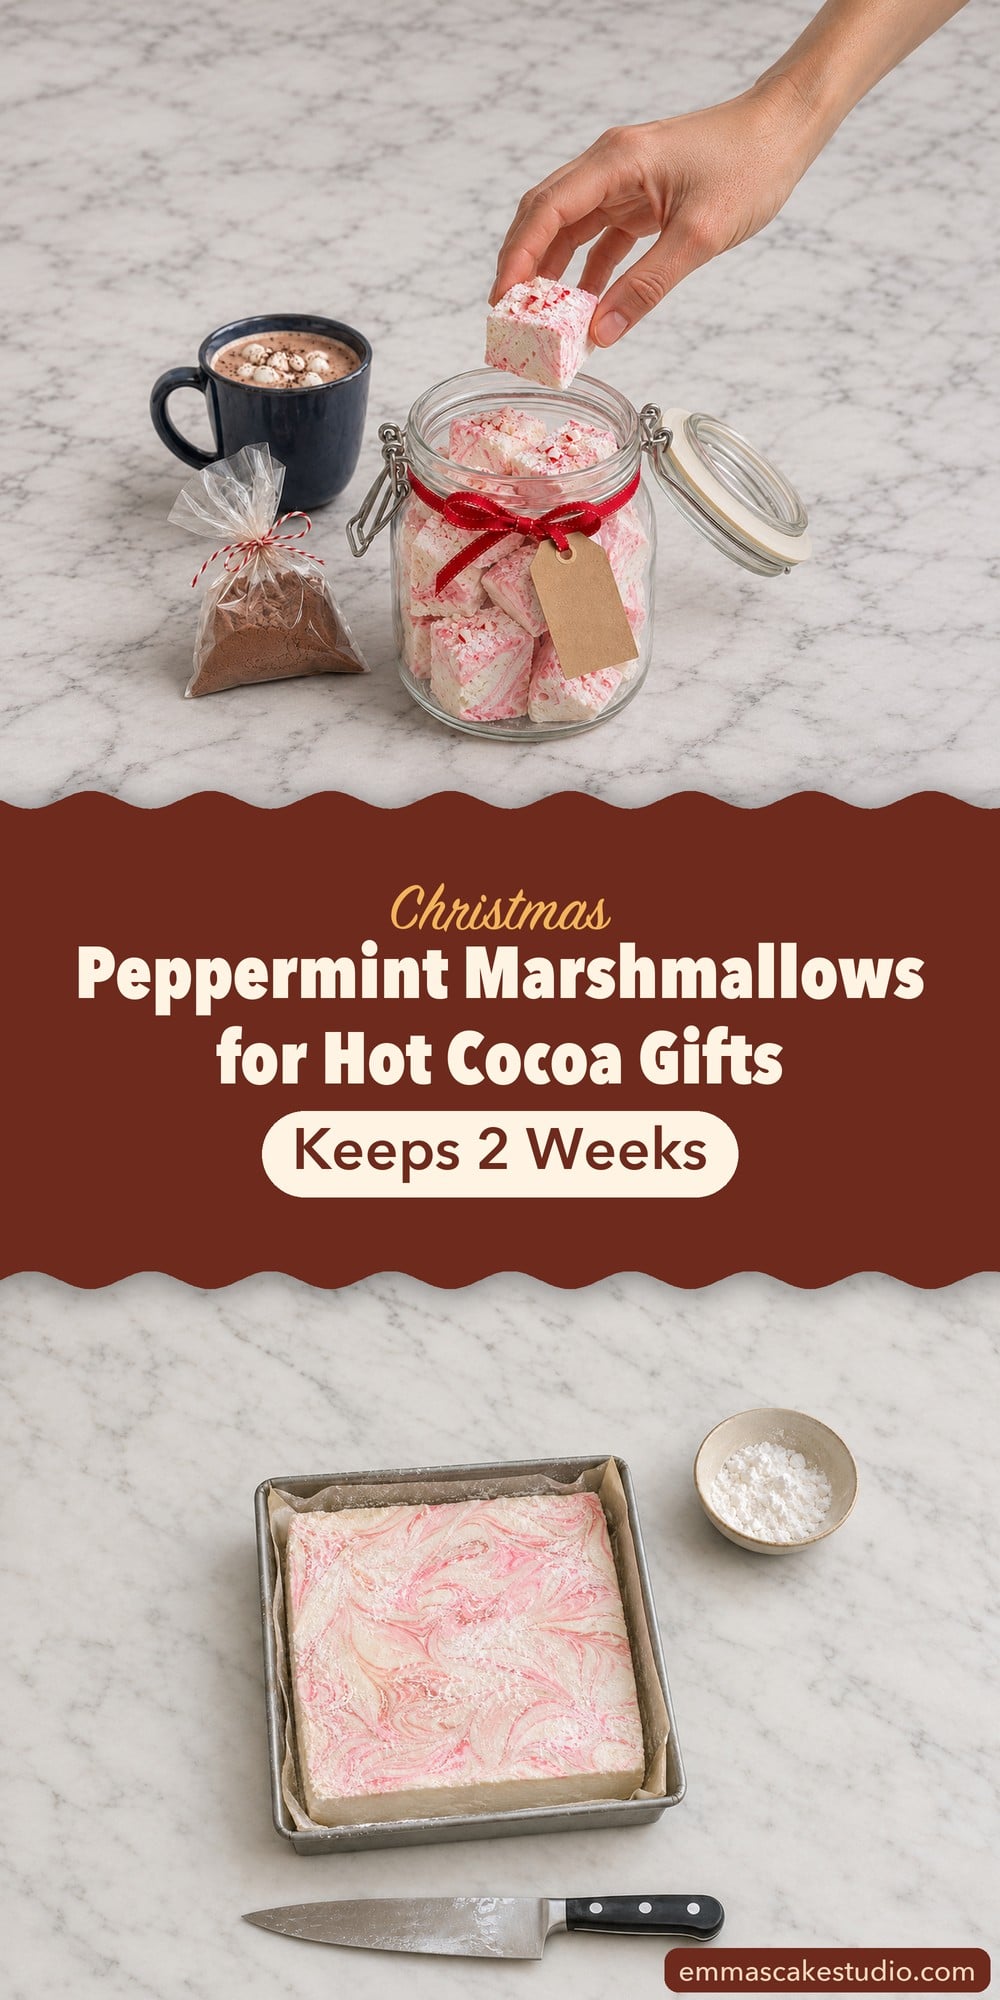
Pin this one for the first weekend of December, when the jars come out of the cupboard.
Homemade Marshmallows (Peppermint Swirl)
Made it? Tap the stars to rate it.
Homemade marshmallows are soft, springy squares made by pouring a 240°F sugar syrup into bloomed gelatin and whipping it until it triples, then letting it set in a 9 inch pan. This peppermint version takes peppermint extract and vanilla, gets pink gel color swirled through two layers, and is cut into 36 squares with an oiled knife before a toss in powdered sugar and cornstarch. They need no egg whites and no oven, just a candy thermometer and a stand mixer. Drop them into hot cocoa, fill Christmas gift jars or add them to holiday candy trays. Leave out the color and use 2 teaspoons vanilla for plain ones, and keep them airtight at room temperature for 2 weeks.
Ingredients
For the pan and coating
- 1/2 cup (60 g) powdered sugar
- 1/2 cup (64 g) cornstarch
- 1 teaspoon neutral oil or nonstick spray, for the pan, knife and spatula
For the gelatin
- 3 envelopes (2 1/2 tablespoons, 21 g) unflavored powdered gelatin
- 1/2 cup (120 ml) cold water
For the syrup
- 2 cups (400 g) granulated sugar
- 2/3 cup (220 g) light corn syrup
- 1/2 cup (120 ml) water
- 1/4 teaspoon fine salt
For the flavor and swirl
- 1 teaspoon peppermint extract
- 1/2 teaspoon vanilla extract
- 1/4 teaspoon pink or red gel food coloring
- 3 regular candy canes, finely crushed (about 1/4 cup, 45 g), optional
Instructions
- Prepare the pan: Lightly oil a 9 inch square pan, line it with parchment and oil the parchment. Sift the powdered sugar and cornstarch together and dust the pan with 2 tablespoons of the mixture.
- Bloom the gelatin: Pour the 1/2 cup cold water into the bowl of a stand mixer, sprinkle the gelatin evenly over it and let it stand 10 minutes, until firm.
- Cook the syrup: In a heavy 2 to 3 quart saucepan, stir the sugar, corn syrup, 1/2 cup water and salt over medium heat until the sugar dissolves. Clip on a candy thermometer and boil without stirring until it reads 240°F (soft ball), 8 to 10 minutes.
- Whip: Fit the mixer with the whisk. On low speed, pour the hot syrup in a thin stream down the side of the bowl. Raise the speed to high and whip 12 to 15 minutes, until the mixture is thick, glossy, about tripled and only lukewarm (about 100°F). Beat in the peppermint and vanilla in the last minute.
- Layer the swirl: Scrape half the mixture into the pan with an oiled spatula and dot it with half the gel color. Add the rest, dot with the remaining color and drag a skewer through in figure eights, down to the bottom, about 6 strokes. Smooth the top and dust with 2 tablespoons of the coating.
- Set: Leave the pan uncovered at room temperature for at least 6 hours or overnight. Do not refrigerate.
- Cut and coat: Turn the slab out onto a board dusted with coating and peel off the parchment. Cut 6 by 6 into 1 1/2 inch squares with an oiled knife, wiping and re-oiling it every few cuts. Toss each square in the remaining coating, shake off the excess and let them sit on a rack for 1 hour before packing.
- Finish: Press crushed candy cane onto the tops right before serving or gifting.
Notes
The one mistake to avoid: stopping the mixer early. Whip a full 12 to 15 minutes, until the bowl is only lukewarm, or the marshmallows set dense with a syrupy bottom.
Cook the syrup to exactly 240°F. Lower stays sticky; above 250°F turns rubbery.
Never refrigerate them. Cold marshmallows draw moisture and weep.
Toss every cut side in the coating and let the squares dry on a rack for 1 hour before packing.
Storage: airtight at room temperature for 2 weeks, or frozen for 2 months. Add crushed candy cane on the day you serve or gift them; it turns sticky after about 2 days.
Nutrition Information
Yield
36Serving Size
1 marshmallowAmount Per Serving Calories 72Total Fat 0gSaturated Fat 0gCholesterol 0mgSodium 20mgCarbohydrates 18gFiber 0gSugar 15gProtein 1g

Made it? Tap the stars to rate it