

A good kiwi jam recipe earns attention because kiwi brings more personality than the average fruit spread. It has real tang, a little tropical brightness, and a color that stands out in the jar and on the plate. When it is cooked carefully, the finished jam tastes lively instead of flat, which is exactly what makes a homemade batch worth the effort.
This version keeps the ingredient list simple and practical. The base is just kiwi, sugar, lemon juice, lemon zest, and water, with optional pectin only if you want a firmer set. That gives you a small batch refrigerator jam that feels fresh, spoonable, and easy to use on toast, yogurt, biscuits, or simple desserts.

Following a special diet?
Every recipe on this site can be converted to gluten-free, vegan, dairy-free, keto, nut-free or egg-free with adjusted ratios so nothing falls flat.
Try the Recipe Converter →What Makes Kiwi Jam Worth Making
Kiwi already has the balance that a fruit preserve needs. It brings sweetness, but it also has enough tartness to keep the jam from turning heavy. That means the final flavor stays brighter than many softer homemade spreads, and the fruit still tastes like kiwi instead of generic sugar syrup in a jar.
That sharper fruit profile is what gives homemade kiwi jam its edge. If you like fruit spreads with a clearer finish, it lands in a more interesting place than many standard berry jams. For another bright fruit preserve with a different kind of punch, plum jam recipe is a strong one to keep nearby too.
The 5 Main Ingredients That Do the Work
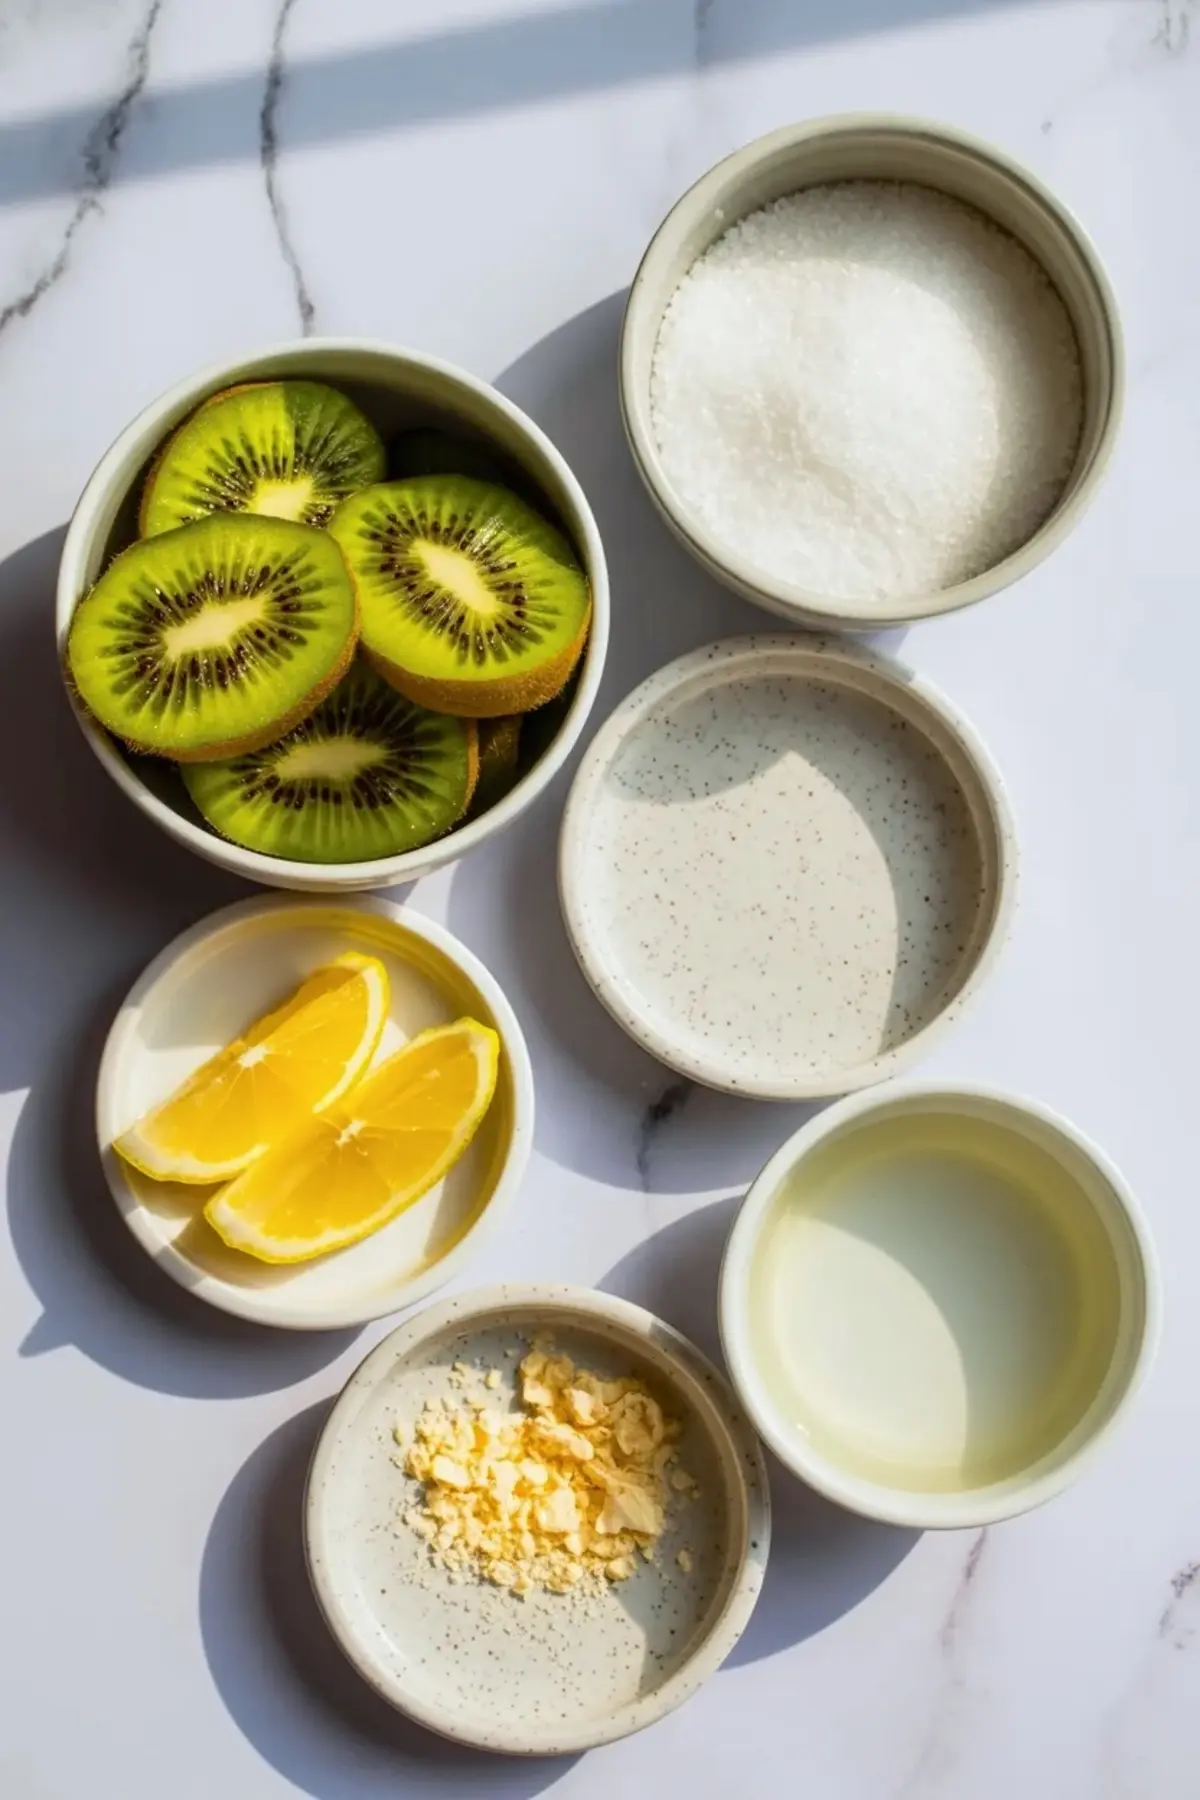
The kiwi does most of the heavy lifting, so ripe fruit matters. You want kiwi that is soft enough to have good sweetness, but not so overripe that it tastes tired before it even hits the pan. Sugar supports the fruit, lemon juice sharpens the flavor, lemon zest adds a little extra lift, and water helps everything loosen early in cooking so the jam can simmer evenly.
Optional pectin can help if you want a thicker finish, but it is not the main identity of the recipe. The heart of this kiwi jam recipe is still that 5 ingredient base. If you like simple fruit preserves built on the fruit first, pear jam recipe gives a softer, milder version of the same homemade idea.
How to Prep Kiwi for the Best Texture
Peel the fruit and chop it into small pieces, but do not turn everything into a fine mince. A mix of smaller bits and a few slightly larger pieces gives the finished jam better texture and helps it feel more homemade. Kiwi breaks down quickly once heated, so starting with some shape in the fruit keeps the final batch from feeling too uniform.

This is also where you decide how rustic you want the jam to be. If you prefer a smoother spread, you can mash the fruit lightly as it cooks. If you like more visible fruit in the jar, leave the chopped kiwi alone and let the simmering do most of the softening.
How to Cook Kiwi Jam Without Dulling the Flavor
The goal is to let the kiwi release its juices, melt the sugar, and then reduce the mixture until it looks glossy and slightly thickened. Medium heat is usually enough. If the pan runs too hot, the fruit can lose some of its brightness before the texture has properly come together.
Stir often enough to keep the bottom from catching, but do not fuss with it constantly. As the mixture bubbles, it should move from loose fruit in syrup toward a thicker spoonable jam. That is the stage where a kiwi jam recipe starts looking useful instead of just sweet.
Getting the Texture Right
Texture matters as much as flavor here. A good kiwi jam should spread easily, but it should not run off toast like thin syrup. If you are using it for breakfast spreads, a softer set is perfectly fine and often more pleasant. If you want it for dessert layers or cheesecake topping, you may prefer a slightly thicker finish.
The easiest mistake is pushing the pot too far. Remember that the jam thickens more as it cools, so the mixture should still feel a little loose in the saucepan. Once chilled, it settles into a better spread. If you enjoy fruit preserves that stay easy to spoon, apricot jam recipe has a similarly practical texture target.

Best Ways to Use Homemade Kiwi Jam
Toast is the obvious first stop, but kiwi jam has more range than that. It works well on biscuits, scones, waffles, and plain yogurt, and it can wake up a simple cheesecake slice when you want something fresher than a heavy sauce. The flavor is bright enough to cut through creamy desserts without taking over.
It can also work as a light cake or pastry filling when you want a fruit layer with more tang than a standard berry spread. If you like keeping a few homemade fruit options on hand, pineapple jam is another good choice when you want a more tropical direction.
Storage Tips for a Small Batch Jar
This recipe makes the most sense as a refrigerator jam unless you have a separate canning tested version. Let the jars cool fully, seal them, and keep them chilled. That keeps the texture clean and the flavor bright, which suits kiwi especially well.
A small batch is part of the appeal. You get enough jam to enjoy over breakfasts and desserts without committing to a huge preserving session. It is the kind of recipe that makes sense when you have ripe kiwi on hand and want something more useful than another bowl of cut fruit.
Why This Recipe Stays Practical
What makes this easy kiwi jam recipe worth repeating is not just the color or the novelty. It is the fact that it uses familiar pantry ingredients, cooks in a normal saucepan, and gives you something that feels genuinely versatile once it is in the fridge. That is the kind of homemade recipe that tends to earn repeat use.
Save this kiwi jam recipe for the next time you want a fruit spread that feels brighter, fresher, and a little less expected than the usual options. If you try it, leave a comment and say whether you used it first on toast, yogurt, or dessert.
Kiwi Jam Recipe

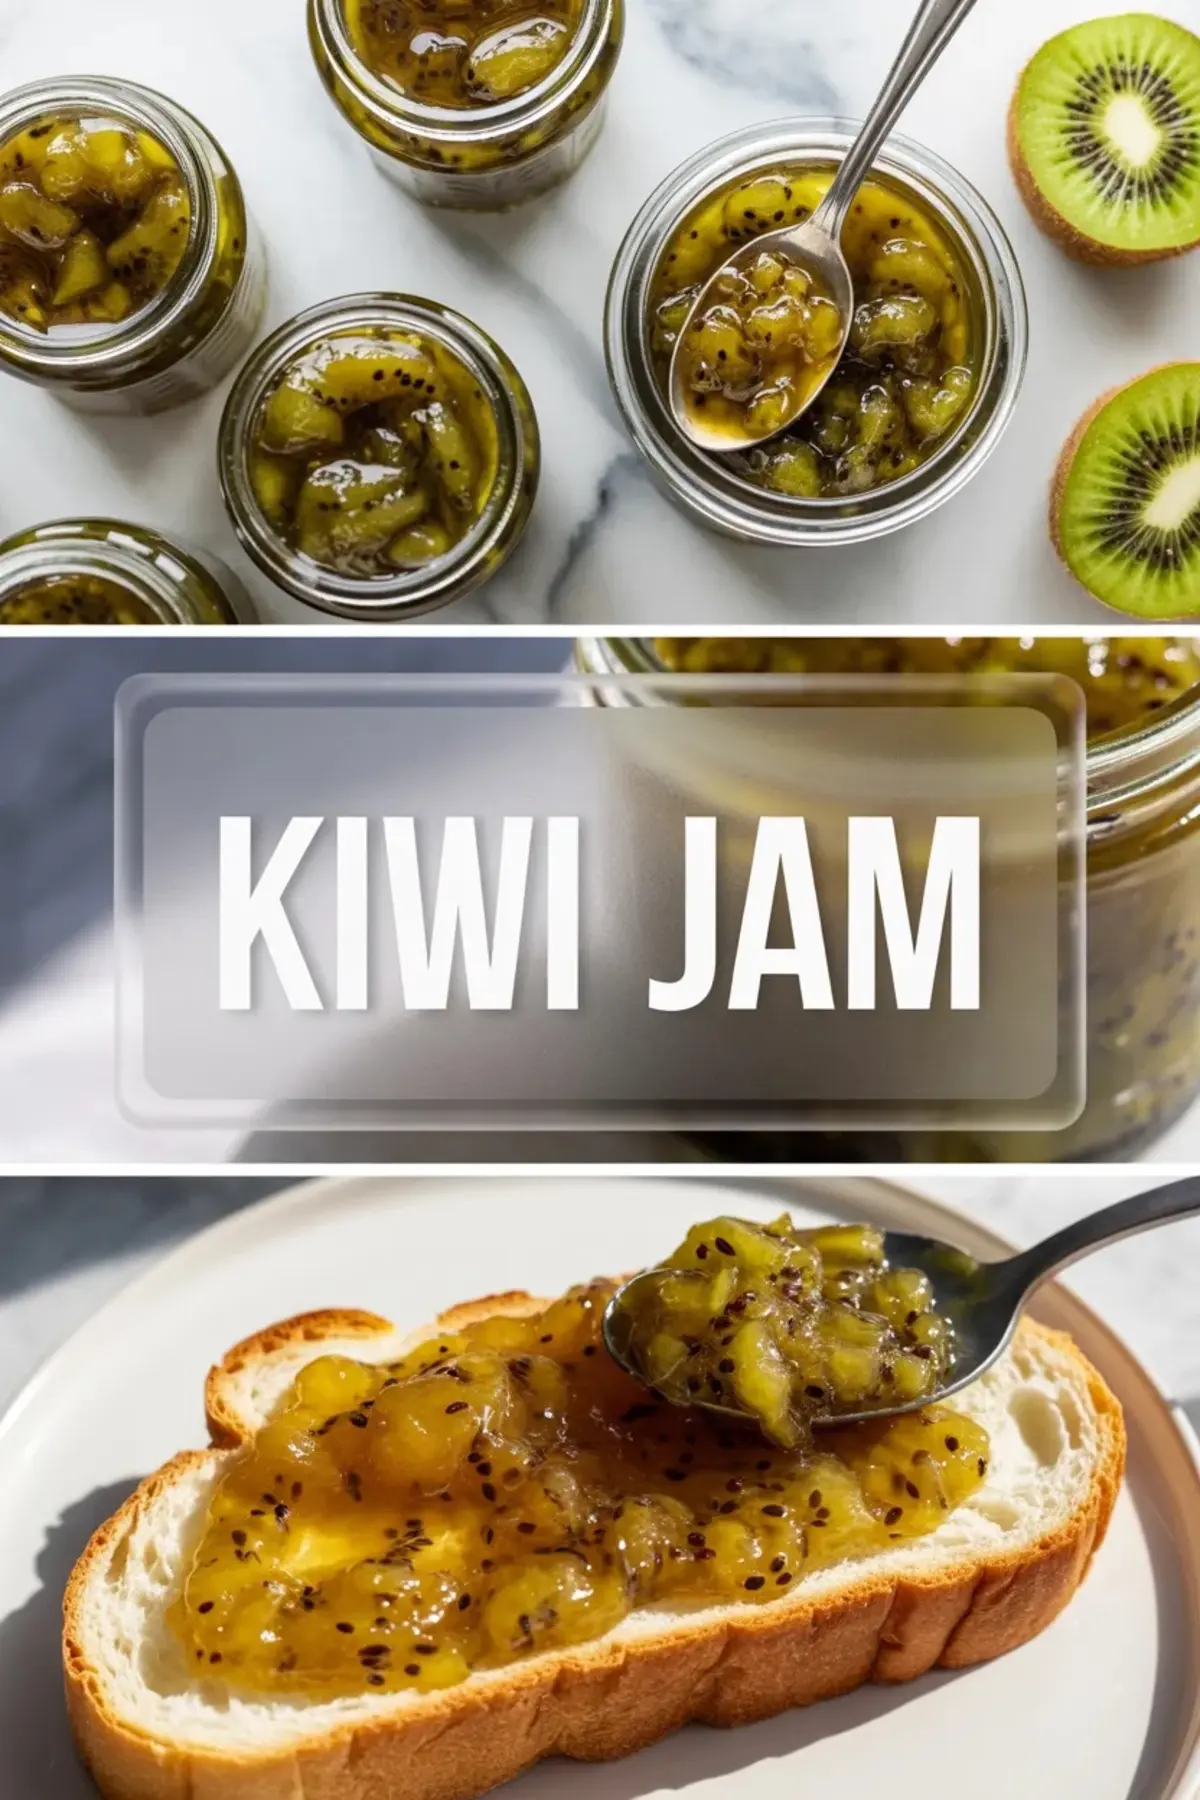
This kiwi jam recipe turns fresh kiwi into a bright homemade spread with bold fruit flavor, glossy texture, and plenty of everyday uses. It uses 5 main ingredients: kiwi, sugar, lemon juice, lemon zest, and water, with optional pectin only if you want a firmer set. The finished jam stays lively and spoonable, making it a great choice for toast, biscuits, yogurt, waffles, cheesecake, and simple cake fillings. Because kiwi already brings tang and natural sweetness, the flavor tastes fresher and more distinctive than many standard fruit jams. If you want an easy homemade kiwi jam for a small batch refrigerator jar, this recipe is practical, bright, and worth keeping close.
Ingredients
- 8 ripe kiwis, peeled and diced
- 1 ½ cups granulated sugar
- 2 tablespoons fresh lemon juice
- 1 teaspoon lemon zest
- 1 tablespoon water
- 1 tablespoon pectin (optional for thicker jam)
Instructions
PREPARE THE KIWI: Peel the kiwis and dice them into small pieces. Leave a few slightly larger chunks for extra texture in the finished jam. Add the diced kiwi to a medium saucepan.
MIX THE INGREDIENTS: Add the granulated sugar, fresh lemon juice, lemon zest, and water to the saucepan. Stir well until the kiwi pieces are evenly coated. If using pectin for a thicker consistency, stir it in at this stage.
COOK THE JAM: Place the saucepan over medium heat and cook the mixture, stirring frequently to prevent sticking. As the kiwi heats, it will release juice and begin to bubble. Reduce the heat slightly and simmer for 15 to 20 minutes until the mixture thickens.
TEST THE TEXTURE: Spoon a small amount of jam onto a chilled plate. Let it sit for a few seconds, then gently push it with your finger. If the jam wrinkles slightly, it is ready. If it still appears thin, continue simmering for a few more minutes and test again.
JAR THE JAM: Carefully spoon the hot kiwi jam into clean jars. Let the jars cool completely before sealing. Store the jam in the refrigerator after cooling.
Notes
For a smoother texture, lightly mash the kiwi while the jam cooks.
The jam thickens more as it cools.
Store refrigerated jam for up to 2 weeks.
Serve over toast, waffles, pancakes, yogurt, or cheesecake.
Nutrition Information
Yield
3Serving Size
1Amount Per Serving Calories 131Total Fat 1gSaturated Fat 0gUnsaturated Fat 1gSodium 17mgCarbohydrates 34gFiber 6gSugar 18gProtein 2g
